
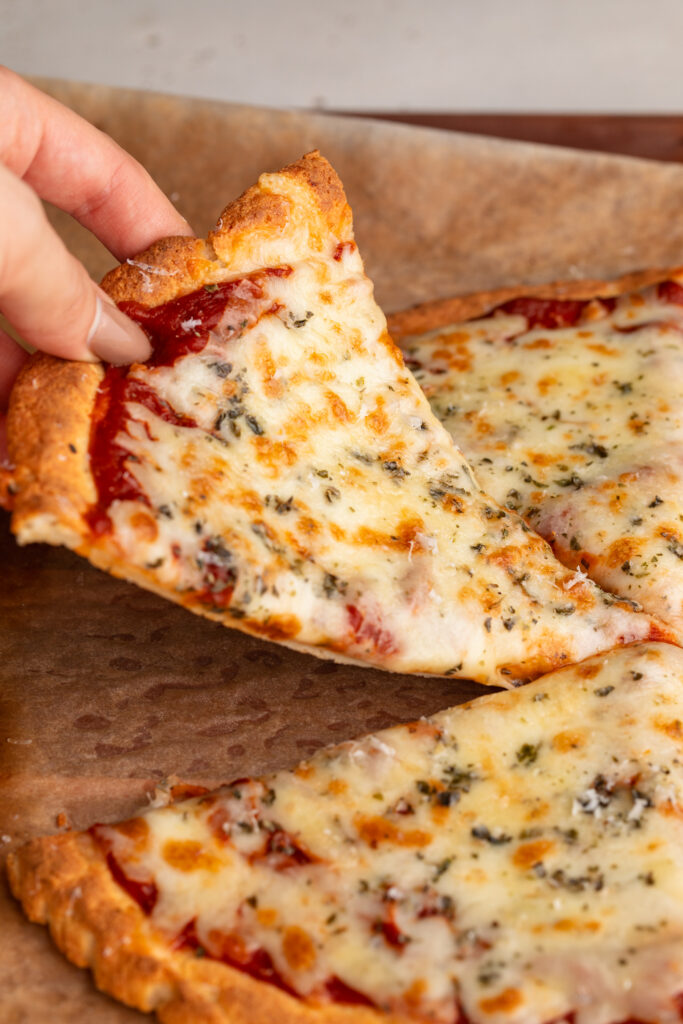
The cottage cheese craze finally got to me! It started a few months ago with my 5-ingredient cottage cheese cookie dough which shocked me (and many of you!) with just how GOOD it is. Now we’ve moved onto a savory cottage cheese recipe, in the form of pizza! This cottage cheese pizza crust is just as light and crisp as your favorite pizza crust, but packs in a bonus 20 grams (!!!) of protein per serving. It’s also made with just 3 simple ingredients. Homemade pizza dough has truly never been easier (or healthier)!
Why You’ll Love This Recipe
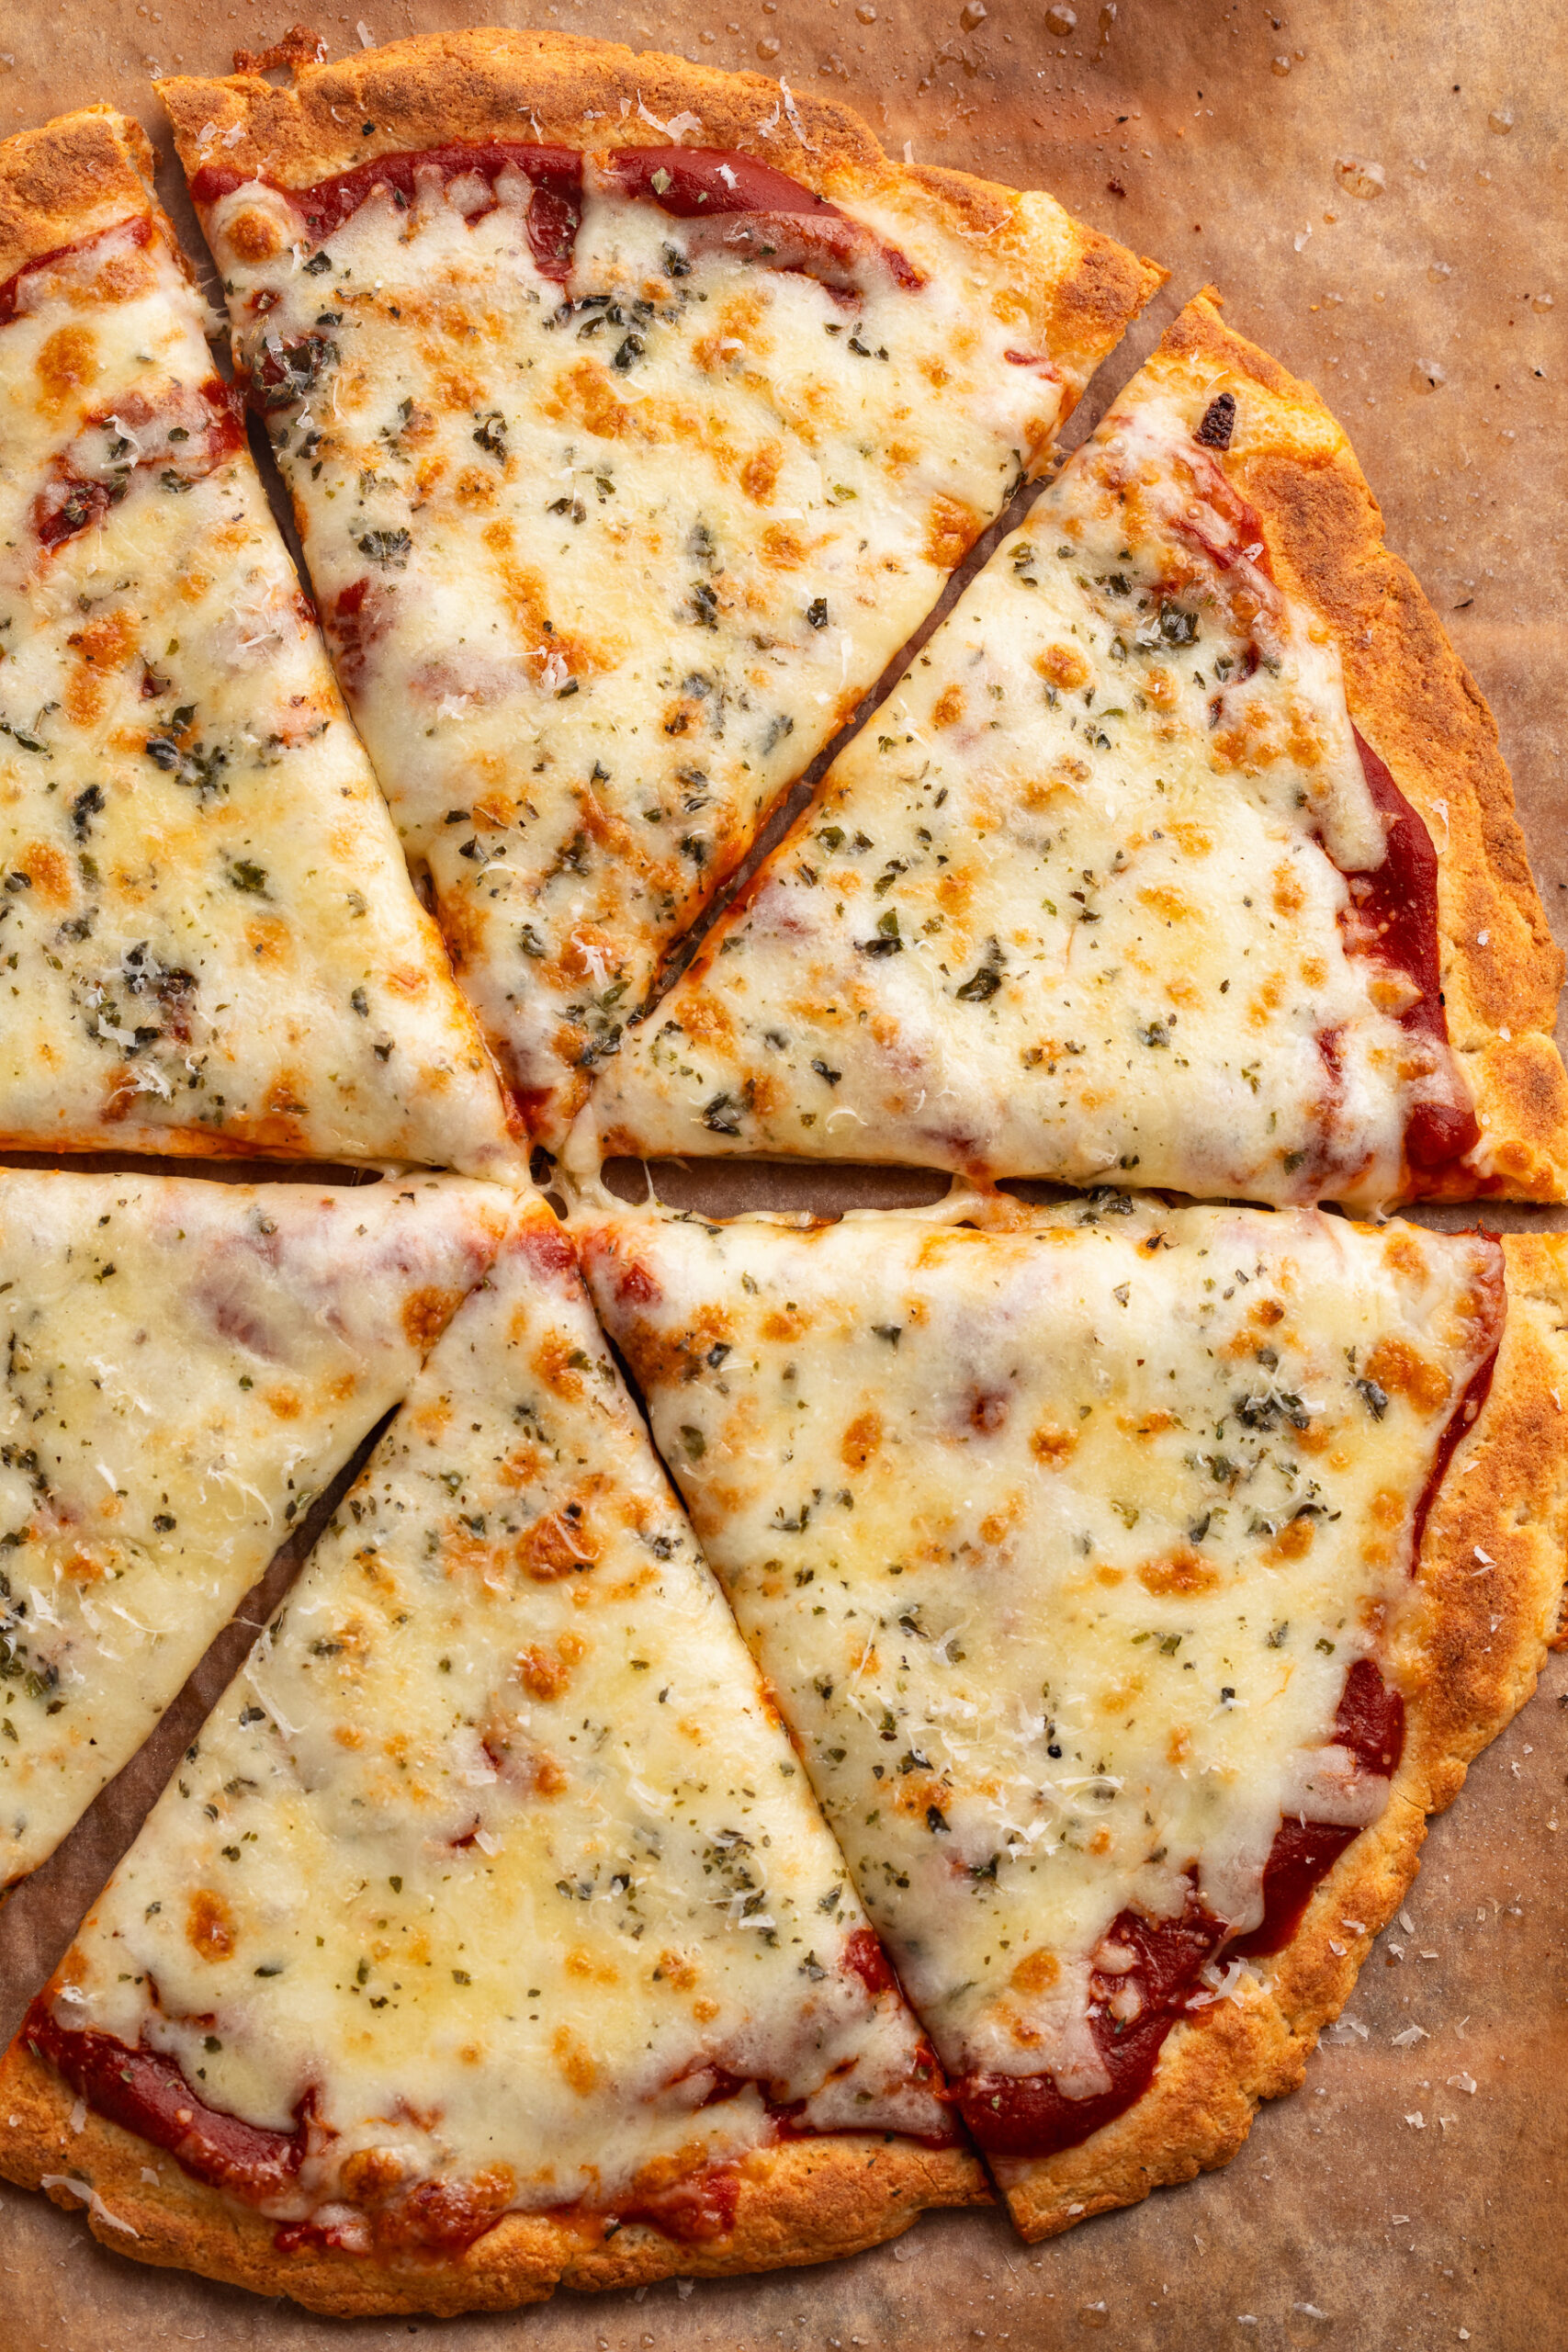
This 3-ingredient cottage cheese pizza crust is soft, slightly chewy, and packs in extra protein with every slice. Made with just cottage cheese, flour, and baking powder, it’s a simple and satisfying base for your favorite pizza toppings. Whether you’re using a pizza oven or a standard oven, this recipe comes together fast and can be made gluten-free too!
Frequently Asked Questions
What kind of cottage cheese works best in this recipe?
Use full-fat or low-fat cottage cheese for best results—both blend smoothly and add richness. Make sure to blend it well until completely smooth for the ideal dough texture. I’ve used both the good culture cottage cheese and organic valley cottage cheese to make this pizza, and both turned out great!
Can I use Greek yogurt instead of cottage cheese?
Greek yogurt can work in a pinch, but the dough will be slightly more wet and may need additional flour. For best results and structure, stick with cottage cheese.
Sam’s Recipe Tips
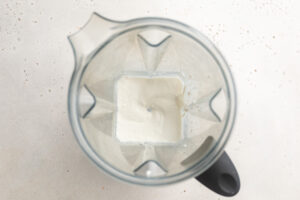
- Blend it smooth: Don’t skip blending the cottage cheese. It ensures your dough is cohesive and easier to work with.
- Grease that surface: Whether using a pizza stone or parchment-lined baking sheet, lightly greasing helps the crust crisp up and prevents sticking.
- Get creative: Top with your favorite sauces, veggies, or even extra protein like grilled chicken or turkey pepperoni for a balanced meal.
- Make it gluten-free: Use a high-quality gluten-free 1:1 flour blend to make this recipe gluten-free without compromising texture.
3-Ingredient Cottage Cheese Pizza Crust
Equipment
- 1 food processor or high speed blender
- 1 large bowl
- 1 large baking sheet
Ingredients
For the cottage cheese pizza crust:
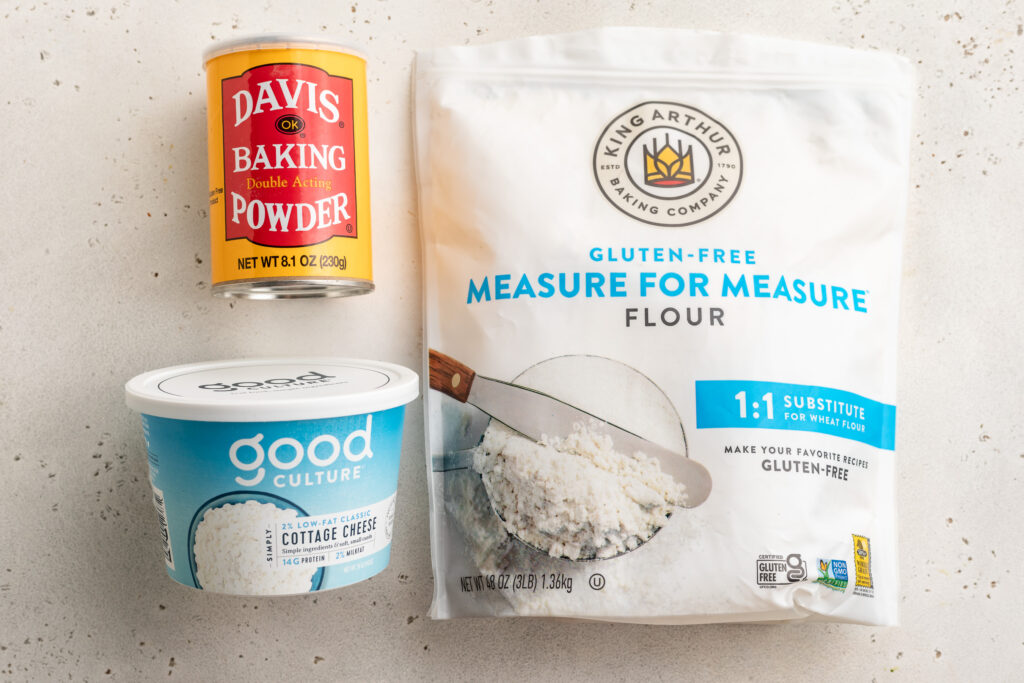
- 1 cup cottage cheese
- 1 cup all purpose flour (I used gluten-free all purpose flour)
- 1 teaspoon baking powder
For topping:
- 1/4 cup pizza sauce
- 1/2 cup shredded cheese
- Whatever toppings you'd like!
Instructions
If using a standard oven:
- Preheat your oven to 450° Fahrenheit and line a baking sheet with parchment paper, then lightly grease the top of the parchment paper with oil.
- Add the cottage cheese to a blender or food processor and blend until completely smooth.

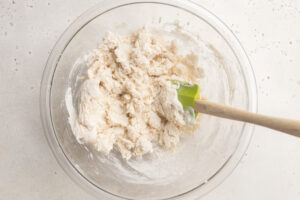
- Mix together the all purpose flour and baking powder in a large bowl, then add in the cottage cheese and mix (you might need to use your hands) until it comes together into a ball of dough.
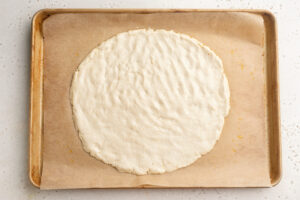
- Transfer the dough to your prepared baking sheet and press/roll it into a 12-inch circle.
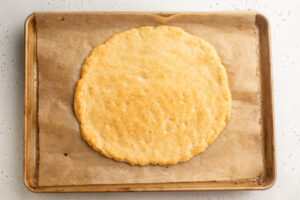
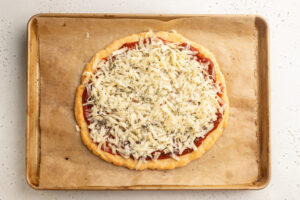
- Place the pizza crust in the oven and par-bake for 10-12 minutes, then remove it from the oven and add your toppings.
- Turn the oven to high broil then pop the pizza back into the oven for an additional 1-2 minutes, or until the cheese is golden brown and bubbly. Remove the pizza from the oven and let it cool slightly before slicing and serving.
If using a pizza oven:
- Preheat your pizza oven to New York-style (635°Fahrenheit).
- Add the cottage cheese to a blender or food processor and blend until completely smooth.
- Mix together the all purpose flour and baking powder in a large bowl, then add in the cottage cheese and mix (you might need to use your hands) until it comes together into a ball of dough.
- Lightly grease your pizza stone with oil, then transfer the dough to the stone and press/roll it into a 12-inch circle.
- Place the pizza crust into the oven and par-bake for 6 minutes, then remove it from the oven and add your toppings.
- Place the pizza oven on broil, then pop the pizza back into the oven for an additional 1-2 minutes, or until the cheese is golden brown and bubbly. Remove the pizza from the oven and let it cool slightly before slicing and serving.


")


