Tag

4 ingredient

Browsing

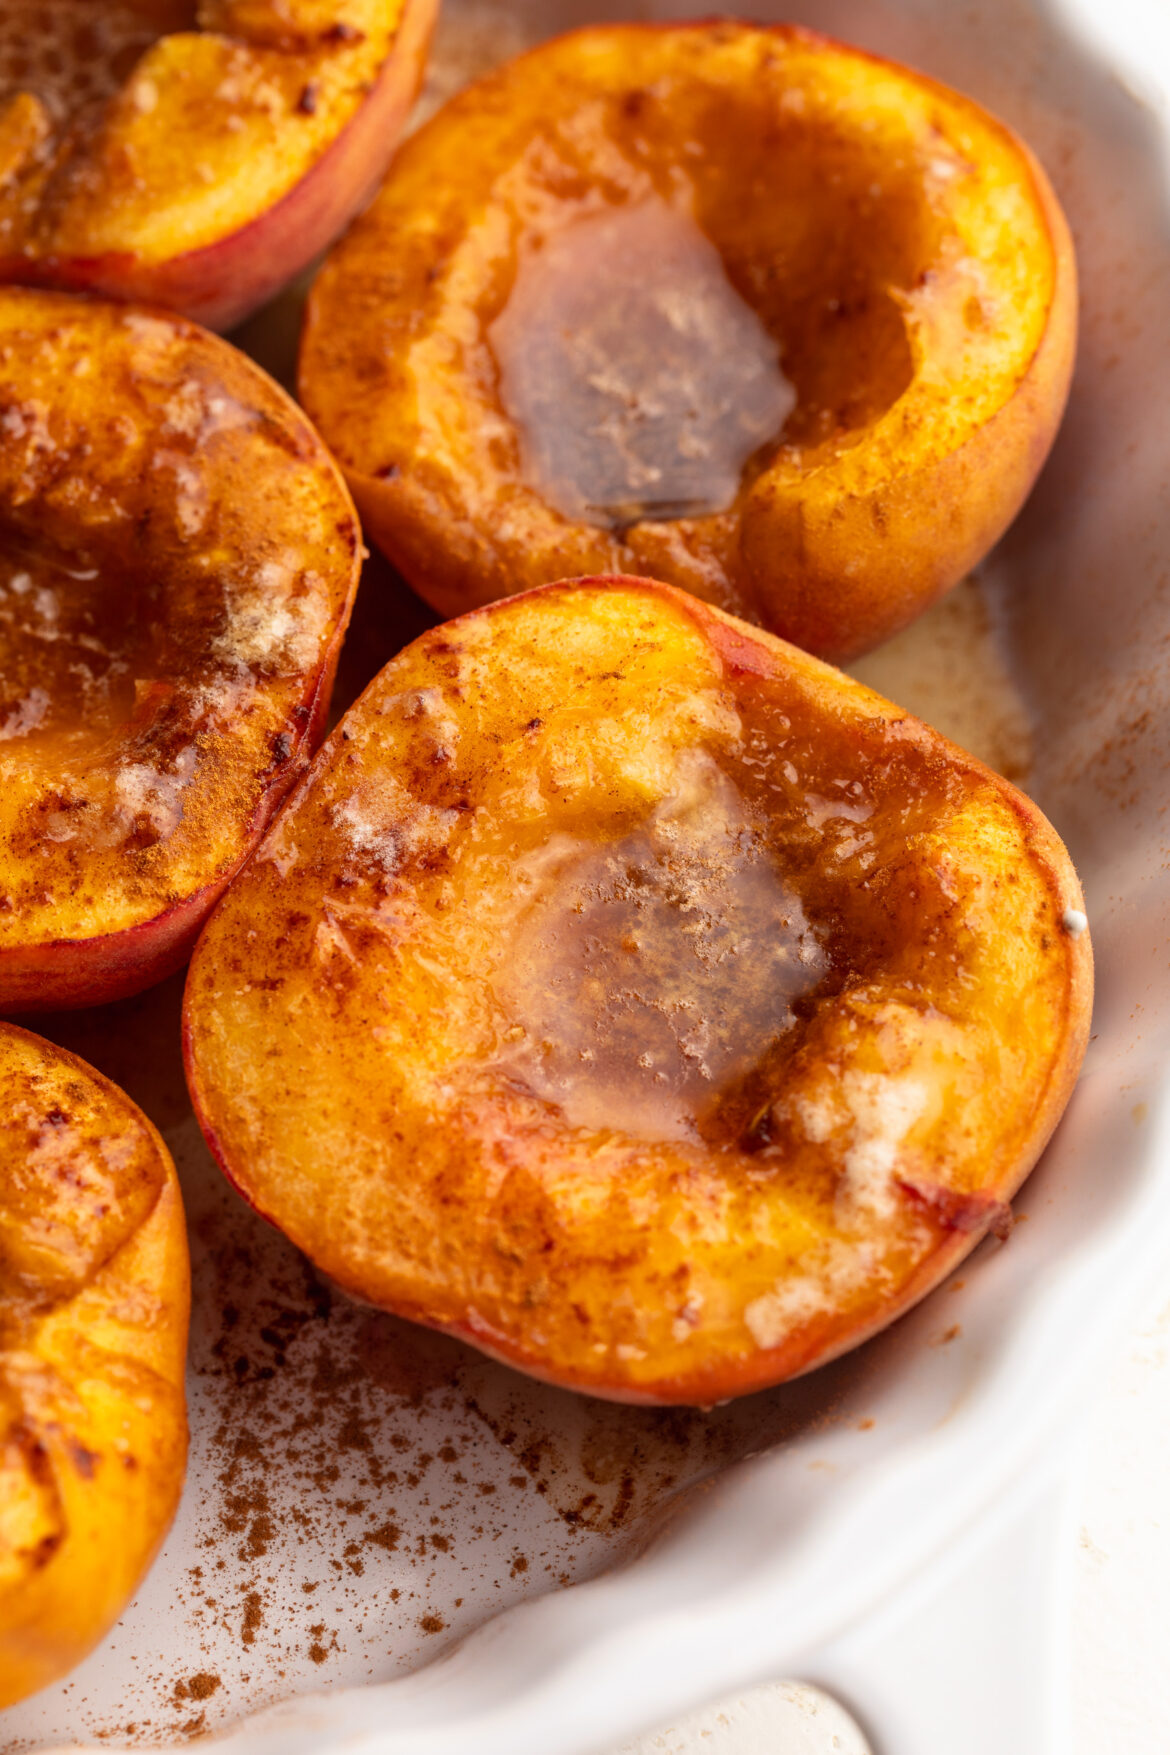
Peach season only comes around once a year, and these baked peaches are exactly how I think you should be spending it! Warm, tender, juicy peaches baked with butter, brown sugar, and cinnamon until they’re soft and bubbling – then topped with a scoop of homemade no-churn vanilla bean ice cream that takes ’em over the freaking top. It’s the kind of dessert that looks and tastes like you spent hours on it, but it’s really just 4 simple ingredients and about 25 minutes of oven time. This is the dessert I make every single summer when peaches are at their absolute best!

The homemade vanilla bean ice cream is the real showstopper here, and the best part is that you don’t need an ice cream maker to make it. Just whipped cream, sweetened condensed milk, and vanilla bean — that’s it. It’s rich, creamy, studded with real vanilla bean, and the perfect partner for warm baked peaches. If you love easy, no-fuss summer desserts, you’ll also want to try my 4-Ingredient Peach Cobbler for another way to enjoy those summer peaches!

Why You’ll Love This Baked Peaches Recipe

  • Just 4 ingredients. Peaches, butter, brown sugar, and cinnamon. That’s the entire list for the peaches themselves – simple, classic, and absolutely delicious.
  • Perfect for summer. This is peak peach season magic! Warm, juicy, caramelized fruit, and it makes the most of those perfectly ripe peaches sitting on your counter.
  • Super easy to make. No special equipment, no complicated steps. If you can slice a peach in half, you can make this dessert. The oven does almost all of the work.
  • Totally delicious. Tender, caramelized peaches with a buttery cinnamon-sugar filling, topped with rich homemade vanilla bean ice cream – this is the kind of dessert that feels fancy but is genuinely effortless!
  • No ice cream maker needed. The homemade vanilla bean ice cream comes together with just 3 ingredients and a hand mixer. No churning, no special equipment – just whip, mix, and freeze!
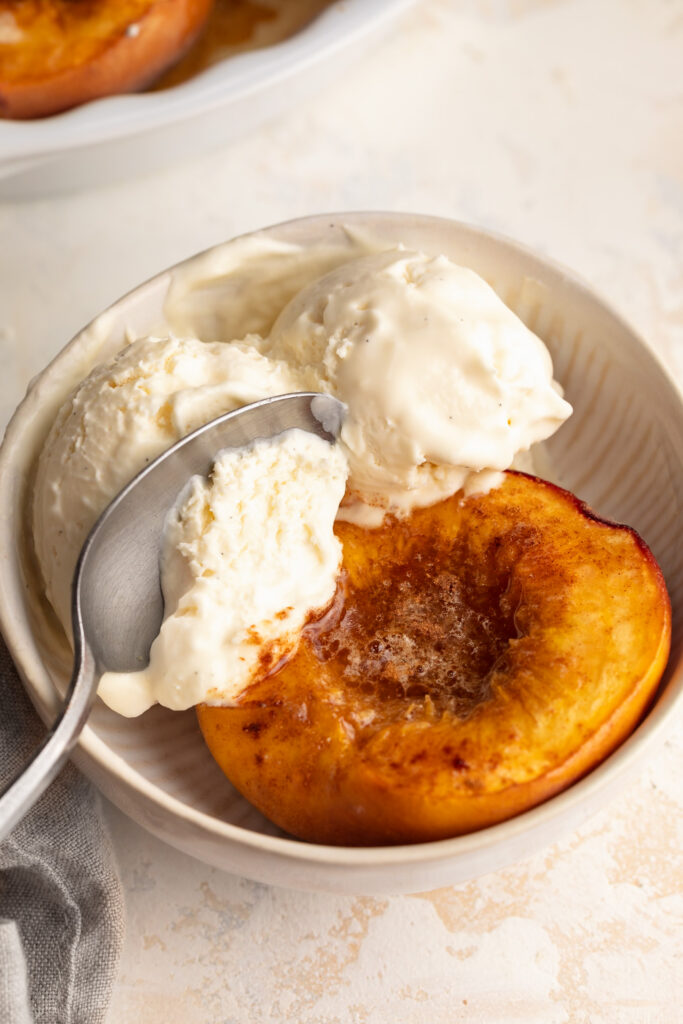
baked peach in a bowl with two scoops of homemade vanilla ice cream and a spoon.

Recipe Variations and Substitutions

  • Make it dairy-free/vegan: Swap the butter for vegan butter or coconut oil in the peaches. For the ice cream, use a can of full-fat coconut cream in place of the heavy whipping cream (chill it well before whipping) and a dairy-free sweetened condensed milk alternative, such as coconut condensed milk.
  • Brown Sugar: Coconut sugar makes a great natural substitute and adds a similar caramel-like depth. Maple syrup or honey also work – drizzle over the peaches instead of sprinkling.
  • Cinnamon: Add a pinch of nutmeg or ginger alongside the cinnamon for extra warmth and spice.
  • Add a Splash of Liquor: For an adults-only version, add a splash of bourbon, rum, or brandy to the butter and brown sugar mixture before baking for a deeper, more sophisticated flavor.
  • No vanilla bean? No problem. Vanilla bean paste or even plain vanilla extract both work wonderfully in the ice cream if you don’t have a whole vanilla bean on hand.
  • Skip the ice cream: If you’re short on time, these baked peaches are also delicious served with a dollop of Greek yogurt, whipped cream, or even on their own!
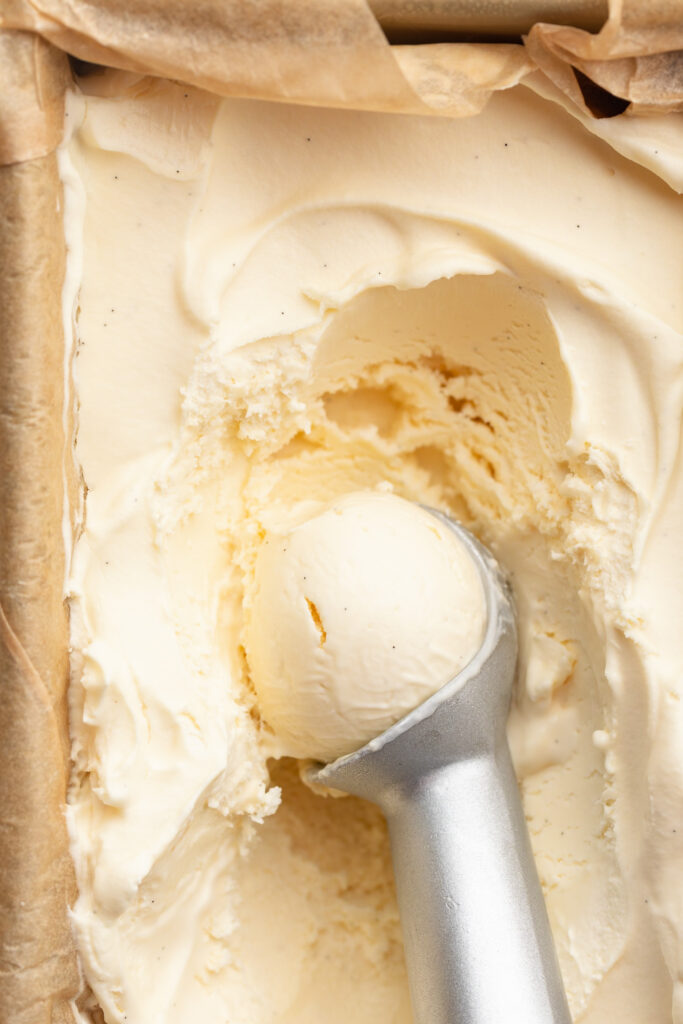
homemade vanilla bean ice cream in a container being scooped.

Sam’s Recipe Tips

  • Use ripe but firm peaches. Peaches that are too soft will turn mushy and fall apart in the oven. Look for peaches that give just slightly when pressed and smell fragrant at the stem – that’s the sweet spot.
  • Make the ice cream ahead of time. Since the ice cream needs at least 4 hours to freeze solid, make it the night before or earlier in the day so it’s ready to scoop the moment your peaches come out of the oven.
  • Don’t overmix the ice cream base. When folding the sweetened condensed milk into the whipped cream, be gentle. Overmixing can deflate the whipped cream and result in a denser, less airy ice cream.
  • Let the peaches cool slightly before serving. Straight out of the oven, the peaches will be very hot and the ice cream will melt almost instantly. A few minutes of cooling time lets you enjoy the perfect balance of warm peach and melty ice cream without it turning into a puddle.
  • Don’t skip the butter pat in each cavity. It melts down and mixes with the brown sugar and peach juices to create a rich, buttery sauce that pools in the bottom of the baking dish – make sure to spoon some of that sauce over the peaches when serving!
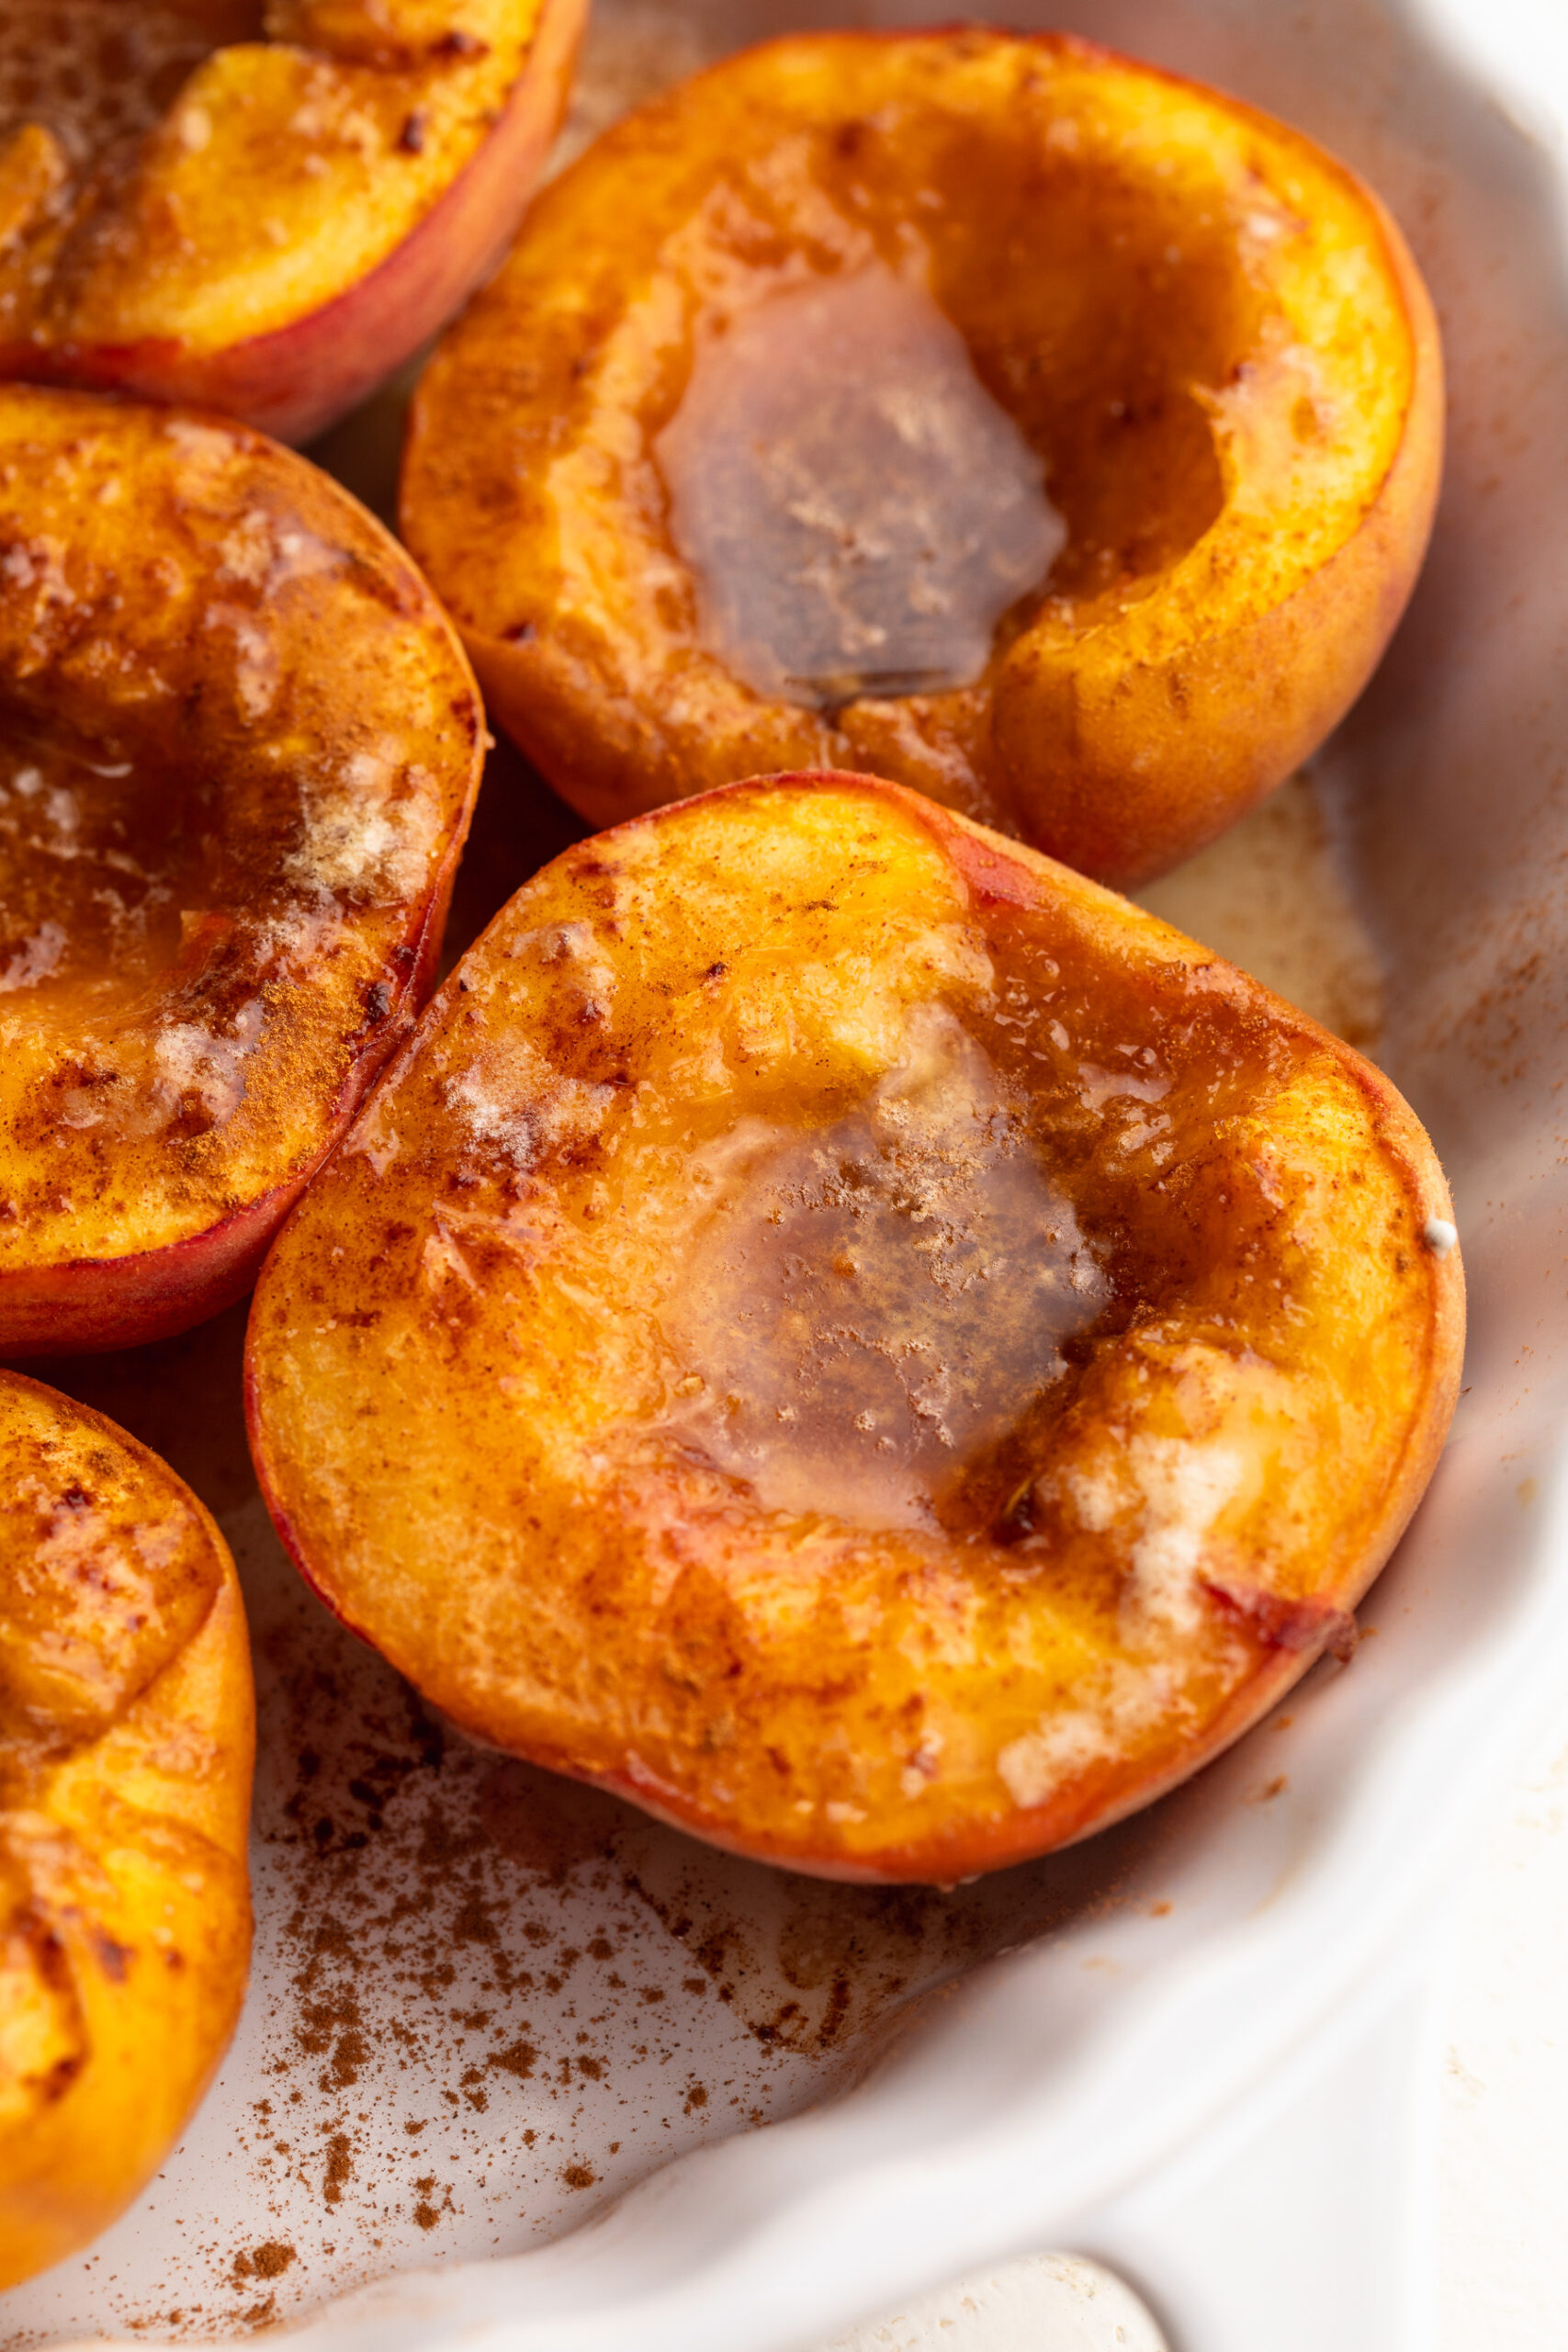
close up image of baked peaches in a baking dish.
No ratings yet

4-Ingredient Baked Peaches with Homemade No-Churn Vanilla Bean Ice Cream

These baked peaches are warm, tender, and caramelized with butter, brown sugar, and cinnamon – made with just 4 simple ingredients and ready in under 30 minutes! Topped with a scoop of homemade no-churn vanilla bean ice cream (no ice cream maker required!), this is the ultimate easy summer dessert that tastes far more impressive than the effort it takes to make. If you're looking for an easy baked peaches recipe that's perfect for peak peach season, this is the one to make this weekend!
Print Pin Rate
Prep Time: 10 minutes
Cook Time: 20 minutes
Total Time: 30 minutes
Servings: 8 servings

Equipment

  • 1 large bowl
  • 1 hand or stand mixer
  • 1 baking dish

Ingredients

  • 4 fresh peaches halved and pitted
  • 4 tablespoons butter
  • 4 tablespoons brown sugar
  • 1 teaspoon cinnamon

For the homemade vanilla bean ice cream:

  • 2 cups heavy whipping cream
  • 1 (14-ounce) can sweetened condensed milk
  • 1 scraped vanilla bean or 1 teaspoon vanilla bean paste, or 1 teaspoon vanilla extract

Instructions

  • Start by making the homemade vanilla bean ice cream (or skip to Step 4 to make the baked peaches) by pouring the heavy whipping cream into a clean bowl and beating with either a hand or stand mixer until stiff peaks form, about 5 minutes.
  • Add the can of sweetened condensed milk and the scraped inside of a vanilla bean pod or vanilla bean paste, and gently mix until completely combined.
  • Transfer the ice cream mixture to a container and place in the freezer for at least 4 hours, or until solid before scooping and serving with the baked peaches.
  • For the baked peaches, preheat your oven to 350° Fahrenheit.
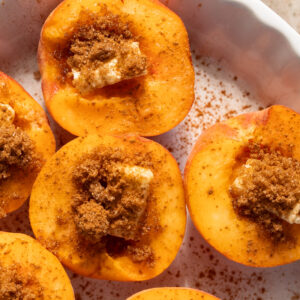
  • Arrange the peach halves in a baking dish, cut-side facing up. Place a piece of butter on top of each peach.
  • Then, sprinkle ½ tablespoon of brown sugar on each peach, before sprinkling the peaches evenly with cinnamon.
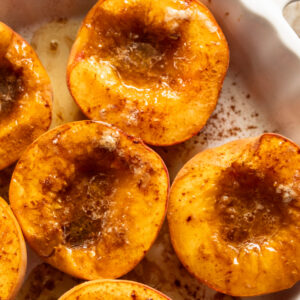
  • Bake the peaches for about 20-25 minutes, or until they’re soft and easily pierced with a fork. Remove them from the oven and let them cool slightly before serving warm with a scoop of homemade vanilla bean ice cream!
Notes

  • Use ripe but firm peaches so they hold their shape in the oven.
  • Make the ice cream ahead of time — it needs at least 4 hours to fully freeze.
  • For dairy-free, use coconut cream and a dairy-free condensed milk alternative.
  • Store leftover baked peaches in the fridge for up to 3 days; reheat in the microwave or oven before serving.
  • Store leftover ice cream in an airtight container in the freezer for up to 2 months.

It’s no secret I love a protein-packed sweet treat! My favorites lately have been my single serve protein cookie skillet and 3-ingredient protein cookies – but recently, I’ve had a real craving for brownies. But most nights, I don’t have the time (or let’s face it, the energy) to whip up a long and complicated brownie recipe. So that’s exactly why I created this 4-ingredient protein brownies recipe! They’re rich, fudgy, just as delicious as regular brownies, but packed with protein, and made with just 4 simple ingredients. Make a batch today and enjoy a quick protein-packed sweet treat all week long!

Why You’ll Love These Protein Brownies

  • 10 grams of protein per brownie!
  • Made with just 4 simple ingredients you probably already have at home.
  • Gluten-free, dairy-free, vegan, and added sugar-free.
  • Quick and super easy to make!
  • Soft, fudgy, and chocolatey – like classic brownies, but healthier.

These brownies are perfect for a post-workout snack, dessert, or anytime treat!

the inside of a fudgy protein brownie.

Frequently Asked Questions

How much protein does each brownie have?

Each brownie contains 10 grams of protein, depending on your protein powder brand and portion size.

How do I store these protein brownies?

These 4-ingredient protein brownies can be stored in an airtight container. At room temperature, they’ll stay fresh for 1–2 days. In the refrigerator, they last up to 5 days, and for longer storage, you can freeze them for up to 2 months – just thaw or warm slightly before eating.

What kind of protein powder did you use?

I used Aloha plant-based chocolate protein powder, but any chocolate protein powder works! Whey, vegan, or collagen-based protein powders all work well in this recipe.

Recipe Variations and Substitutions

  • Nut-free: Replace peanut butter with sunflower seed butter.
  • Banana-free: Use unsweetened applesauce or pumpkin puree for a banana-free option.
  • Extra chocolatey: Fold in a few chocolate chips.
  • Lower sugar: Use unsweetened cocoa powder only and skip the chocolate chips on top!
overhead image of 4 ingredient protein brownies with mini chocolate chips on top.
No ratings yet

4-Ingredient Protein Brownies

These 4-ingredient protein brownies are fudgy, chocolatey, and packed with 10 grams of protein per serving! They’re gluten-free, dairy-free, added sugar-free, and super easy to make with just a few simple ingredients. Perfect for a healthy dessert or post-workout snack!
Print Pin Rate
Prep Time: 5 minutes
Cook Time: 20 minutes
Total Time: 25 minutes
Servings: 8 servings

Equipment

  • 1 medium bowl
  • 1 9×4-inch loaf pan

Ingredients

  • 3 overripe bananas about 1 1/2 cups when mashed
  • 1/2 cup peanut butter or any nut/seed butter
  • 1/4 cup chocolate protein powder
  • 2 tablespoons unsweetened cocoa powder

Instructions

  • Preheat oven to 350° Fahrenheit and line a 9×4-inch loaf pan with parchment paper, then grease the inside of the pan with oil or butter.
  • Mash the banana in a large bowl until mostly smooth, then add in the peanut butter, chocolate protein powder, and cocoa powder. Mix everything together until fully combined.
  • Transfer the brownie batter to your prepared baking pan and top it with chocolate chips (if using), then bake for 18-20 minutes or until the brownies are just set in the middle.
  • Remove the pan from the oven and let the brownies cool completely before slicing.

Nutrition

Serving: 1serving | Calories: 175kcal | Carbohydrates: 20g | Protein: 10g | Fat: 8g | Fiber: 3.5g | Sugar: 9g

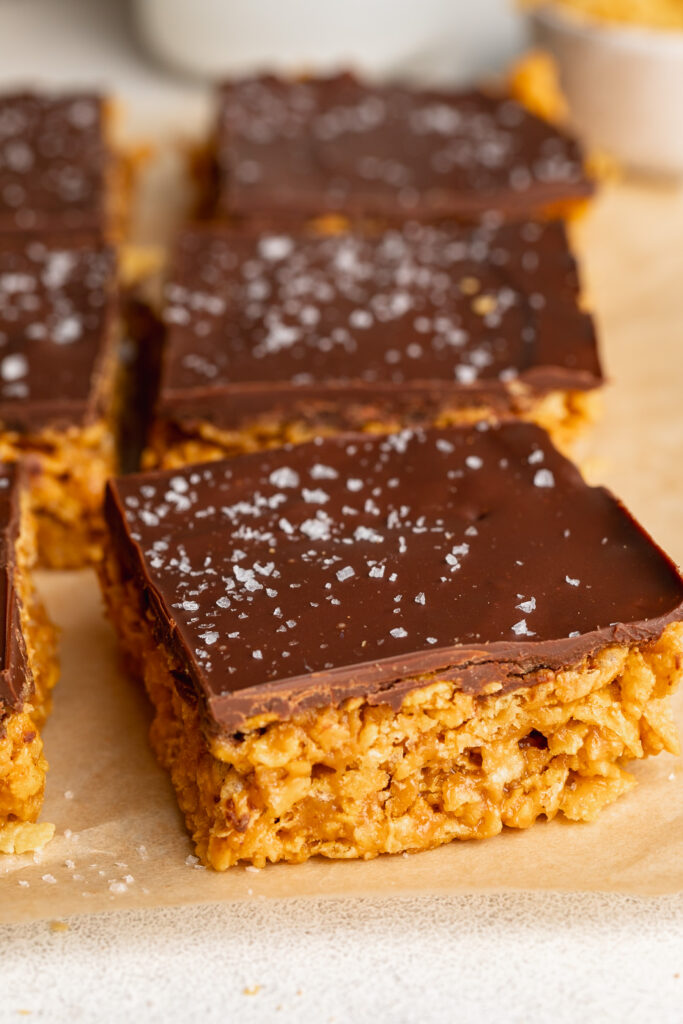
Peanut butter + chocolate is the ultimate flavor combo if ya ask me. I really can’t get enough of it! I made my frozen banana and peanut butter bites all summer, and my healthy strawberry peanut butter cups were one of the most popular recipes I’ve ever shared. So when I was thinking up this recipe for a peanut butter and chocolate bar, loaded with cornflakes for extra crunch – I knew it’d be a huge hit! I actually tested this peanut butter cornflake bars recipe right before my family came over a few weeks ago, so they all got to be the first to try it and gave it raves reviews. After that, I wasted no time getting this recipe ready to share with you all! I just know you’ll love these crunchy, peanut butter-y, and extra chocolatey cornflake bars as much as they did!

peanut butter cornflake bars cut into squares with flaky sea salt on top.

Why You’ll Love These Peanut Butter Cornflake Bars

  • Simple & no-bake: Only four base ingredients and no oven – ideal for quick treats or busy days. They’re naturally gluten-free, dairy-free, vegan, and ready in no time at all!
  • Crunchy + chewy texture: Cornflakes give a satisfying crunch, peanut butter binds it all together, and the chocolate layer adds richness – a classic combo that hits sweet and salty just right!
  • Flexible & allergy-friendly: It’s easy to swap ingredients – use sunflower butter or almond butter instead of peanut butter, or gluten-free cornflakes – and still get delicious bars that work for vegan, dairy-free, or gluten-free diets.

How to Store These Bars

Once assembled and chilled until firm, store the bars in an airtight container in the fridge – they’ll stay good for up to 1 week. For longer storage, you can freeze individual bars for up to 2–3 months; just thaw for a few minutes before serving for best texture.

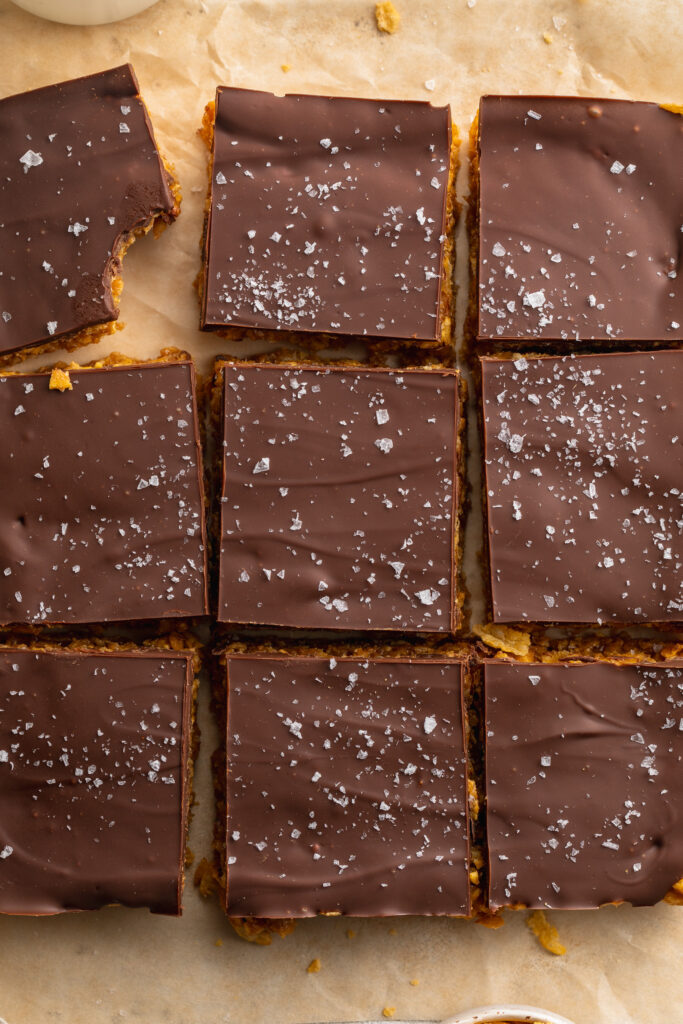
overhead image of peanut butter cornflake bars.

Sam’s Recipe Tips

  • Use gluten-free cornflakes like these ones, if you’re avoiding gluten – always double-check cereal packaging!
  • Press the cornflake-peanut butter mixture firmly into the pan so bars hold together well after chilling.
  • Melt chocolate gently (microwave or double-boiler), and pour while warm for a smooth top that sets evenly.
  • For extra crunch or festive flair: sprinkle sea salt, chopped nuts, or crushed candy over the chocolate before it sets!
overhead image of peanut butter cornflake bars with a bite taken out.
No ratings yet

4-Ingredient Peanut Butter Cornflake Bars

These 4-ingredient peanut butter cornflake bars are the ultimate no-bake treat – crunchy, chocolatey, and ready in minutes! Made with simple pantry staples, they’re naturally gluten-free, dairy-free, and even vegan. These peanut butter cornflake bars are delicious as an easy sweet snack or holiday treat!
Print Pin Rate
Servings: 16 servings

Ingredients

  • 1 cup creamy peanut butter unsweetened
  • 1/2 cup maple syrup or honey
  • 3 1/2 cups cornflakes

For the chocolate layer:

  • 1 cup chocolate chips
  • 1/4 cup creamy peanut butter unsweetened

Instructions

  • Mix together the peanut butter and maple syrup in a large bowl, then add in the cornflake and mix again until the cornflakes are coated in the peanut butter mixture.
  • Transfer the cornflake mixture to a 9×9-inch pan lined with parchment paper, and gently press it down into an even layer.
  • Make the chocolate layer by melting together the chocolate chips and peanut butter in either the microwave or over a double boiler until completely smooth and combined.
  • Pour the melted chocolate mixture over the cornflakes and smooth it into an even layer. Transfer the pan to the fridge for set for about 1 hour, then remove from the fridge and cut into squares.

Nutrition

Serving: 1serving | Calories: 230kcal | Carbohydrates: 18g | Protein: 6g | Fat: 14g | Fiber: 2g | Sugar: 11g

My toddler recently decided that he loves rice cakes. So I’ve been keeping them stocked for him, and have even snacked on a few myself. However, rice cakes are pretty boring… so I wanted to think of a way to dress ’em up a bit! I thought back to my 4-ingredient healthy snickers and my smashed date with peanut butter, and came up with the idea for these 4-ingredient healthy snickers rice cakes. I gave one a try last week and immediately knew you guys would LOVE them too! So I got to work on writing up the recipe and sharing it with you all. 🙂

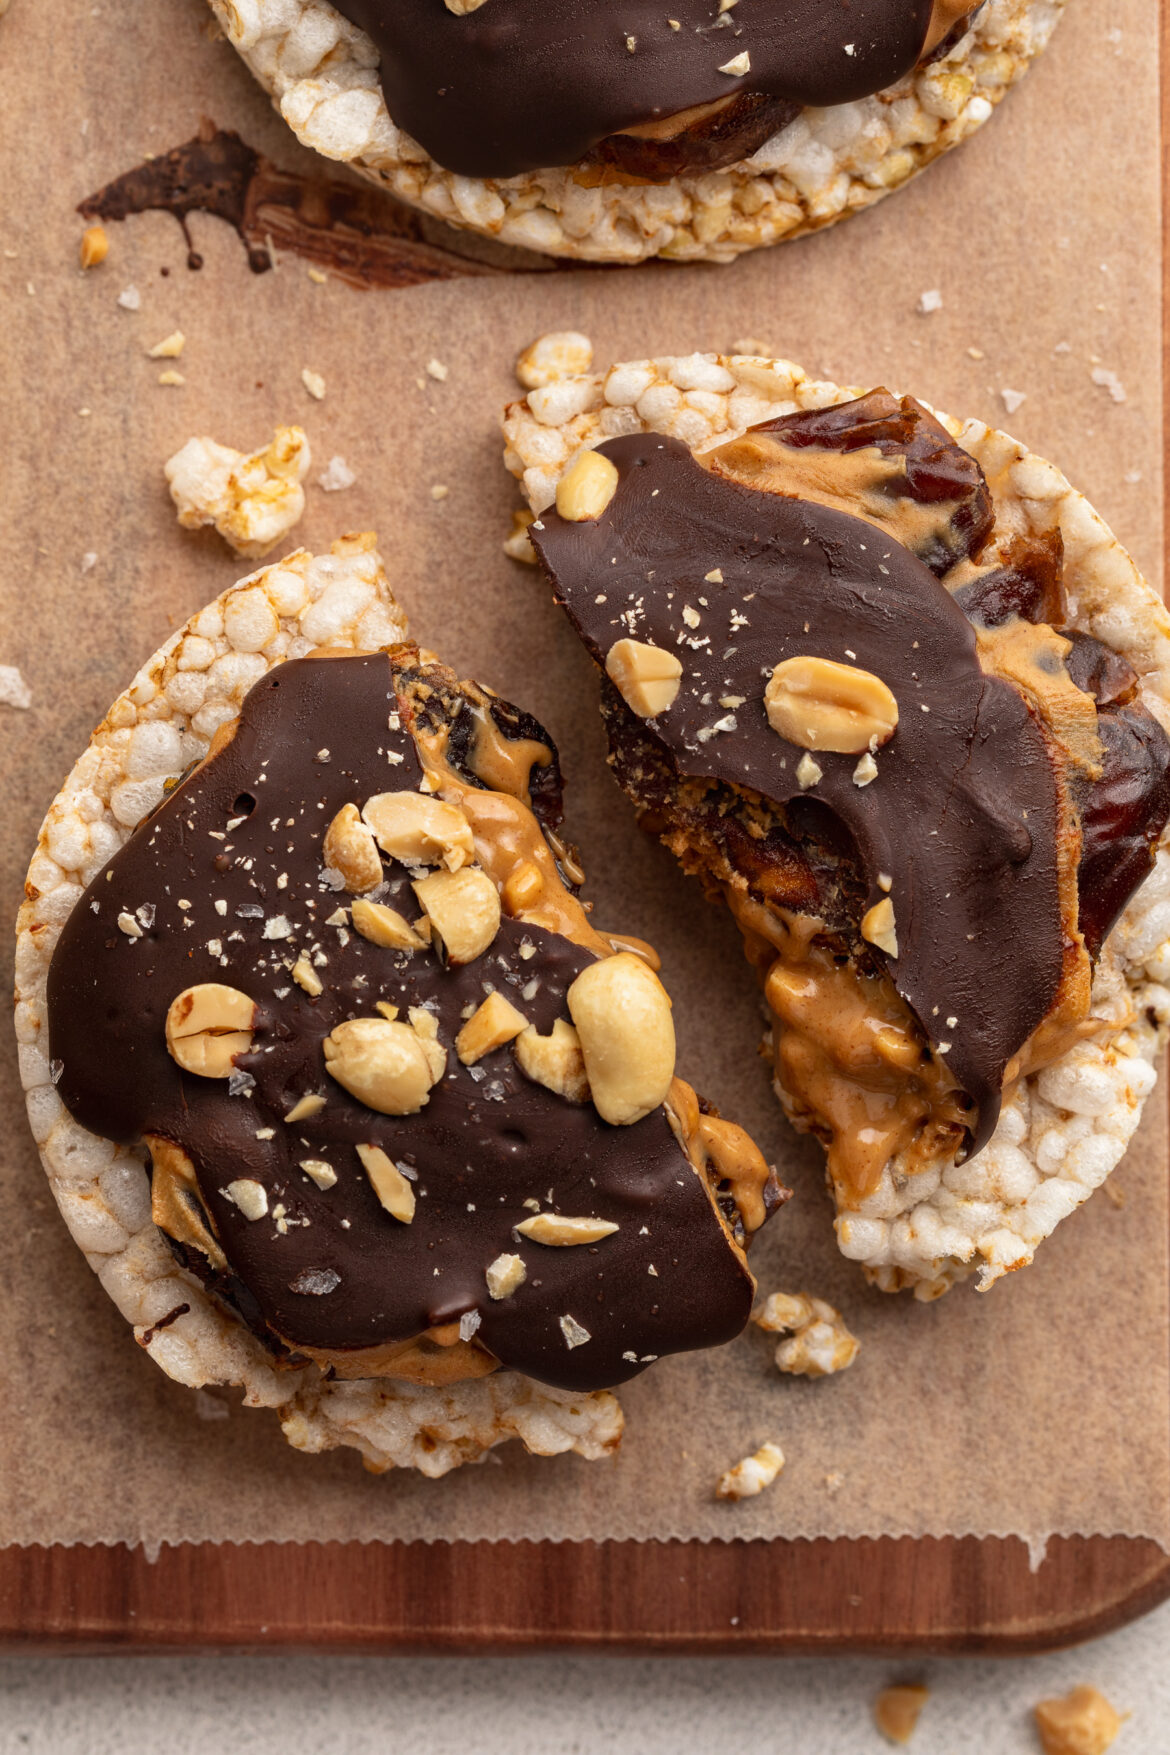
healthy snickers rice cakes with chopped peanuts on top.

Why You’ll Love These Healthy Snickers Rice Cakes

  • They taste just like a Snickers bar – but are made with real, wholesome ingredients.
  • Completely no-bake and ready in minutes!
  • Naturally gluten-free, dairy-free, and refined sugar-free.
  • Perfect for a quick afternoon pick-me-up or post-dinner dessert!

What Makes This Recipe Healthy

These healthy snickers rice cakes skip the processed ingredients and refined sugars found in traditional candy bars. Medjool dates provide natural caramel-like sweetness and fiber. Peanut butter adds healthy fats and protein to keep you satisfied. And using dairy-free chocolate chips keeps the recipe vegan and allergy-friendly. Plus, the rice cakes offer a crunchy base with fewer calories than most traditional desserts.

overhead image of a healthy snickers rice cake.

Sam’s Recipe Tips

  • Use fresh, soft Medjool dates for the best caramel-like texture. If your dates are a bit dry, soak them in warm water for 5–10 minutes first.
  • Choose natural peanut butter with no added sugar or oil for a cleaner treat.
  • For extra crunch, sprinkle crushed peanuts or sea salt on top before the chocolate sets.

Storage

Store your snickers rice cakes in an airtight container in the refrigerator for up to 1 week. You can also freeze them for longer storage—just let them thaw at room temperature for 5–10 minutes before eating.

Frequently Asked Questions

Can I use almond butter instead of peanut butter?
Yes! Almond butter, cashew butter, or even sunflower seed butter will work well in this recipe.

Can I make these nut-free?
Swap the peanut butter for sunflower seed butter and ensure your chocolate is allergy-safe.

What type of chocolate should I use?
Use dairy-free dark chocolate chips or chopped dark chocolate bars for a rich, clean flavor.

a healthy snicker rice cake broken in half.
No ratings yet

4-Ingredient Healthy Snickers Rice Cakes

These 4-ingredient Healthy Snickers Rice Cakes are gluten-free, dairy-free, and made with wholesome ingredients like Medjool dates, peanut butter, and melted chocolate. They’re the perfect no-bake snack that tastes just like your favorite candy bar!
Print Pin Rate
Prep Time: 3 minutes
Total Time: 5 minutes
Servings: 6 servings

Ingredients

  • 6 rice cakes
  • 12 medjool dates
  • 1/2 cup crunchy peanut butter
  • 1 cup melted chocolate chips

Instructions

  • Open up each date, remove the pit, then gently open up the date and press the inside half of the date onto the rice cake.Repeat this with one more date for a total of two dates pressed into each rice cake.
  • Then, spread a thin layer of peanut butter onto each rice cake (on top of the pressed dates).
  • Arrange all rice cakes on a baking sheet and pour/drizzle chocolate over each rice cake to seal in the dates and peanut butter.
  • Transfer the rice cakes to the fridge to harden for at least 30 minutes, then enjoy right away or store in the fridge for later!

Nutrition

Serving: 1rice cake | Calories: 400kcal | Carbohydrates: 60g | Protein: 9.5g | Fat: 22g | Sugar: 18g

I found a new passion for recreating healthier versions of my favorite childhood snacks! Last week was 3-ingredient gluten free cheez-its, and this week is a healthy protein dunkaroo dip. It’s creamy, not too sweet, and absolutely packed with protein. Serve this dip with fruit, cookies, or… eat it by the spoonful! I won’t tell. 😉

And for more high-protein recipes, you gotta try my protein cookie dough bark, 3-ingredient protein pancakes, and/or my healthy protein cookie dough next!

a gluten-free cookie being dipped into 4 ingredient protein dunkaroo dip in a bowl.

Why You’ll Love This Protein Dunkaroo Dip

  • High-protein, healthy, and made with just 4 simple ingredients!
  • Quick and easy to make in just one bowl.
  • A fun, nostalgic treat that satisfies sweet cravings without the guilt (will make you feel like a kid again!).
  • Packed with a whopping 20 grams of protein to keep you full and energized.

Frequently Asked Questions

Can I make it dairy-free?

Yes, you can substitute the Greek yogurt with a dairy-free yogurt alternative, and use a plant-based protein powder.

How do I store this protein dunkaroo dip?

Store the dip in an airtight container in the refrigerator for up to 3–4 days.

What else can I mix into this dip?

Feel free to add a splash of vanilla extract for extra flavor, or mix in some mini chocolate chips for a twist.

overhead image of protein dunkaroo dip in a bowl with gluten-free cookies on the side.

What To Use For Dipping

  • Graham crackers
  • Animal crackers
  • Gluten-Free Cookies (I love the gluten-free Simple Mills Sweet Thins)
  • Fresh fruit like apple slices or strawberries
  • Sliced cucumber or celery for a low-carb option
  • Pretzels or whole grain crackers for a crunchy dipper
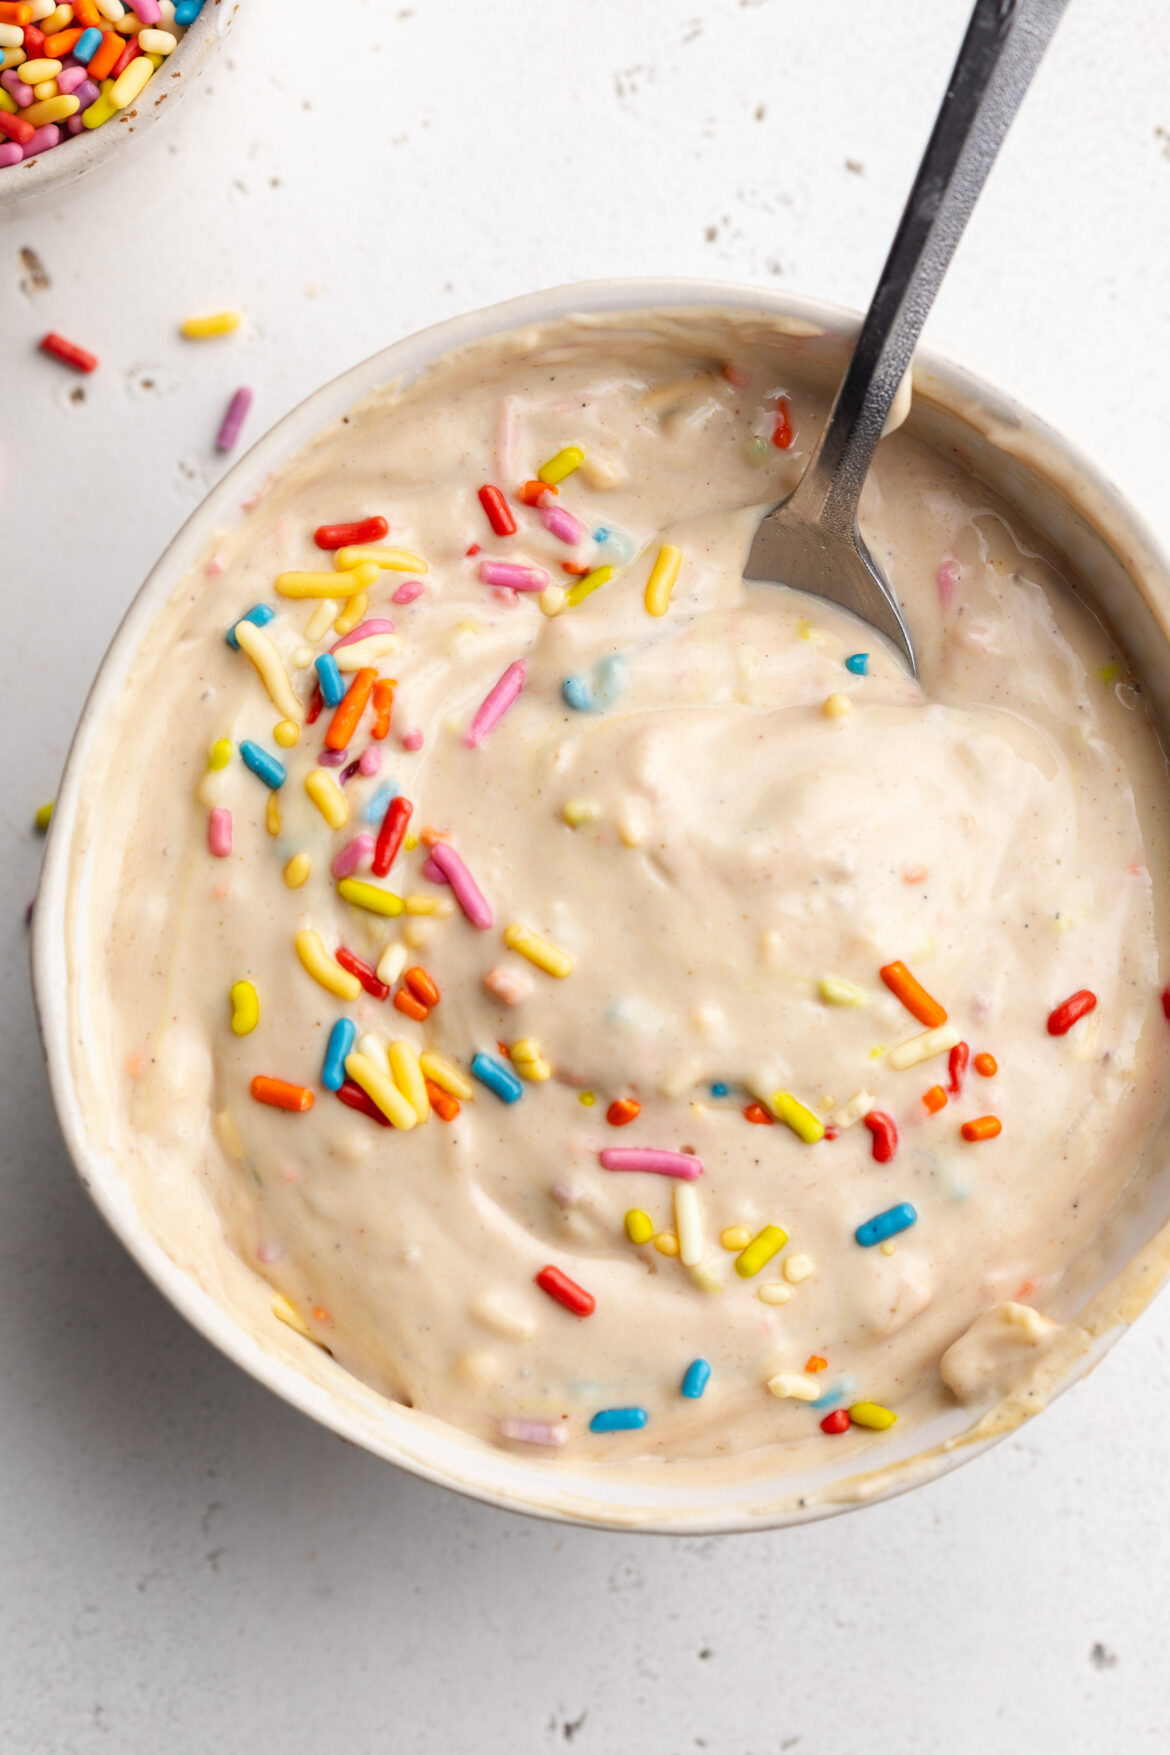
overhead image of 4 ingredient protein dunkaroo dip in a small bowl with rainbow sprinkles on top.
No ratings yet

4-Ingredient Protein Dunkaroo Dip

This 4-ingredient Protein Dunkaroo Dip is a high-protein snack that's both healthy and delicious. Made with Greek yogurt, vanilla protein powder, and rainbow sprinkles, it’s ready in minutes. Packed with protein, it's a fun, nostalgic dip you'll love!
Print Pin Rate
Prep Time: 5 minutes
Total Time: 5 minutes
Servings: 3 servings

Equipment

  • 1 small bowl

Ingredients

  • 1 cup Greek yogurt
  • 1/2 cup vanilla protein powder
  • 1/2 teaspoon almond extract
  • 1/4 cup rainbow sprinkles

Instructions

  • Add all ingredients to a bowl and mix together until smooth.

Nutrition

Serving: 1serving | Calories: 145kcal | Carbohydrates: 13g | Protein: 20g | Fat: 2g | Sugar: 9g