As a new mom of two kids my motto is work smarter, not harder. And to me, working smarter means prepping a big batch of easy grab-and-go meals at the start of my week to help the rest of my week run smoothly. A few meal prep recipes I’ve been loving lately are my high-protein overnight oats (great for breakfast, but also snack!), high-protein breakfast biscuits (with ham & cheese – yum!), and now these protein pancake bars. And you know who else has been absolutely loving these pancake bars? My toddler! He gobbles these up for breakfast every single morning. And trust me, if my toddler loves these bars, you will too! Give ’em a try this weekend, and thank me later when you have a weeks worth of breakfast prepped and ready for whatever life throws at you. 🙂
Why You’ll Love These Meal Prep Protein Pancake Bars
- Over 25 grams of protein and just 300 calories per serving
- Great for meal prep and busy mornings
- Naturally gluten-free and easily made dairy-free
- Low sugar and lightly sweetened
- Made entirely in the blender
- Easy to customize with your favorite mix-ins
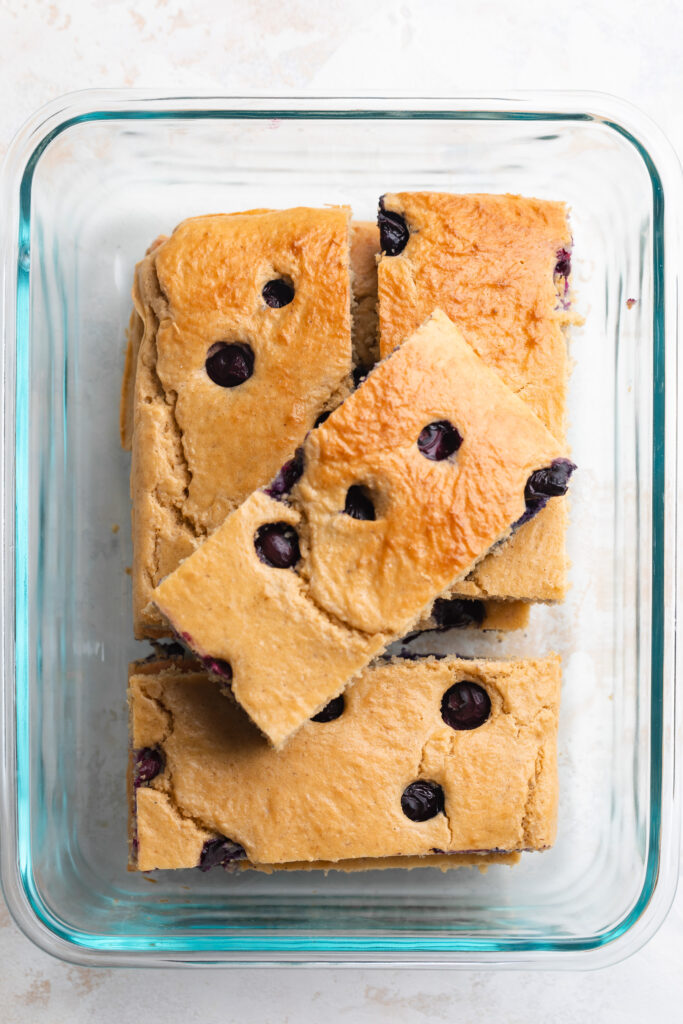
These bars taste like fluffy pancakes but are sturdy enough to grab, pack, and reheat throughout the week!
Frequently Asked Questions
How much protein does each pancake bar have?
Each bar contains 12+ grams of protein, depending on the protein powder and yogurt you use.
Can I freeze these pancake bars?
Yes! These protein pancake bars freeze very well. Let them cool completely, then store in a freezer-safe container for up to 2 months. Reheat in the microwave or let thaw overnight in the fridge.
What kind of protein powder did you use?
I used Aloha plant-based vanilla protein powder (this link gets you 20% off aloha!), but I’ve also made these with Vital Farms unflavored collagen powder and they’re just as delicious. Any vanilla or unflavored protein powder will work.
Recipe Variations and Substitutions
- Dairy-free: Use dairy-free yogurt and plant-based protein powder
- Egg-free: Use liquid egg substitute, I recommend the Bob’s Red Mill Egg Replacer
- Lower fat: Swap coconut oil for melted butter or avocado oil
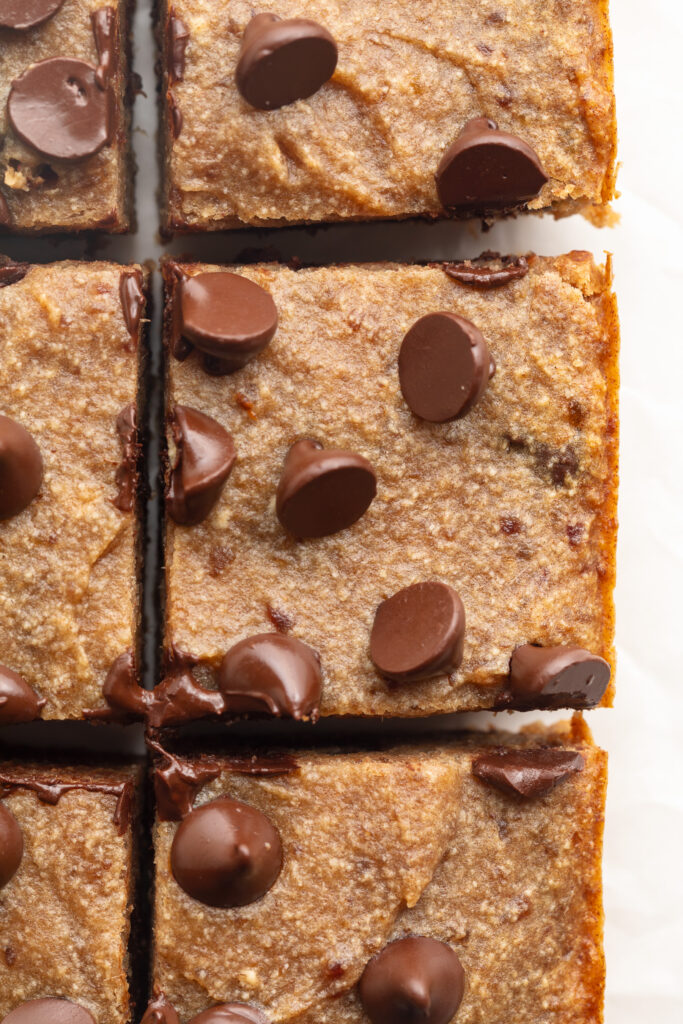
- Add-ins: Blueberries, chocolate chips, sliced bananas, or chopped nuts
- Extra flavor: Add cinnamon or a pinch of salt

Meal Prep Protein Pancake Bars
Equipment
- 1 blender
- 1 9×13-inch sheet pan
Ingredients
- 2 cups rolled oats
- 2 1/2 teaspoons baking powder
- 1/2 cup protein powder
- 6 large eggs
- 1/2 cup Greek yogurt or cottage cheese
- 3 tablespoons melted coconut oil or butter
- 1-2 tablespoons maple syrup to taste
- 1 teaspoon vanilla extract
Instructions
- Preheat the oven to 350° Fahrenheit and lightly grease a 9×13-inch sheet pan.
- Add all ingredients to the blender, except for any mix-ins, and blend util smooth.
- Pour the pancake batter into a grease 9×13-inch sheet pan, then top with any mix-ins you’d like. Bake for 20-25 minutes, or until the pancake bars have puffed up and are lightly golden brown around the edges.
- Remove the pancake bars from the oven, then lett hem cool before slicing into 12 bars and either enjoying right away or storing in an airtight container in the fridge for up to 5 days.
")


")