Tag

blueberry

Browsing

If you liked my 3-Ingredient Cottage Cheese Ice Cream, then you’re going to LOVE this blueberry pie version! Same creamy, high-protein base, still NO ice cream machined required, but swirled with blueberry preserves and crushed graham crackers for a flavor that just exactly like a slice of blueberry pie! 5 ingredients, under 5 minutes of prep, and your freezer does all the hard work.

I’ve been making this healthy, high-protein ice cream all summer! It’s rich, not too sweet, and honestly… doesn’t make my stomach hurt like most other ice creams. I just love how much protein it has (20g per serving, to be exact!), and how much lower in sugar it is compared to traditional ice cream. So throw a batch in your freezer today, trust me – you’ll thank yourself later! & If you’re on a cottage cheese kick (and after this, you will be!), you’ll also love my Cottage Cheese Cookie Dough and Cottage Cheese Chocolate Mousse.

Why You’ll Love This Cottage Cheese Blueberry Pie Ice Cream

  • Just 5 ingredients. Cottage cheese, maple syrup, vanilla extract, graham crackers, and blueberry preserves. That’s it – no heavy cream, no eggs, no fancy ingredients.
  • Tastes just like blueberry pie. The combination of the creamy vanilla base, jammy blueberry swirl, and buttery graham cracker pieces is absolutely unreal. Every scoop tastes like dessert heaven.
  • No ice cream maker required! A blender and a freezer-safe container are the only equipment you need. It could not be easier.
  • High in protein. Cottage cheese is the secret weapon here — it blends up completely smooth and delivers a serious protein boost in every serving without compromising on creaminess or flavor.
  • Healthy and wholesome. Made with real, simple ingredients and naturally sweetened with maple syrup, this ice cream is a treat you can genuinely feel good about.
  • Perfect for satisfying cravings. This is not a sad “diet dessert” situation. It’s rich, creamy, sweet, and genuinely delicious — it tastes like the real thing because it basically is.
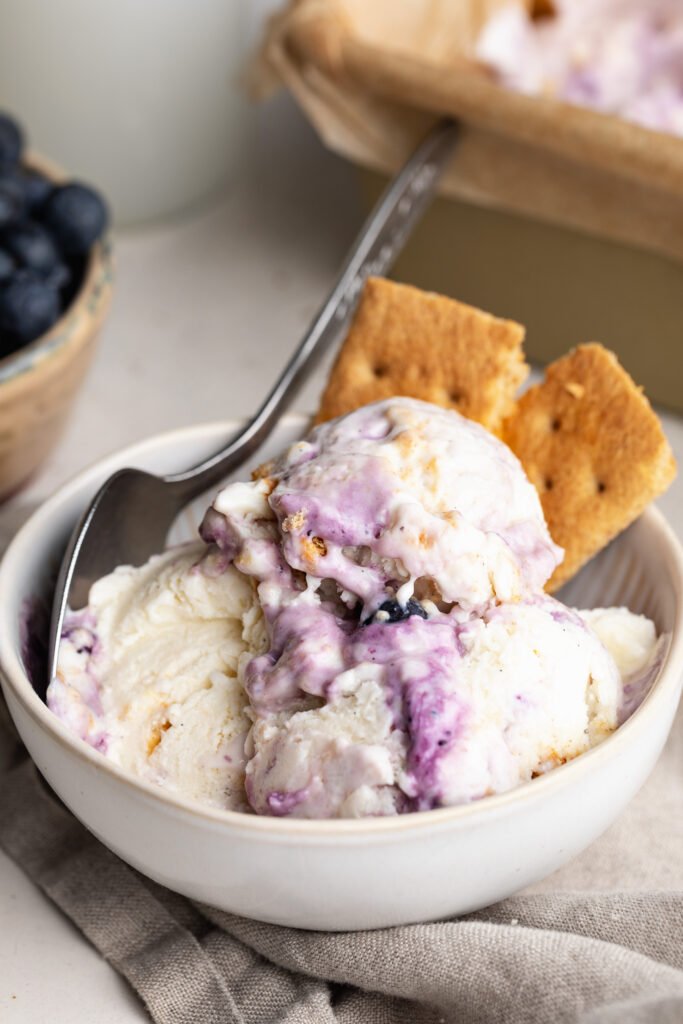
cottage cheese blueberry pie ice cream scooped into a bowl with a spoon.

Frequently Asked Questions

How much protein does each serving contain?

This recipe makes approximately 4 servings. The exact protein count per serving will vary depending on the cottage cheese brand you use (I used Daisy 4% cottage cheese), but thanks to the high-protein cottage cheese base, each serving delivers an impressive 20 grams of protein – significantly more than traditional ice cream, which typically contains just 3–4 grams per serving.

Can I make this without the graham crackers?

Absolutely! The blueberry preserves swirl on its own is delicious and the ice cream is fantastic without any mix-ins at all. If you want to keep it completely grain-free, simply skip the graham crackers. You could also swap them for crushed gluten-free cookies, coconut macaroons, or even a handful of granola for a different kind of crunch.

How long does this stay good in the freezer?

Stored in an airtight container, this cottage cheese blueberry pie ice cream keeps well in the freezer for up to 1 month. For the best texture and flavor, try to enjoy it within the first week or two. Since cottage cheese is naturally high in water content, the ice cream can get slightly icier over time, and repeated thawing and refreezing can cause ice crystals to form.

Can I use fresh or frozen blueberries instead of preserves?

You can! If you’d prefer to use fresh or frozen blueberries, you can either blend a small amount directly into the base for a blueberry-flavored ice cream, or warm the blueberries in a small saucepan with a tablespoon of maple syrup and cook until jammy (about 5 minutes), then let cool before swirling into the ice cream base. The preserves are the easiest option since they’re ready to use straight from the jar!

Tips for the Creamiest Cottage Cheese Blueberry Pie Ice Cream

  • Use full-fat (4%) cottage cheese. This is the single most important tip. Full-fat cottage cheese gives you a creamy, rich, scoopable ice cream. Low-fat versions are more watery and will result in an icier texture.
  • Blend until completely smooth. Don’t rush the blending step. Blend on high for at least 60 seconds, scraping down the sides as needed, until there are zero curds remaining. The smoother the base going into the freezer, the creamier it’ll be coming out!
  • Don’t over-swirl the mix-ins. When adding the graham crackers and blueberry preserves, use a gentle hand. A few swirls with a butter knife is all you need.
  • Let it thaw before scooping. This ice cream freezes solid, so patience is key! Let it sit at room temperature for at least 10 minutes before scooping. If you try to scoop it straight from the freezer, it will be rock solid.
  • Press plastic wrap onto the surface. Before sealing your container, press a piece of plastic wrap directly onto the surface of the ice cream. This prevents ice crystals from forming on top and keeps the texture as smooth as possible.
  • Try it in a Ninja Creami. This recipe works beautifully in the Ninja Creami! Freeze the blended base overnight in a Creami pint, then run through the Creami for an ultra-creamy, soft-serve-like texture before adding your mix-ins.

Made this recipe? I’d love to see it! Tag me on Instagram @samdoesherbest or TikTok @samdoesherbest – I repost my favorites! And if you loved it, please leave a ⭐⭐⭐⭐⭐ rating and written review below. It means the world and helps other readers find this recipe!
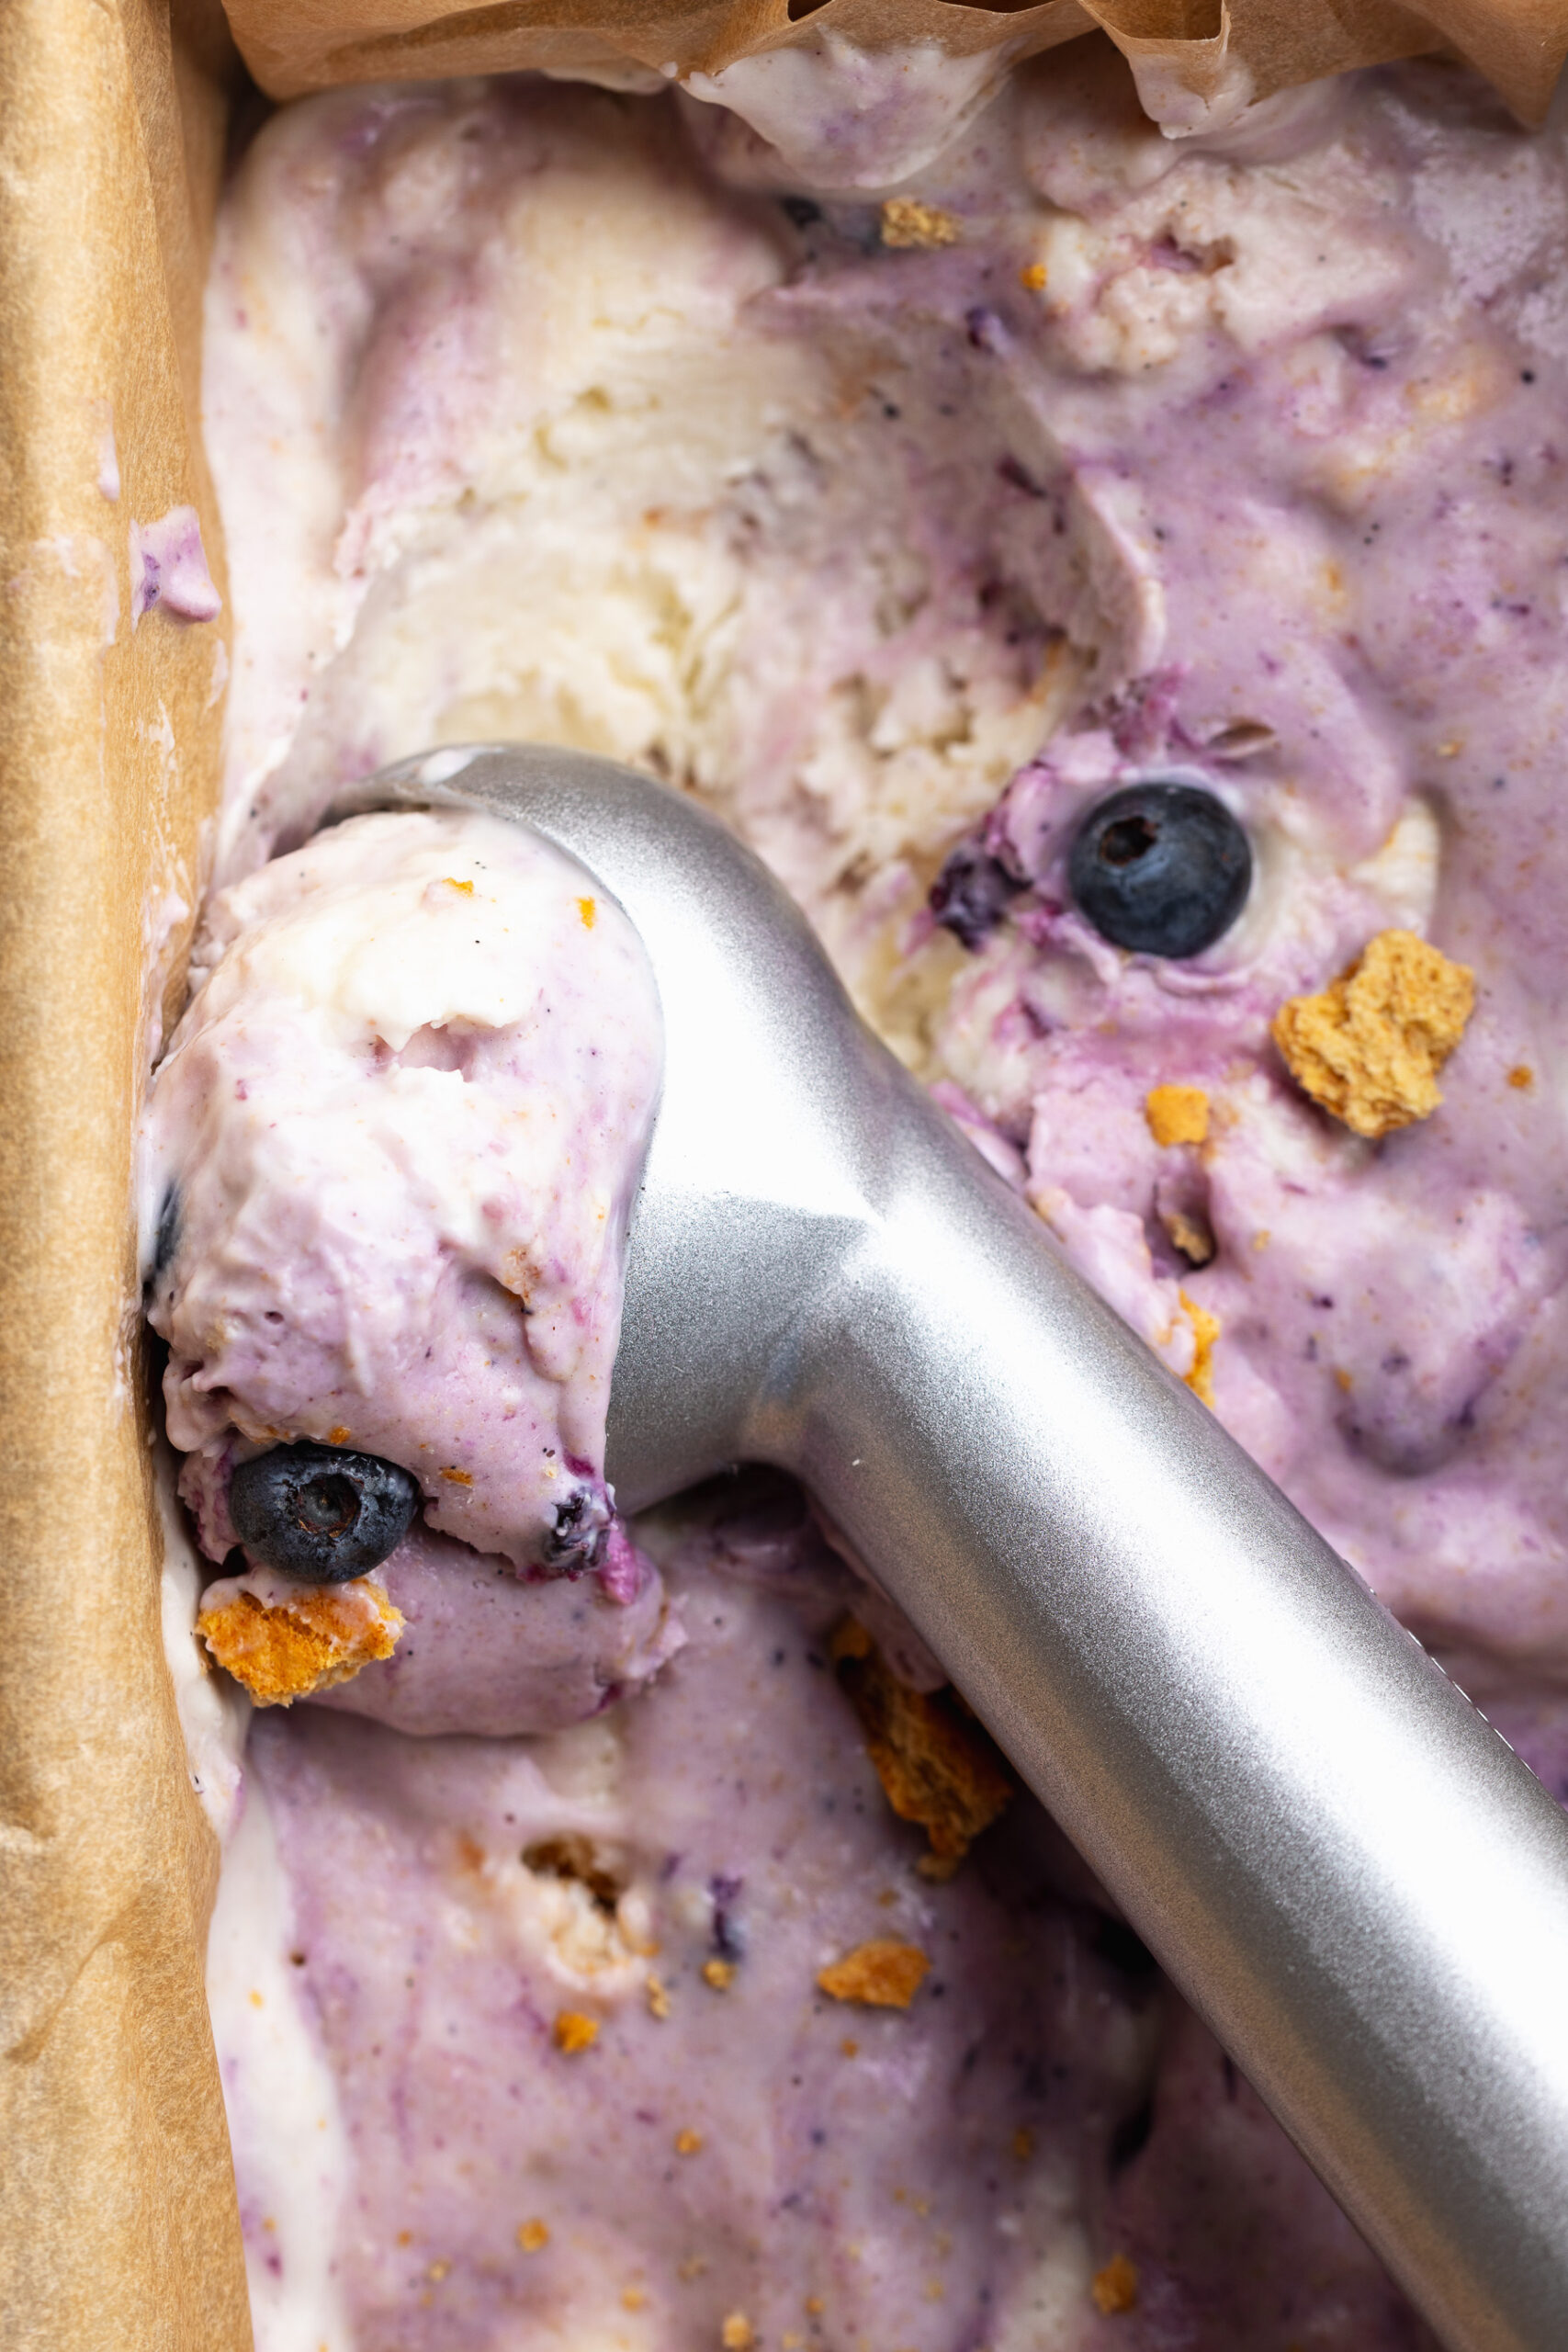
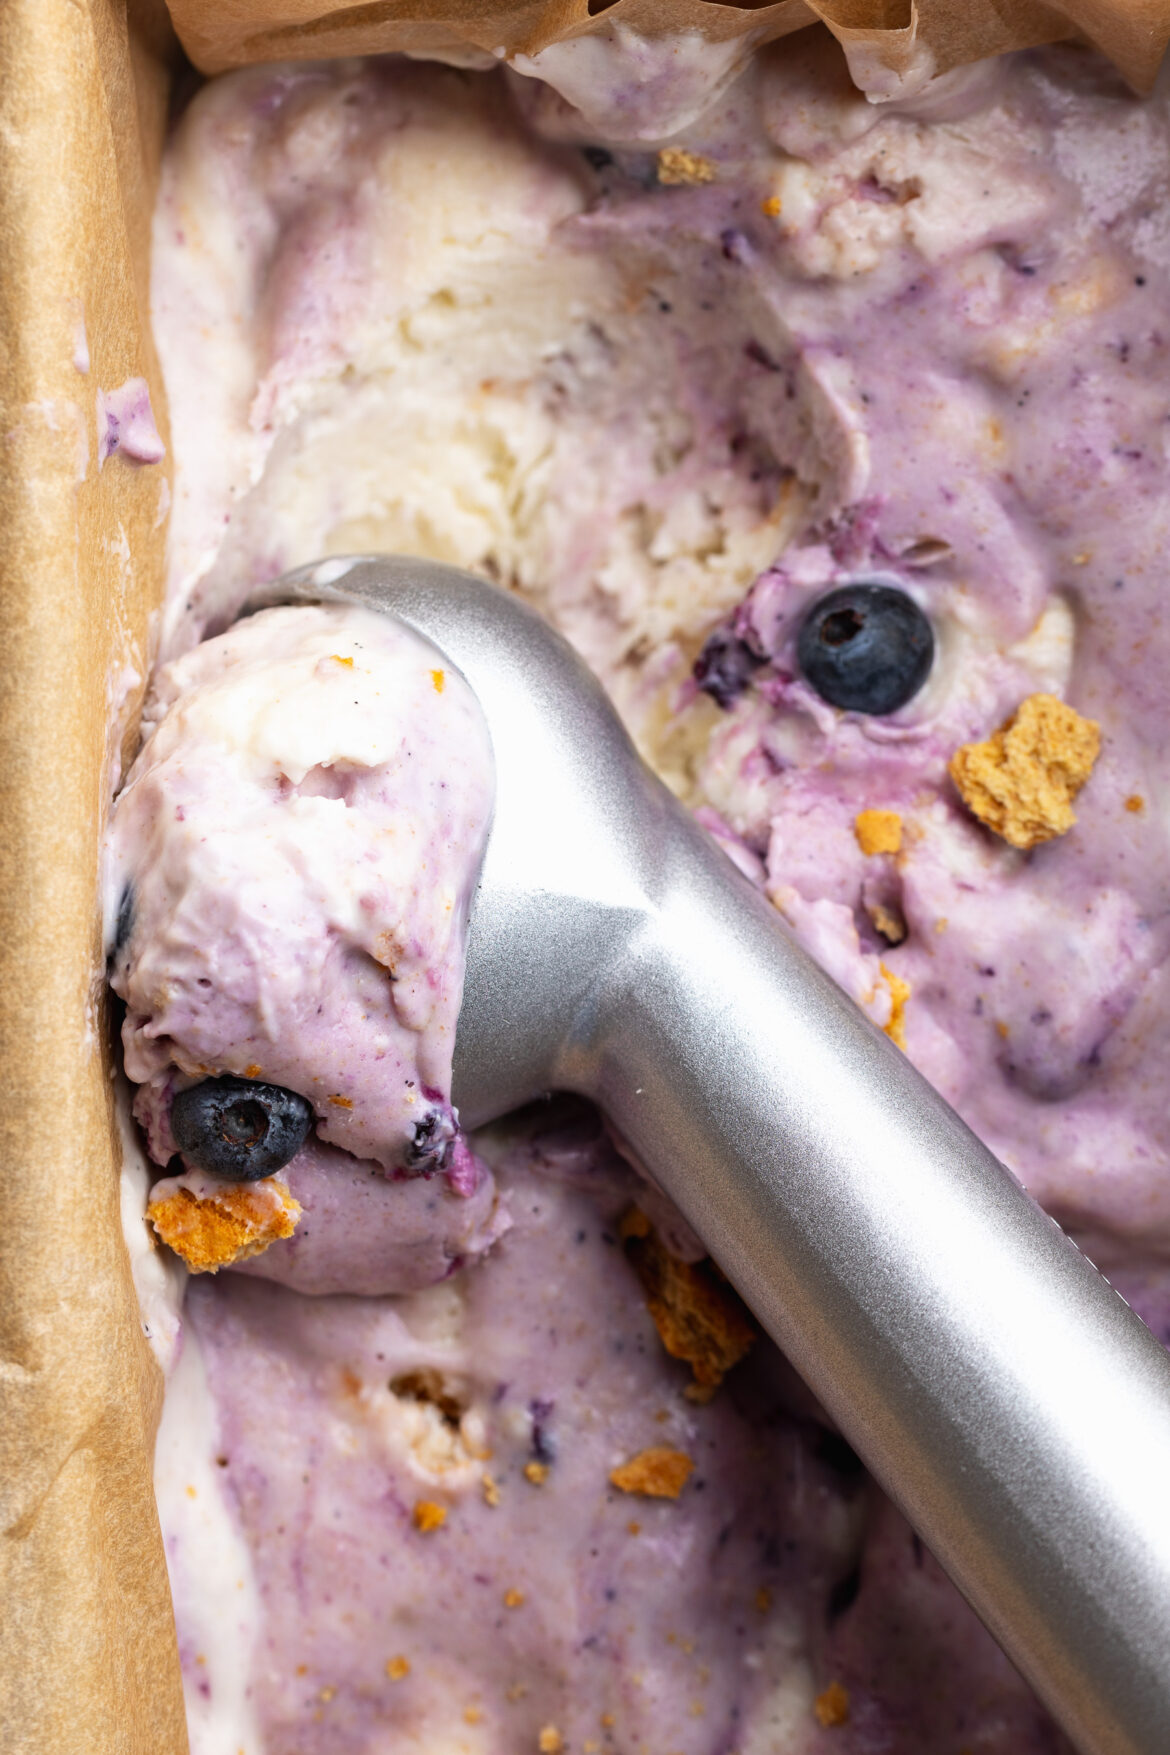
cottage cheese blueberry pie ice cream being scooped with an ice cream scooper.
No ratings yet

Cottage Cheese Blueberry Pie Ice Cream

This cottage cheese blueberry pie ice cream is a creamy, high-protein frozen treat made with just 5 simple ingredients – a silky cottage cheese base swirled with jammy blueberry preserves and studded with buttery graham cracker pieces for a flavor that tastes exactly like a slice of blueberry pie! No ice cream maker needed, under 5 minutes of prep, and it's naturally sweetened and packed with protein. If you're looking for an easy, healthy cottage cheese ice cream recipe that tastes like a real dessert, this blueberry pie version is the one to make!
Print Pin Rate
Prep Time: 5 minutes
Freeze Time: 6 hours
Total Time: 6 hours 5 minutes
Servings: 4 servings

Equipment

  • 1 blender or food processor
  • 1 large freezer-safe container

Ingredients

  • 24 ounces cottage cheese (4% milkfat is best!)
  • 1/4 cup – 1/2 cup maple syrup or honey depending on your desired sweetness
  • 1 teaspoon vanilla extract
  • 3 graham cracker sheets crushed into small pieces
  • 3 tablespoons blueberry preserves or jam

Instructions

  • Add the cottage cheese, maple syrup, and vanilla extract to a blender. Blend until completely smooth and creamy with no lumps remaining.
  • Pour the mixture into a large freezer-safe container and spread evenly. Sprinkle crushed graham crackers on top and add dollops of blueberry preserves, then gently swirl the mix-ins into the ice cream using a butter knife.
  • Transfer to the freezer for at least 6 hours, or until frozen solid.
  • When ready to serve, remove from the freezer and let sit at room temperature for at least 10 minutes, or until soft enough to scoop. Scoop into bowls and enjoy!

Notes

  • Use full-fat (4%) cottage cheese for the creamiest, least icy texture.
  • Blend the base completely smooth — no curds remaining — before pouring into the container.
  • Don’t over-swirl the mix-ins; keep beautiful streaks of blueberry throughout.
  • Store in an airtight container in the freezer for up to 1 month. Press plastic wrap directly onto the surface to prevent ice crystals.
  • Let thaw for at least 10 minutes before scooping.
  • Ninja Creami tip: Freeze the blended base overnight in a Creami pint, then process before adding mix-ins for an ultra-creamy soft-serve texture.
Nutrition

Serving: 1serving | Calories: 230kcal | Carbohydrates: 28g | Protein: 20g | Fat: 4g | Sugar: 20g

Light and refreshing sunset spritz mocktail! Fresh blueberries and pineapples, with a hint of lime, and plenty of bubbles. This sunset spritz mocktail is so tasty, you won’t even miss the alcohol!

club soda being poured into a sunset spritz mocktail.

This mocktail is a recreation of one I enjoyed daily on my babymoon. No longer able to order an alcoholic beverage, I worked my way through the pool bar’s cocktail menu for a refreshing drink that’d still taste good without the alcohol. One day, I came across the “sunset spritz” and all ingredients sounded DELICIOUS. So I immediately ordered one …without the vodka. And OMG it was delicious! From there on out, the sunset spritz mocktail became my daily afternoon drink order. While best enjoyed poolside, I took the idea home with me and immediately recreated it. Now I can enjoy a fun, bubbly drink during happy hour (or really any hour!) that’s pregnancy-safe and oh-so good!

close-up image of sunset spritz mocktail with fresh bleuberries and pineapple on top.

What You’ll Need to Make a Sunset Spritz Mocktail

Fresh Blueberries and Pineapple – The fresh fruit in this recipe really puts it over the top! It makes this mocktail recipe feel fancy, without actually requiring a whole lot of effort. And if you don’t have fresh fruit, you can thaw frozen blueberries and pineapples instead for your drink.

Lime Juice – A touch of citrus perfectly balances the sweetness in this drink. The original recipe I enjoyed on my babymoon actually uses fresh lemon juice, but when I tried it at home I thought lime juice tasted just a little bit better. However, if you don’t have/like lime juice, feel free to use lemon instead!

Agave Nectar – I always keep a bottle of agave nectar in my bar cart for cocktail recipes! It’s a natural sweetener, and perfect replacement to simple syrup. I use agave nectar in many of my cocktail recipes, like this skinny strawberry margarita, and my Mom’s famous lime daiquiris!

Club Soda – A little bit of bubbles will make your sunset spritz mocktail taste like an actual cocktail! Put as much or as little club soda in your drink as you’d like. I personally prefer a super light and refreshing mocktail, so I fill my glass all the way to the top with unflavored club soda.

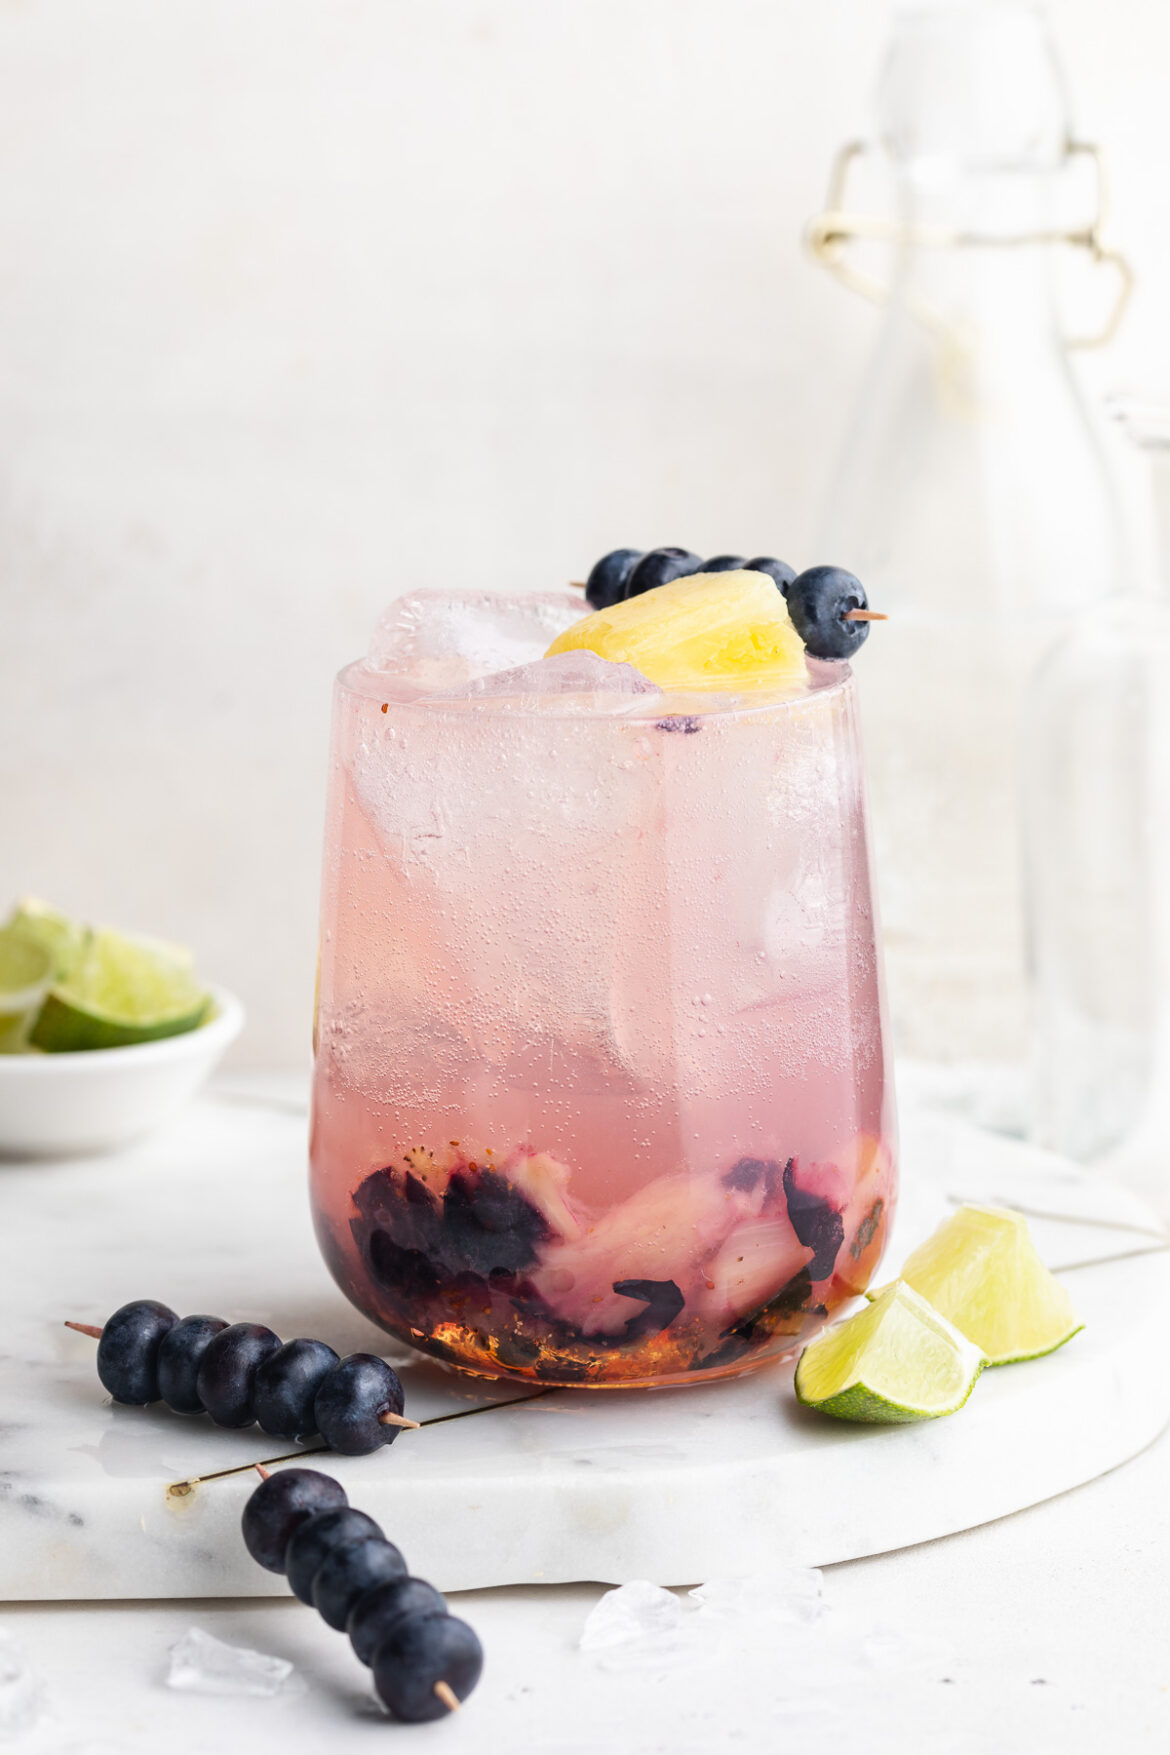
sunset spritz mocktail in a glass with fresh blueberries and pineapple on top.

Add Alcohol

  • Turn this mocktail recipe into a cocktail recipe with the addition of 1 ounce of vodka! I look forward to giving this a try post-pregnancy.
sunset spritz mocktail in a glass with fresh blueberries and pineapple on top.
5 from 5 votes

Sunset Spritz Mocktail Recipe

Light and refreshing sunset spritz mocktail! Fresh blueberries and pineapples, with a hint of lime, and plenty of bubbles. This sunset spritz mocktail is so tasty, you won’t even miss the alcohol!
Print Pin Rate
Prep Time: 3 minutes
Total Time: 3 minutes
Servings: 1 drink

Ingredients

  • 1/4 cup fresh blueberries
  • 4-5 pineapple chunks
  • 1 ounce lime juice
  • 1 ounce agave nectar
  • club soda

Instructions

  • Add the fresh blueberries and pineapple chunks to a glass, then muddle until fruit is broken down.
  • Add in lime juice and agave nectar, then stir to combine.
  • Fill glass with ice, then top with club soda.

Nutrition

Calories: 300kcal

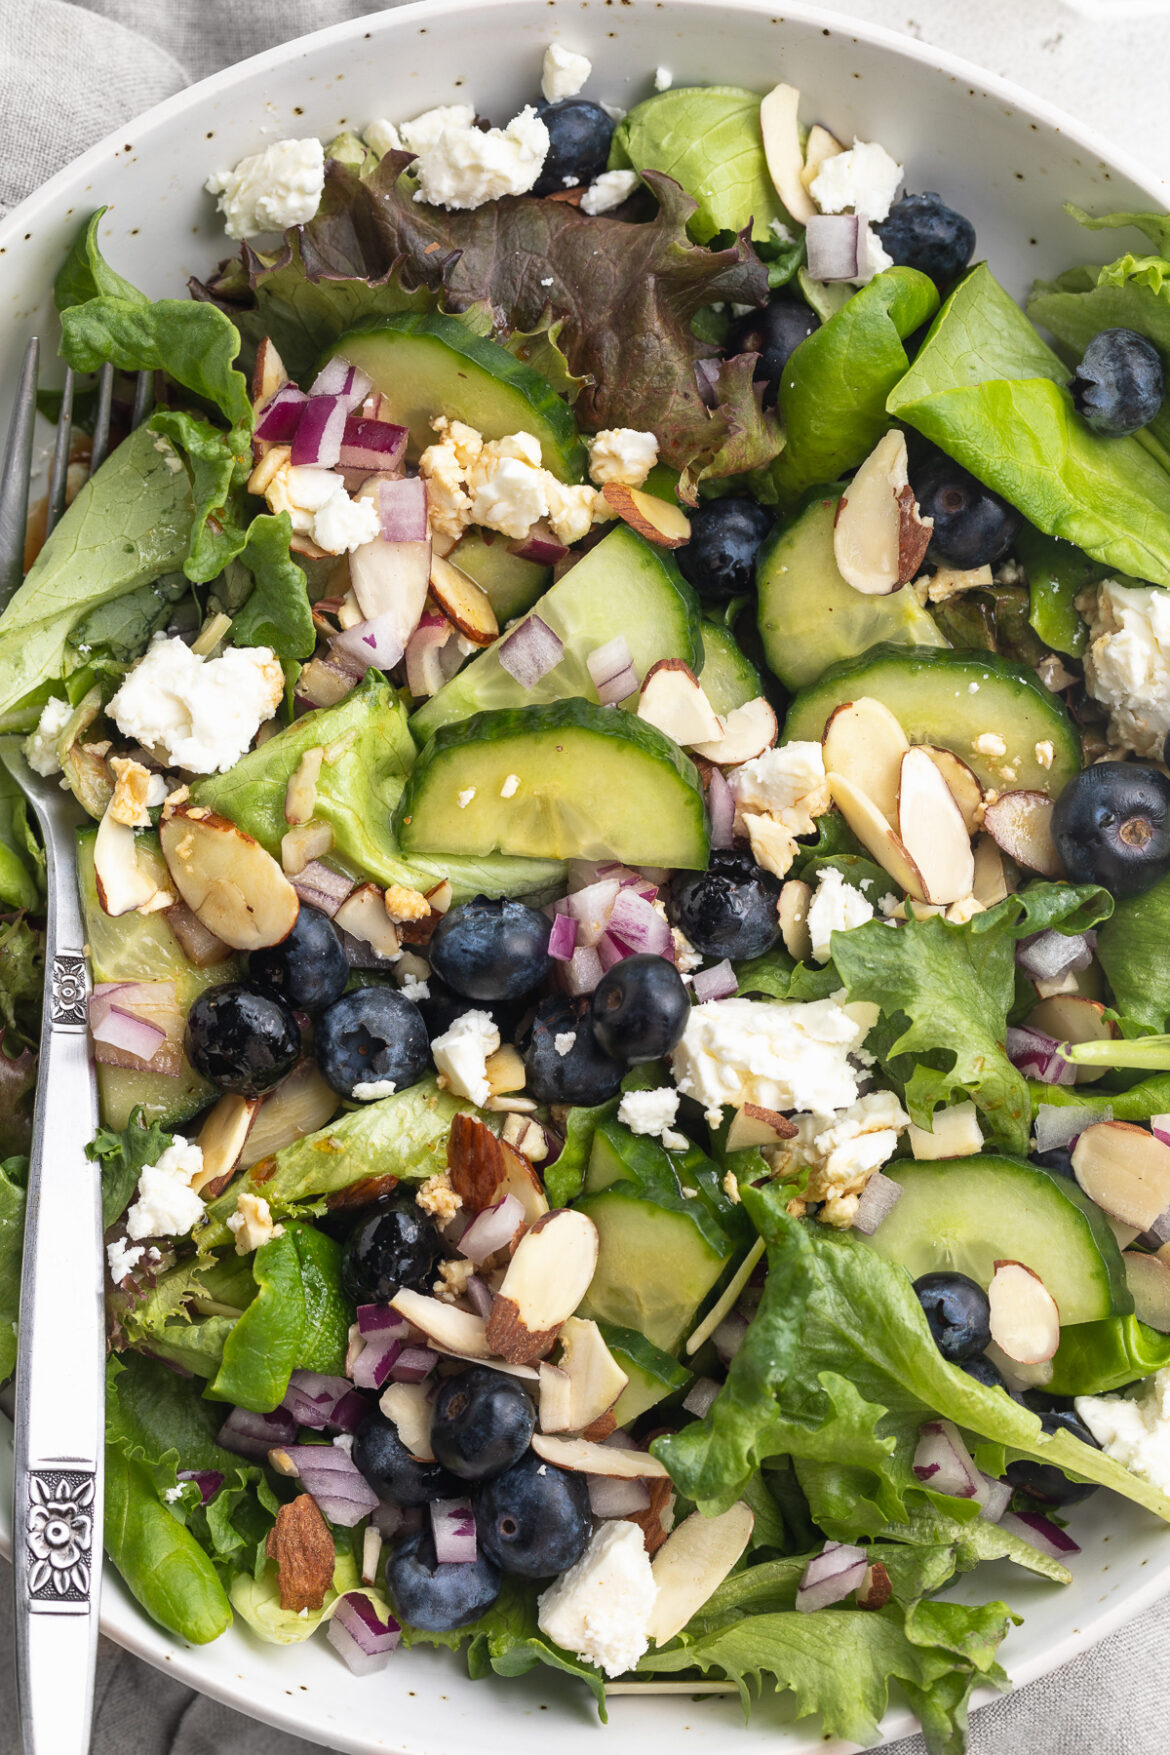
Fresh and seasonal spring mix salad with blueberries, almonds, feta cheese, and a simple honey vinaigrette! The perfect warm-weather lunch or side dish, loaded with healthy ingredients.

Overhead image of spring mix salad in a bowl with water on the side.

What You’ll Need To Make Spring Mix Salad

Spring Mix Lettuce – Spring mix is a simple assortment of dark leafy greens. Each brand makes theirs a little differently, but every batch of spring mix is flavorful and super healthy. If you can’t find any spring mix, you can certainly turn this into a spinach salad instead, with 5 ounces of fresh baby spinach.

Sliced Almonds – Every salad needs a little crunch! I love buttery, lightly toasted sliced almonds in my spring mix salad. However, if you don’t have any almonds, any chopped nut will go great in this recipe. Or for a nut-free version, add in some roasted sunflower seeds instead!

Feta Cheese – Some salty feta cheese takes this spring mix salad over the top! Add as much to your salad as your heart desires. Or, if you don’t have any feta, a nice soft goat cheese also tastes great here. And for a vegan or dairy-free option, simply leave the cheese out of the salad – still super tasty!

Honey – A touch of honey balances out the otherwise extremely savory vinaigrette. With plenty of balsamic vinegar, the vinaigrette needs a little sweetness to help mellow it out. And for a vegan version, replace the honey with two tablespoons of maple syrup.

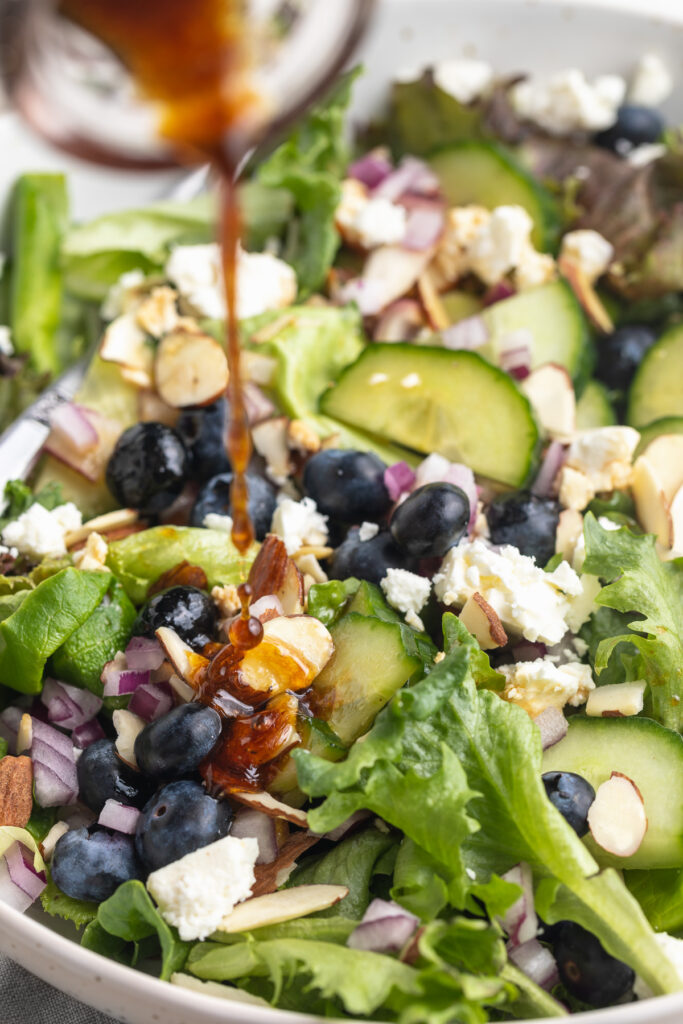
Honey vinaigrette being poured over spring mix salad.

Tips and Tricks

  • Dress the salad right before serving! Avoid storing this salad already dressed, since the vinaigrette will cause the spring mix to wilt. So if prepping ahead of time, keep the honey vinaigrette on the side until ready to eat.
  • Have fun with this healthy salad recipe! This simple lunch or side dish is a great way to use up any fresh veggies or berries you might have on-hand. Strawberries taste delicious in place of the blueberries, and a yellow onion can be subbed in for the red onion.

Add Protein

For a heartier meal, add any of the following:

Close-up overhead image of spring mix salad in a bowl.
5 from 1 vote

Spring Mix Salad with Blueberries, Almonds, Feta Cheese, and Honey Vinaigrette

Fresh and seasonal spring mix salad with blueberries, almonds, feta, and a simple honey vinaigrette! The perfect warm-weather lunch or side dish, loaded with healthy ingredients.
Print Pin Rate
Prep Time: 5 minutes
Total Time: 5 minutes
Servings: 6 side servings

Ingredients

  • 1 5-ounce package spring mix lettuce
  • 1 cup fresh blueberries
  • 1/2 English cucumber, chopped
  • 1/2 red onion, chopped
  • 1/2 cup sliced almonds
  • 1/4 cup feta cheese or goat cheese

For the honey vinaigrette:

  • 1/4 cup olive oil
  • 3 tablespoons balsamic vinegar
  • 2 tablespoons honey
  • 1/2 teaspoon salt
  • 1/2 teaspoon black pepper

Instructions

  • Assemble all salad ingredients in a large bowl.
  • Make the dressing by adding all ingredients to a jar with a lid, secure the lid then shake until combined. Drizzle over spring mix salad and enjoy!

Nutrition

Calories: 300kcal

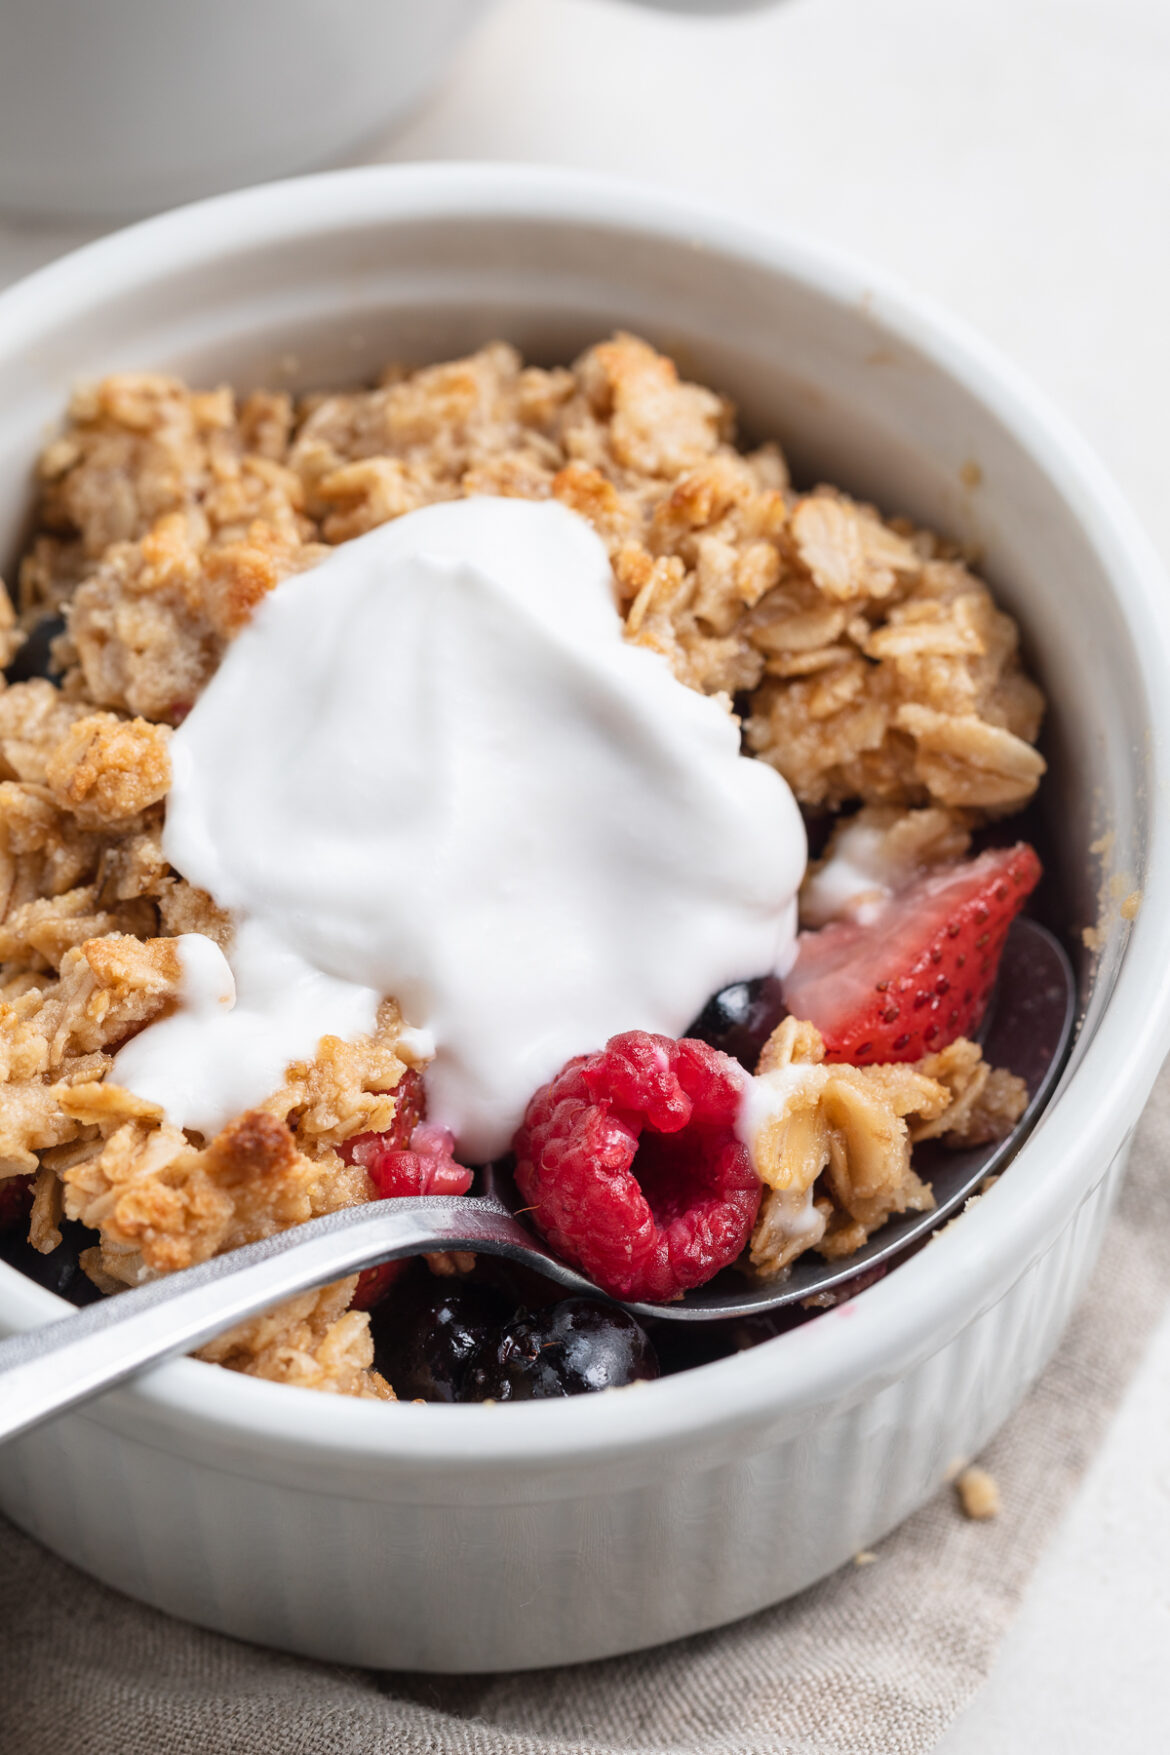
This berry breakfast crisp tastes so indulgent, it might as well be dessert! But don’t worry, it’s entirely gluten-free, dairy-free, and refined sugar-free. It’s super healthy with plenty of plant-based protein and fiber which will leave you feeling full until your next meal!

overhead image of berry breakfast crisp with coconut yogurt on top.

What You’ll Need To Make Berry Breakfast Crisp

Fresh Berries – Use any kind(s) of fresh berries you’d like! I used a combo of fresh strawberries, blueberries, and raspberries – and OMG they were delicious. However, you can totally use whatever berry’s in season, or whatever you have on-hand. You could even use frozen berries if you’d like, just keep in mind they’ll yield more liquid once baked, resulting in a watery filling.

Rolled Oats – It’s super important you use rolled oats, instead of whole or steel cut oats. Rolled oats are flattened then toasted, and bake up beautifully in this berry breakfast crisp.

Almond Flour – Either almond flour or almond meal will work in this gluten-free breakfast recipe. I use and love the Bob’s Red Mill Almond Flour, as well as Anthony’s Almond Flour. And if you’re interested in other almond flour breakfast recipes, check out my almond flour pancakes or almond flour banana bread – both are incredible!

Coconut Oil – A tablespoon of solid coconut oil gives the crumble atop this berry breakfast crisp its crumbly texture. If your coconut oil is liquid at room temperature (this happens when the weather’s warm), then simply place it in the fridge or freezer for 5-10 minutes before using. Also, if you don’t have any coconut oil, you can use a tablespoon of cold butter or ghee instead.

close-up image of berry breakfast crisp with coconut yogurt on top.

Tips and Tricks

  • Remember, this recipe makes a single serving. Therefore, you’ll want to double, triple, or even quadruple the recipe when baking for others!
  • Finish off this berry breakfast crisp with a scoop of vanilla yogurt! I topped mine with a dollop of Cocojune’s unsweetened coconut yogurt and it was perfectly creamy and delicious. Though if you’re eating this for dessert, feel free to top it off with a scoop of vegan vanilla ice cream instead – YUM!
  • You can easily prep this healthy breakfast recipe the night before if you’d like. To do this, assemble the berries and crumble, then cover and refrigerate overnight. Then, in the morning, bake it off as instructed and enjoy a warm berry crisp for breakfast!

Adjust This Recipe To Your Dietary Needs

Make it Paleo: For a paleo crisp, replace the rolled oats with finely chopped nuts and/or coconut flakes!

Make it Nut-Free: To make this a nut-free breakfast recipe, replace the almond flour with one tablespoon of brown rice flour or all purpose flour.

No ratings yet

Berry Breakfast Crisp (for one!)

This berry breakfast crisp tastes so indulgent, it might as well be dessert! But don’t worry, it’s entirely gluten-free, dairy-free, and refined sugar-free. It’s super healthy with plenty of plant-based protein and fiber which will leave you feeling full until your next meal!
Print Rate
Prep Time: 5 minutes
Cook Time: 15 minutes
Total Time: 20 minutes
Servings: 1 servings

Ingredients

For the berries:

  • 1 cup fresh berries (strawberries, blueberries, raspberries, etc)
  • 1 teaspoon maple syrup
  • 1/4 teaspoon vanilla extract

For the crumble:

  • 1/4 cup rolled oats
  • 2 tablespoons almond flour or meal
  • pinch of salt
  • 1 tablespoon coconut oil, solid
  • 1 tablespoon maple syrup

Instructions

  • Preheat oven to 350° Fahrenheit.
  • Add all berry ingredients to a bowl and toss to evenly coat, then transfer into small oven-safe dish.
  • Mix all crumble ingredients together in same bowl as the berries, then sprinkle over top of the berries.
  • Bake for 15-20 minutes, or until lightly golden brown and bubbly. Serve warm with additional maple syrup and/or a scoop of vanilla yogurt.

Video

Notes

  • Make this an apple breakfast crisp by replacing the fresh berries with fresh sliced apples!
  • Nutrition

    Calories: 300kcal

    These almond flour pancakes are extra fluffy, delicious, and super easy to make! One bowl, a handful of ingredients, and 15 minutes is all you need to throw this simple gluten-free breakfast together. These almond flour pancakes are also the perfect blank canvas to any toppings you’d like (I went with blueberries – yum!).

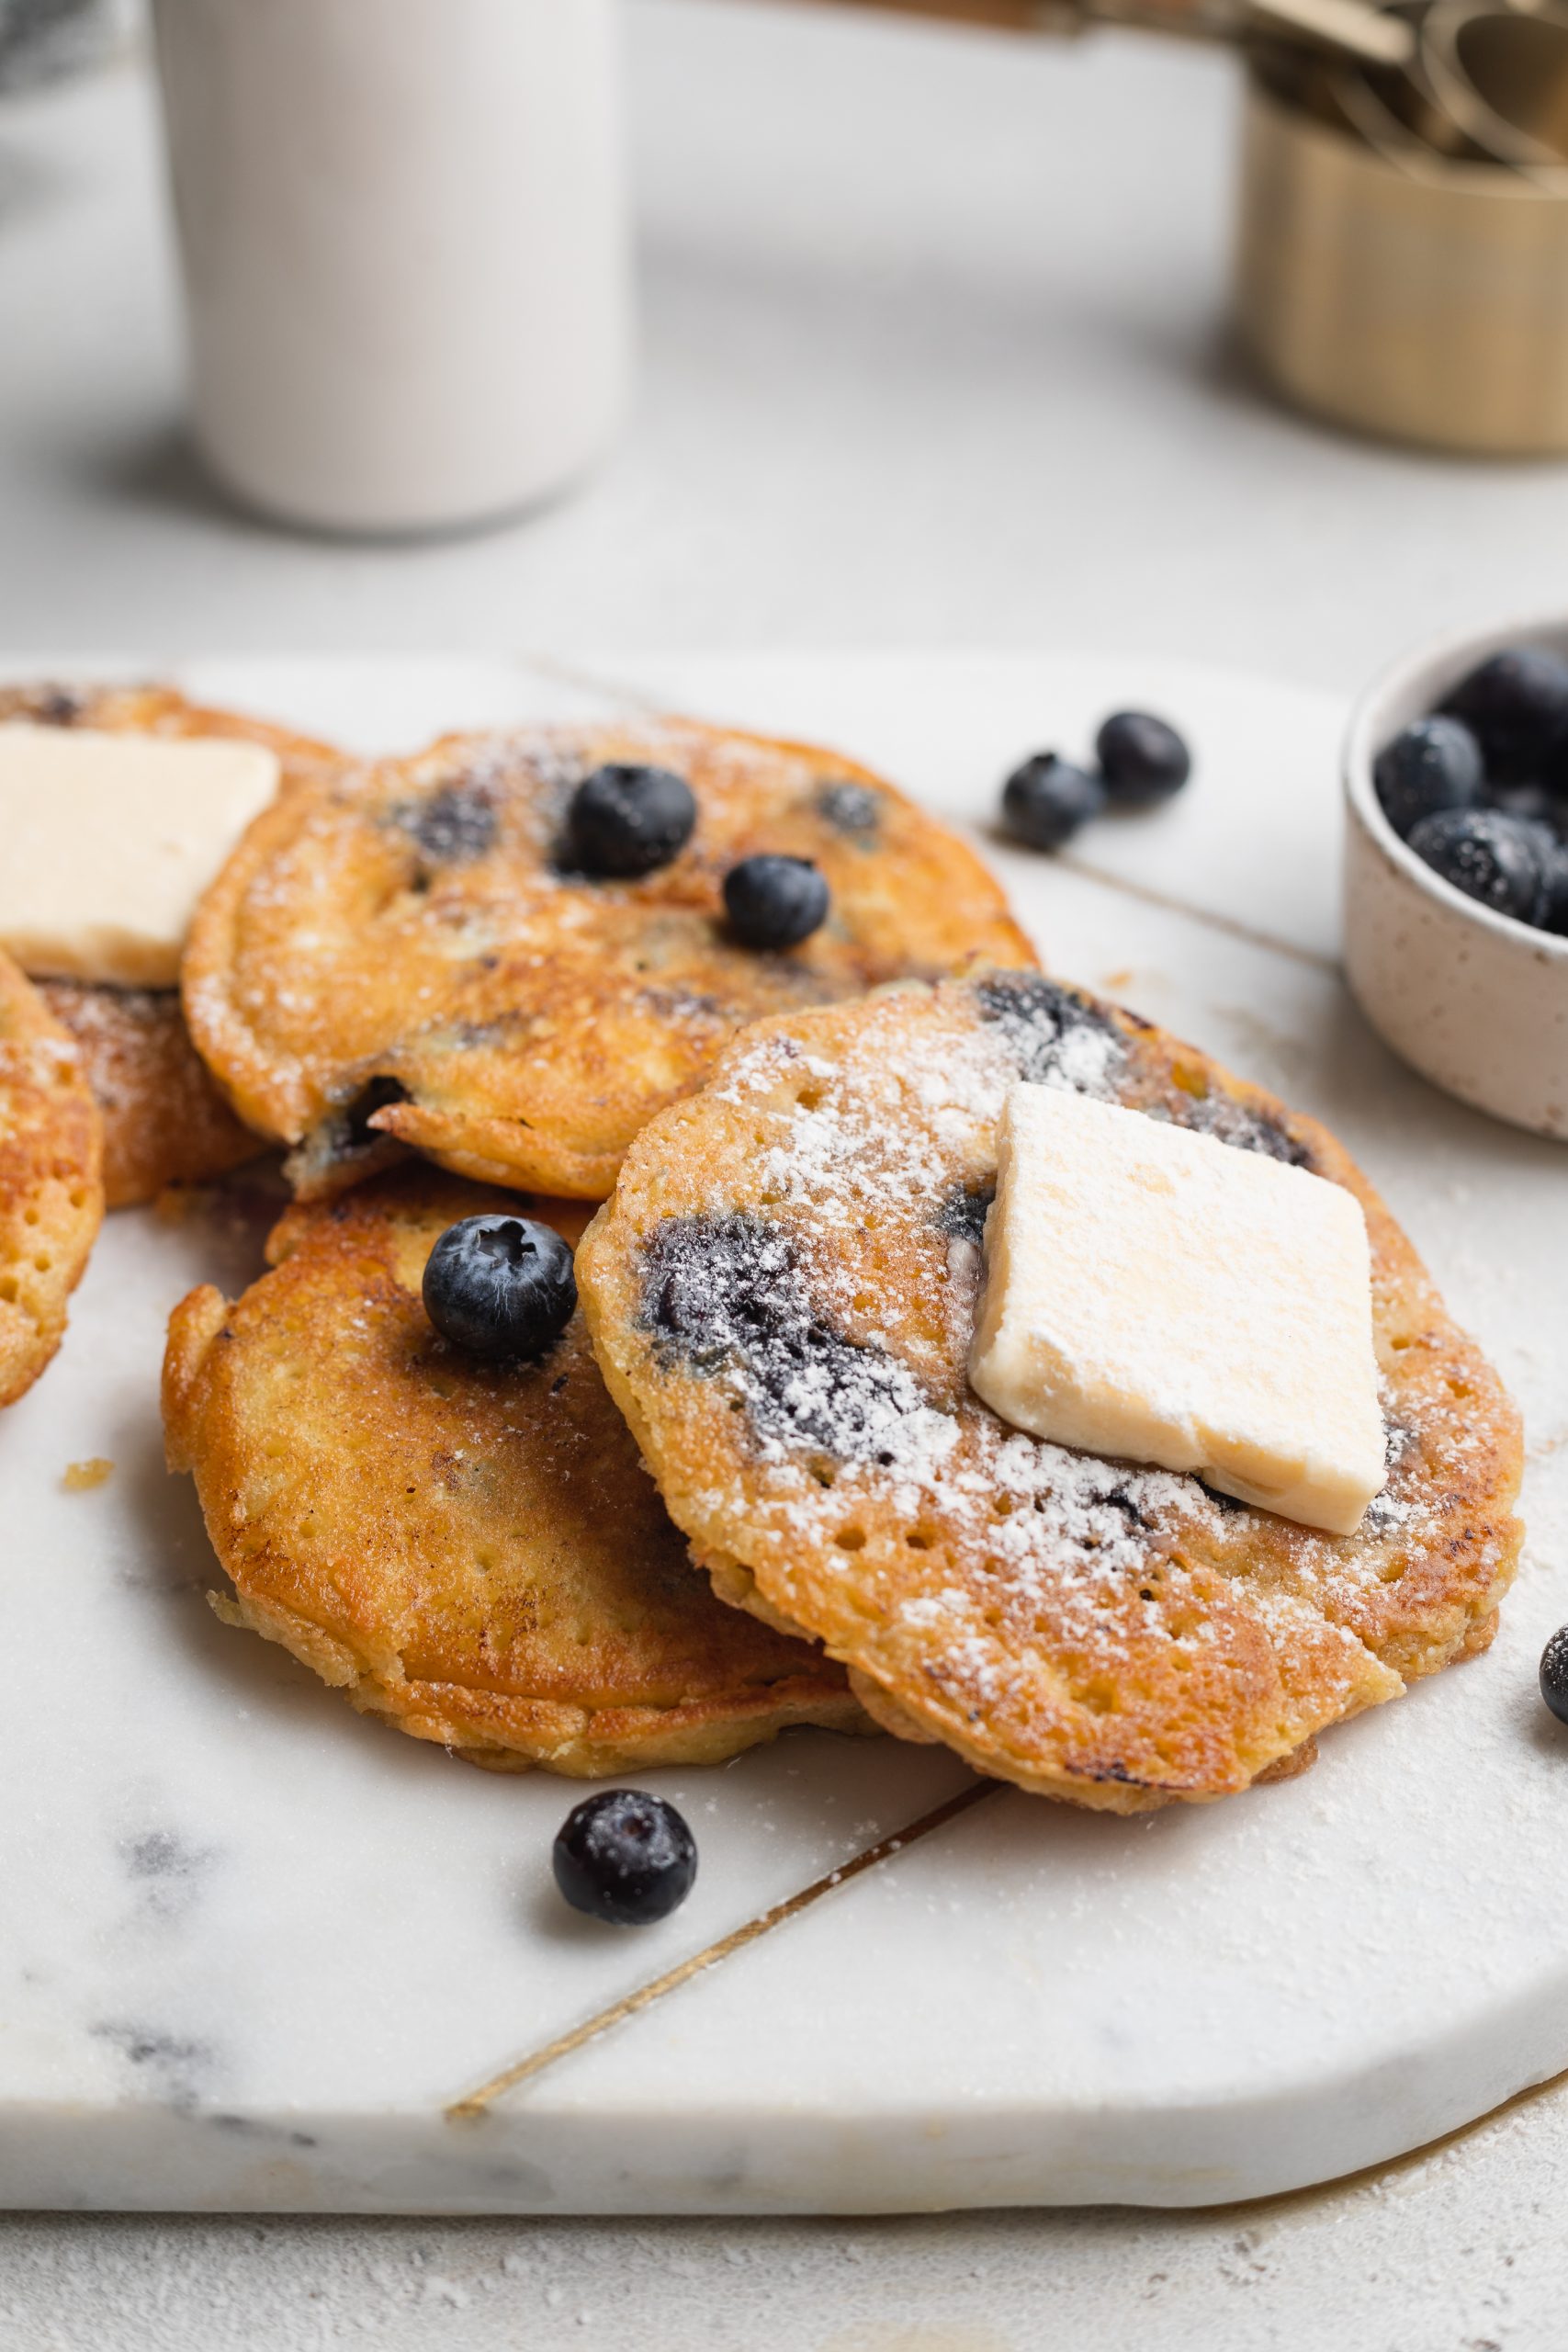
    stacked almond flour pancakes with blueberries, butter, and powdered sugar on top

    What You’ll Need

    Almond Flour – The star of our show – almond flour! It’s naturally gluten-free, grain-free, and paleo friendly. Almond flour is actually the only flour you’ll need for this healthy breakfast recipe. The most common misconception when it comes to almond flour is that it can be used as a 1:1 substitution for regular all purpose flour. However, that’s definitely not the case! Almond flour is much more dense and creates a heavier bake than regular flour. Though in this recipe we lighten the pancakes up with two whole eggs and a touch of milk.

    Eggs – Eggs are crucial to keeping these almond flour pancakes held together! They are our binding agent, and without them the pancakes would simply fall apart. I highly recommend using large or extra large eggs for this recipe, though really any size will work.

    Coconut Oil or Butter – Whether you’re using a non-stick pan or not, a touch or butter or oil is very useful to prevent sticking. For a non-stick pan, you may be able to get away with using less oil or butter than the recipe calls for. But for either a stainless steel or cast-iron pan, you’ll need the full tablespoon. And if you ever begin to notice sticking throughout the cooking process, then go ahead and add a bit more butter or oil to your pan!

    How to Make Almond Flour Pancakes

    Making homemade almond flour pancakes is super easy! Start by adding the almond flour and baking powder to a large bowl. Whisk those dry ingredients together before adding in the eggs, milk, maple syrup, and vanilla extract. Once your pancake batter is completely combined, then you can add in any fillings/toppings you’d like – fresh blueberries and chocolate chips are my personal favorite!

    Now that your batter is all prepped, heat a tablespoon of either butter, coconut oil, or any other neutral-tasting oil in a large skillet over medium heat. Once hot, scoop about 1/4 cup of batter into the skillet. The batter will disperse out and form that signature circular pancake shape.

    Cook each pancake in the skillet for about 3-5 minutes, or until the bottom is nicely golden brown. Then, use a spatula to carefully flip the pancake and cook the other side. Repeat this cooking process with your remaining better then serve your almond flour pancakes! I recommend finishing them off with a dusting of powdered sugar and a drizzle of maple syrup.

    Adjust This Recipe to Your Dietary Needs

    Make it Vegan – Make this a vegan almond flour pancake recipe by substituting the two eggs for one flax egg (1 tablespoon of ground flax meal + 3 tablespoons water) and one mashed banana. The flax egg and banana will work together to bind your pancakes and prevent them from falling apart. Also, use your favorite vegan milk in place of the regular milk this recipe calls for.

    Make it Dairy-Free – To make this a dairy-free breakfast, simply use almond milk or your favorite non-dairy milk in place of the regular milk in this recipe. Also, be sure to use coconut oil for cooking, instead of butter.

    almond flour pancakes with blueberries on a marble board
    No ratings yet

    Perfect Almond Flour Pancakes

    These almond flour pancakes are extra fluffy, delicious, and super easy to make! One bowl, a handful of ingredients, and 15 minutes is all you need to throw this simple gluten-free breakfast together. These almond flour pancakes are also the perfect blank canvas to any toppings you’d like (I went with blueberries – yum!).
    Print Pin Rate
    Prep Time: 5 minutes
    Cook Time: 10 minutes
    Total Time: 15 minutes
    Servings: 2 servings

    Ingredients

    • 1 cup almond flour, see Notes
    • 1 teaspoon baking powder
    • 2 eggs
    • 1/4 cup milk, I used non-dairy milk
    • 1 tablespoon maple syrup
    • 1 teaspoon vanilla extract
    • 1 tablespoon coconut oil or butter

    Instructions

    • Whisk together the almond flour and baking powder in a large bowl.
    • Add in eggs, milk, maple syrup, and vanilla extract, whisk to combine.
    • Melt coconut oil or butter in a large skillet over medium low-medium heat and spoon ¼ cup batter into skillet.
    • Cook pancakes for 2-3 minutes per side or until edges are slightly golden brown. Repeat until no more batter remains.

    Notes

  • Almond Flour: Be sure to use blanched almond flour, not almond meal in this recipe.
  • Nutrition

    Calories: 300kcal