")
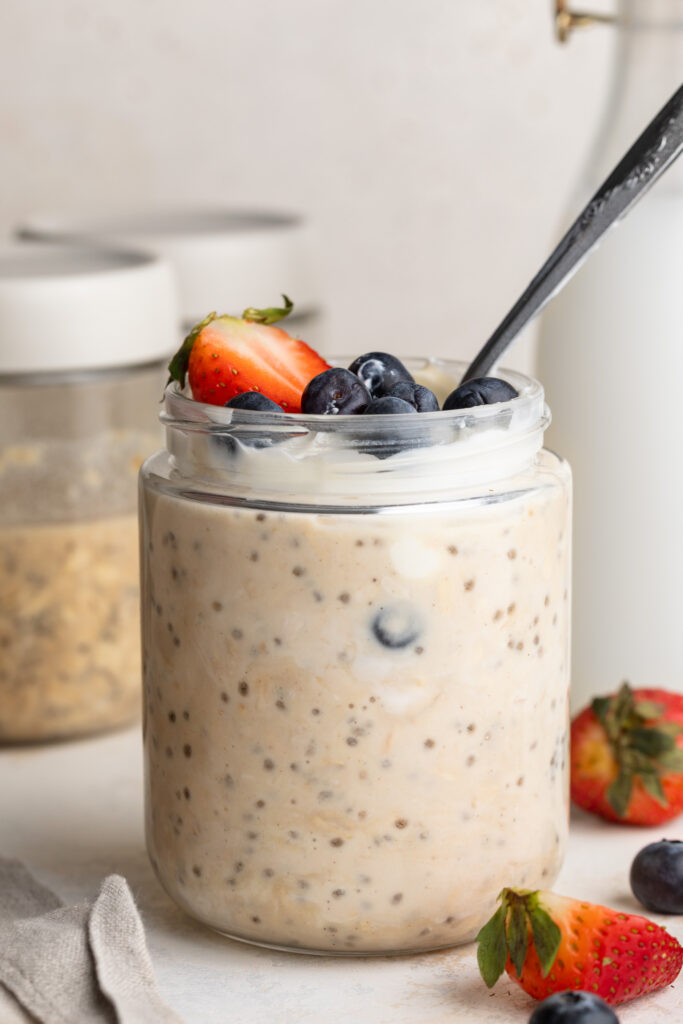
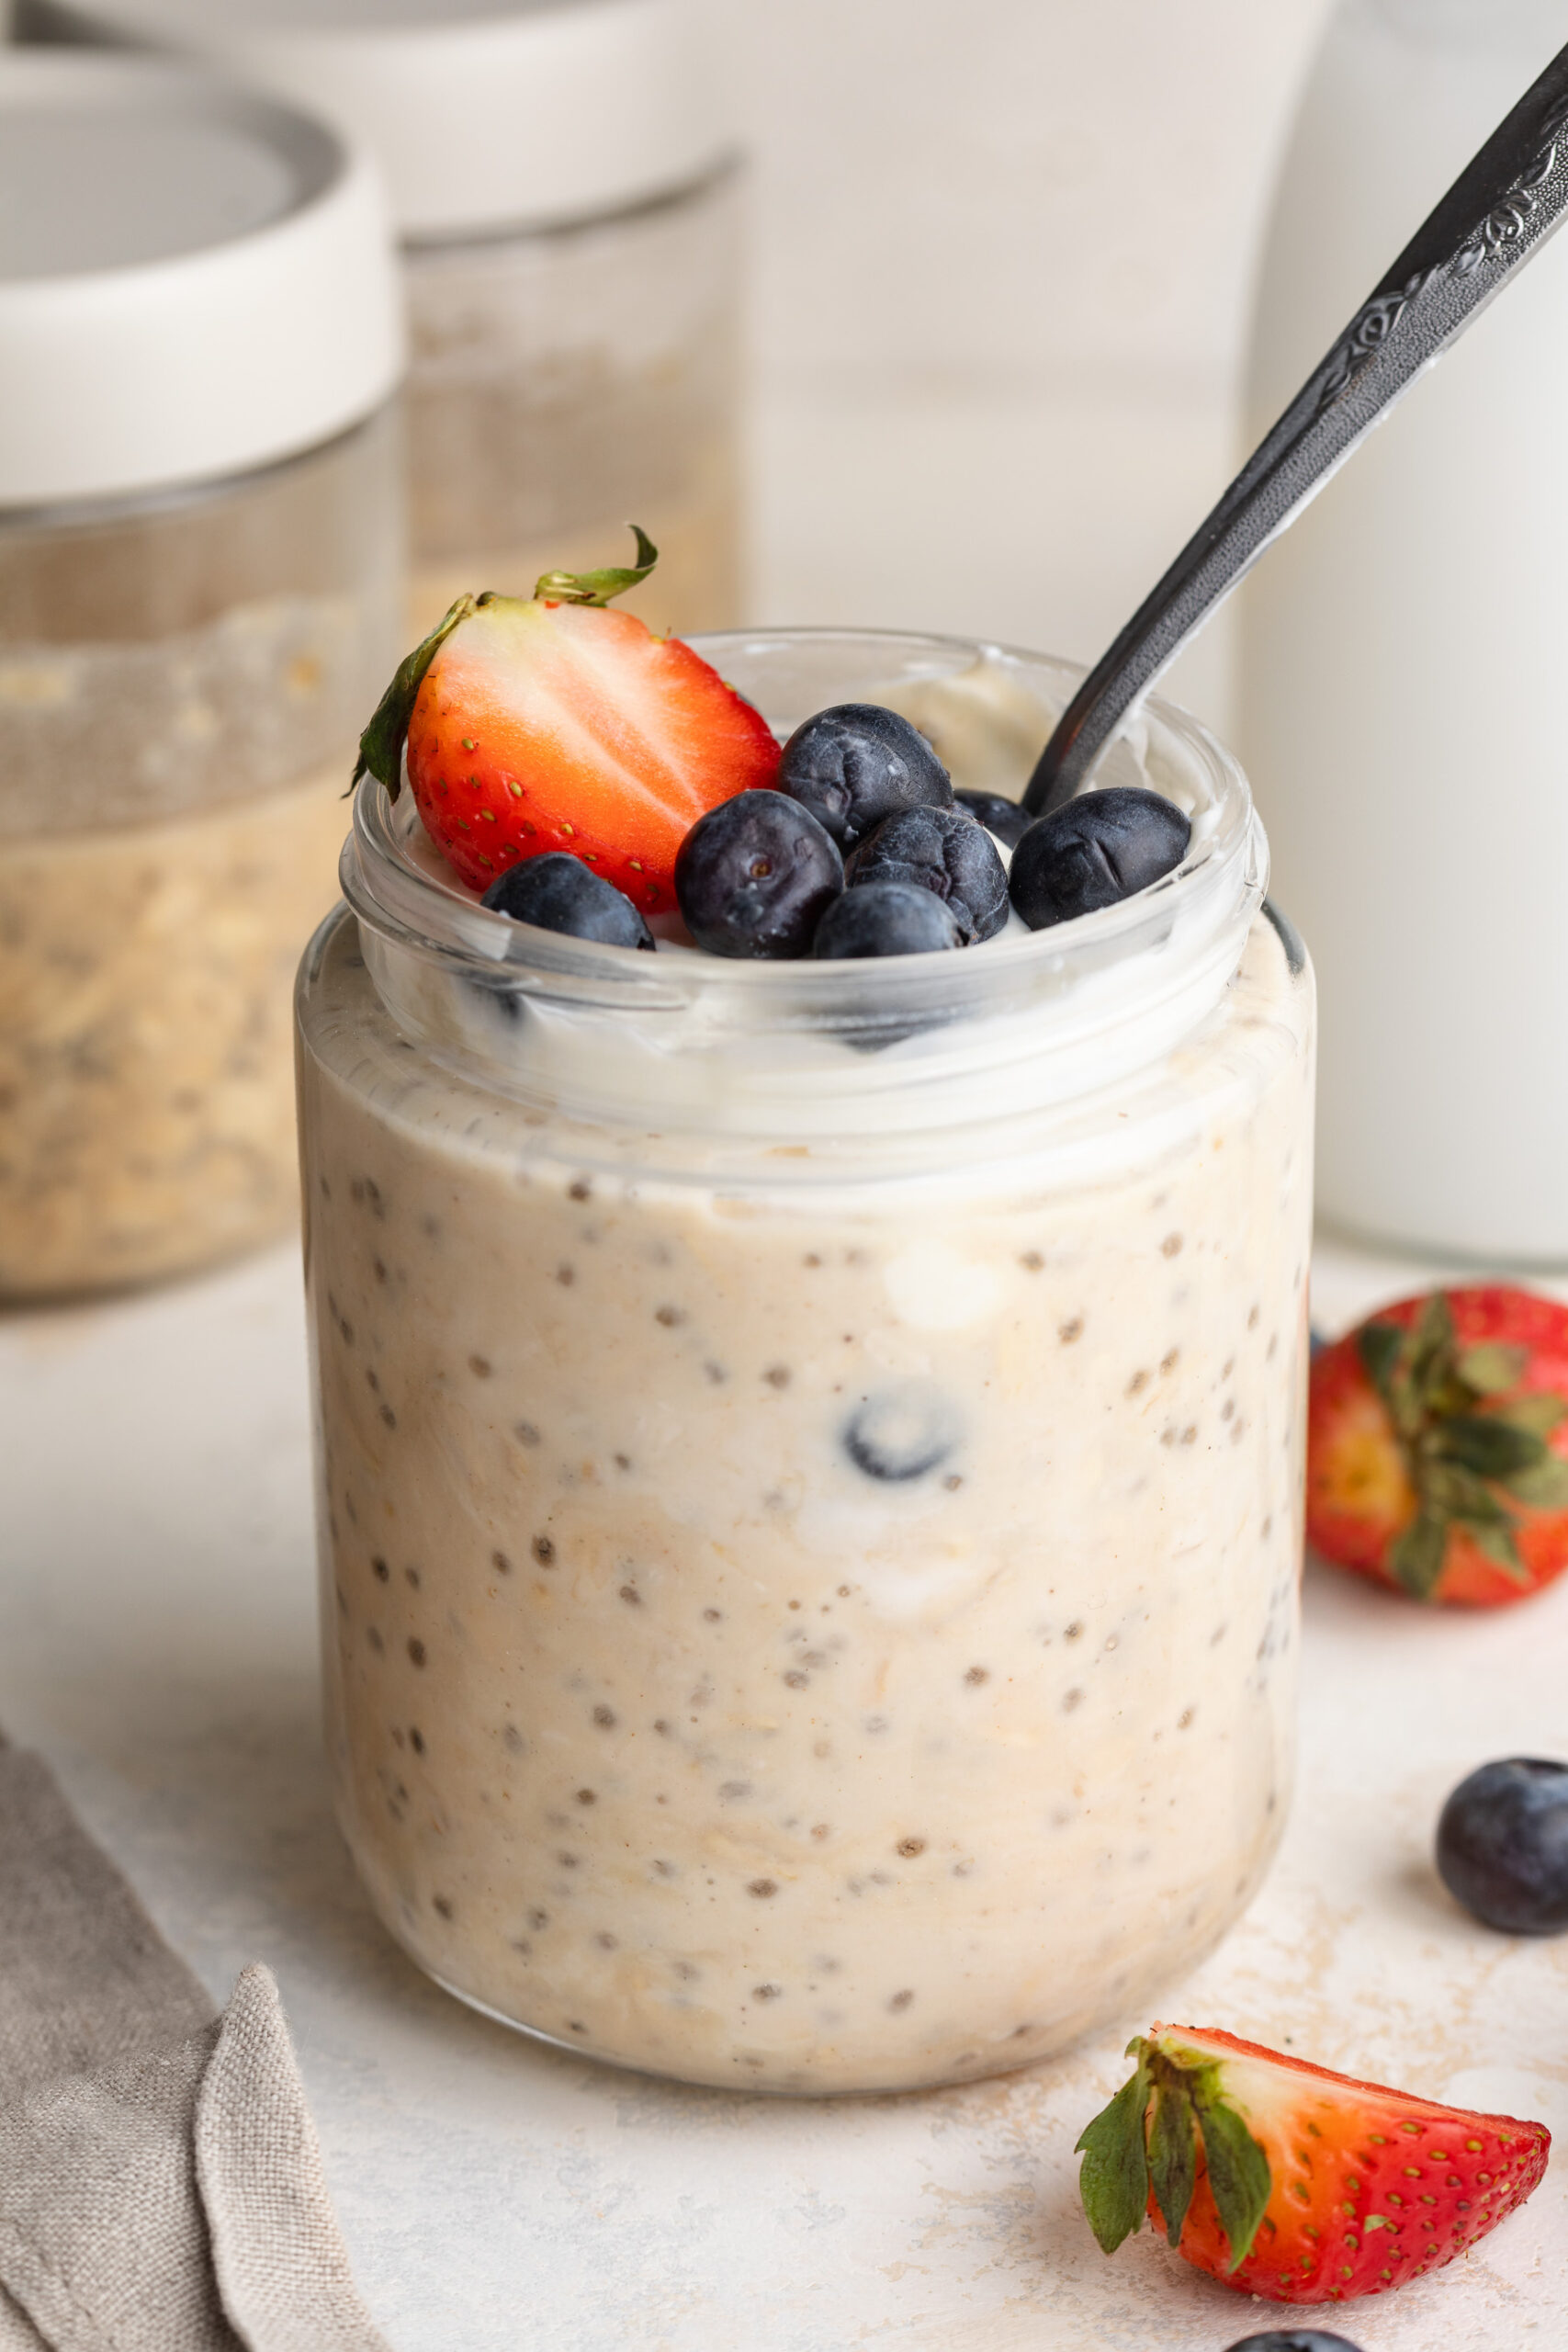
I know what you’re thinking – yogurt for breakfast is supposed to be sweet, but hear me out… this savory yogurt bowl is about to completely change the way you think about your morning meal! Creamy Greek yogurt topped with crispy roasted chickpeas, fresh avocado, juicy tomatoes, crunchy cucumber, and a perfectly boiled egg. It’s fresh, filling, packed with protein and healthy fats, and honestly one of the most satisfying breakfasts I’ve ever had! It tastes like something you’d order at your favorite brunch spot, but it comes together in just 30 minutes at home.
If you’re stuck in a breakfast rut – same smoothie, same overnight oats, same avocado toast on repeat – this is the recipe to shake things up! It’s the perfect way to switch up your morning routine with something that’s genuinely nourishing, surprisingly delicious, and totally different from anything else in your rotation. Pair it with my High-Protein Breakfast Biscuits for an extra protein boost, or serve it alongside my La Scala Chopped Salad for a light and satisfying lunch.
Why You’ll Love This Savory Yogurt Bowl
- The perfect way to switch up your boring breakfast. If you eat the same thing every morning, this savory yogurt bowl is your sign to mix it up. It’s unexpected, exciting, and so delicious that you’ll genuinely look forward to breakfast again.
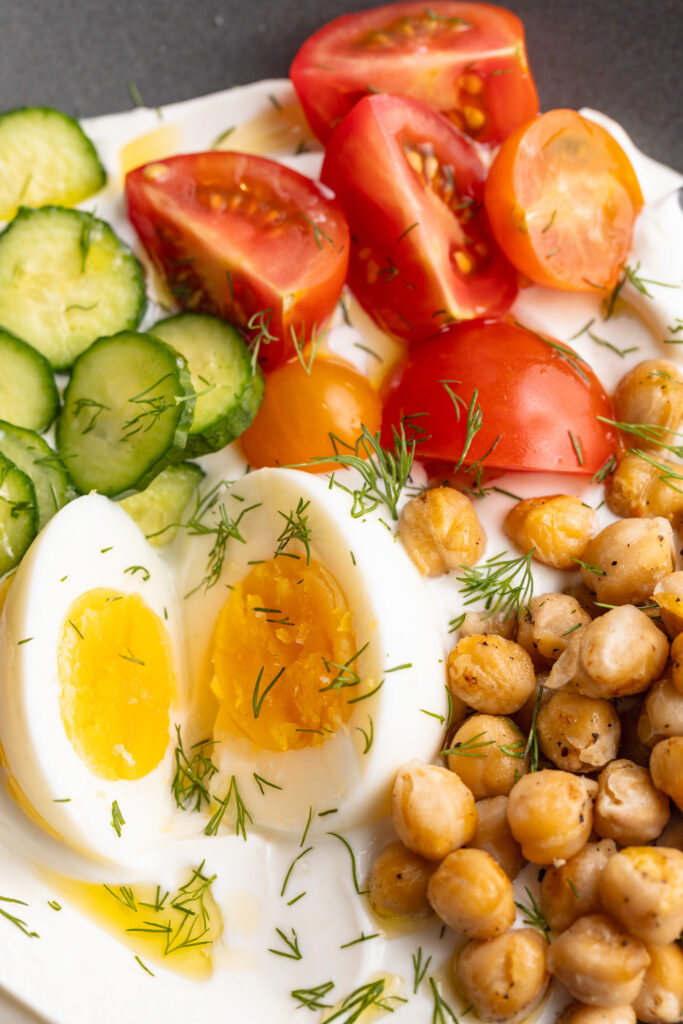
- Packed with protein, veggies, fiber, and healthy fats. Greek yogurt, a soft-boiled egg, and crispy chickpeas deliver serious protein. Avocado brings healthy fats. Tomatoes and cucumber add freshness and fiber. This bowl truly does it all.
- Surprisingly delicious. I know savory yogurt sounds a little unusual, but don’t knock it until you try it! The creamy, tangy yogurt is the perfect backdrop for the crispy chickpeas and fresh toppings – the combination just works.
- Easy and quick to make. The crispy chickpeas take about 25 minutes to roast, but everything else comes together in minutes. Soft-boil your egg while the chickpeas roast and you’re ready to assemble right away.
- Healthy and genuinely satisfying. This bowl will keep you full for hours – no mid-morning crash, no snacking before lunch. It’s the kind of breakfast that actually fuels your day!
Recipe Variations and Substitutions
- Greek Yogurt: Any plain, full-fat yogurt works here – regular, dairy-free coconut yogurt, or even a thick labneh for an extra tangy, creamy base. For a dairy-free version, a thick plant-based yogurt like coconut or cashew yogurt both work well.
- Egg: Not an egg fan? Skip it entirely – the bowl is still incredible without it. Hard-boiled eggs work too if you prefer a fully cooked yolk. For extra protein, add a few slices of smoked salmon instead.
- Chickpeas: Short on time? Use canned chickpeas warmed in a skillet with olive oil and spices instead of roasting, or swap for white beans, lentils, or edamame.
- Vegetables: This bowl is endlessly customizable. Swap the tomato and cucumber for whatever fresh vegetables you have on hand – radishes, roasted red peppers, shredded carrots, roasted sweet potato, or baby spinach all work beautifully.
- Avocado: Not an avocado fan? Try hummus, a drizzle of tahini, or a handful of olives instead for a similar richness.
- Add More Flavor: A sprinkle of everything bagel seasoning, za’atar, or red pepper flakes on top of the yogurt takes this bowl to an entirely different level. Highly recommended!
- Make it a Meal Prep Breakfast: Roast a big batch of chickpeas at the beginning of the week (they keep for 3–4 days in an airtight container at room temperature) and keep all your toppings prepped in the fridge. In the morning, all you need to do is assemble – it takes under 5 minutes!
Savory Yogurt Bowl (25g+ protein!)
Equipment
- 1 baking pan
- 1 serving bowl
Ingredients
- 1/2 – 1 cup Greek yogurt
- 1 boiled egg cooked to your liking!
- 1/2 cup chickpeas
- 1/4 avocado sliced or diced
- 1/4 cup cherry tomatoes
- 1/4 cup cucumber thinly sliced or diced
- olive oil for roasting and drizzling
- salt, pepper, garlic powder to taste
- flaky sea salt to finish
Instructions
- Preheat oven to 400°F. Pat chickpeas dry, toss with olive oil, salt, pepper, and garlic powder, and roast for 20–25 minutes until crispy.
- Soft-boil the egg in boiling water for 6–7 minutes, then transfer to an ice bath for 5 minutes. Peel and slice in half.
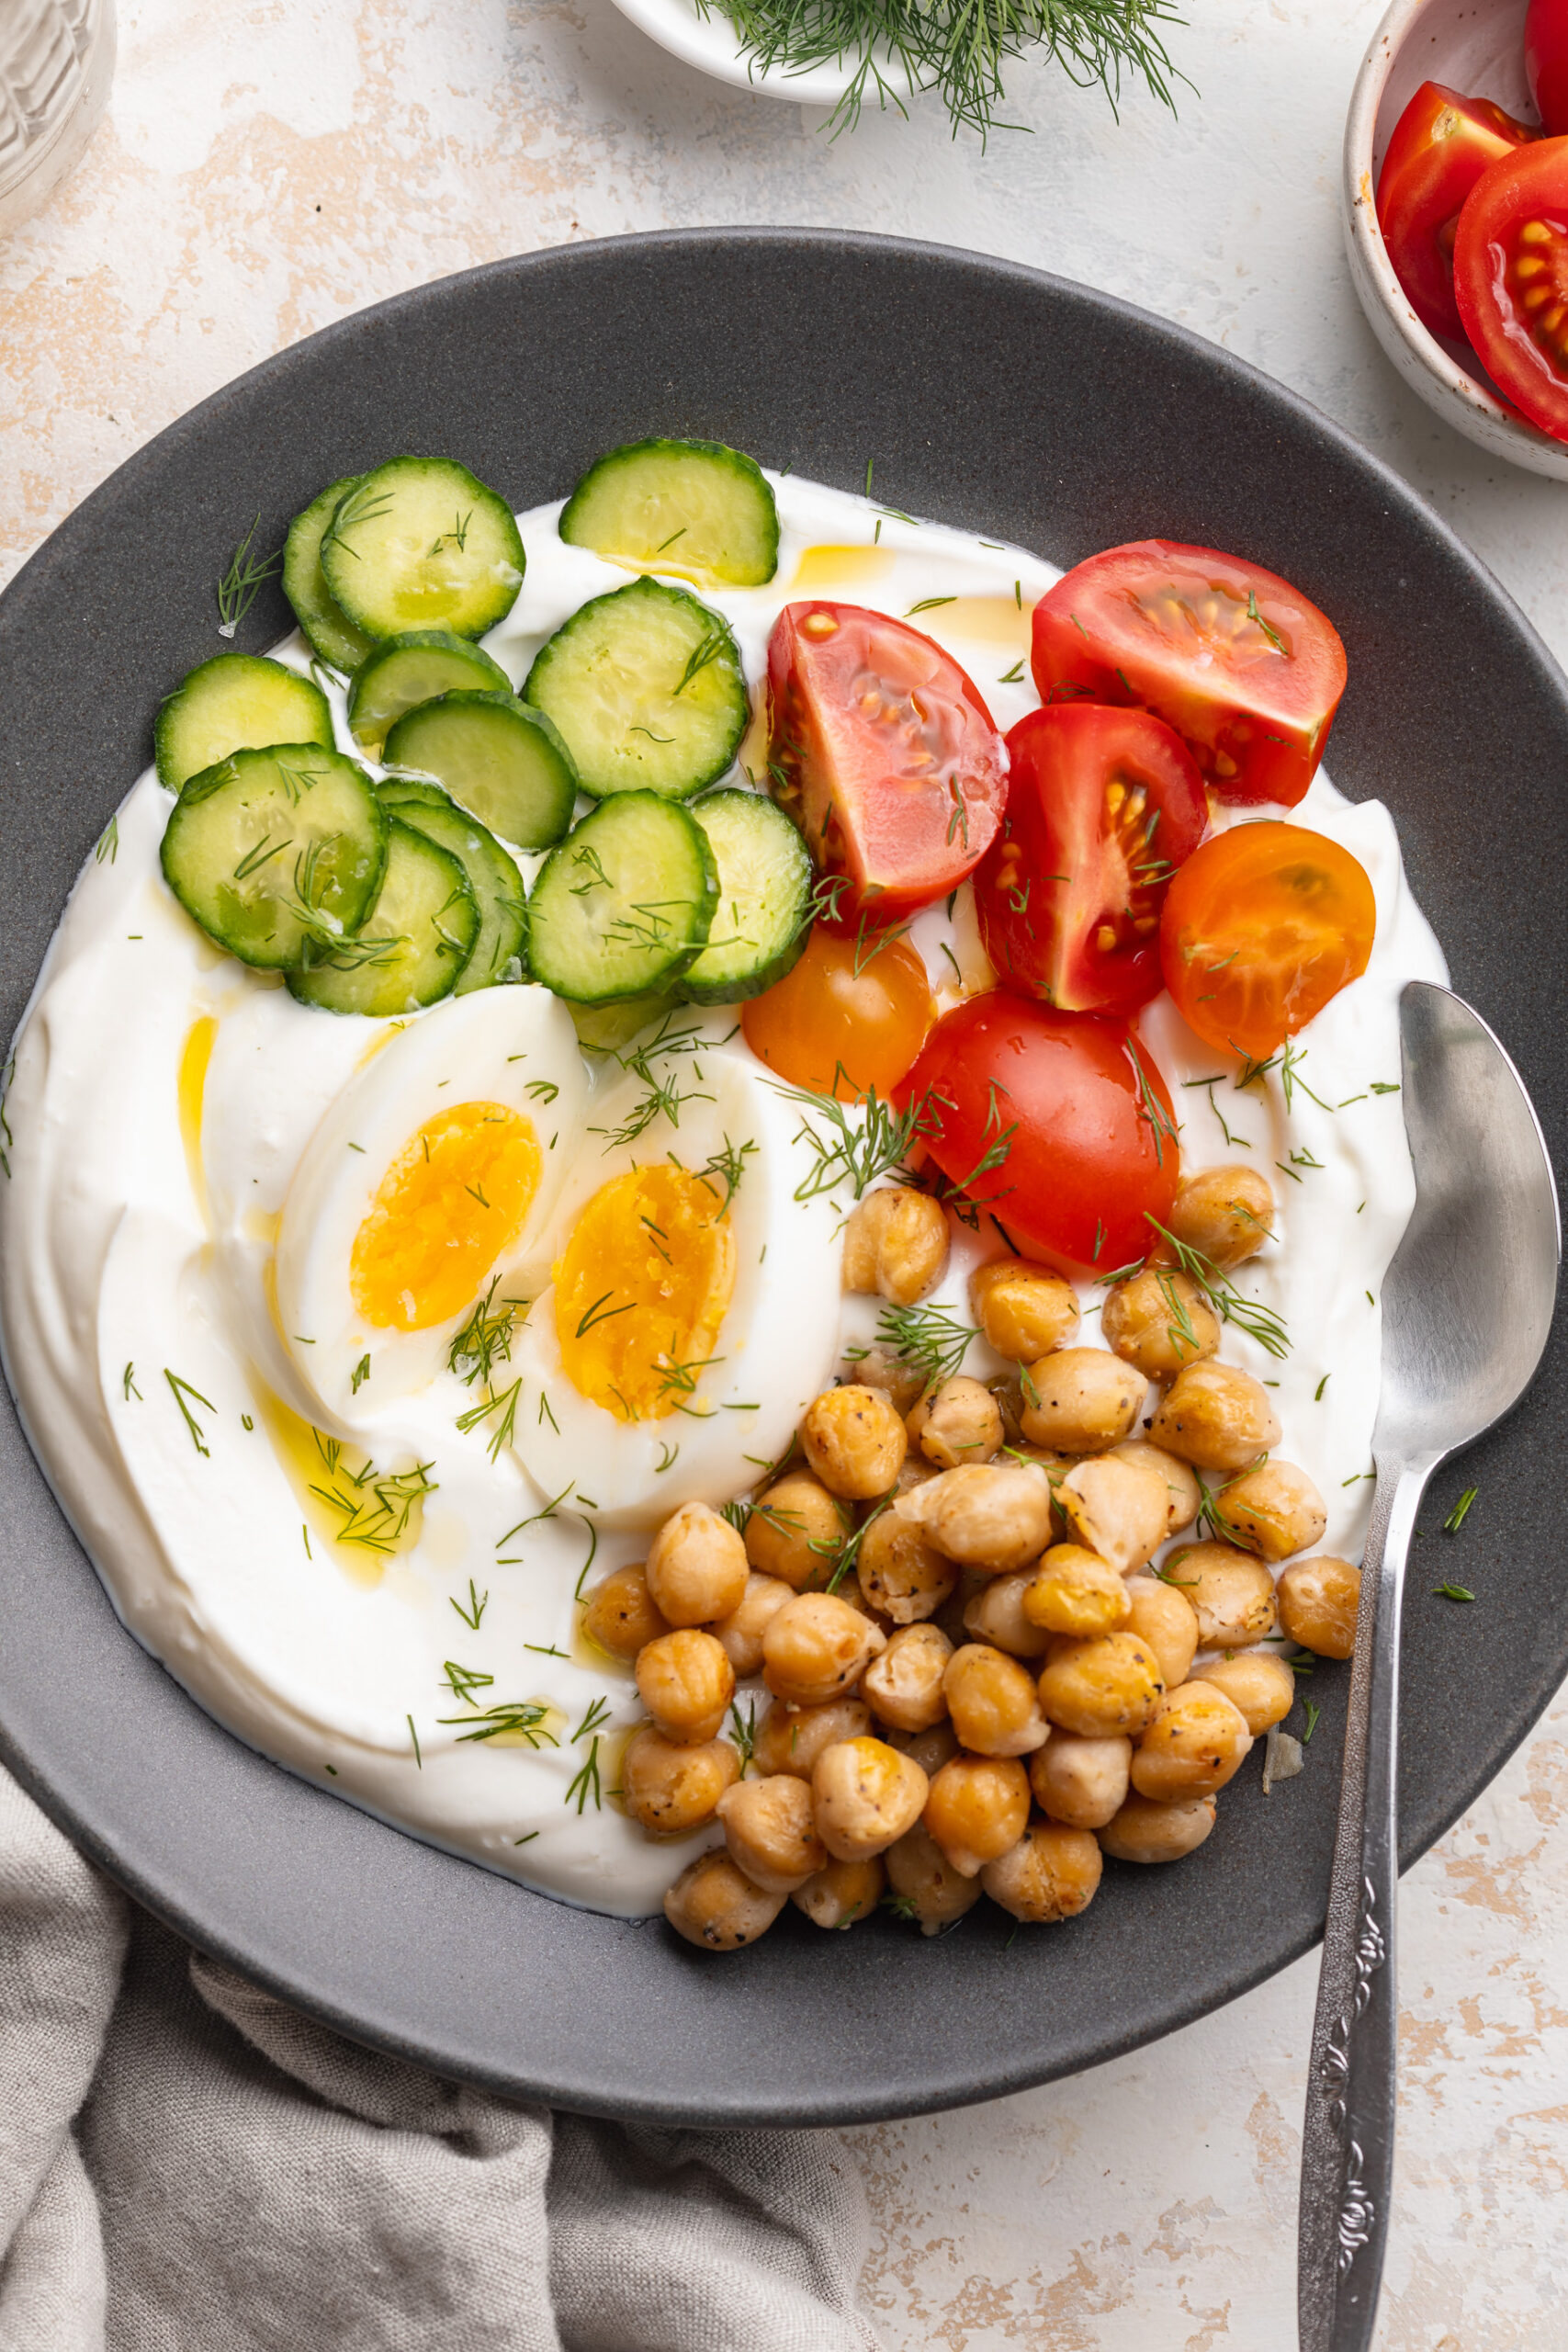
- Spoon Greek yogurt into a shallow bowl and spread to the edges. Drizzle with olive oil and a pinch of salt.
- Top with crispy chickpeas, soft-boiled egg, avocado, tomato, and cucumber.
- Finish with a drizzle of olive oil, flaky sea salt, and black pepper. Serve immediately!
Notes
- Pat the chickpeas completely dry before roasting for the crispiest result.
- Use full-fat Greek yogurt for the richest, creamiest base.
- Add za’atar, everything bagel seasoning, or red pepper flakes on top for extra flavor.
- For meal prep, roast a big batch of chickpeas and store at room temperature for up to 3–4 days.
- Assemble just before eating — the yogurt will get watery if left to sit with the toppings for too long.


")