
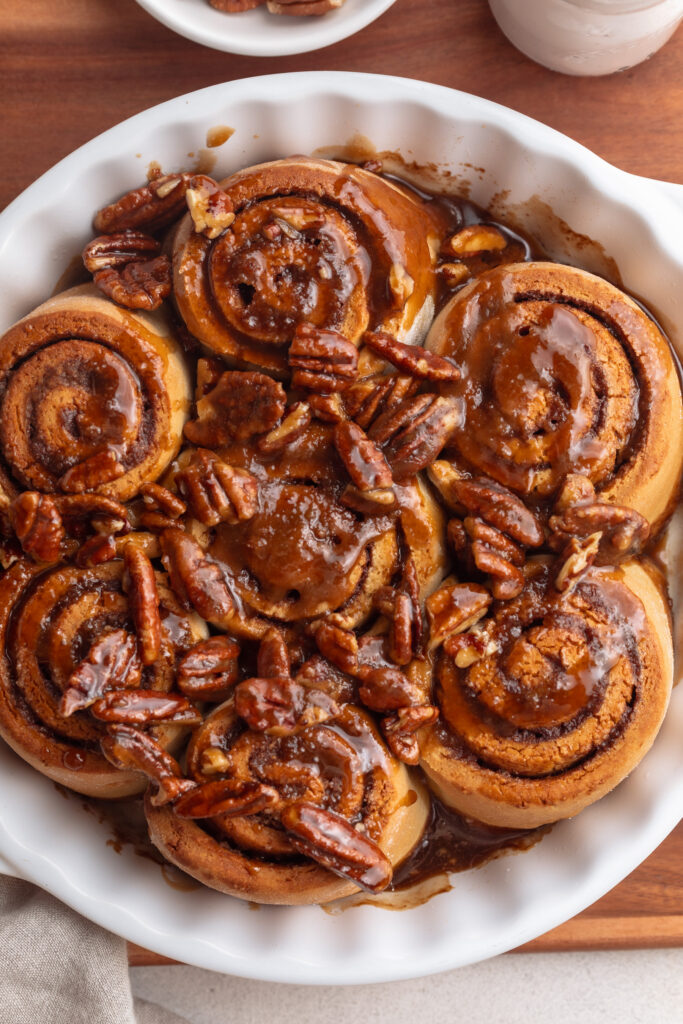
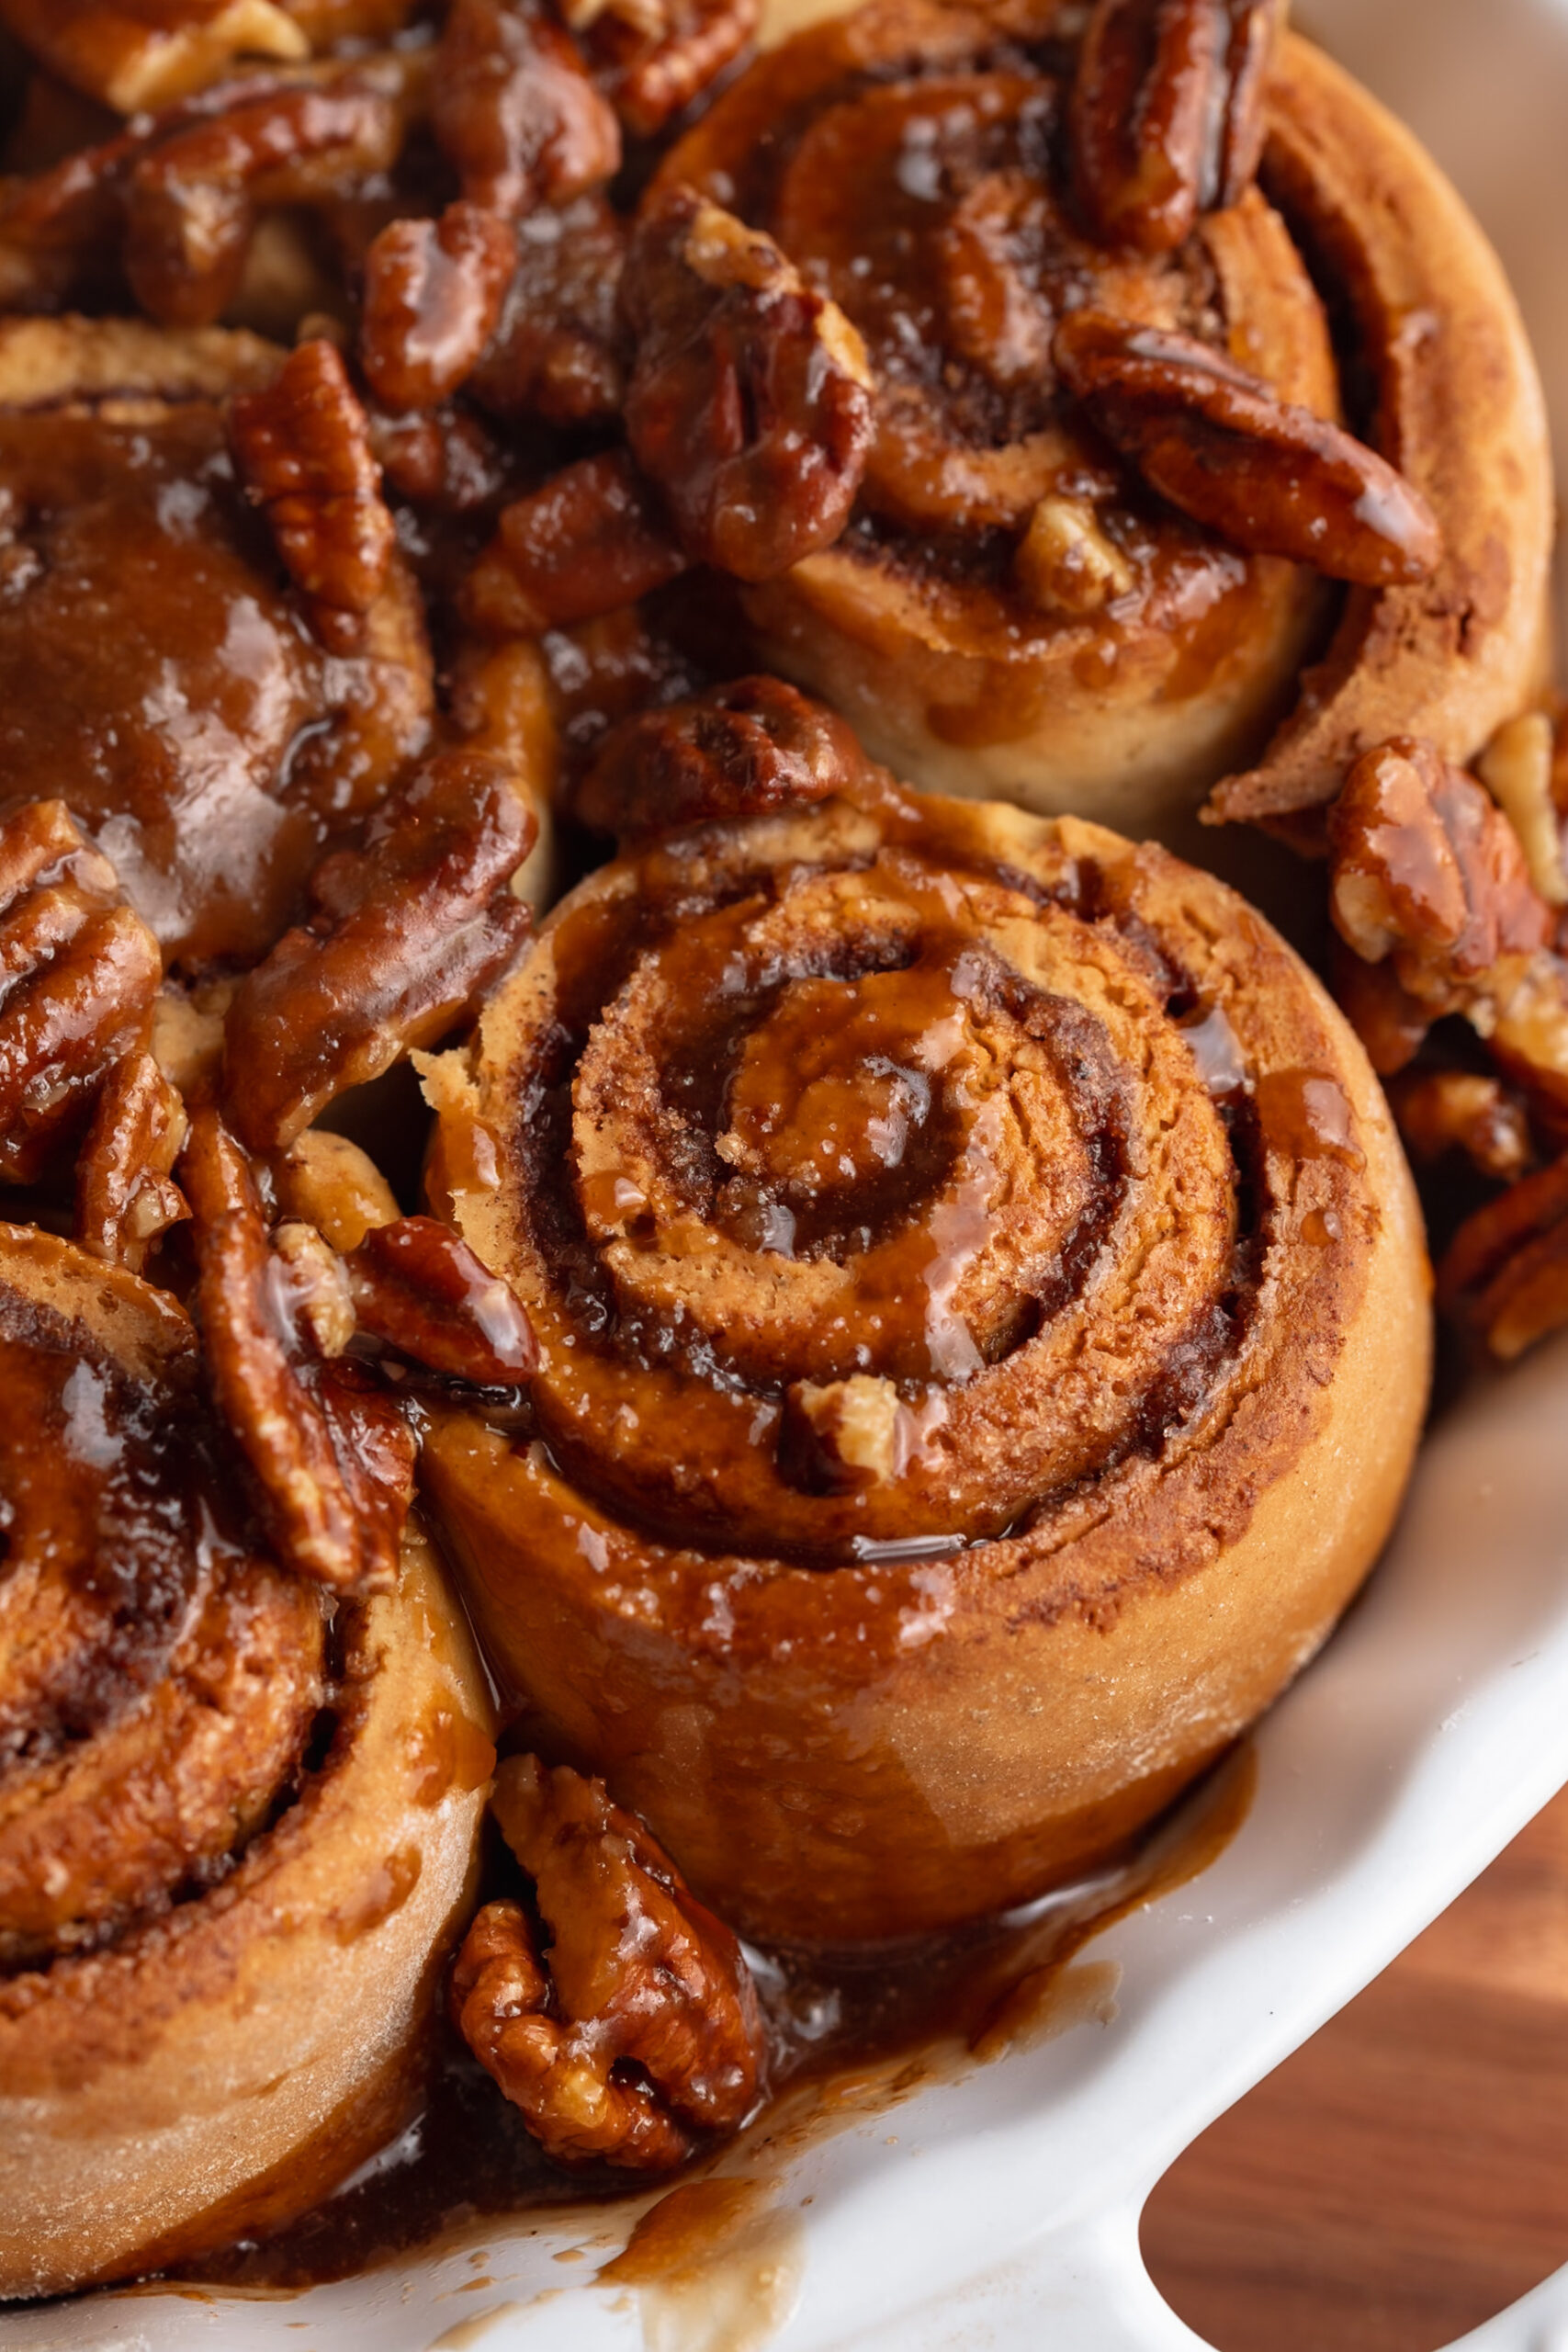
These pecan pie brownies were entirely my Mom’s idea! She texted me last week and asked if I could make a pecan brownie recipe gluten-free and dairy-free for thanksgiving this year. And I, of course, immediately said YES! It didn’t take me long to realize that all I needed to do was take the sticky pecans from my gluten-free pecan cinnamon rolls recipe and combine them with my famous almond flour brownie recipe to make this seriously unique and decadent dessert. I seriously can’t wait to bake these for thanksgiving this year, I just know everyone’s gonna love ’em!

Why You’ll Love These Sticky Pecan Pie Brownies
These brownies deliver that perfect bite — chewy, nutty, sweet, and deeply chocolatey — yet totally gluten-free and dairy-free! Made with wholesome ingredients like almond flour, coconut oil, and coconut sugar, they’re a better-for-you take on a beloved Southern dessert. Plus, they’re surprisingly simple: no mixers, no complicated layers, just pure sticky-sweet goodness baked into every square.
What Makes This Recipe Healthy?
Unlike traditional pecan pie brownies loaded with butter, corn syrup, and white flour, this version is made with nutrient-dense swaps:
- Almond flour for a gluten-free, protein-rich base.
- Coconut oil in place of butter for healthy fats.
- Coconut sugar as a natural, lower-glycemic sweetener.
- Non-dairy milk to keep the recipe 100% dairy-free.
These swaps make each brownie rich and satisfying — with less processed sugar and more whole food ingredients!

Frequently Asked Questions
Can I use all-purpose flour instead of almond flour?
Yes! You can swap the almond flour for an equal amount of all-purpose flour (regular or gluten-free). The texture will be a bit more cake-like, but still delicious.
What can I use instead of coconut sugar?
Brown sugar or maple sugar both work beautifully in this recipe, if you don’t have coconut sugar on hand. They’ll keep that same caramelized flavor in the pecan layer.
Can I use a different nut other than pecans?
Absolutely — walnuts, hazelnuts, or even cashews would work well here. Pecans give the most traditional flavor, but feel free to mix it up based on what you have!
Sam’s Recipe Tips
- Don’t skip the parchment paper! It makes flipping the brownies out of the pan so much easier.
- Use room temperature eggs – it helps them whip up light and fluffy.
- For extra indulgence, drizzle with melted chocolate or a sprinkle of flaky sea salt before serving.
- Storage tip: Keep leftovers in an airtight container at room temp for up to 3 days, or refrigerate for up to a week.
These Sticky Pecan Pie Brownies are the perfect healthier dessert to impress guests during the holidays – rich, gooey, and full of delicious flavor!

Sticky Pecan Pie Brownies
Equipment
- 1 small saucepan
- 1 large bowl
- 1 small bowl
- 1 8×8-inch baking pan
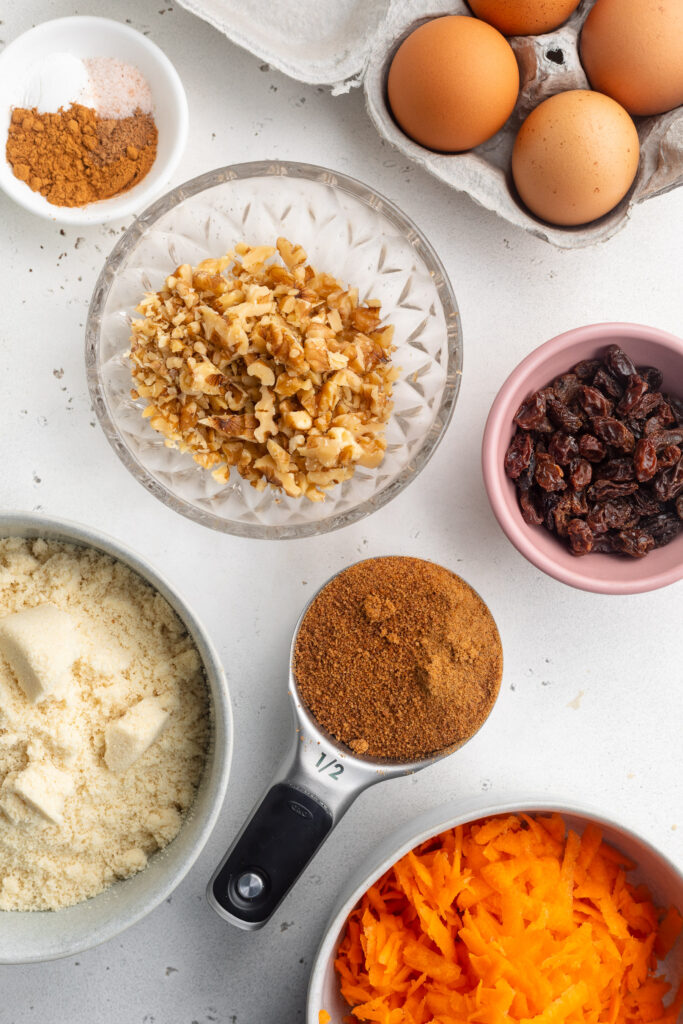
Ingredients
For the pecan layer:
- 2 tablespoons coconut oil or butter
- 1/2 cup coconut sugar or brown sugar
- 2 tablespoons non-dairy milk
- 1 teaspoon vanilla extract
- 1 1/2 cups unsalted pecans chopped
For the brownie layer:
- 1 cup coconut sugar or regular sugar
- 3 large eggs at room temperature
- 1 1/2 cups almond flour
- 3 tablespoons unsweetened cocoa powder
- 1 teaspoon vanilla extract
- 1/4 teaspoon salt
- 1 cup chocolate chips
- 1/2 cup coconut oil
Instructions
- Preheat the oven to 350° Fahrenheit and line then grease an 8×8-inch baking pan with parchment paper.
- Prepare the pecan layer by melting the coconut oil in a small saucepan over low-medium heat. Add in the coconut sugar and non-dairy milk, bring to a gentle simmer and stir constantly for about 2 minutes.
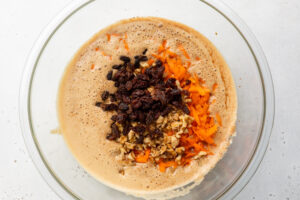
- Remove the saucepan from the heat, add in the vanilla extract and stir in the pecans, then transfer the mixture to your prepared baking pan. Spread the pecans into an even layer to coat the bottom of the pan.
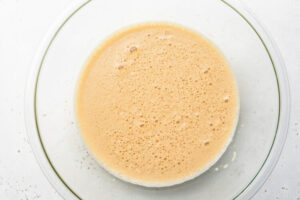
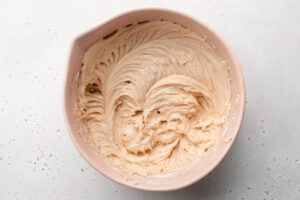
- Next, make the cake layer by beating the coconut sugar and eggs in a large bowl with either a hand of stand mixer until light and fluffy (about 2 minutes).
- Add in the almond flour, cocoa powder, vanilla extract, and salt. Stir until everything is just combined, careful not to over-mix.
- In a separate bowl, add the coconut oil and 1 cup of chocolate chips. Microwave in 30-second intervals, stirring between each interval, until chocolate chips are fully melted.
- Pour the melted chocolate chips and coconut oil into the cake batter, and stir to combine. Then, pour the cake batter on top of the pecans in your baking dish. Bake for 30-35 minutes, or until a toothpick inserted down the center of the cake comes out mostly clean.
- Remove the cake from the oven and let it sit at room temperature for about 10 minutes. Then, carefully turn the cake over onto a wire cooling rack and peel away the parchment paper. Let the cake cool completely before slicing and serving!
")


")


