Tag

cucumber

Browsing

I know what you’re thinking – yogurt for breakfast is supposed to be sweet, but hear me out… this savory yogurt bowl is about to completely change the way you think about your morning meal! Creamy Greek yogurt topped with crispy roasted chickpeas, fresh avocado, juicy tomatoes, crunchy cucumber, and a perfectly boiled egg. It’s fresh, filling, packed with protein and healthy fats, and honestly one of the most satisfying breakfasts I’ve ever had! It tastes like something you’d order at your favorite brunch spot, but it comes together in just 30 minutes at home.

If you’re stuck in a breakfast rut – same smoothie, same overnight oats, same avocado toast on repeat – this is the recipe to shake things up! It’s the perfect way to switch up your morning routine with something that’s genuinely nourishing, surprisingly delicious, and totally different from anything else in your rotation. Pair it with my High-Protein Breakfast Biscuits for an extra protein boost, or serve it alongside my La Scala Chopped Salad for a light and satisfying lunch.

Why You’ll Love This Savory Yogurt Bowl

  • The perfect way to switch up your boring breakfast. If you eat the same thing every morning, this savory yogurt bowl is your sign to mix it up. It’s unexpected, exciting, and so delicious that you’ll genuinely look forward to breakfast again.
  • Packed with protein, veggies, fiber, and healthy fats. Greek yogurt, a soft-boiled egg, and crispy chickpeas deliver serious protein. Avocado brings healthy fats. Tomatoes and cucumber add freshness and fiber. This bowl truly does it all.
  • Surprisingly delicious. I know savory yogurt sounds a little unusual, but don’t knock it until you try it! The creamy, tangy yogurt is the perfect backdrop for the crispy chickpeas and fresh toppings – the combination just works.
  • Easy and quick to make. The crispy chickpeas take about 25 minutes to roast, but everything else comes together in minutes. Soft-boil your egg while the chickpeas roast and you’re ready to assemble right away.
  • Healthy and genuinely satisfying. This bowl will keep you full for hours – no mid-morning crash, no snacking before lunch. It’s the kind of breakfast that actually fuels your day!
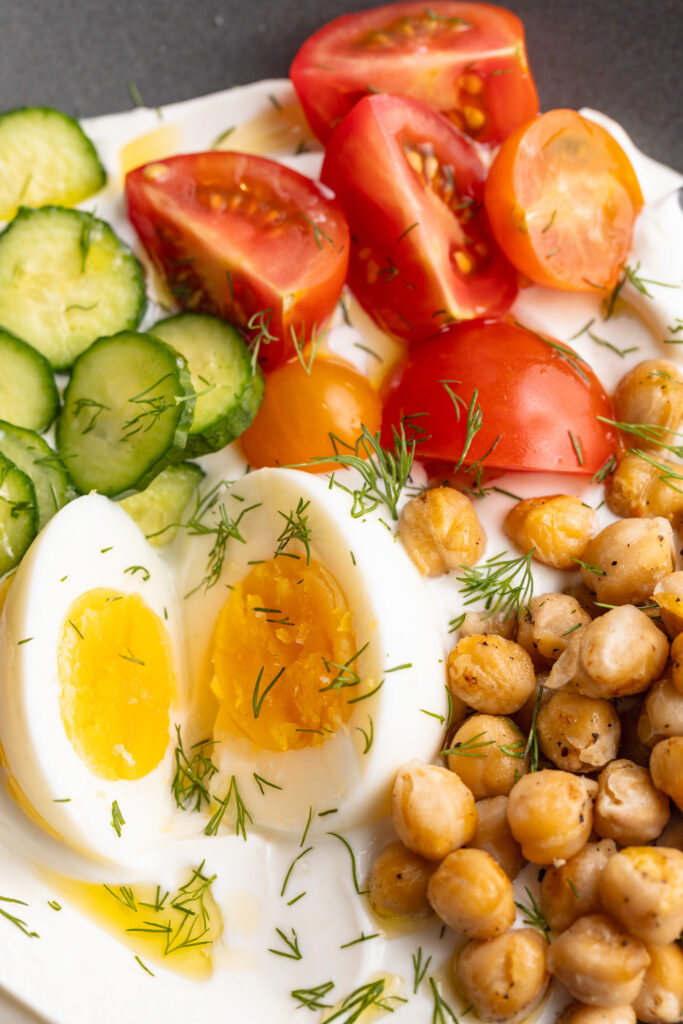
close up image of the toppings in a savory yogurt bowl.

Recipe Variations and Substitutions

  • Greek Yogurt: Any plain, full-fat yogurt works here – regular, dairy-free coconut yogurt, or even a thick labneh for an extra tangy, creamy base. For a dairy-free version, a thick plant-based yogurt like coconut or cashew yogurt both work well.
  • Egg: Not an egg fan? Skip it entirely – the bowl is still incredible without it. Hard-boiled eggs work too if you prefer a fully cooked yolk. For extra protein, add a few slices of smoked salmon instead.
  • Chickpeas: Short on time? Use canned chickpeas warmed in a skillet with olive oil and spices instead of roasting, or swap for white beans, lentils, or edamame.
  • Vegetables: This bowl is endlessly customizable. Swap the tomato and cucumber for whatever fresh vegetables you have on hand – radishes, roasted red peppers, shredded carrots, roasted sweet potato, or baby spinach all work beautifully.
  • Avocado: Not an avocado fan? Try hummus, a drizzle of tahini, or a handful of olives instead for a similar richness.
  • Add More Flavor: A sprinkle of everything bagel seasoning, za’atar, or red pepper flakes on top of the yogurt takes this bowl to an entirely different level. Highly recommended!
  • Make it a Meal Prep Breakfast: Roast a big batch of chickpeas at the beginning of the week (they keep for 3–4 days in an airtight container at room temperature) and keep all your toppings prepped in the fridge. In the morning, all you need to do is assemble – it takes under 5 minutes!
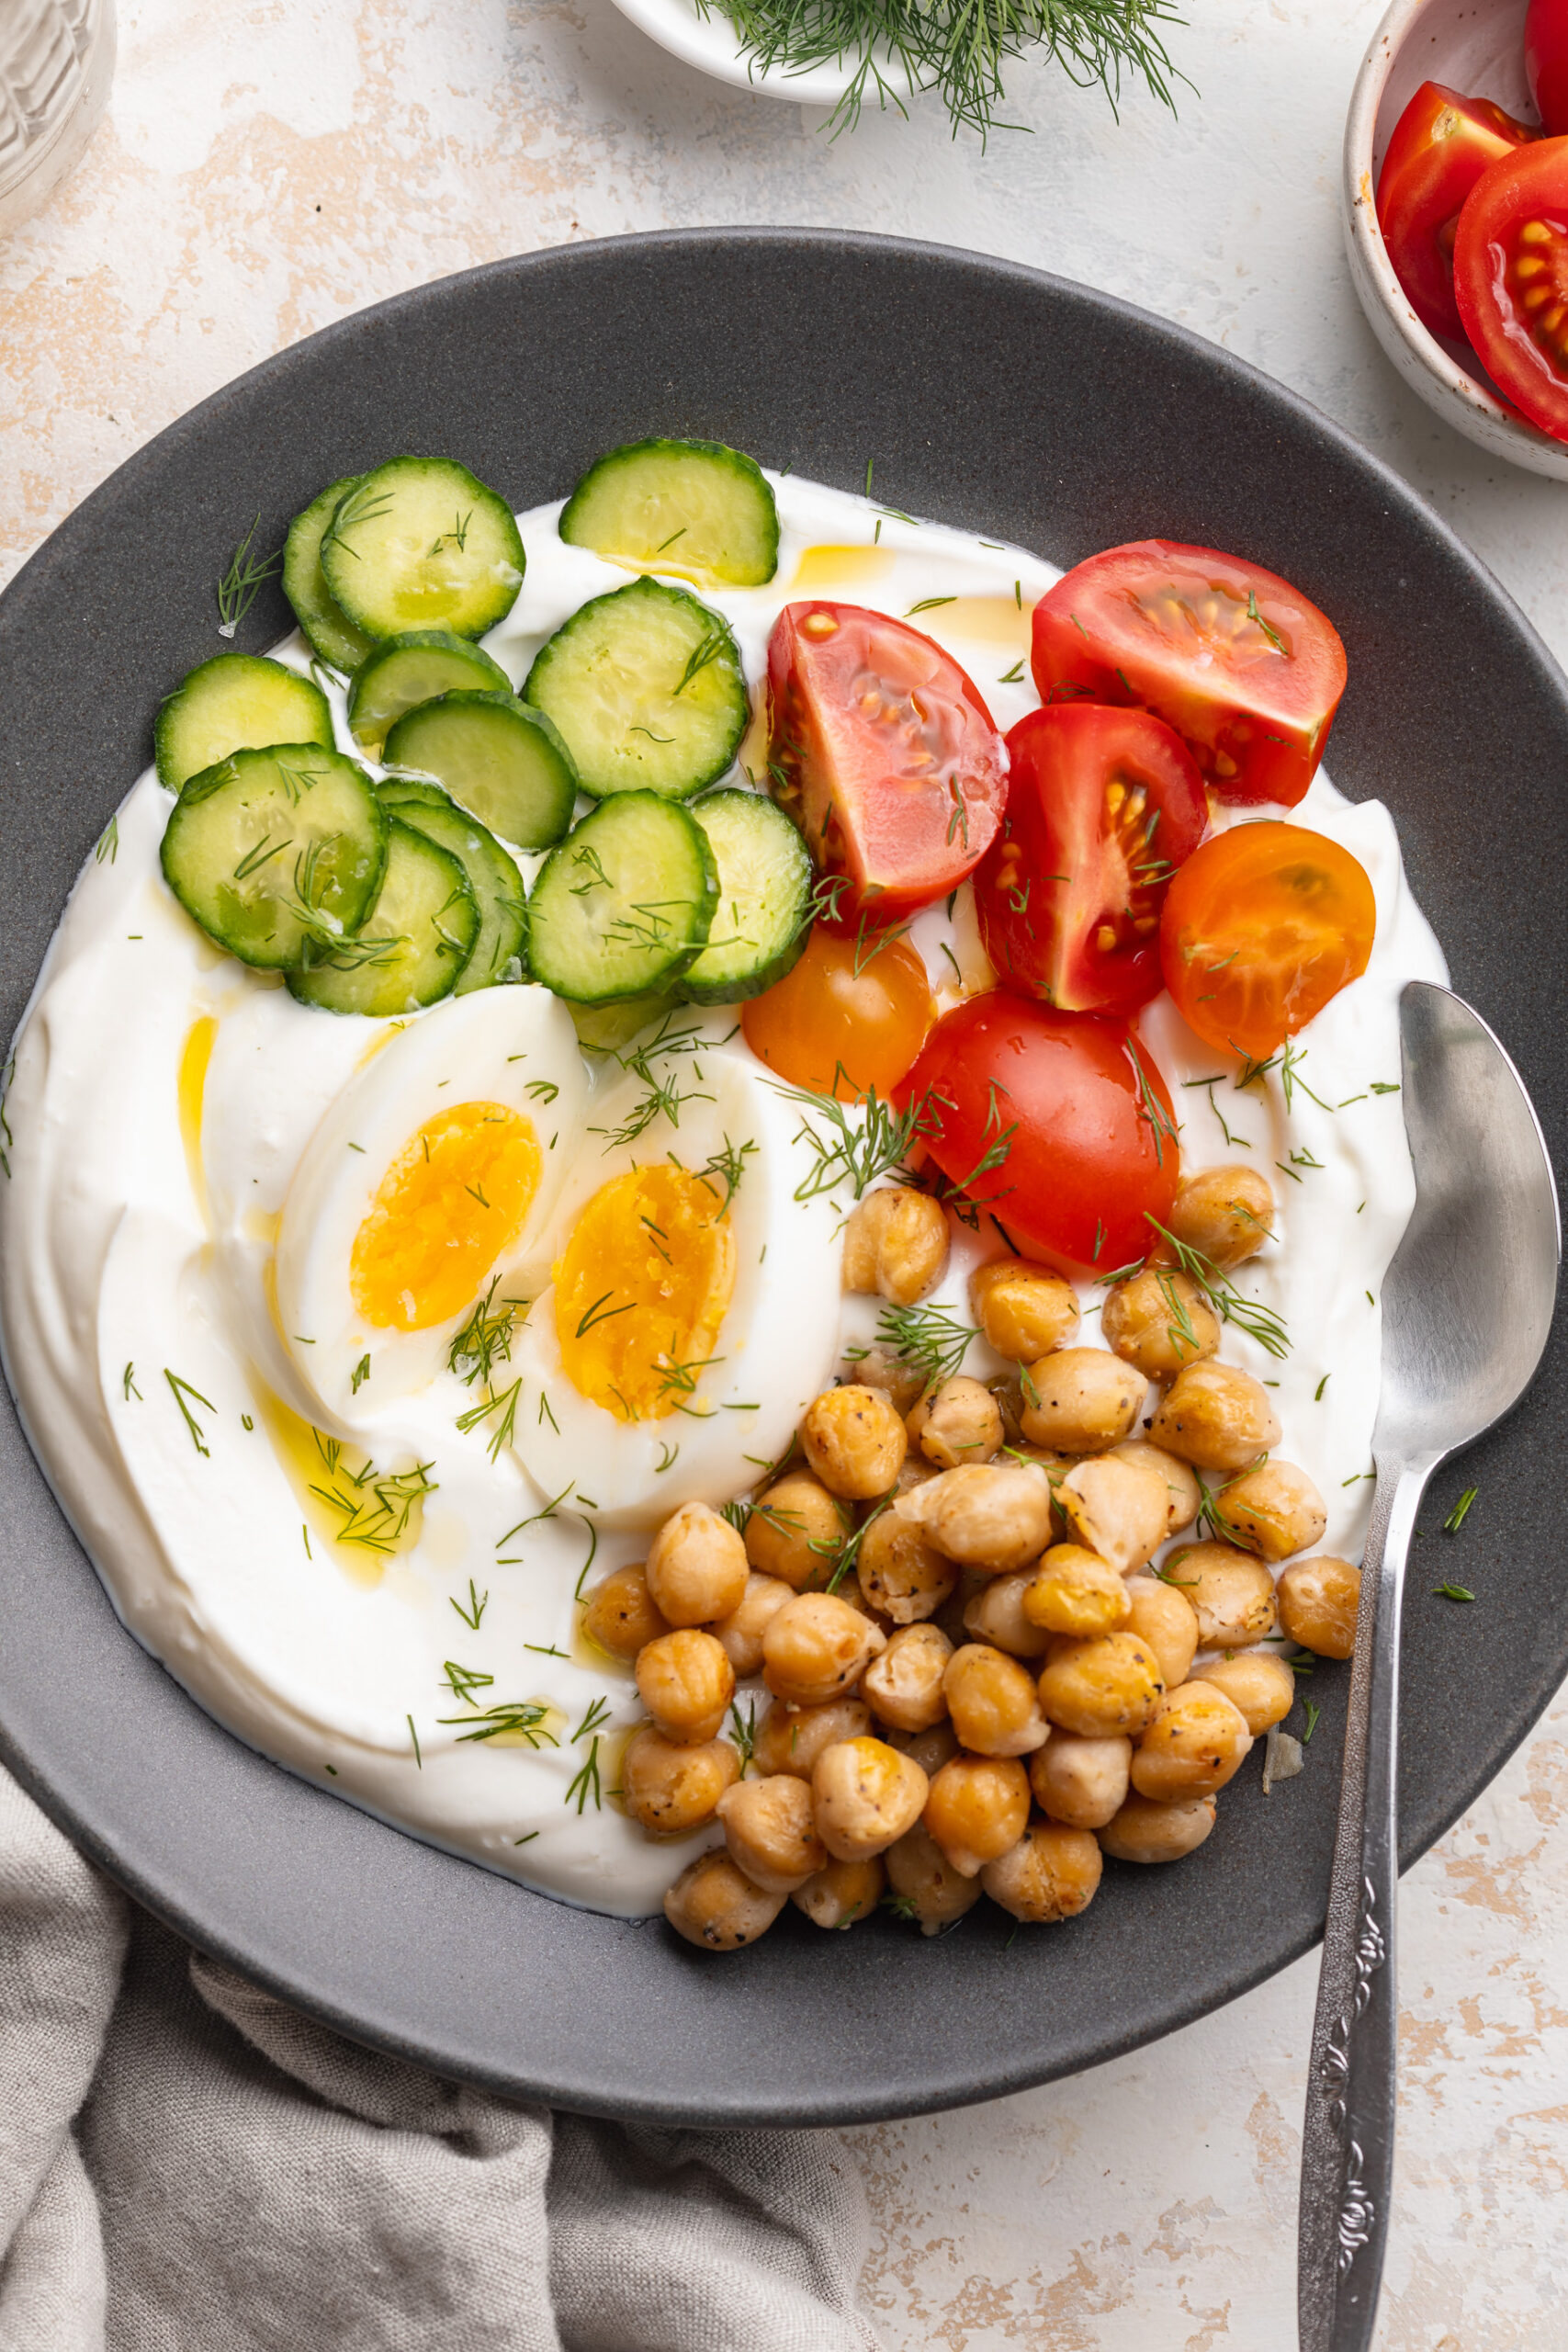
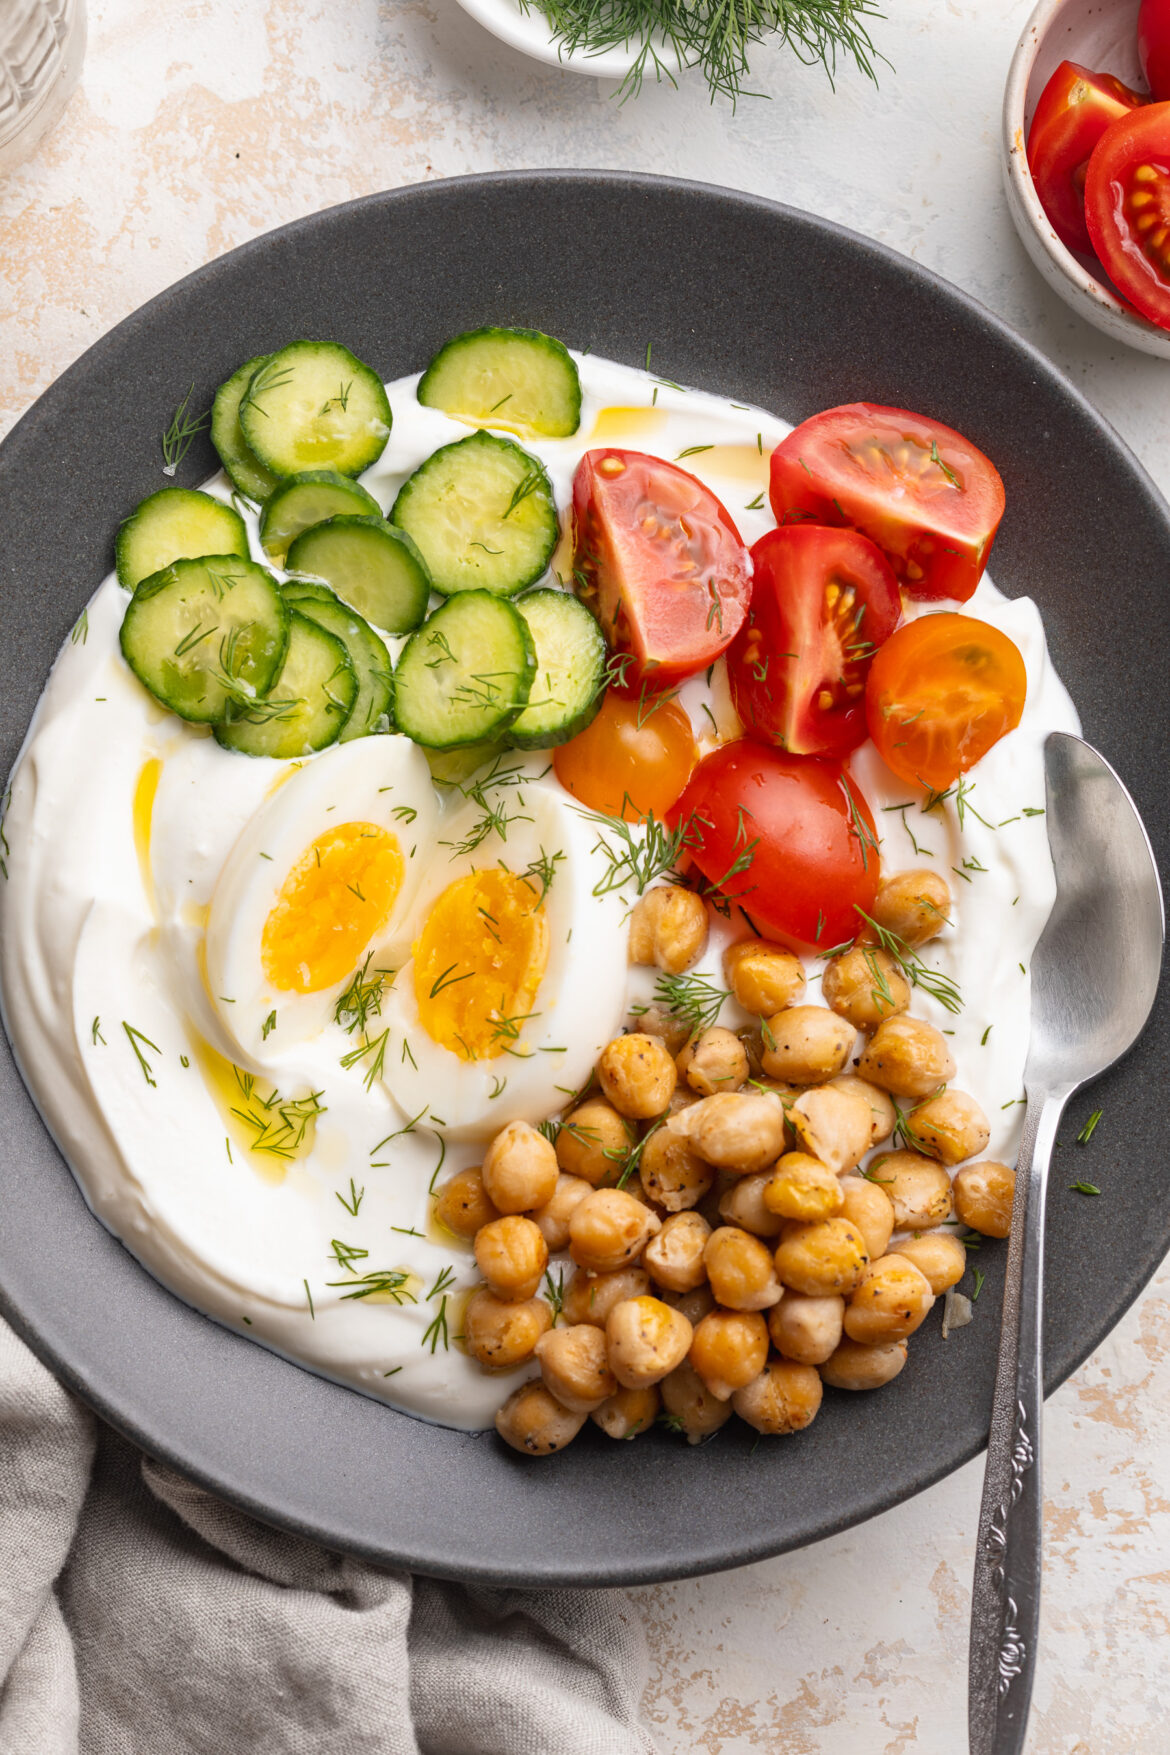
overhead image of a savory yogurt bowl on a table with a spoon.
No ratings yet

Savory Yogurt Bowl (25g+ protein!)

This savory yogurt bowl is a fresh, filling, and surprisingly delicious twist on your usual morning routine – topped with crispy roasted chickpeas, a jammy soft-boiled egg, avocado, tomatoes, and cucumber for a breakfast that's packed with protein, healthy fats, and feel-good ingredients! It comes together in just 30 minutes and tastes like something you'd order at a fancy brunch spot, but it's super EASY to make at home. If you've been stuck in a breakfast rut and are looking for a healthy protein-packed breakfast recipe that will actually keep you full all morning, this is it!
Print Pin Rate
Prep Time: 5 minutes
Cook Time: 25 minutes
Total Time: 30 minutes
Servings: 1 serving

Equipment

  • 1 baking pan
  • 1 serving bowl

Ingredients

  • 1/2 – 1 cup Greek yogurt
  • 1 boiled egg cooked to your liking!
  • 1/2 cup chickpeas
  • 1/4 avocado sliced or diced
  • 1/4 cup cherry tomatoes
  • 1/4 cup cucumber thinly sliced or diced
  • olive oil for roasting and drizzling
  • salt, pepper, garlic powder to taste
  • flaky sea salt to finish

Instructions

  • Preheat oven to 400°F. Pat chickpeas dry, toss with olive oil, salt, pepper, and garlic powder, and roast for 20–25 minutes until crispy.
  • Soft-boil the egg in boiling water for 6–7 minutes, then transfer to an ice bath for 5 minutes. Peel and slice in half.
  • Spoon Greek yogurt into a shallow bowl and spread to the edges. Drizzle with olive oil and a pinch of salt.
  • Top with crispy chickpeas, soft-boiled egg, avocado, tomato, and cucumber.
  • Finish with a drizzle of olive oil, flaky sea salt, and black pepper. Serve immediately!

Notes

  • Pat the chickpeas completely dry before roasting for the crispiest result.
  • Use full-fat Greek yogurt for the richest, creamiest base.
  • Add za’atar, everything bagel seasoning, or red pepper flakes on top for extra flavor.
  • For meal prep, roast a big batch of chickpeas and store at room temperature for up to 3–4 days.
  • Assemble just before eating — the yogurt will get watery if left to sit with the toppings for too long.
Nutrition

Serving: 1serving | Calories: 420kcal | Carbohydrates: 28g | Protein: 25g | Fat: 25g | Fiber: 8g | Sugar: 6g

I’ve been itching to develop more high protein snack recipes. So when I set out to create these snack boxes, I knew just who to call! My friend Natalia (find her on Instagram as @nutritionbynarlie) is the protein QUEEN. She’s also the most knowledgable person I know when it comes to nutrition. She helped me build the most well-rounded, nutrient dense, and high protein snack boxes possible. Each of these boxes contain a whopping 25 grams of protein! And don’t worry, we personally taste-tested every single box, and can vouch for their deliciousness. I really think you’re going to LOVE these high protein snack boxes that we put together!

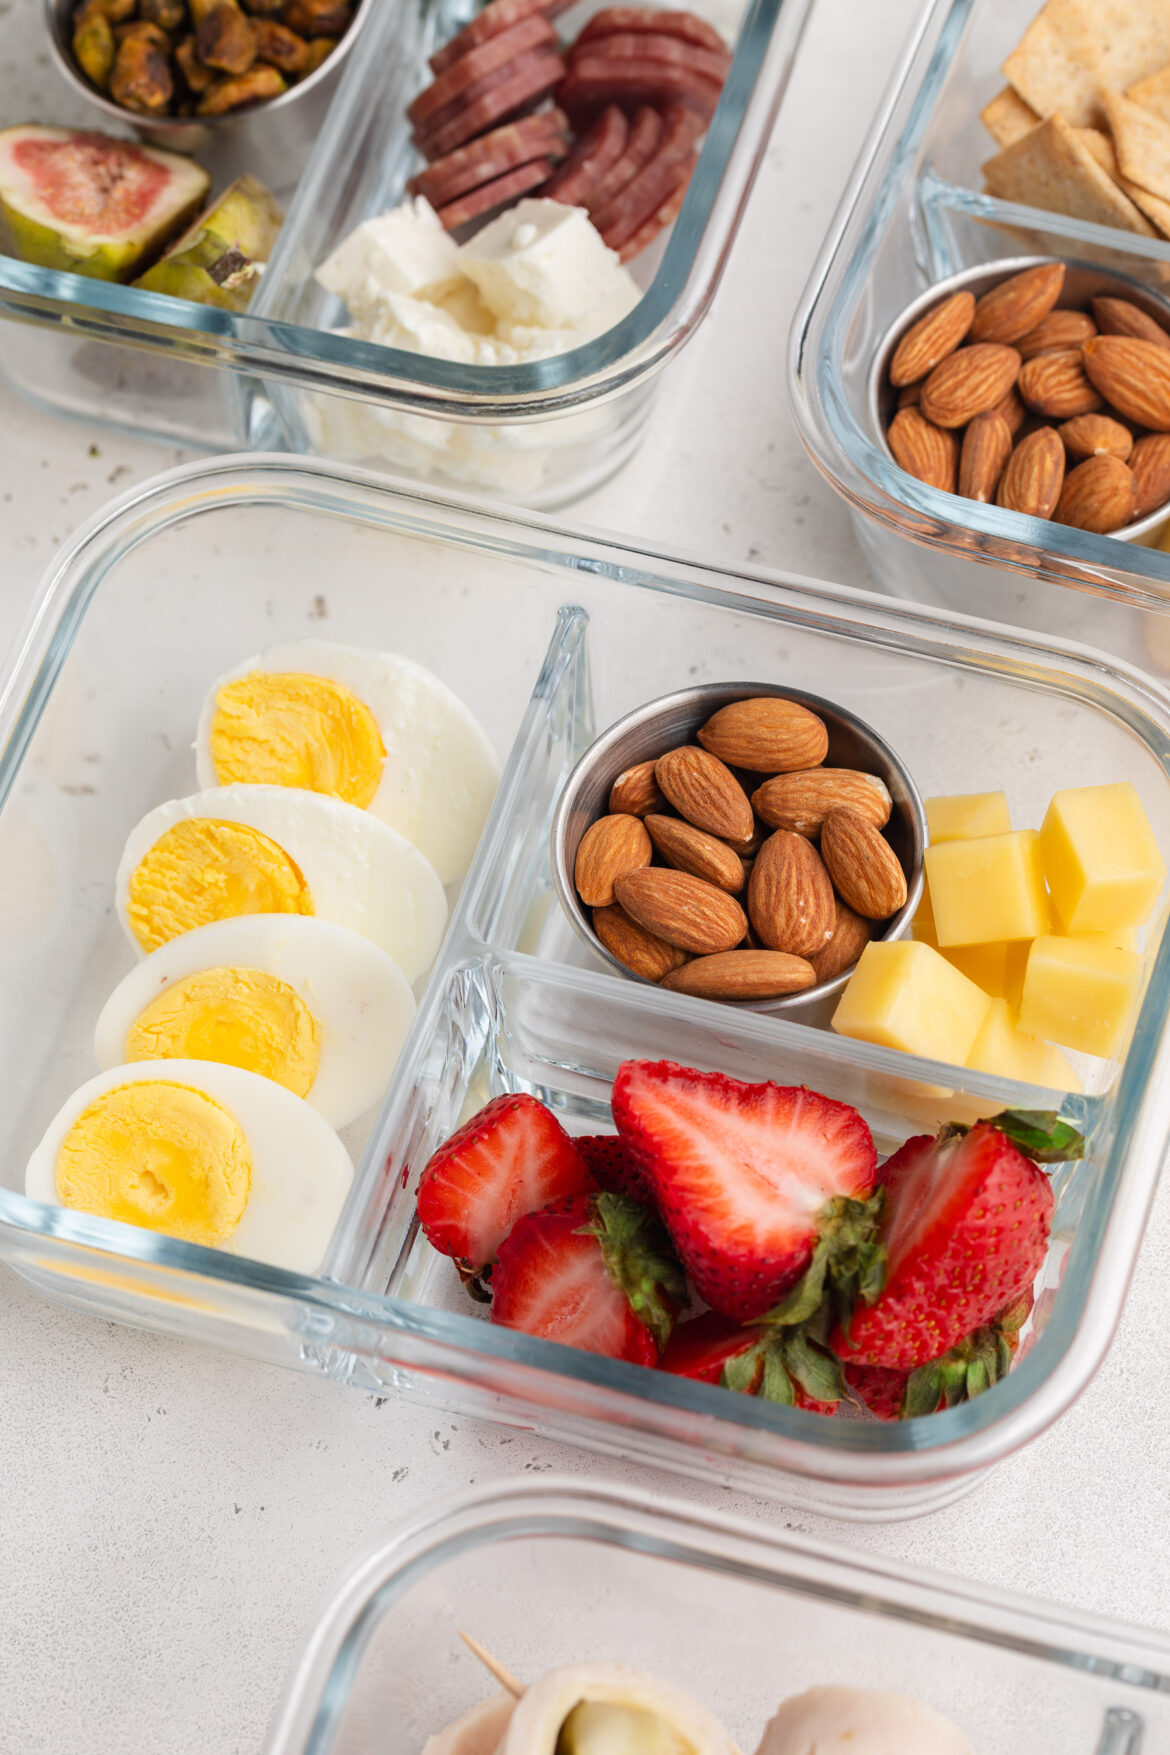
overhead image of all four high protein snack boxes, each containing 25 grams of protein.

I purchased these meal prep glass containers on Amazon, linked HERE!

Which High Protein Snack Box is Right For You?

Back to Basics: This classic combination is simple yet effective. Boiled eggs provide a substantial protein boost, while almonds and cheddar cheese add extra protein and healthy fats. The berries offer a refreshing burst of antioxidants and natural sweetness.

Greek: Inspired by Greek cuisine, this box features salami and feta cheese for a savory protein punch. Greek yogurt pairs perfectly with cucumber and dill for a refreshing snack, while pistachios and figs add a delightful mix of crunch and sweetness.

American: This American-themed box combines turkey, Swiss cheese, and a pickle for a flavorful and protein-packed roll-up. The kettle corn popcorn and peanuts bring a nostalgic Crackerjack vibe, while the orange slices add a citrusy zing!

Dairy-Free: For those avoiding dairy, this box offers a delicious mix of hummus with gluten-free crackers, salami, turkey, almonds, and apple slices. It’s a well-rounded option that doesn’t compromise on flavor or nutrition!

Tips and Tricks

  • Save time during the week by preparing your high-protein snacks in advance. Boil eggs, slice veggies, and portion out nuts and cheese on the weekend so you can easily assemble your snack boxes each morning.
  • Keep things interesting by rotating different protein sources and accompaniments. This prevents snack fatigue and ensures you’re getting a range of nutrients.
  • Use small containers or silicone muffin cups to portion out your snacks. This helps you keep track of serving sizes and prevents overeating.
hand holding up Greek themed high protein snack box

Additional High Protein Snack Ideas

Looking to switch things up? Here are some other high-protein snacks that can be swapped into your boxes:

Cottage Cheese: A ½ cup serving contains about 14 grams of protein.
Protein Bars: Choose bars with at least 10 grams of protein and minimal added sugars.
Jerky: Beef, turkey, or chicken jerky provides a portable protein punch, with about 10 grams of protein per ounce.
Edamame: One cup of edamame contains about 17 grams of protein, making it a fantastic plant-based option.
Tuna Packs: A single serving tuna pack can offer up to 20 grams of protein, perfect for a quick and easy addition.

overhead image of the dairy-free high protein snack box
5 from 1 vote

High Protein Snack Boxes (4 ways!)

These high-protein snack boxes are perfectly balanced with protein, healthy fats, and complex carbs, making them an ideal choice for anyone on the go. Each box contains a whopping 25 grams of protein, ensuring you stay fuller and more satisfied for longer. Whether you’re heading to work, school, or the gym, these snack boxes will keep you energized and ready to tackle whatever comes your way.
Print Pin Rate
Servings: 0

Ingredients

Back to Basics Snack Box

  • 2 boiled eggs
  • 1 ounce almonds
  • 1 ounce cheddar cheese, cubed
  • small handful fresh berries

Greek Snack Box

  • 3 slices salami, or Loza
  • 1 ounce feta cheese, cubed
  • 3 ounces Greek yogurt
  • 1/4 cup sliced cucumber
  • 1 ounce shelled pistachios
  • 2 figs, sliced in half

American Snack Box

  • 1 pickle
  • 1 ounce sliced turkey
  • 1 slice Swiss cheese
  • 1 ounce kettle corn popcorn
  • 1 ounce shelled peanuts
  • 1/2 orange, sliced

Dairy-Free Snack Box

  • 3 ounces hummus
  • 6-8 gluten-free crackers
  • 3 slices salami
  • 1 ounce sliced turkey
  • 1 ounce almonds
  • 1/2 apple, sliced

Instructions

  • Choose which snack box you’d like to make and prepare all ingredients.
  • Then, place ingredients into snack containers.
  • Seal the containers and store in the fridge for up to 4 days.

These summer rolls are loaded with fresh, crunchy vegetables and served with a savory peanut sauce! In just 20 minutes you’ll have a fun and healthy lunch or snack.

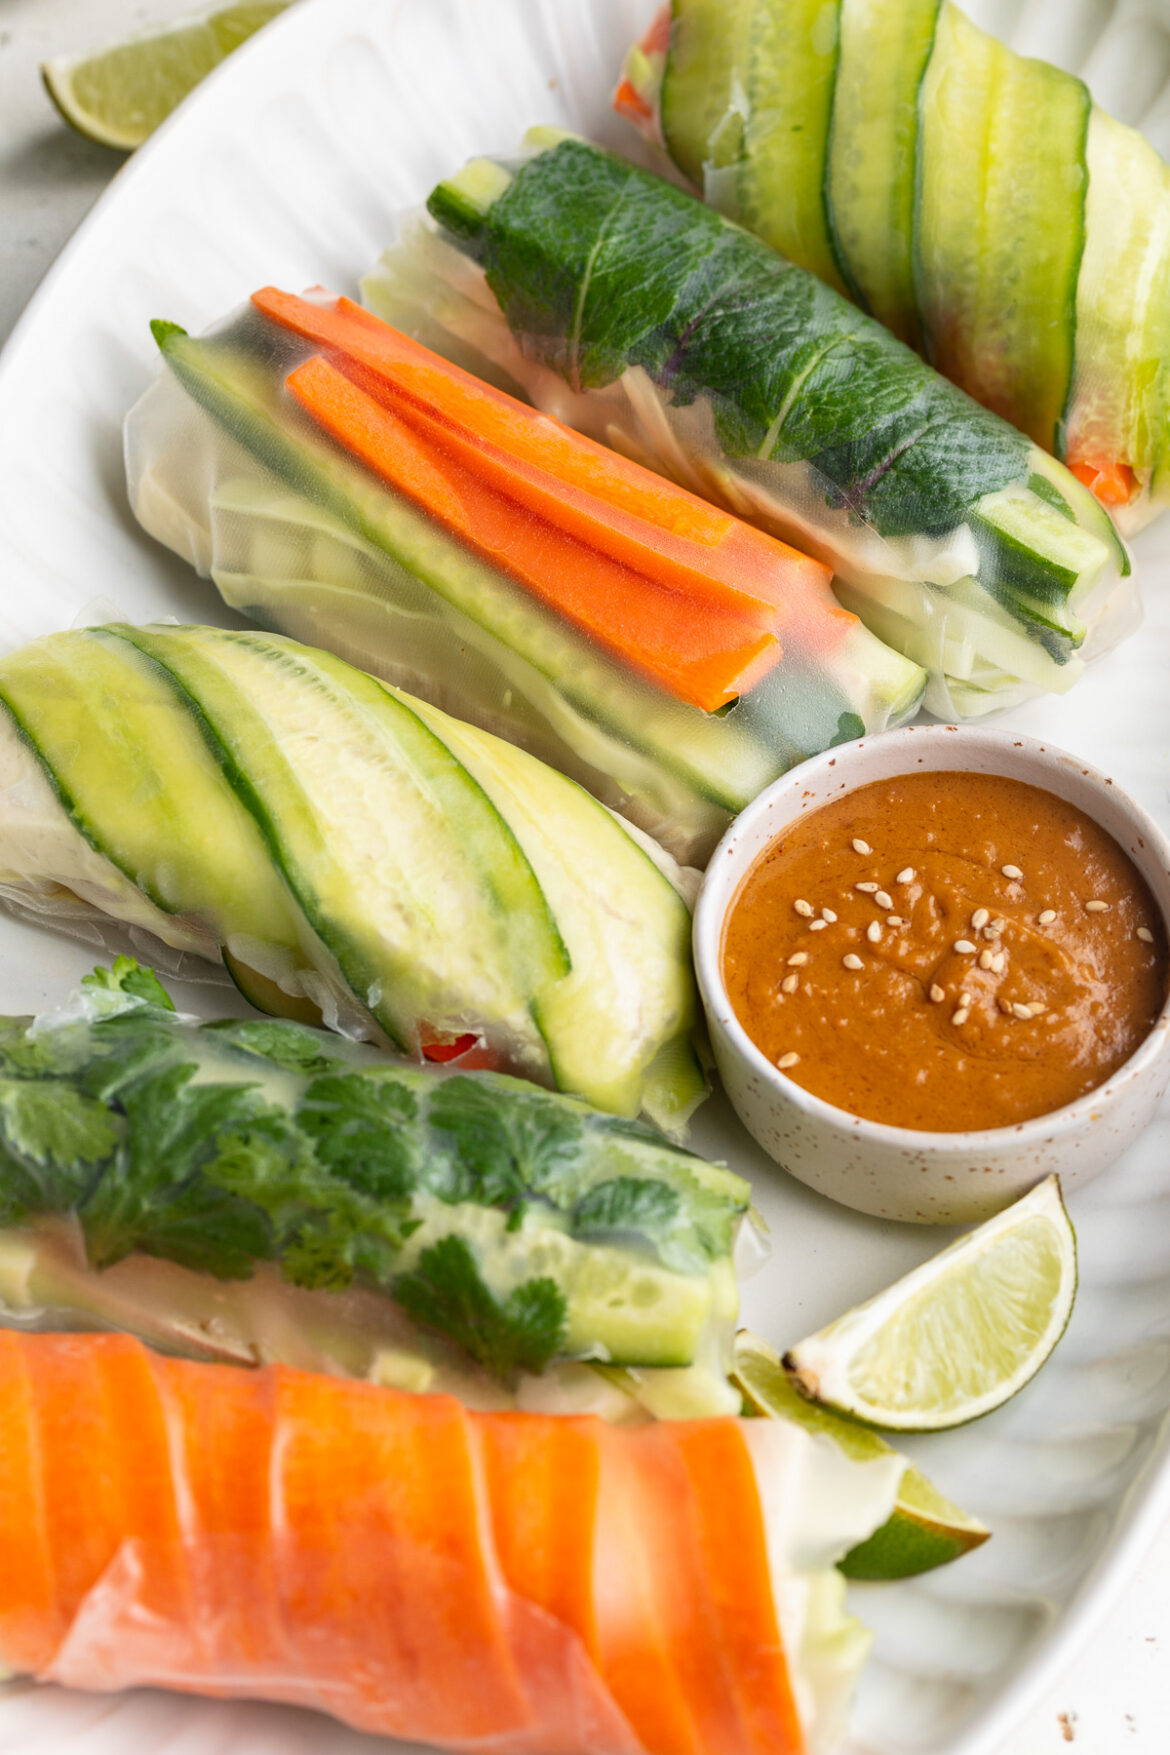
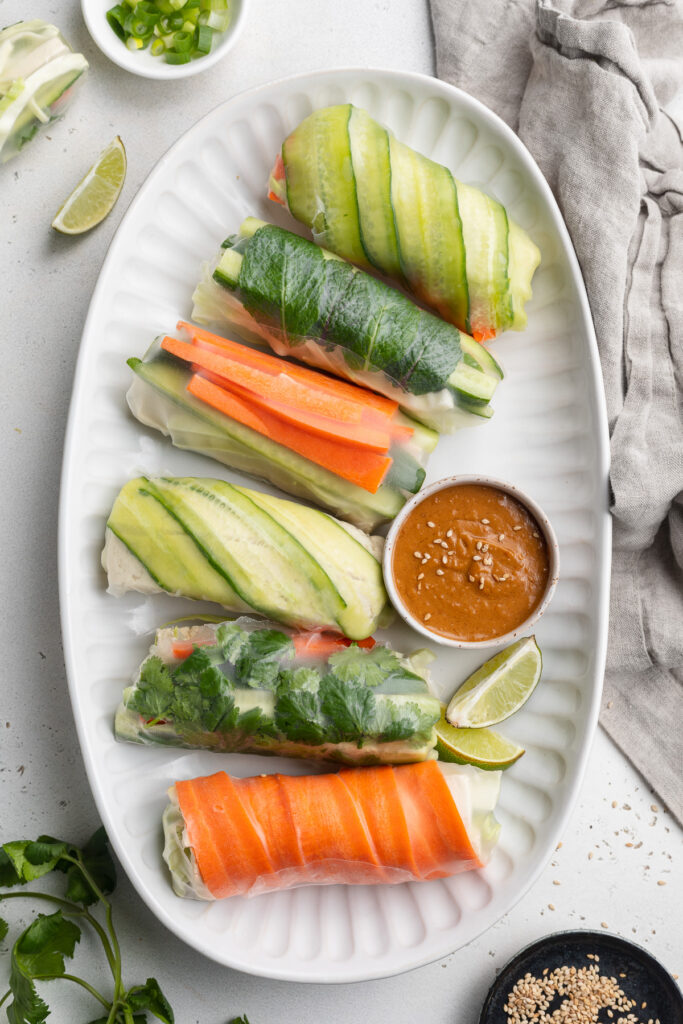
overhead image of peanut dipping sauce on a serving platter with sesame seeds on the side.

What are Summer Rolls?

Summer rolls are a traditional Vietnamese side dish. They’re an assortment of vegetables wrapped in rice paper. Think of them like a sushi roll, but instead of rice and seaweed, you just wrap everything up in a thin sheet of rice paper.

Summer rolls are most commonly served (and best served) with a side of savory peanut dipping sauce. The peanut sauce is honestly my favorite part. I could drink that stuff straight up. Creamy peanut putter, soy sauce, and fresh ginger come together in the most incredible, flavorful way possible! Dipping these summer rolls loaded with crisp, fresh veggies into luscious peanut sauce is nothing short of a dream come true. Guys, you gotta give this recipe a try. They’re vegan, gluten-free, and dairy-free!

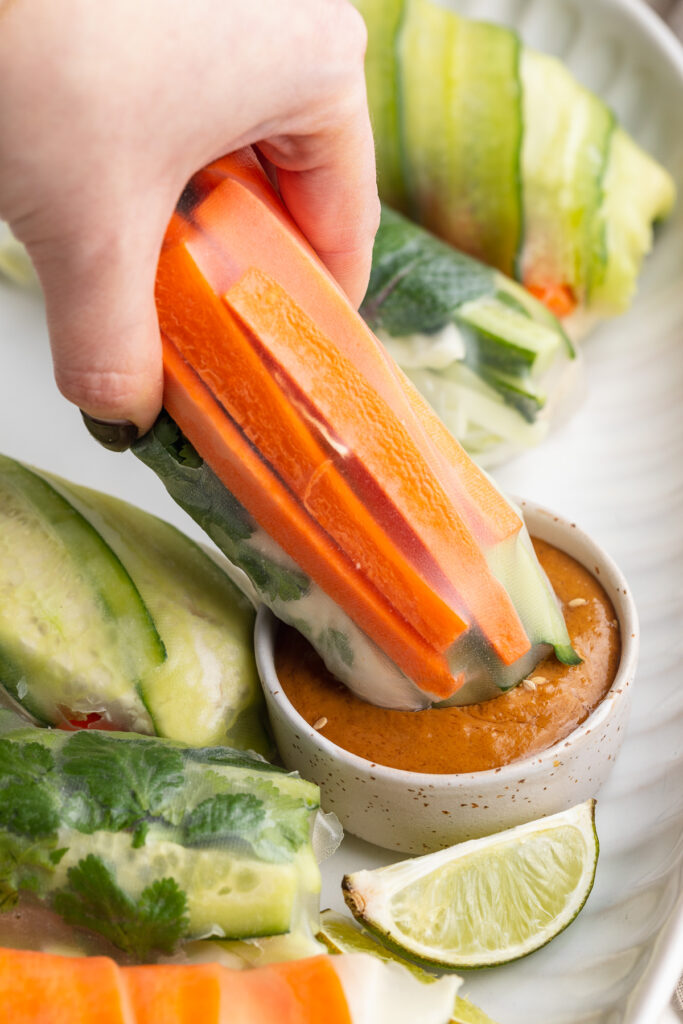
summer rolls being dipped into peanut sauce.

What You Need To Make Summer Rolls with Peanut Sauce

Rice Wrappers – You’d be surprised by how easy rice wrappers are to find! I often locate them in the ethnic/asian aisle of my grocery store. And if all else fails, I can always find them at my local asian markets. If you’re not familiar with rice wrappers, they look sort of like a thinner tortilla. When you remove them from their packaging you’ll find that they’re dry and stiff. Though they simply need a bit of water to help rehydrate them for this recipe. Try not to overthink the process, follow the steps in the recipe below to prepare your rice wrappers.

Tofu – Tofu is an incredible source of protein and contains all nine essential amino acids! It also just sort of takes on the taste of whatever else you’re eating it with. In this case, the tofu soaks up the peanut sauce, which is DELICIOUS. Not only is tofu super easy to come by these days, but it’s super cheap too.

Peanut Butter – To me, peanut butter is typically only ever associated with sweet recipes. Though we turn the tables here by adding savory ingredients such as soy sauce and rice vinegar to create this peanut butter-based sauce. I prefer creamy peanut butter for a smoother sauce, though chunky works too. Just please, whatever you do, make sure the peanut butter you use has NO added sugar! Any sugar in the peanut butter would completely throw off the balance of flavors in this delicious sauce.

summer roll sliced in half on a plate, with cucumber, carrots, and tofu inside.

Adjust This Recipe

  • Make it Nut-Free: For a nut-free sauce, replace the peanut butter with tahini.
  • Add Shrimp: Make my shrimp spring rolls recipe instead!
  • The types and amounts of vegetables and herbs are simply suggestions – you can swap or remove anything you like!
summer rolls with peanut dipping sauce on a plate.
5 from 1 vote

Summer Rolls with Peanut Dipping Sauce

These summer rolls are loaded with fresh, crunchy vegetables and served with a savory peanut sauce! In just 20 minutes you’ll have a fun and healthy lunch or snack.
Print Pin Rate
Prep Time: 20 minutes
Total Time: 20 minutes
Servings: 6 servings

Ingredients

  • 12 spring roll rice wrappers
  • 14 ounces extra firm tofu, sliced into about 12 sticks
  • 1 cup julienned carrots
  • 2 cups julienned cucumber
  • 1 cup napa cabbage, thinly sliced
  • 1/4 cup fresh mint, chopped
  • 1/4 cup fresh cilantro, chopped
  • 1/4 cup green onion, sliced

For the peanut sauce:

  • 1/2 cup creamy peanut butter
  • 2 tablespoons soy sauce
  • 2 tablespoons rice vinegar
  • 1 tablespoon toasted sesame oil, optional
  • 1 garlic clove, grated
  • 1 tablespoon fresh ginger, grated
  • 2-3 tablespoons warm water

Instructions

  • Fill a shallow bowl with warm water, submerge one sheet of rice wrapper in water for about 5 seconds then transfer to a clean, damp dish towel.
  • Place filling in the center of wrapper and fold the end closest to you over the filling, then tuck sides in and towards the center, finish rolling to create a sealed summer roll. Repeat with remaining rice wrappers.
  • Make the sauce by adding all ingredients to a bowl and whisking until completely smooth.
  • Serve summer rolls with peanut dipping sauce and enjoy!

Notes

  • Change up the filling ingredients however you’d like, use up whatever leftover fresh veggies you have on-hand!
  • Nutrition

    Calories: 300kcal

    More Healthy Vegan Recipes You’ll Love

    Fresh and delicious watermelon salad! This easy summer side dish is finished off with a tangy 3-ingredient lime dressing. Make this watermelon salad with feta, mint, and lime for your next summer party or barbecue!

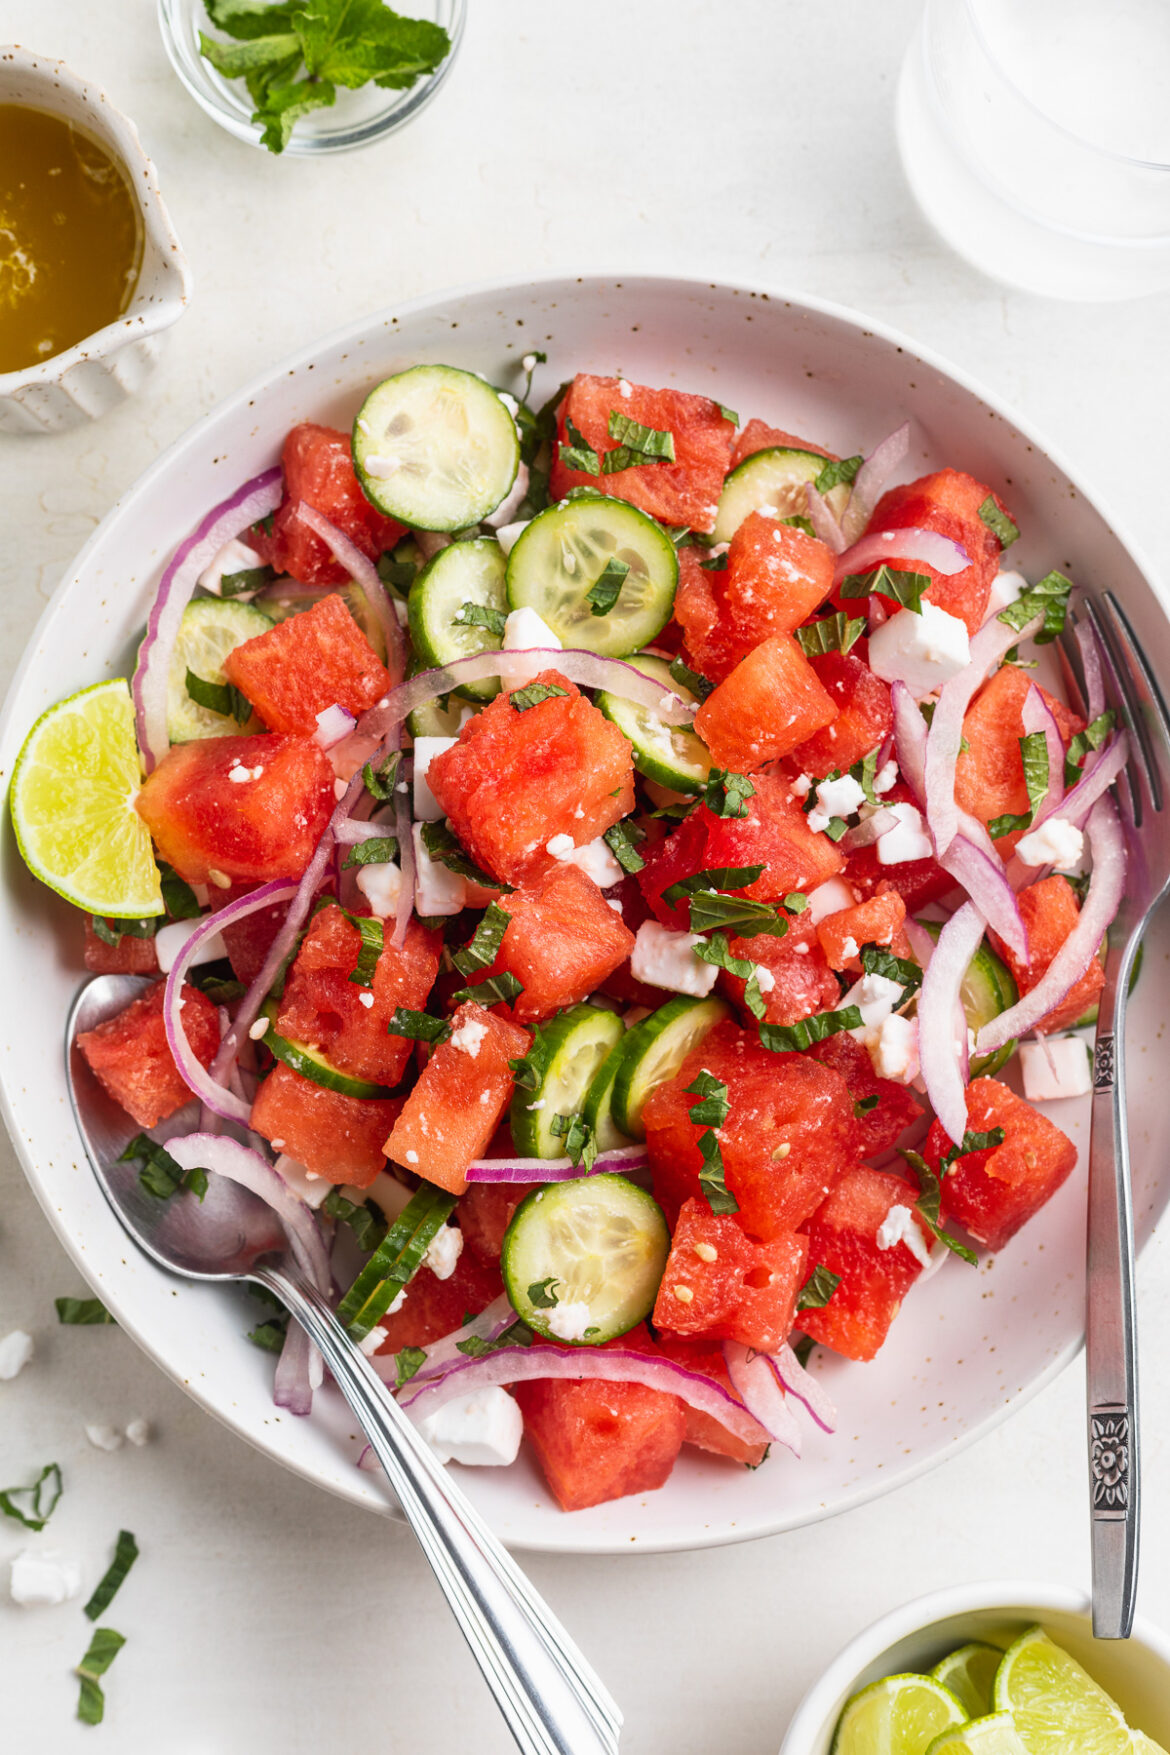
    close-up image of watermelon salad with mint, feta, and lime

    What You’ll Need to Make Watermelon Salad

    Watermelon – Fresh watermelon is in peak season from May through September, so get your watermelon fix in while you can! Need help with how to cut a watermelon? Follow my step-by-step how to cut a watermelon post here. Or, save some time and buy pre-cut watermelon from the store.

    Cucumber – Half an English cucumber adds to the freshness of this delicious summer salad. Dice or slice your cucumber however you’d like for this recipe.

    Red Onion – Thinly sliced red onion adds a nice, tangy bite to this sweet and savory salad. However, if you’re not a fan of raw onion, you can totally leave this out.

    Feta – Add as much or as little crumbled feta to your salad as you’d like! Feta is deliciously creamy and salty, and tastes incredible in this watermelon salad recipe.

    Mint – Fresh mint takes this salad over the top! Not sure mint in a salad will taste good? Just give it a try, trust me.

    Lime Juice – The acidity in fresh lime juice brings out the freshness of all ingredients in this dish. A 3-ingredient lime dressing may sound simple, but it does a lot for this salad!

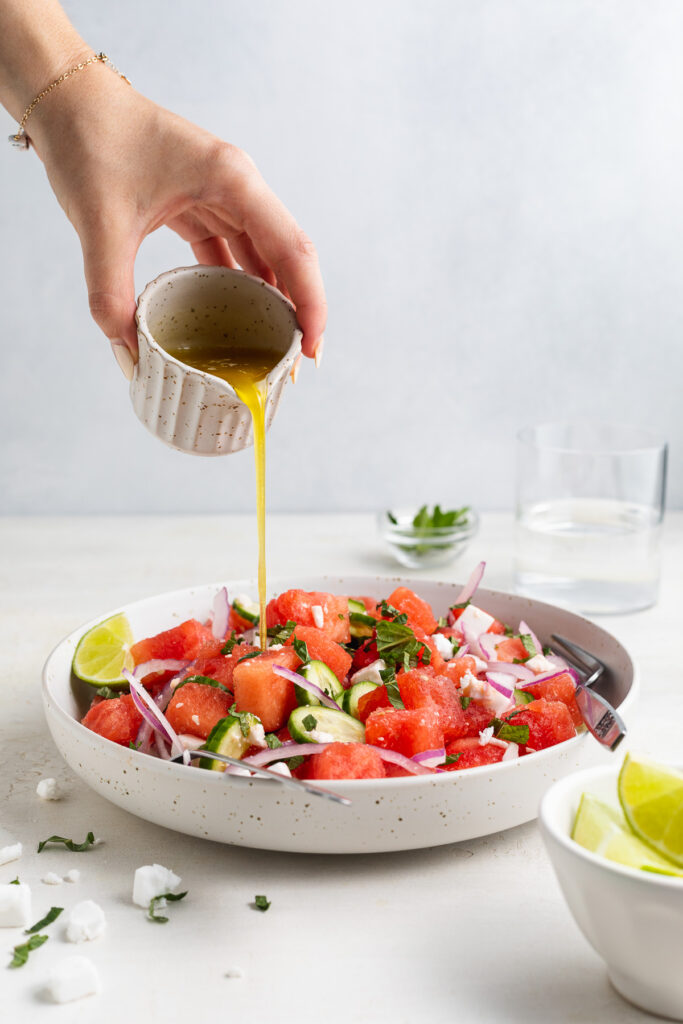
    lime dressing being poured over watermelon salad.

    Tips and Tricks

    • Feel free to prep this salad ahead of time! Make the salad, then whisk together the dressing, and store them separately. When ready to serve, pour lime dressing over the salad and enjoy.
    • Have fun with this watermelon salad, and customize it however you’d like. Add or remove any ingredients you prefer. I’ll sometimes add a small handful of chopped pistachios to this salad, and it’s delicious!

    Adjust This Recipe to Your Dietary Needs

    Make it Dairy-Free/Vegan: Either leave out the feta, or use your favorite vegan feta (I recommend VioLife Vegan Feta) for a vegan watermelon salad!

    overhead image of watermelon salad in a bowl.
    3.50 from 2 votes

    Watermelon Salad with Feta, Mint, and Lime

    Fresh and delicious watermelon salad! This easy summer side dish is finished off with a tangy 3-ingredient lime dressing. Make this watermelon salad with feta, mint, and lime for your next summer party or barbecue!
    Print Pin Rate
    Prep Time: 10 minutes
    Total Time: 10 minutes
    Servings: 3 servings

    Ingredients

    • 3 cups watermelon, cubed
    • 1/2 English cucumber, diced
    • 1/2 small red onion, thinly sliced
    • 1 cup feta, crumbled
    • 1/2 cup fresh mint, roughly chopped

    For the lime dressing:

    • 1/4 cup olive oil
    • 2 tablespoons lime juice
    • 1/2 teaspoon salt

    Instructions

    • Add all salad ingredients to a large bowl and gently toss to combine.
    • In a separate small bowl, whisk together all dressing ingredients.
    • Dress this watermelon salad right before serving.

    Nutrition

    Calories: 300kcal

    Fun and delicious shrimp spring rolls with an irresistibly good peanut dipping sauce! These spring rolls are an easy and exciting way to pack veggies into your diet – they’re super healthy and tasty.

    overhead image of shrimp spring rolls on a plate with peanut sauce on the side.

    What You’ll Need to Make Shrimp Spring Rolls with Peanut Sauce

    Spring Rolls Rice Wrappers – These light little rice-based wraps are what hold these spring rolls together! I’ve had lots of luck finding these at my local grocery store, in the ethnic food aisle. However, if you can’t seem to track these thin rice sheets down, I recommend ordering these on Amazon. Leftover rice wrappers? Try making my summer rolls recipe next!

    Cooked Shrimp – Buy pre-cooked shrimp, or quickly boil it yourself before adding to your shrimp spring rolls. The only thing to note here is that you must remove the tails from your shrimp for this recipe! Removing the tails can happen either before or after cooking – it makes no difference.

    Fresh Mint and Cilantro – These Asian-inspired rolls taste extra fresh thanks to a few sprigs of fresh mint and cilantro! I highly recommend adding fresh herbs to your rolls. Though if you don’t like cilantro, or don’t like mint, simply swap it out for a different fresh herb.

    Peanut Butter – Unsweetened creamy peanut butter is the base to our peanut sauce. However, if you don’t like peanut butter, you can use cashew butter instead. Or, for a nut-free version, try tahini!

    Soy Sauce – Found in most Asian recipes, soy sauce adds the perfect savory component to this dish. However, you can certainly swap out the soy sauce for tamari or coconut aminos if that’s more your thing.

    shrimp spring rolls on a plate with peanut sauce and fresh limes on the side.

    Tips on Handling Rice Wrappers

    • Submerge one rice wrapper at a time in the water! If you attempt more than one, they’ll stick together and you won’t be able to separate them.
    • Don’t leave the rice wrapper in the water for too long. Just 5 seconds submerged in a shallow bowl of warm water will do the trick. Leaving the wrapper to soak for too long will make it too soft and difficult to handle.
    • Place each rice wrapper (one at a time) on a damp paper towel or dish cloth before filling and rolling. The wrapper will lift easily off the damp cloth, making rolling a breeze. If you place the rice wrapper on a kitchen counter or cutting board, it’ll stick and be a nightmare to remove!
    shrimp spring rolls being dipped into peanut sauce.

    Adjust This Recipe to Your Dietary Needs

    Make it Vegan: For vegan spring rolls, use extra firm tofu cut into strips in place of the cooked shrimp!

    Make it Gluten-Free: The only non gluten-free ingredient in this recipe is the soy sauce. Therefore, use tamari instead, which tastes just like soy sauce but is 100% gluten-free!

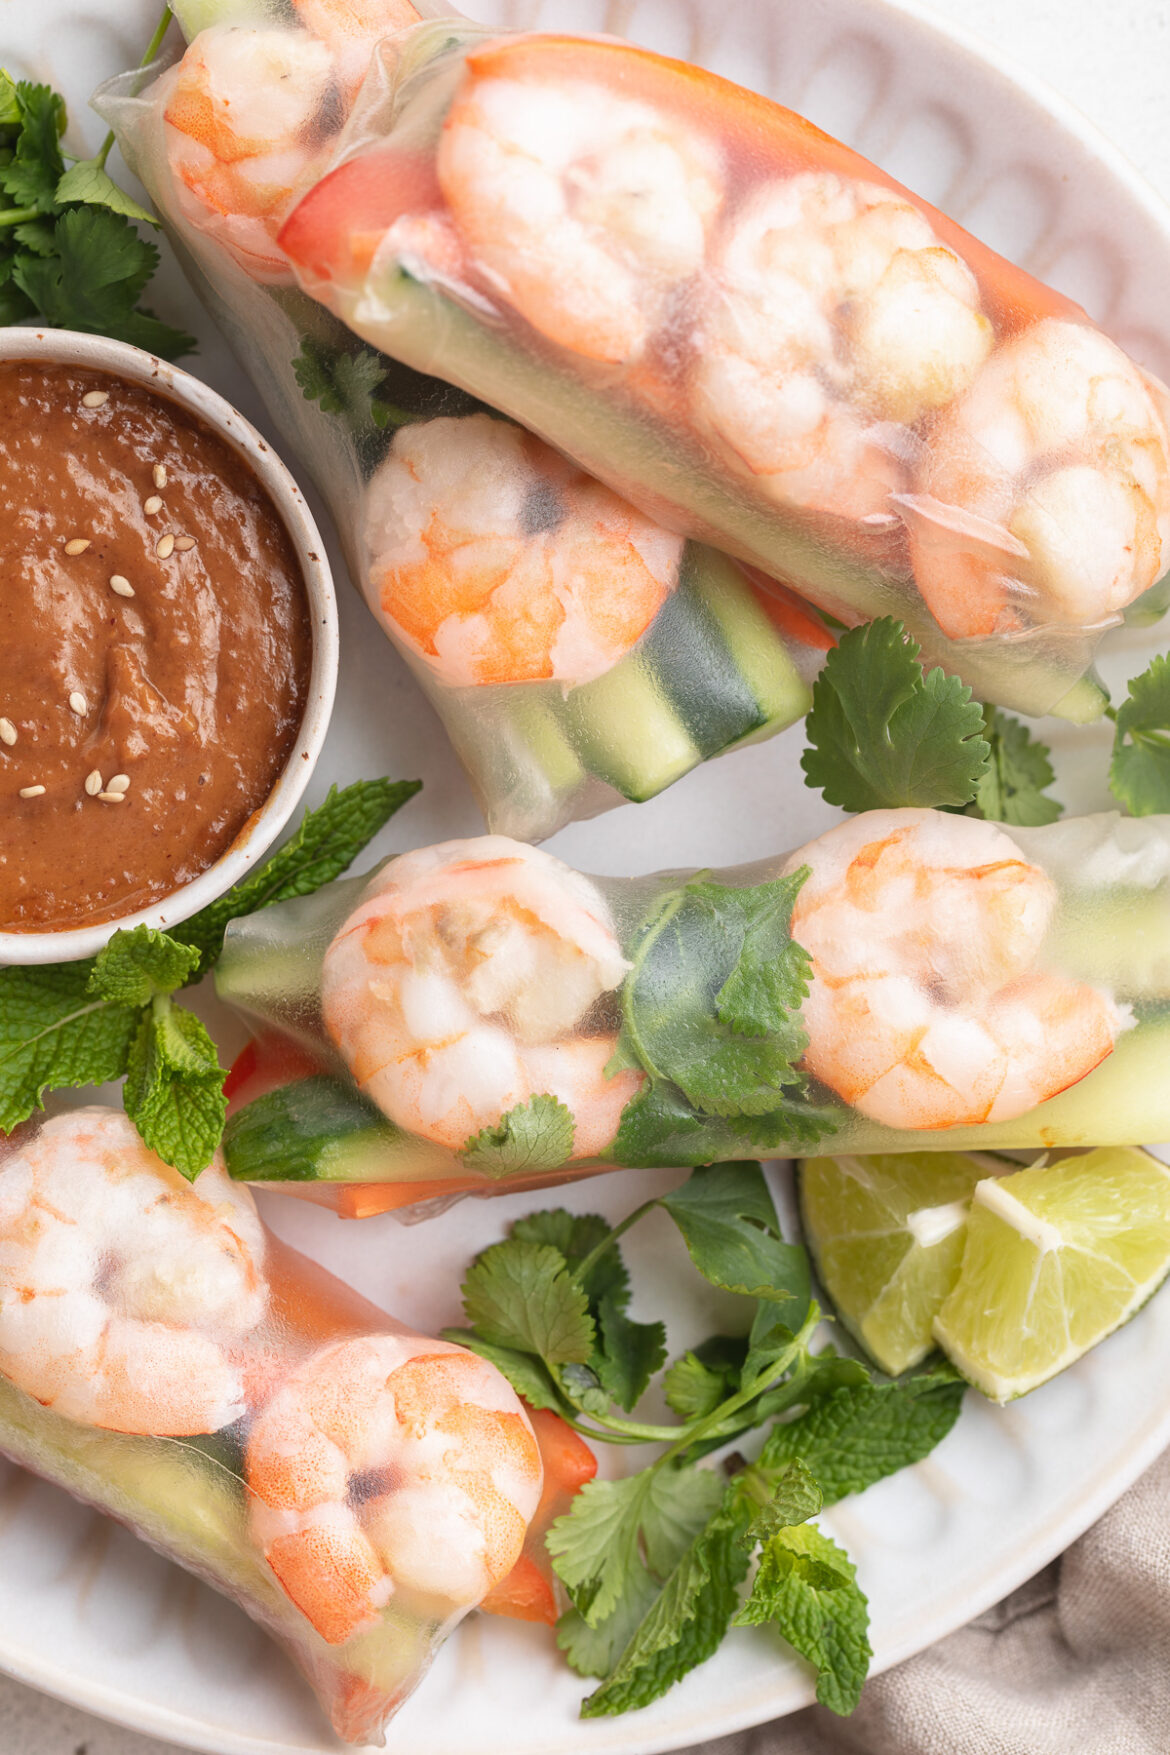
    close-up overhead image of shrimp spring rolls on a plate with peanut sauce.
    No ratings yet

    Shrimp Spring Rolls with Peanut Sauce

    Fun and delicious shrimp spring rolls with an irresistibly good peanut dipping sauce! These spring rolls are an easy and exciting way to pack veggies into your diet – they’re super healthy and tasty.
    Print Pin Rate
    Prep Time: 20 minutes
    Total Time: 20 minutes
    Servings: 4 servings

    Ingredients

    • 12 spring roll rice wrappers
    • 1-2 pounds cooked shrimp, shells and tails removed
    • 3 large carrots, peeled and sliced into matchsticks
    • 2 medium red bell peppers, seeded and sliced into matchsticks
    • 1 English cucumber, sliced into matchsticks
    • 1/2 cup fresh mint leaves
    • 1/2 cup fresh cilantro leaves

    For the peanut sauce:

    • 1/2 cup creamy peanut butter, unsweetened
    • 2 tablespoons soy sauce
    • 2 tablespoons rice vinegar
    • 1 tablespoon toasted sesame oil
    • 1 garlic clove, grated or finely minced
    • 1-inch piece fresh ginger, peeled and grated or finely minced
    • 2-3 tablespoons warm water

    Instructions

    • Fill a shallow bowl with warm water. Submerge one sheet of rice wrapper in water for 5 seconds, then transfer to a clean, damp dish towel.
    • Place 2-3 shrimp, a small handful of vegetables, and a few fresh mint and cilantro leaves in the center of the wrapper. Then, fold the end closest to you over the filling, tuck sides in and towards the center, and finish rolling to create a sealed spring roll. Repeat this process with remaining rice wrappers.
    • Make the sauce by adding all ingredients to a bowl and whisking to combine.
    • Serve shrimp spring rolls with peanut dipping sauce on the side.

    Nutrition

    Calories: 300kcal