1
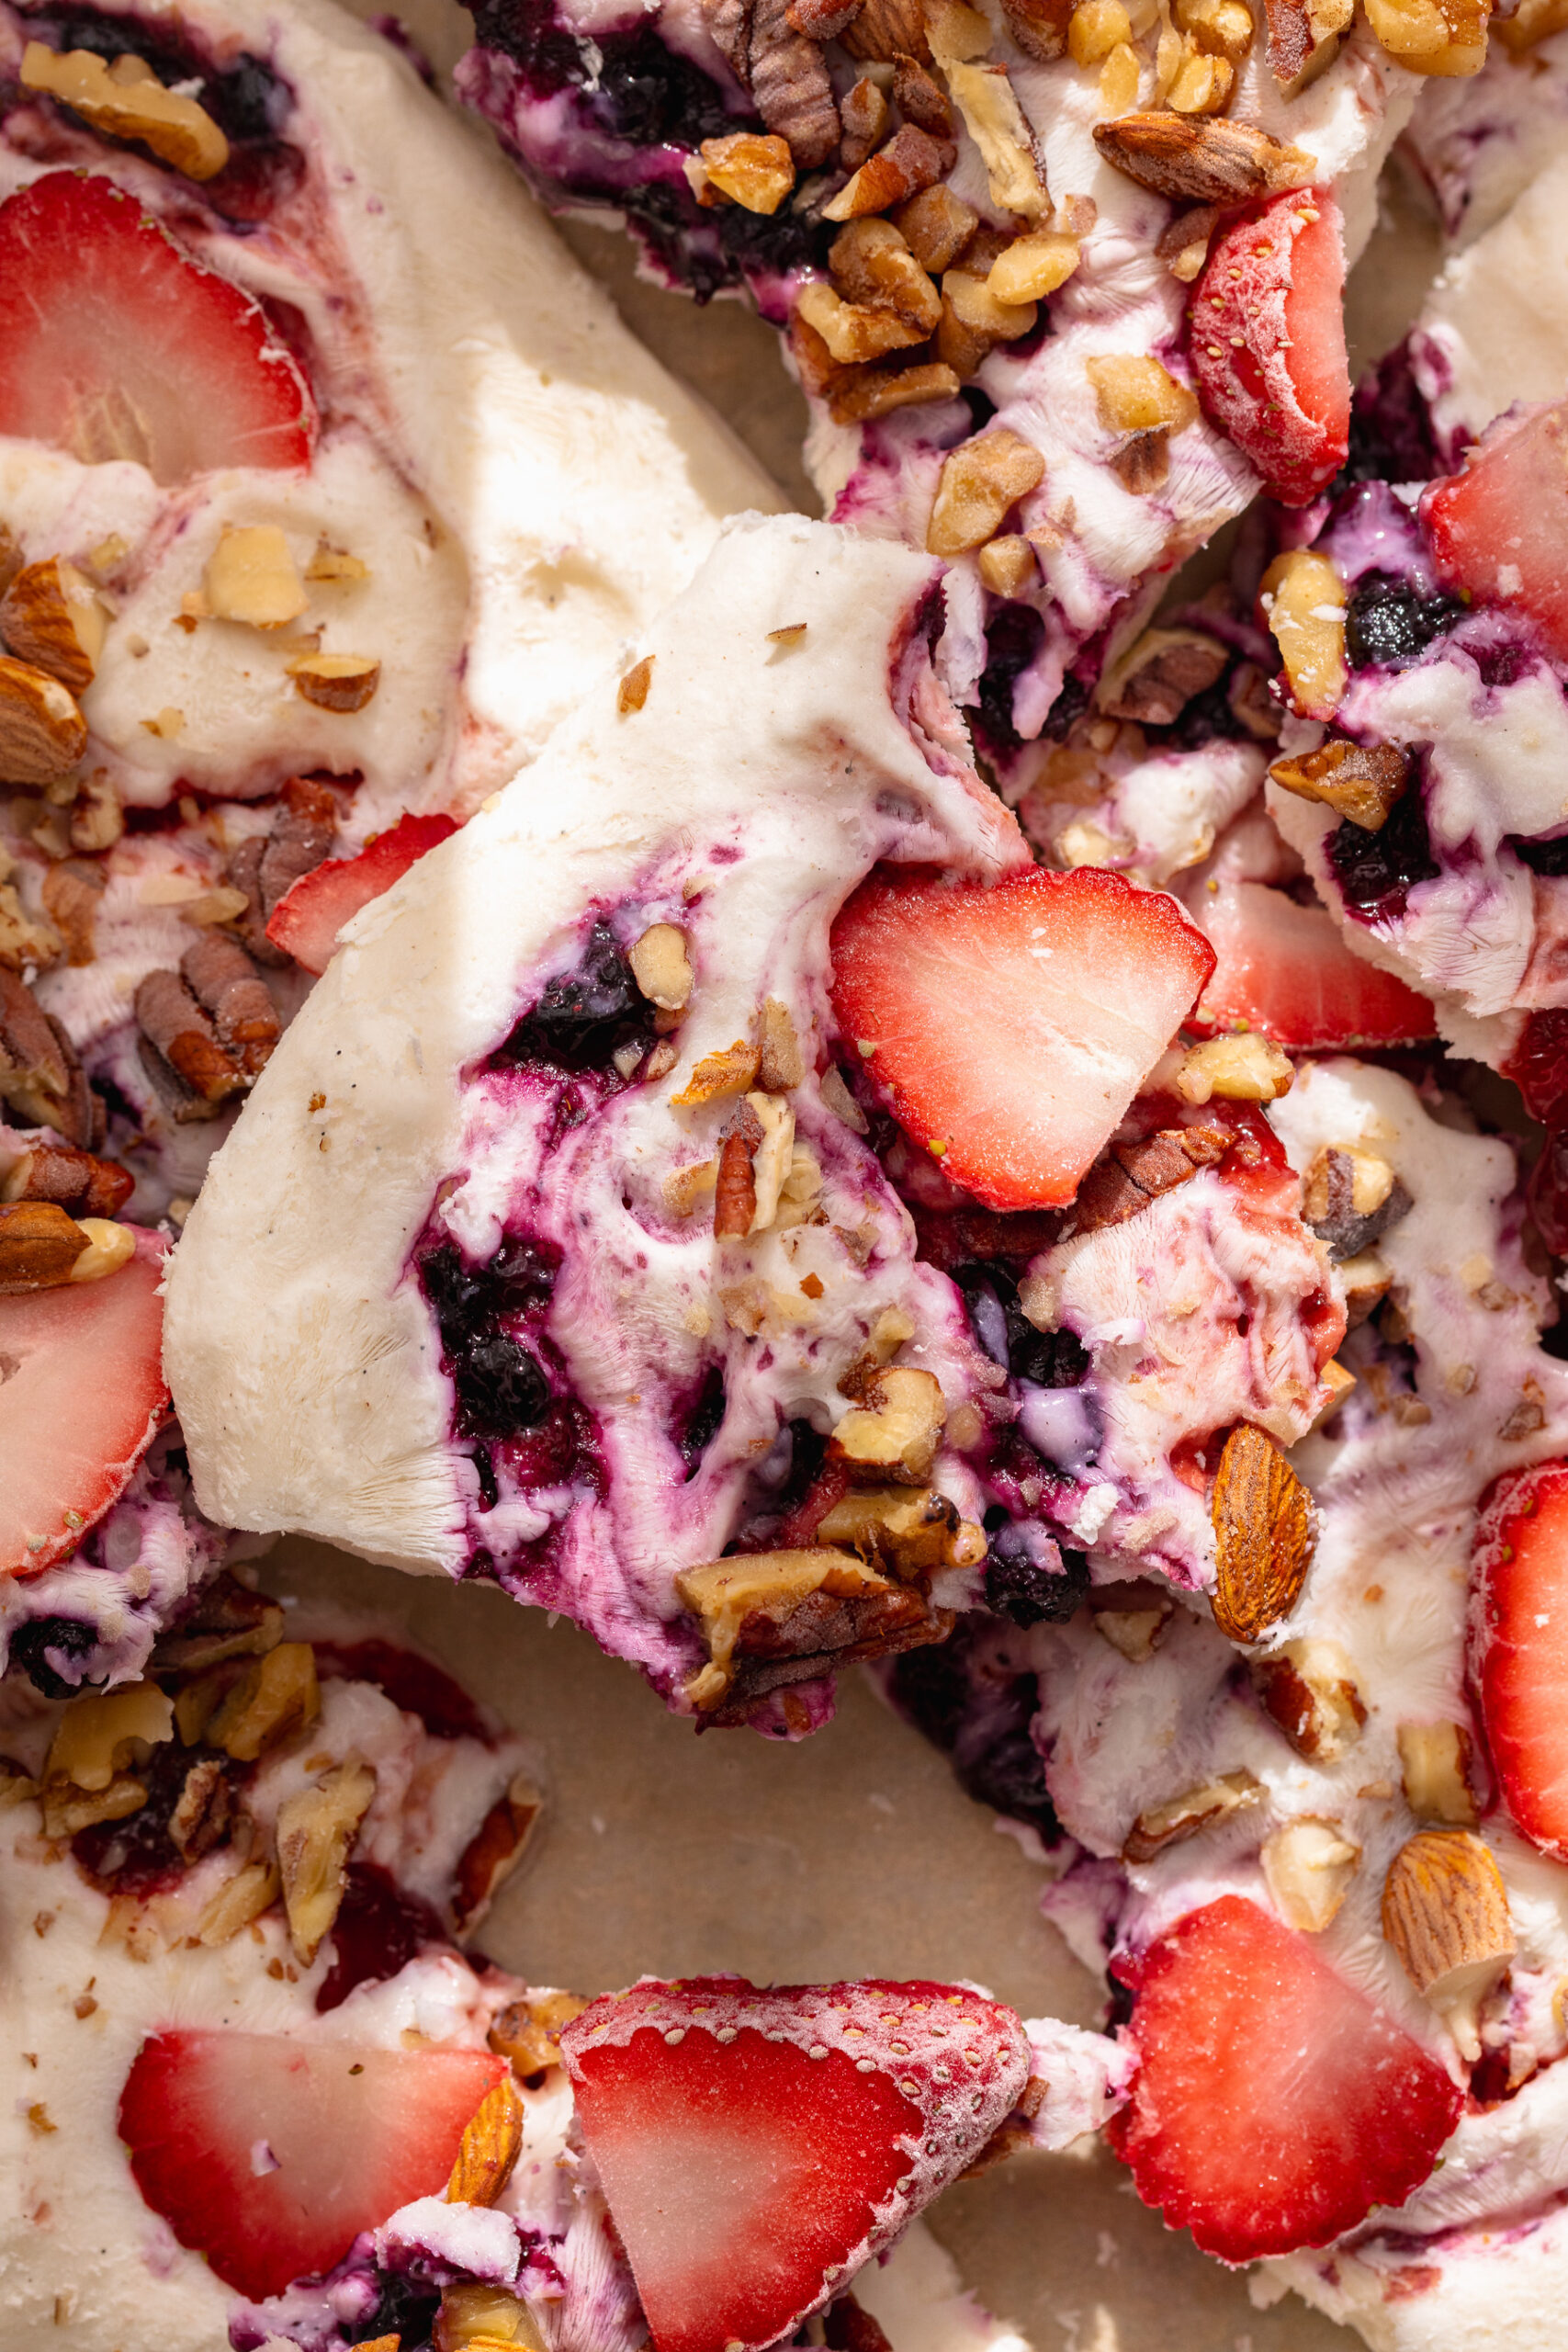
Easy & Healthy Frozen Yogurt Bark
This frozen yogurt bark is a creamy, colorful summer treat made with vanilla Greek yogurt, swirled with fruit jam, and loaded with fresh berries, and crunchy nuts! It takes just 10 minutes to prep, NO baking, and tastes like ice cream. An easy, healthy frozen yogurt bark recipe that's as beautiful as it is delicious!
Check out this recipe
2
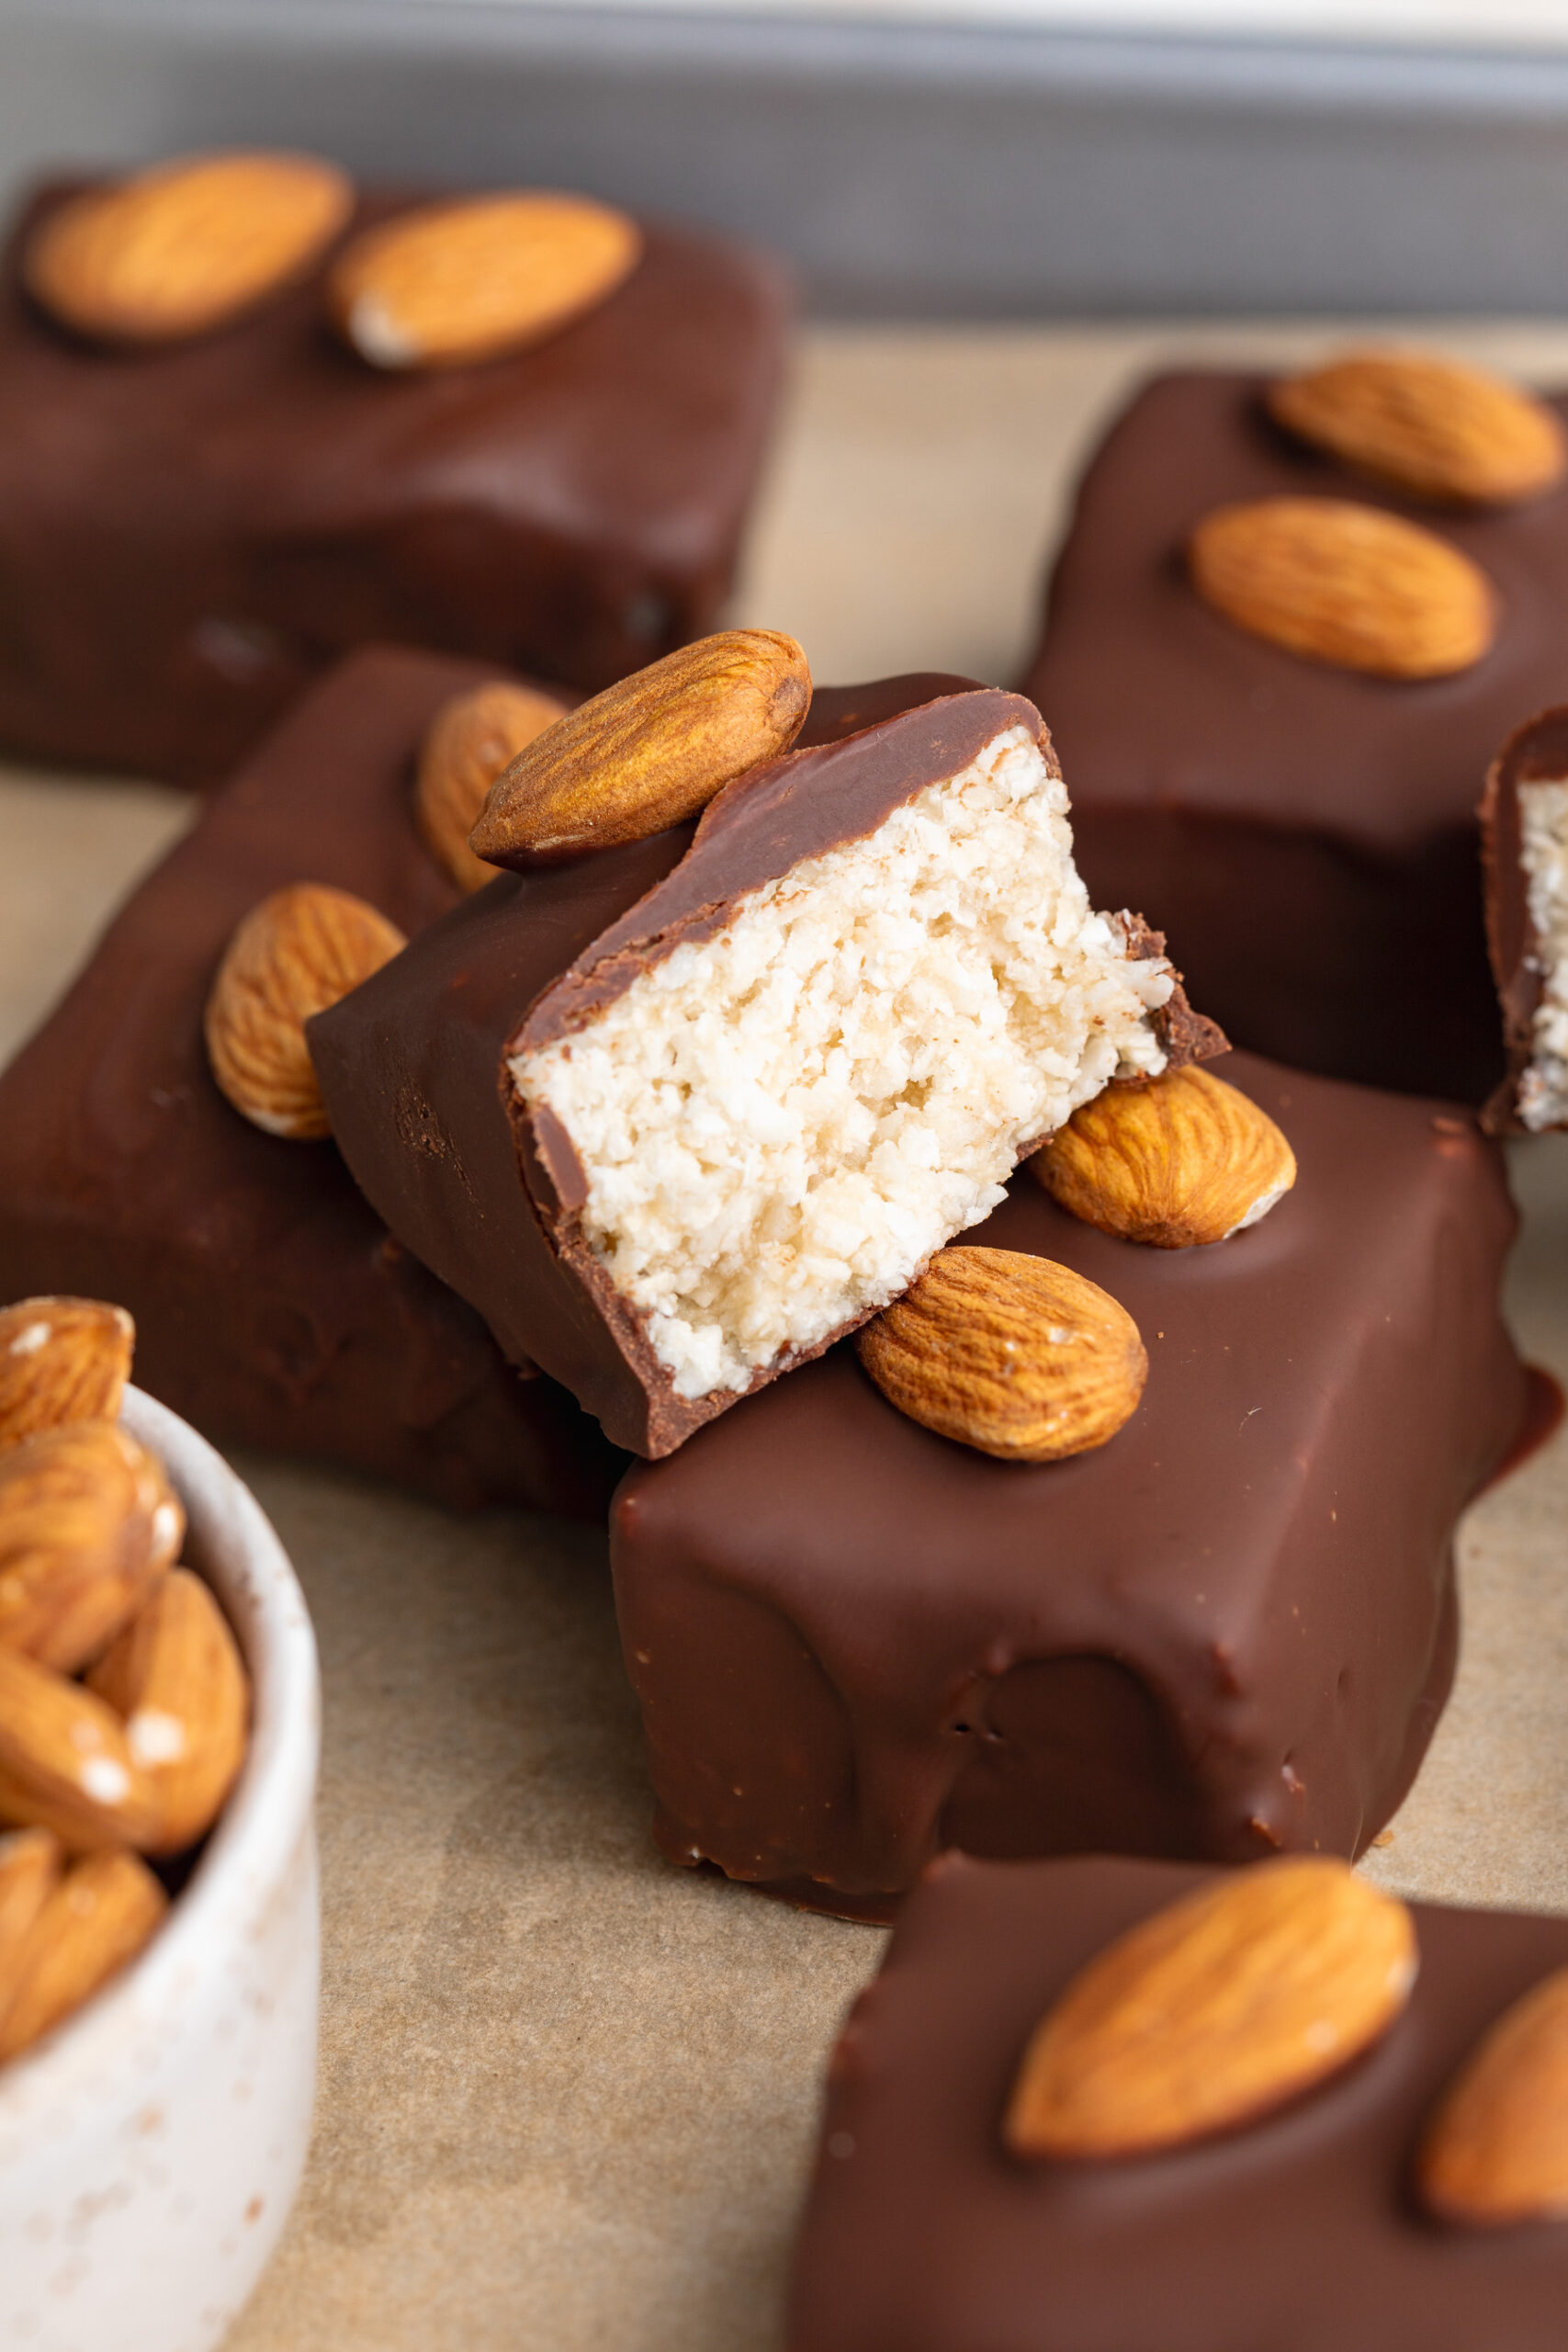
5-Ingredient Healthy Almond Joy Bars
These Healthy Almond Joy bars are a 5-ingredient, no-bake copycat of the classic candy bar – chewy coconut filling, crunchy whole almonds, and a smooth chocolate shell. They're gluten-free, dairy-free, naturally sweetened with honey or maple syrup, and come together in under 45 minutes with NO baking required! f you're looking for a healthy Almond Joy recipe that actually tastes like the real thing but is made with healthier ingredients, this is it!
Check out this recipe
3
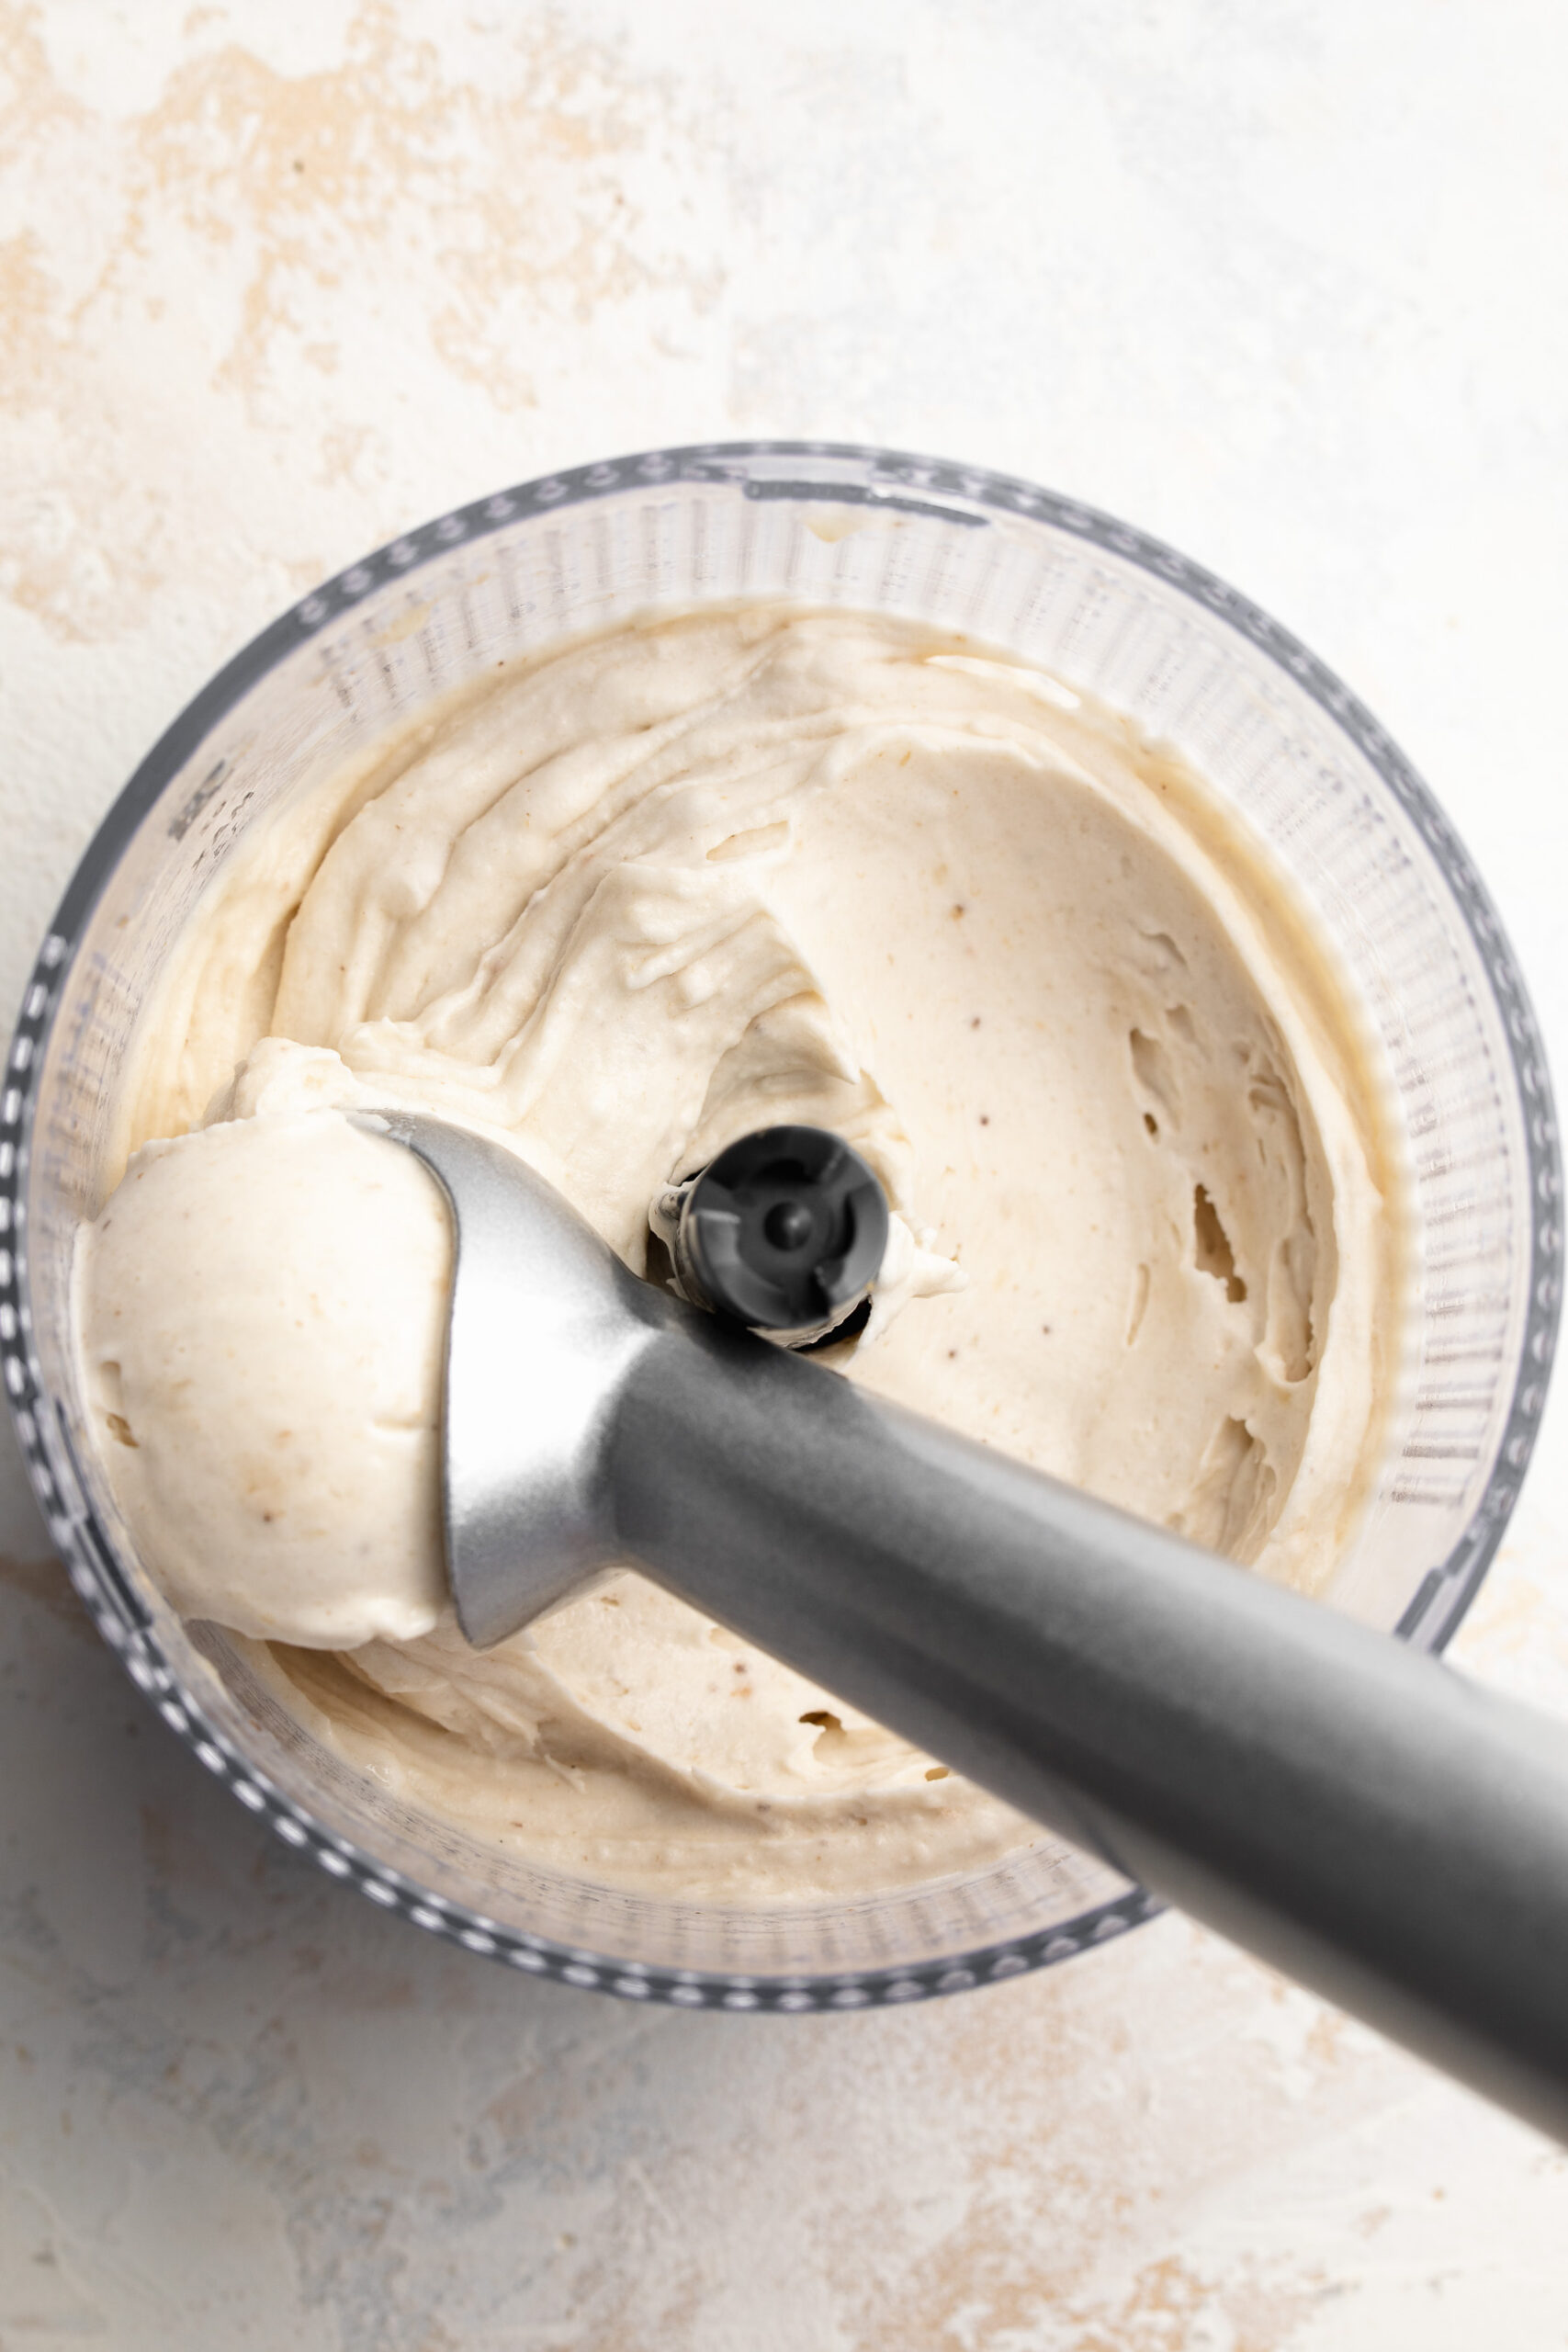
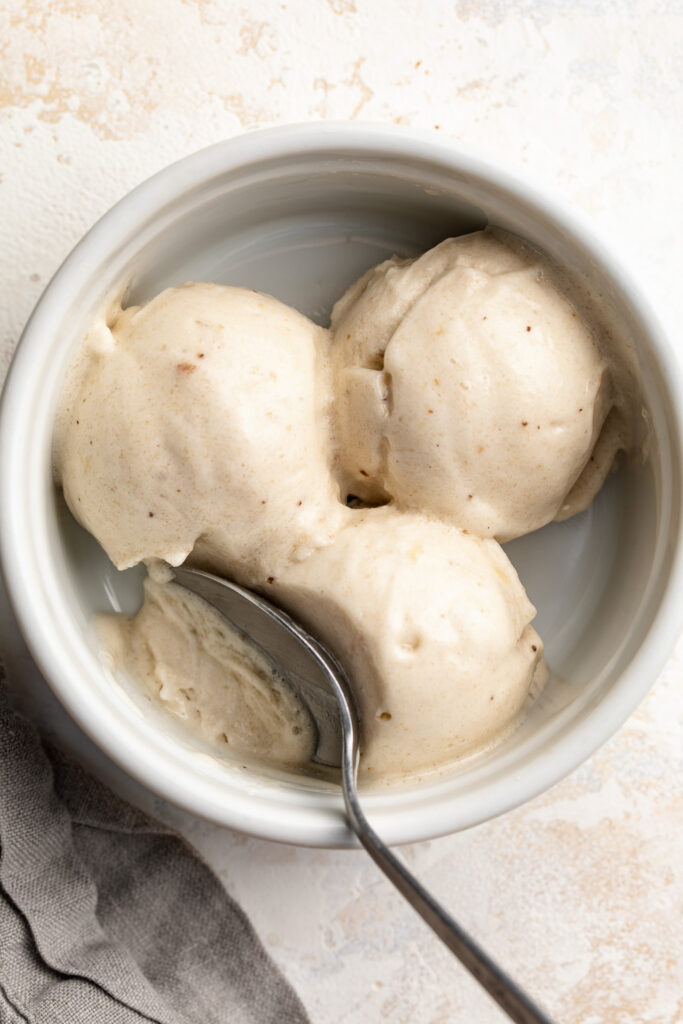
1-Ingredient Banana Nice Cream
This nice cream is a 1-ingredient, dairy-free frozen treat made entirely from blended frozen bananas – no ice cream maker, no heavy cream, and no added sugar required! It blends up in just 90 seconds into the silkiest, creamiest soft serve you've ever tasted, and with 5 different flavor variations (cookies & cream, vanilla bean, chocolate, strawberry, and peanut butter), there's a flavor for everyone. If you're looking for an easy, healthy nice cream recipe that actually tastes like the real thing, this is it!
Check out this recipe
4

5-Ingredient Blueberry Muddy Buddies
These easy Blueberry Muddy Buddies are a no-bake, gluten-free, and dairy-free twist on the classic sweet snack. Made with just 5 simple ingredients – including fresh blueberries and peanut butter – they come together in minutes for the perfect healthier treat. Great for snacking, sharing, or storing in the fridge all week long!
Check out this recipe
5
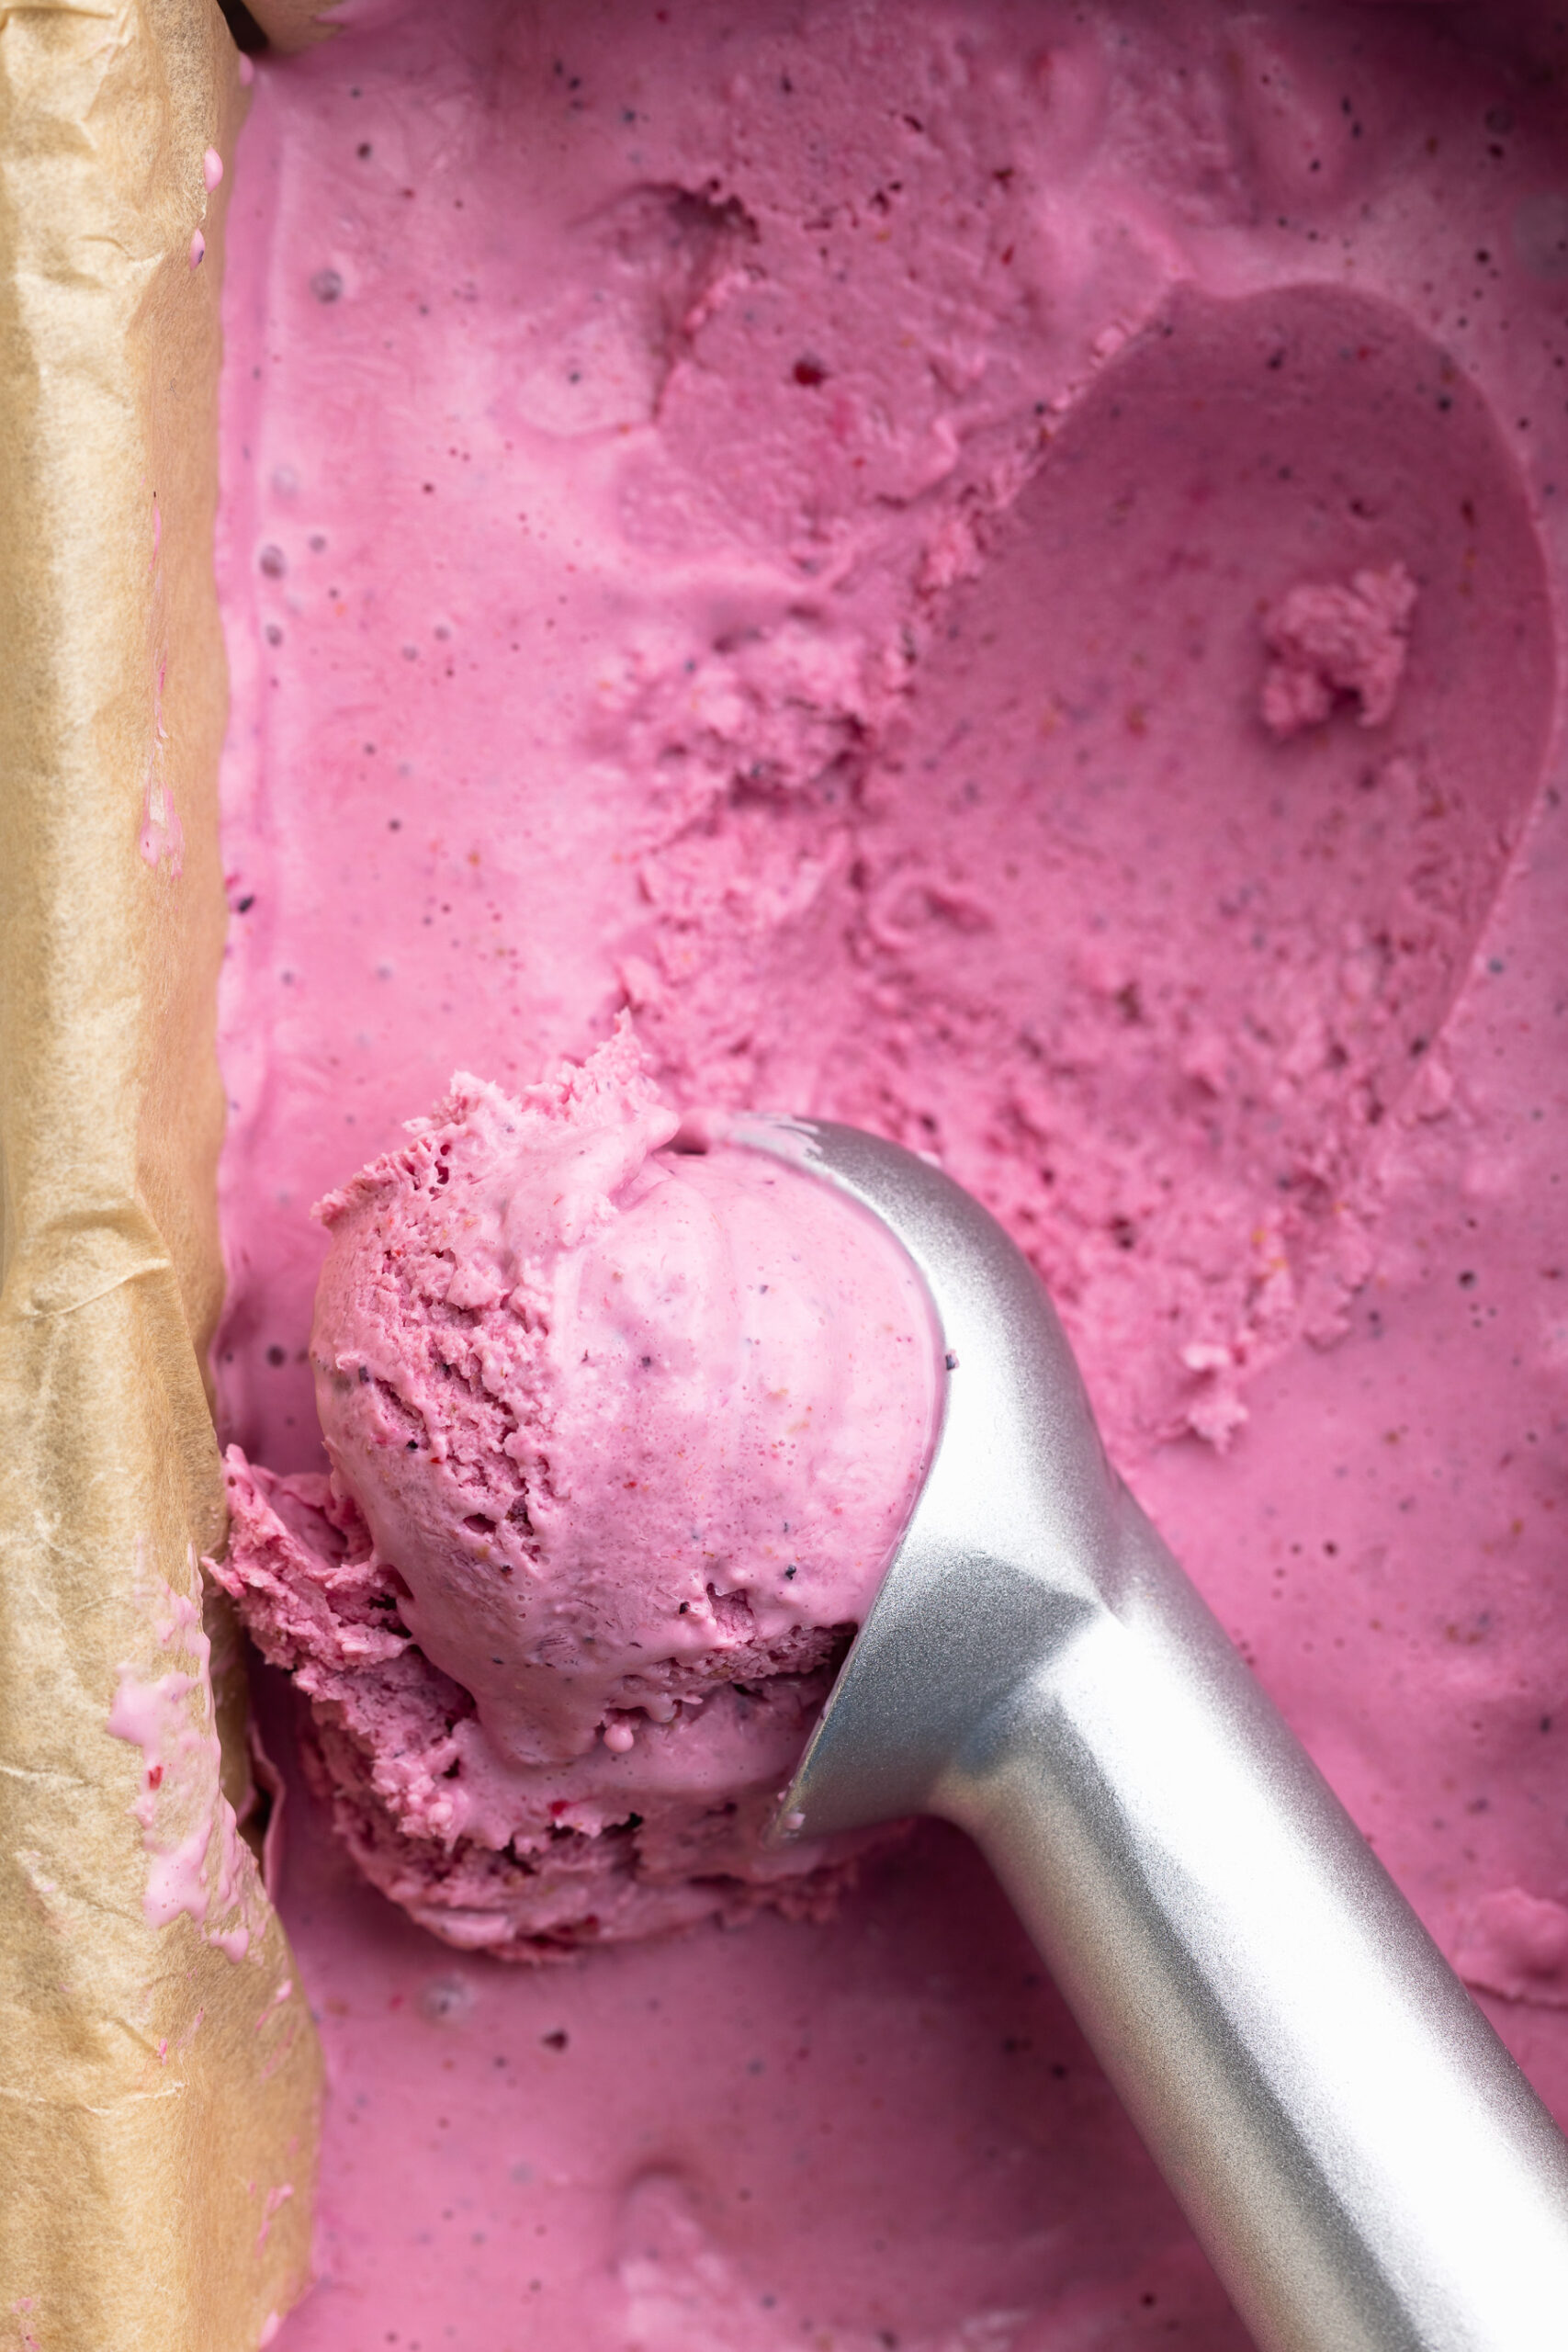
3-Ingredient Cottage Cheese Ice Cream
This 3-ingredient cottage cheese ice cream is creamy, naturally sweet, and packed with 15 grams of protein per serving. No ice cream maker needed — just a blender and your freezer. It's the easiest, healthiest way to satisfy an ice cream craving!
Check out this recipe
6
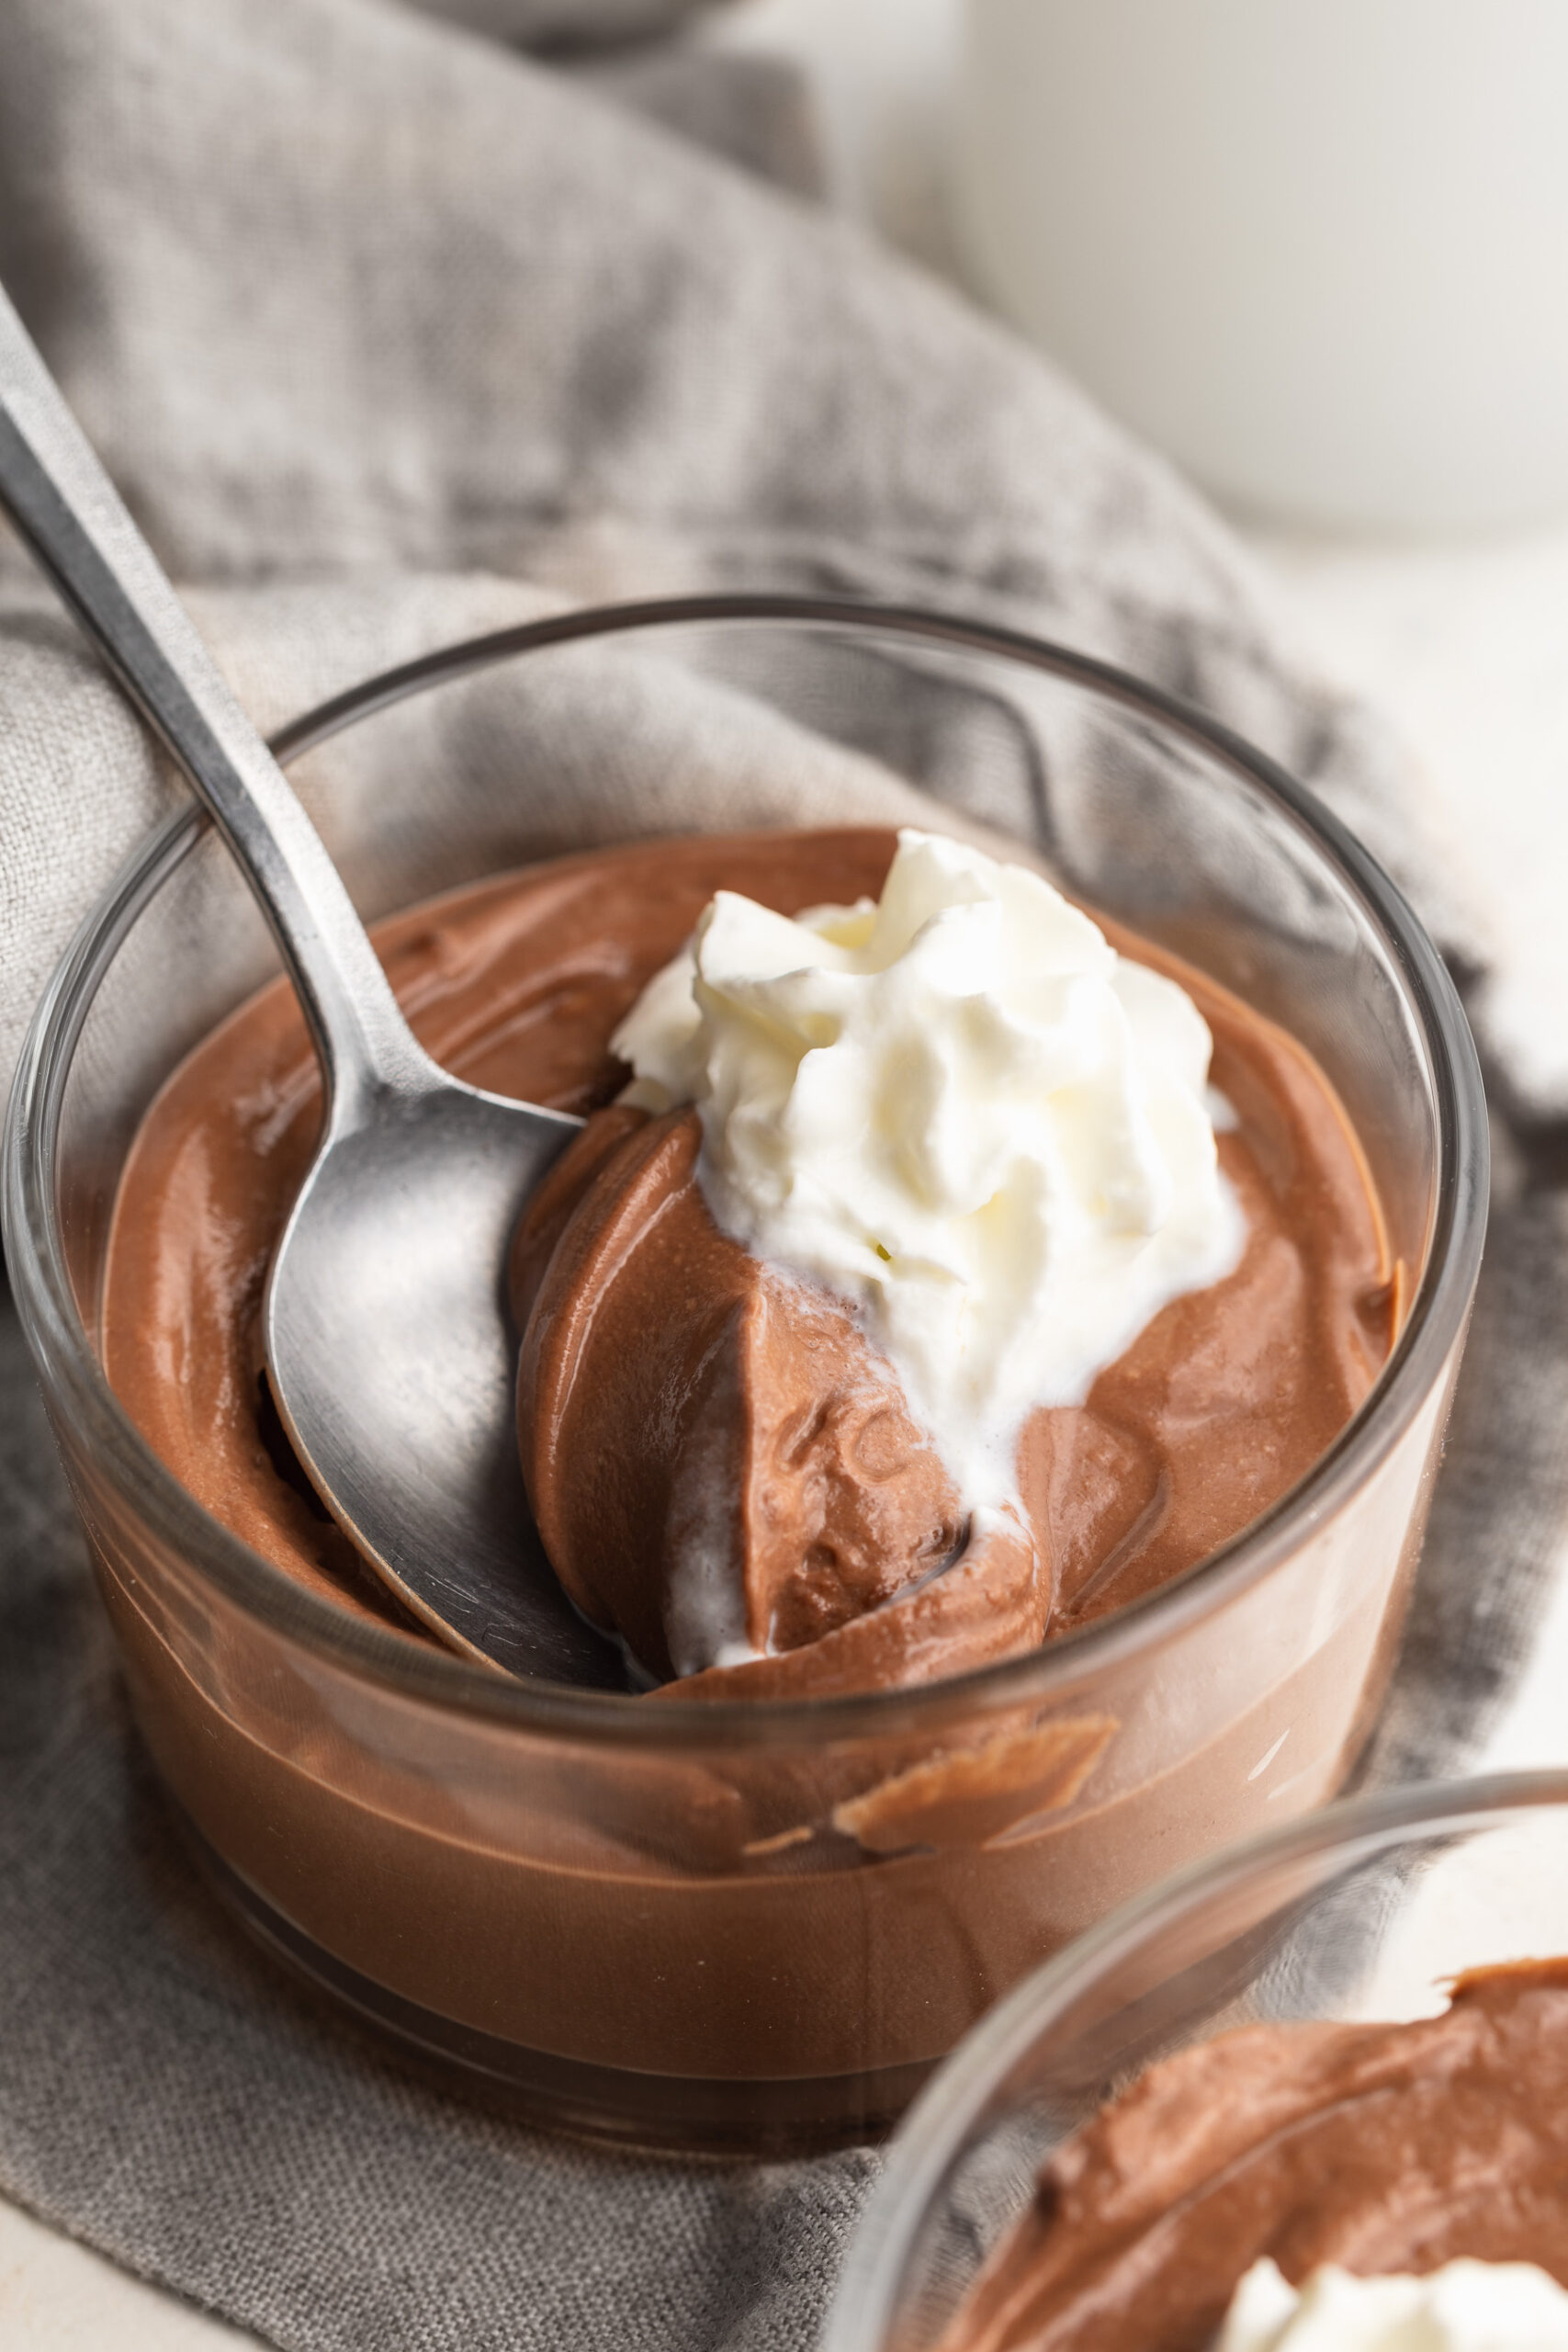
Protein Chocolate Mousse (30g+ protein!)
This cottage cheese chocolate mousse is a creamy, high-protein dessert made with just 4 simple ingredients! Each serving has over 30 grams of protein, making it a satisfying and healthy treat. Blended until smooth and chilled to perfection, this easy chocolate mousse is just as rich and delicious as the classic version!
Check out this recipe
7
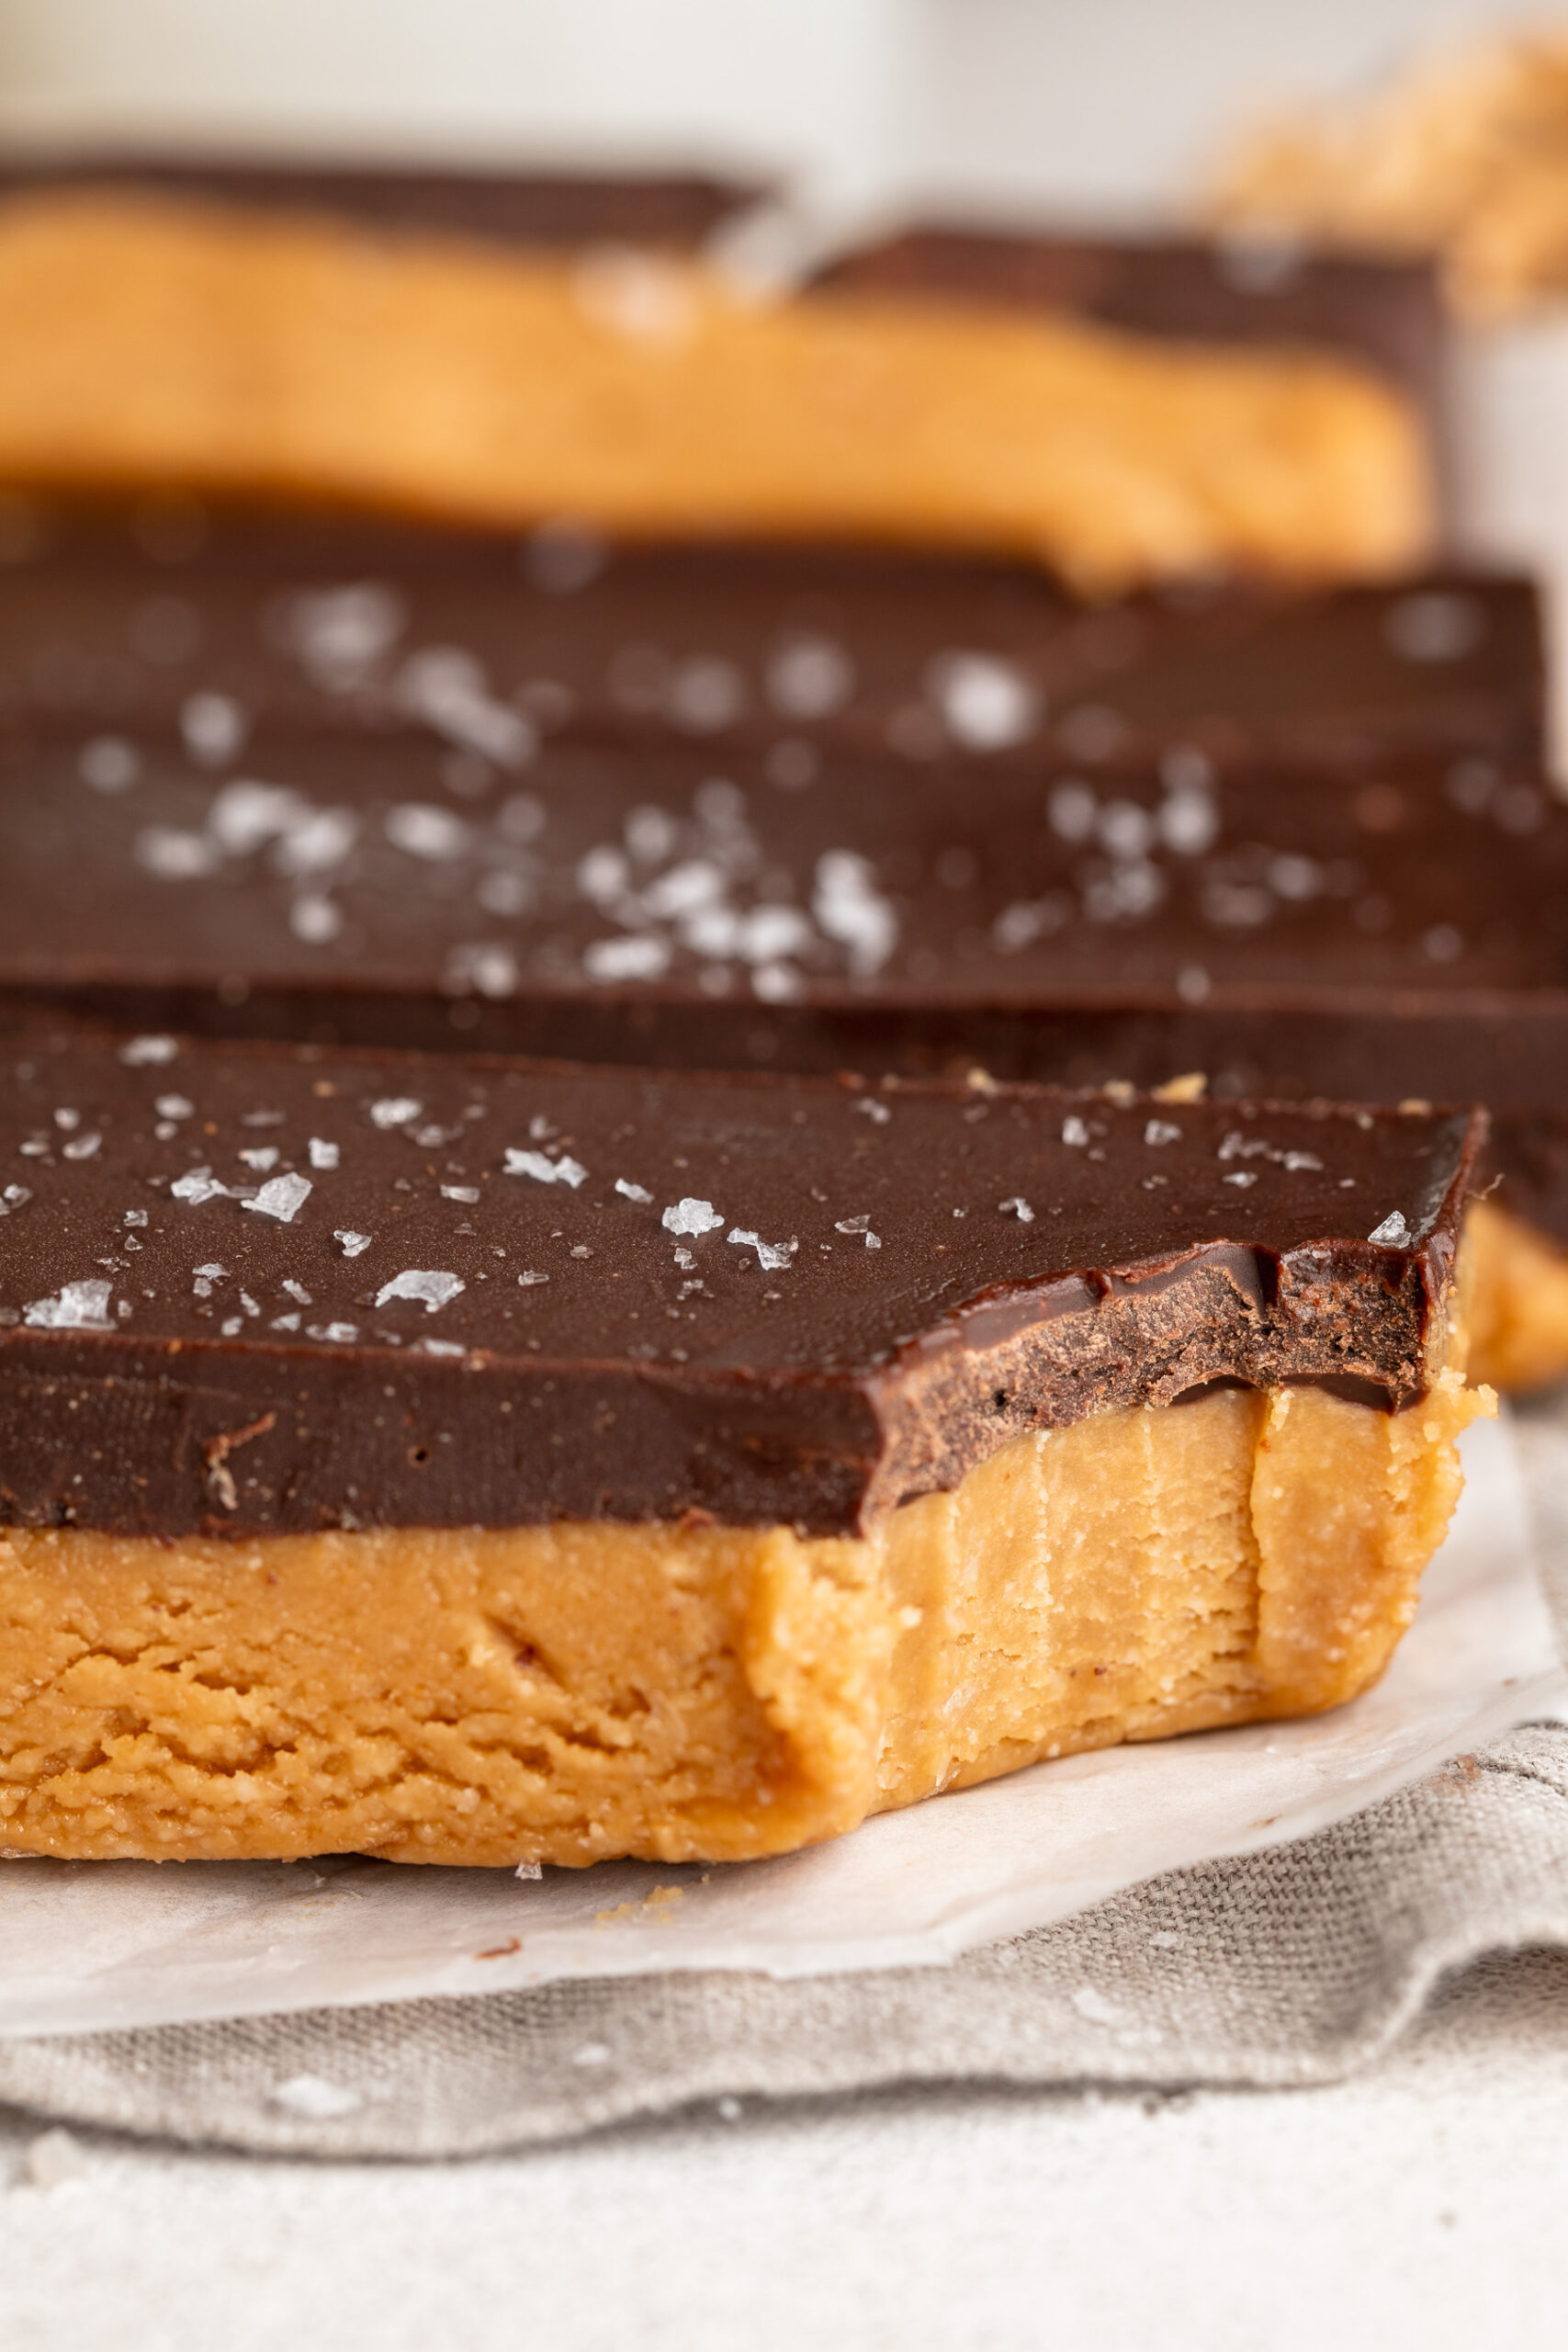
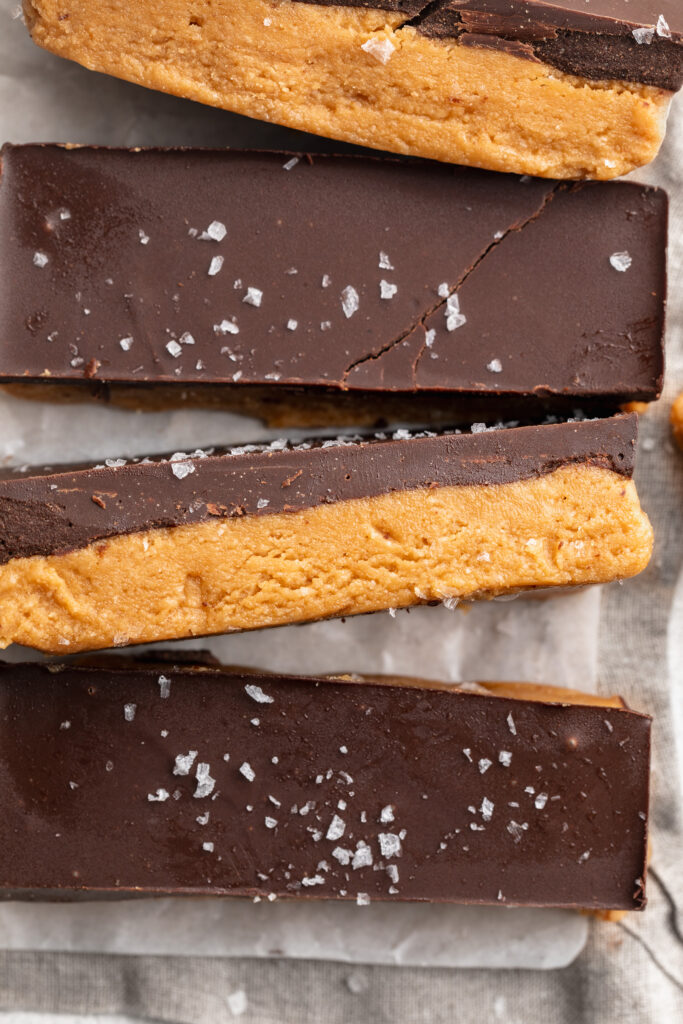
Healthy Peanut Butter Cup Bars
These healthy peanut butter bars are a no-bake, 4-ingredient treat that tastes exactly like a giant peanut butter cup! With a thick, fudgy peanut butter base and a smooth chocolate-peanut butter layer on top – they're gluten-free, dairy-free, refined sugar-free, and come together in just 10 minutes. If you're looking for an easy healthy peanut butter bar recipe that's as delicious as it is healthy, this is it!
Check out this recipe
8

Protein Cookie Dough Bark
This 5-ingredient protein cookie dough bark recipe is a quick and healthy snack that’s gluten-free and high in protein! It's easy to customize with different flavors and can easily be made vegan or low-carb. Store this protein cookie dough bark in the freezer for a quick, guilt-free snack anytime!
Check out this recipe
9
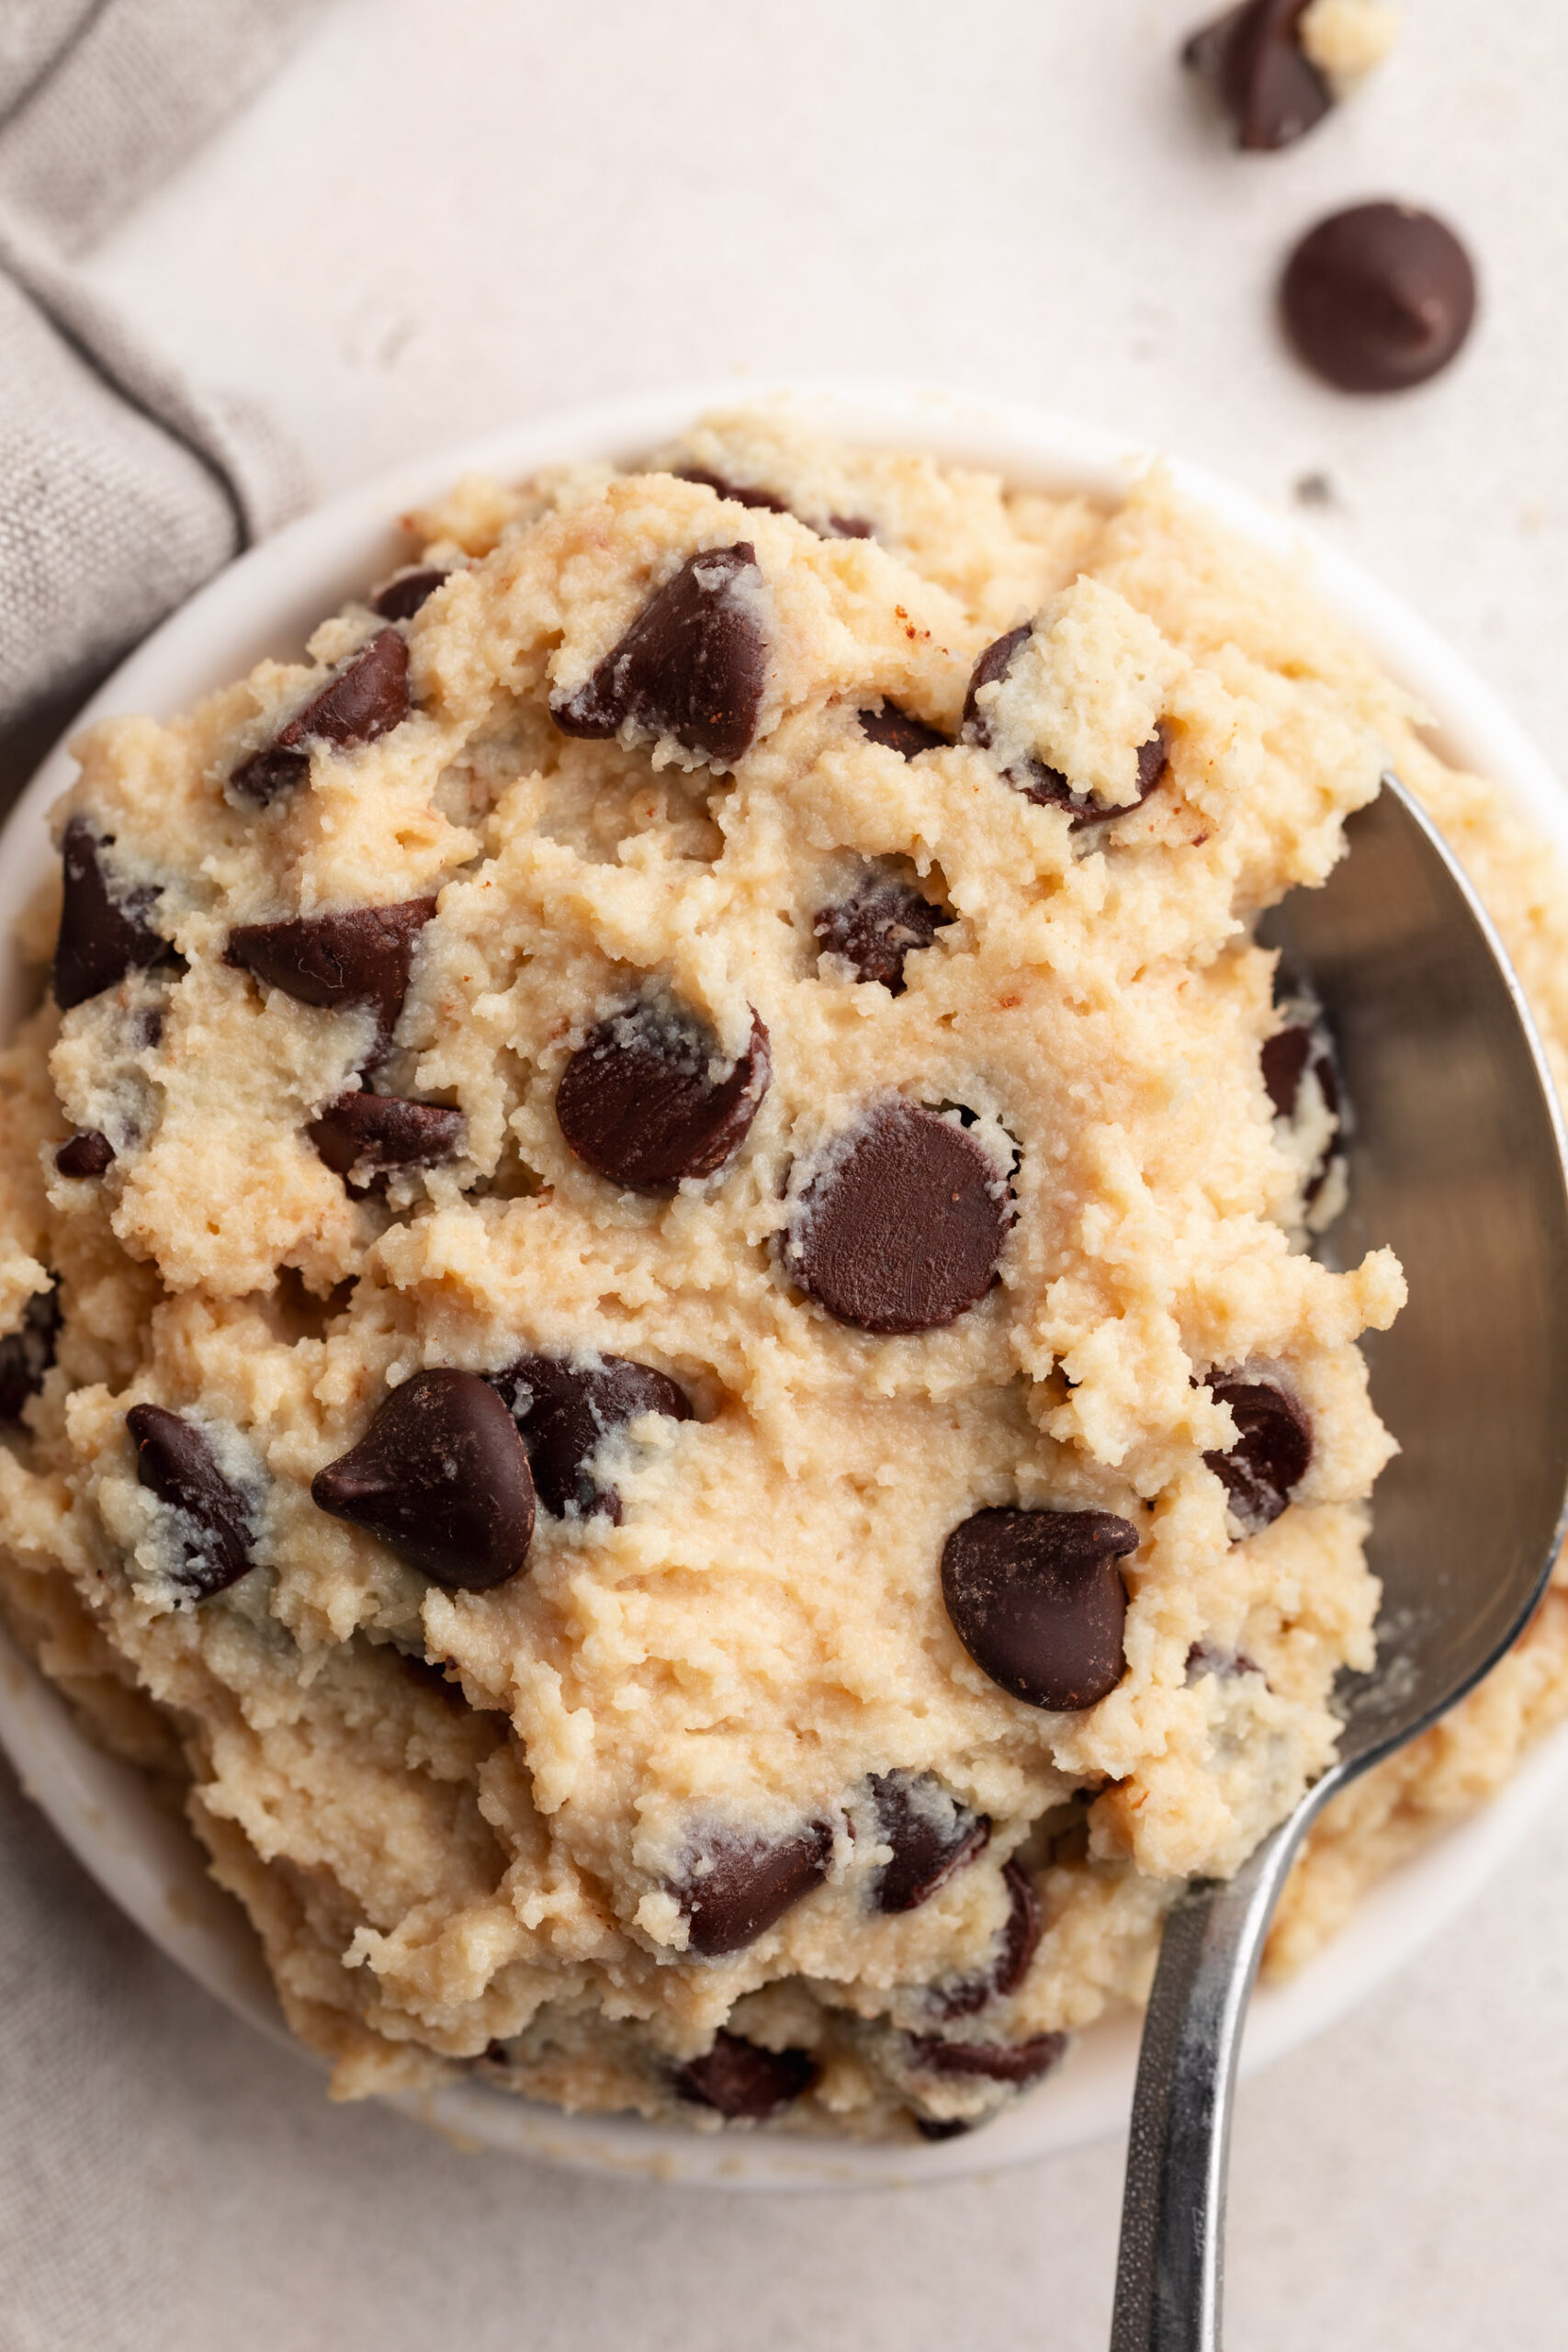
5-Ingredient Cottage Cheese Cookie Dough
This cottage cheese cookie dough recipe is a high-protein, no-bake treat made with just six wholesome ingredients! Blending cottage cheese with maple syrup and vanilla creates a creamy base, which is then combined with almond flour, vanilla protein powder, and chocolate chips for a delicious, edible cookie dough. It's an easy, healthy snack that's perfect for satisfying your sweet tooth while keeping your health on track!
Check out this recipe
10

Cottage Cheese Brownie Batter
This cottage cheese brownie batter is a high-protein, no-bake treat that tastes just like the real thing – rich, fudgy, and deeply chocolatey but made with wholesome ingredients! Ready in just 5 minutes with 6 simple ingredients, it's the easiest healthy dessert you'll ever make. If you're looking for a healthier way to satisfy your chocolate cravings, this is the recipe you've been waiting for!
Check out this recipe
11

2-Ingredient Protein Ice Cream (35g protein!)
This 2-ingredient protein ice cream is a creamy, high-protein treat with just milk and protein powder! Each serving contains 35 grams of protein and only 300 calories, making it perfect for a post-workout snack or healthy dessert. Super easy to make in a Ninja Creami, this healthy ice cream tastes just like classic vanilla ice cream!
Check out this recipe
12

Frozen Chocolate Protein Peanut Butter S’mores Bars
These Frozen Chocolate Protein Peanut Butter S’mores Bars are a chocolate protein twist on the nostalgic campfire classic. With graham crackers, creamy peanut butter, chocolate protein whipped cream, and a chocolate chip coating, they’re indulgent and seriously delicious! This no bake recipe is easy to make, freezer-friendly, and the perfect treat when you want something sweet and satisfying.
Check out this recipe
13

High-Protein S’mores Dip
This high protein s’mores dip is a quick and easy 4-ingredient recipe with over 30 grams of protein per serving! Made with Greek yogurt, chocolate protein powder, mini marshmallows, and chocolate chips – it’s a healthier way to satisfy your sweet tooth. Perfect as a post-workout snack, party dip, or high protein dessert!
Check out this recipe
14
Healthy No-Bake Cookie Dough Bars
Seriously delicious healthy no-bake cookie dough bars! These bars are vegan, gluten-free, dairy-free, and refined sugar-free. Enjoy as a guilt-free dessert or sweet snack!
Check out this recipe
15

Crunchy No-Bake Peanut Butter Balls
Crunchy peanut butter balls covered in chocolate! Perfectly sweet, surprisingly healthy, and super easy to make. This no-bake dessert is the perfect summer treat when it's too hot to turn on the oven!
Check out this recipe
16

Healthy No-Bake Brownie Balls
These no-bake healthy brownie balls are rich, fudgy, and made with just 6 simple ingredients! They’re gluten-free, dairy-free, and naturally sweetened with dates. Keep a batch in the fridge for a delicious and healthy treat anytime!
Check out this recipe
17
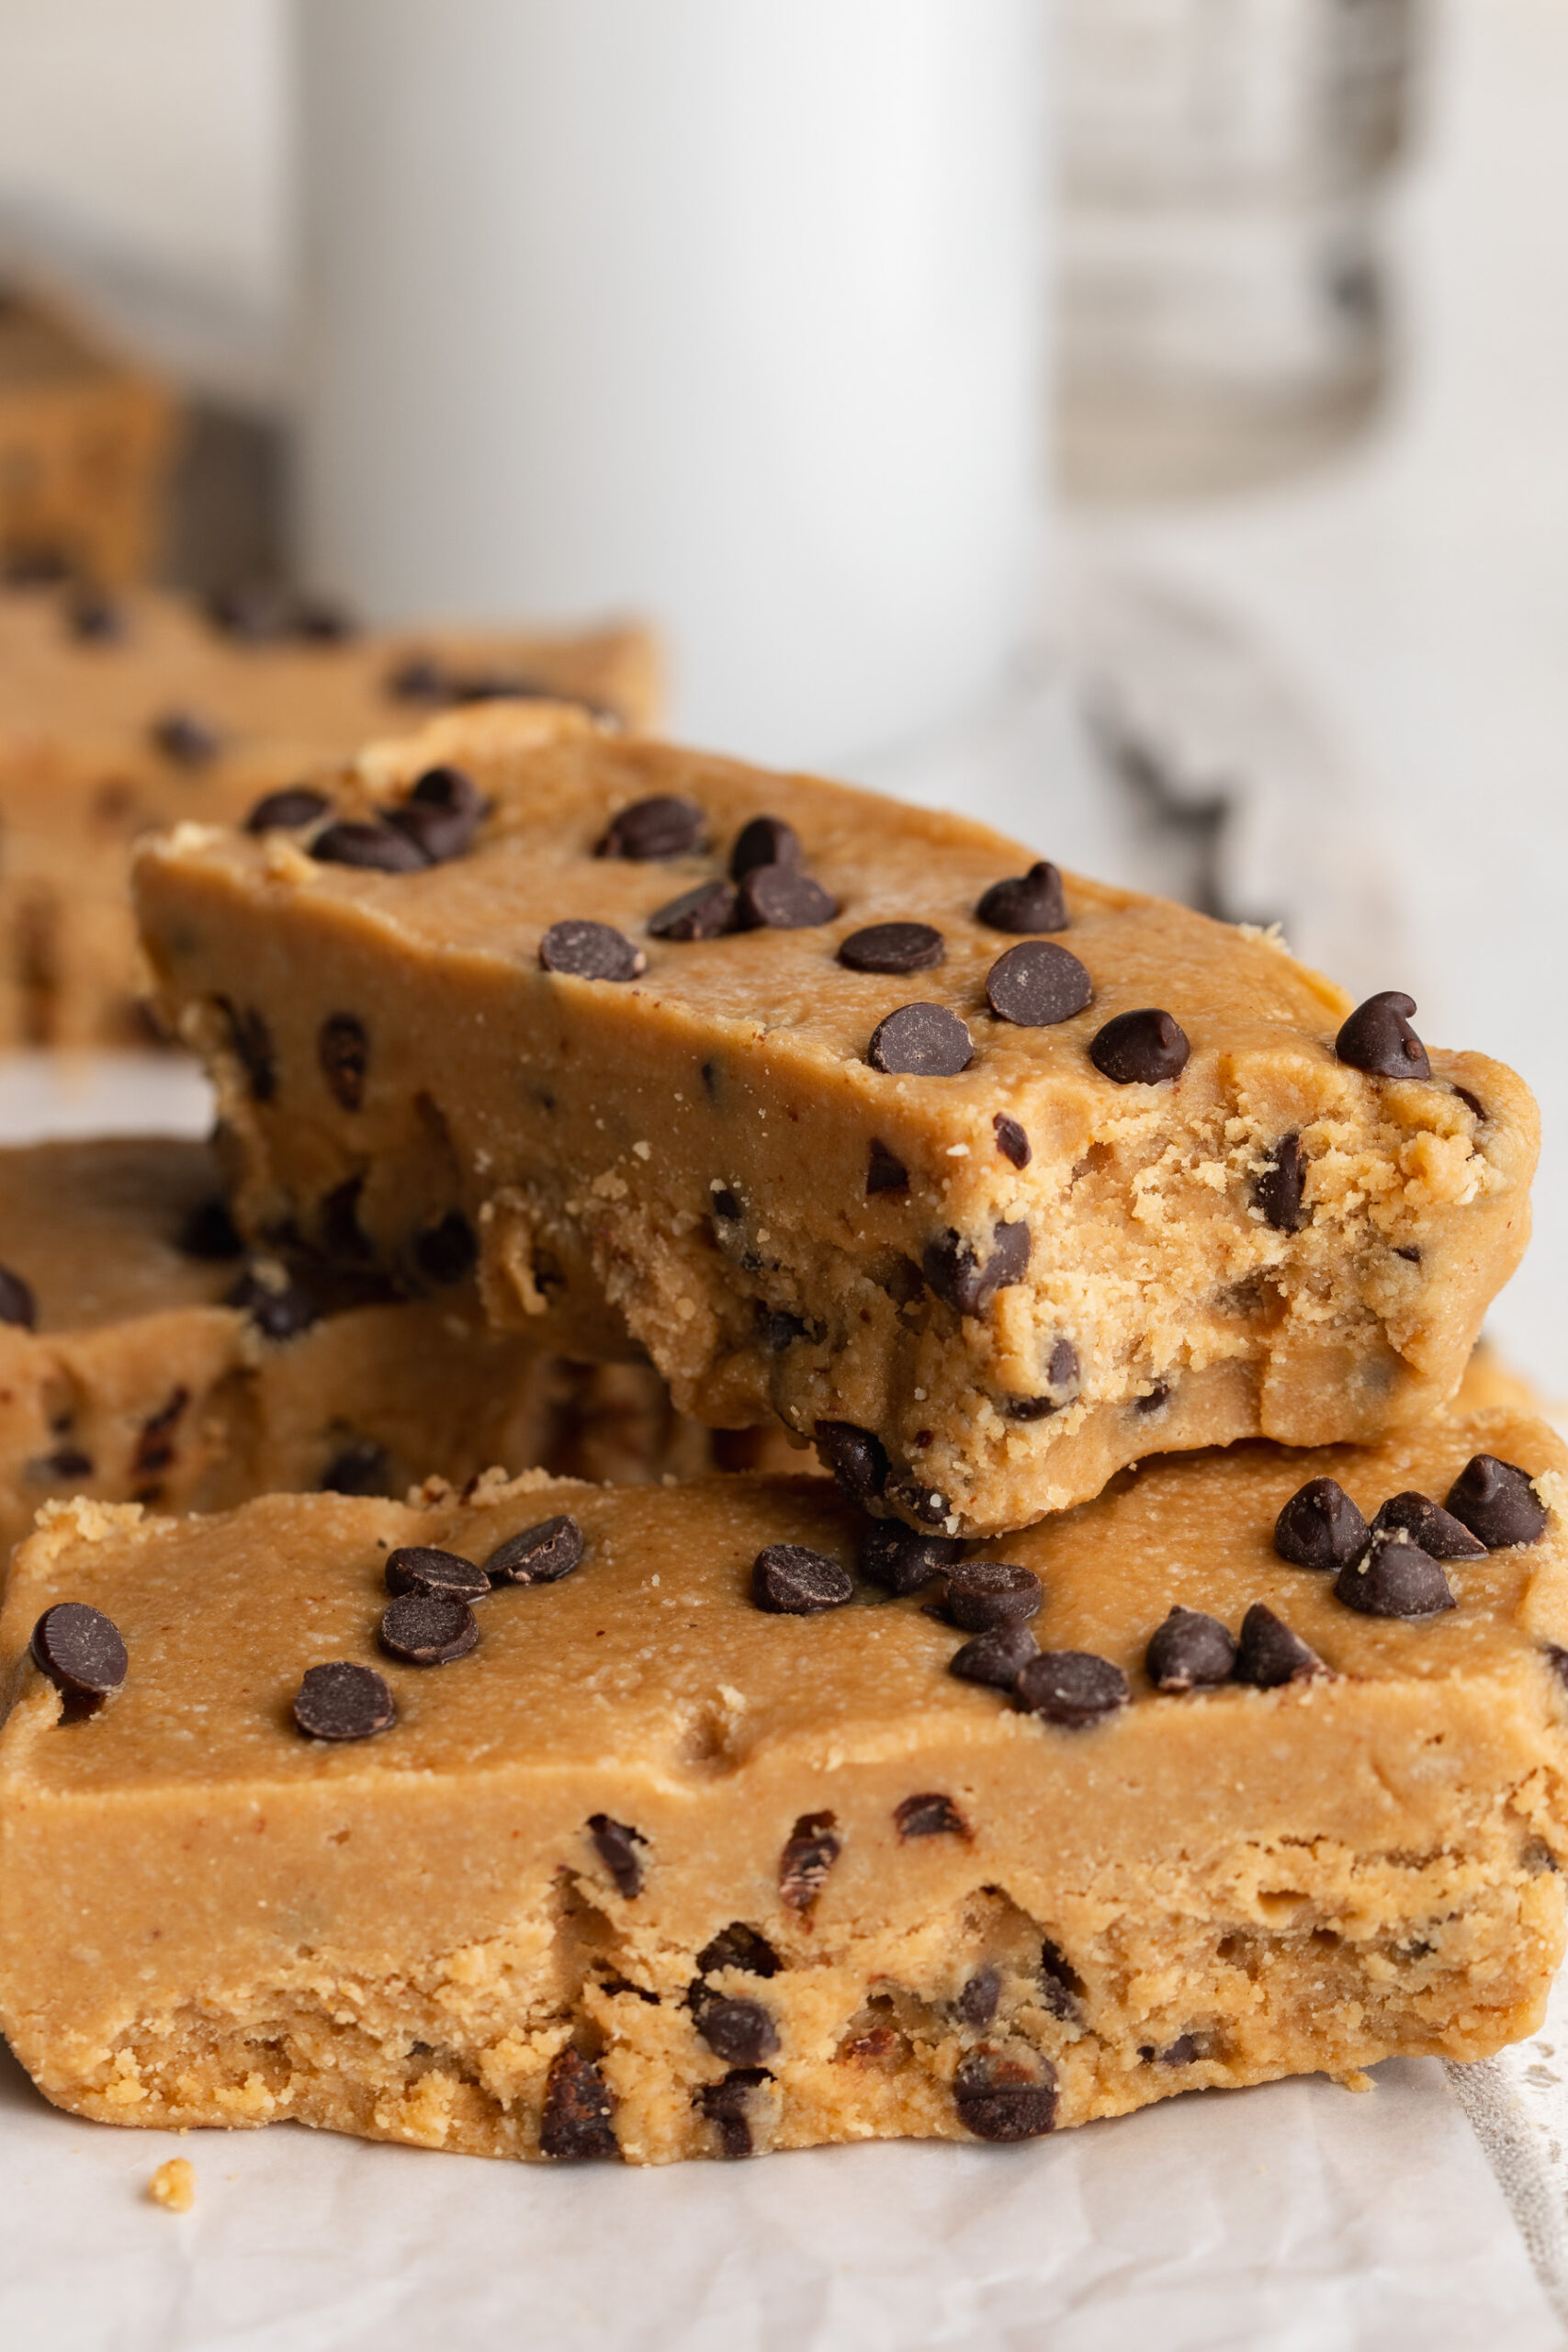
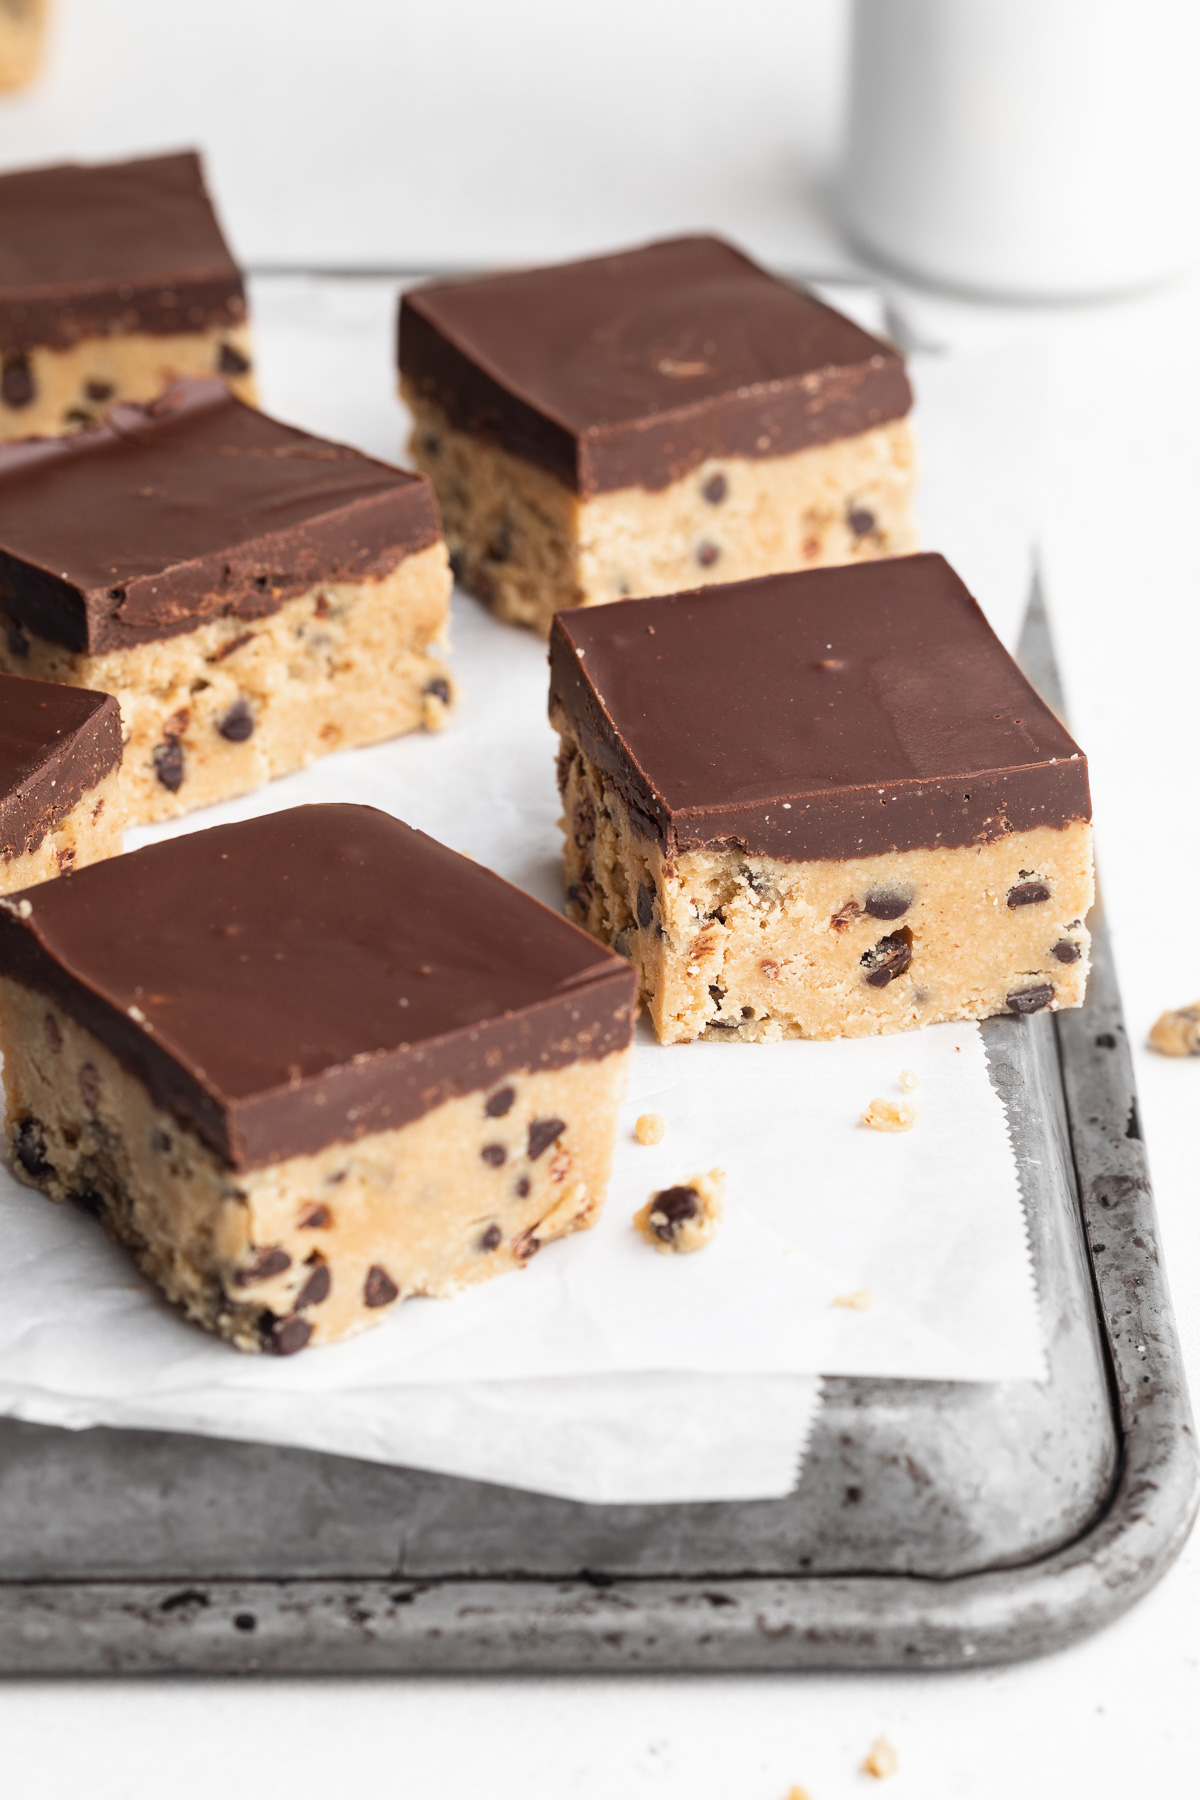
Collagen Cookie Dough Protein Bars
These cookie dough protein bars taste just like classic cookie dough, but are made with simple, better-for-you ingredients and 15 grams of protein per bar. They’re no-bake, gluten-free, and dairy-free, making them the perfect easy snack, dessert, or post-workout treat. Made in just one bowl with 7 ingredients, these healthy cookie dough protein bars are a must-make for meal prep.
Check out this recipe
18

4-Ingredient Peanut Butter Cornflake Bars
These 4-ingredient peanut butter cornflake bars are the ultimate no-bake treat – crunchy, chocolatey, and ready in minutes! Made with simple pantry staples, they’re naturally gluten-free, dairy-free, and even vegan. These peanut butter cornflake bars are delicious as an easy sweet snack or holiday treat!
Check out this recipe
19
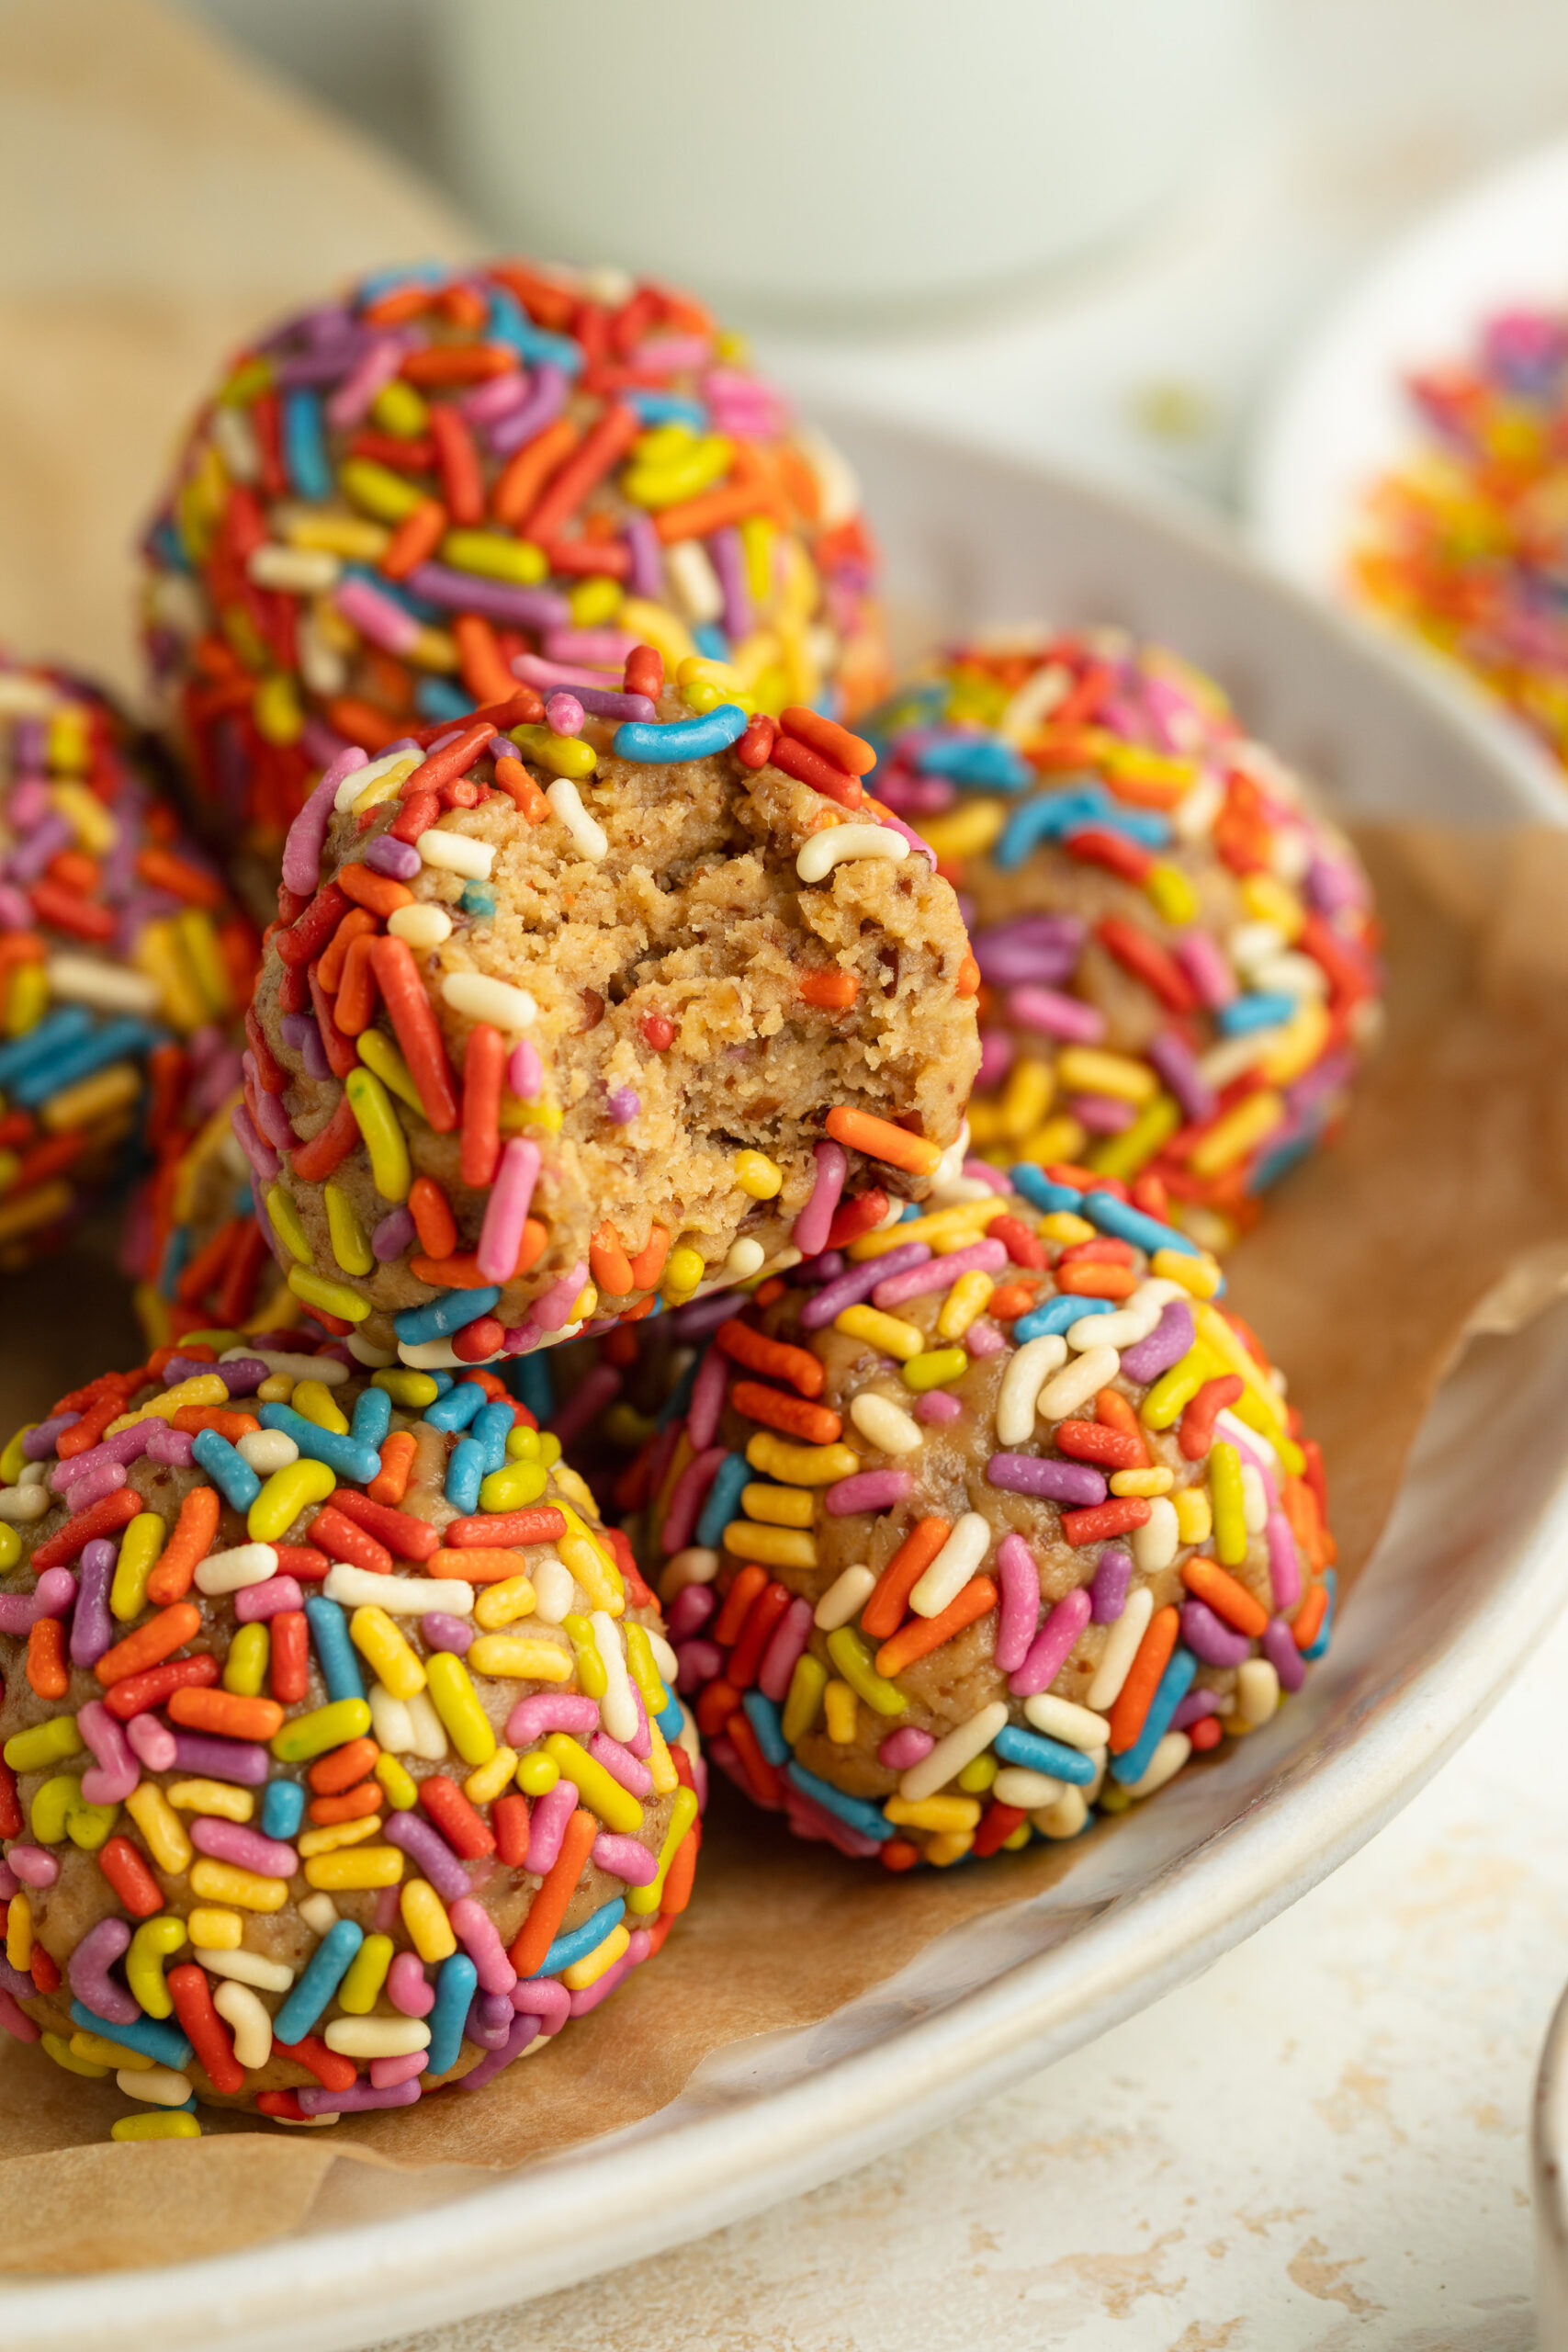
Birthday Cake Energy Bites
These birthday cake energy bites are the perfect no-bake snack that’s healthy, fun, and full of delicious flavor! Made with almond flour, cashew butter, flaxseed, honey, and rainbow sprinkles, each bite is packed with protein, fiber, and healthy fats. Ready in minutes with just one bowl, they’re a festive and nourishing treat you’ll LOVE!
Check out this recipe
20

4-Ingredient Protein Rice Crispy Treats
These Protein Rice Crispy Treats are a no-bake, 4-ingredient protein snack with 10 grams of protein per square! Easy to make, gluten-free, and totally delicious, they’re a healthy twist on the classic treat.
Check out this recipe
21
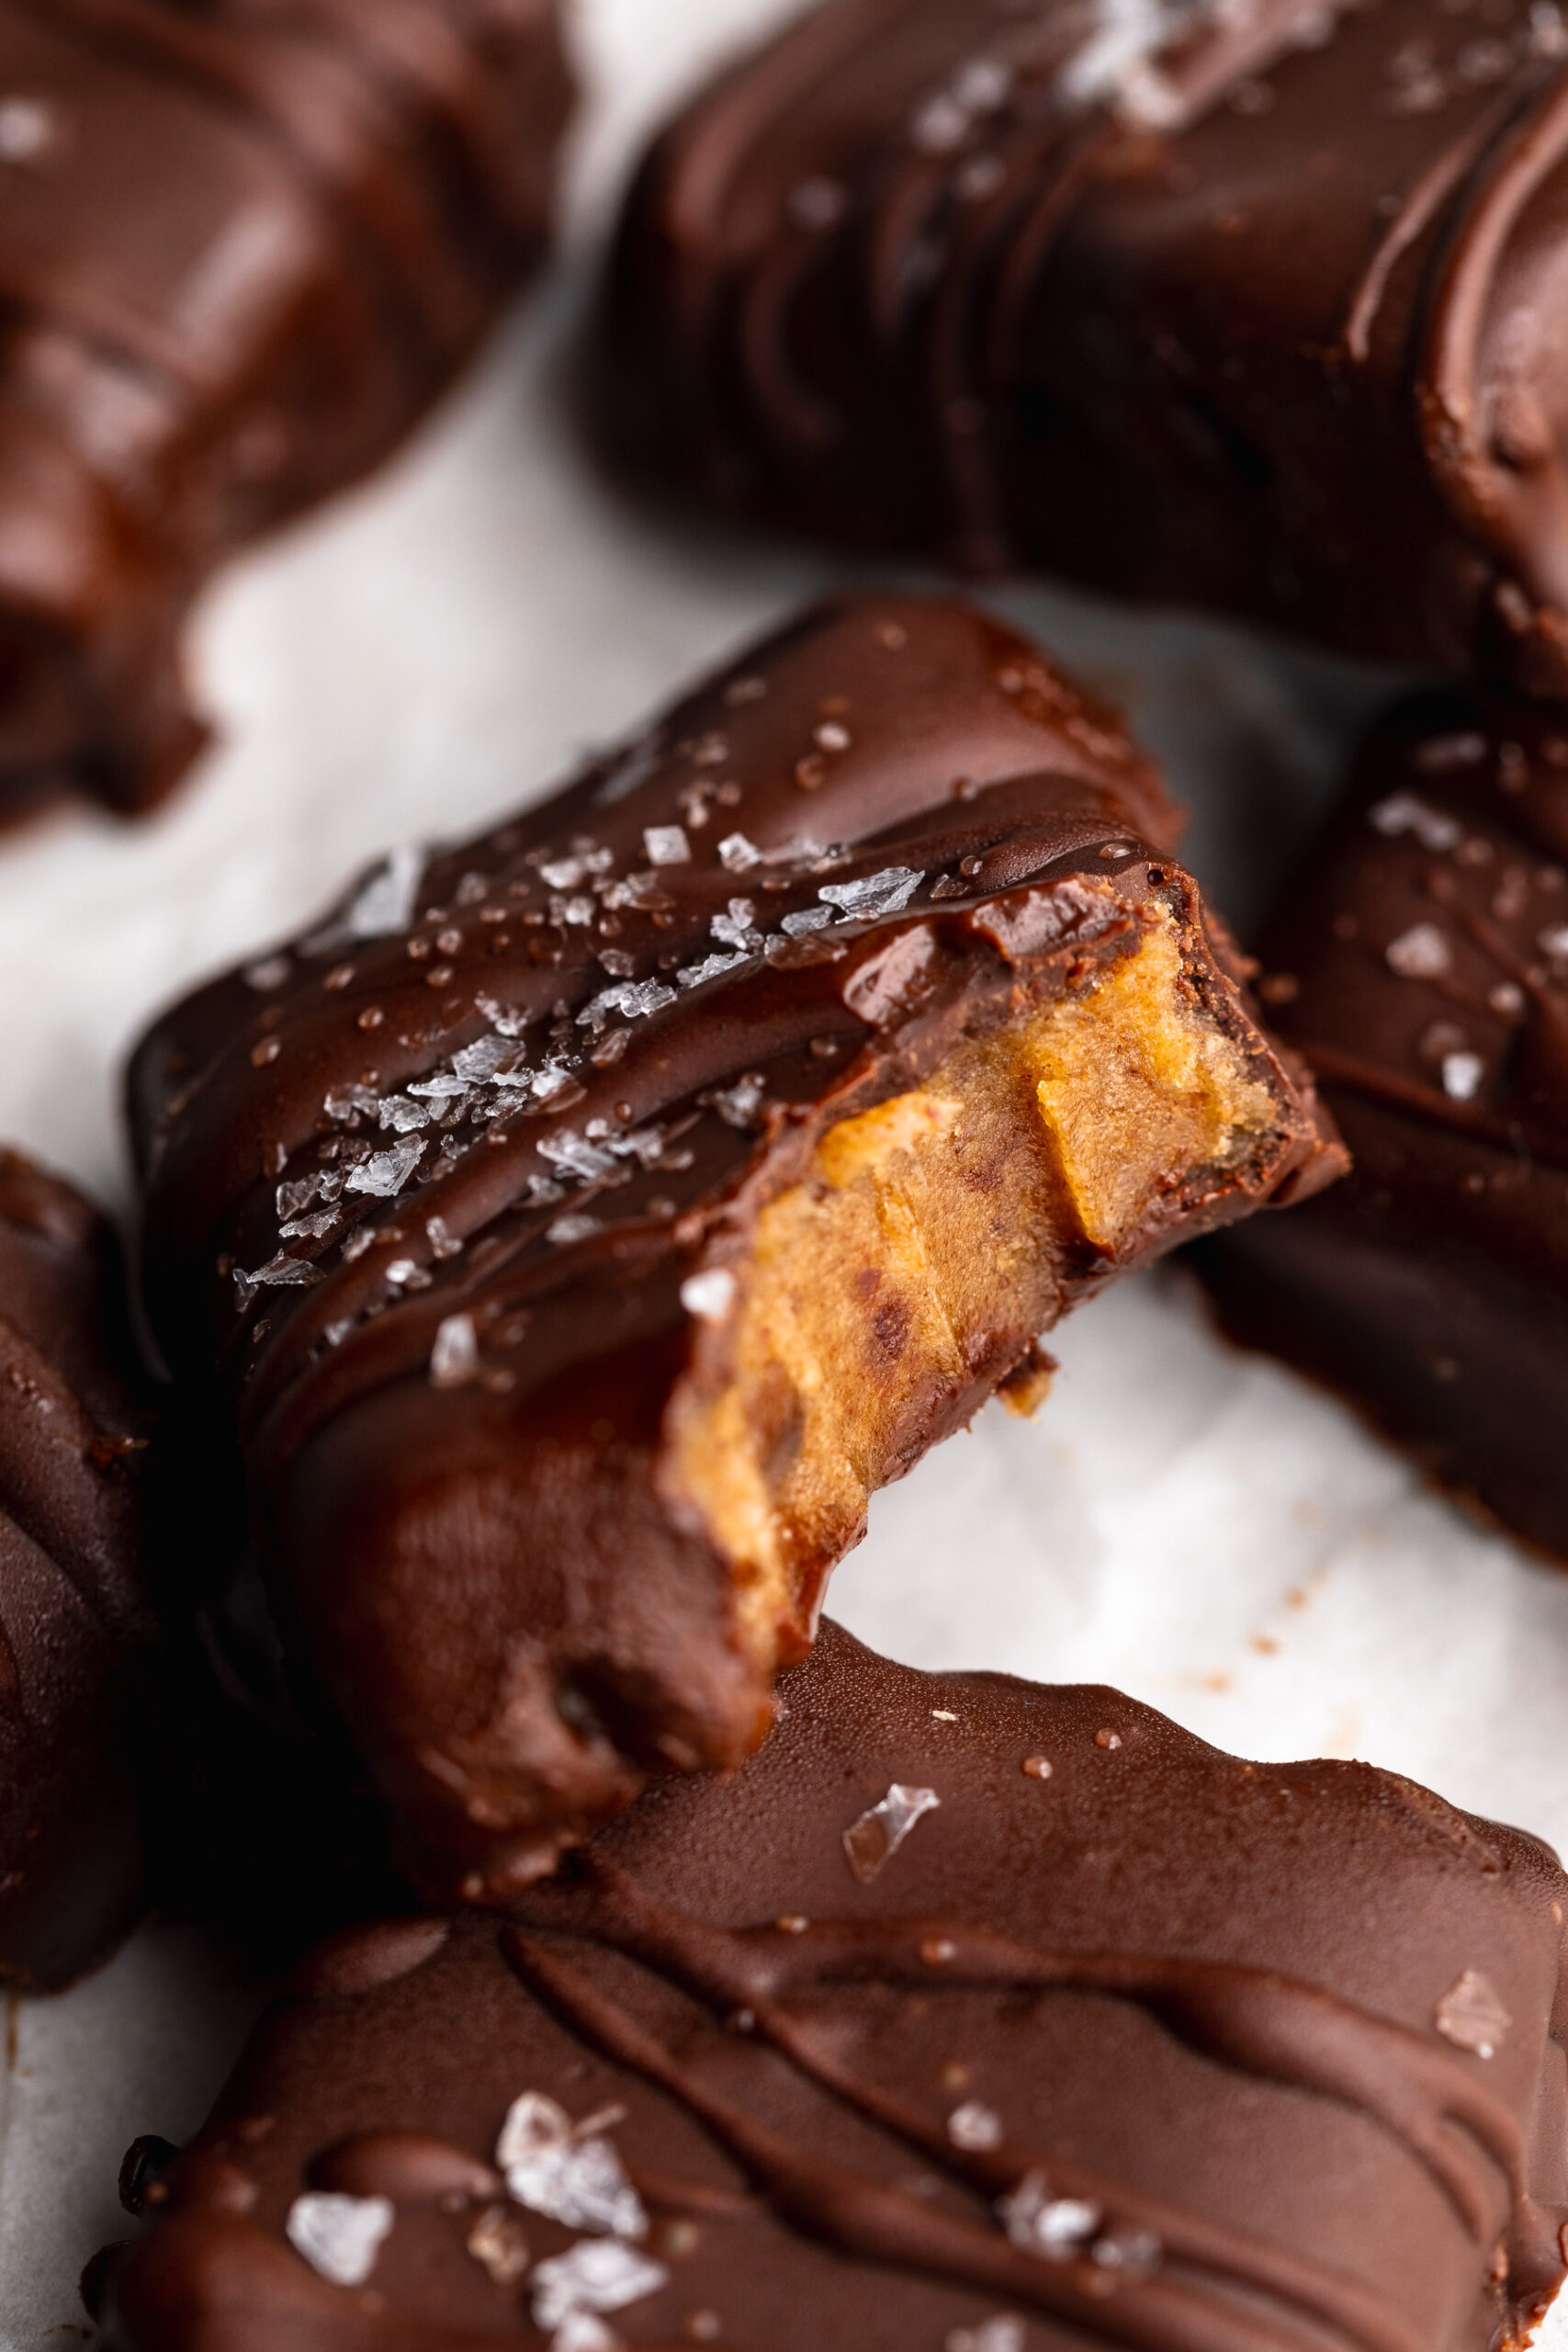
4-Ingredient Date Caramels
If you're looking for a vegan, gluten-free, and refined sugar-free treat that's perfect for gifting or snacking, these 4-ingredient date caramels are your answer! They're rich, chewy, and coated in decadent chocolate—ideal for satisfying your sweet tooth while sticking to your dietary needs. Plus, they're easy to make and great for parties!
Check out this recipe
22
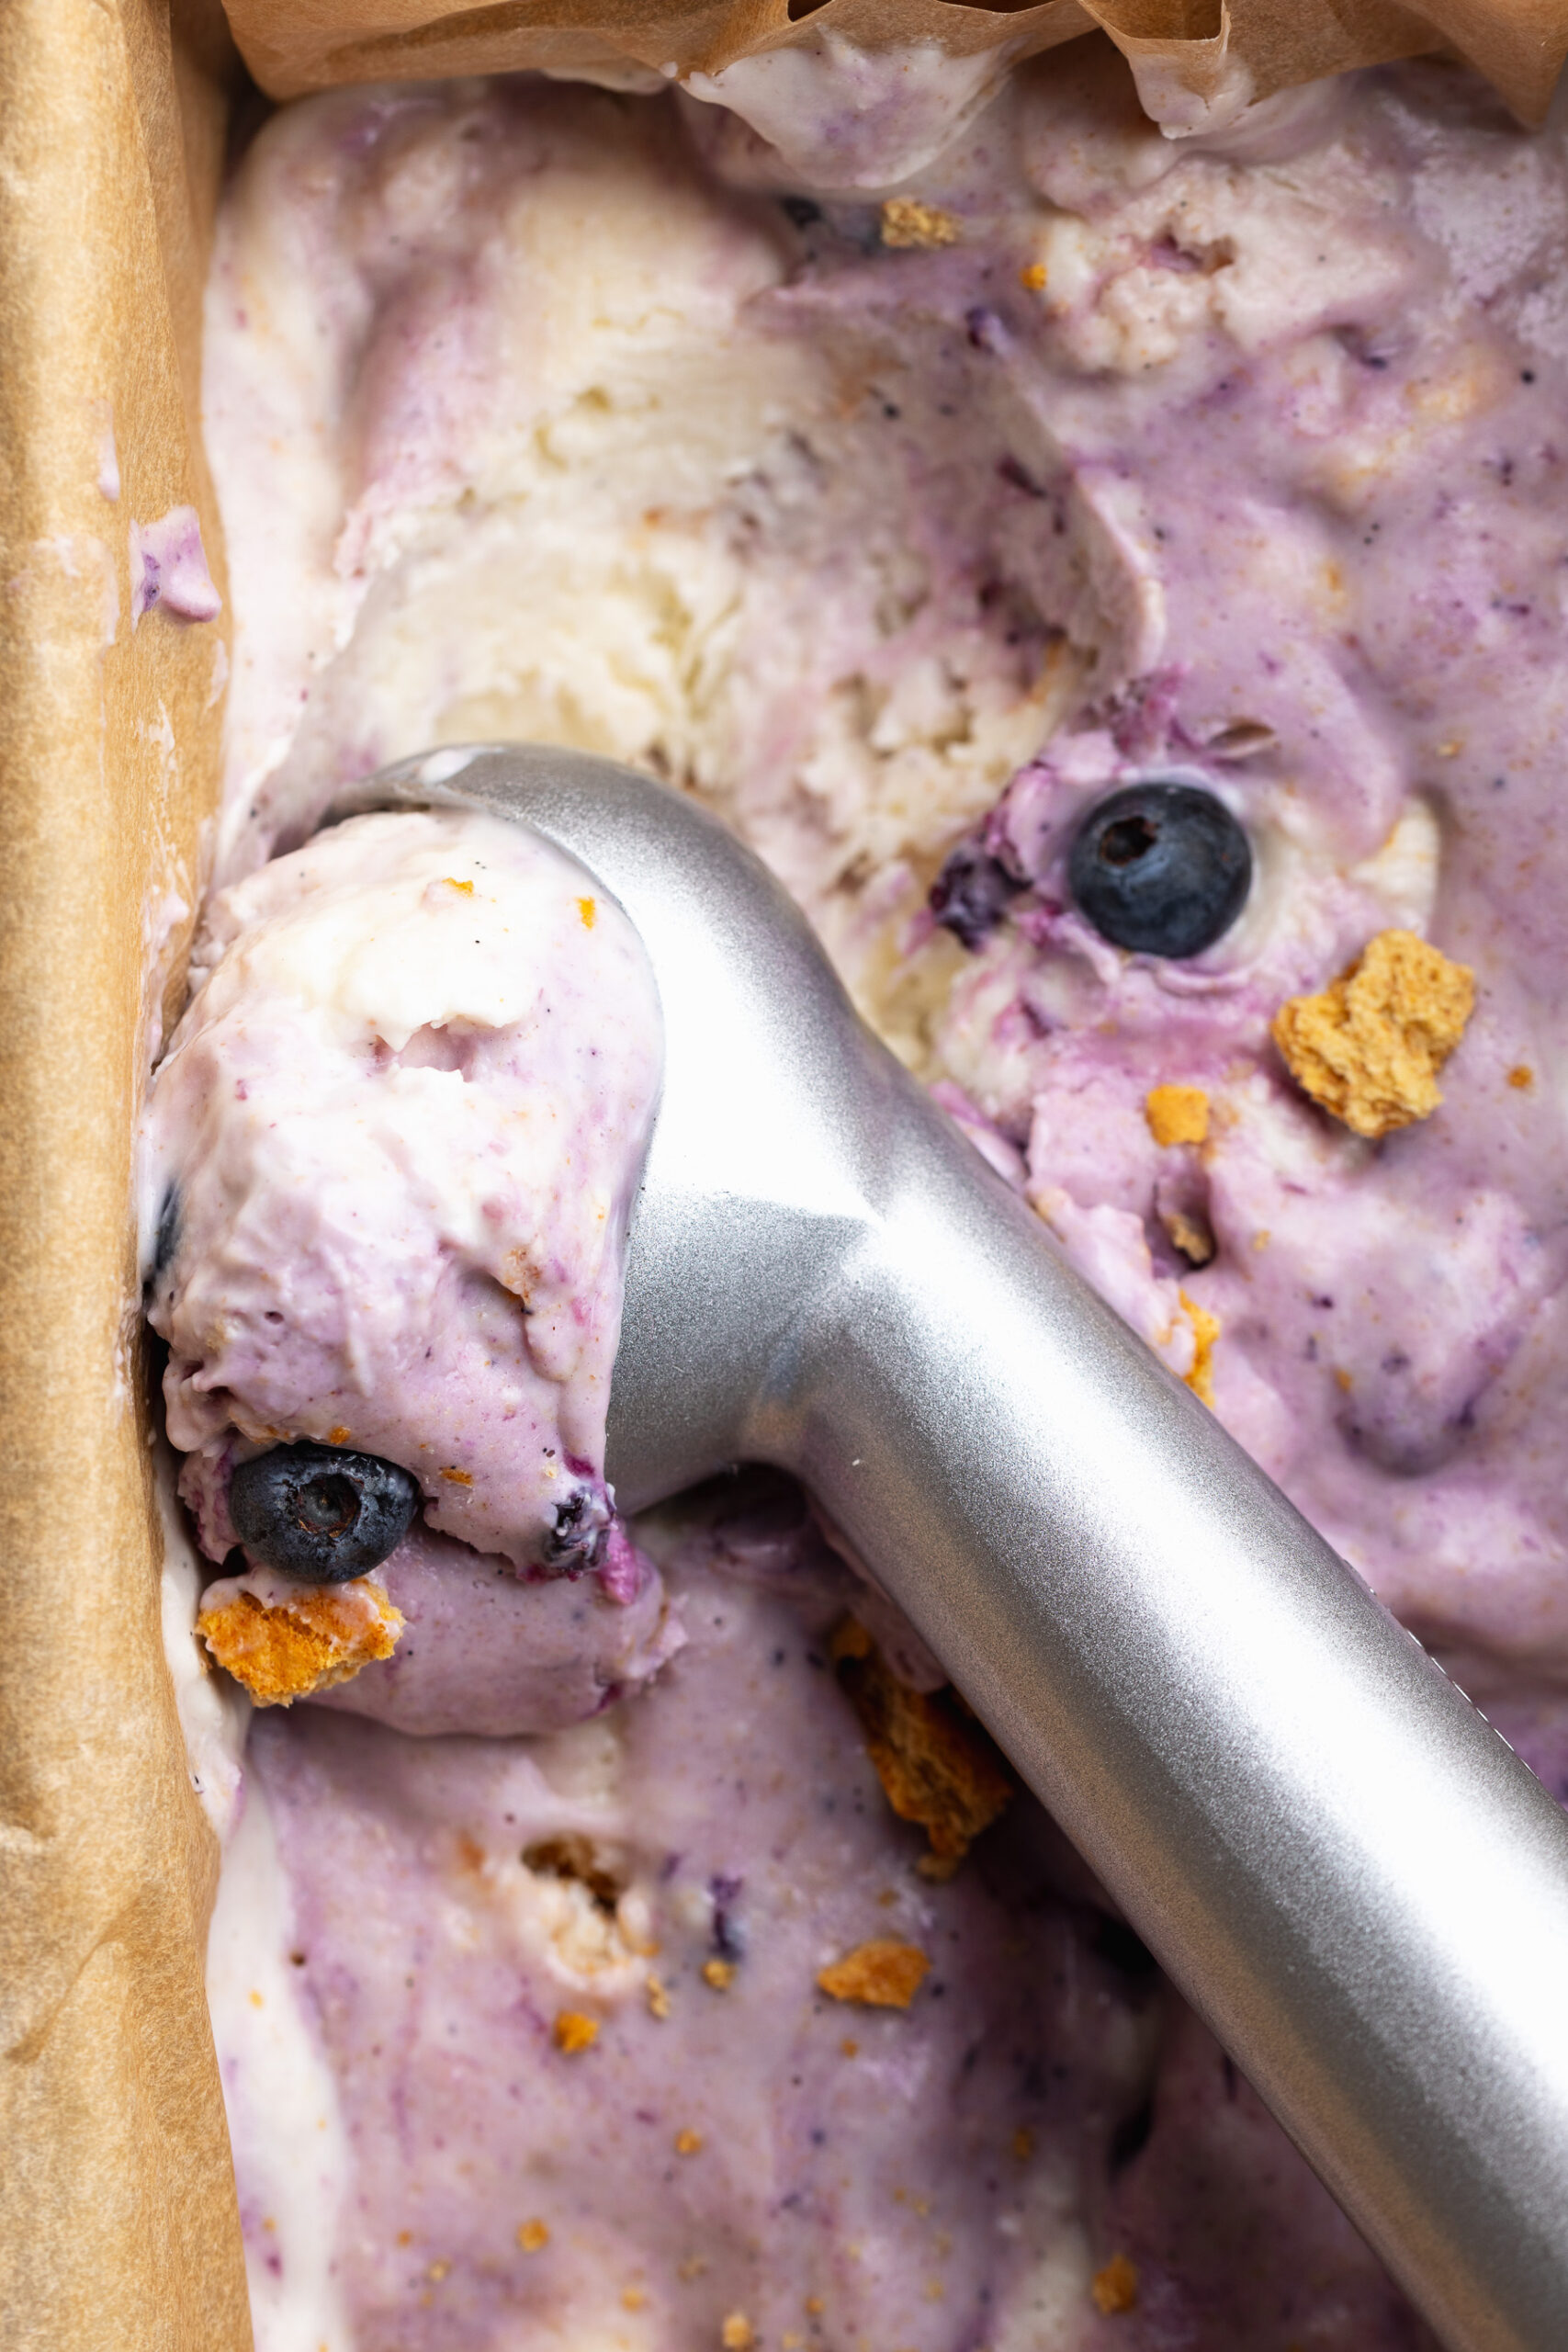
Cottage Cheese Blueberry Pie Ice Cream
This cottage cheese blueberry pie ice cream is a creamy, high-protein frozen treat made with just 5 simple ingredients – a silky cottage cheese base swirled with jammy blueberry preserves and studded with buttery graham cracker pieces for a flavor that tastes exactly like a slice of blueberry pie! No ice cream maker needed, under 5 minutes of prep, and it's naturally sweetened and packed with protein. If you're looking for an easy, healthy cottage cheese ice cream recipe that tastes like a real dessert, this blueberry pie version is the one to make!
Check out this recipe


")