")
This collection of healthy summer desserts is your ultimate guide to gluten-free, feel-good treats that are perfect for warm weather! From baked peaches and frozen yogurt bark to s’mores bars, lemon bars, and strawberry shortcakes. With 20+ recipes to choose from there’s something for every summer craving, cookout, and backyard party. If you’re looking for easy, healthy summer dessert recipes that everyone will love (even kids!) this is the list!
1
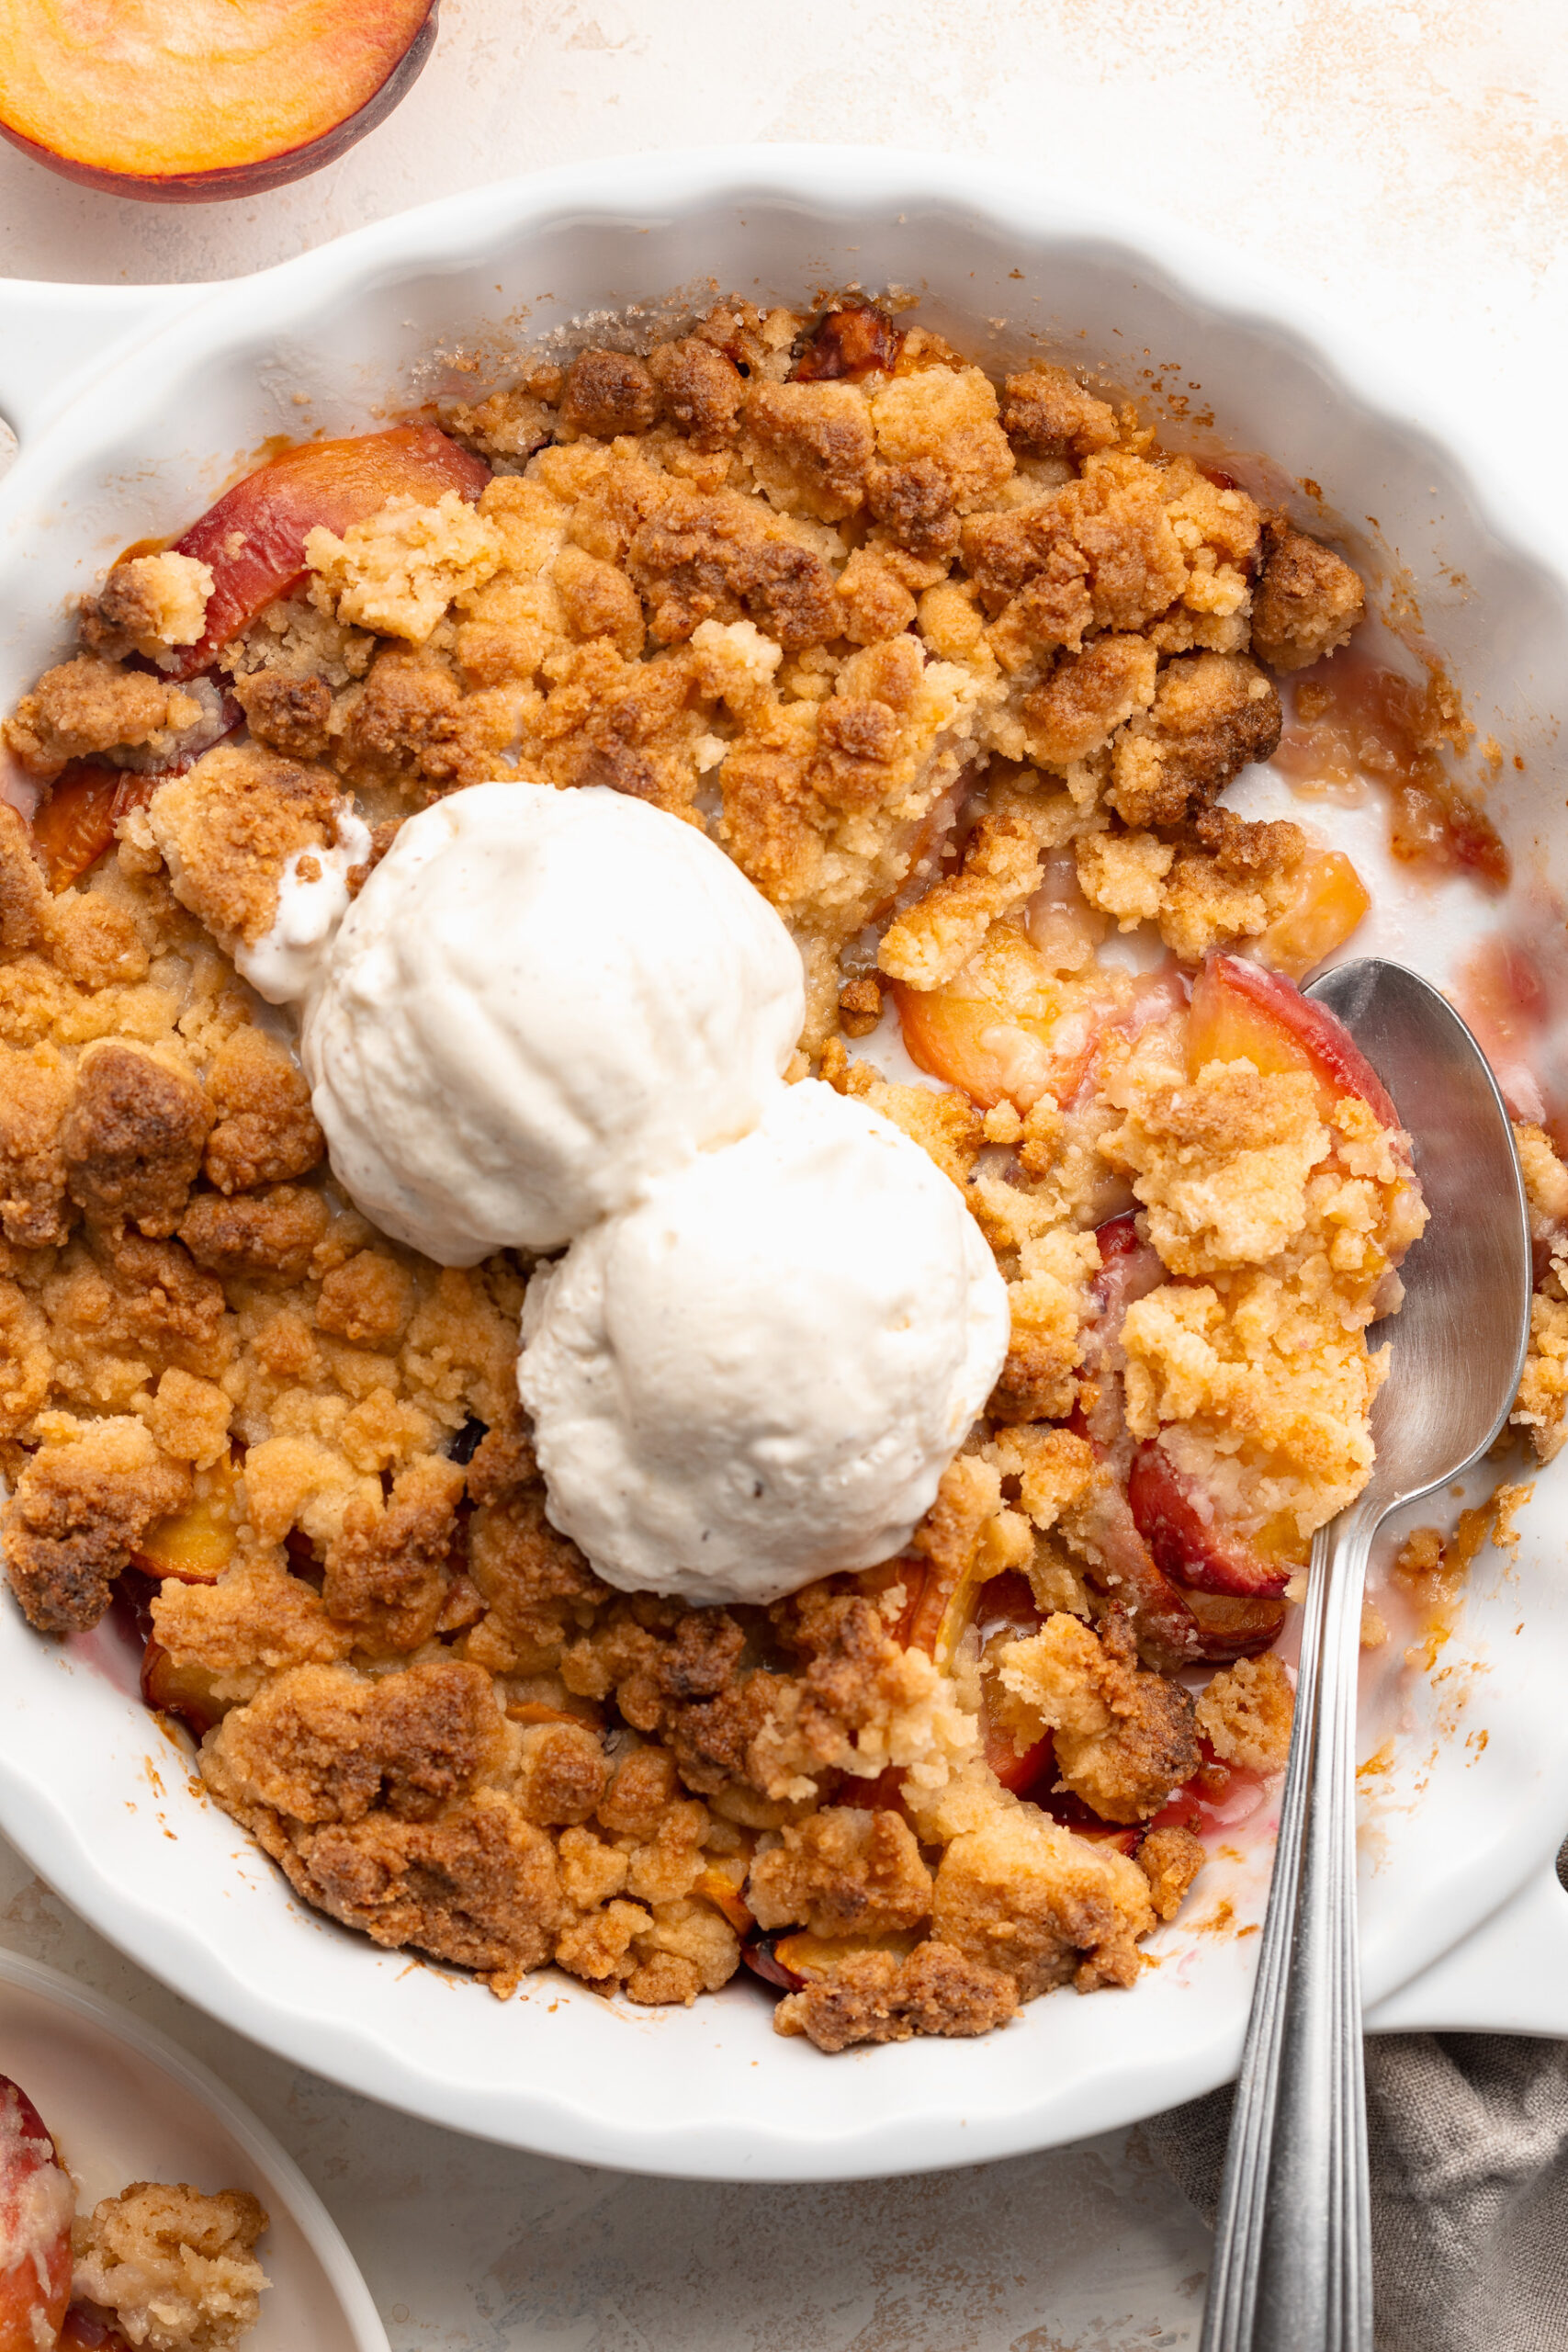
4-Ingredient Peach Cobbler
This 4 ingredient peach cobbler is the perfect simple yet delicious dessert recipe! Made with fresh summer peaches and a perfectly sweet crumb topping. Whip up this super easy recipe for potluck, parties, or summer bbqs! This recipe even includes gluten-free and vegan options.
Check out this recipe
2
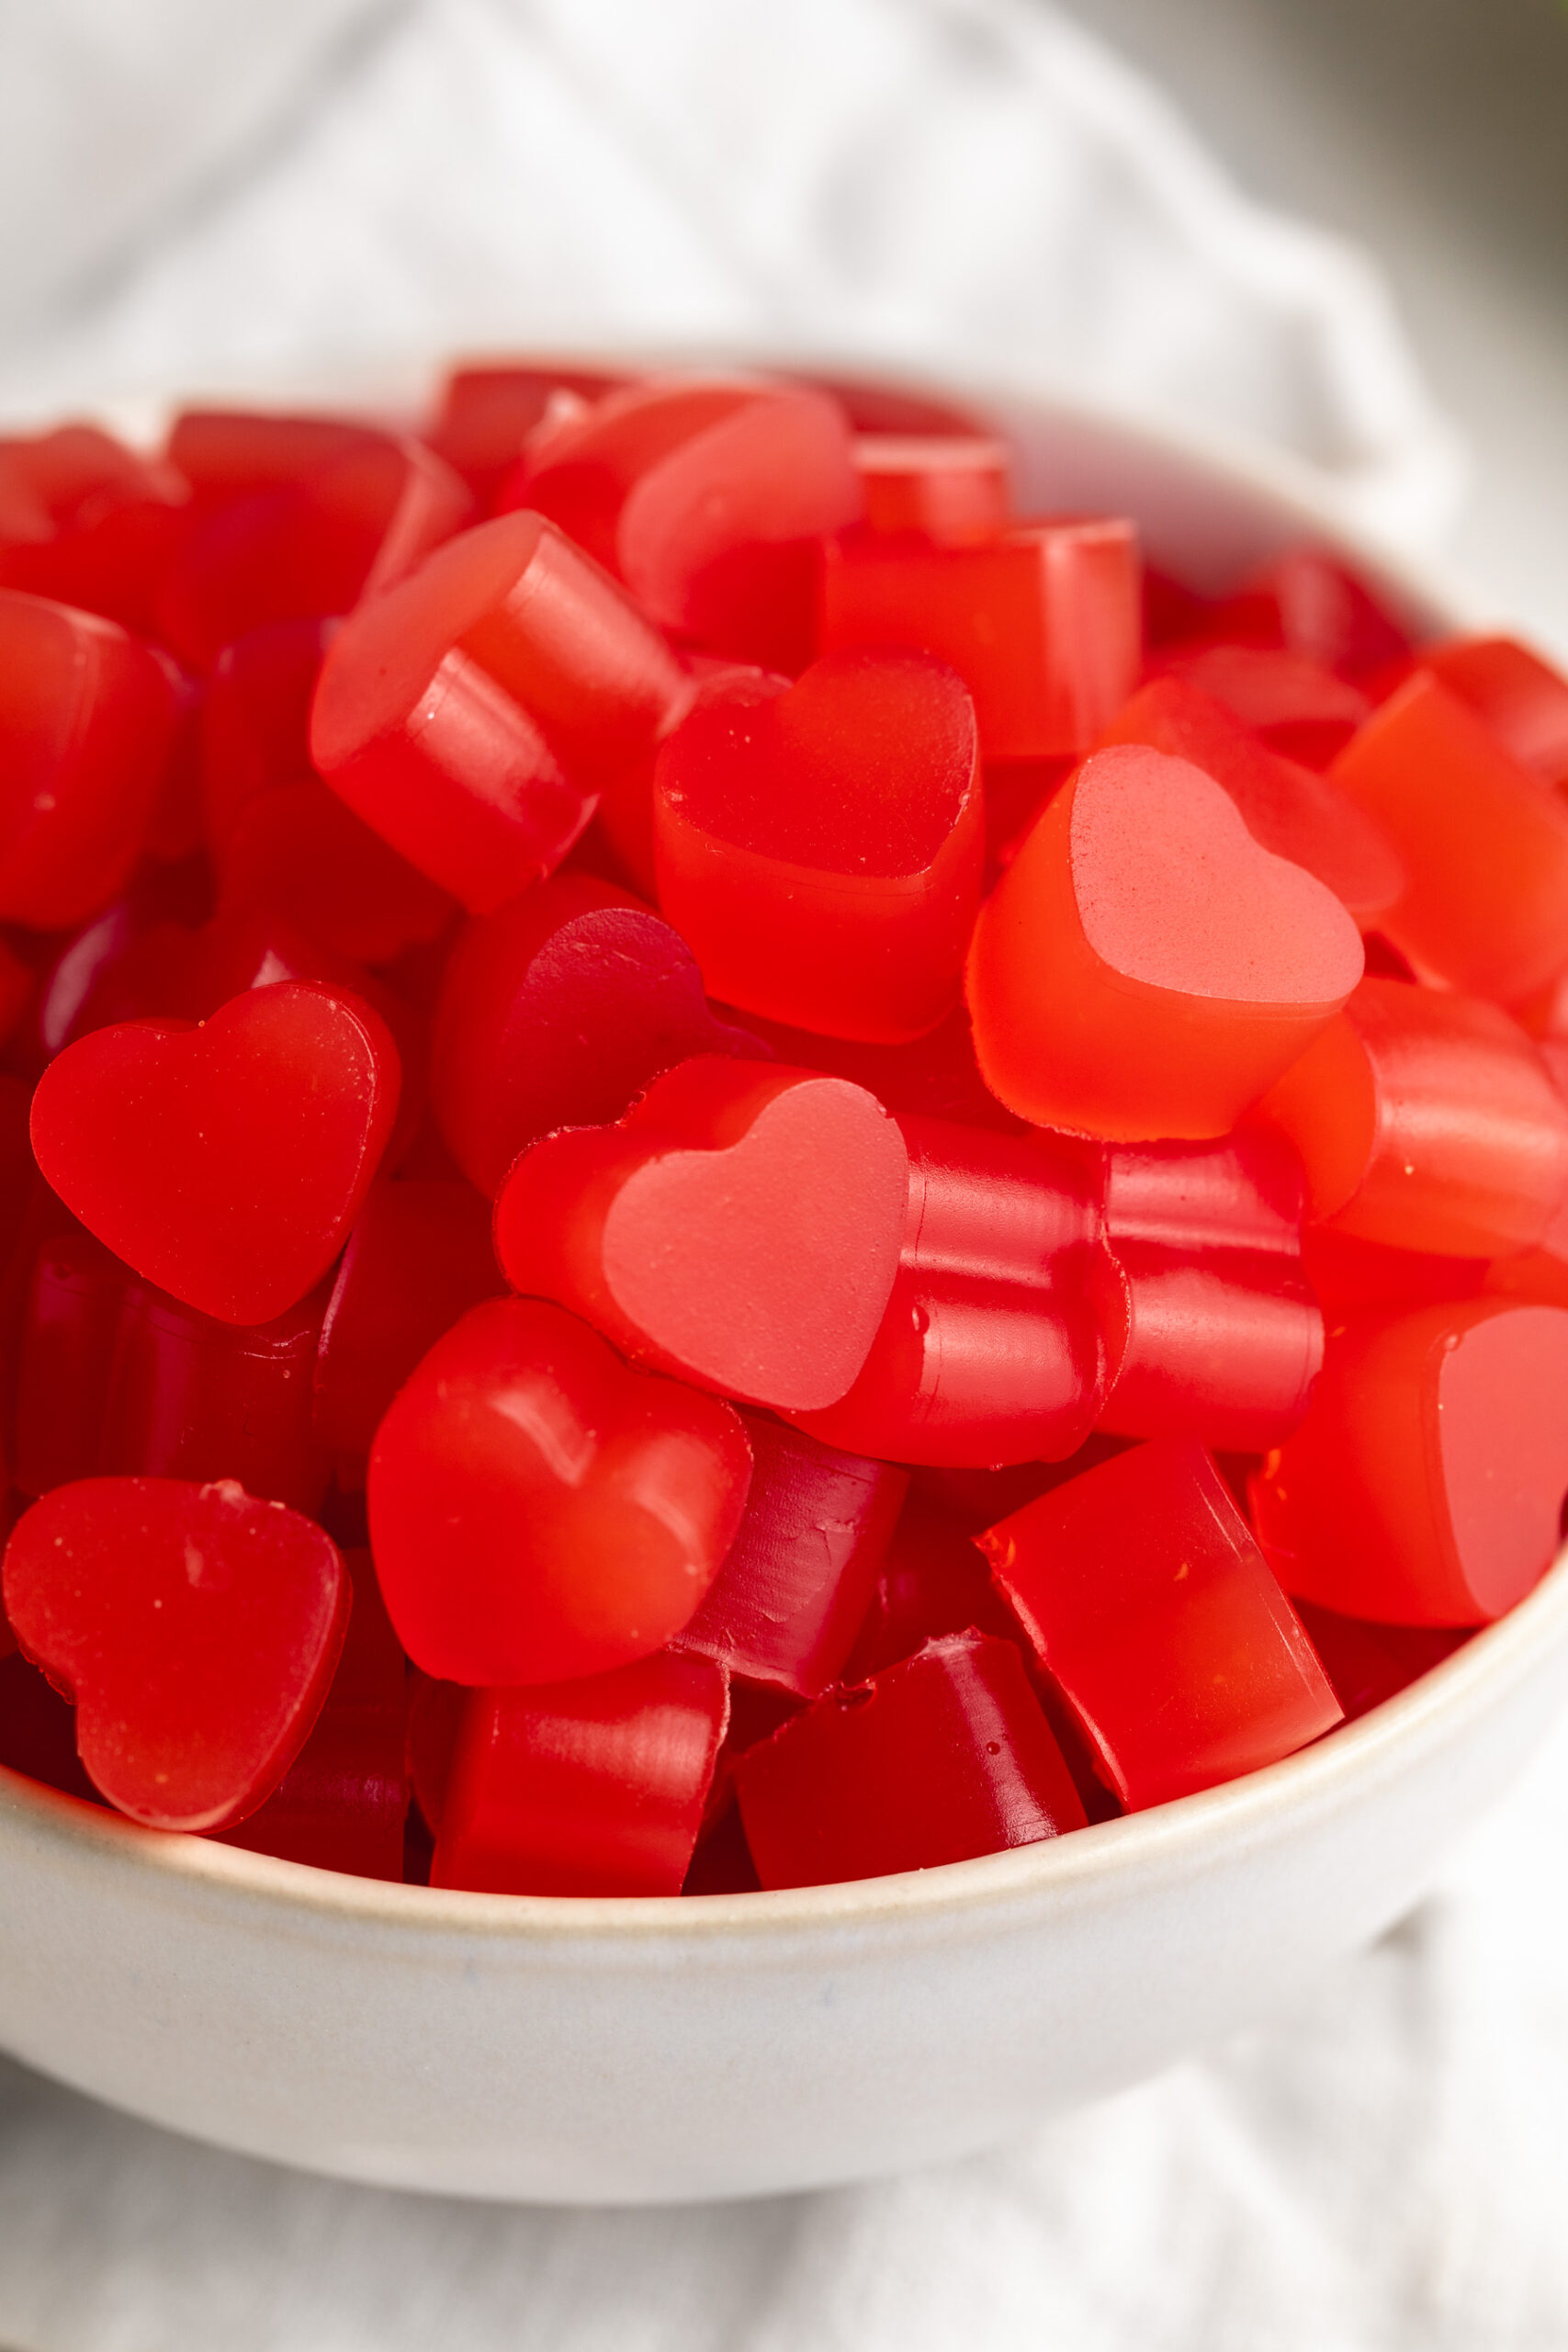
Healthy Watermelon Gummies
These healthy watermelon gummies are made with just 3 simple ingredients—fresh watermelon, lime juice, and grass-fed gelatin. Packed with collagen to support glowing skin and gut health, they’re naturally sweet, sugar-free, and perfect for kids or adults. A fun, fruity snack that’s refreshing, nourishing, and easy to make right at home!
Check out this recipe
3

Gluten-Free S’mores Bars
These s’mores bars are something else! A buttery graham cracker base followed by a lush layer of chocolate is topped off with toasty marshmallows. These s’mores bars will blow you away with how delicious and addictive they are – all while being vegan and gluten-free!
Check out this recipe
4

4-Ingredient Baked Peaches
These baked peaches are warm, tender, and caramelized with butter, brown sugar, and cinnamon – made with just 4 simple ingredients and ready in under 30 minutes! Topped with a scoop of homemade no-churn vanilla bean ice cream (no ice cream maker required!), this is the ultimate easy summer dessert that tastes far more impressive than the effort it takes to make. If you're looking for an easy baked peaches recipe that's perfect for peak peach season, this is the one to make this weekend!
Check out this recipe
5

Blueberry Muddy Buddies
These easy Blueberry Muddy Buddies are a no-bake, gluten-free, and dairy-free twist on the classic sweet snack. Made with just 5 simple ingredients—including fresh blueberries and peanut butter – they come together in minutes for the perfect healthier treat. Great for snacking, sharing, or storing in the fridge all week long!
Check out this recipe
6
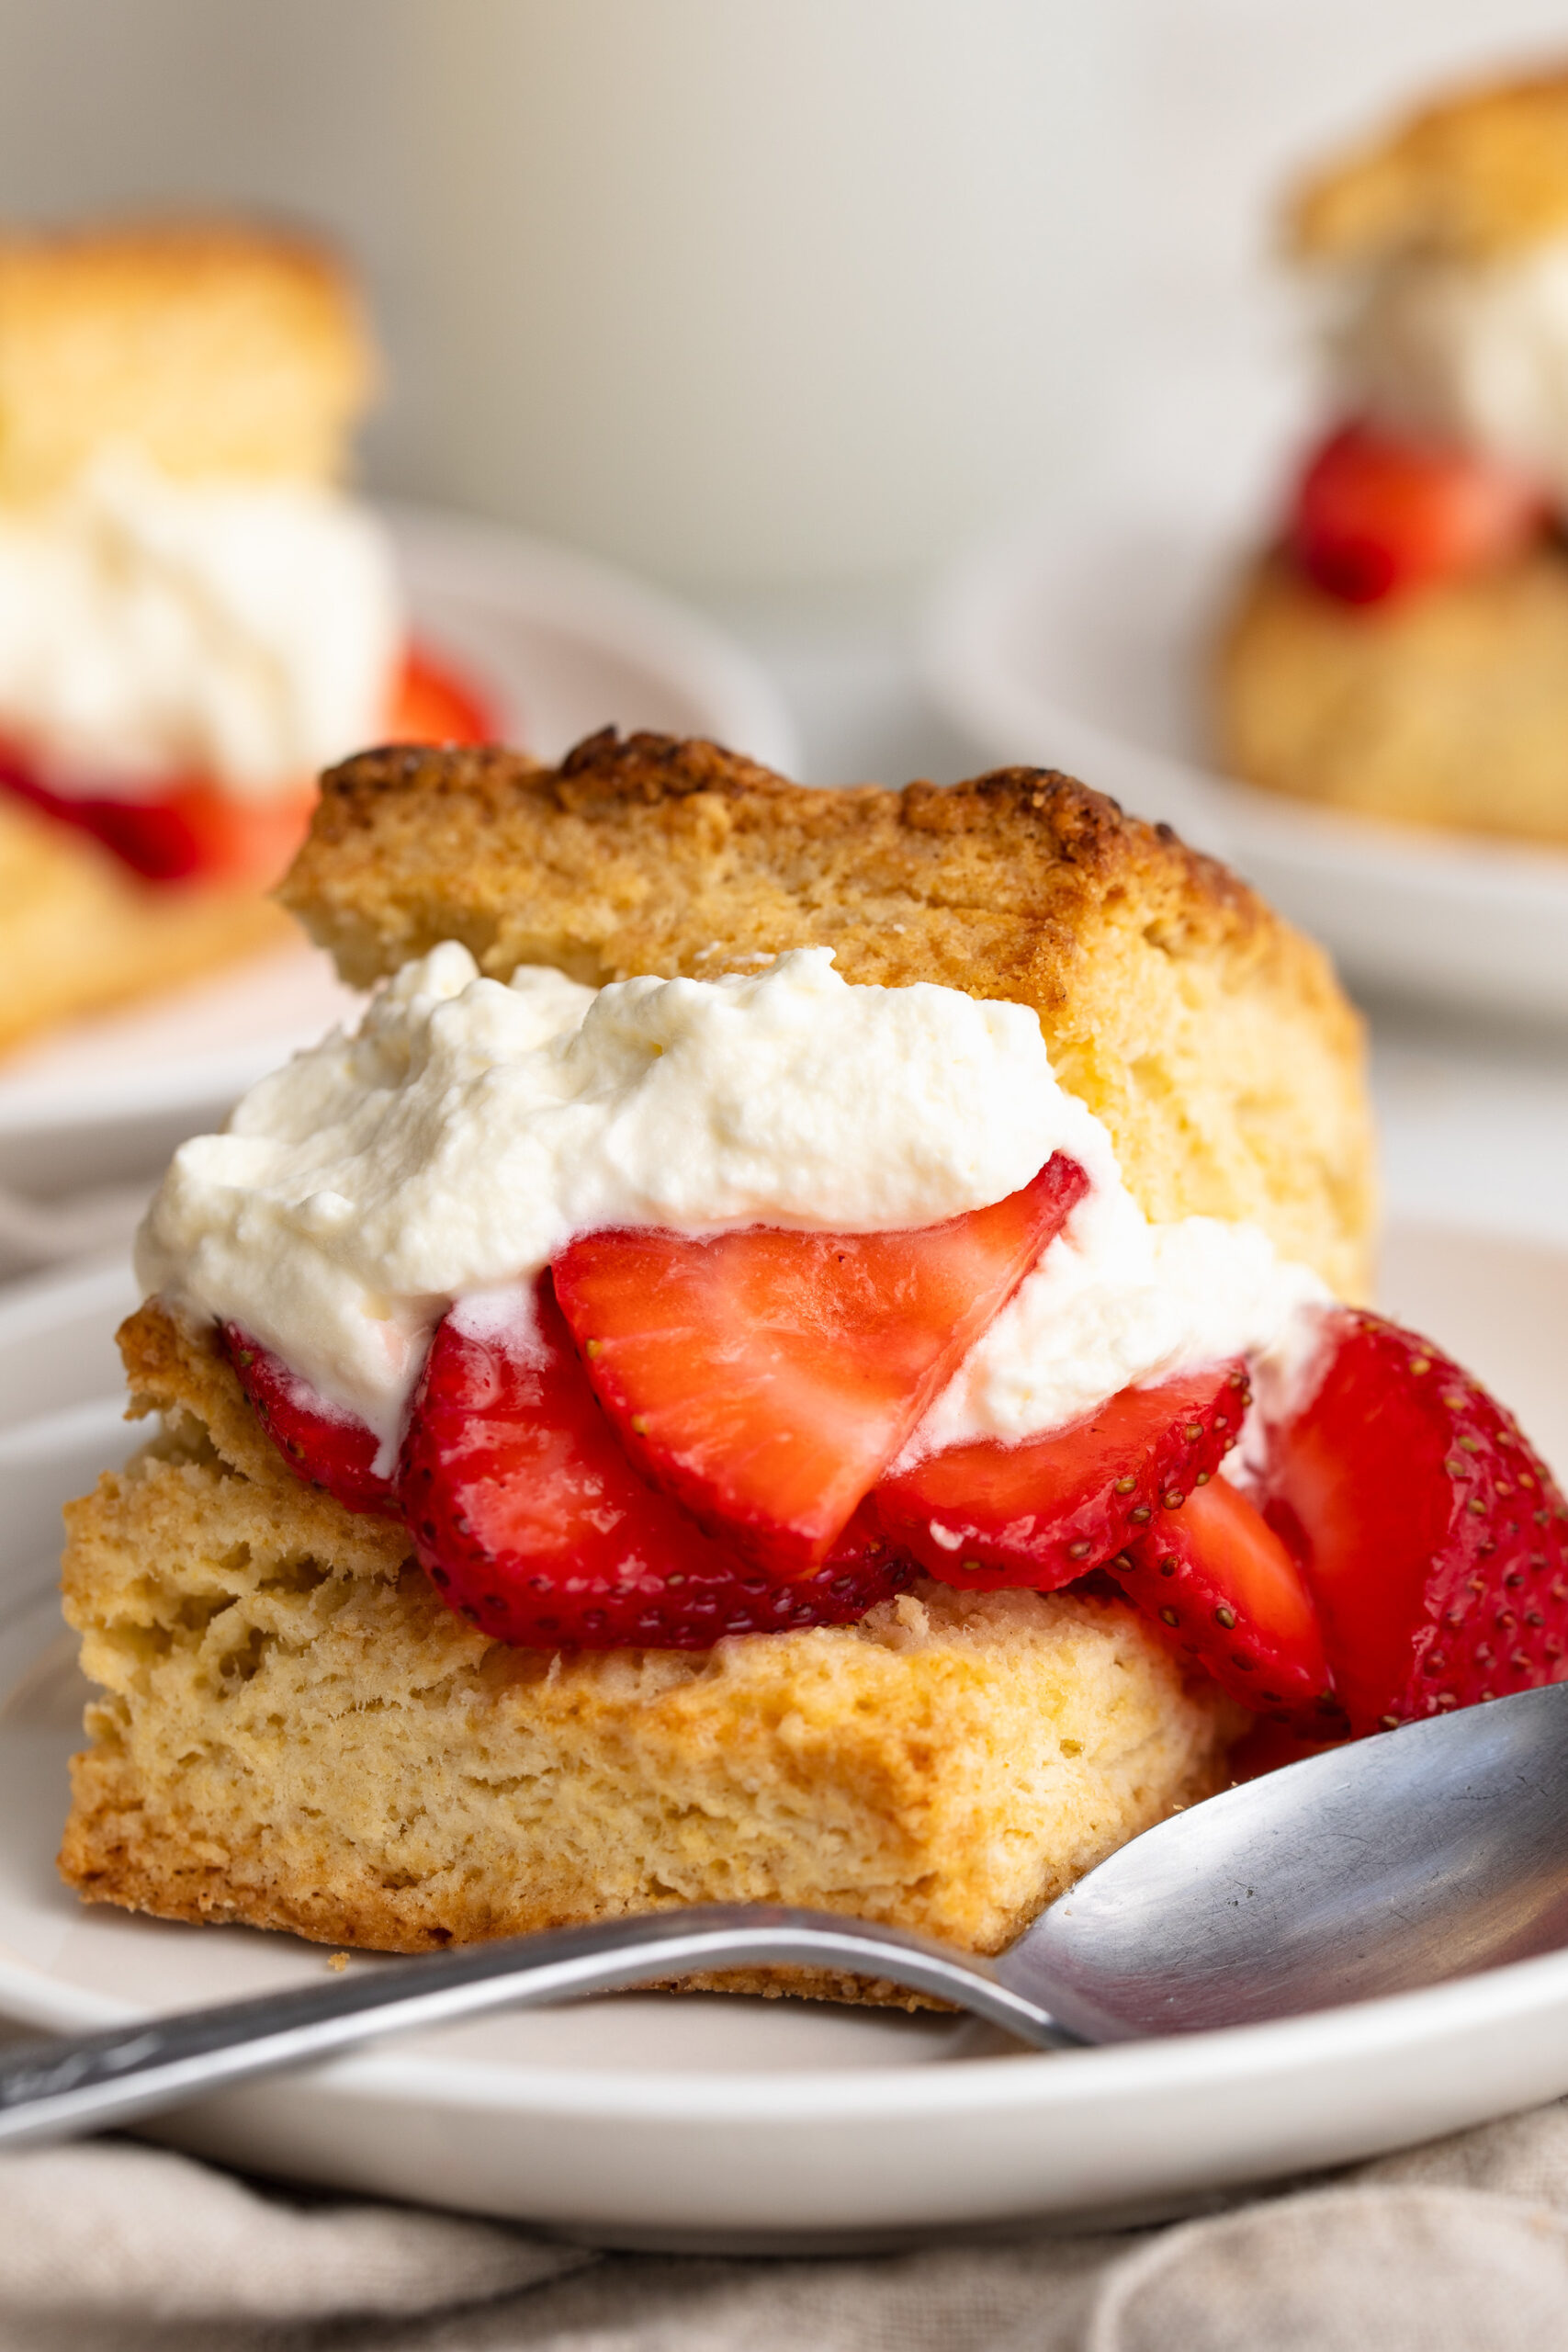
Mom’s BEST Strawberry Shortcakes Recipe
These strawberry shortcakes are my mom's famous recipe – flaky, buttery biscuits piled high with juicy strawberries and homemade whipped cream, and the first dessert I crave every single summer when fresh berries are at their peak! They feel fancy enough for a summer party but are surprisingly simple to make from scratch, with no mixer or special equipment required. It's a classic strawberry shortcake recipe SO good, everyone will ask for the recipe!
Check out this recipe
7

Healthy Summer Fruit Crisp
A healthy fruit crisp loaded with fresh summer fruits! The perfect warm-weather dessert, best served with a scoop of vanilla ice cream. Super easy to make with just one bowl, in 30 minutes.
Check out this recipe
8
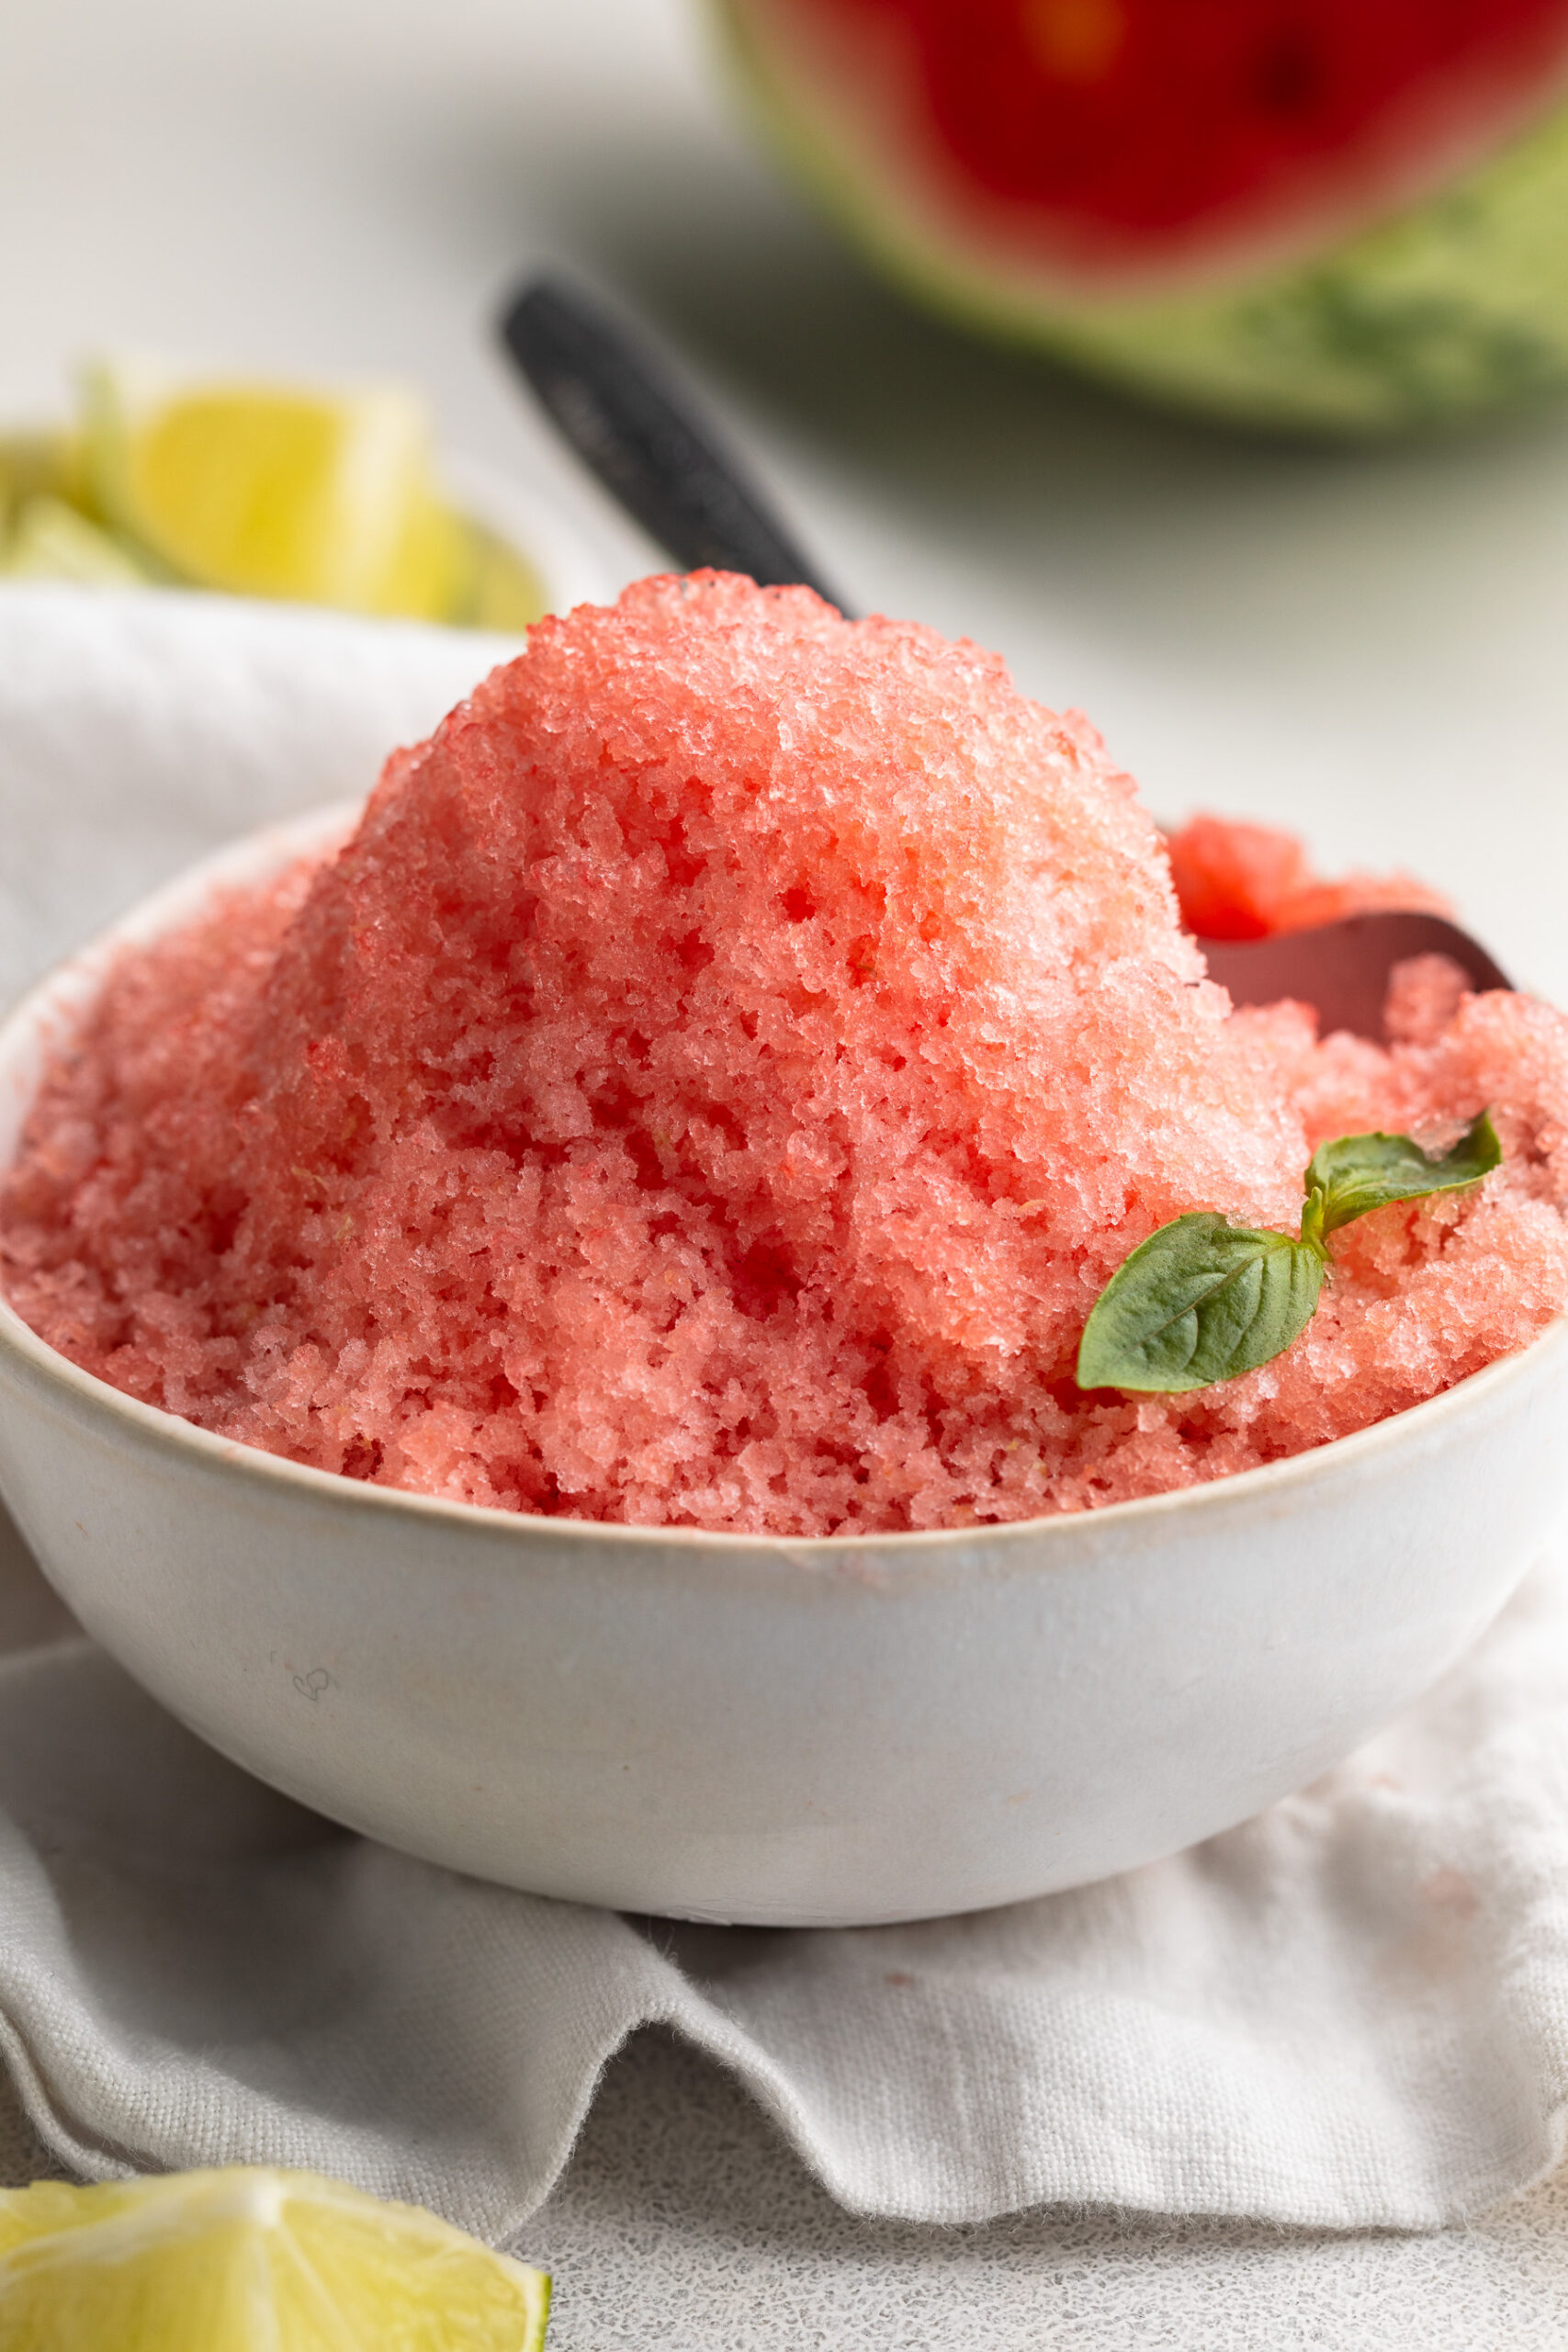
Watermelon Shaved Ice
This viral watermelon shaved ice is the ultimate healthy summer treat made with just frozen watermelon and a splash of fresh lime juice! It’s refreshing, naturally sweet, and perfect for hot days when you want something light and hydrating. This easy 1-ingredient recipe is vegan, gluten-free, dairy-free, and ready in minutes – no ice cream maker needed!
Check out this recipe
9

6-Ingredient Gluten-Free Strawberry Shortcake
This gluten-free strawberry shortcake is the easy, light, and summery dessert you’ll want to make again and again! With just 6 simple ingredients, it’s fluffy, naturally gluten-free, and topped with a generous layer of whipped cream and sweet, juicy strawberries. It's perfect for birthdays, holidays, or any warm-weather gathering, this shortcake is a no-fuss, totally delicious crowd-pleaser!
Check out this recipe
10

2-Ingredient Pineapple Ice Cream
Fresh, creamy, and irresistibly delicious pineapple ice cream! Made with just two ingredients, and in under 5 minutes. This pineapple ice cream is the BEST healthy summertime treat.
Check out this recipe
11

3-Ingredient S’mores Dip
Super quick and easy 3-ingredient s’mores dip! Melty chocolate and gooey marshmallows, served with graham crackers. Throw together this simple dessert in just 10 minutes!
Check out this recipe
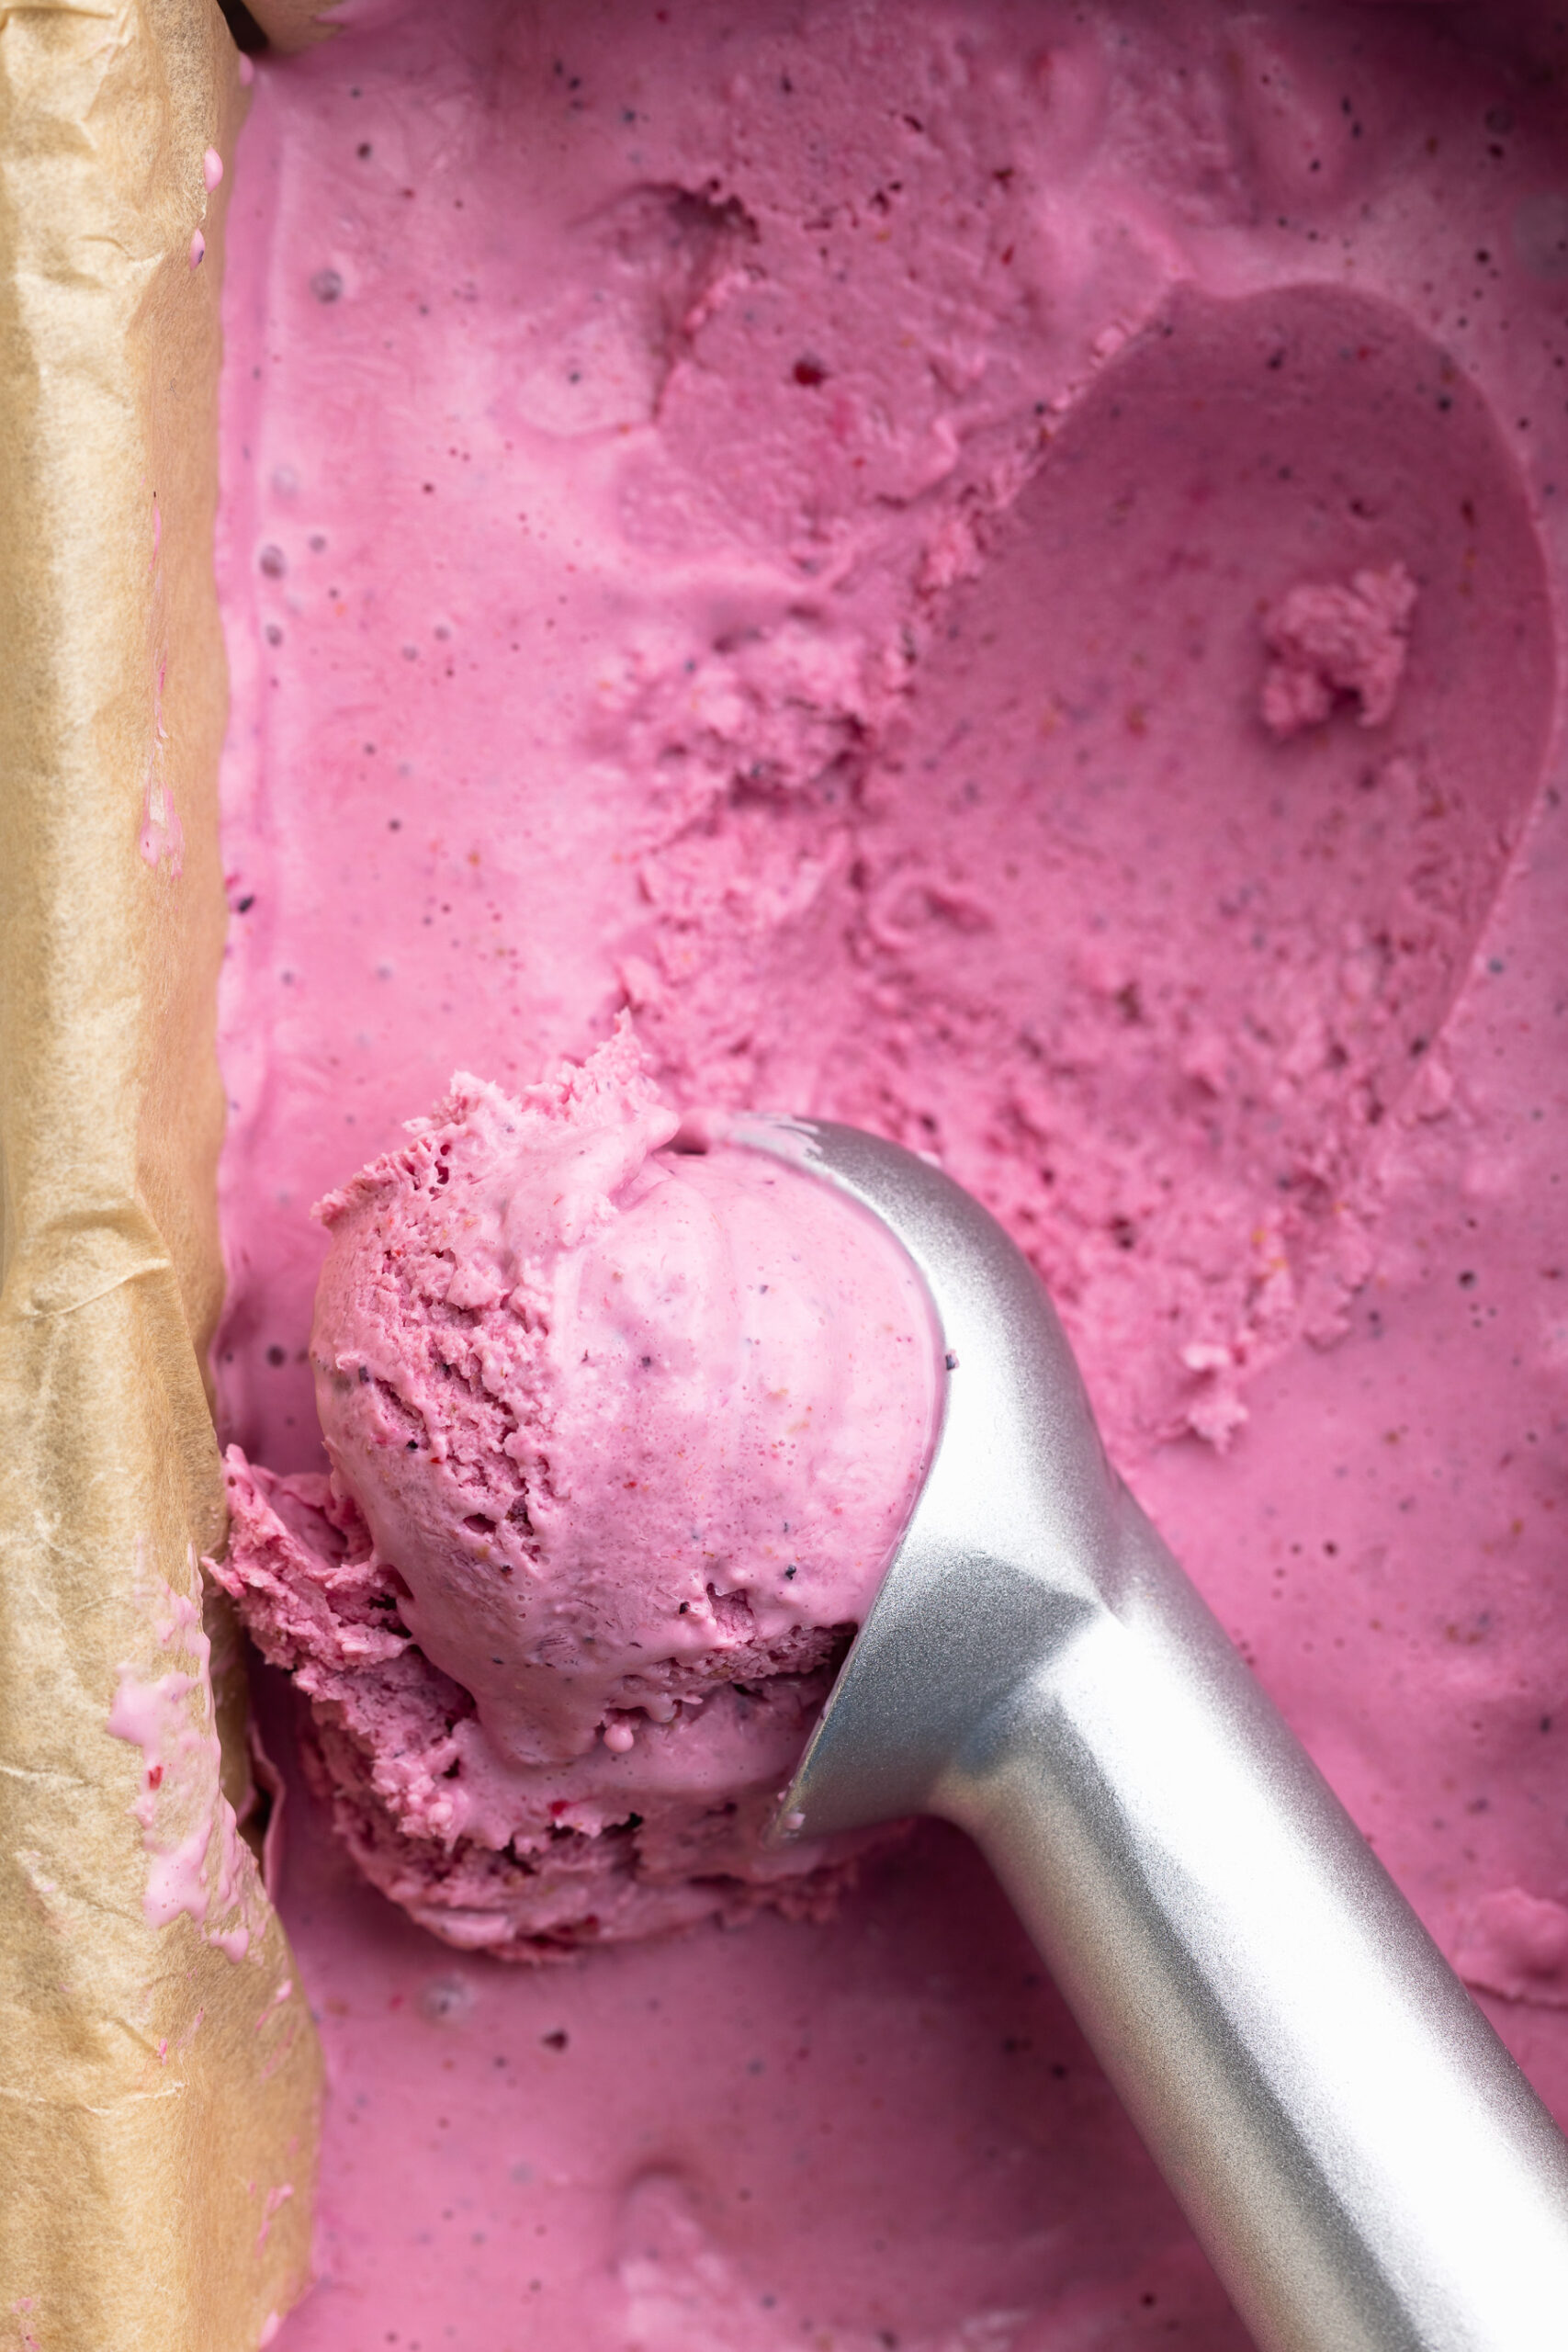
12
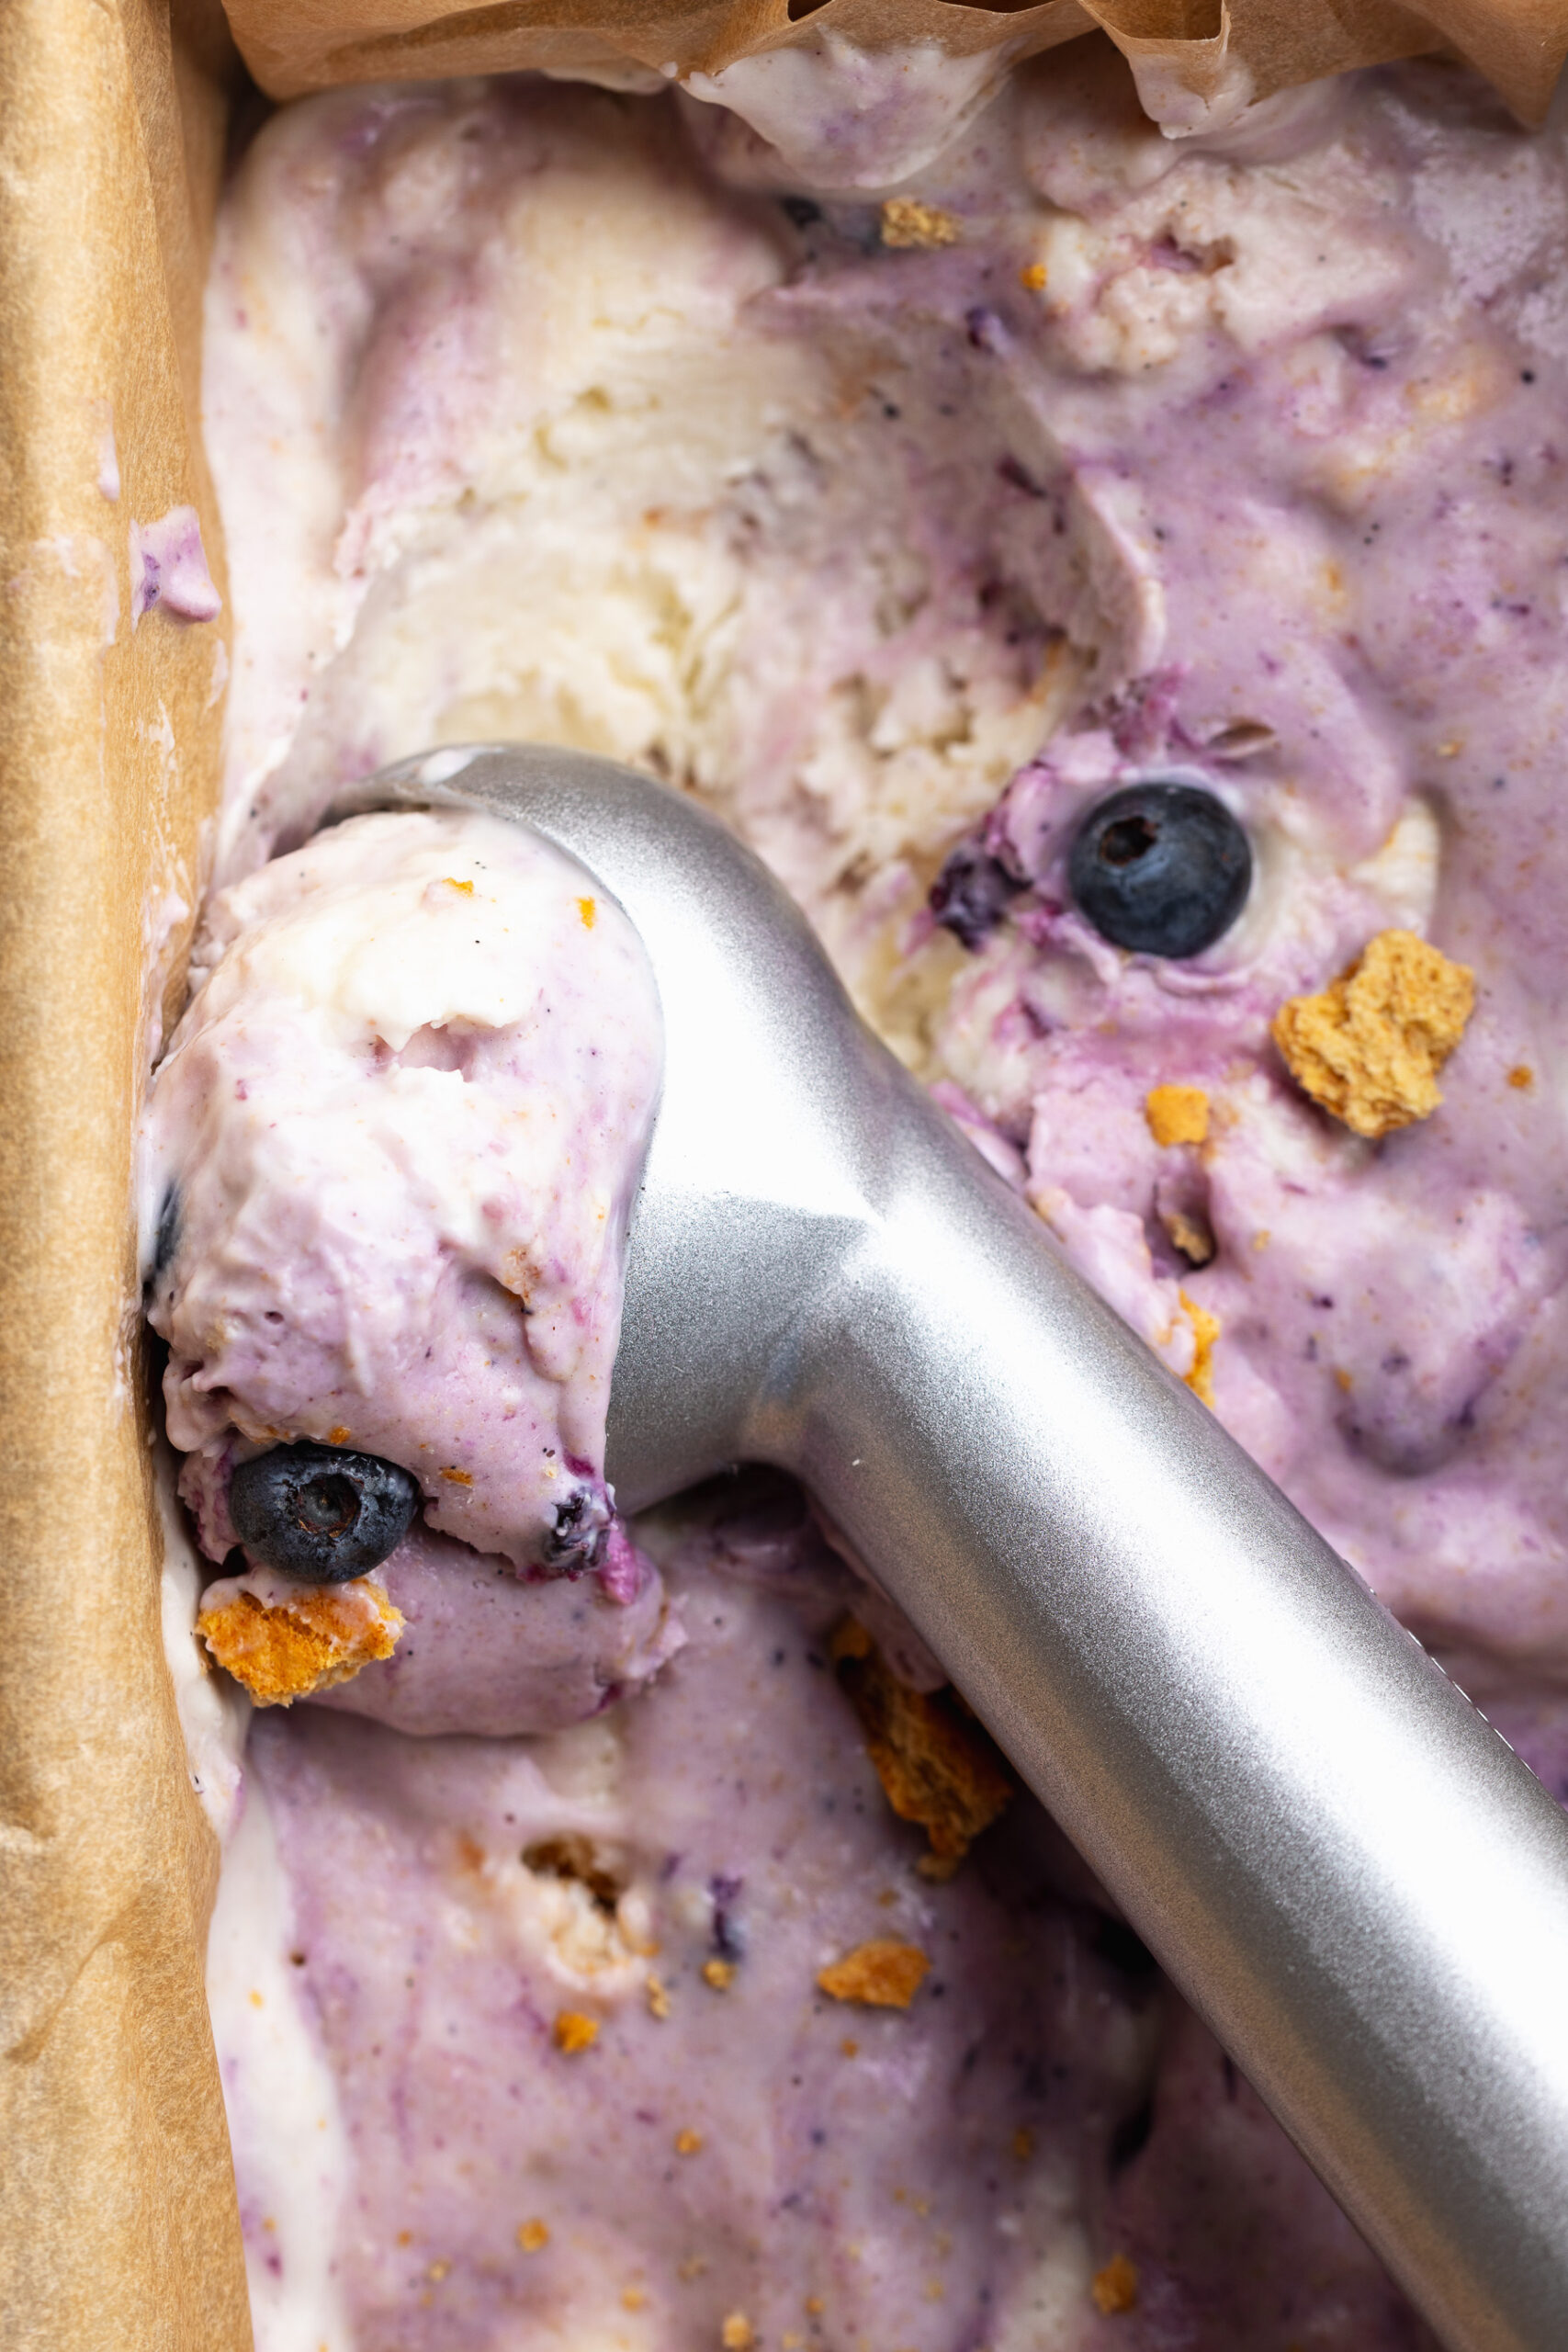
Cottage Cheese Blueberry Pie Ice Cream
This cottage cheese blueberry pie ice cream is a creamy, high-protein frozen treat made with just 5 simple ingredients – a silky cottage cheese base swirled with jammy blueberry preserves and studded with buttery graham cracker pieces for a flavor that tastes exactly like a slice of blueberry pie! No ice cream maker needed, under 5 minutes of prep, and it's naturally sweetened and packed with protein. If you're looking for an easy, healthy cottage cheese ice cream recipe that tastes like a real dessert, this blueberry pie version is the one to make!
Check out this recipe
13
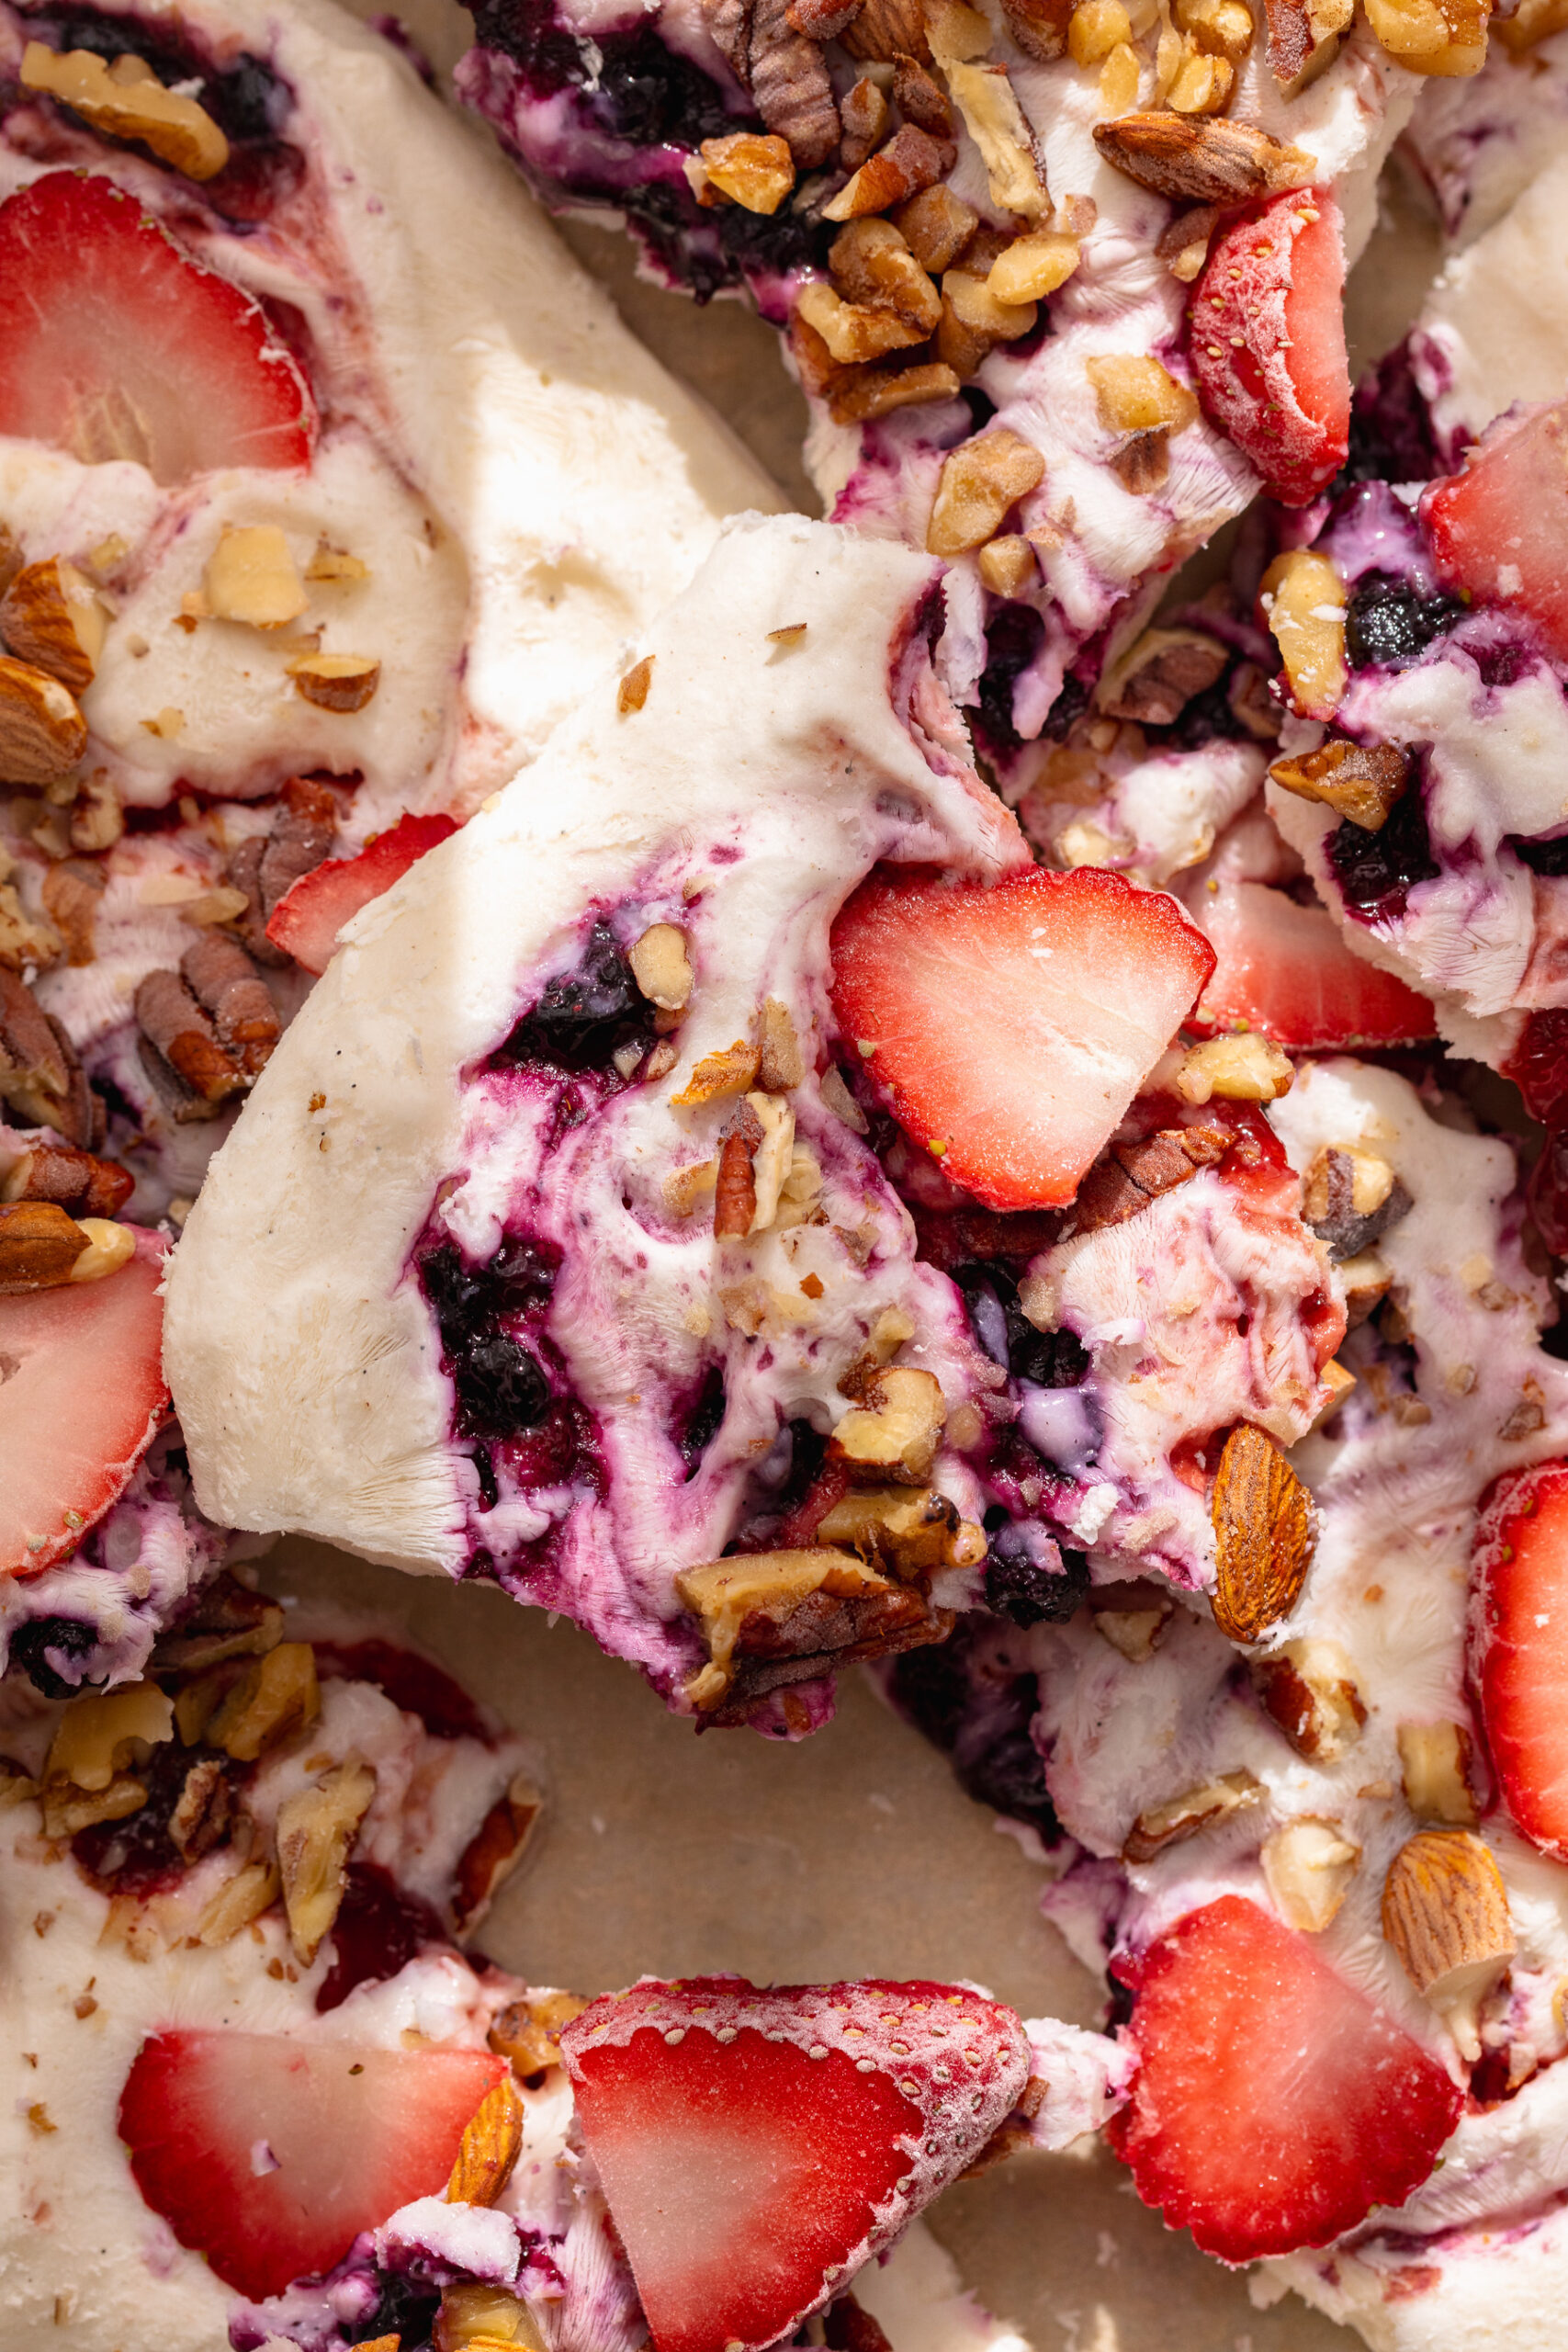
Easy & Healthy Frozen Yogurt Bark
This frozen yogurt bark is a creamy, colorful summer treat made with vanilla Greek yogurt, swirled with fruit jam, and loaded with fresh berries, and crunchy nuts! It takes just 10 minutes to prep, NO baking, and tastes like ice cream. An easy, healthy frozen yogurt bark recipe that's as beautiful as it is delicious!
Check out this recipe
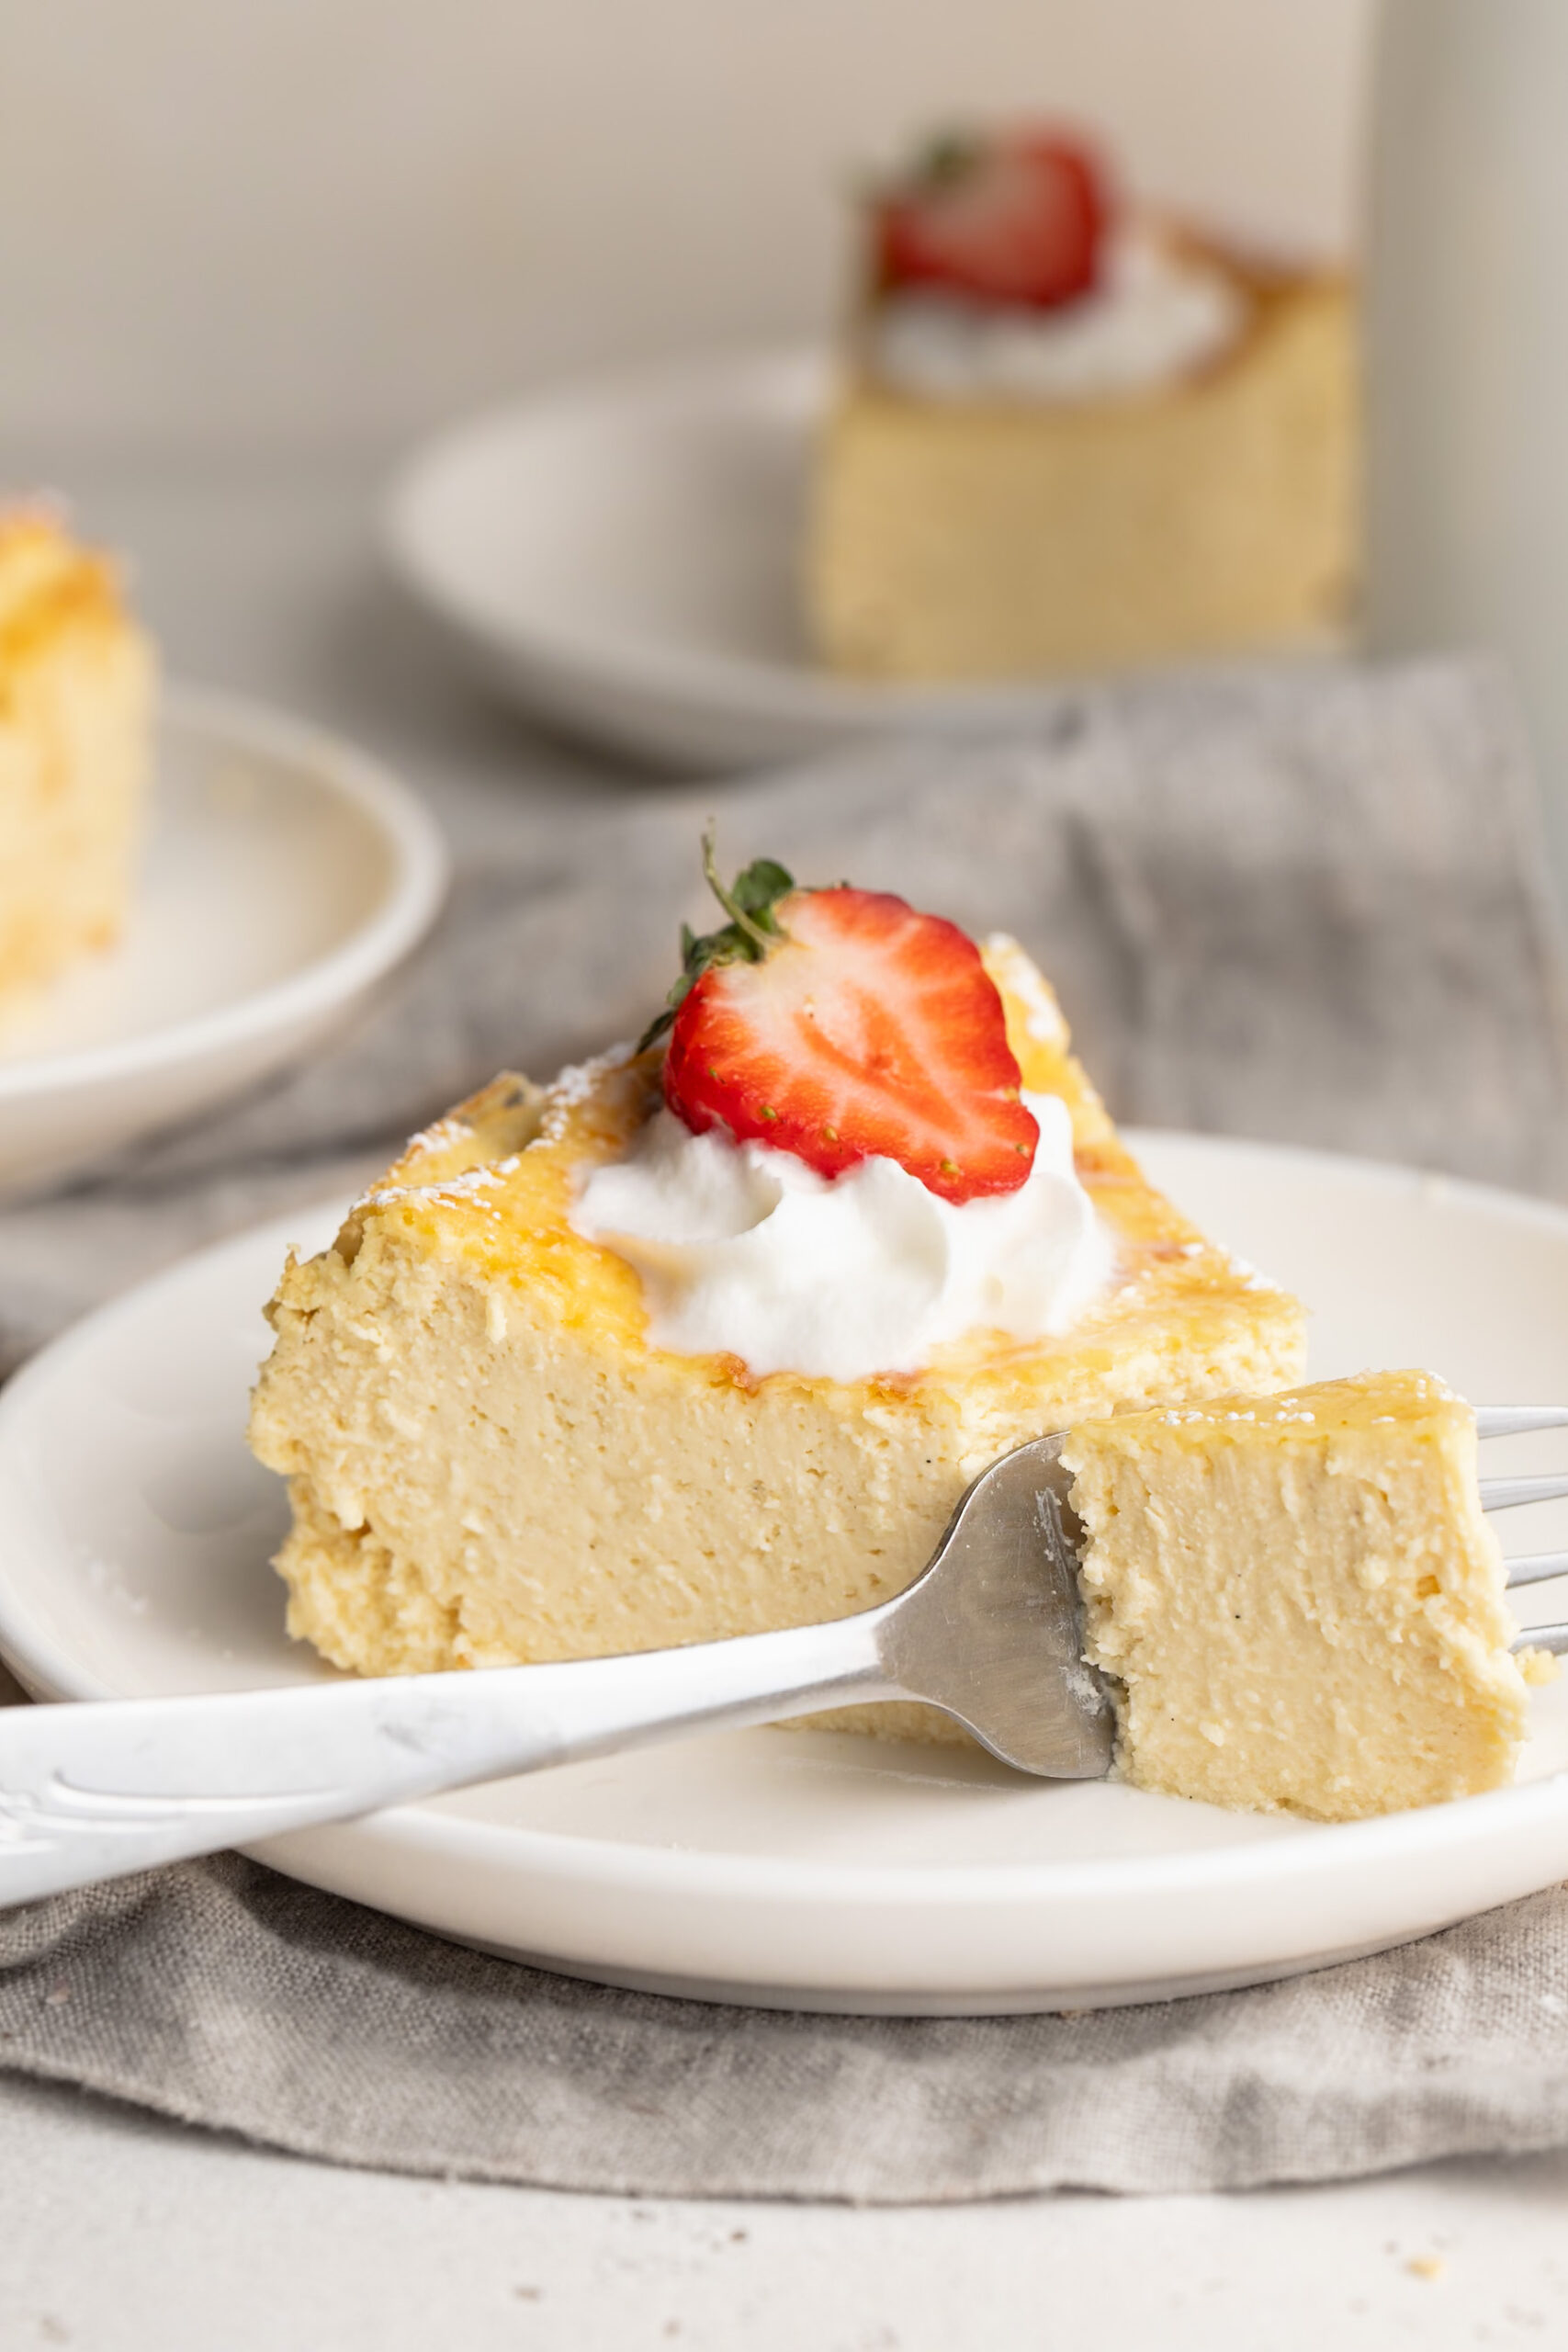
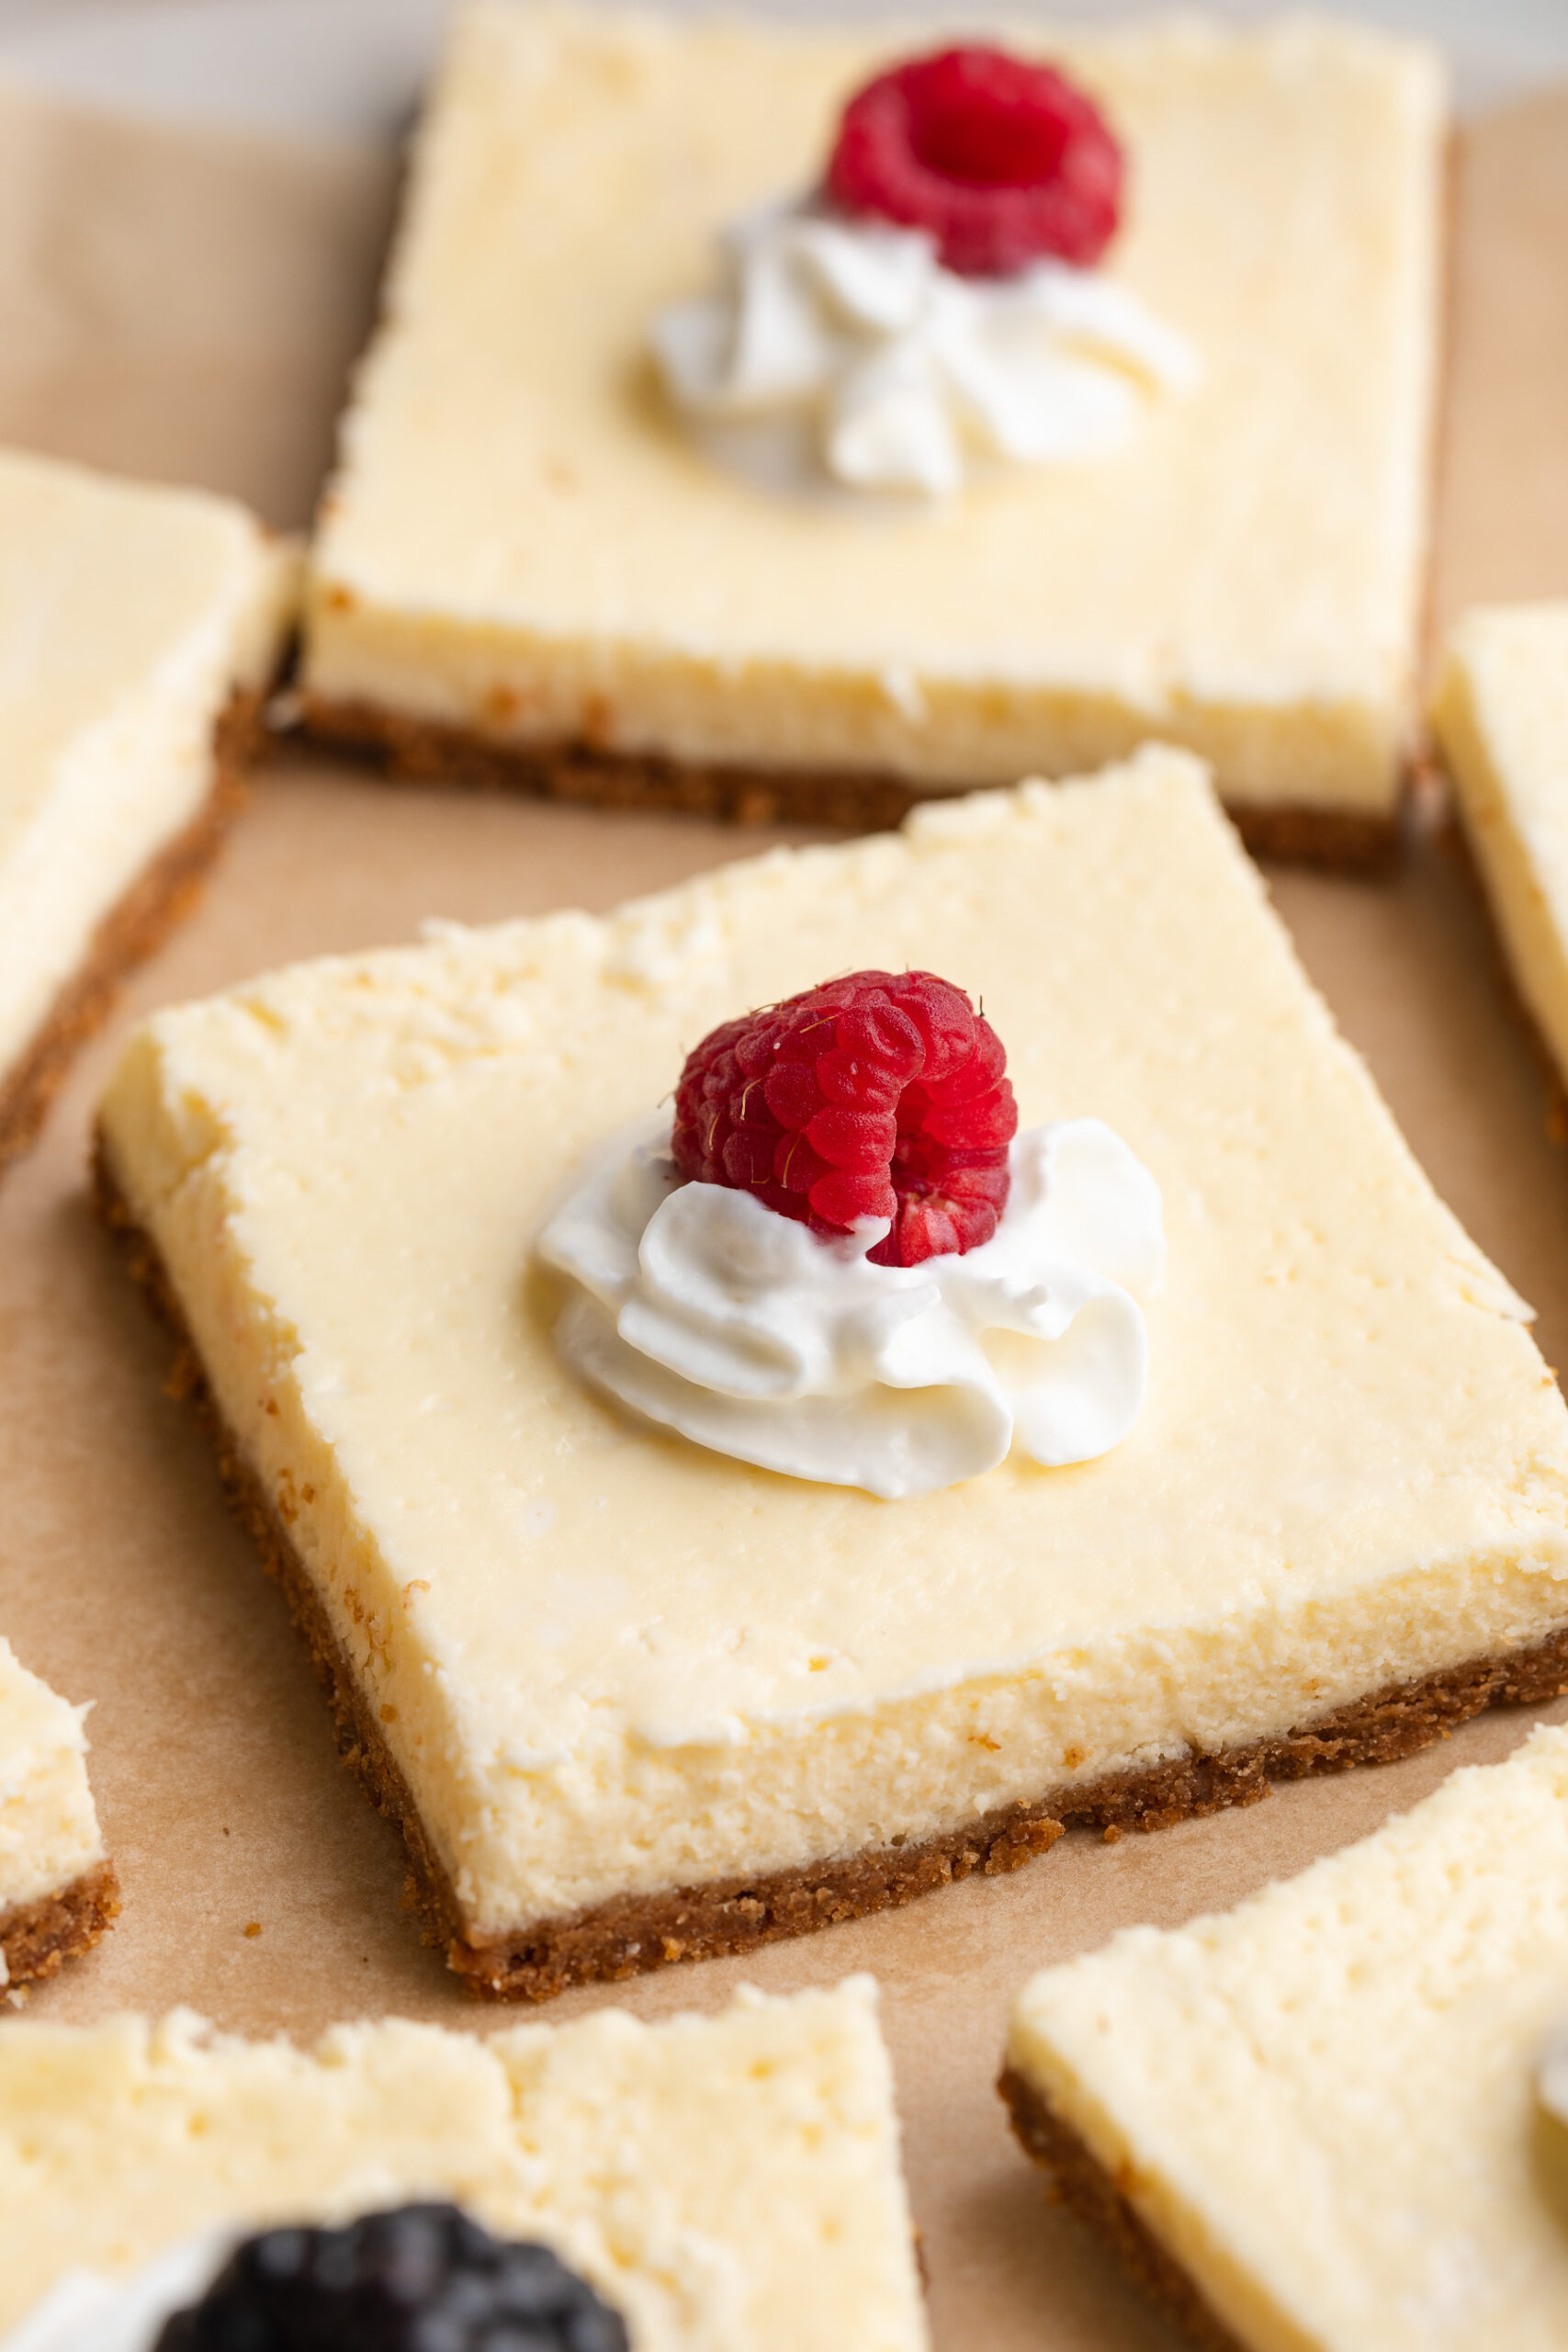
14

Healthy Cottage Cheese Lemon Bars
These healthy lemon bars are creamy, perfectly tart, and naturally sweetened with maple syrup – made with a secret ingredient (cottage cheese!) that keeps them higher in protein and silky smooth without any refined sugar. Built on a buttery graham cracker crust and baked to custardy perfection. These healthy lemon bars taste just as indulgent as the classic version but with healthier ingredients.
Check out this recipe
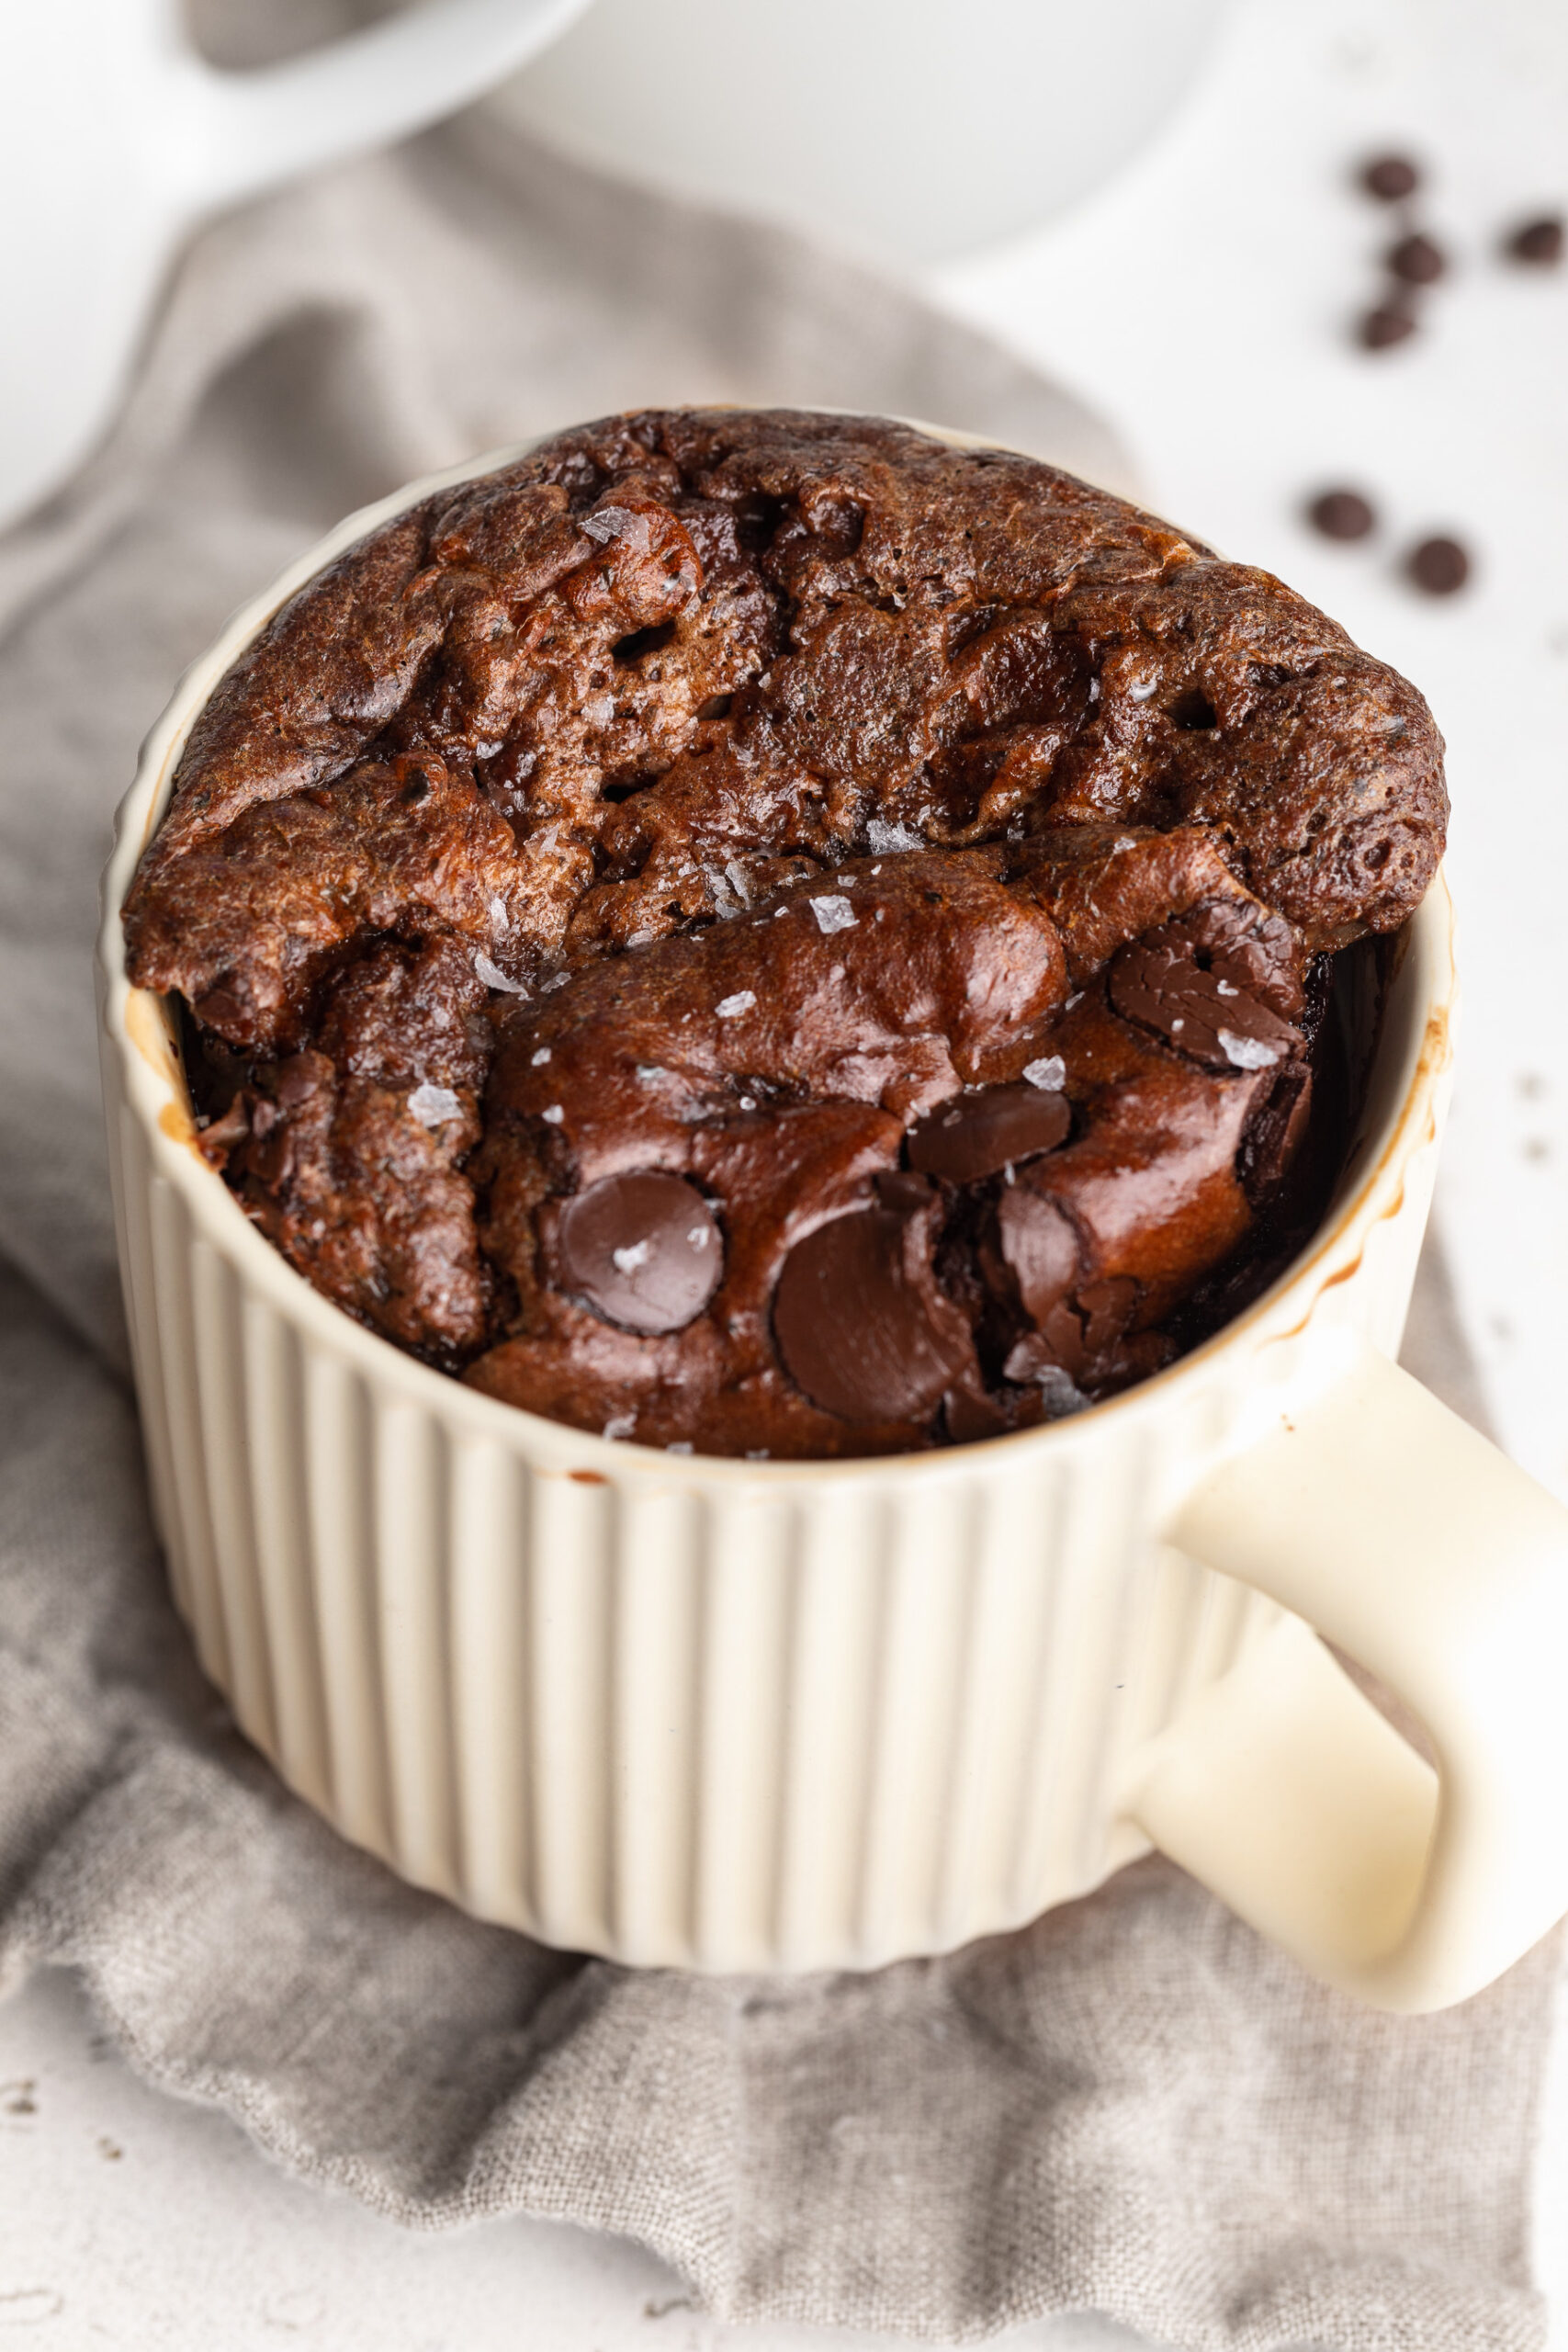
15

Frozen Chocolate Protein Peanut Butter S’mores Bars
These Frozen Chocolate Protein Peanut Butter S’mores Bars are a chocolate protein twist on the nostalgic campfire classic. With graham crackers, creamy peanut butter, chocolate protein whipped cream, and a chocolate chip coating, they’re indulgent and seriously delicious! This no bake recipe is easy to make, freezer-friendly, and the perfect treat when you want something sweet and satisfying.
Check out this recipe
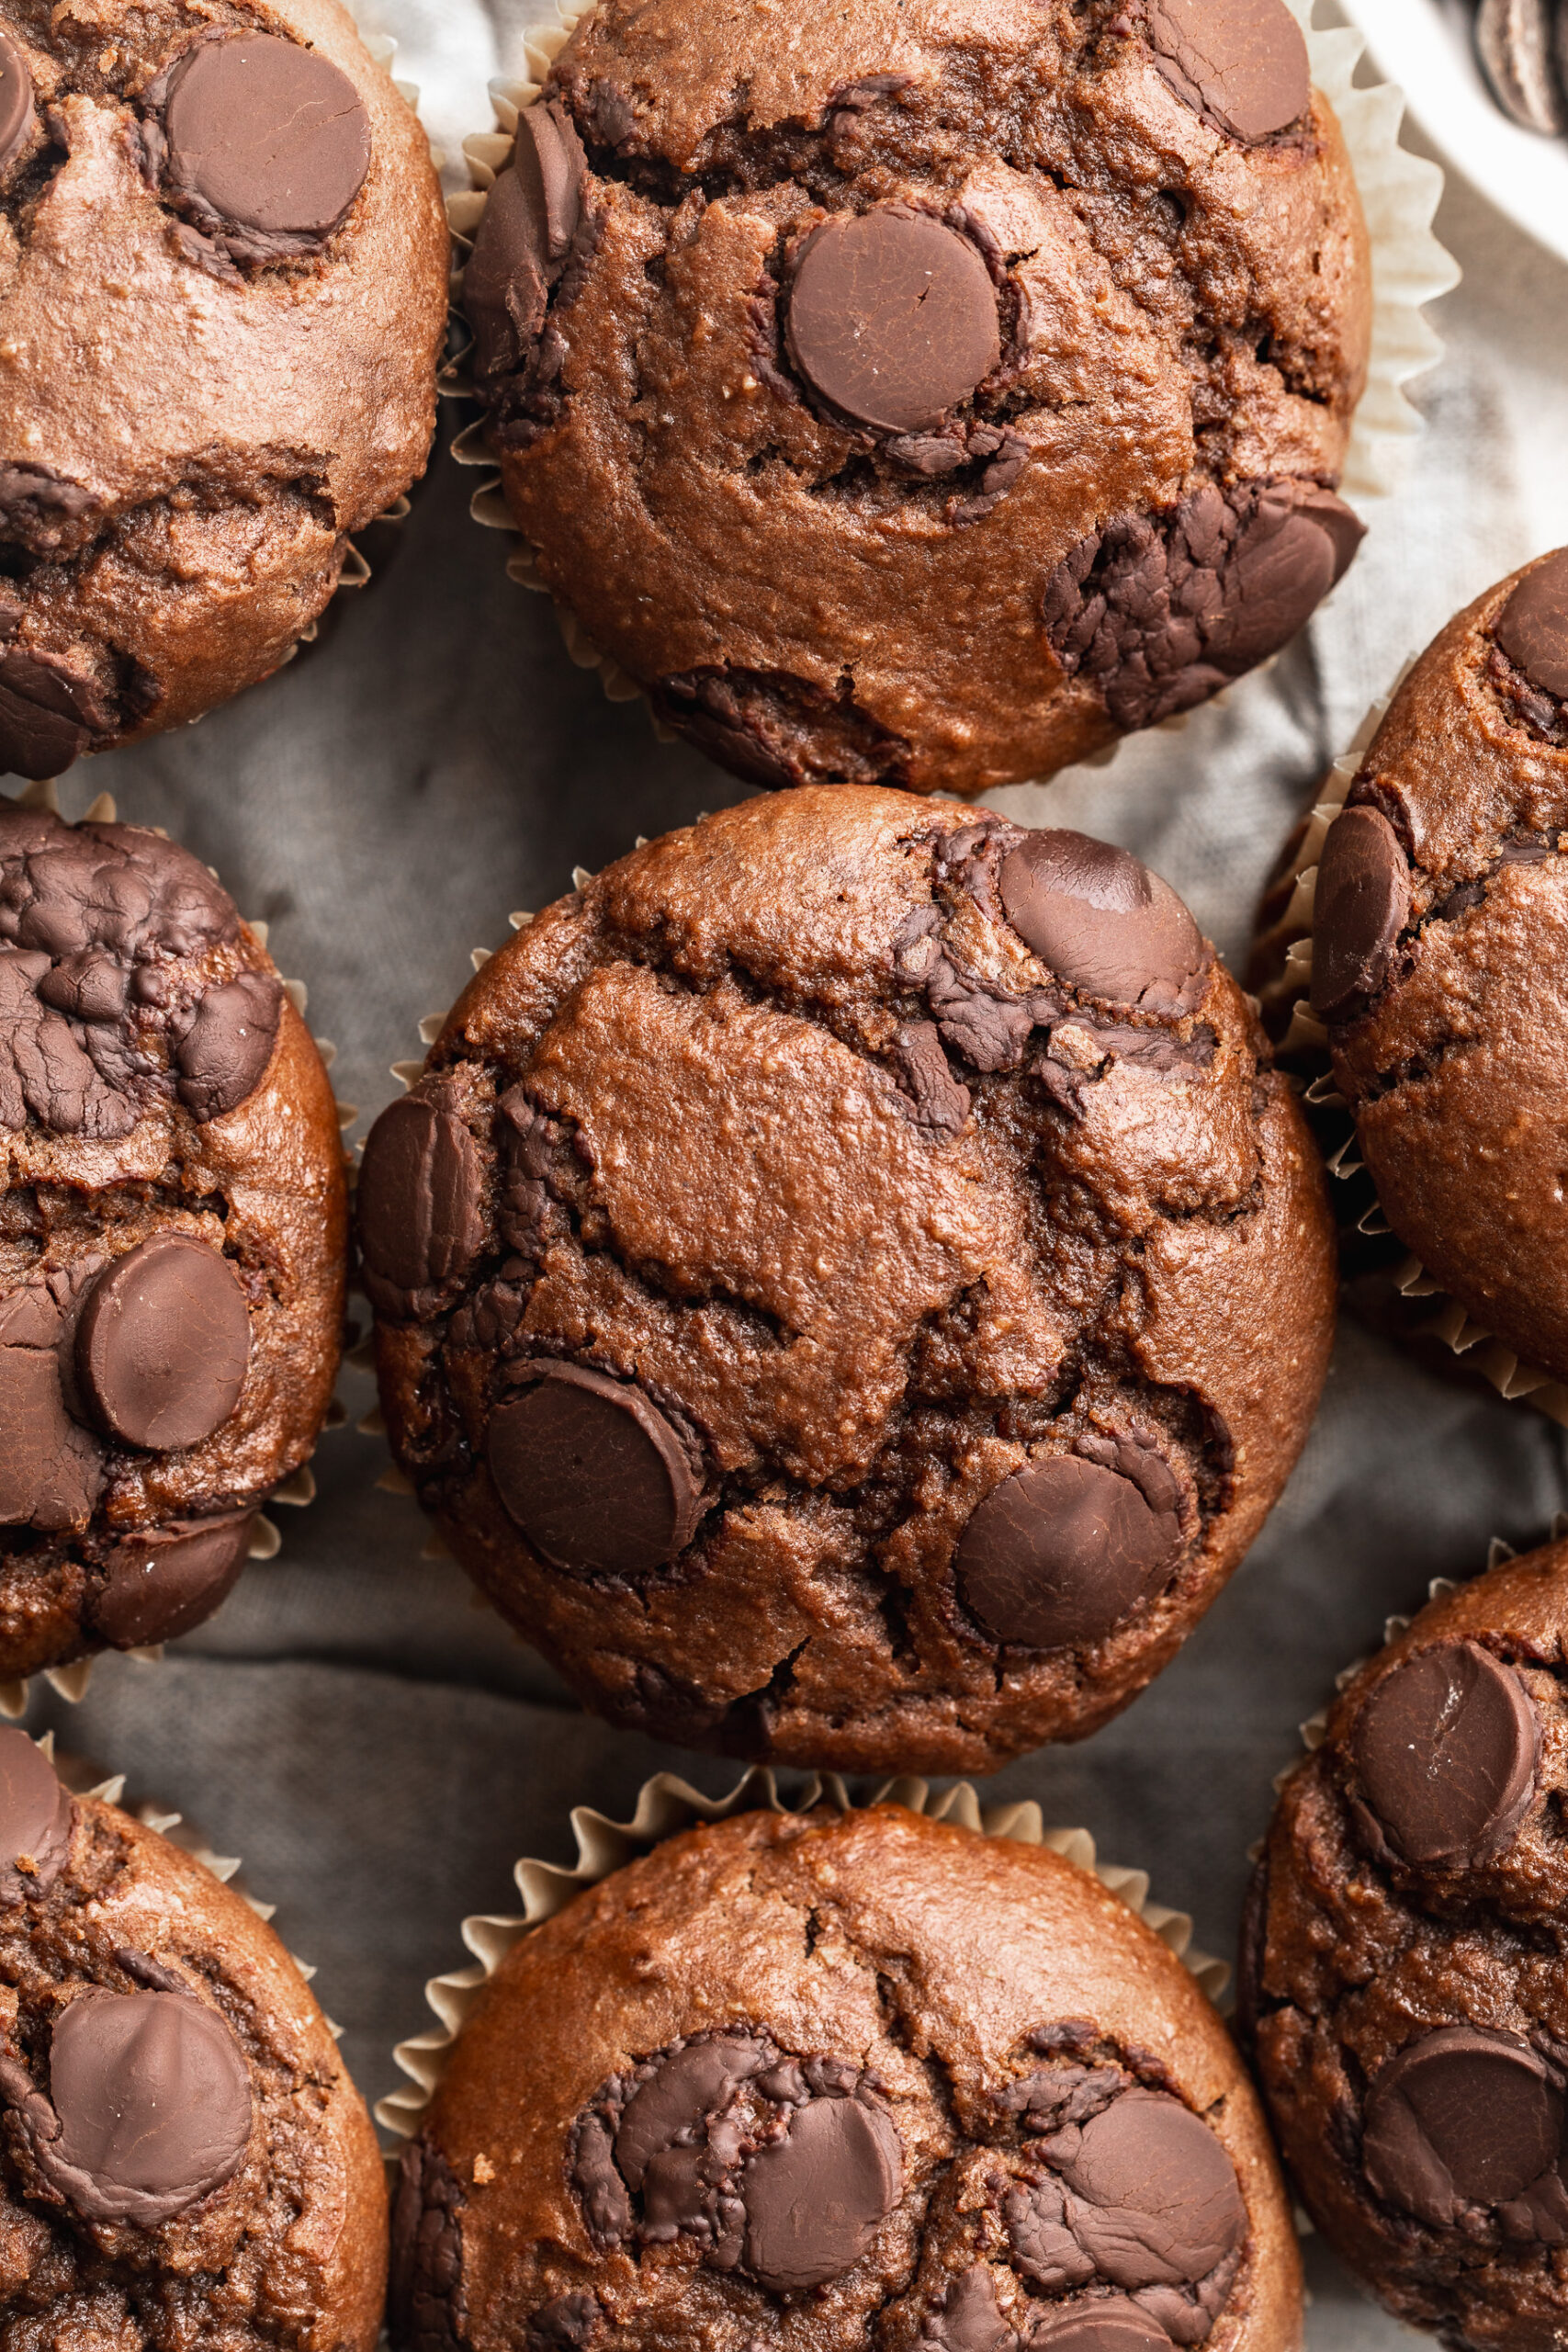
16

Healthy Gluten-Free Zucchini Brownies
These healthy gluten-free zucchini brownies are rich, fudgy, and secretly packed with shredded zucchini for a boost of hidden veggies! Naturally sweetened with maple syrup and made in just one bowl, they’re a deliciously easy dessert that’s gluten-free, dairy-free, and refined sugar-free.
Check out this recipe
17

High-Protein S’mores Dip (30g protein!)
This high protein s’mores dip is a quick and easy 4-ingredient recipe with over 30 grams of protein per serving! Made with Greek yogurt, chocolate protein powder, mini marshmallows, and chocolate chips – it’s a healthier way to satisfy your sweet tooth. Perfect as a post-workout snack, party dip, or high protein dessert!
Check out this recipe
18

Frozen Banana and Peanut Butter Bites (4 ingredients!)
Check out this recipe
19

Healthy Strawberry Peanut Butter Chocolate Bark
This healthy strawberry peanut butter chocolate bark is made with just 3 simple ingredients and takes only minutes to prep! It's a delicious no-bake treat that's vegan, gluten-free, dairy-free, and low in sugar. Perfect for a freezer-friendly snack or healthy dessert everyone will love!
Check out this recipe
20

4-Ingredient Healthy Milkshake
This healthy milkshake recipe is creamy, dairy-free, and made with just 4 simple ingredients – no banana or ice cream required! Choose from chocolate, vanilla, or strawberry for a naturally sweetened treat you can blend in under 2 minutes. It’s the perfect quick and refreshing dessert or snack that’s vegan, gluten-free, and totally customizable!
Check out this recipe
21

Healthy Strawberry Peanut Butter Cups
These healthy strawberry peanut butter cups are a delicious, no-bake treat made with just 5 simple ingredients. Naturally gluten-free and dairy-free, they’re perfect for a quick snack or a better-for-you dessert. Easy to customize and bursting with sweet, chocolatey flavor, they’re the ultimate healthy twist on a classic favorite.
Check out this recipe
22

5-Ingredient Triple Berry Crisp
Effortless and delicious 5-Ingredient Triple Berry Crisp, crafted with frozen mixed berries and a simple, wholesome crisp topping! This fruit crisp is not only simple to make, but also easy to adapt to a variety of diets, making it a perfect treat for any occasion. Serve it warm with a scoop of vanilla ice cream for a delicious and healthy dessert!
Check out this recipe
23
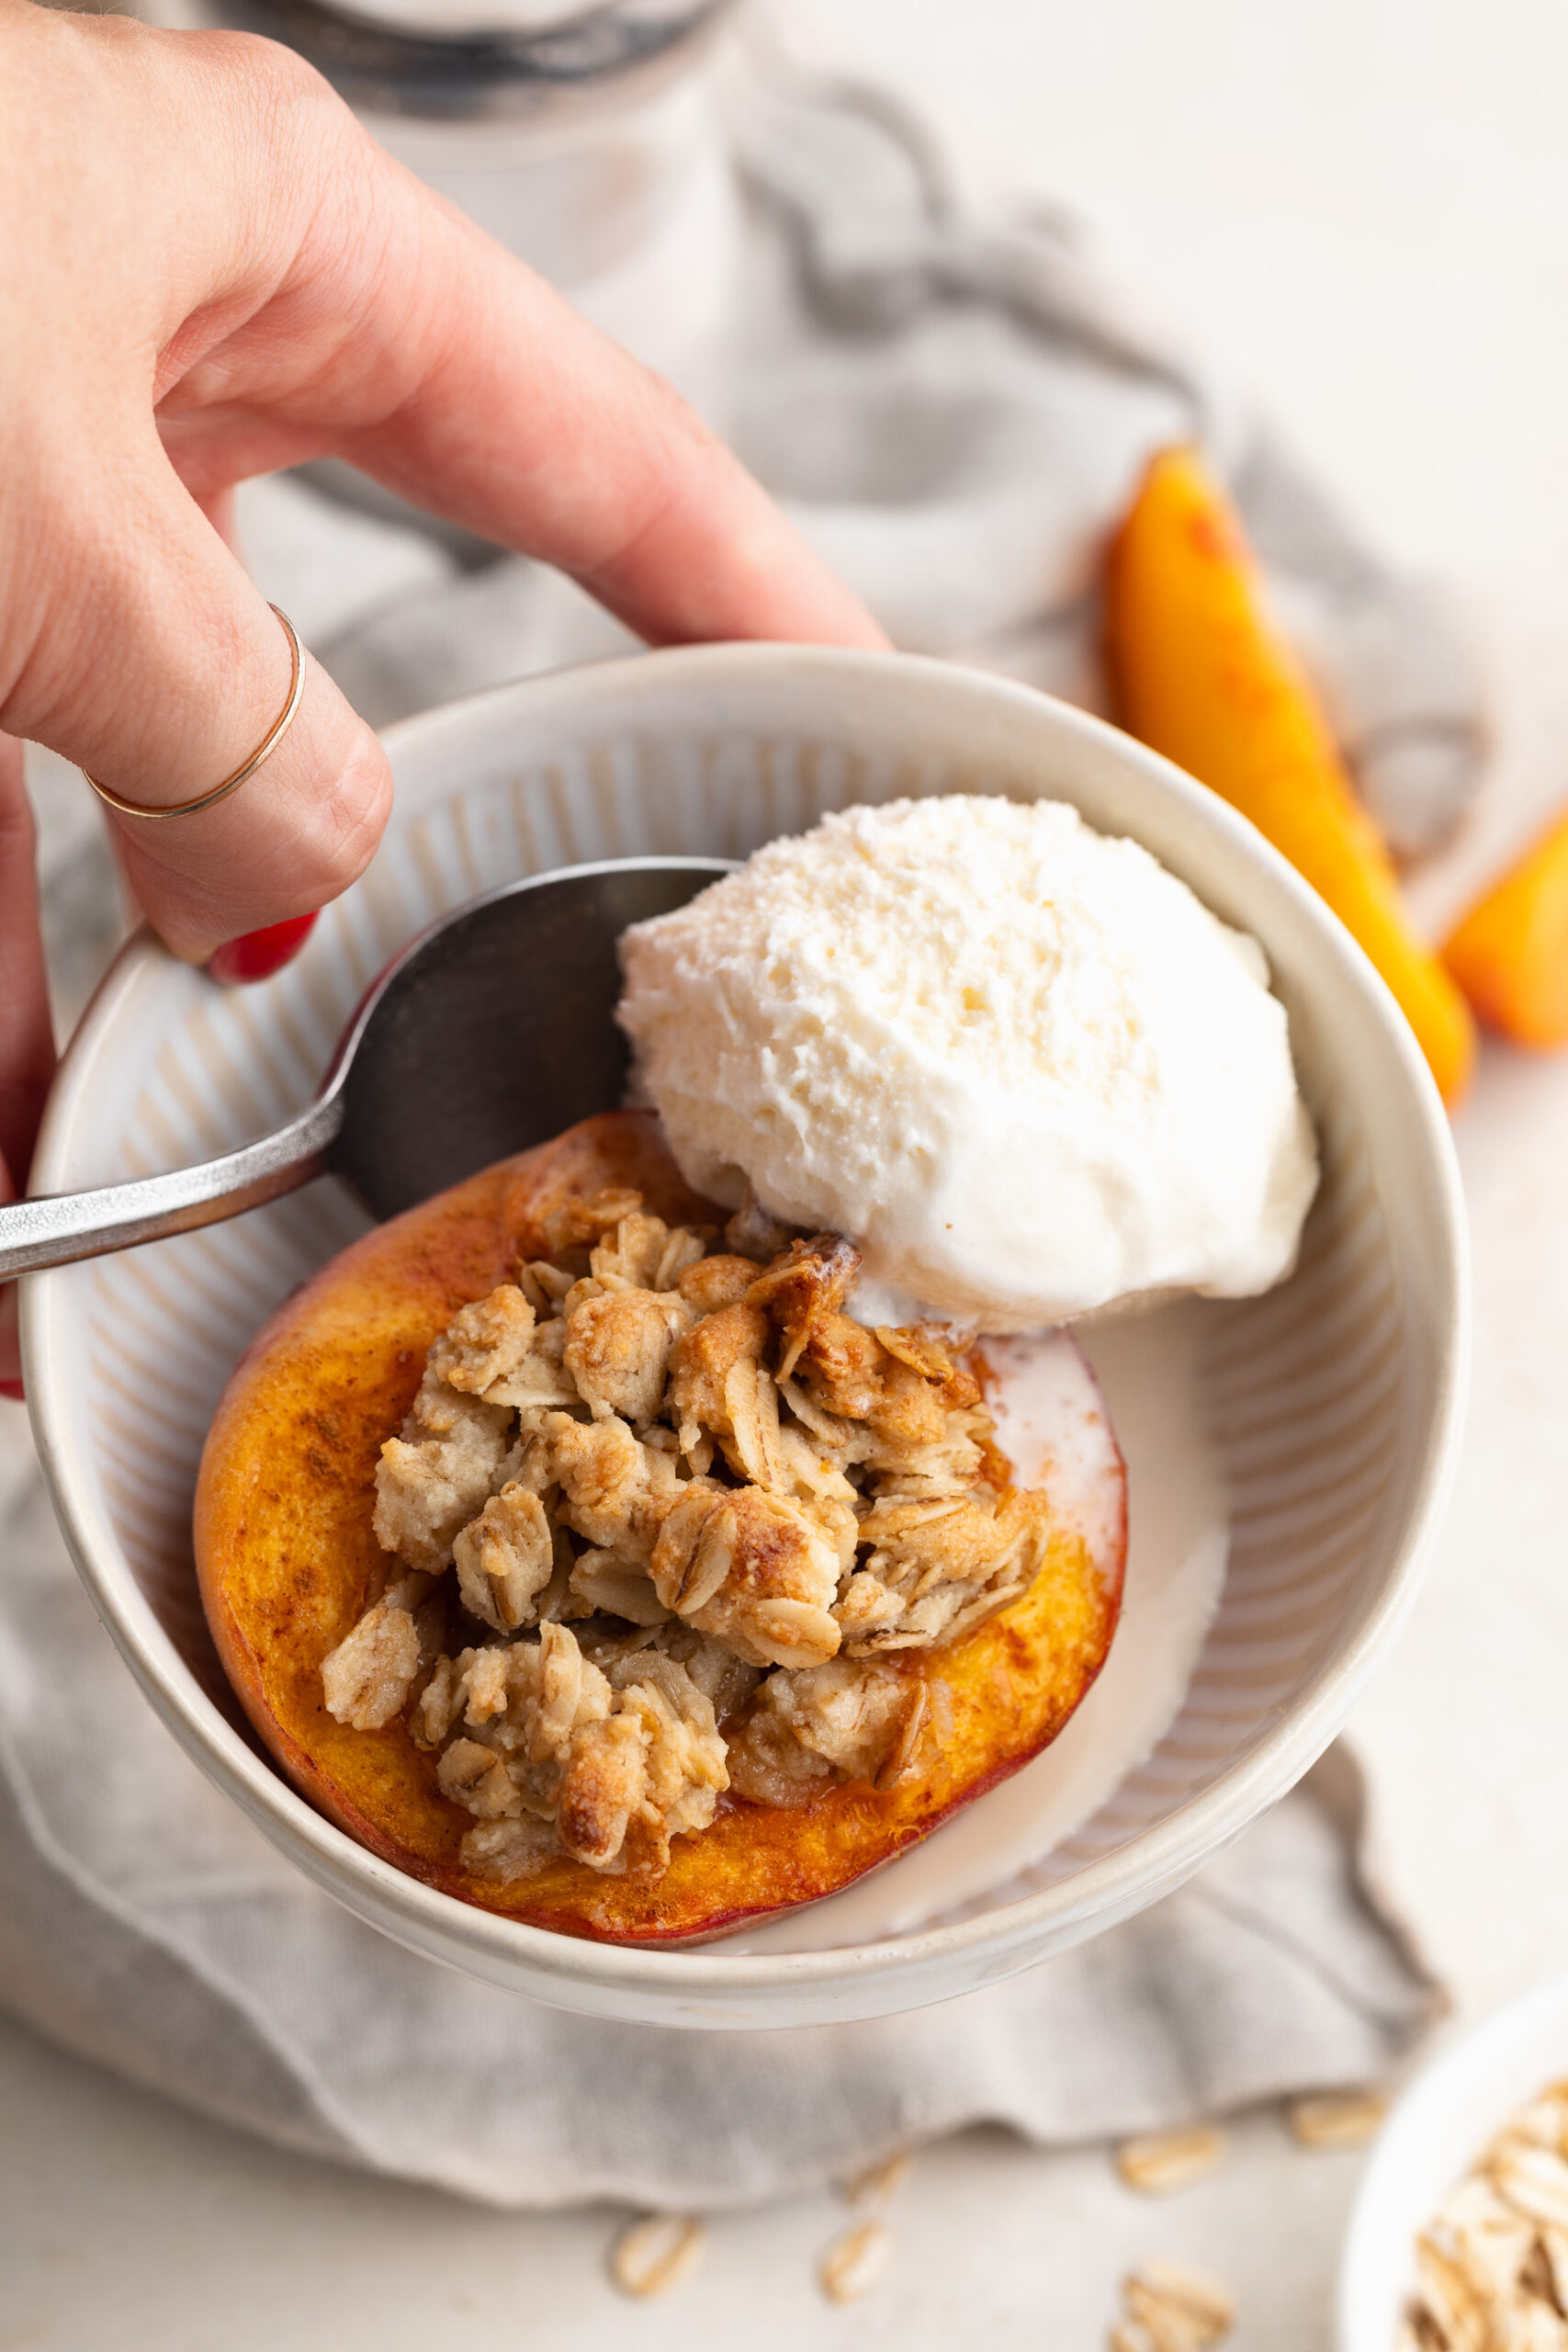
Healthy Single Serve Peach Crisp
Looking for a delicious and easy-to-make single serve dessert? This peach crisp is perfect for you! With just a handful of ingredients, you can whip up this vegan and gluten-free treat in no time
Check out this recipe
24

Chocolate Covered Strawberry Almond Flour Brownies
These chocolate covered strawberry brownies are rich, fudgy, and totally delicious! They’re made with almond flour and coconut sugar for a healthier twist, but are still just as indulgent. These are the perfect Valentine’s Day recipe, or any day treat!
Check out this recipe