")
Why You’ll Love These Gluten-Free and Dairy-Free Pecan Cinnamon Rolls
- All the flavor, yet totally gluten-free and dairy-free — enjoy classic cinnamon rolls without the diet restrictions.
- Sticky pecan topping turns them into a decadent treat that still feels homemade and delicious!
- Surprisingly manageable — while they seem fancy, the method is clear, steps are simple, and you don’t need expert baking skills.
- Perfect for gatherings — these rolls make a beautiful breakfast or brunch centerpiece that accommodates dietary restrictions!
Frequently Asked Questions
Can I use gluten-free all-purpose flour instead of gluten-free bread flour?
Yes, in many cases you can substitute a high-quality 1:1 gluten-free all-purpose flour blend for the bread flour. Just make sure it contains xanthan gum or another binder (unless your mix is already pre-blended). You may need to adjust moisture slightly.
How do I prep these cinnamon rolls ahead of time?
You can assemble the rolls, cover, and refrigerate overnight. When ready to bake, let them come to room temperature, rise if needed, then bake as directed. You can also freeze the unbaked rolls and bake from frozen (adding a few extra minutes).
Can I make this recipe vegan?
Yes — use a flax o “egg” (e.g. 1 Tbsp flax + 3 Tbsp water per egg) and a plant-based non-dairy milk (like almond, oat, or soy) in the sticky topping. Be sure your gluten-free flour blend and protein sources are vegan.

Sam’s Recipe Tips
- Warm your non-dairy milk carefully — 110°F is ideal for activating yeast without killing it.
- Don’t skip the rise — even gluten-free dough benefits from a good proofing if possible.
- Roll gently but firmly — keep your log tight so the layers stay defined.
- Coat pecans thoroughly — the sticky glaze is what makes the topping sing, so ensure even coverage.
- Cool slightly before slicing — let the rolls set so the glaze doesn’t run off.
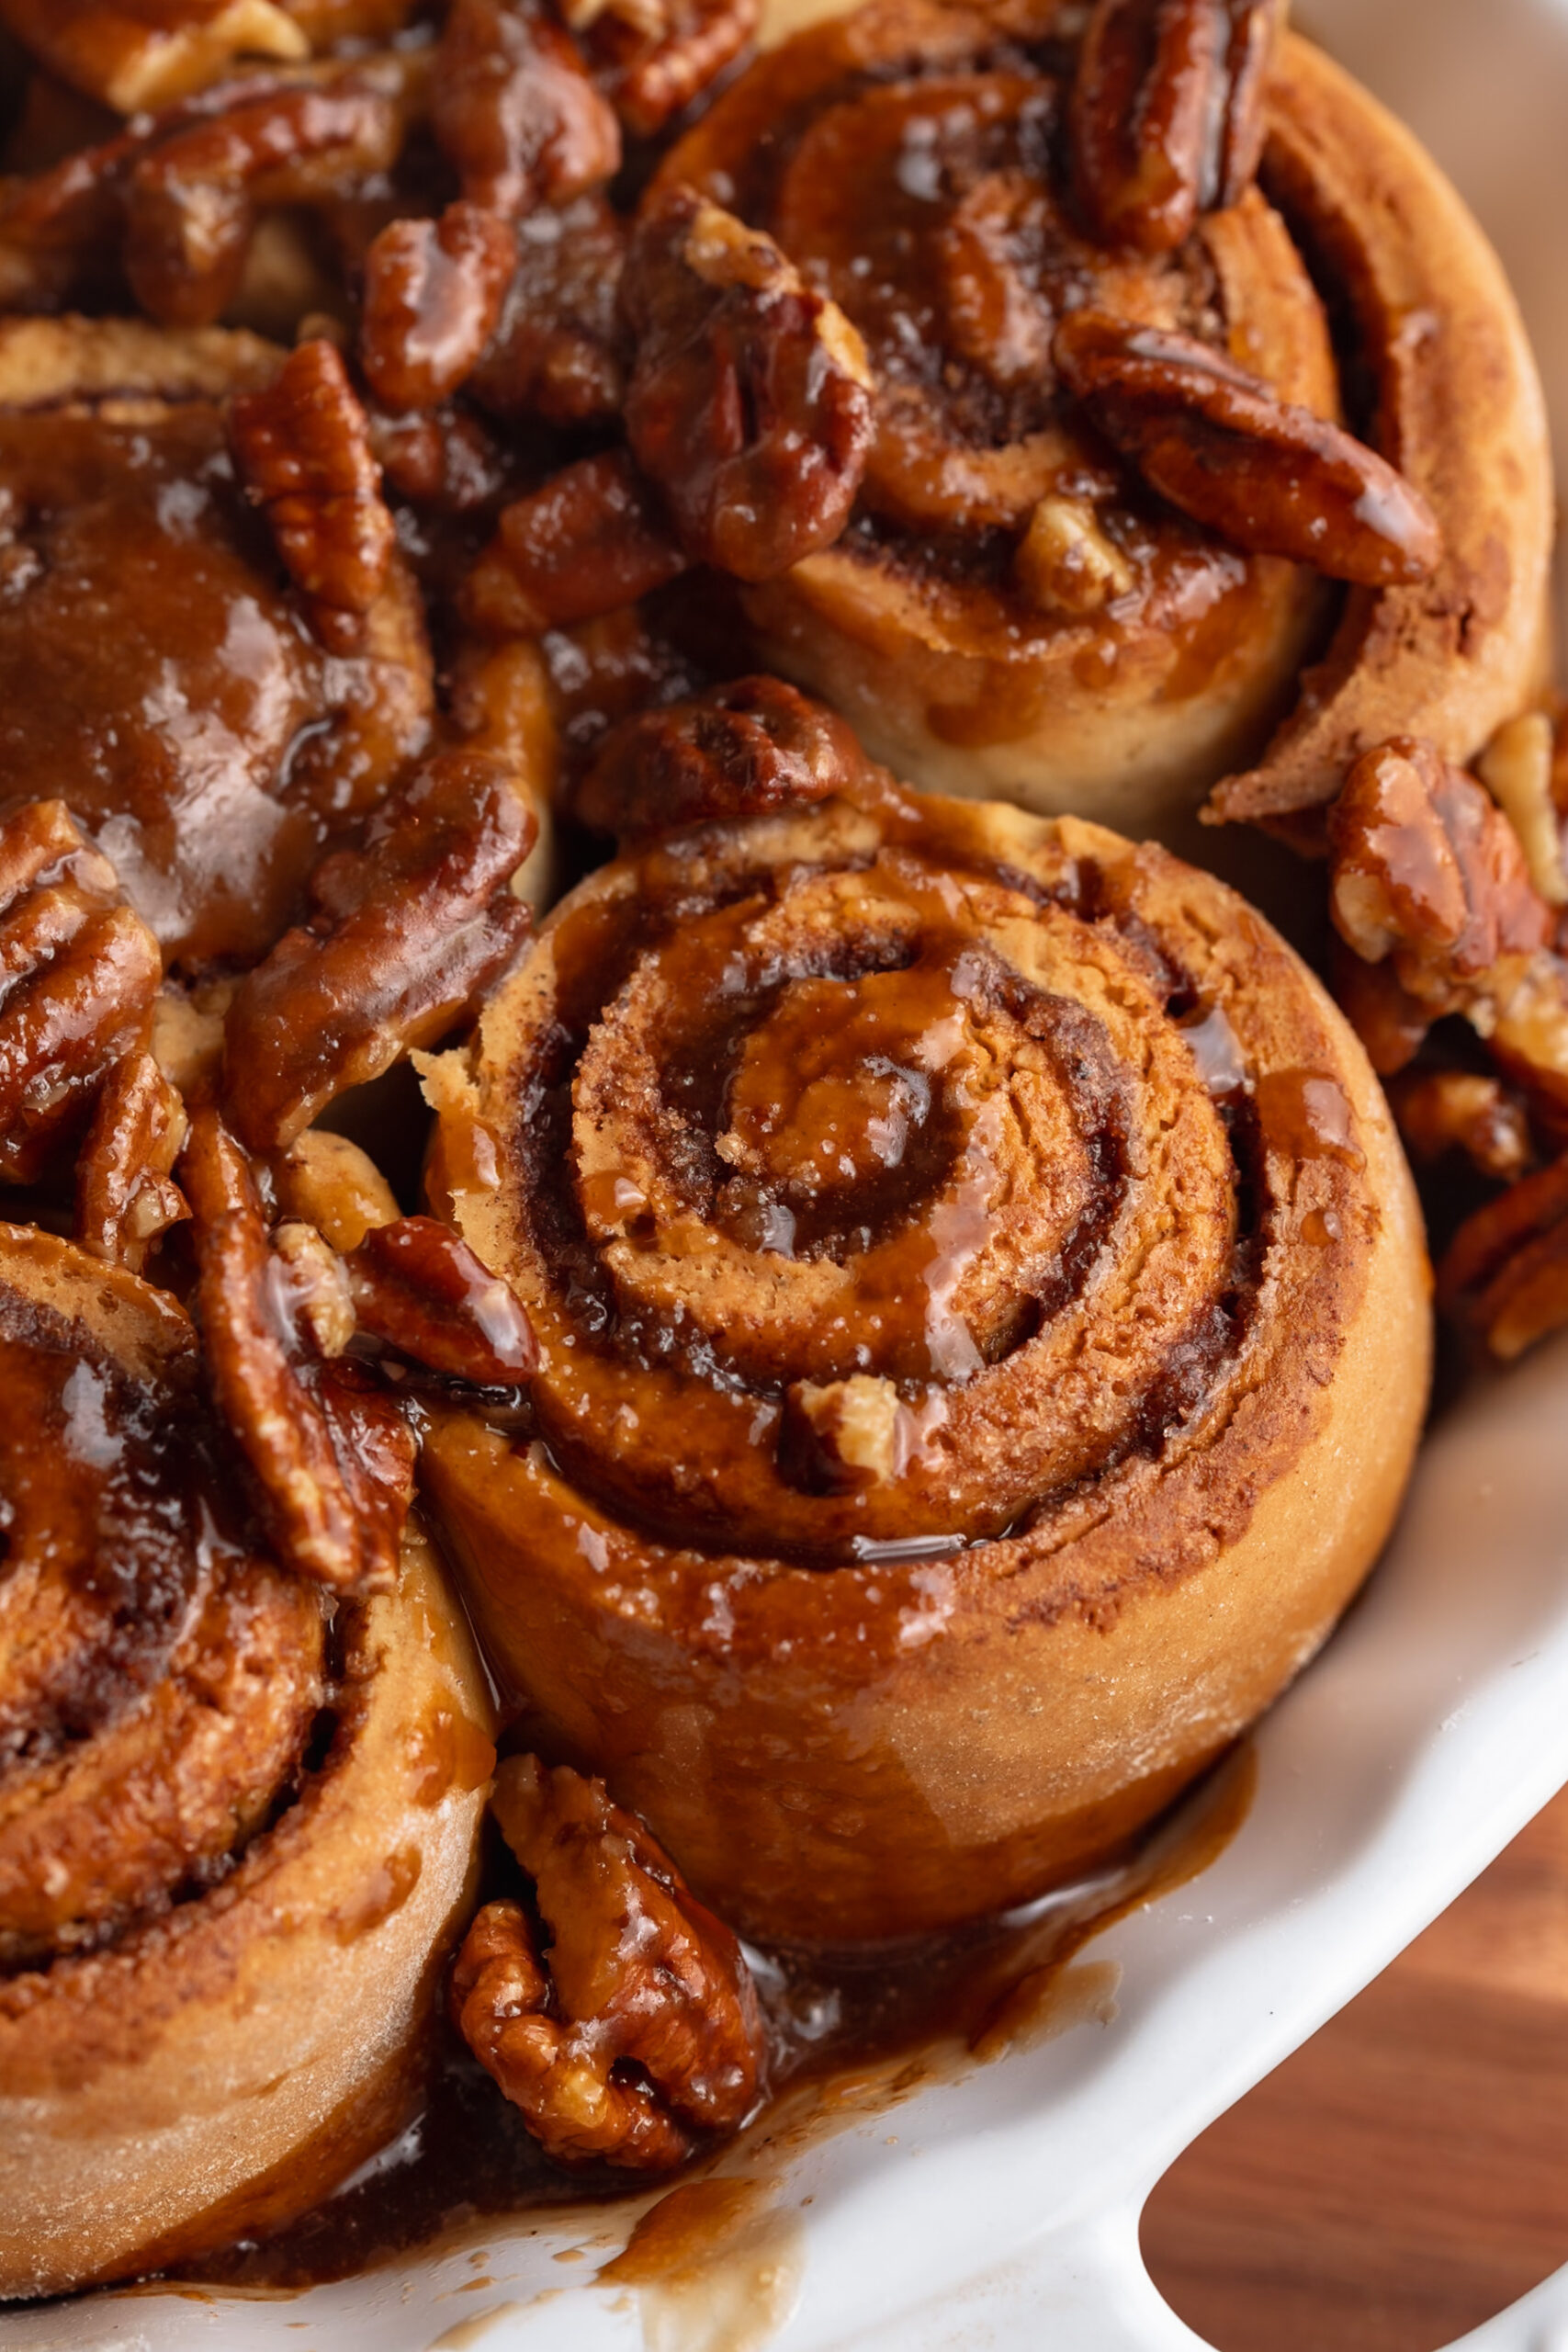
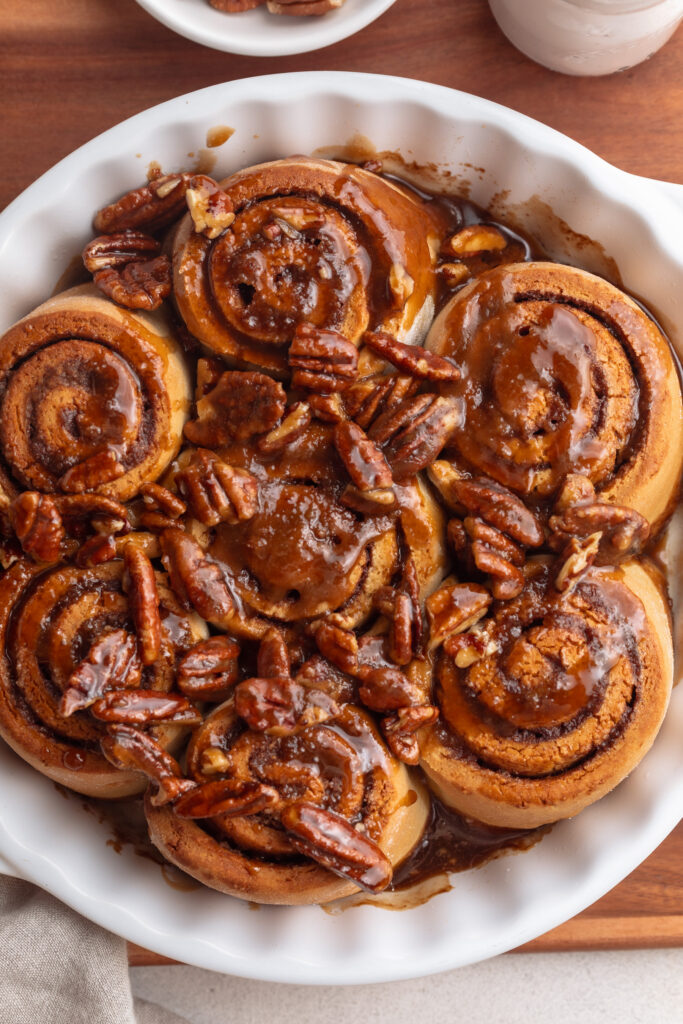
Gluten-Free and Dairy-Free Cinnamon Rolls (with sticky pecans!)
Equipment
- 1 stand mixer with dough hook attachment
- 1 9-inch baking dish
Ingredients
For the cinnamon rolls:
- 1 cup non-dairy milk warmed to 110 degrees Fahrenheit (I used canned light coconut milk)
- 2 1/4 teaspoons active dry yeast
- 1/4 cup sugar
- 1 egg plus 1 egg yolk at room temperature
- 1/4 cup coconut oil melted
- 3 cups gluten-free bread flour plus more for rolling
- 2 teaspoons baking powder
- 1/2 teaspoon baking soda
- 1/4 teaspoon salt
For the filling:
- 1/4 cup coconut oil melted
- 3/4 cup brown sugar
- 2 tablespoons cinnamon
- 1 teaspoon nutmeg
- 1/2 teaspoon ground cloves
For the sticky pecan topping:
- 1/4 cup coconut oil
- 1 cup brown sugar
- 1/4 cup non-dairy milk
- 1 teaspoon vanilla extract
- 1/4 teaspoons salt
- 1 1/2 cups pecans roughly chopped
Instructions
- Start by warming your milk in a medium bowl to about 110° Fahrenheit. Do this in either the microwave for about 30-40 seconds, or over low heat on the stove for 2 minutes.
- Once milk is warm, add the active dry yeast, sugar, and melted coconut oil. Give it a gently whisk to combine, then let that sit for a couple minutes while you continue on with the recipe.
- To the bowl of an electric mixer fitted with the dough hook attachment, add the gluten-free bread flour, baking powder, baking soda, and salt. Turn the mixer on low until the dry ingredients are combined.
- With the electric mixer running on medium speed, slowly add the milk mixture into the flour mixture. Once the wet and dry ingredients are almost completely combined, add in the egg and egg yolk. Continue mixing to incorporate the eggs into the dough.
- Once the eggs are incorporated, turn the mixer onto high speed and mix the dough for 5 minutes, until the dough is smooth and comes together in a ball.
- Generously flour a work surface with the gluten-free bread flour, then press the dough on top of the flour and press/roll into a 13×19-inch rectangle. Add the filling by brushing the melted Nutiva Organic Coconut Oil over the dough in an even layer. Mix together the brown sugar, cinnamon, nutmeg, and cloves in a small bowl, then evenly sprinkle that on top of the coconut oil.
- Carefully take the long end and roll the dough up into a tight log. Slice the log into 7-8 cinnamon rolls, each about 3 inches thick.
- Then, place the cinnamon rolls in a greased 9×9-inch baking dish and tightly cover the dish with plastic wrap. Place the rolls in a warm place (by a window, in a proving drawer, in the oven with the light on, etc.) to rise for about 1 hour.
- After the hour is up, remove the plastic wrap from the baking dish and preheat your oven to 350° Fahrenheit. Once the oven is hot, bake the cinnamon rolls for 25-30 minutes or until they’re golden brown on top.
- Remove the rolls from the oven and let them cool while you make the sticky pecan topping.
- To make the sticky pecan topping, melt the coconut oil in a small saucepan over medium heat. Then, add in the brown sugar, non-dairy milk, vanilla extract, and salt. Whisk everything together until the sugar has dissolved and the mixture starts to bubble, about 2 minutes.
- Add the pecans into the saucepan and stir to coat the pecans in the sticky brown sugar mixture. Pour the sticky pecans on top of the cinnamon rolls, then let then cool completely before serving.