Tag

honey

Browsing

I’ve been making a version of no-bake cookies my whole life, but this healthier twist is my new fave! They’re super easy to make, beginner-friendly, and come together in basically no time at all. Keep a batch in the fridge all week for an easy healthy snack, or in the freezer for whenever that chocolate-peanut butter craving hits. If you love easy no-bake treats, you’ll also love my Healthy Peanut Butter Cup Bars and Healthy Almond Joy Bars!

Why You’ll Love These No-Bake Cookies

  • Just 5 ingredients! Peanut butter, coconut oil, honey or maple syrup, cocoa powder, and rolled oats. No refined sugar, no butter, no dairy, no flour. Just healthier ingredients that come together into something genuinely delicious.
  • No oven required. These cookies are made entirely on the stovetop and set in the fridge — perfect for hot summer days when you want something sweet but absolutely cannot bring yourself to turn on the oven.
  • Healthy, gluten-free, dairy-free, and refined sugar-free. Naturally sweetened with honey or maple syrup, made with gluten-free rolled oats, and completely free of dairy!
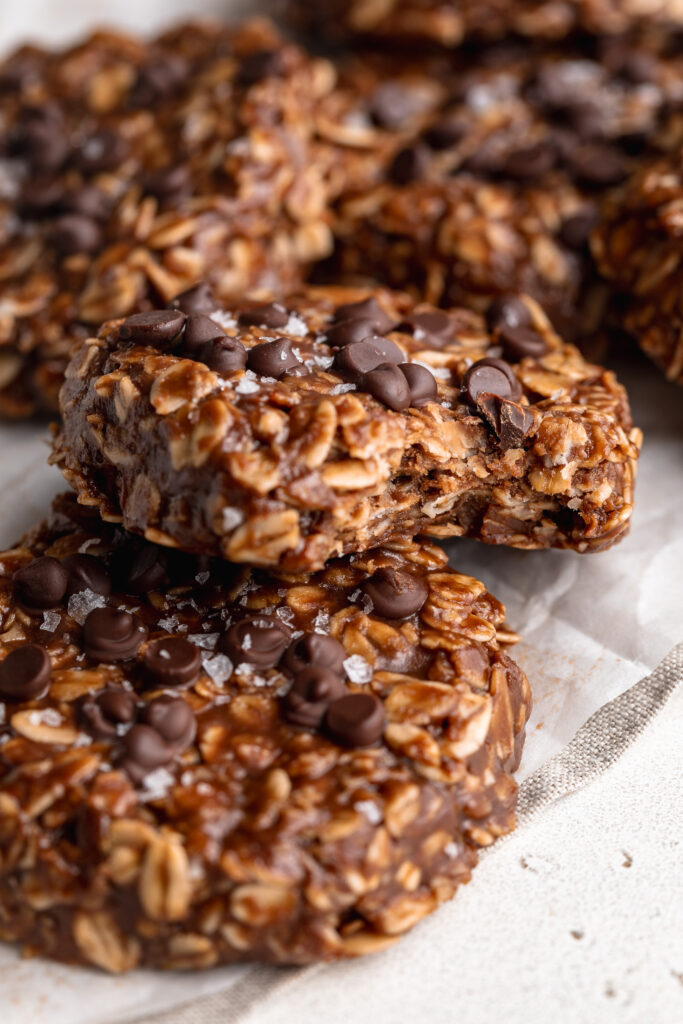
no bake cookies with a bite taken out.

Frequently Asked Questions

What can I use instead of peanut butter?

Any creamy nut or seed butter works as a 1:1 swap! Almond butter gives a slightly milder, nuttier flavor. Cashew butter is lovely and subtly sweet. Sunflower seed butter keeps these completely nut-free and is a great option for school-safe snacks. Just make sure whichever butter you use is natural and unsweetened for the best results and flavor.

How can I make these gluten-free?

They’re very easy to make completely gluten-free! Simply use certified gluten-free rolled oats in place of regular oats. I buy these gluten-free rolled oats in bulk on Amazon! All other ingredients in this recipe are naturally gluten-free, so that one swap is all you need. Look for oats labeled “certified gluten-free” to ensure there’s no cross-contamination during processing.

What can I use instead of coconut oil?

If you don’t have coconut oil or prefer not to use it, vegan butter (like Miyoko’s or Earth Balance) works as a great dairy-free substitute and will give the cookies a richer, more buttery flavor. Regular unsalted butter also works if you’re not keeping this dairy-free. The texture may vary very slightly depending on which fat you use, but all three options will produce a delicious cookie.
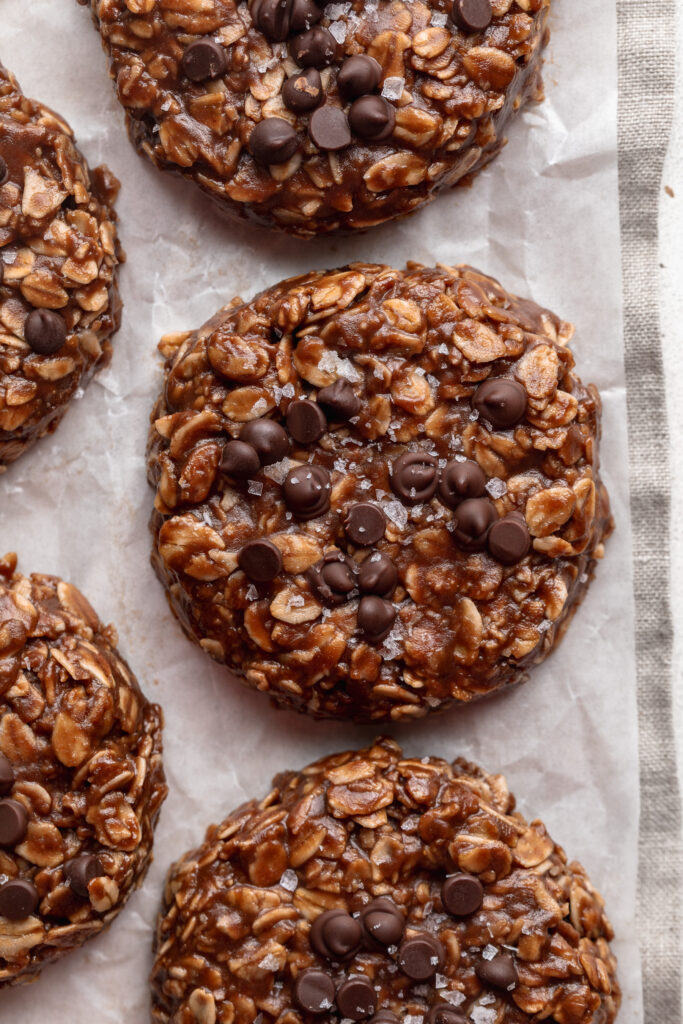
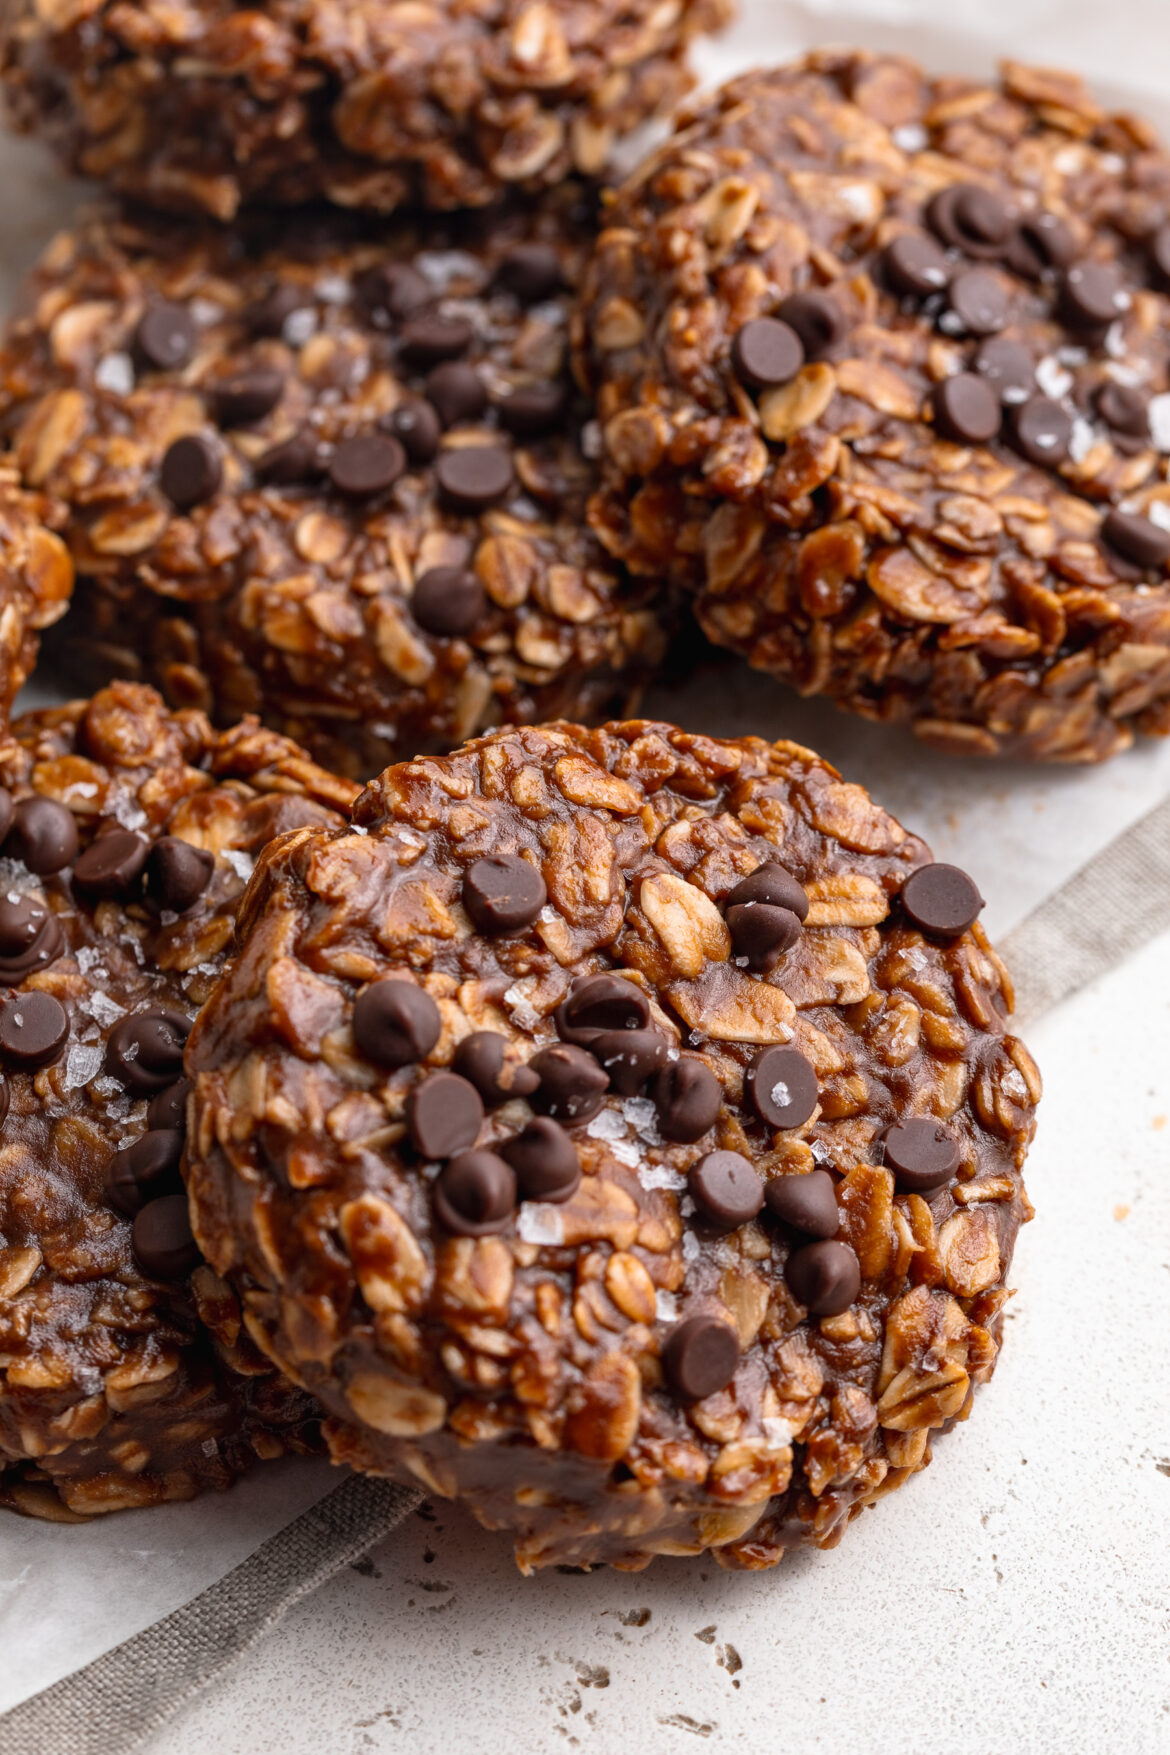
overhead image of no bake cookies on a table with mini chocolate chips and sea salt on top.

Sam’s Recipe Tips

  • Work quickly when scooping. Once the mixture comes off the heat, it starts to firm up fast. Have your parchment-lined plate or sheet ready to go before you start cooking, and scoop the cookies as soon as the mixture is ready. If it starts to harden in the pan before you’ve finished scooping, pop it back over very low heat and stir until it loosens up again.
  • Don’t skip the fridge time. These cookies need the chill time to set up firm and hold their shape. 30 minutes is the minimum – if you’re in a warmer kitchen, give them a full hour. They’re also delicious eaten straight from the freezer if you love a firmer, fudgier cookie!
  • Use a cookie scoop for uniform cookies. A 2-tablespoon cookie scoop makes it easy to portion the cookies quickly and evenly so they all set at the same rate. Slightly flatten each cookie with the back of the spoon right after scooping for a more traditional cookie shape.

Made this recipe? I’d love to see it! Tag me on Instagram @samdoesherbest or TikTok @samdoesherbest – I repost my favorites! And if you loved it, please leave a ⭐⭐⭐⭐⭐ rating and written review below. It means the world and helps other readers find this recipe!
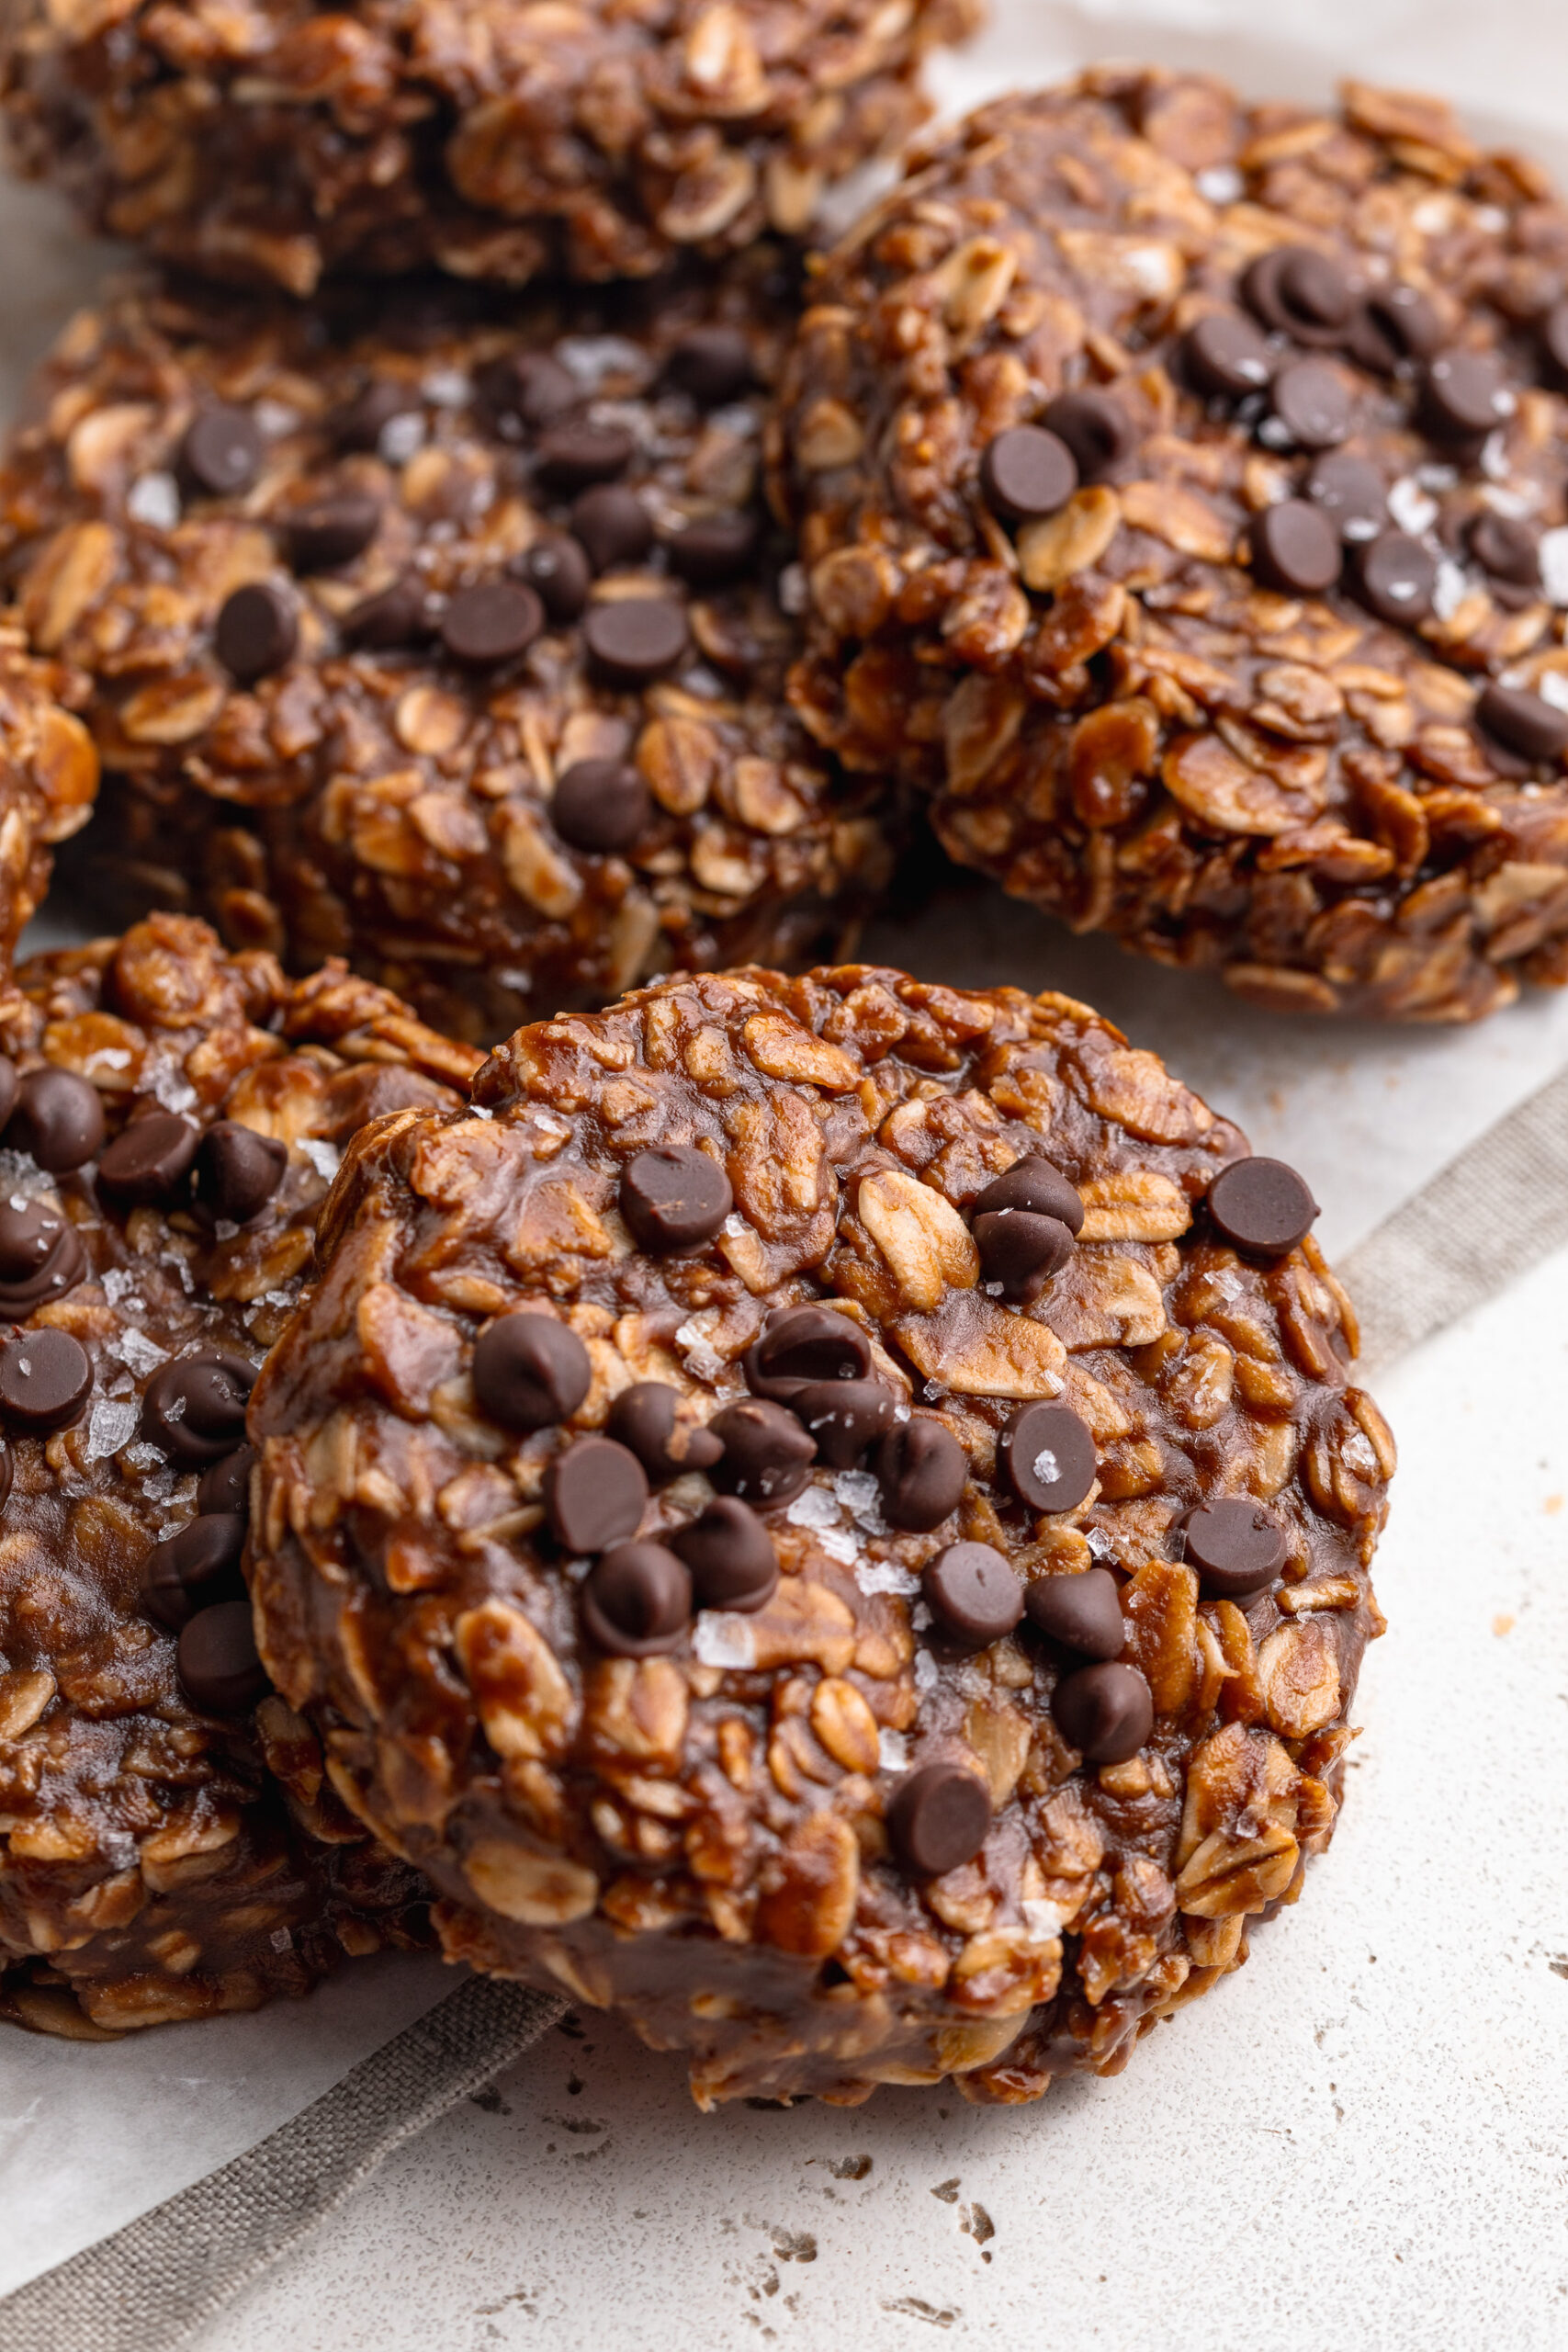
no bake cookies piled on top of each other on a table.
No ratings yet

5-Ingredient No-Bake Cookies

These no-bake cookies are a healthier twist on the classic cookie! Made with just 5 wholesome ingredients, naturally sweetened with honey or maple syrup, and completely gluten-free and dairy-free. They're the easiest, most satisfying treat and there's NO baking required!
Print Pin Rate
Prep Time: 5 minutes
Cook Time: 5 minutes
Chill Time: 30 minutes
Total Time: 40 minutes
Servings: 16 cookies

Equipment

  • 1 medium saucepan
  • 1 cookie sheet

Ingredients

  • 1/2 cup creamy peanut butter unsweetened
  • 1/4 cup coconut oil
  • 1/4 cup honey or maple syrup
  • 2 tablespoons unsweetened cocoa powder
  • 1 1/2 cups rolled oats

Instructions

  • Add the peanut butter, coconut oil, and honey or maple syrup to a medium saucepan over medium-low heat. Stir continuously until melted and completely smooth.
  • Stir in the cocoa powder and rolled oats until fully combined. Cook and stir for another 2–3 minutes.
  • Remove from heat and quickly scoop 2-tablespoon portions onto a parchment-lined plate or baking sheet.
  • Refrigerate for 30 minutes or until firm. Enjoy or store in an airtight container!

Notes

  • Work quickly when scooping – the mixture firms up fast once off the heat!
  • Use certified gluten-free oats to keep this recipe completely gluten-free.
  • Any nut or seed butter works as a peanut butter substitute.
  • Store in an airtight container in the fridge for up to 1 week or in the freezer for up to 3 months.
  • These are also delicious eaten straight from the freezer!
Nutrition

Serving: 1serving | Calories: 115kcal | Carbohydrates: 10g | Protein: 3g | Fat: 8g | Fiber: 1g | Sugar: 5g

We brought our toddler apple picking last weekend and I currently swimming in apples over here! Just SO many apples. We of course made my healthy gluten-free apple crisp as soon as we got home. I’ve also been making caramelized apples to go over yogurt and oatmeal bowls (so good OMG!). But we still have more apples than we know what to do with! *Enter the apple pie smoothie.*

It’s true what they say… an apple a day keeps the doctor away! This smoothie starts with one whole apple, plain yogurt, and a scoop of protein powder for extra protein. The end results is a creamy and perfectly sweet high protein smoothie that tastes just like apple pie. It’s nutritious, deeply satisfying, and guaranteed to keep you full until your next meal!

apple pie smoothie in a glass with whipped cream.

Why You’ll Love This Recipe

This healthy apple pie protein smoothie is the perfect blend of flavors for a cozy, yet refreshing treat. It’s packed with protein, naturally sweetened, and full of fall flavors that make you feel like you’re enjoying a slice of apple pie. Plus, it’s gluten-free, dairy-free, and takes just a few minutes to whip up!

What You Need to Make This Healthy Apple Pie Smoothie

Apple: A fresh apple adds natural sweetness, fiber, and a classic apple pie flavor.

Plain Yogurt (Non-Dairy): This adds creaminess and a boost of protein while keeping the smoothie dairy-free. I recommend Cocojune organic plain unsweetened coconut yogurt, it’s perfectly thick and creamy! Though you can use regular yogurt if preferred.

Milk (Almond Milk): This helps to blend the smoothie and adds a touch of nuttiness from the almond milk. Any milk can work depending on your dietary needs.

Unflavored Protein Powder or Collagen Peptides: Boosts protein content to keep you full longer. Unflavored protein powder blends seamlessly with the apple pie flavors. I use and love the Garden of Live vegan protein powder in most of my protein smoothies!

Rolled Oats or Almond Butter: Adds creaminess and thickness to the smoothie. You can swap with almond butter for extra creaminess or keep it grain-free.

Cinnamon: The spice that gives this smoothie its signature apple pie flavor.

Honey or Maple Syrup (Optional): For a little extra sweetness if needed, especially if your apple isn’t very sweet.

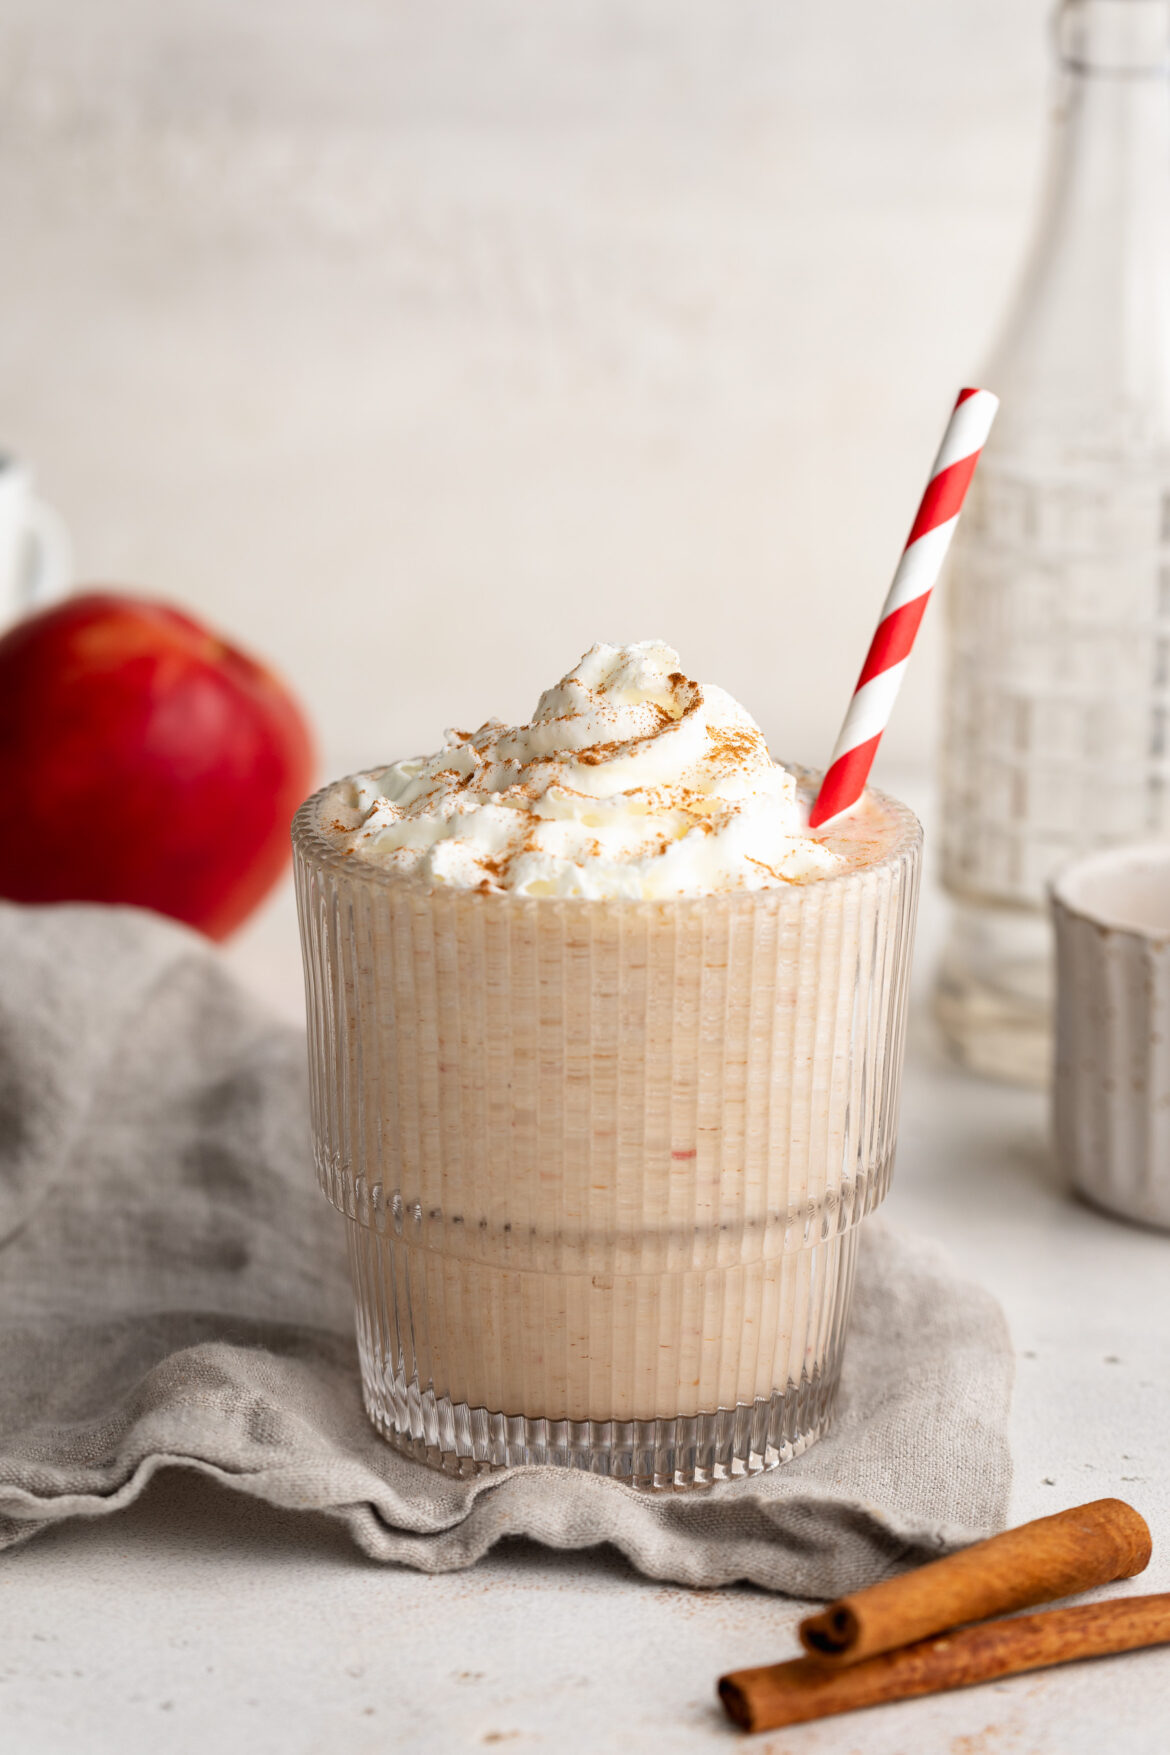
apple pie smoothie with a straw.

Can I Prep This Apple Pie Smoothie Ahead of Time?

Yes! You can prep the ingredients the night before by chopping the apple and measuring out the other ingredients. Store them in the fridge, then blend them together in the morning. If you want to make the smoothie ahead of time, blend it and store it in an airtight jar in the fridge for up to 24 hours. Just give it a good shake before drinking!

Tips and Tricks For the Best Smoothie

  • For a thicker, creamier smoothie either use a frozen apple instead of a fresh one, or add half of a frozen banana to the blender along with all of the other ingredients.
  • Blend your smoothie for longer to ensure a smooth texture without any lumps.
  • Add ice cubes if you like your smoothie extra cold, or freeze the almond milk into cubes for added creaminess!

Adjust This Recipe to Your Dietary Needs

  • Make it Vegan: Use non-dairy yogurt and plant-based protein powder to make this smoothie 100% vegan.
  • Grain-Free: Skip the oats and use almond butter for added creaminess and healthy fats.
  • Make it Nut-Free: Substitute almond milk with oat milk, and use oats instead of almond butter. It’s that easy!
Apple pie protein smoothie in a glass with whipped cream and cinnamon on top.
5 from 1 vote

Apple Pie Protein Smoothie

This healthy apple pie protein smoothie is just what you need for a delicious, protein-packed, fall-inspired treat. It’s made with 7 simple ingredients, is gluten-free, dairy-free, high in protein, and can easily be adapted to fit any dietary needs!
Print Pin Rate
Prep Time: 5 minutes
Total Time: 5 minutes
Servings: 1 serving

Equipment

  • blender

Ingredients

  • 1 medium apple cored and cut
  • 1/2 cup plain yogurt (I used non-dairy coconut yogurt)
  • 1/4 cup milk (I used almond milk)
  • 1 scoop unflavored protein powder or collagen peptides
  • 1 tablespoon rolled oats or 1/2 tablespoon almond butter
  • 1/2 teaspoon cinnamon
  • 1/2 tablespoon honey or maple syrup optional

Instructions

  • Add all ingredients to a blender and blend until smooth, then enjoy immediately!

Nutrition

Serving: 1smoothie | Calories: 313kcal | Carbohydrates: 47g | Protein: 22.5g | Fat: 6g | Sugar: 28g

My family and I are creatures of habit. When we find a meal we love, we stick to it. Our current favorites are my one-pan hunan chicken recipe and Instant Pot white chicken chili with gluten-free cornbread. We seriously eat those at least once a week!

However, as soon as this honey teriyaki salmon recipe came along, I instantly added it to our weekly rotation. My husband went crazy for this perfectly flaky and incredibly flavorful salmon! Served with rice and steamed veggies for a healthy, balanced, and satisfying meal.

honey teryaki salmon on a plate with rice, broccoli, green onion, and a lime.

What You’ll Need to Make Honey Teriyaki Salmon

Salmon: The star of our show – salmon brings a rich, flaky texture and a dose of omega-3 fatty acids to the dish. Opt for fresh, quality fillets for the best results.

Honey: A natural sweet touch – honey brings a luscious sweetness to the teriyaki sauce, balancing the savory elements.

Tamari or Soy Sauce: Tamari adds a gluten-free option for our sauce, while soy sauce brings that classic umami flavor. Choose based on your dietary preferences.

Fresh Ginger: Opt for fresh, not powdered ginger in this recipe! I like to buy my fresh ginger in bulk, then store it in the freezer until I need some. Then, I cut off a hunk of fresh ginger, peel off the skin, and grate it into the honey teriyaki sauce.

Tips and Tricks

  • Allow the salmon to marinate for at least 1 hour for optimal flavor infusion. For an extra boost, marinate it up to 8 hours for an even more succulent result.
  • While baking, spoon the sauce from the bottom of the dish over the salmon. This basting ensures that the fillets are coated in the delectable teriyaki goodness.
  • Use a meat thermometer to check the salmon’s internal temperature. Aim for 125°F for a perfectly cooked, moist fillet.
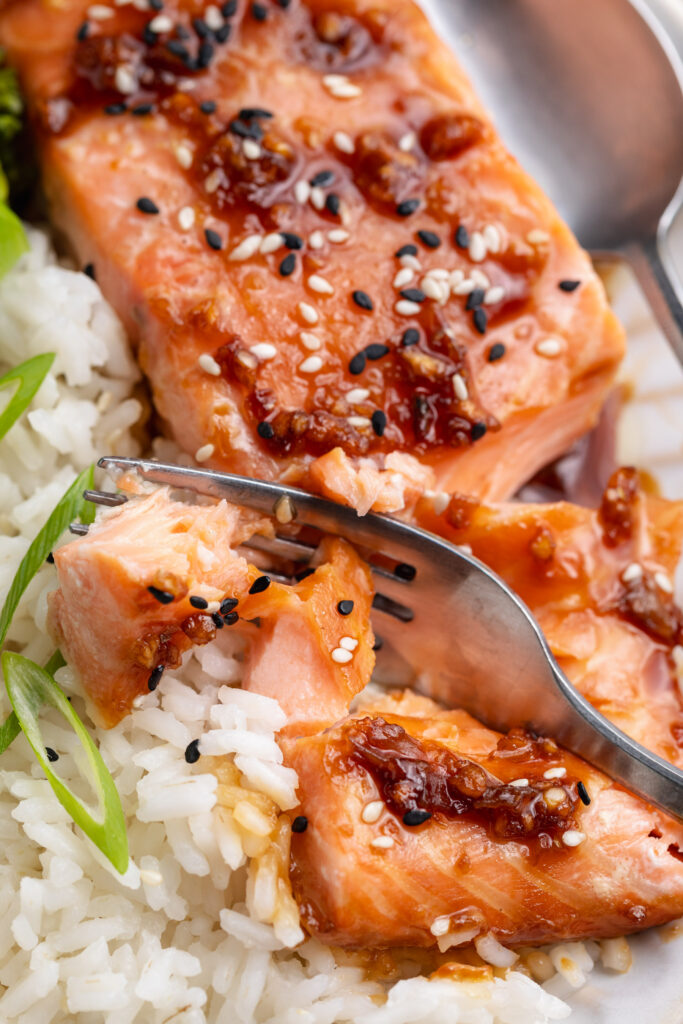
Honey teriyaki salmon flaked apart on a plate.

Adjust This Recipe to Your Dietary Needs

Make it Gluten-Free: Opt for tamari instead of soy sauce to make this dish gluten-free while maintaining that savory teriyaki taste.

Make it Grain-Free: Serve the honey teriyaki salmon over cauliflower rice for a grain-free option, keeping it light and satisfying.

close-up overhead image of honey teriyaki salmon on a plate with rice.
5 from 1 vote

5-Ingredient Baked Honey Teriyaki Salmon Recipe

This honey teriyaki salmon recipe is my new favorite quick and easy weeknight meal! It comes together with just 5 ingredients, is packed with flavor, and super healthy too. The salmon is marinated then baked until perfectly flaky and tender every time!
Print Pin Rate
Prep Time: 1 hour
Cook Time: 10 minutes
Total Time: 1 hour 10 minutes
Servings: 4 servings

Ingredients

  • 4 6-8 ounce salmon fillets
  • salt, to taste
  • 1/4 cup tamari
  • 3 tablespoons honey
  • 2 garlic cloves, grated
  • 1-inch piece fresh ginger, peeled and grated

For serving:

  • 2 cups cooked rice
  • 1 crown broccoli, steamed
  • sliced green onion
  • sesame seeds

Instructions

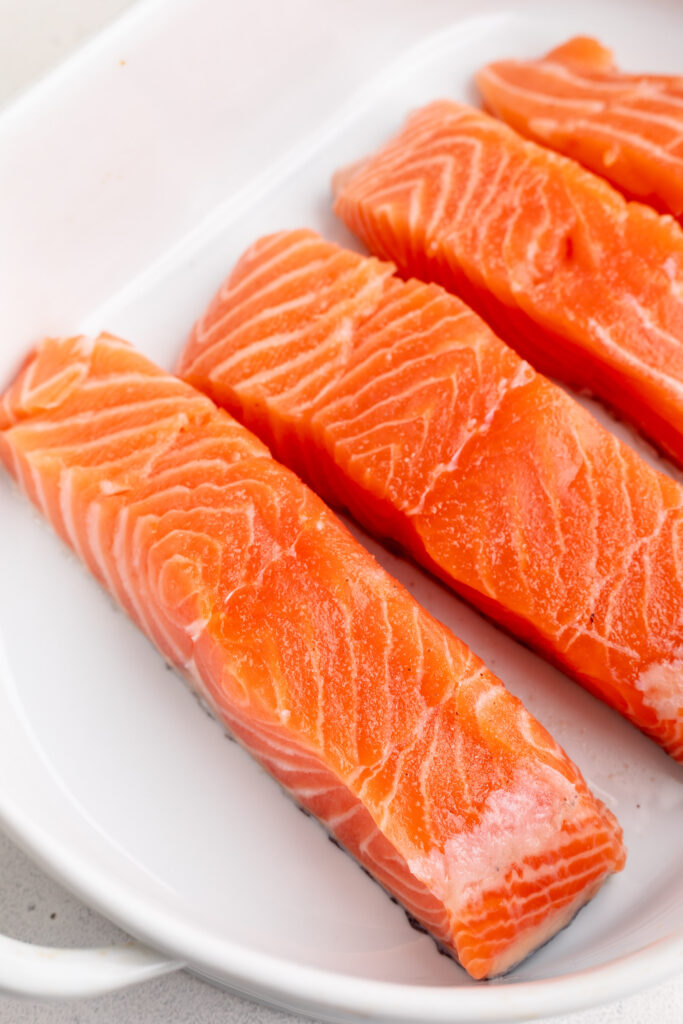
  • Place the salmon skin side down in a large baking dish. Pat salmon fillets dry with a paper towel and lightly season with salt.
    honey teriyaki salmon step 1
  • In a small bowl, whisk together the tamari or soy sauce, honey, garlic, and ginger.
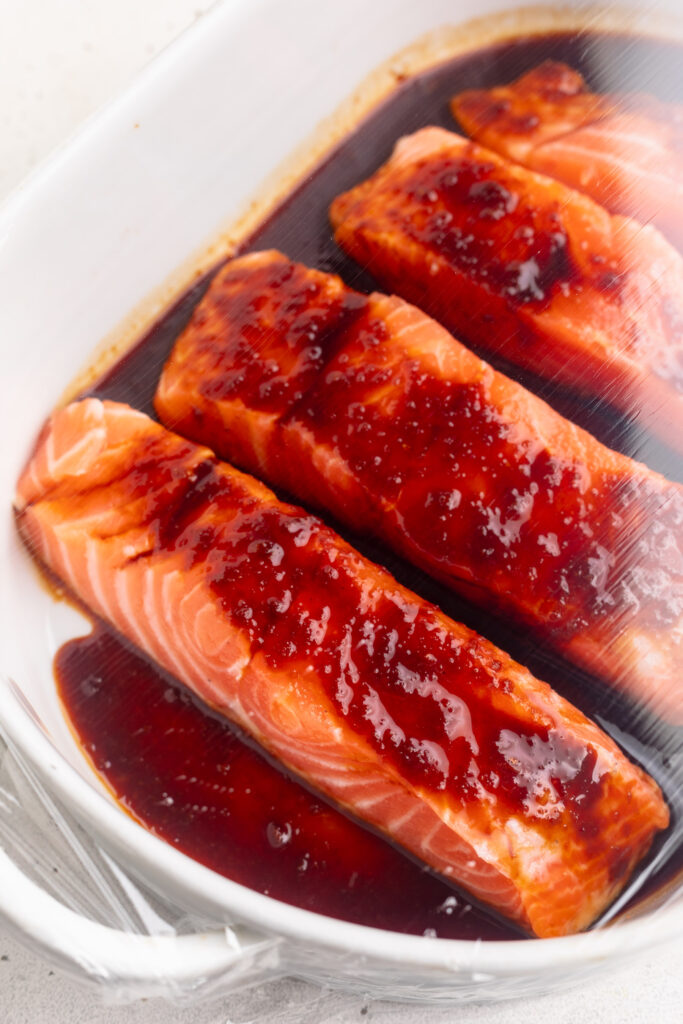
  • Pour the sauce over the salmon fillets, then cover the baking dish and refrigerate for at least 1 hour or up to 8 hours.
  • Preheat oven to 400° Fahrenheit and remove then uncover baking dish with salmon from the fridge.
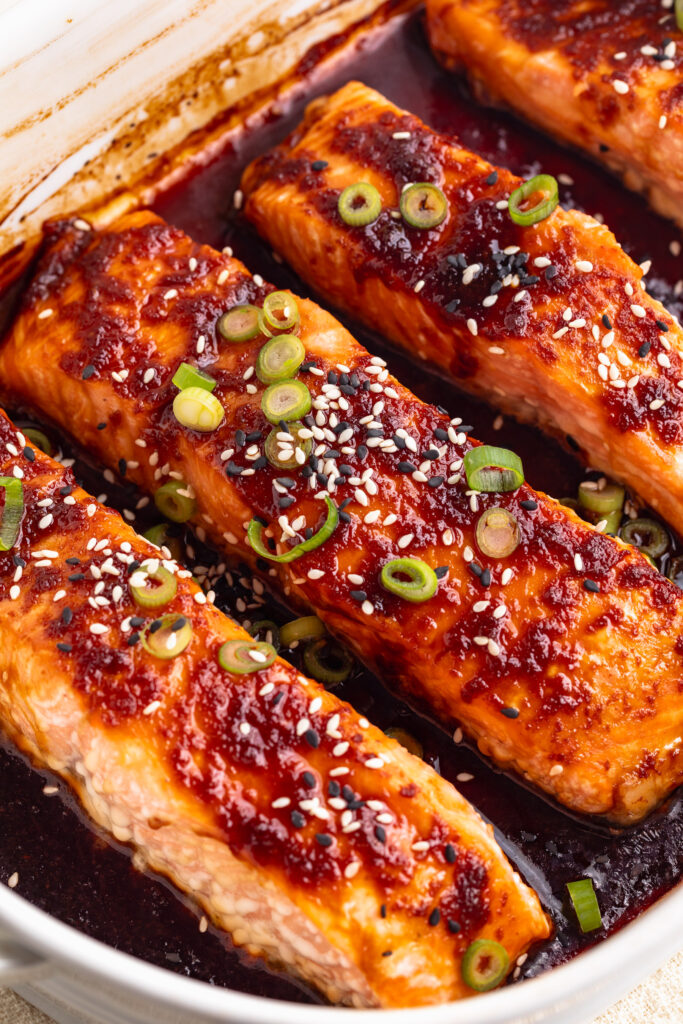
  • Spoon the sauce from the bottom of the baking dish over the salmon, then bake for 10-12 minutes or until a thermometer inserted into the thickest part of the salmon reads 125° Fahrenheit.
  • Assemble four bowls with rice and steamed broccoli, then place one salmon fillet into each bowl. Pour they honey teriyaki sauce over top of each fillet, then finish off the bowls with sliced green onion and sesame seeds.

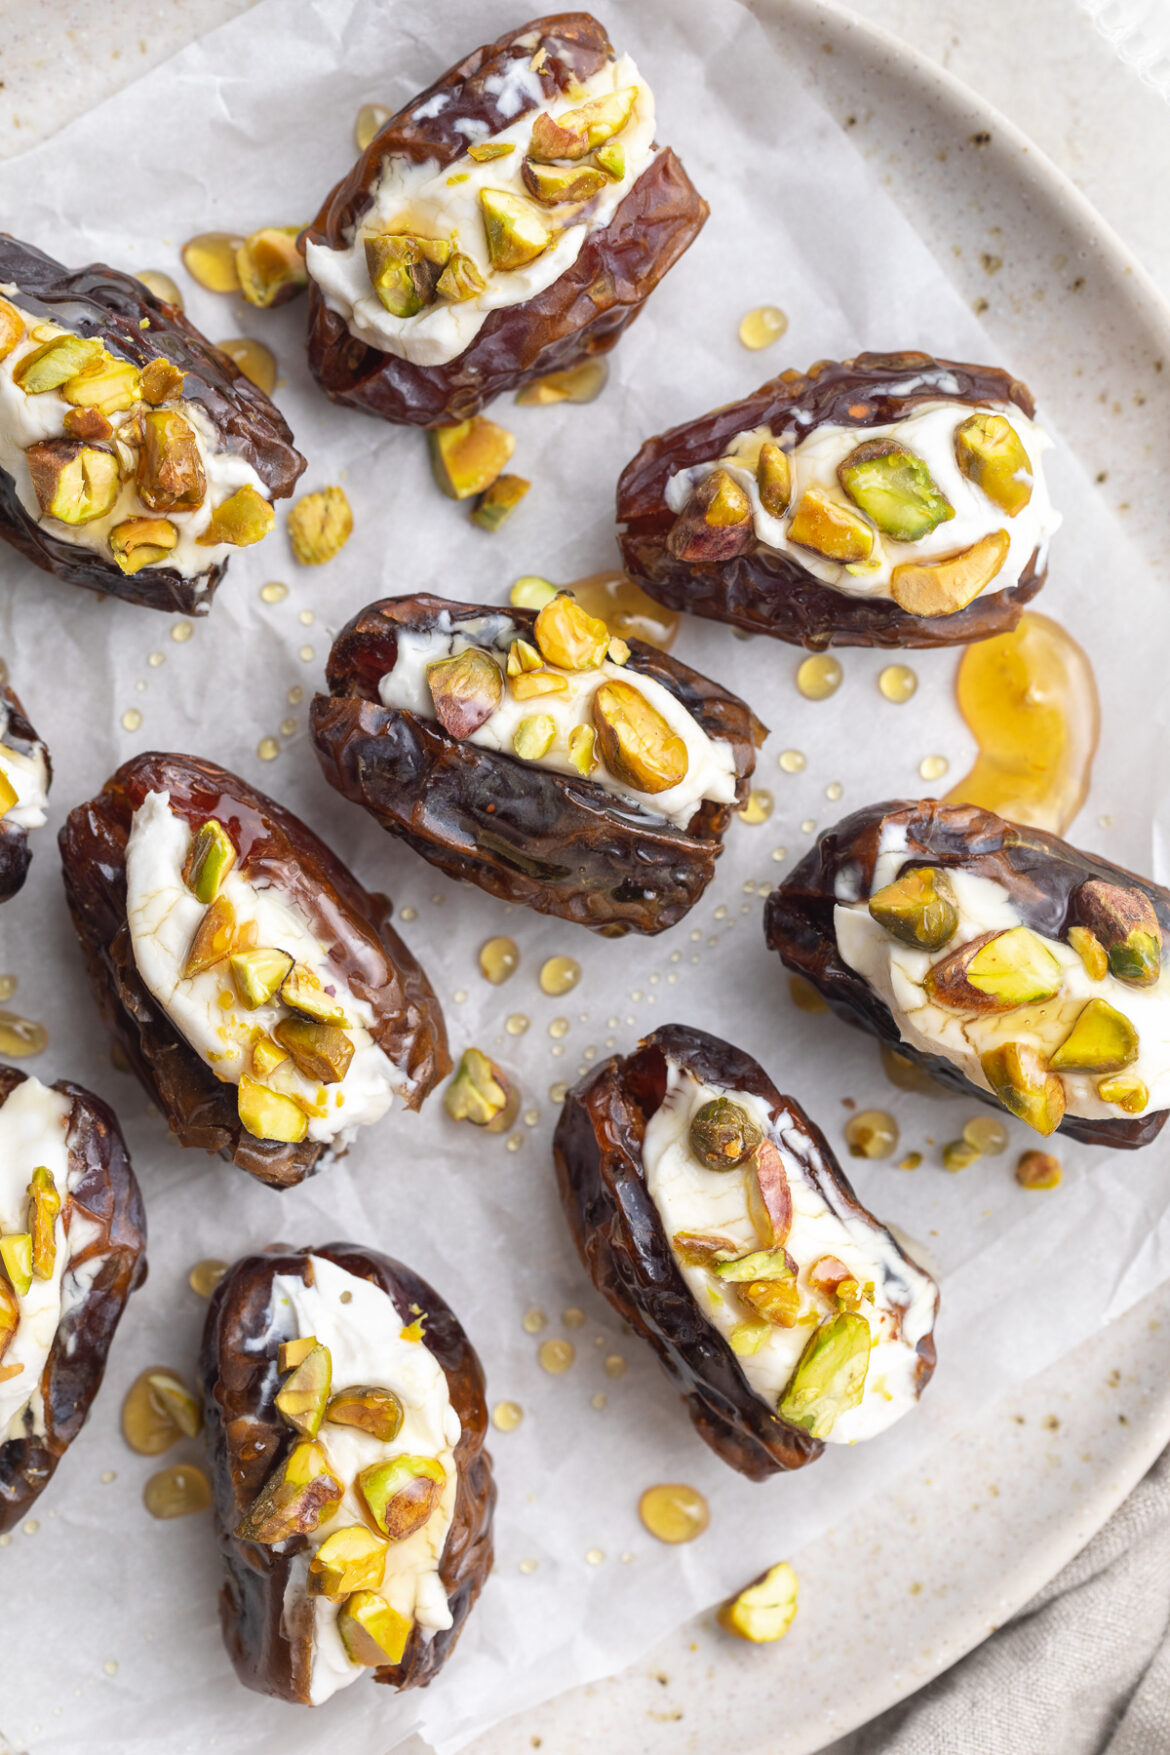
Fancy, but super easy stuffed dates with cream cheese, pistachios, and a drizzle of honey! A perfect no-bake appetizer or snack that comes together in just a few minutes. They’re gluten-free with a dairy-free and vegan option!

honey being drizzled over stuffed dates.

What You’ll Need to Make Stuffed Dates

Medjool Dates – Soft and sticky medjool dates are naturally sweet and totally delicious! I enjoy medjool dates completely on their own, but stuffed with cream cheese, pistachios, and honey take them over the top. You can either buy dates with the pits removed, or buy whole dates and remove the pits yourself before eating.

Cream Cheese – Either cream cheese or goat cheese will work great in this recipe. Both are soft, creamy, and perfectly tangy. A scoop of soft cheese helps to balance out the sweetness of these stuffed dates.

Pistachios – A sprinkling of chopped pistachios contribute the perfect crunch to this dish! Without it, these dates are all one texture, and lack variety. Therefore, for an exciting appetizer, add some chopped pistachios, or your favorite chopped nut to the top of these stuffed dates.

Honey – The finishing touch to this fancy-tasting app is a drizzle of honey. After we’ve added in all our savory components, it’s always nice to round out the dish with an extra bit of sweetness.

Flaky Salt – I seriously put this Maldon flaky sea salt on everything! It instantly elevates any dish, and makes it taste like you spent hours on it, when in reality these stuffed dates come together in under 5 minutes.

stuffed dates on a plate.

Tips and Tricks

  • If your dates are too hard/dried out, zap them in the microwave for about 20 seconds. This’ll heat them up just enough to help them open with ease!
  • Prep these dates ahead of your next dinner party or potluck! If prepping more than an hour in advance, I recommend leaving the pistachios and honey off your stuffed dates until right before serving. Leaving them to sit for too long could cause the pistachios to go soft and soggy.
  • Feel free to totally customize this recipe and make it your own! Use any soft cheese you’d like, and any chopped nut you’d like. Have fun with this appetizer, and don’t overcomplicate it!
close-up image of stuffed dates on a plate.

Adjust this Recipe to Your Dietary Needs

Make it Dairy-Free: For a dairy-free version, stuff these dates with your favorite non-dairy cream cheese instead.

Make it Vegan: Make these stuffed dates vegan by taking the dairy-free option above, and replacing the honey with a drizzle of maple syrup!

close-up overhead image of stuffed dates with cream cheese, pistachios, and honey.
4.03 from 43 votes

Stuffed Dates with Cream Cheese, Pistachios, and Honey

Fancy, but super easy stuffed dates with cream cheese, pistachios, and a drizzle of honey! A perfect no-bake appetizer or snack that comes together in just a few minutes.
Print Pin Rate
Prep Time: 5 minutes
Total Time: 5 minutes
Servings: 12 servings

Ingredients

  • 12 medjool dates, pits removed and sliced open
  • 4 ounces cream cheese (or goat cheese)
  • 1/4 cup chopped pistachios
  • honey, for drizzling
  • pinch of flaky salt

Instructions

  • Fill the cavity of each date with a couple teaspoons of cream cheese.
  • Press chopped pistachios into the cream cheese on top of each date.
  • Arrange stuffed dates on a serving plate, drizzle with honey, then sprinkle with a pinch of flaky salt.

Nutrition

Calories: 300kcal

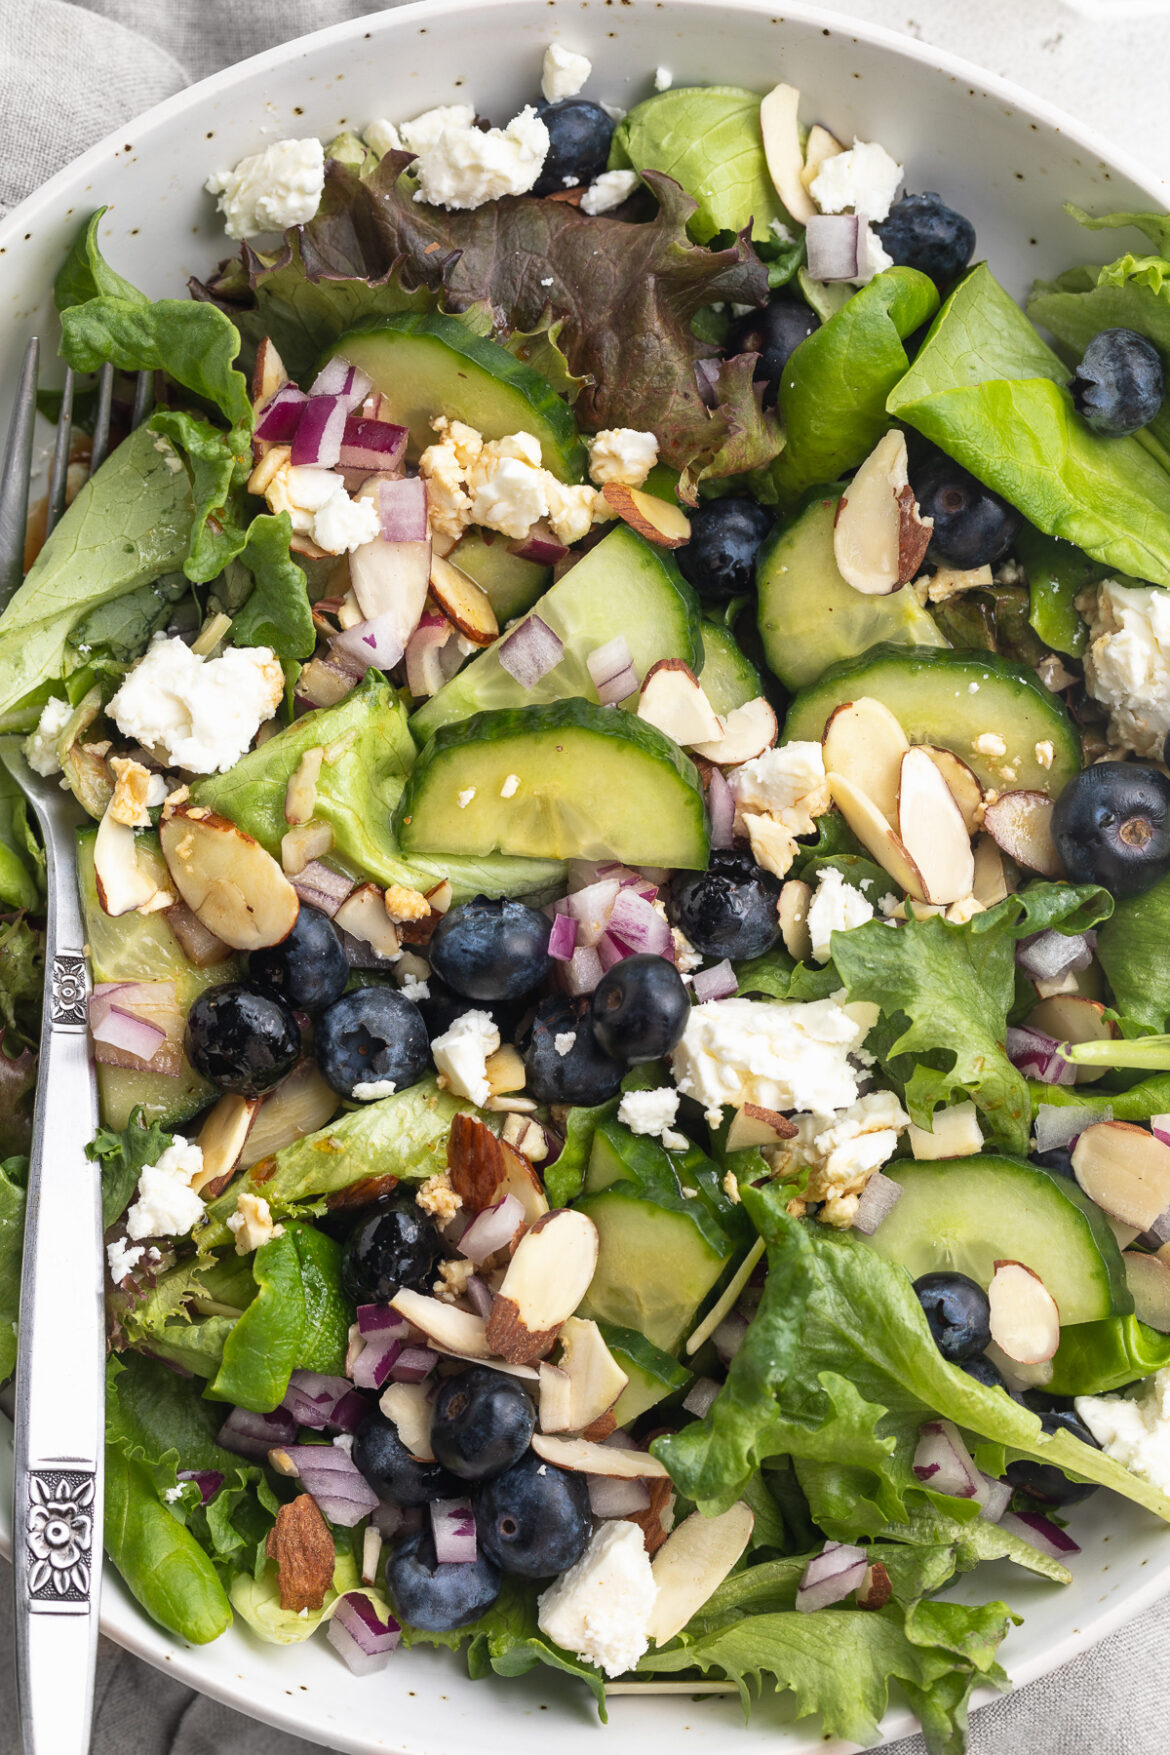
Fresh and seasonal spring mix salad with blueberries, almonds, feta cheese, and a simple honey vinaigrette! The perfect warm-weather lunch or side dish, loaded with healthy ingredients.

Overhead image of spring mix salad in a bowl with water on the side.

What You’ll Need To Make Spring Mix Salad

Spring Mix Lettuce – Spring mix is a simple assortment of dark leafy greens. Each brand makes theirs a little differently, but every batch of spring mix is flavorful and super healthy. If you can’t find any spring mix, you can certainly turn this into a spinach salad instead, with 5 ounces of fresh baby spinach.

Sliced Almonds – Every salad needs a little crunch! I love buttery, lightly toasted sliced almonds in my spring mix salad. However, if you don’t have any almonds, any chopped nut will go great in this recipe. Or for a nut-free version, add in some roasted sunflower seeds instead!

Feta Cheese – Some salty feta cheese takes this spring mix salad over the top! Add as much to your salad as your heart desires. Or, if you don’t have any feta, a nice soft goat cheese also tastes great here. And for a vegan or dairy-free option, simply leave the cheese out of the salad – still super tasty!

Honey – A touch of honey balances out the otherwise extremely savory vinaigrette. With plenty of balsamic vinegar, the vinaigrette needs a little sweetness to help mellow it out. And for a vegan version, replace the honey with two tablespoons of maple syrup.

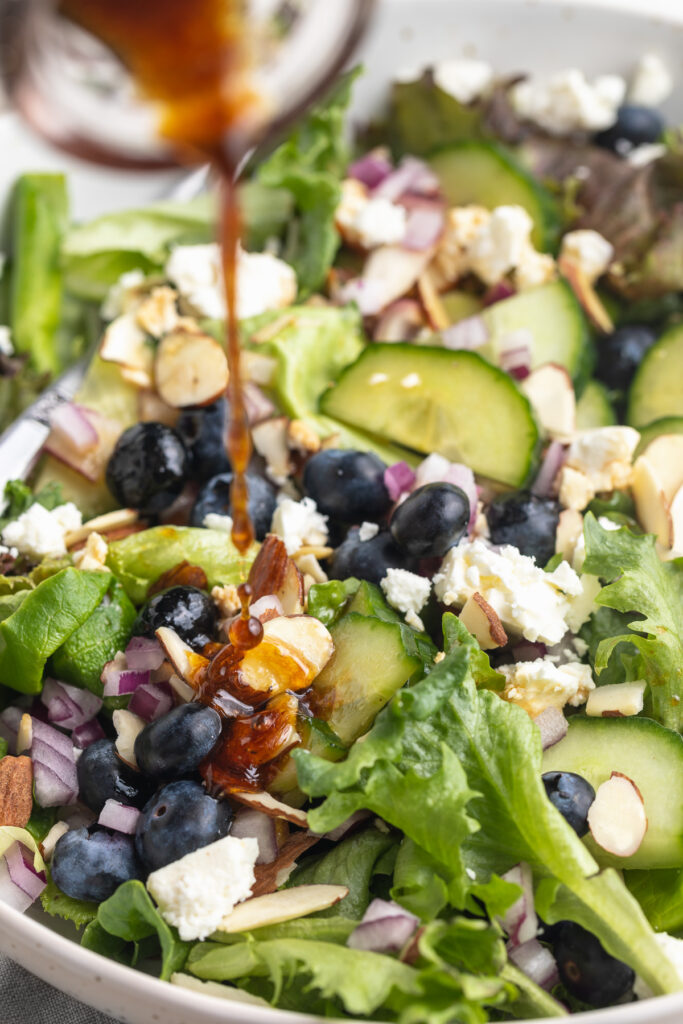
Honey vinaigrette being poured over spring mix salad.

Tips and Tricks

  • Dress the salad right before serving! Avoid storing this salad already dressed, since the vinaigrette will cause the spring mix to wilt. So if prepping ahead of time, keep the honey vinaigrette on the side until ready to eat.
  • Have fun with this healthy salad recipe! This simple lunch or side dish is a great way to use up any fresh veggies or berries you might have on-hand. Strawberries taste delicious in place of the blueberries, and a yellow onion can be subbed in for the red onion.

Add Protein

For a heartier meal, add any of the following:

Close-up overhead image of spring mix salad in a bowl.
5 from 1 vote

Spring Mix Salad with Blueberries, Almonds, Feta Cheese, and Honey Vinaigrette

Fresh and seasonal spring mix salad with blueberries, almonds, feta, and a simple honey vinaigrette! The perfect warm-weather lunch or side dish, loaded with healthy ingredients.
Print Pin Rate
Prep Time: 5 minutes
Total Time: 5 minutes
Servings: 6 side servings

Ingredients

  • 1 5-ounce package spring mix lettuce
  • 1 cup fresh blueberries
  • 1/2 English cucumber, chopped
  • 1/2 red onion, chopped
  • 1/2 cup sliced almonds
  • 1/4 cup feta cheese or goat cheese

For the honey vinaigrette:

  • 1/4 cup olive oil
  • 3 tablespoons balsamic vinegar
  • 2 tablespoons honey
  • 1/2 teaspoon salt
  • 1/2 teaspoon black pepper

Instructions

  • Assemble all salad ingredients in a large bowl.
  • Make the dressing by adding all ingredients to a jar with a lid, secure the lid then shake until combined. Drizzle over spring mix salad and enjoy!

Nutrition

Calories: 300kcal