
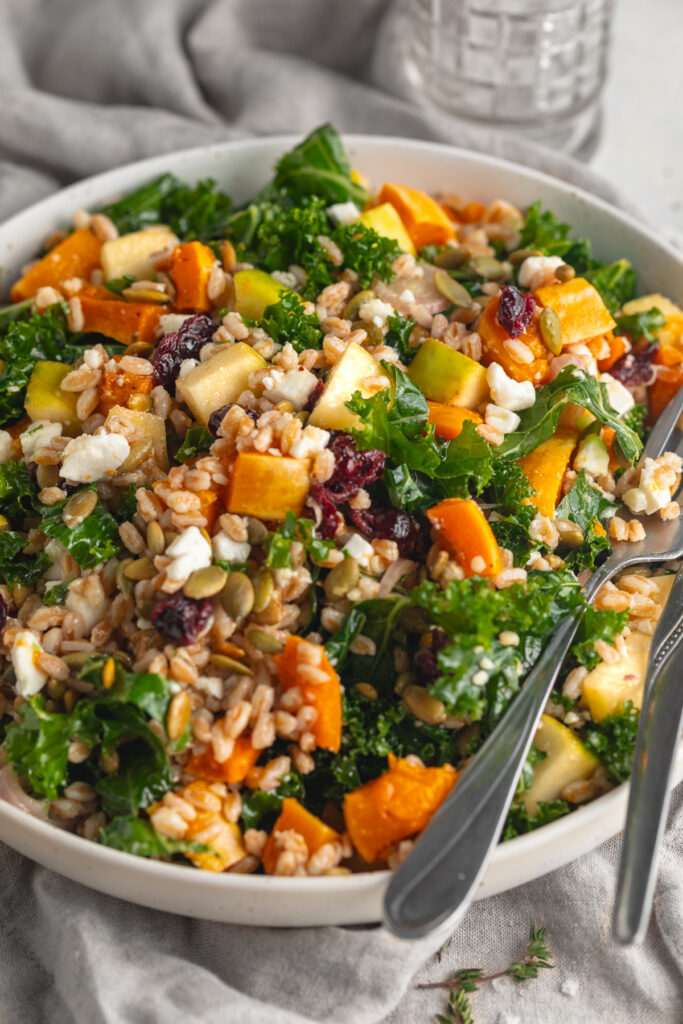
This Thanksgiving salad is the perfect potluck side dish! It’s packed with flavor and freshness. This salad is also super hearty and satisfying, but super healthy! Meal prep this salad ahead of your next holiday party, then wow your friends and family with how delicious it is.

The large glass jar I used to store my Thanksgiving salad is linked HERE.
What You’ll Need to Make Thanksgiving Salad
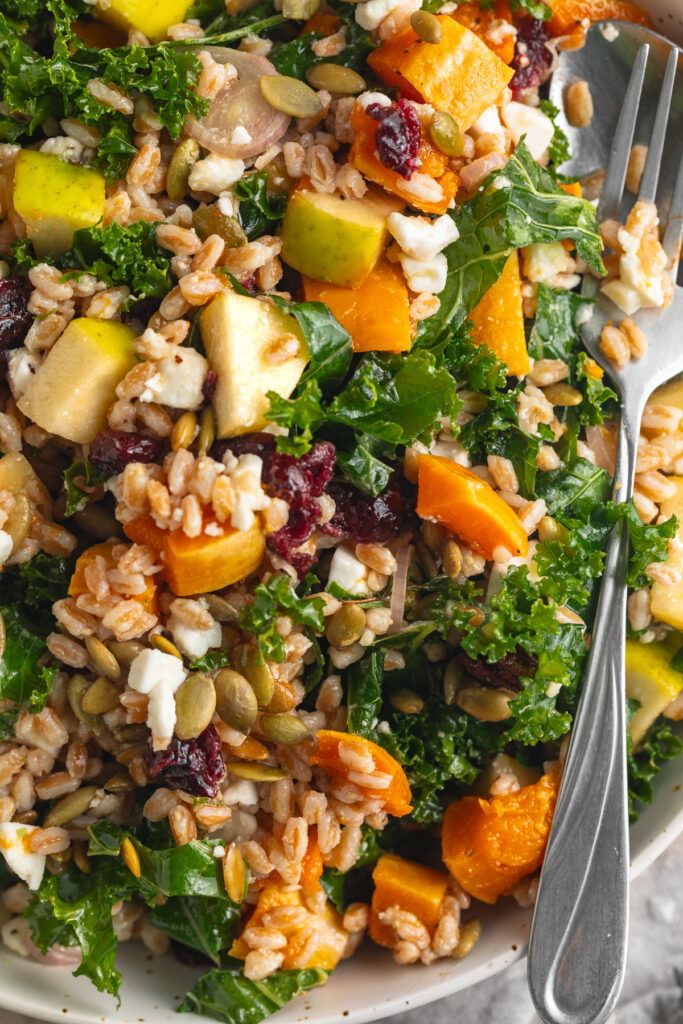
Farro: The hearty base that brings a chewy texture and nutty flavor. It’s like a Thanksgiving hug for your taste buds.
Roasted Butternut Squash: Because it wouldn’t be Thanksgiving without a bit of squash magic. Roasted to perfection, it adds sweetness and a touch of autumn warmth. Or, if you’d like, you can roast sweet potato instead.
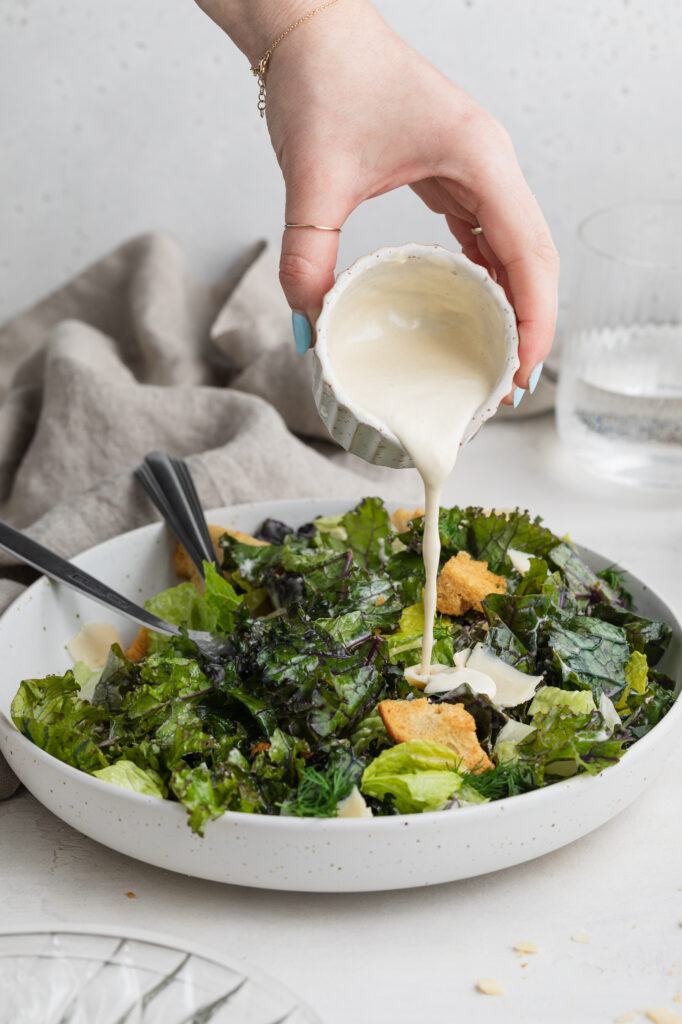
Maple Dijon Dressing: A blend of sweet and tangy, this dressing is the secret sauce that ties all the flavors together. Say goodbye to boring salads!
Soft White Cheese (like Feta): Creamy, crumbly, and just the right amount of decadent. The cheese brings that perfect savory balance to the dish.
Tips and Tricks
- Make It Ahead: Thanksgiving can be a whirlwind, so make life easier by prepping this salad ahead of time. Stack the ingredients in a large jar starting with the farro and kale at the bottom, then all other ingredients on top. When it’s time to serve, just empty the jar into a large bowl, and toss to combine – it’s that easy!
- Don’t Forget the Crunch: Toss in some toasted nuts or seeds for that satisfying crunch. Pecans or pumpkin seeds are particularly Thanksgiving-worthy additions that elevate the texture and taste.
- Mix Up Your Greens: While we love the classic mix of greens, feel free to experiment! Arugula adds a peppery kick, spinach brings a delicate texture, or even kale for a heartier feel. Mix and match to suit your taste.
Adjust This Recipe To Your Dietary Needs
Make it Gluten-Free: Farro contains gluten, so to make this recipe gluten-free, use either brown rice or quinoa instead.
Make it Vegan: Either leave out the cheese, or use your favorite vegan feta in this Thanksgiving salad recipe!

Perfect Potluck Thanksgiving Salad
Ingredients
For the salad:
- 3 cups cooked farro, or barley, wild rice, or quinoa
- 1 butternut squash or 2 sweet potatoes, peeled and cubed
- 1 tablespoon olive oil
- salt and black pepper, to taste
- 1 shallot, peeled and thinly sliced
- 1 head kale, thinly sliced or shredded
- 1 cup soft cheese, such as feta or goat cheese
- 2 apples, chopped
- 1/2 cup dried cranberries
- 1/2 cup unsalted pumpkin seeds, or chopped pecans
For the maple Dijon dressing:
- 1/2 cup olive oil
- 1/4 cup apple cider vinegar
- 2 tablespoons Dijon mustard
- 1 tablespoon maple syrup
- 1 garlic clove, minced
- 1 teaspoon salt
Instructions
- Preheat oven to 400° Fahrenheit.
- Place the cubed butternut squash on a large baking sheet and drizzle with olive oil, then season with salt and black pepper.
- Toss squash to coat in oil then bake for 25-30 minutes, tossing halfway through.
- While squash is roasting, make the maple Dijon dressing by adding all dressing ingredients to a small bowl and whisking to combine.
- Once squash is tender, remove from the oven and set aside to cool slightly.
- If making salad ahead of time, stack in large jar with the farro at the bottom and the chopped kale on top of the farro.
- Pour maple Dijon dressing over the kale and farro, then stack in the roasted butternut squash, shallots, soft cheese (such as feta), apples, pumpkin seeds, and dried cranberries.
- If preparing the salad to eat immediately, then simply add all ingredients to a large bowl and toss to combine.
Video
Nutrition
There you have it – a Thanksgiving Salad that’s as easy to prepare as it is delightful to eat. Whether it’s a colorful side or a standalone star at your Thanksgiving table, this salad is ready to impress. So, gather your ingredients, stack that jar, and let the Thanksgiving feast begin!
")


")
