Tag

low carb

Browsing

These cottage cheese egg bites are soft, creamy, fluffy, and packed with protein, thanks to the blended cottage cheese base that gives them that dreamy, fluffy texture without any fancy equipment. Just a blender and a muffin tin. That’s all you need!

Cottage cheese makes these rich and fluffy, also packs in live and active cultures so it’s as good for you as it is delicious. And just like my Cottage Cheese Wrap and Cottage Cheese Alfredo, once the cottage cheese is blended smooth, you’d never know it’s in there. What you get instead is a fluffy, protein-packed egg bite made in 30 minutes, ready to grab and enjoy all week long!

Why You’ll Love These Cottage Cheese Egg Bites

  • High-protein and genuinely satisfying. Between the eggs, cottage cheese, cheddar, and ham, each egg bite delivers a solid 10g protein each that keeps you full and fueled all morning! No mid-morning crash, no snacking before lunch.
  • Perfect for meal prep. Make a full batch of 12 on Sunday and you have a grab-and-go breakfast ready for the entire week. They reheat in the microwave in just 30–60 seconds and taste just as good as the day they were made.
  • Endlessly customizable. Use whatever fillings you love – different cheeses, different proteins, different vegetables. This recipe is a completely blank canvas that works with whatever you have in your fridge. See the flavor variations below for inspiration!

overhead image of cottage cheese egg bites on a plate.

Sam’s Recipe Tips

  • Place a pan of water in the bottom of the oven. This is the single biggest tip for getting those Starbucks-level egg bites at home. The steam created by the water prevents the egg bites from drying out and puffing too aggressively, resulting in a noticeably smoother, fluffier bite. You don’t need a fancy sous vide machine – just a pan of hot water on the bottom rack!
  • Grease the muffin tin VERY well. Eggs are notorious for sticking. Spray every cup generously, getting the sides and the bottom. A silicone muffin tin is even better, egg bites pop out cleanly with zero sticking. If you have one, use it!
  • Don’t blend on high speed. Medium speed is the sweet spot. Too much blending whips air into the egg mixture, which causes the egg bites to puff dramatically in the oven and then collapse as they cool. Medium speed gives you smooth without foamy.
  • Let them cool in the tin before removing. The egg bites will look perfectly puffed when they come out of the oven, and then they’ll deflate slightly as they cool – that’s normal and expected! Trying to remove them while they’re still very hot will cause them to fall apart. Give them a full 10 minutes to cool and firm up before popping them out.

close up image of cottage cheese egg bites on a plate.

Flavor Variations & Filling Options

The ham and cheddar base is a classic, but these egg bites are endlessly customizable! Here are some of my favorite combinations:

🧀 Classic Bacon & Gruyere Swap the ham for cooked, crumbled bacon and the cheddar for shredded gruyere. Rich, savory, and deeply satisfying.

🌿 Spinach & Feta Skip the ham, add a handful of fresh baby spinach (wilted and pressed dry), and swap cheddar for crumbled feta. Add a pinch of garlic powder to the egg base.

🌶️ Jalapeño Popper Keep the cheddar, swap ham for crumbled turkey sausage, and add diced pickled jalapeños and a spoonful of cream cheese to each cup before baking.

🍅 Caprese Skip the ham, add diced fresh tomatoes, fresh mozzarella, and a few torn fresh basil leaves. Drizzle with a little olive oil before baking.

🧄 Everything Bagel Keep the ham and cheddar and stir 1 teaspoon of everything bagel seasoning into the egg base before pouring. Sprinkle extra everything bagel seasoning on top before baking.

Pulling apart a cheesy cottage cheese egg bite.
5 from 1 vote

Ham & Cheese Cottage Cheese Egg Bites (just 4 ingredients!)

These cottage cheese egg bites are soft, fluffy, and packed with flavor – made with just 4 simple ingredients and ready in under 30 minutes! Packed with 10 grams of protein per bite, they're the ultimate high-protein, meal prep-friendly breakfast that you can make on Sunday and enjoy all week long. If you're looking for a quick, healthy, and delicious breakfast that keep you full all morning long, these are it!
Print Pin Rate
Prep Time: 10 minutes
Cook Time: 20 minutes
Total Time: 30 minutes
Servings: 12 egg bites

Equipment

  • 1 12-cup muffin tin
  • 1 blender or food processor

Ingredients

  • 8 eggs
  • 1 cup cottage cheese (I used Daisy 4% Cottage Cheese)
  • salt and black pepper to taste
  • 1/2 cup shredded cheddar cheese
  • 1/2 cup chopped ham

Instructions

  • Preheat oven to 325°F and generously spray a 12-cup muffin tin with cooking spray. Optional: place a pan of hot water on the bottom oven rack for fluffier egg bites.
  • Blend eggs, cottage cheese, salt, and pepper until completely smooth – about 60 seconds on medium speed.
  • Pour into the muffin tin, filling each cup ¾ full. Divide chopped ham and shredded cheddar evenly into each cup.
  • Bake for 20–25 minutes until set and cooked through.
  • Cool in the tin for 10 minutes before removing. Serve warm or store for later!

Notes

  • Place a pan of water on the bottom oven rack before baking for the fluffiest, most custardy egg bites.
  • Grease the muffin tin very generously – eggs stick easily. A silicone muffin tin works best!
  • Blend on medium speed, not high, to avoid a foamy egg mixture.
  • Store in an airtight container in the fridge for up to 5 days. Reheat in the microwave for 30–60 seconds.
  • Freeze individually for up to 3 months. Thaw overnight in the fridge or microwave from frozen for 60–90 seconds.
Nutrition

Serving: 1egg bite | Calories: 95kcal | Carbohydrates: 1g | Protein: 10g | Fat: 6g | Sugar: 1g

Say hello to your new favorite high-protein, low-carb lunch — the cottage cheese wrap. Two ingredients, a blender, a sheet pan, and 30 minutes in the oven is all that stands between you and a soft, pliable, protein-packed wrap that you’d never guess is made from cottage cheese and eggs. No flour, totally gluten-free, & NO complicated steps. Just blend, pour, bake, and fill with absolutely anything you love. I’ve been making these on repeat and they have completely changed my lunch game.

Just like my Cottage Cheese Pizza Crust and Cottage Cheese Alfredo, the magic here is that once the cottage cheese is blended smooth and baked, you genuinely can’t even taste it! What you get instead is a mild, slightly savory wrap with a soft, flexible texture that holds up beautifully to any filling. It’s one of those viral recipes that actually lives up to the hype. And with how much protein is packed into each wrap, it’s one of the most satisfying lunches you’ll add to your rotation!

Why You’ll Love This 2-Ingredient Cottage Cheese Wrap

  • Just 2 ingredients, and they’re pantry staples. Cottage cheese and eggs. That’s the whole recipe. Season it however you like, fill it with whatever you have, and you’ve got a complete, high-protein meal in under 40 minutes.
  • High-protein, low-carb, and low-calorie. Each wrap packs a serious amount of protein with minimal carbs and calories, making this one of the most macro-friendly lunch options out there. It’s gluten-free too!
  • Incredibly versatile. This wrap works with virtually any filling – savory or sweet, breakfast or lunch, simple or loaded. Once you have the base down, the possibilities are truly endless.
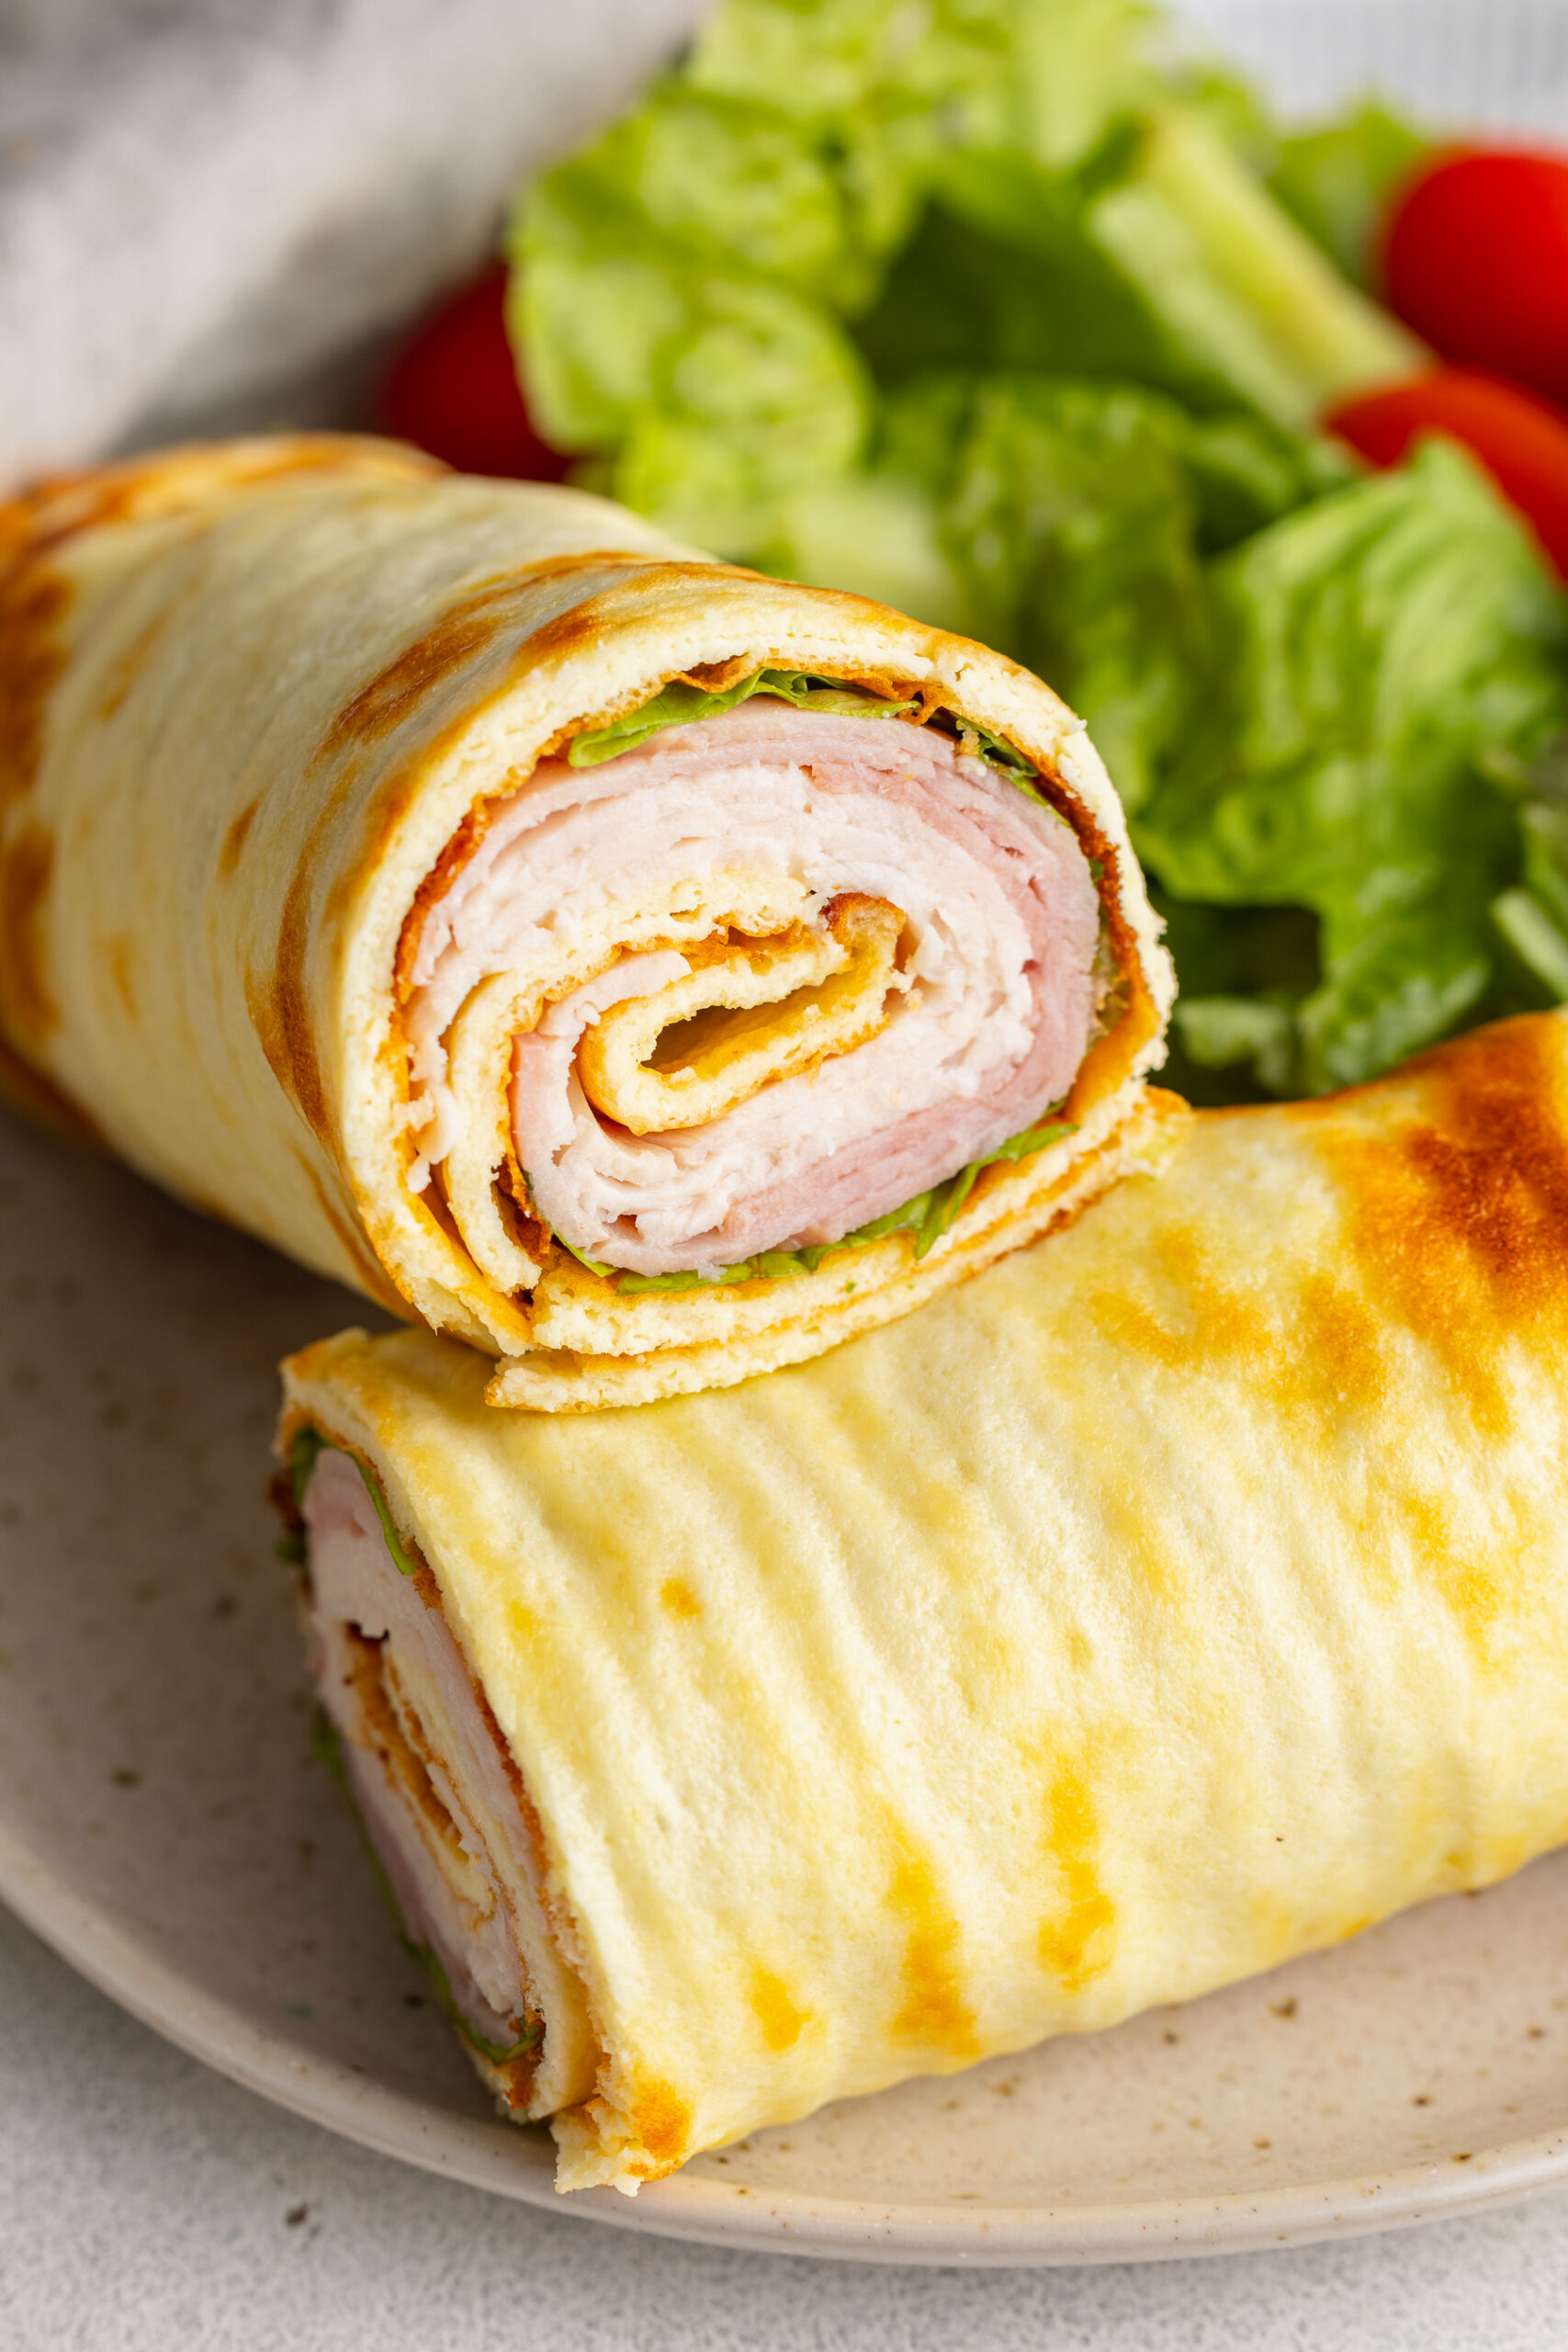
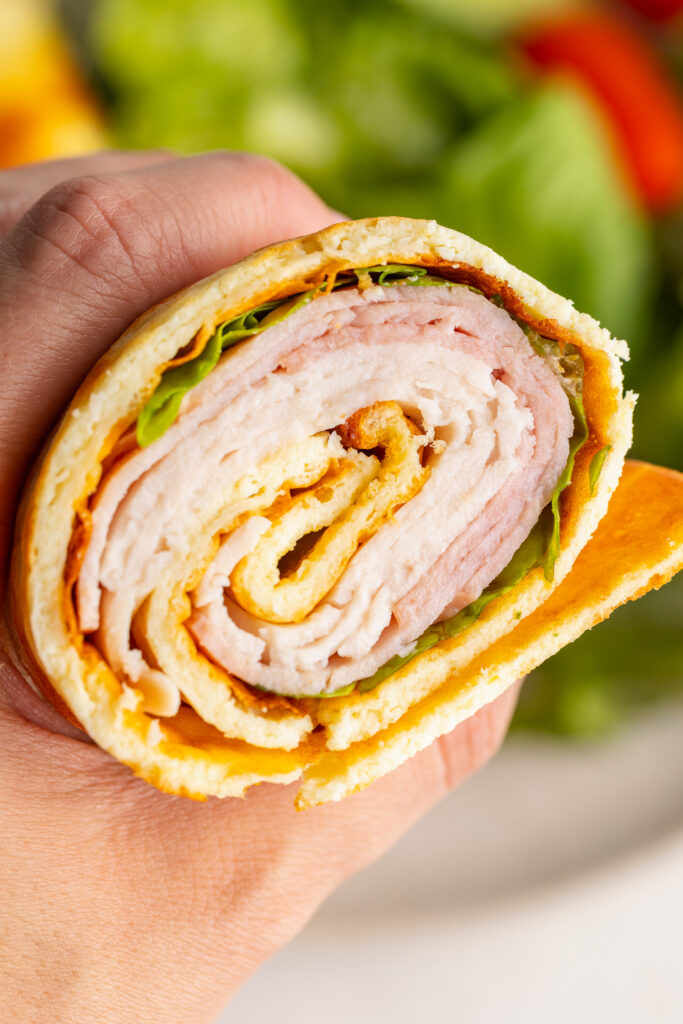
close up image holding half a cottage cheese wrap.

How Much Protein Is In This Wrap?

Each cottage cheese wrap contains approximately 20-25 grams of protein from the cottage cheese and eggs alone, before you even add any fillings! For reference, a standard flour tortilla contains just 3–4 grams of protein and around 25 grams of carbs. This wrap flips that completely. Add a protein-rich filling like turkey, chicken, eggs, or tuna, and you can easily hit 40-50+ grams of protein in a single meal. It’s genuinely one of the most efficient high-protein, low-carb lunches you can make!

Ingredients

  • 1 cup cottage cheese – Full-fat (4%) cottage cheese gives the richest flavor and the best texture, but 2% works well too. The cottage cheese is blended completely smooth, so you truly cannot taste it – just a mild, slightly creamy base. Use your favorite brand!
  • 2 eggs – Bind everything together and give the wrap its structure and flexibility. Make sure to blend them thoroughly with the cottage cheese for the smoothest batter possible.
  • ½ teaspoon dried herbs, seasonings, and/or spices – Totally customizable! Everything bagel seasoning, Italian seasoning, garlic powder, onion powder, dried dill. Use whatever matches your planned fillings. This is also optional, the wrap is delicious even with no added seasoning.

Instructions

  1. Preheat your oven to 350°F and line a 9×13-inch sheet pan with parchment paper, making sure the parchment goes all the way to the edges.
  2. Add the cottage cheese, eggs, and any dried herbs or seasonings to a blender or food processor. Blend until completely smooth with no lumps or curds remaining — about 60 seconds on high.
  3. Pour the blended cottage cheese mixture onto the prepared sheet pan and spread it into an even, thin layer, reaching all the way to the edges of the parchment.
  4. Bake for 30–35 minutes, or until the wrap is set, lightly golden around the edges, and no longer wet-looking in the center.
  5. Remove from the oven and let the wrap cool completely on the pan before carefully lifting it out and peeling the parchment paper off the back. Fill with your chosen fillings, wrap it up, and enjoy!

Sam’s Recipe Tips

  • Let it cool completely before peeling. This is the most important step! If you try to peel the wrap while it’s still warm, it will tear and fall apart. Give it a full 10–15 minutes at room temperature, patience makes all the difference here!
  • Spread the batter thin and even. The thinner and more even the layer, the better the final wrap. A thick, uneven wrap will have patches that are harder to roll and may crack. Take an extra minute to spread all the way to the edges.
  • Match your seasoning to your filling. Italian seasoning or garlic powder works beautifully with a Mediterranean-style filling. Everything bagel seasoning is perfect for a deli-style turkey wrap. Cumin and chili powder pairs well with a taco-style filling. The wrap itself is a blank canvas!
  • Don’t skip the parchment paper. The wrap bakes directly on the parchment – without it, you won’t be able to lift it off the pan cleanly. Use a good quality parchment paper that lies flat to the edges of the pan.
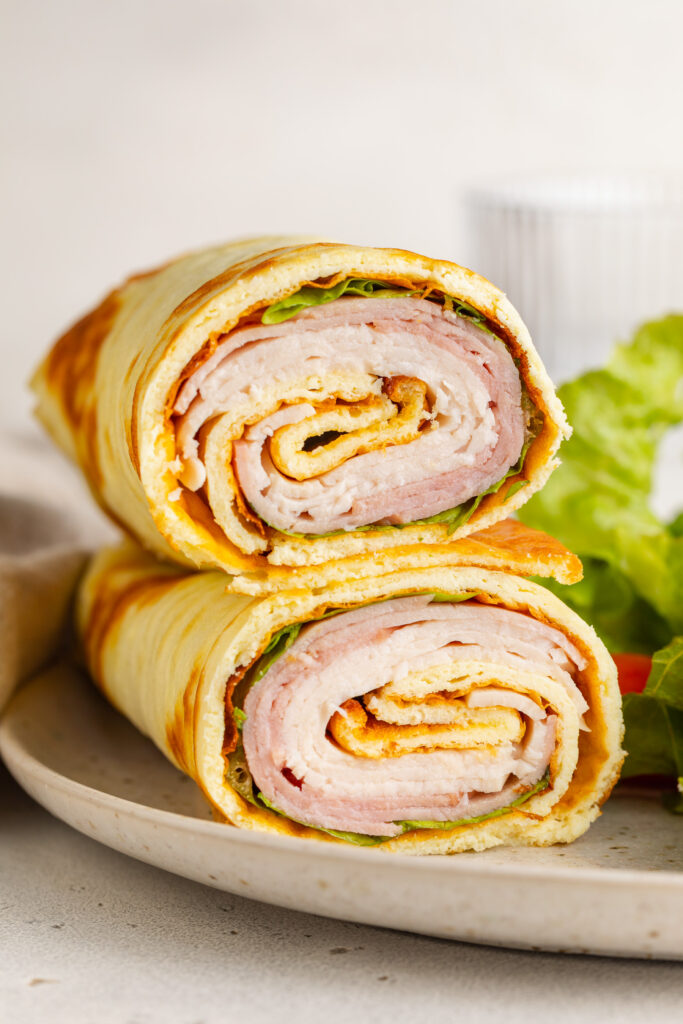
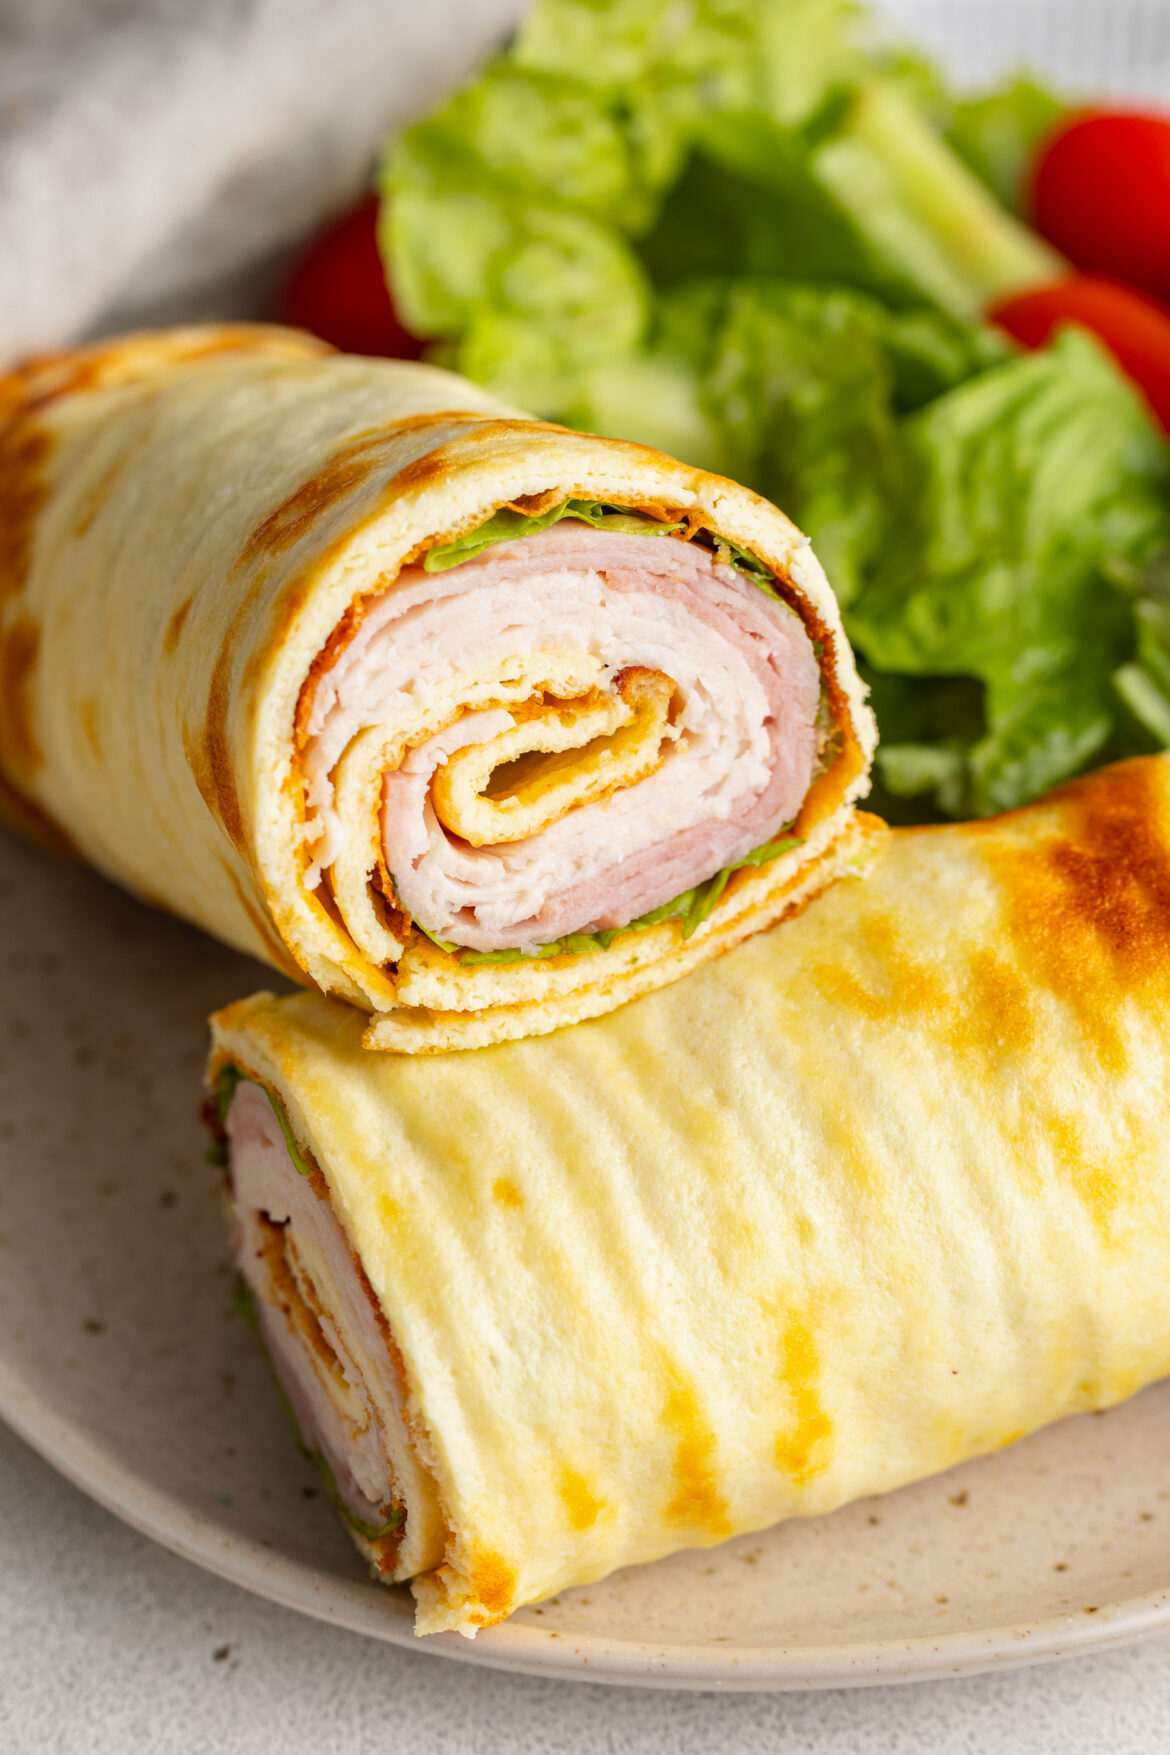
close up image of cottage cheese wrap halves stacked on a plate.

Flavor Variations & Filling Options

Seasoning Variations for the Wrap:

  • Everything Bagel – 1 teaspoon everything bagel seasoning
  • Italian – ½ teaspoon Italian seasoning + ¼ teaspoon garlic powder
  • Taco – 1 teaspoon taco seasoning
  • Dill & Onion – ½ teaspoon dried dill + ¼ teaspoon onion powder
  • Plain – no seasoning at all, perfect as a neutral base for any filling!

Savory Filling Ideas:

  • 🥗 Chicken Caesar: 1 cup cooked chopped chicken, 1 cup chopped romaine, 2 tablespoons grated parmesan cheese, and 3 tablespoons caesar dressing – a complete, high-protein lunch with over 50 grams of protein!
  • 🥙 Classic Deli: sliced turkey, romaine, tomato, cucumber, and avocado
  • 🥗 Mediterranean: roasted red peppers, kalamata olives, cucumber, feta, and tzatziki
  • 🌮 Taco Style: seasoned ground beef or chicken, shredded lettuce, pico de gallo, shredded cheese, and sour cream
  • 🥚 Breakfast: scrambled eggs, turkey bacon, cheddar cheese, and avocado
  • 🐟 Tuna Salad: classic tuna salad with celery, red onion, and a squeeze of lemon

Sweet Filling Ideas:

  • 🍓 Berry & Cream: fresh strawberries, blueberries, and a dollop of Greek yogurt or whipped cream
  • 🍌 Banana PB: sliced banana, natural peanut butter, and a drizzle of honey
  • 🍎 Apple Cinnamon: thinly sliced apple, almond butter, and a sprinkle of cinnamon
cottage cheese wrap halves stacked on a plate.
5 from 1 vote

2-Ingredient Cottage Cheese Wrap (20g+ protein!)

This cottage cheese wrap is a 2-ingredient, high-protein, low-carb alternative to a regular flour tortilla! Each wrap packs over 20 grams of protein and just 5 grams of carbs, making it one of the most macro-friendly lunches you'll ever make. If you're looking for an easy and delicious lunch that'll keep you full for hours, this is it!
Print Pin Rate
Prep Time: 5 minutes
Cook Time: 30 minutes
Total Time: 35 minutes
Servings: 1 serving

Equipment

  • 1 blender or food processor
  • 1 9×13-inch baking sheet

Ingredients

  • 1 cup cottage cheese
  • 2 eggs
  • 1/2 teaspoon dried herbs seasoning and/or spices (optional)

For the chicken caesar wrap filling:

  • 1 cup cooked chicken chopped
  • 1 cup chopped romaine
  • 2 tablespoons grated parmesan cheese
  • 3 tablespoons caesar dressing

Instructions

  • Preheat oven to 350°F and line a 9×13-inch sheet pan with parchment paper.
  • Blend the cottage cheese, eggs, and seasonings until completely smooth.
  • Pour onto the prepared sheet pan and spread into a thin, even layer.
  • Bake for 30–35 minutes until set and lightly golden around the edges.
  • Let cool completely, then carefully peel off the parchment. Fill, wrap, and enjoy!

To make the chicken caesar wrap:

  • Add the chicken, romaine, parmesan cheese, and caesar dressing to a bowl and toss to coat. Then, pour the filling mixture on top of the wrap, roll it up, and enjoy!

Notes

Nutrition info is just for the wrap, without any filling.

Nutrition

Serving: 1serving | Calories: 200kcal | Carbohydrates: 5g | Protein: 21g | Fat: 11g | Sugar: 3g

Easy, healthy, and extra delicious Italian stuffed zucchini boats! This low-carb meal comes together in under 30 minutes, with only 5 (!!!) ingredients. The ultimate lazy, yet super healthy dinner recipe.

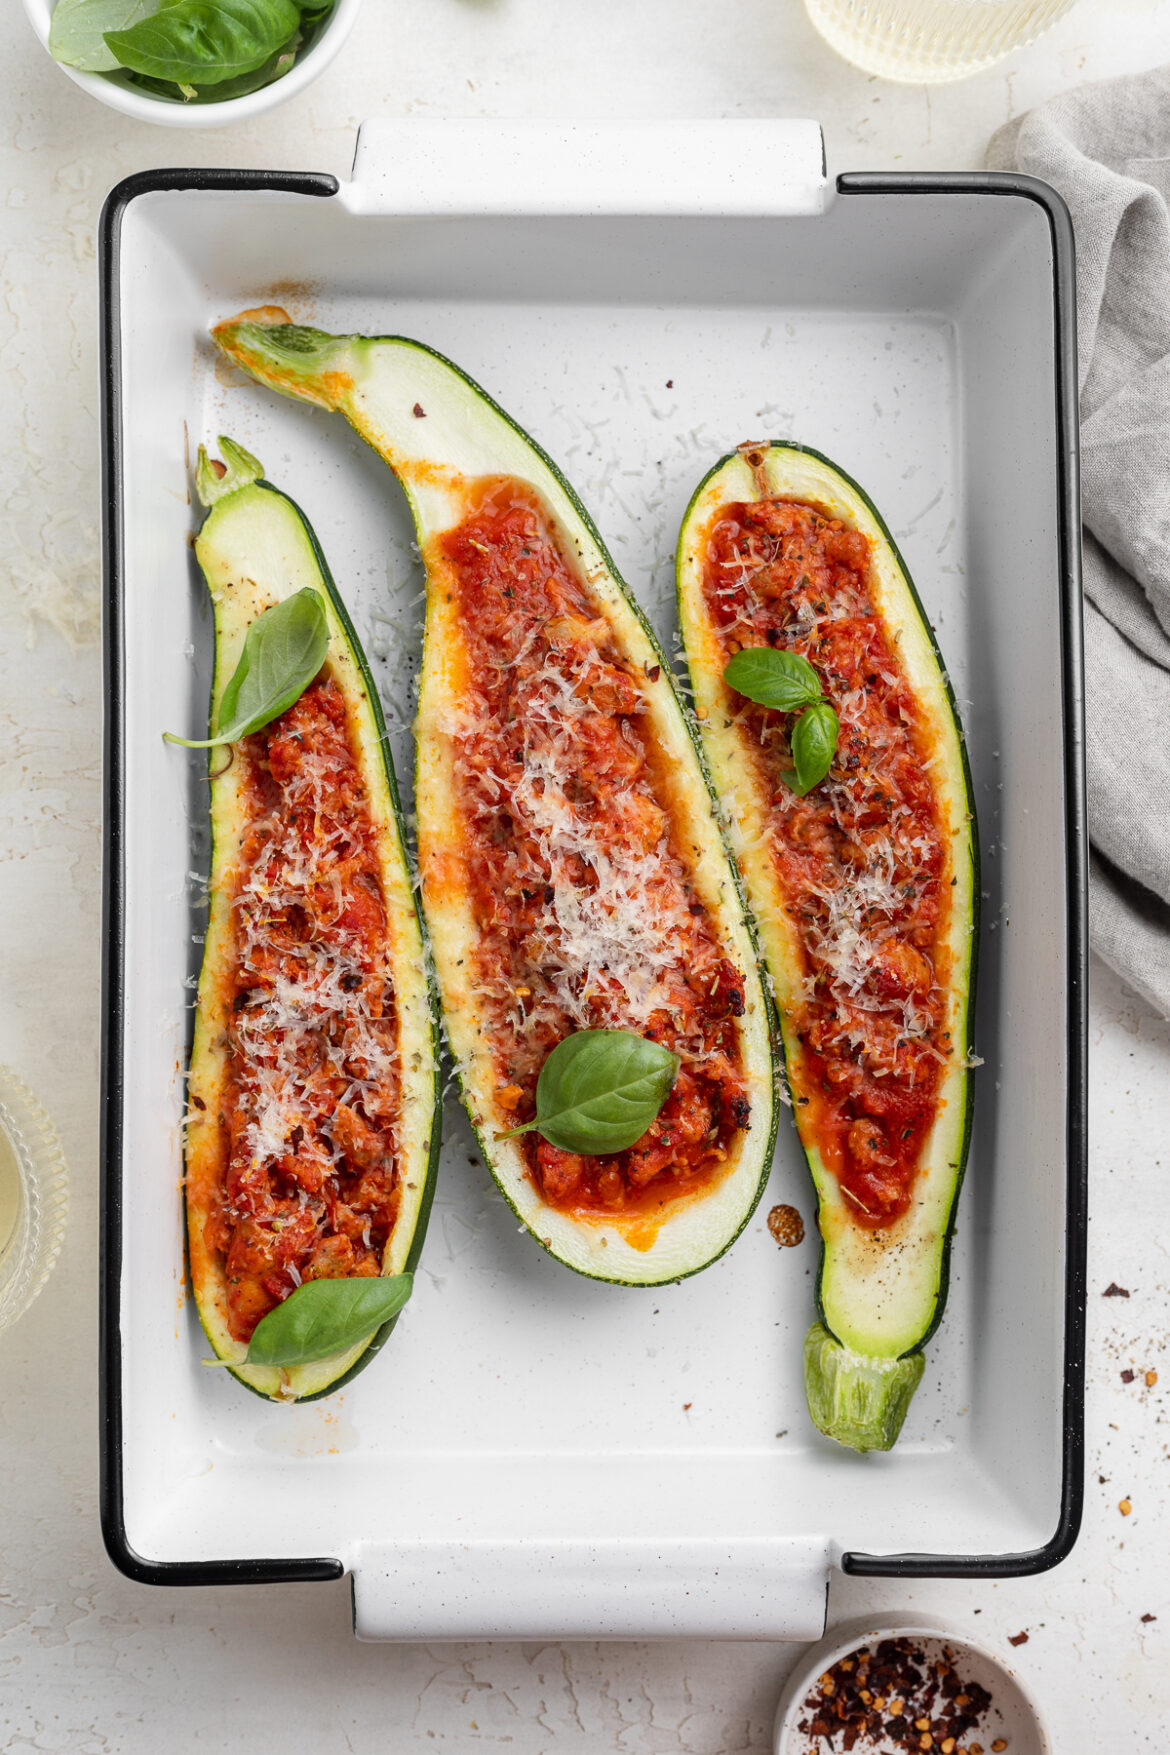
overhead image of zucchini boats on a plate with white wine on the side.

What You’ll Need to Make Stuffed Zucchini Boats

Zucchini – This summer vegetable is super cheap and easy to find! Start by slicing a zucchini in half, then removing the seeds and some of the flesh from inside. You’ll be left with two zucchini “boats,” ready to be filled with our delicious Italian sausage in sauce.

Italian Sausage – Feel free to use whatever kind of Italian sausage you’d like! Though make sure it’s uncooked and removed from its casings before cooking. As it cooks, break the sausage up with a wooden spoon until no longer pink. Italian sausage is packed with herbs and spices, adding even more flavor to this already super flavorful dish.

Marinara Sauce – I use and love Rao’s marinara sauce for when I don’t feel like making it myself. Rao’s is perfectly tangy, has tons of flavor, with just a hint of sweetness. However, you can totally use your favorite jarred marinara sauce for this recipe. Or, if you have some time to spare, go ahead and throw together a homemade sauce to use instead.

Dried Italian Seasoning – The final step before cooking these zucchini boats is sprinkling them with a little bit of dried Italian seasoning. I love the flavor this packs, but it’s totally optional if you’re not feeling up to it or don’t have any on-hand.

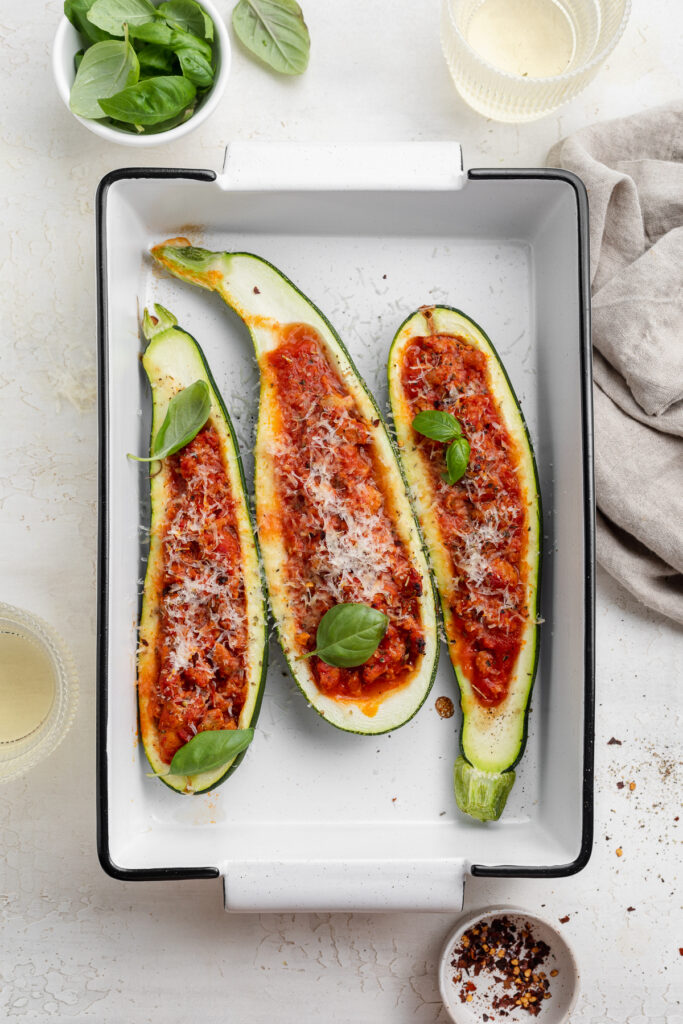
overhead image of zucchini boats in a baking dish.

Tips and Tricks

  • Finish off these Italian stuffed zucchini boats with fresh-grated parmesan cheese! It rounds out the Italian flavors in this dish, and make it that much more delicious. Also, who doesn’t love a little bit of cheese?!
  • You can easily prep-then-freeze this dish ahead of time! To do this, follow each step of the recipe, up to cooking it. Then, cover the baking dish with plastic wrap and aluminum foil, before freezing for up to three months. When ready to eat, simply defrost, then bake as instructed.
  • This is a great, healthy meal to prep for a crowd! Simply double or triple the amounts listed in the recipe below, and you can feed a whole army (ok …maybe not an entire army, but you get the point). I love throwing this quick and easy zucchini recipe together for friends and family, it’s a total crowd-favorite!
close-up image of zucchini boat being cut into with a fork.

Adjust This Recipe to Your Dietary Needs

Make it Gluten-Free: These zucchini boats are already gluten-free! However, to be absolutely certain they don’t contain any traces of gluten, check your sausage and marinara sauce packaging to make sure those ingredient are entirely gluten-free.

Make it Dairy-Free: For a dairy-free version of this recipe, replace the parmesan cheese with nutritional yeast!

Make it Vegan: Replace the sausage with your favorite vegan meat substitute, and cook it with an additional teaspoon of dried Italian seasoning. Then, similar to the dairy-free version, top with nutritional yeast instead of parmesan cheese.

close up image of stuffed zucchini boats in a baking dish with fresh basil on top.
No ratings yet

Italian Stuffed Zucchini Boats

Easy, healthy, and extra delicious Italian stuffed zucchini boats! This low-carb meal comes together in under 30 minutes, with only 5 (!!!) ingredients. The ultimate lazy, yet super healthy dinner recipe.
Print Pin Rate
Prep Time: 5 minutes
Cook Time: 25 minutes
Total Time: 30 minutes
Servings: 4 servings

Ingredients

  • 2 large zucchini, cut in half lengthwise
  • salt and black pepper, to taste
  • 1 tablespoon avocado oil
  • 1 pound sweet or spicy Italian sausage (casings removed)
  • 1 teaspoon dried Italian seasoning, optional
  • grated parmesan cheese, for serving

Instructions

  • Preheat oven to 400° Fahrenheit.
  • Using a spoon, scoop out and remove the seeds and a little bit of the flesh from each zucchini half.
  • Sprinkle zucchini with salt and black pepper, then place inside a large baking dish and set aside.
  • Heat avocado oil in a large skillet over medium heat, then add in the Italian sausage and cook until no longer pink. Break up the meat as it cooks, should take about 5 minutes.
  • Add marinara sauce to the skillet, reduce heat to low and simmer sausage in sauce for 2-3 minutes.
  • Spoon the sauce mixture into the cavity of each zucchini half, then evenly sprinkle with Italian seasoning. Bake for 20-25 minutes or until sauce is bubbly and zucchini is tender. Serve warm with parmesan cheese and fresh basil.

Nutrition

Calories: 300kcal

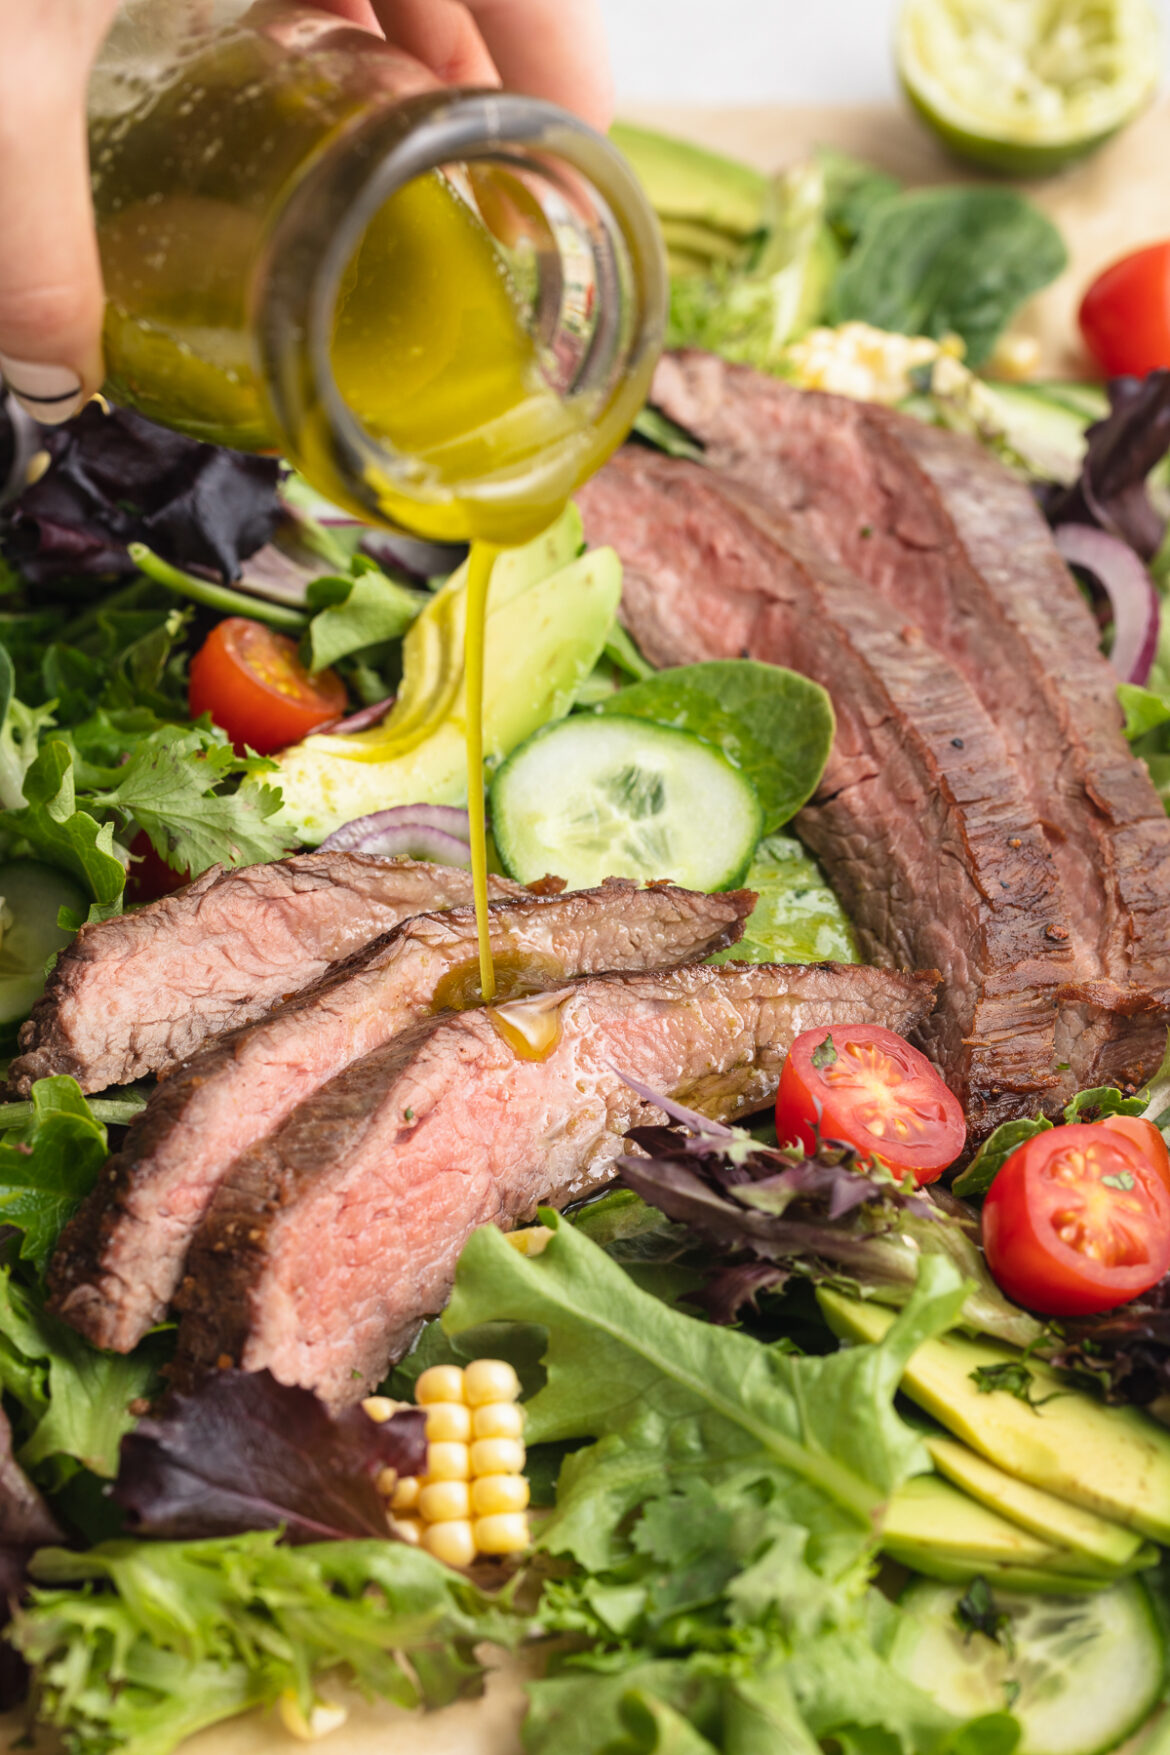
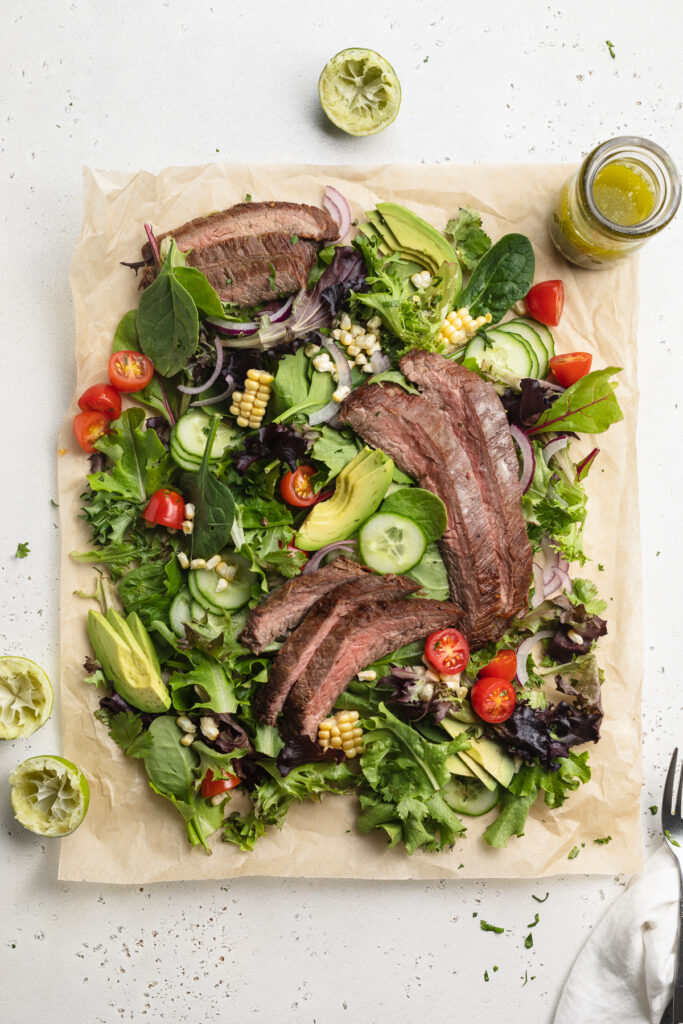
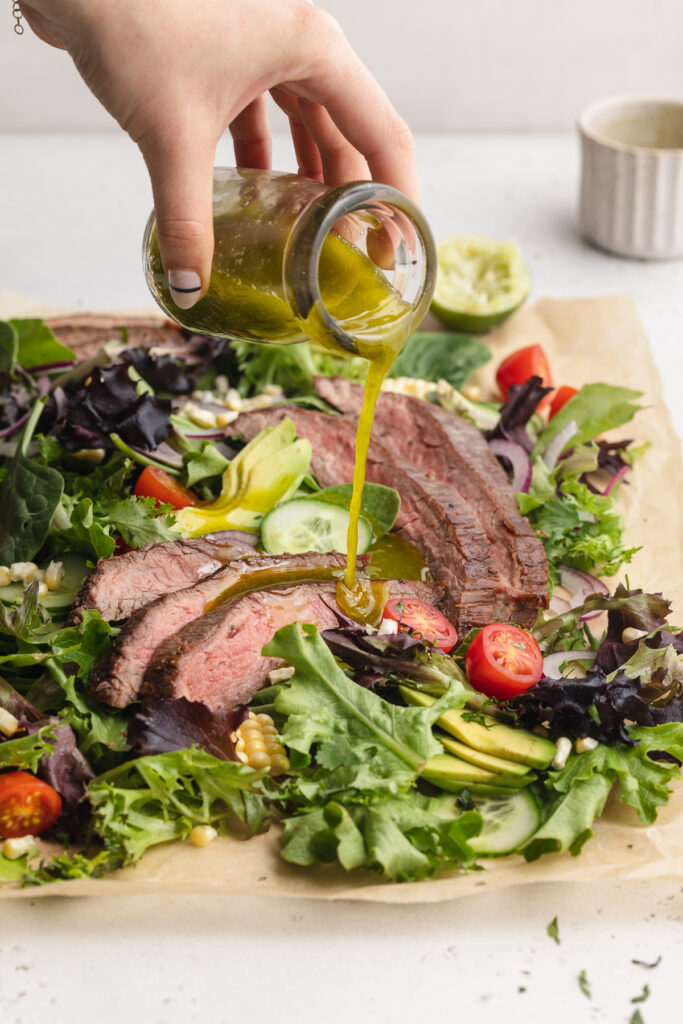
Perfectly pan-seared steak atop a bed of fresh greens, finished off with a drizzle of tangy cilantro-lime vinaigrette! Super quick and easy, this steak salad comes together in under 15 minutes.

Overhead image of steak salad on parchment paper with cilantro lime dressing on the side.

What You’ll Need To Make This Steak Salad Recipe

Flank Steak – Flank steak is a thin, lean cut of beef, and takes just a few minutes to cook. I love pan-searing flank steak, which gives it this incredible brown crust. We also keep the seasoning on the steak simple, since the rest of our salad is loaded with flavor. A generous sprinkling of salt and black pepper is all you’ll need, followed by a drizzle of avocado oil for cooking.

Mixed Salad Greens – Feel free to use any type of salad greens you’d like! I love a good spring mix for my steak salad, but really any bed of greens would taste delicious. I’ve made this recipe with fresh arugula, chopped kale, and baby spinach – all of which turned out perfect!

Cilantro – I’m one of those people who looooves cilantro. It’s perfectly fresh and flavorful. However, if you don’t like cilantro, you can use fresh parsley in its place. And whichever herb you use, make sure to reserve a little extra to top off your finished salad.

cilantro lime dressing being poured over steak salad.

Tips and Tricks

  • Have fun with this healthy lunch or dinner recipe! Add or remove any fresh herbs and/or veggies you’d like. This is also a great meal to use up any leftover produce you have lying around …before it goes bad!
  • Add this steak salad to your weekly meal prep! The best way to prep this recipe is to cook the steak and assemble your salads, then store them separately from your dressing. When ready to eat, toss in the cilantro lime vinaigrette and enjoy!
  • If marinated steak is more your thing, then marinate the flank steak in half of the cilantro lime vinaigrette for 30 minutes before cooking. If you have the time, this extra step truly takes this recipe to the next level!
close-up image of steak salad.

Adjust This Recipe To Your Dietary Needs

Make it Vegan/Vegetarian: Replace the flank steak with either cauliflower steaks or tofu steaks for an easy, healthy vegan meal.

Add Cheese: If not dairy-free, sprinkle a small handful of crumbled queso fresco, or herby goat cheese into this steak salad!

No ratings yet

Steak Salad with Cilantro Lime Vinaigrette

Perfectly pan-seared steak atop a bed of fresh greens, finished off with a drizzle of tangy cilantro-lime vinaigrette! Super quick and easy, this steak salad comes together in under 15 minutes.
Print Rate
Prep Time: 10 minutes
Cook Time: 5 minutes
Total Time: 15 minutes
Servings: 4 servings

Ingredients

For the steak:

  • 1 pound flank steak
  • 1 teaspoon salt
  • 1/2 teaspoon black pepper
  • 2 tablespoons avocado oil, or any high-heat oil

For the salad:

  • 6 cups mixed salad greens
  • 1 ear sweet corn, sliced off the cob
  • 1 cup grape tomatoes, halved
  • 1 avocado, sliced
  • 1/2 English cucumber, chopped
  • 1/2 red onion, thinly sliced
  • small handful fresh cilantro, chopped

For the cilantro-lime vinaigrette:

  • 1 cup fresh cilantro leaves
  • 1/2 cup olive oil
  • 2 limes, juiced
  • 1 tablespoon honey or maple syrup
  • 1 garlic clove, peeled
  • 1/2 teaspoon salt

Instructions

  • Pat steak dry with a paper towel and season on both sides with salt and pepper, then drizzle steak in avocado oil.
  • Place steak in a hot pan, and cook about 5 minutes per side for medium-rare steak.
  • Remove steak from pan and let rest on a cutting board for at least 10 minutes, before thinly slicing against the grain.
  • Make the cilantro lime dressing by adding all ingredients to a blender or food processor and blend until smooth.
  • Make the cilantro lime dressing by adding all ingredients to a blender or food processor and blend until smooth.

Video

Nutrition

Calories: 300kcal

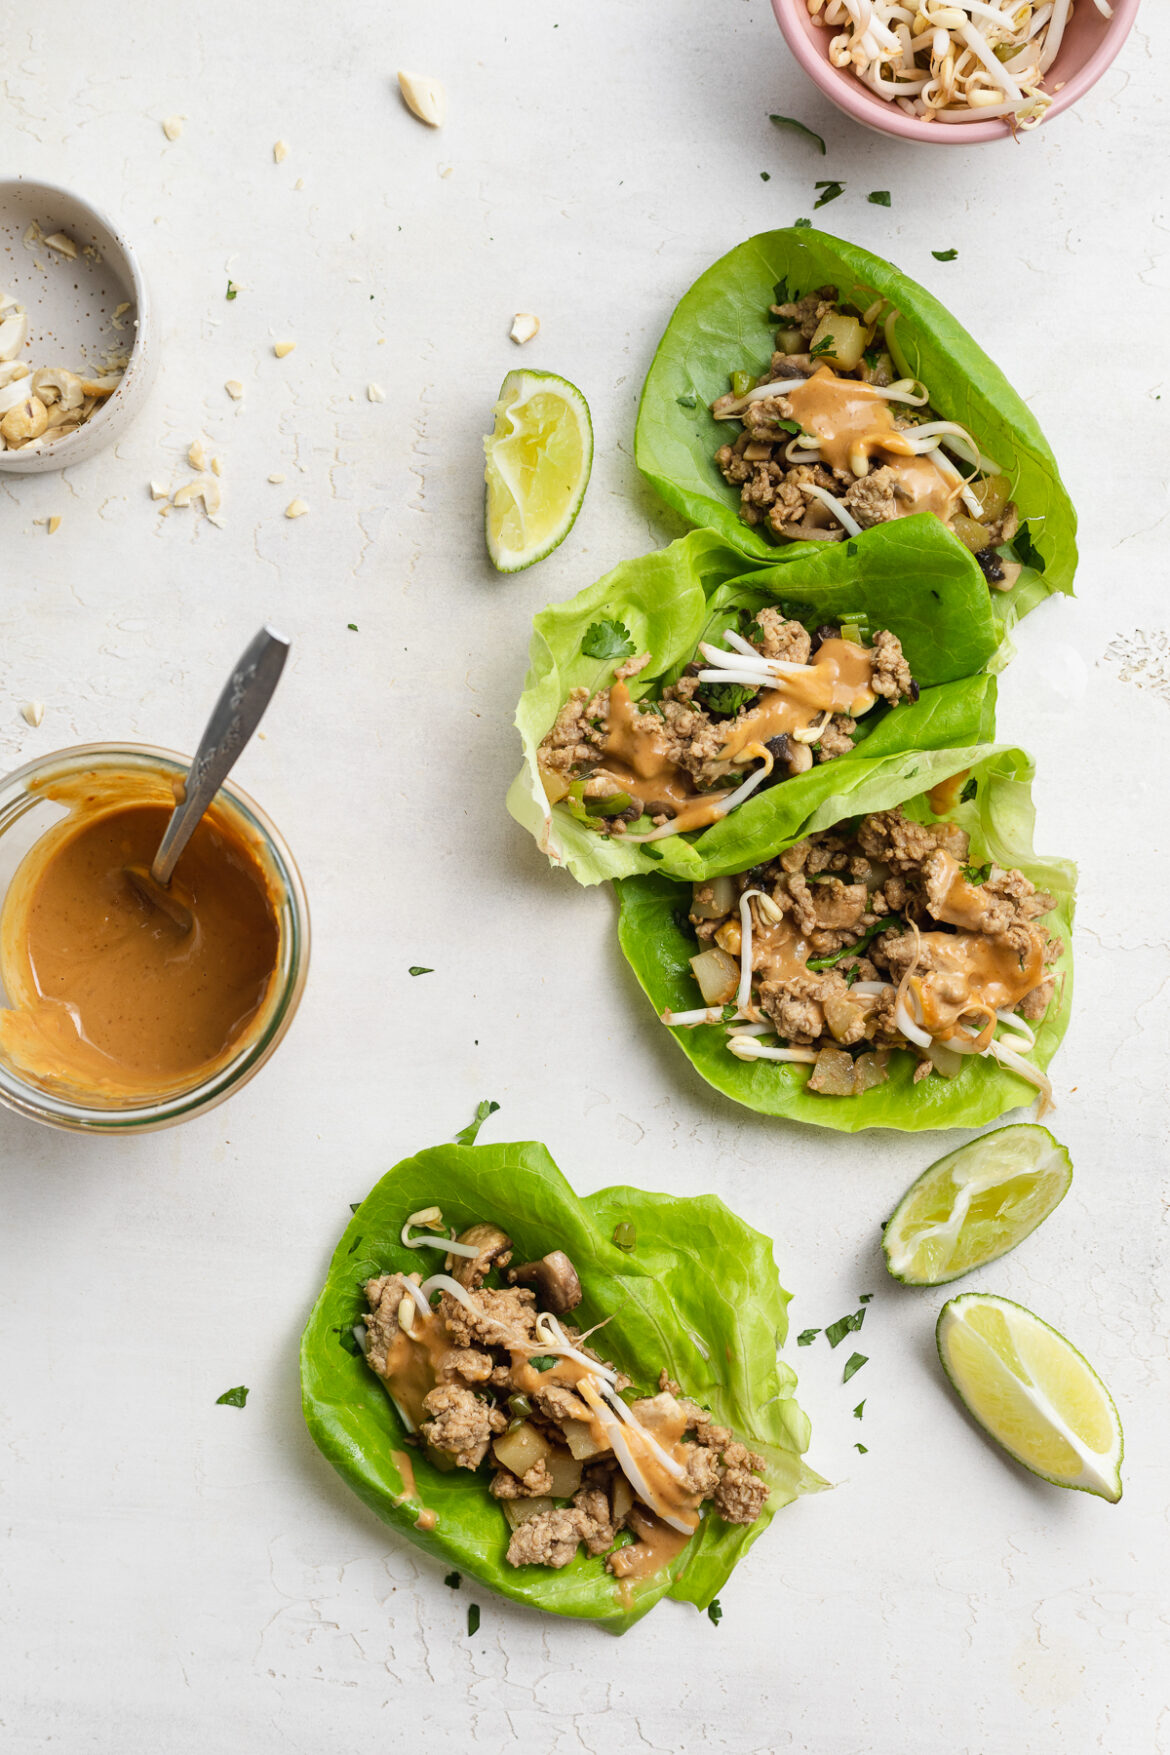
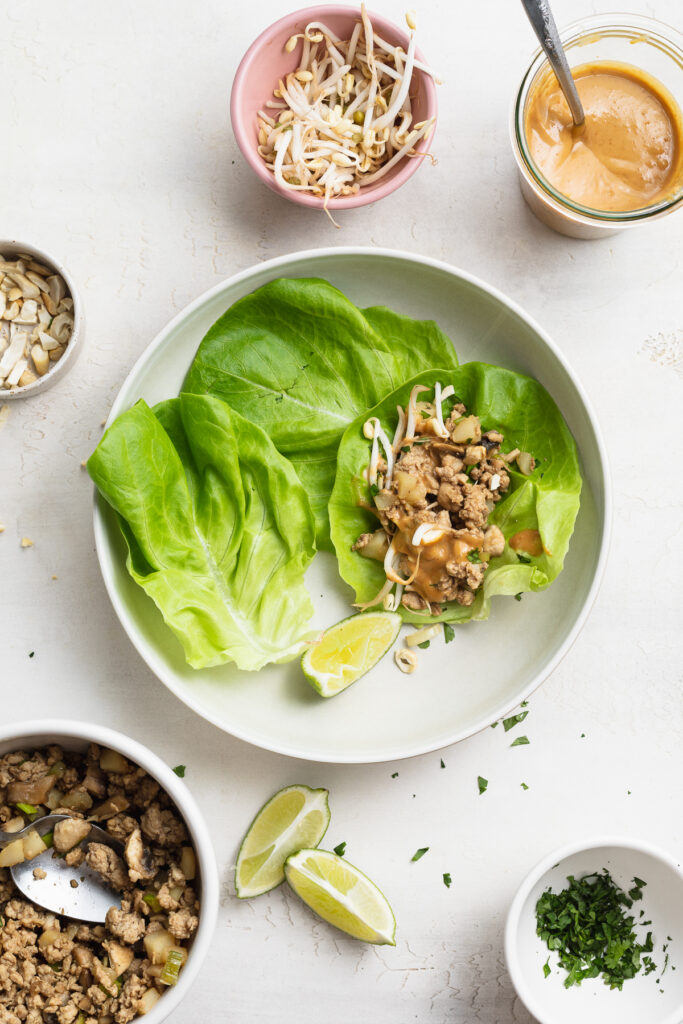
Crisp, fresh, and flavorful Asian-inspired turkey lettuce wraps, topped off with a creamy, savory peanut sauce! Naturally gluten-free, grain-free, dairy-free, and super healthy. These turkey lettuce wraps are the perfect addition to your weekly meal prep, best enjoyed as a quick and easy grab-and-go lunch!

four turkey lettuce wraps on a table, one being picked up.

What You’ll Need To Make Turkey Lettuce Wraps with Peanut Sauce

Ground Turkey – Like chicken, ground turkey is a great source of lean protein. It’s a blank canvas to however you season it, and will leave you feeling full until your next meal. Though if you can’t find ground turkey for this recipe, you can easily use ground chicken instead.

Water Chestnuts – Don’t worry, I didn’t know what a water chestnut was until a few months ago. And while I’m still not exactly sure what it is, I do know that it’s some type of crunchy vegetable commonly sold in cans. You’re most likely to find these canned water chestnuts in either the canned produce aisle, or the ethnic food aisle of your local grocery store. However, if you can’t seem to track down any water chestnuts, don’t worry – this recipe will taste just as delicious without them!

Peanut Butter – The two main things your peanut butter should be for this recipe are creamy and unsweetened. Most peanut butters on the market today unfortunately come sweetened, with some kind of sugar added to them. While I never recommend buying sweetened peanut butter (it doesn’t need the added sugar!), I definitely recommend against buying it for this recipe. Any sugar in your peanut butter will definitely throw off the savory balance of flavors in this peanut sauce.

Butter Lettuce Leaves – This particular variety of leaf is perfect for filling, folding, then eating. They’re crisp, mild, and pretty much melt in your mouth. Though if you can’t find butter lettuce leaves, you can use either iceberg lettuce leaves or romaine lettuce leaves in their place. Really, any type of leaf that will cradle your filling will work here!

turkey lettuce wraps being assembled

Tips and Tricks

  • I highly recommend prepping a big batch of these turkey lettuce wraps ahead of a busy week! They’re my all-time favorite grab-and-go meal, requiring no time at all to heat up and assemble. If meal prepping, I recommend storing the turkey mixture separate from the peanut sauce, and keeping lettuce and any toppings separate as well. When ready to eat, simply reheat the turkey, then fill your lettuce wraps any way you’d like!
  • Feel free to top these wraps however you’d like! I’ve topped mine with everything from kimchi, to shredded carrots, to even simply eating them on their own. It truly doesn’t matter which way you serve these guys, they’re always going to taste delicious.
  • If you’re like me and like a little spice, go ahead and spice these babies up with a little sriracha! Add a couple teaspoons of sriracha to either the filling, as a topping, or both.

Adjust This Recipe To Your Dietary Needs

Make it Paleo: For an entirely paleo meal, use creamy almond butter instead of peanut butter in the savory sauce. Otherwise, these lettuce wraps are an entirely paleo recipe!

Make it Nut-Free: Make this recipe nut-free by swapping out the peanut butter for an equal amount of creamy sunflower seed butter (just make sure it’s unsweetened!).

5 from 2 votes

Asian Turkey Lettuce Wraps with Savory Peanut Sauce

Crisp, fresh, and flavorful Asian-inspired turkey lettuce wraps, topped off with a creamy, savory peanut sauce! Naturally gluten-free, grain-free, dairy-free, and super healthy. These turkey lettuce wraps are the perfect addition to your weekly meal prep, best enjoyed as a quick and easy grab-and-go lunch!
Print Rate
Prep Time: 5 minutes
Cook Time: 10 minutes
Total Time: 15 minutes
Servings: 4 servings

Ingredients

For the turkey:

  • 1 tablespoon olive oil
  • 1 pound ground turkey
  • pinch of salt
  • 8 ounces mushrooms, chopped
  • 1 (8-ounce) can chopped water chestnuts, drained
  • 3 scallions, chopped
  • 2 garlic cloves, minced
  • 1 tablespoon fresh grated ginger
  • 1/4 cup coconut aminos, see Notes
  • 1 tablespoon rice vinegar

For the peanut sauce:

  • 1/2 cup creamy peanut butter, unsweetened
  • 2 tablesoons coconut aminos
  • 2 tablespoons rice vinegar
  • 1 tablespoon toasted sesame oil, optional
  • 1 garlic clove, grated
  • 1 tablespoon fresh grated ginger
  • 2-3 tablespoons warm water, add more to thin sauce

For the lettuce wraps:

  • 12 butter lettuce leaves
  • shredded carrots
  • bean sprouts
  • fresh cilantro

Instructions

  • Heat olive oil in a large skillet over medium-high heat. Add in ground turkey and a pinch of salt, cook until no longer pink.
  • While turkey cooks, whisk together all peanut sauce ingredients in a bowl and set aside.
  • Once turkey is cooked through, add in mushrooms, scallions, garlic, ginger, and water chestnuts. Cook 2-3 minutes or until mushrooms are soft.
  • Add in coconut aminos and rice vinegar, stir and cook for about 1 minute then remove from heat.
  • Fill butter lettuce leaves with ground turkey mixture and top with peanut sauce, shredded carrots, bean sprouts, and fresh cilantro.

Video

Notes

  • Coconut Aminos: If you don’t have coconut aminos, you can use soy sauce instead!
  • Nutrition

    Calories: 300kcal