")
The protein craze has totally taken over. And I’ll admit, I’ve been fully indoctrinated. But when it comes to protein desserts, the one thing that’s lacking is a truly healthy high-protein ice cream. They’re all made with a zillion ingredients and additives, and for some reason most still don’t even resemble ice cream. That is, until I developed this 2-ingredient protein ice cream recipe. Just milk and protein powder – that’s it! Frozen, then churned in a Ninja Creami for a seriously delicious high-protein frozen treat. It’s also totally easy to customize with your favorite flavors and mix-ins. Next time I plan on mixing in some of my 4-ingredient protein brownie chunks for even more protein – YUM!
Why You’ll Love This Protein Ice Cream
- Only 2 ingredients.
- High-protein – 35 grams of protein, to be exact!
- Healthy, low-calorie option – only 300 calories for the whole pint.
- Creamy, soft, and tastes like classic vanilla ice cream. Best enjoyed on top of my single serve protein cookie skillet!
- Super easy and quick to make with a Ninja Creami!
- Perfect for post-workout recovery or a healthy, high-protein dessert.

Recipe Variations and Substitutions
- Different flavors: Use chocolate, strawberry, or any flavored protein powder
- Dairy-free: Swap cow’s milk for almond, oat, or coconut milk
- Mix-ins: Add dark chocolate chips, berries, or crushed cookies after spinning
- Lower sugar: Use an unsweetened protein powder
Frequently Asked Questions
Can I make this in an ice cream maker?
Yes! You can make this protein ice cream in a standard ice cream maker by following the same ingredient ratios and churning according to your machine’s instructions until thick and creamy.
How much protein does this protein ice cream contain?
One serving contains 35 grams of protein and about 300 calories.
Can I make a different ice cream flavor?
Absolutely! Use any flavored protein powder—chocolate, cookies & cream, or strawberry all work perfectly.
What kind of protein powder did you use?
I used Be Well By Kelly Vanilla Protein Powder, purchased on Amazon, but any vanilla or unflavored protein powder works.

2-Ingredient Protein Ice Cream Recipe (35g protein!)
Equipment
- 1 Ninja Creami
Ingredients
- 1 1/2 cups milk I used whole milk
- 1 scoop/serving protein powder
Instructions
- Add both ingredients to a blender and blend until smooth, or add both ingredients to the Ninja Creami container and blend them together with a milk frother.
- Freeze the ice cream mixture for 24 hours, then remove it from the freezer and let it thaw slightly for about 10 minutes.
- Place the container into your Ninja Creami and spin it on the light ice cream mode. Then, respin it two more times or until it’s thick but super creamy. Enjoy right away or transfer to a container and freeze for later on!
")


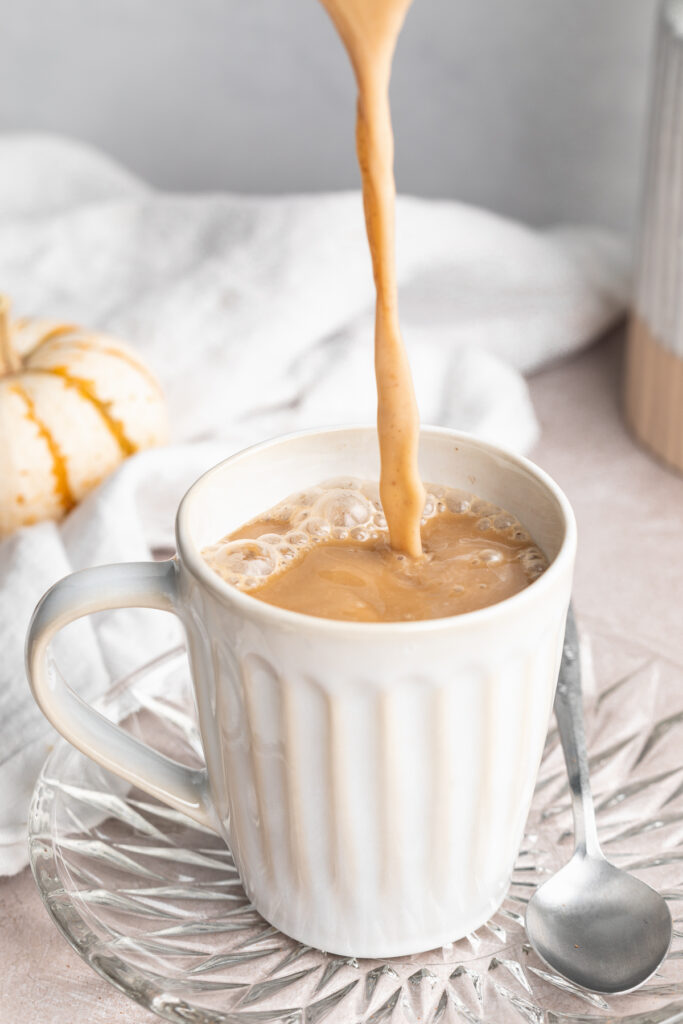
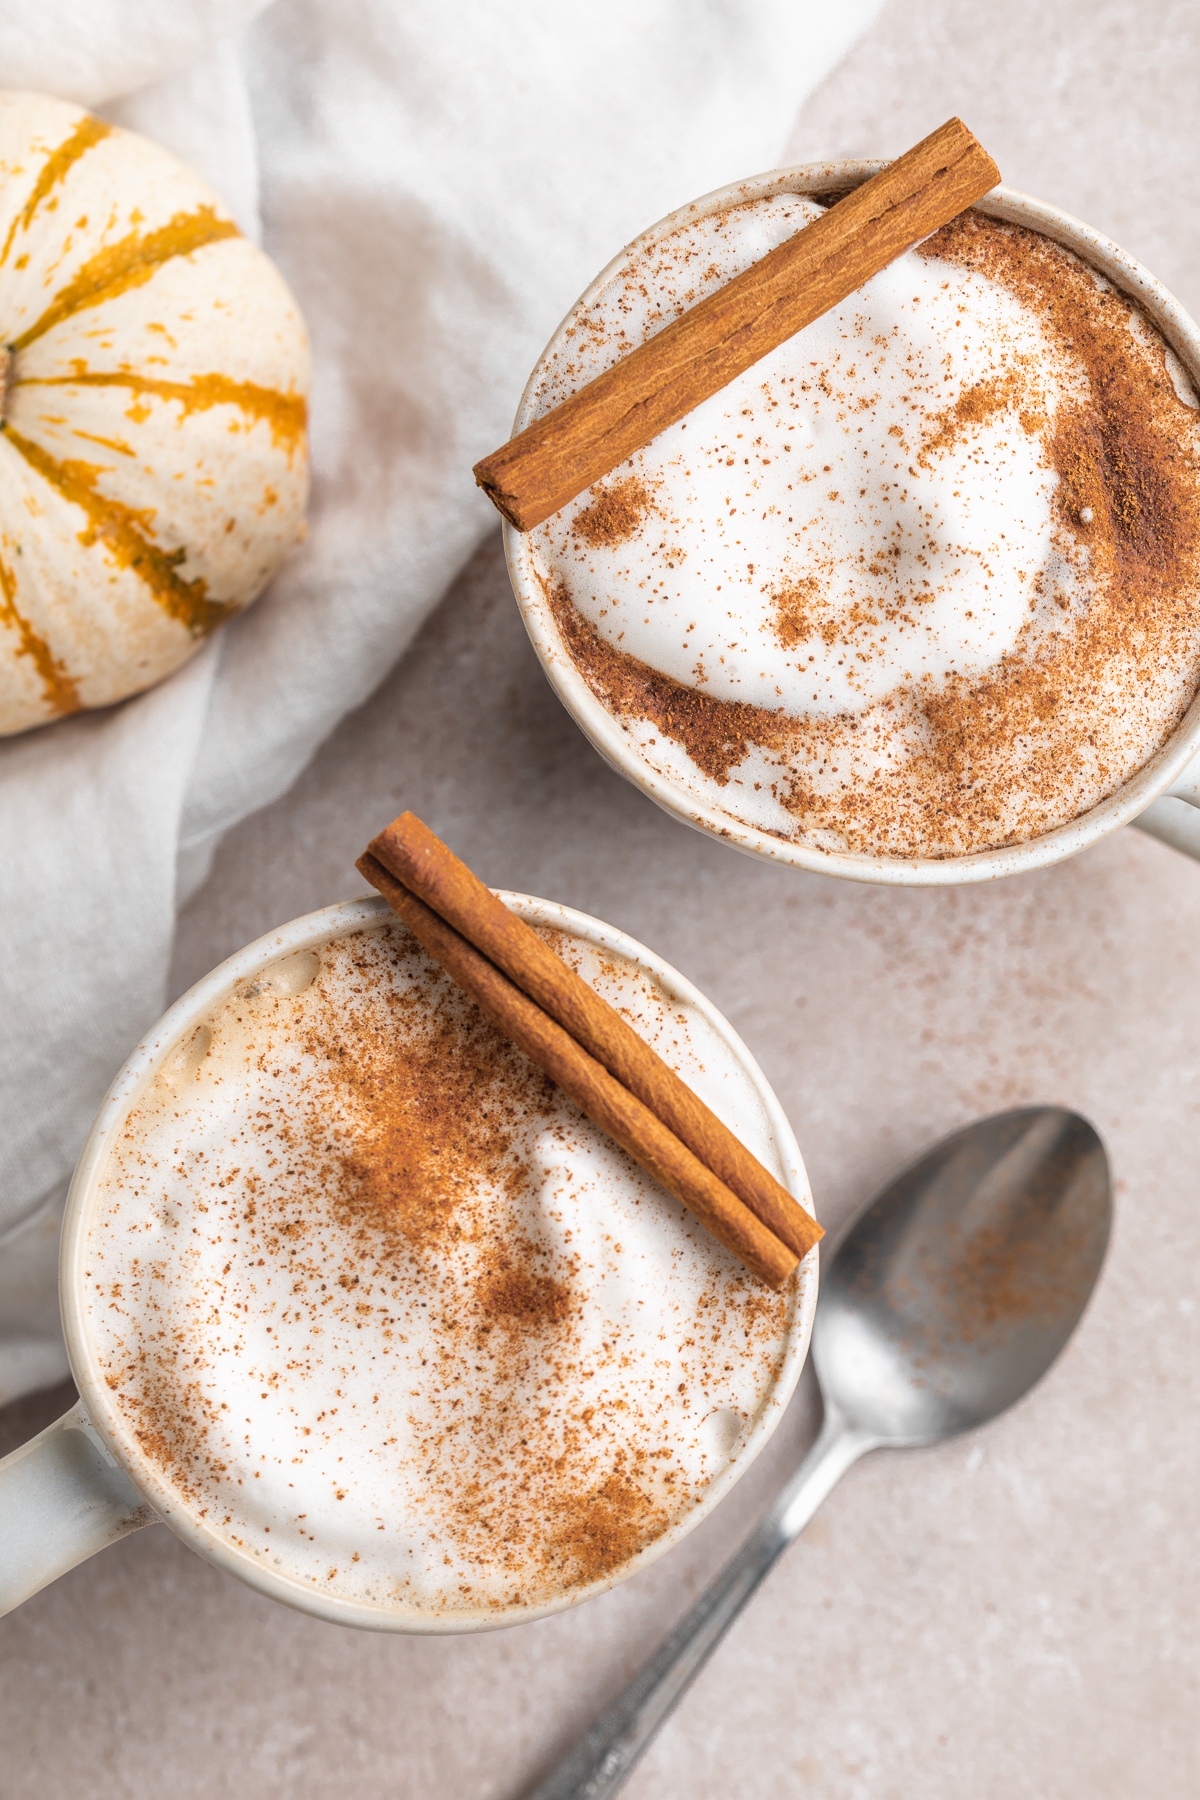
 Pumpkin Spice Latte")