Tag

one bowl

Browsing

I’m going to need you to trust me on this one. This strawberry dump cake is made with just 3 ingredients — fresh strawberries, a box of vanilla cake mix, and cold butter — and it is one of the most delicious, impressive, shockingly EASY desserts you’ll ever make! My husband tried it and declared it the best dessert I’ve ever made. And I make A LOT of desserts. So that’s really saying something.

The beauty of a dump cake is right there in the name – you literally dump the ingredients into a baking dish, one on top of the other, and let the oven do all the work!. The strawberries get jammy and bubbling, the cake mix bakes into a golden, slightly crispy, buttery crust on top, and the whole thing comes out looking and smelling like something that required serious skill. Serve it warm with a scoop of vanilla ice cream and you have an absolutely perfect summer dessert. Easily made gluten-free, endlessly customizable with any fruit you love, and on the table in under 45 minutes. If you love easy summer desserts, this one belongs right alongside my 4-Ingredient Peach Cobbler and Easy Baked Peaches in your warm-weather rotation!

Why You’ll Love This 3-Ingredient Strawberry Dump Cake

  • Just 3 ingredients you probably already have at home! Fresh strawberries, a box of vanilla cake mix, and butter. That’s the entire recipe. No mixing bowls, no electric mixer, no measuring anything beyond the strawberries. This is as easy as dessert gets!
  • Completely customizable. Use whatever fruit you have on hand, swap the cake mix flavor, make it gluten-free – this recipe is endlessly adaptable and turns out beautifully every single time. See the variations section below for all the ways to make it your own!
  • So delicious nobody will believe how easy it was. The golden, buttery cake crust on top, the warm bubbling strawberries underneath, a scoop of vanilla ice cream melting on top – this dessert is a total showstopper that tastes like you spent hours in the kitchen. You didn’t. Nobody needs to know.
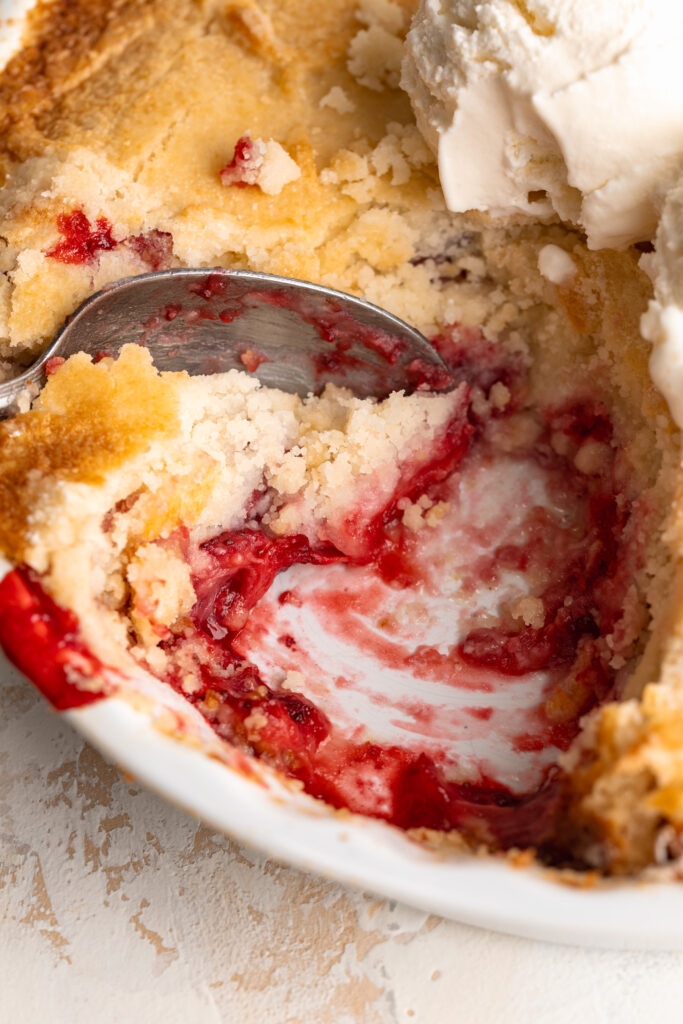
close up image of 3 ingredient strawberry dump cake being scooped.

Ingredients

  • 2 pounds strawberries, hulled and sliced – Fresh, ripe, in-season strawberries make this cake absolutely incredible. The juicier and sweeter your berries, the better the final result. You don’t need to add any sugar or cornstarch – the strawberries will release their own juices as they bake, creating the most beautiful bubbling strawberry filling.
  • 1 box vanilla cake mix – The dry cake mix goes on straight from the box – do not follow the box directions, don’t add eggs or oil or water. Just sprinkle the dry powder directly over the strawberries! I used the Miss Jones gluten-free vanilla cake mix and it was absolutely perfect.
  • 12 tablespoons butter, cold and sliced into pieces – Cold butter is key here! As it bakes, it melts slowly and evenly into the dry cake mix, creating that gorgeous golden, buttery, slightly crunchy crust on top. Use a good quality butter – you’ll taste it in every bite.

Instructions

  1. Preheat oven to 350°F.
  2. Place the hulled and sliced strawberries in a 9×13-inch baking dish in an even layer.
  3. Sprinkle the dry cake mix evenly on top of the strawberries, spreading it out into a flat, even layer that covers the berries completely. Do not stir!
  4. Evenly place the sliced butter pieces across the top of the cake mix, covering as much surface area as possible so the crust bakes evenly.
  5. Bake for 35–40 minutes, or until the top is golden brown and the strawberry filling is visibly bubbling around the edges.
  6. Remove from the oven and let cool for at least 10 minutes before serving. Serve warm with a generous scoop of vanilla ice cream on top and enjoy!

Recipe Variations & Substitutions

Make it gluten-free: Simply swap the standard vanilla cake mix for a gluten-free vanilla cake mix, I love Miss Jones Gluten-Free Classic Yellow Cake Mix, which is what I used in this recipe. Everything else stays exactly the same. The result is just as golden, buttery, and delicious as the original!

Make it dairy-free: Replace the butter with a vegan butter alternative like Miyoko’s or Earth Balance, sliced cold and placed on top just as directed. Use dairy-free vanilla ice cream for serving. The rest of the recipe is already dairy-free!

Make it with other fruit: This is where the dump cake truly shines – it works with virtually any fruit you love or have on hand! Try it with:

  • 🍑 Fresh or frozen peaches – classic and incredible
  • 🫐 Blueberries – beautiful and jammy
  • 🍒 Cherries – rich and deeply flavorful
  • 🍓 Mixed berries – strawberries, blueberries, and raspberries together is stunning
  • 🍍 Pineapple – for a tropical twist with a yellow cake mix

Swap the cake mix flavor: Yellow cake mix, white cake mix, lemon cake mix, or even chocolate cake mix all work beautifully depending on which fruit you’re using. Lemon cake mix with blueberries is especially incredible!
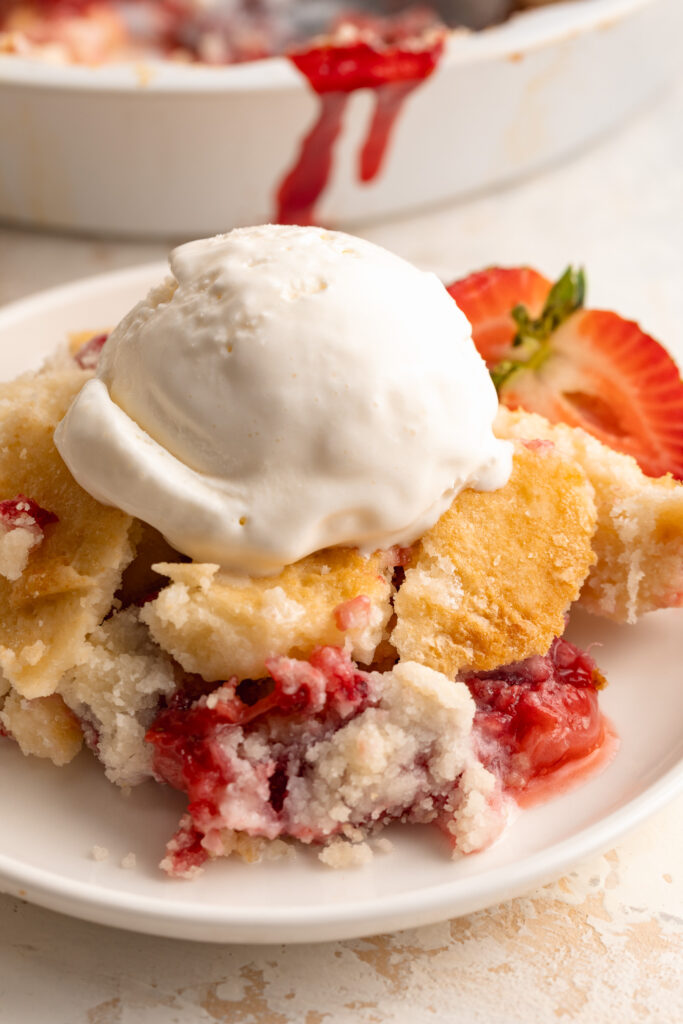
3 ingredient strawberry dump cake on a plate.

Sam’s Recipe Tips

  • Serve it slightly warm for the best experience. Dump cake is at its absolute best served warm, straight from the oven (or reheated!) with a scoop of cold vanilla ice cream melting on top. The contrast of the warm, bubbling strawberry filling, the golden cake crust, and the cold ice cream is genuinely unbeatable. Avoid serving it cold straight from the fridge, instead heat it in a 350° Fahrenheit oven for a few minutes before serving.
  • For a softer cake layer, cover with foil for the last 10 minutes. If you prefer a softer, more cake-like topping rather than a crispy crust, loosely tent the baking dish with aluminum foil for the last 10 minutes of baking. This traps steam and keeps the top from getting too crispy while still allowing it to cook through.
  • Don’t skip covering the berries completely with cake mix. Any gaps in the cake mix layer will result in dry pockets of uncooked cake mix powder rather than a cohesive crust. Take an extra moment to spread the cake mix evenly all the way to the edges of the pan before adding the butter.
  • Use cold butter – not melted. I know it might seem like melted butter would be easier, but cold butter sliced into pieces is the secret to that golden, even, cobbler-like crust. It melts slowly and distributes evenly as it bakes, giving you a much more beautiful, consistent result.

Made this recipe? I’d love to see it! Tag me on Instagram @samdoesherbest or TikTok @samdoesherbest – I repost my favorites! And if you loved it, please leave a ⭐⭐⭐⭐⭐ rating and written review below. It means the world and helps other readers find this recipe!
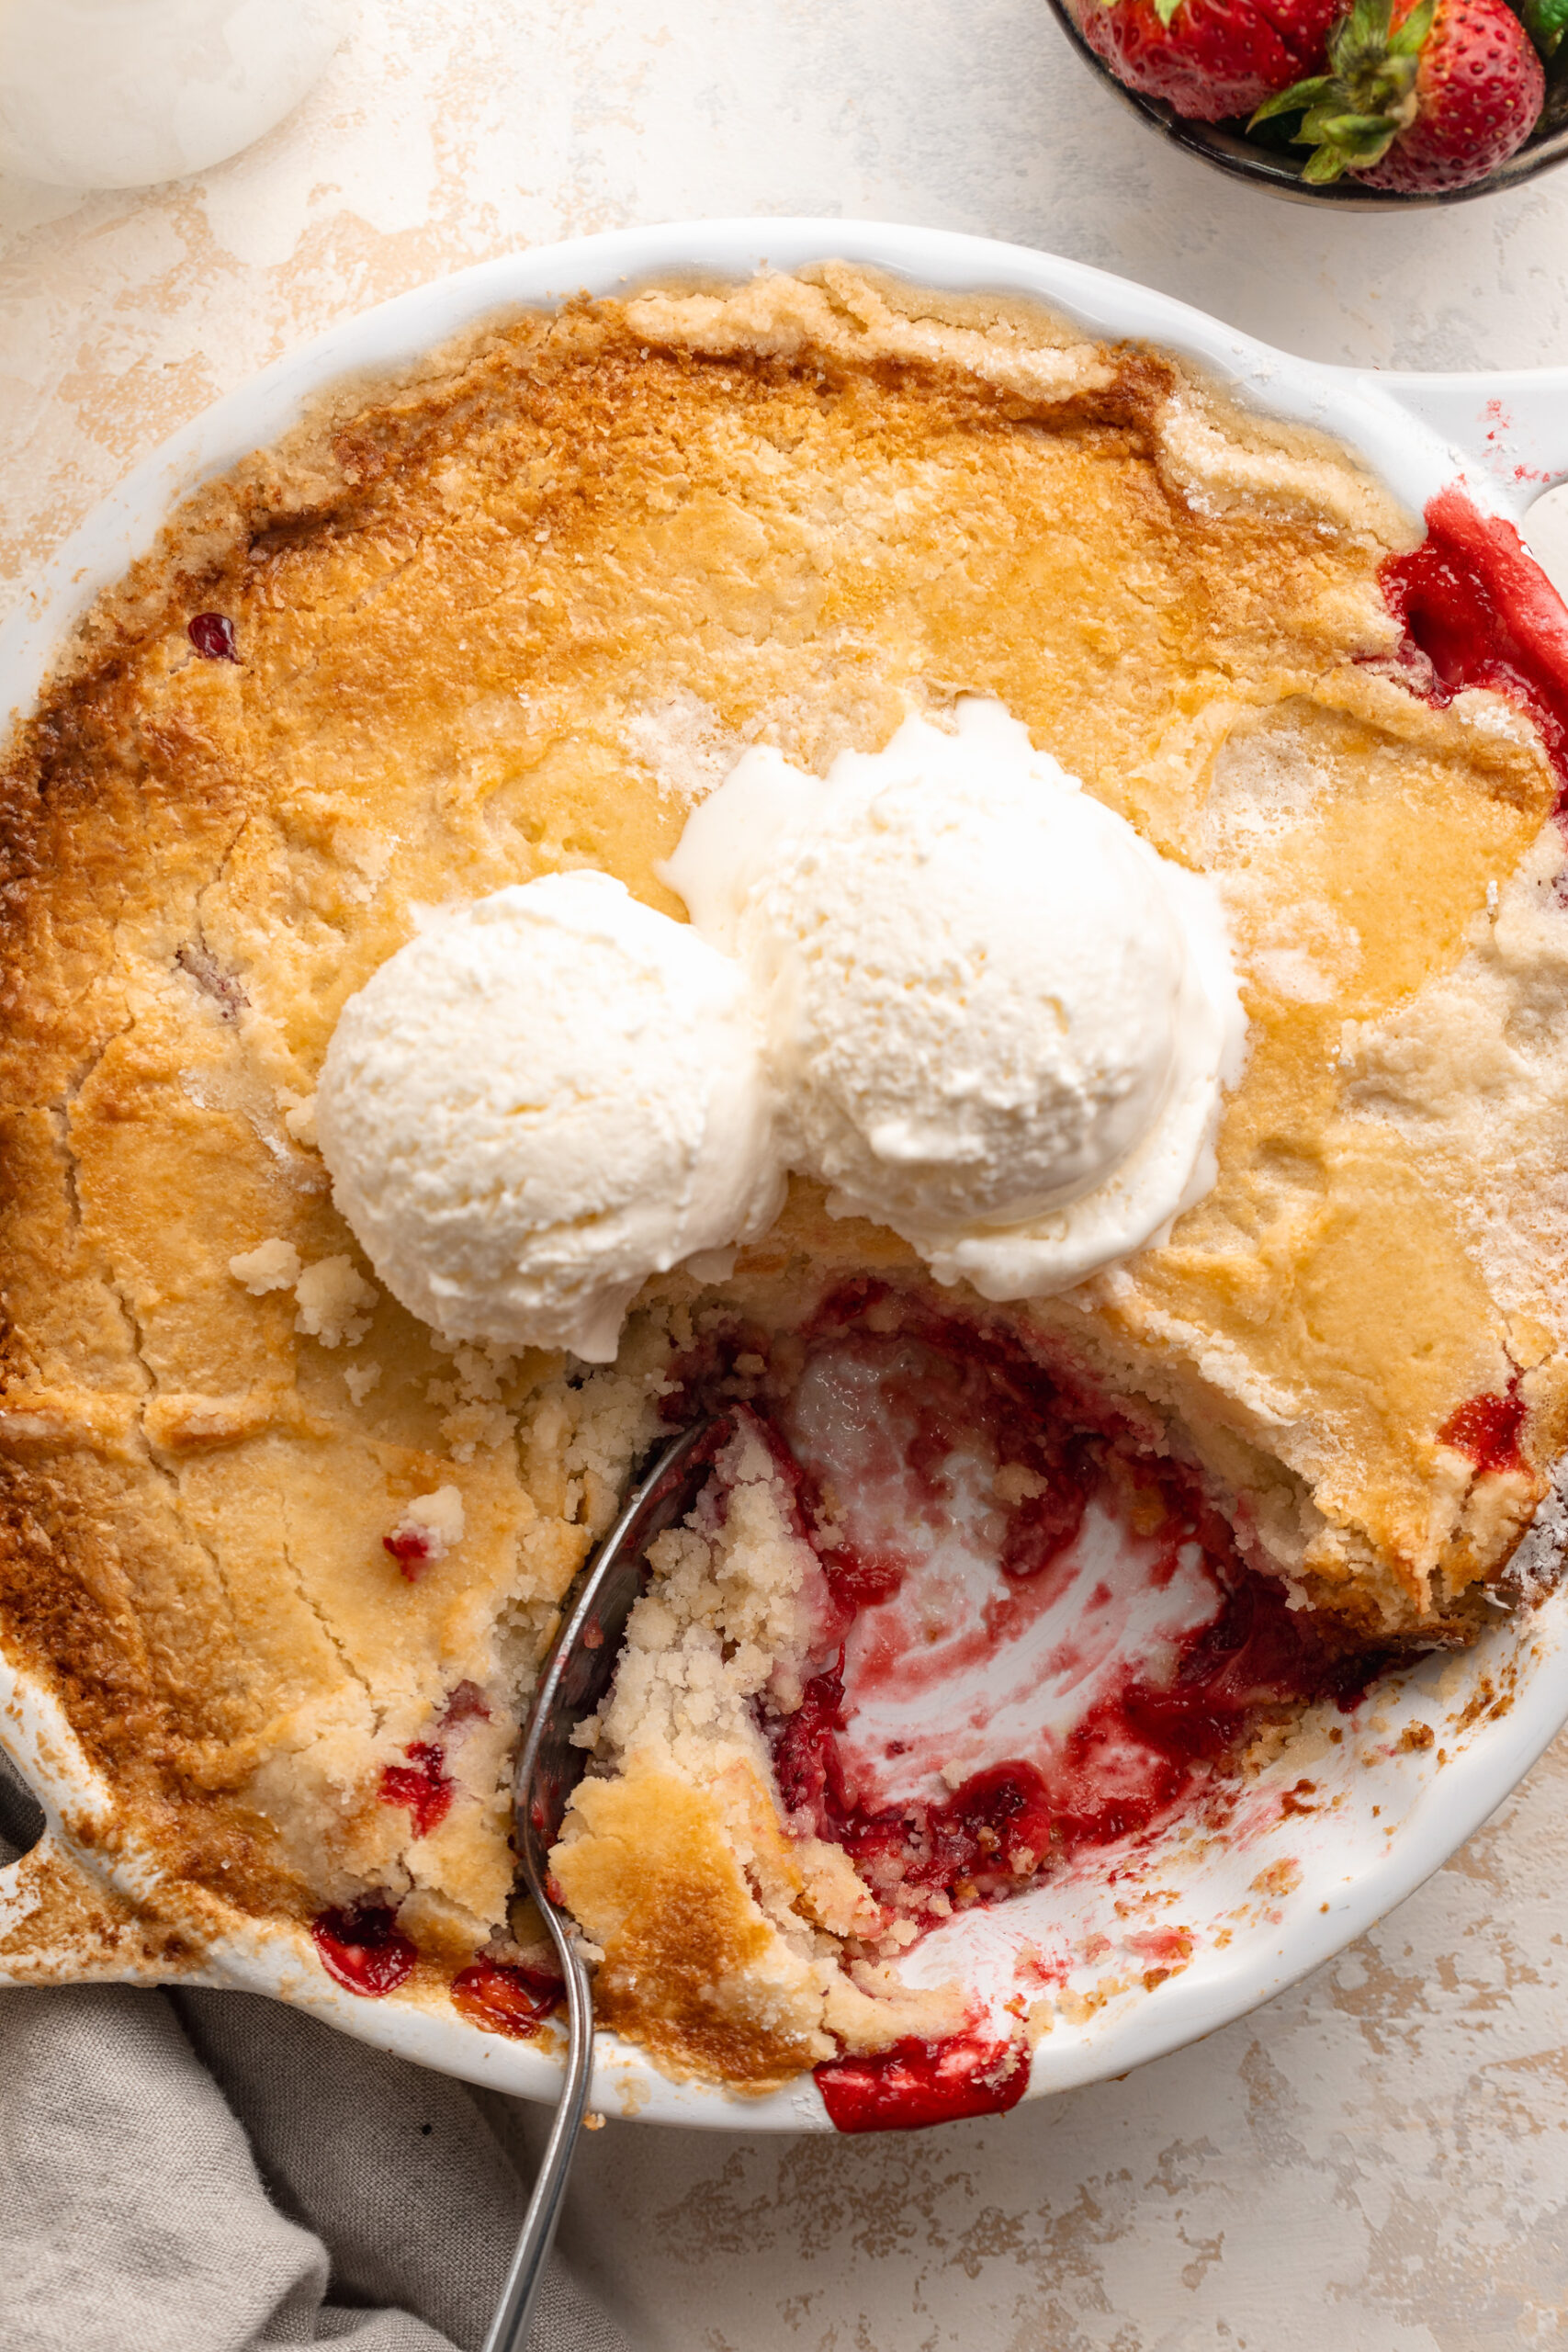
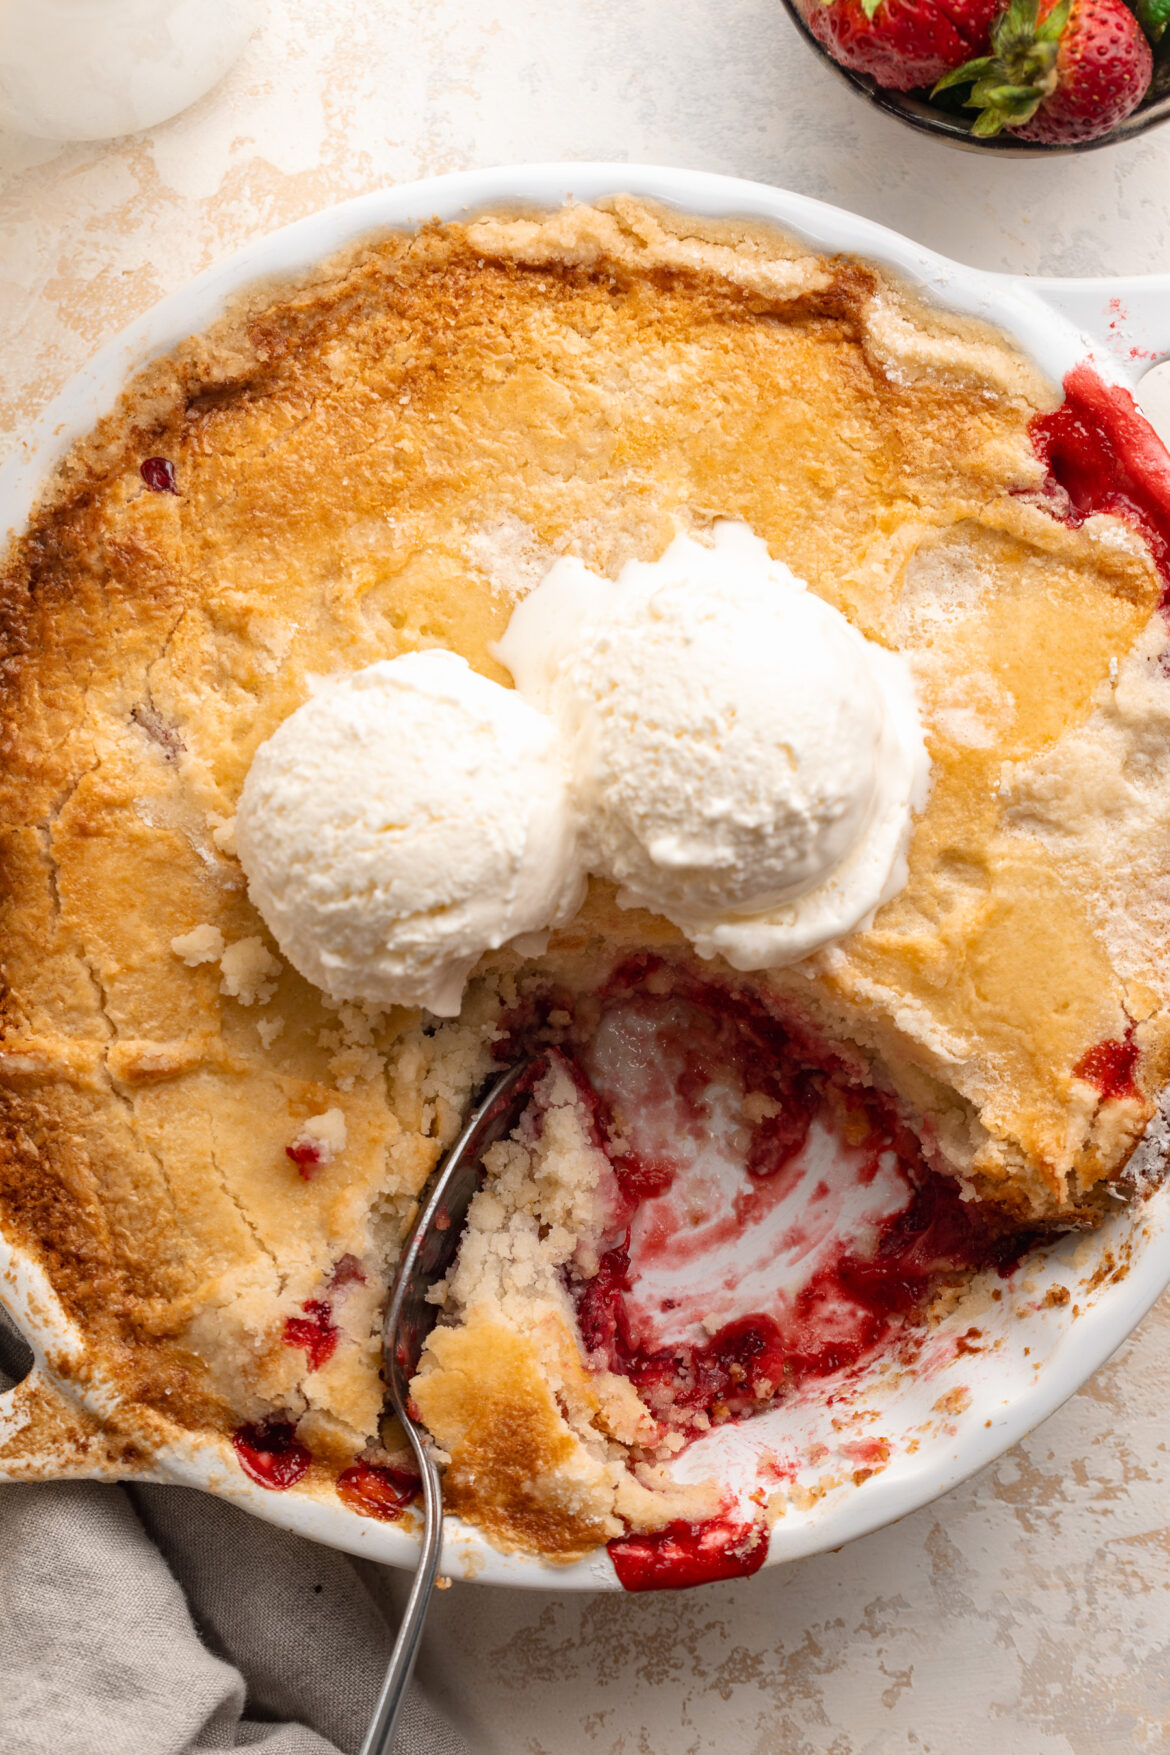
overhead image of 3 ingredient strawberry dump cake in a baking dish with ice cream on top.
No ratings yet

3-Ingredient Strawberry Dump Cake

This strawberry dump cake is made with just 3 ingredients and comes together in under 45 minutes with almost NO effort! The strawberries bake down into a jammy, bubbling filling while the cake mix and butter create the most golden, buttery crust on top. Serve it warm with a scoop of vanilla ice cream and it tastes like something that took hours to bake!
Print Pin Rate
Prep Time: 5 minutes
Cook Time: 35 minutes
Total Time: 40 minutes
Servings: 9 servings

Equipment

  • 1 9×13-inch baking pan

Ingredients

  • 2 pounds strawberries hulled and sliced
  • 1 box vanilla cake mix I used Miss Jones gluten-free cake mix
  • 12 tablespoons butter cold and sliced

Instructions

  • Preheat oven to 350°F.
  • Place strawberries and 2 tablespoons of the cake mix in a 9×13-inch baking dish, then stir to coat the strawberries in the cake mix.
  • Sprinkle the remaining dry cake mix evenly over the strawberries. Do not stir!
  • Place sliced butter pieces evenly across the top of the cake mix.
  • Bake for 35–40 minutes, until golden brown on top and the filling is bubbling.
  • Cool for 10 minutes, then serve warm with a scoop of vanilla ice cream. Enjoy!

Notes

  • Do not follow the cake mix box directions — use the dry powder straight from the box.
  • Use cold butter, not melted, for the best golden, even crust.
  • Spread the cake mix completely to the edges so there are no dry pockets of powder.
  • For a softer cake layer, tent loosely with foil for the last 10 minutes of baking.
  • Easily made gluten-free with a GF cake mix (I love Miss Jones!).
  • Store leftovers covered in the fridge for up to 4 days. Reheat individual portions in the microwave for 30–60 seconds before serving.

Nutrition

Serving: 1serving | Calories: 320kcal | Carbohydrates: 42g | Protein: 2g | Fat: 16g | Fiber: 2g | Sugar: 24g

It’s no secret I love a protein-packed sweet treat! My favorites lately have been my single serve protein cookie skillet and 3-ingredient protein cookies – but recently, I’ve had a real craving for brownies. But most nights, I don’t have the time (or let’s face it, the energy) to whip up a long and complicated brownie recipe. So that’s exactly why I created this 4-ingredient protein brownies recipe! They’re rich, fudgy, just as delicious as regular brownies, but packed with protein, and made with just 4 simple ingredients. Make a batch today and enjoy a quick protein-packed sweet treat all week long!

Why You’ll Love These Protein Brownies

  • 10 grams of protein per brownie!
  • Made with just 4 simple ingredients you probably already have at home.
  • Gluten-free, dairy-free, vegan, and added sugar-free.
  • Quick and super easy to make!
  • Soft, fudgy, and chocolatey – like classic brownies, but healthier.

These brownies are perfect for a post-workout snack, dessert, or anytime treat!

the inside of a fudgy protein brownie.

Frequently Asked Questions

How much protein does each brownie have?

Each brownie contains 10 grams of protein, depending on your protein powder brand and portion size.

How do I store these protein brownies?

These 4-ingredient protein brownies can be stored in an airtight container. At room temperature, they’ll stay fresh for 1–2 days. In the refrigerator, they last up to 5 days, and for longer storage, you can freeze them for up to 2 months – just thaw or warm slightly before eating.

What kind of protein powder did you use?

I used Aloha plant-based chocolate protein powder, but any chocolate protein powder works! Whey, vegan, or collagen-based protein powders all work well in this recipe.

Recipe Variations and Substitutions

  • Nut-free: Replace peanut butter with sunflower seed butter.
  • Banana-free: Use unsweetened applesauce or pumpkin puree for a banana-free option.
  • Extra chocolatey: Fold in a few chocolate chips.
  • Lower sugar: Use unsweetened cocoa powder only and skip the chocolate chips on top!
overhead image of 4 ingredient protein brownies with mini chocolate chips on top.
No ratings yet

4-Ingredient Protein Brownies

These 4-ingredient protein brownies are fudgy, chocolatey, and packed with 10 grams of protein per serving! They’re gluten-free, dairy-free, added sugar-free, and super easy to make with just a few simple ingredients. Perfect for a healthy dessert or post-workout snack!
Print Pin Rate
Prep Time: 5 minutes
Cook Time: 20 minutes
Total Time: 25 minutes
Servings: 8 servings

Equipment

  • 1 medium bowl
  • 1 9×4-inch loaf pan

Ingredients

  • 3 overripe bananas about 1 1/2 cups when mashed
  • 1/2 cup peanut butter or any nut/seed butter
  • 1/4 cup chocolate protein powder
  • 2 tablespoons unsweetened cocoa powder

Instructions

  • Preheat oven to 350° Fahrenheit and line a 9×4-inch loaf pan with parchment paper, then grease the inside of the pan with oil or butter.
  • Mash the banana in a large bowl until mostly smooth, then add in the peanut butter, chocolate protein powder, and cocoa powder. Mix everything together until fully combined.
  • Transfer the brownie batter to your prepared baking pan and top it with chocolate chips (if using), then bake for 18-20 minutes or until the brownies are just set in the middle.
  • Remove the pan from the oven and let the brownies cool completely before slicing.

Nutrition

Serving: 1serving | Calories: 175kcal | Carbohydrates: 20g | Protein: 10g | Fat: 8g | Fiber: 3.5g | Sugar: 9g

The self-proclaimed protein cookie queen (hi, it’s me!) is at it again with yet another quick, easy, and ttoally delicious protein cookie recipe! My single serve protein cookie was such a big hit, I received soooo many requests to make a full batch version. Well, I present to you – a rich, chewy, slightly fudgy, protein-packed cookie made with just 3 ingredients! Honestly, if I hadn’t tried them myself, I’d think these 3 ingredient protein cookies were too good to be true. They’re just as delicious as any other cookie, but pack in a whopping 20 grams of protein each!

Why You’ll Love These 3-Ingredient Protein Cookies

  • Ridiculously simple – only three main ingredients and 10 minutes in the oven!
  • Naturally healthy – made with real food, no refined sugars and totally gluten-free.
  • High-protein & satisfying – perfect for post-workout snack or quick breakfast treat.
  • Totally customizable – add your favorite mix-ins like chocolate chips, nuts, or dried fruit.

Frequently Asked Questions

What protein powder did you use?
I used the Be Well By Kelly vanilla protein powder, which mixes in perfectly and keeps these cookies soft and chewy.

Can I use almond butter instead of peanut butter?
Yes! Almond butter, cashew butter, or sunflower seed butter all work beautifully – just use the same amount.

How much protein is in each cookie?
Each cookie contains around 20 grams of protein, depending on your protein powder brand and mix-ins.

close up of 3 ingredient protein cookies with a bite taken out.

Recipe Variations and Substitutions

  • Chocolate Lovers: Fold in ¼ cup dark chocolate chips or cacao nibs.
  • Nut-Free/Vegan: Use sunflower seed butter and dairy-free protein powder.
  • Low-Sugar: Swap chocolate chips for chopped nuts or unsweetened shredded coconut.
  • Spice It Up: Add a pinch of cinnamon, nutmeg, or pumpkin spice for seasonal flavor!

Sam’s Recipe Tips

  • Mash the banana very well for an even and smooth batter!
  • If the dough is too dry, add 1–2 teaspoons of non-dairy milk.
  • For crispier edges, flatten the cookies a little more before baking.
  • Store leftovers in an airtight container for up to 3 days or freeze for up to 3 months.
overhead image of 3 ingredient protein cookies with a bite taken out.
5 from 1 vote

3-Ingredient Protein Cookies (20g protein each!)

These 3 ingredient protein cookies are soft, chewy, naturally sweet, and packed with protein for the perfect healthy snack or post-workout treat! Made with banana, peanut butter, and protein powder, they’re quick to make, totally customizable, and naturally gluten-free and dairy-free. If you’re looking for an easy high-protein cookie recipe that tastes amazing and comes together in minutes, this is it!
Print Pin Rate
Prep Time: 5 minutes
Cook Time: 10 minutes
Servings: 5 cookies

Equipment

  • 1 large bowl

Ingredients

  • 1 ripe banana
  • 1/2 cup peanut butter or any nut/seed butter
  • 1/2 cup protein powder

Optional:

  • 1/4 cup chocolate chips or any mix-ins you'd like!

Instructions

  • Preheat oven to 350° Fahrenheit and line a baking sheet with parchment paper.
  • Mash the banana in a bowl until mostly smooth, then mix in the peanut butter and protein powder.
  • Fold in the chocolate chips or any mix-in you’d like, then scoop 2 tablespoon-sized mounds of cookie dough onto the parchment paper. Slightly wet your hands, then use them to gently press and flatten each cookie slightly.
  • Bake the cookies for 10 minutes, or until lightly golden brown around the edges, then remove from the oven and transfer to a wire cooling rack before serving or storing.

Nutrition

Serving: 1cookie | Calories: 190kcal | Carbohydrates: 10g | Protein: 20g | Fat: 13g | Fiber: 2g | Sugar: 5g

My focus this holiday season has been on creating family traditions. With the recent arrival of my second baby, I’ve fallen in love with the idea of creating family recipes that will hopefully last us generations – like the gluten-free cinnamon rolls I plan on making every Christmas morning and the gluten-free Christmas cookies we’ll bake for family and friends.

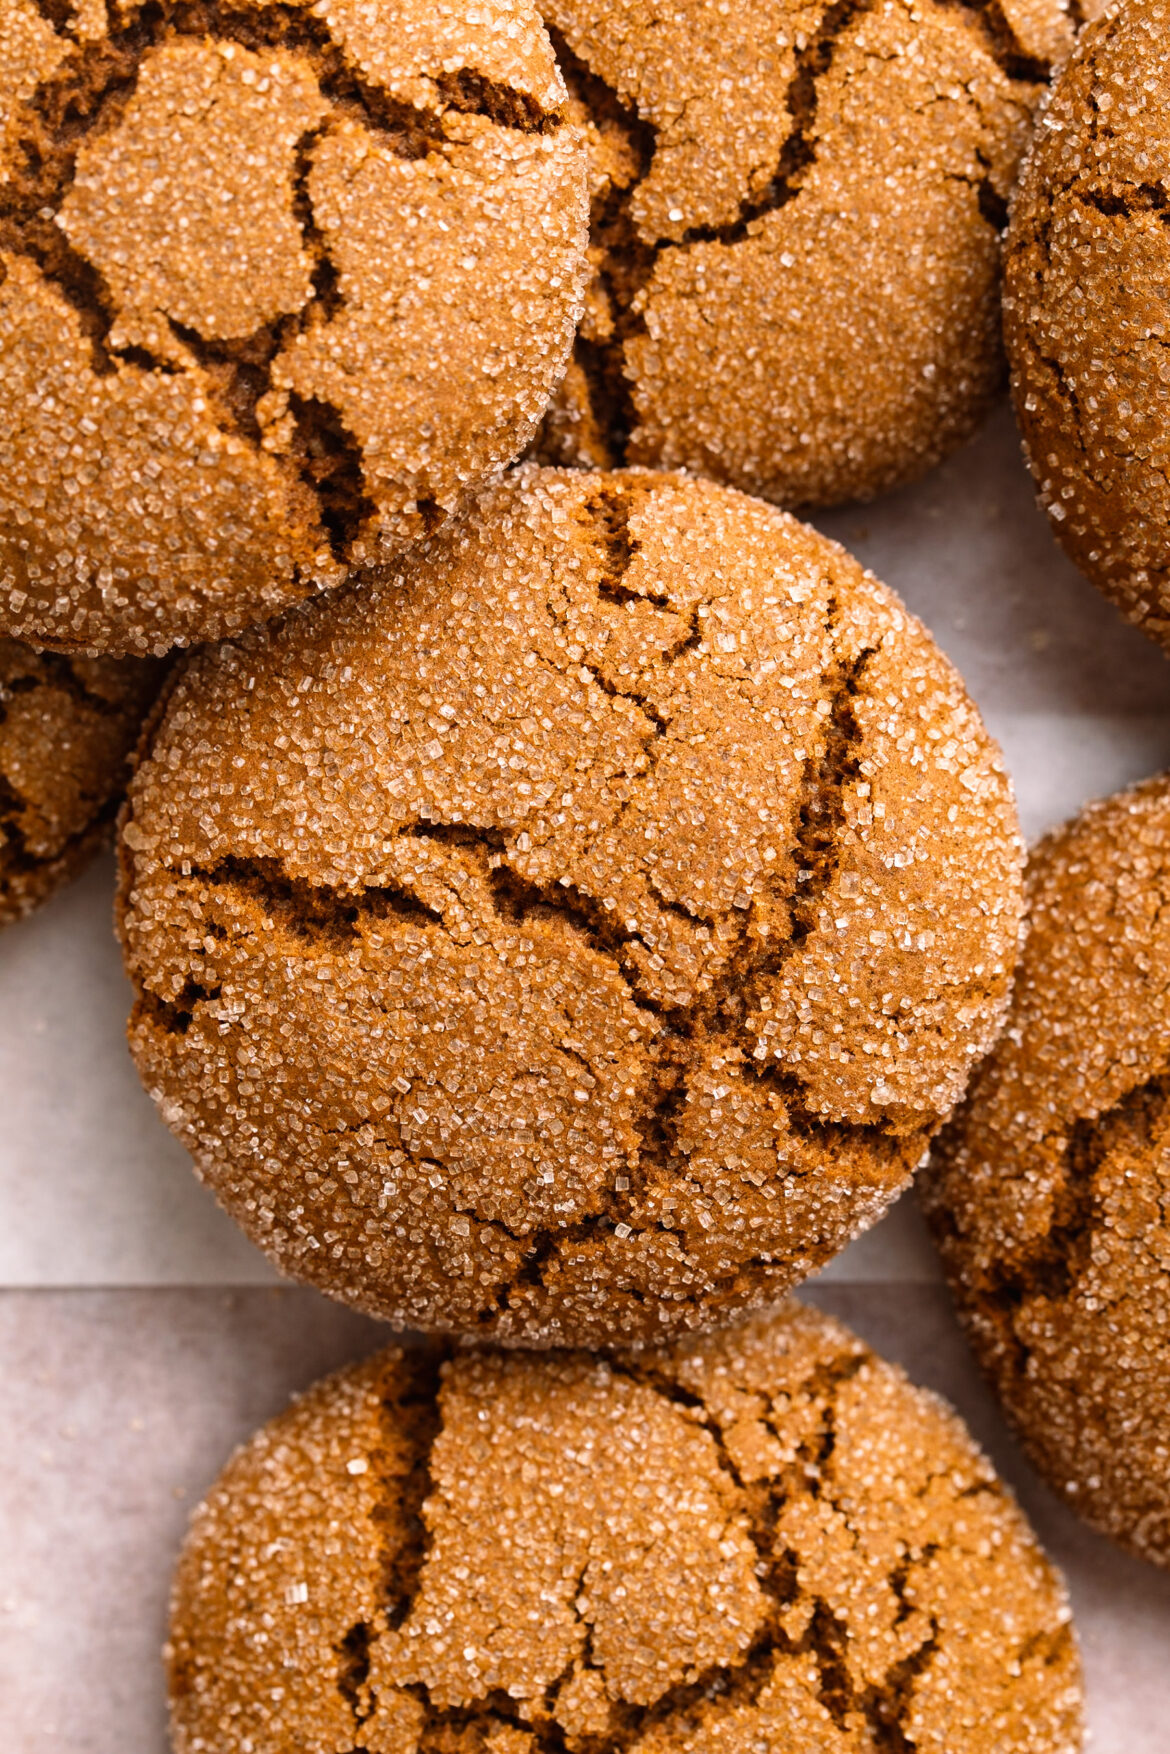
These gluten-free molasses cookies are classic and totally timeless – yet easy to make in just one-bowl, NO chilling required! It’s these minor tweaks I made over rounds of recipe testing that I hope one day even my great grandkids will appreciate. I also baked these cookies with my toddler last week, and it passed the kid-friendly test with flying colors! He loved rolling the cookies in sugar, and I loved that I only had one bowl to clean. 🙂 Win, win!

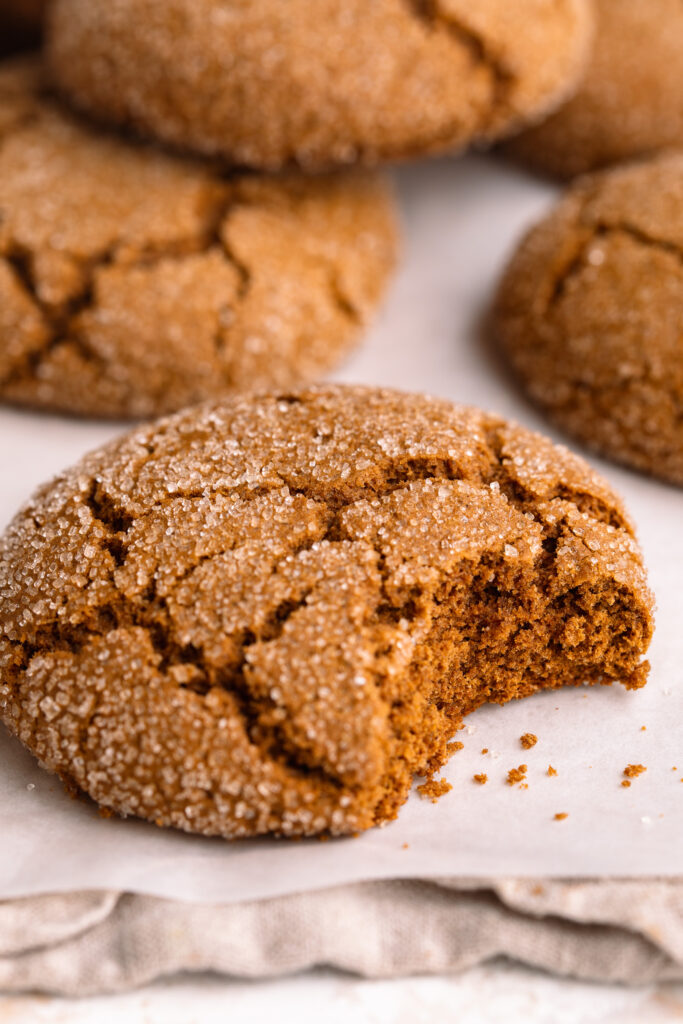
a gluten-free molasses cookie with a bite taken out.

What Makes These the BEST Gluten-Free Molasses Cookies

These gluten-free molasses cookies check every box:

  • Soft, chewy, and perfectly spiced like classic bakery-style molasses cookies
  • Made in one bowl with easy pantry-staple ingredients
  • No chilling required—meaning cookies in under 20 minutes
  • Naturally gluten-free, and easily dairy-free/vegan with simple swaps
  • Perfect crackly tops thanks to rolling the dough in sugar
  • A reliable dough that doesn’t spread too much and bakes evenly every time

If you’ve been looking for a gluten-free molasses cookie that tastes exactly like the real thing, this is the recipe you’ll keep forever!

Key Ingredients & Substitutions

  • Molasses: I recommend using unsulphured molasses and avoiding blackstrap molasses – it’s more bitter and a little too thick for this cookie recipe.
  • Gluten-Free Flour: A high-quality gluten-free all-purpose flour with xanthan gum works best. I love and recommend either the King Arthur Gluten-Free Flour or Bob’s Red Mill 1:1 Gluten-Free Flour. If your blend does not contain xanthan gum, add ½ teaspoon.
  • Butter: To make these cookies dairy-free, swap the butter for vegan butter sticks or softened coconut oil.
  • Spices: The spice blend of ginger, cinnamon, nutmeg, and cloves gives these cookies their classic “gingersnap meets molasses cookie” flavor. Adjust ginger for more or less spice!
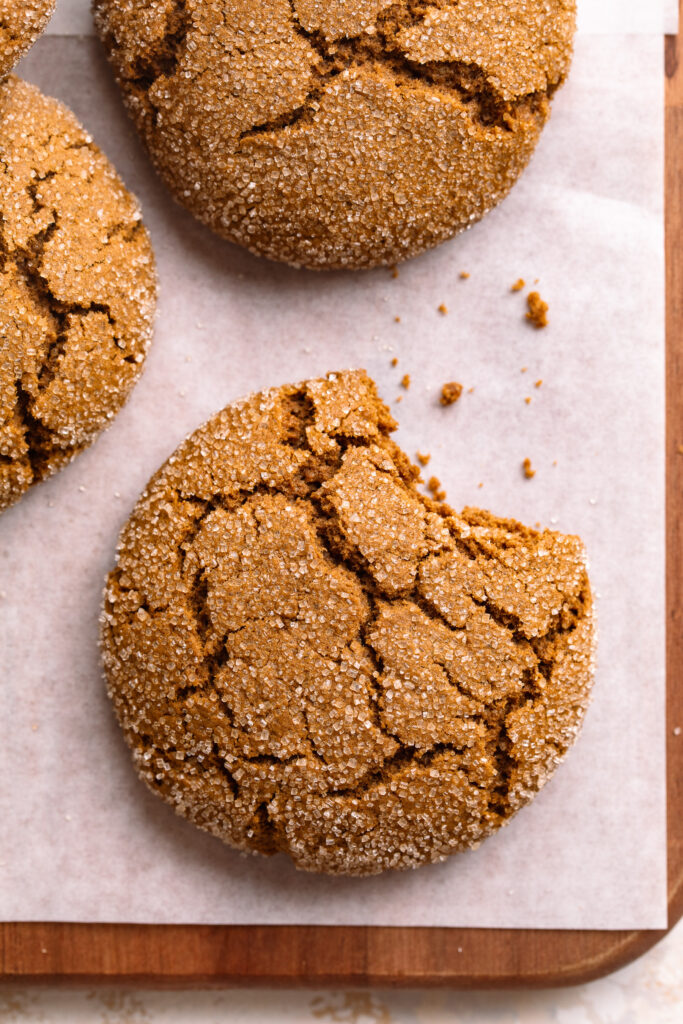
one gluten-free molasses cookie with a bite taken out.

Frequently Asked Questions

How do I store these gluten-free molasses cookies?

Store in an airtight container at room temperature for 4–5 days. They also freeze beautifully – store baked cookies in a freezer-safe bag for up to 3 months, thawing on the counter before enjoying.

Can I make them dairy-free?

Yes! Replace the butter with vegan butter or softened coconut oil. The texture remains soft and chewy.

How do I also make these cookies vegan?

Yes – simply use vegan butter and replace the egg with a flax egg (1 tbsp flax meal + 2.5 tbsp water). Bake time remains the same!

Sam’s Baking Tips

  • Don’t skimp on the spices! Molasses cookies need a strong spice profile.
  • Avoid over-mixing once the flour is added to keep the cookies chewy and tender.
  • Roll in sugar for that perfect crackly top and bakery-style finish!
  • Use a cookie scoop for evenly sized cookies that bake uniformly.

Why You’ll Love This Recipe

These gluten-free molasses cookies are soft, chewy, perfectly spiced, made in one bowl, and require no chilling—a holiday win! They taste just like the classic version, and no one will ever guess they’re gluten-free or dairy-free.

overhead image of gluten-free molasses cookies on a table.
No ratings yet

One-Bowl Gluten-Free Molasses Cookies (no chilling required!)

These soft and chewy gluten-free molasses cookies are packed with warm holiday spices and made in just one bowl – no chilling required! They bake up with perfectly crackled tops, rich molasses flavor, and a tender, melt-in-your-mouth texture no one will believe is gluten-free. The perfect easy Christmas cookie that’s also dairy-free friendly and ideal for gifting, parties, or cozy winter baking!
Print Pin Rate
Prep Time: 10 minutes
Cook Time: 10 minutes
Total Time: 20 minutes
Servings: 24 cookies

Equipment

  • 2 large cookie sheets
  • 1 large bowl

Ingredients

  • 6 tablespoons butter softened (or non-dairy butter)
  • 1/2 cup brown sugar or coconut sugar for a healthier option
  • 1/3 cup molasses
  • 1 egg at room temperature
  • 2 teaspoons vanilla extract
  • 1 3/4 cups gluten-free all purpose flour
  • 1 teaspoon baking soda
  • 1/2 teaspoon salt
  • 2 teaspoons ground ginger
  • 1 teaspoon cinnamon
  • 1/2 teaspoon nutmeg
  • 1/4 teaspoon ground cloves

Optional:

  • 1/4 cup granulated sugar for coating the cookies

Instructions

  • Preheat oven to 350° Fahrenheit and line a large cookie sheet with parchment paper.
  • Beat butter and brown sugar together in a large bowl with either a hand or stand mixer, until light and fluffy. Add in molasses, egg, and vanilla extract and beat again until combined.
  • Add in the gluten-free flour, baking soda, salt, ginger, cinnamon, nutmeg, and cloves. Mix again just until a dough forms – careful not to over-mix the cookie dough!
  • Scoop 2 tablespoon-sized balls of dough, roll the dough between the palm of your hands to form a smooth ball, then roll the ball in sugar before placing it on your prepared baking sheet.
  • Lightly press down each cookie just a little to flatten it, then bake the cookies for about 10-12 minutes. Remove the cookie from the oven and transfer to a wire cooling rack to cool completely before serving or storing.

Nutrition

Serving: 1cookie | Calories: 90kcal | Carbohydrates: 14g | Protein: 0.5g | Fat: 3g | Sugar: 7g

Like most of my recipes, this cinnamon sugar pretzel bites recipe started with a craving. Specifically a craving for a cup of warm cinnamon sugar pretzel bites from the mall… yup, you know the kind. The pretzels you smell as soon as you enter the mall and crave the entire time you shop. (No but really, they should seriously make a candle out of them because they smell so good!) Unfortunately though, those mall pretzel bites are made with regular flour and I’m sure a bunch of other ingredients that aren’t great for us. So I figured, why not make them myself?! Though if you look up pretzel bite recipes, you’ll find a bunch of very complicated ones that require kneading, rising, and a ton of steps I simply don’t have the time for. So, I came up with this 6 ingredient pretzels bites recipe that requires just 6 ingredients (!!!) and there’s no kneading, rising, or confusing steps required. Simply mix the dough, roll them into balls, quickly boil, then bake! And if cinnamon sugar really isn’t your thing, you can sprinkle these with salt instead. Either way, I just know you’re gonna love ’em!

And if you love these 6-ingredient cinnamon sugar pretzel bites, you’ll also go crazy for my 5-ingredient single serve cinnamon roll and 3-ingredient gluten-free bagel bites. They even all use the same set of ingredients!

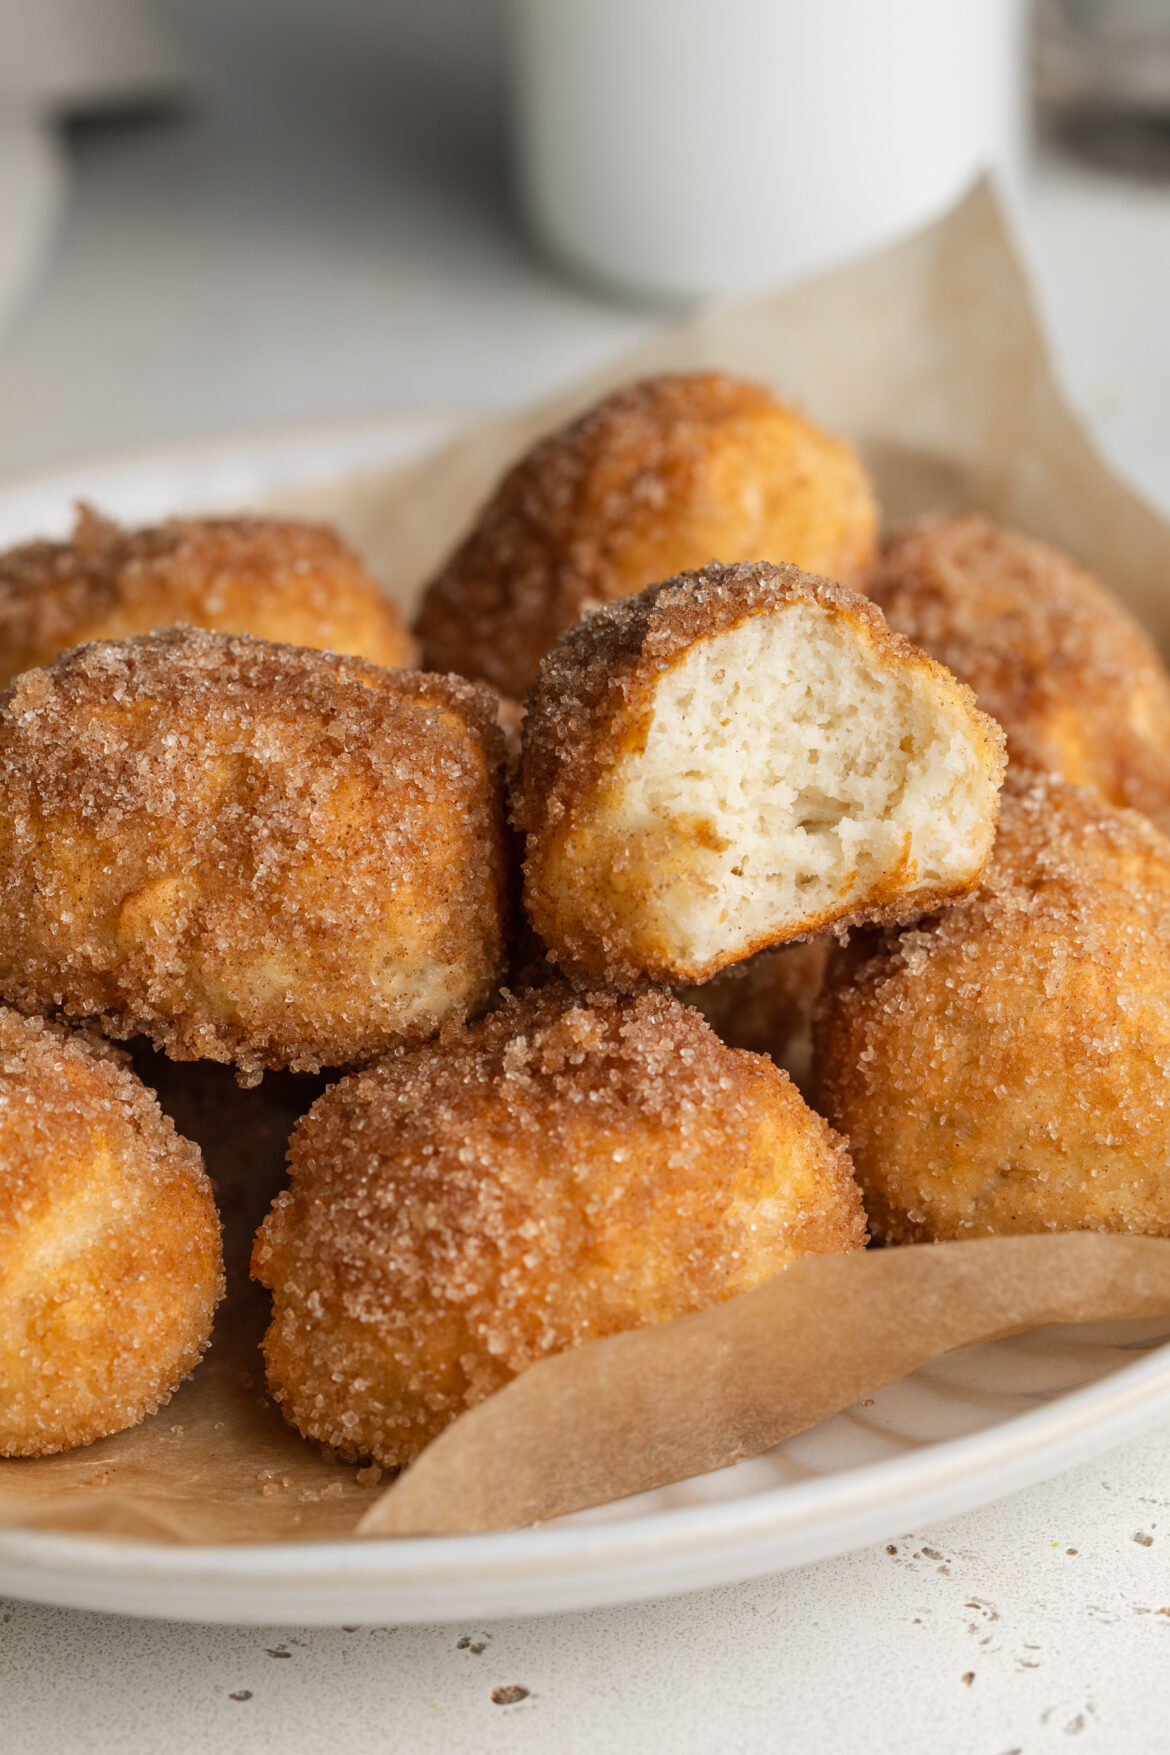
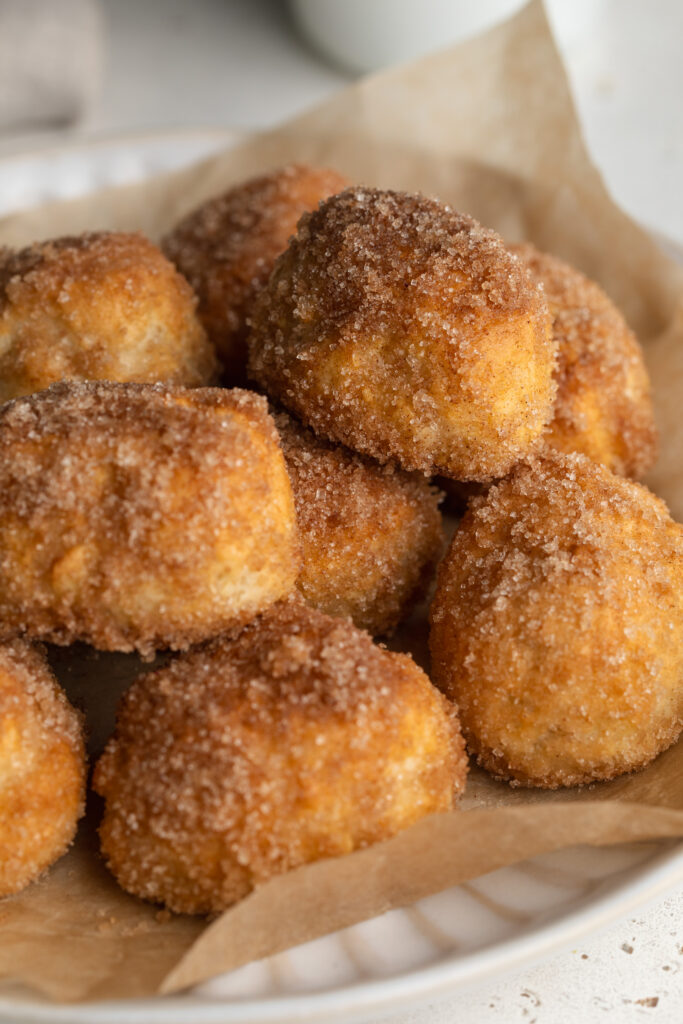
cinnamon sugar pretzel bites on a plate.

Why You’ll Love These Cinnamon Sugar Pretzel Bites

  • Gluten-free & 6 ingredients – just one bowl, no yeast required!
  • Quick prep + deep flavor – From mixing the dough to baking and coating, you’ll be done in about 30 minutes.
  • Versatile & crowd-friendly – Enjoy plain, with dips, or coated in cinnamon sugar for a delicious sweet treat!

Frequently Asked Questions

Can I make this recipe vegan?
Yes – use dairy-free yogurt (for the dough) and replace melted butter with a plant-based butter or coconut oil for the topping.

How do I store these pretzel bites?
Store in an airtight container at room temperature for up to 2 days. Reheat briefly in the oven or air fryer to restore texture.

Recipe variations?
Try topping with chocolate drizzle, sea salt instead of sugar, or adding shredded coconut. You could even roll in pumpkin spice for a seasonal twist.

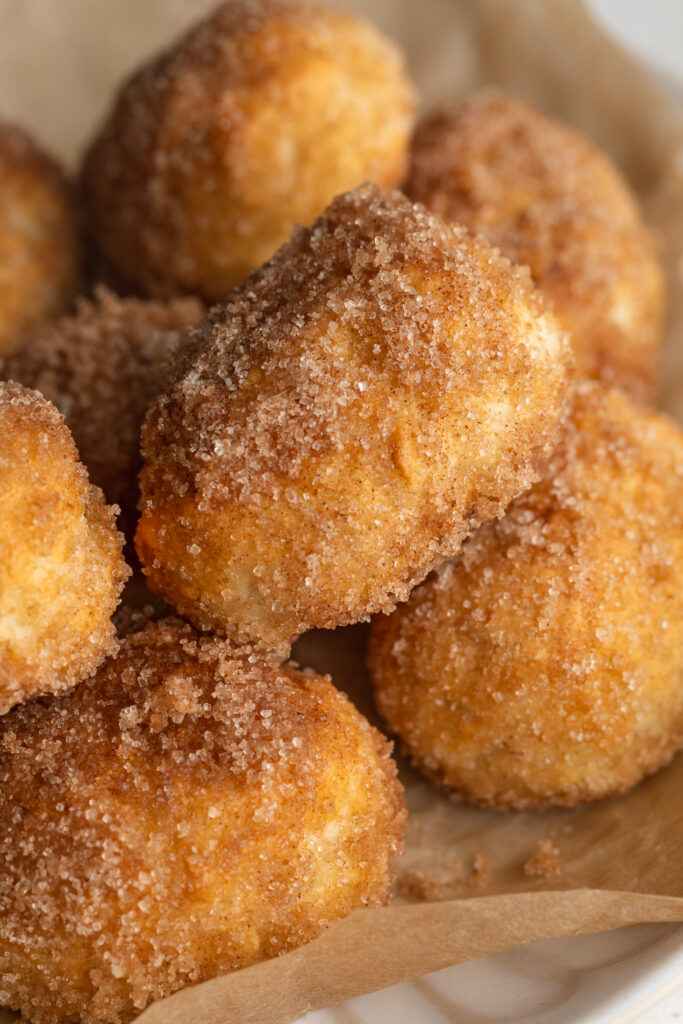
close up image of cinnamon sugar pretzel bites on a plate.

Sam’s Recipe Tips

  • Dust your work surface generously with gluten-free flour to prevent sticking – gluten-free dough tends to be a bit softer.
  • After brushing or dipping in the baking soda wash, place the bites on parchment to avoid sticking and allow the coating to set properly.
  • Shake the warm finished bites in a large bowl with melted butter and cinnamon sugar to ensure even coating.
  • Serve warm for the best texture – if they cool down, pop them into a warm oven (350°F) for 2-3 minutes.
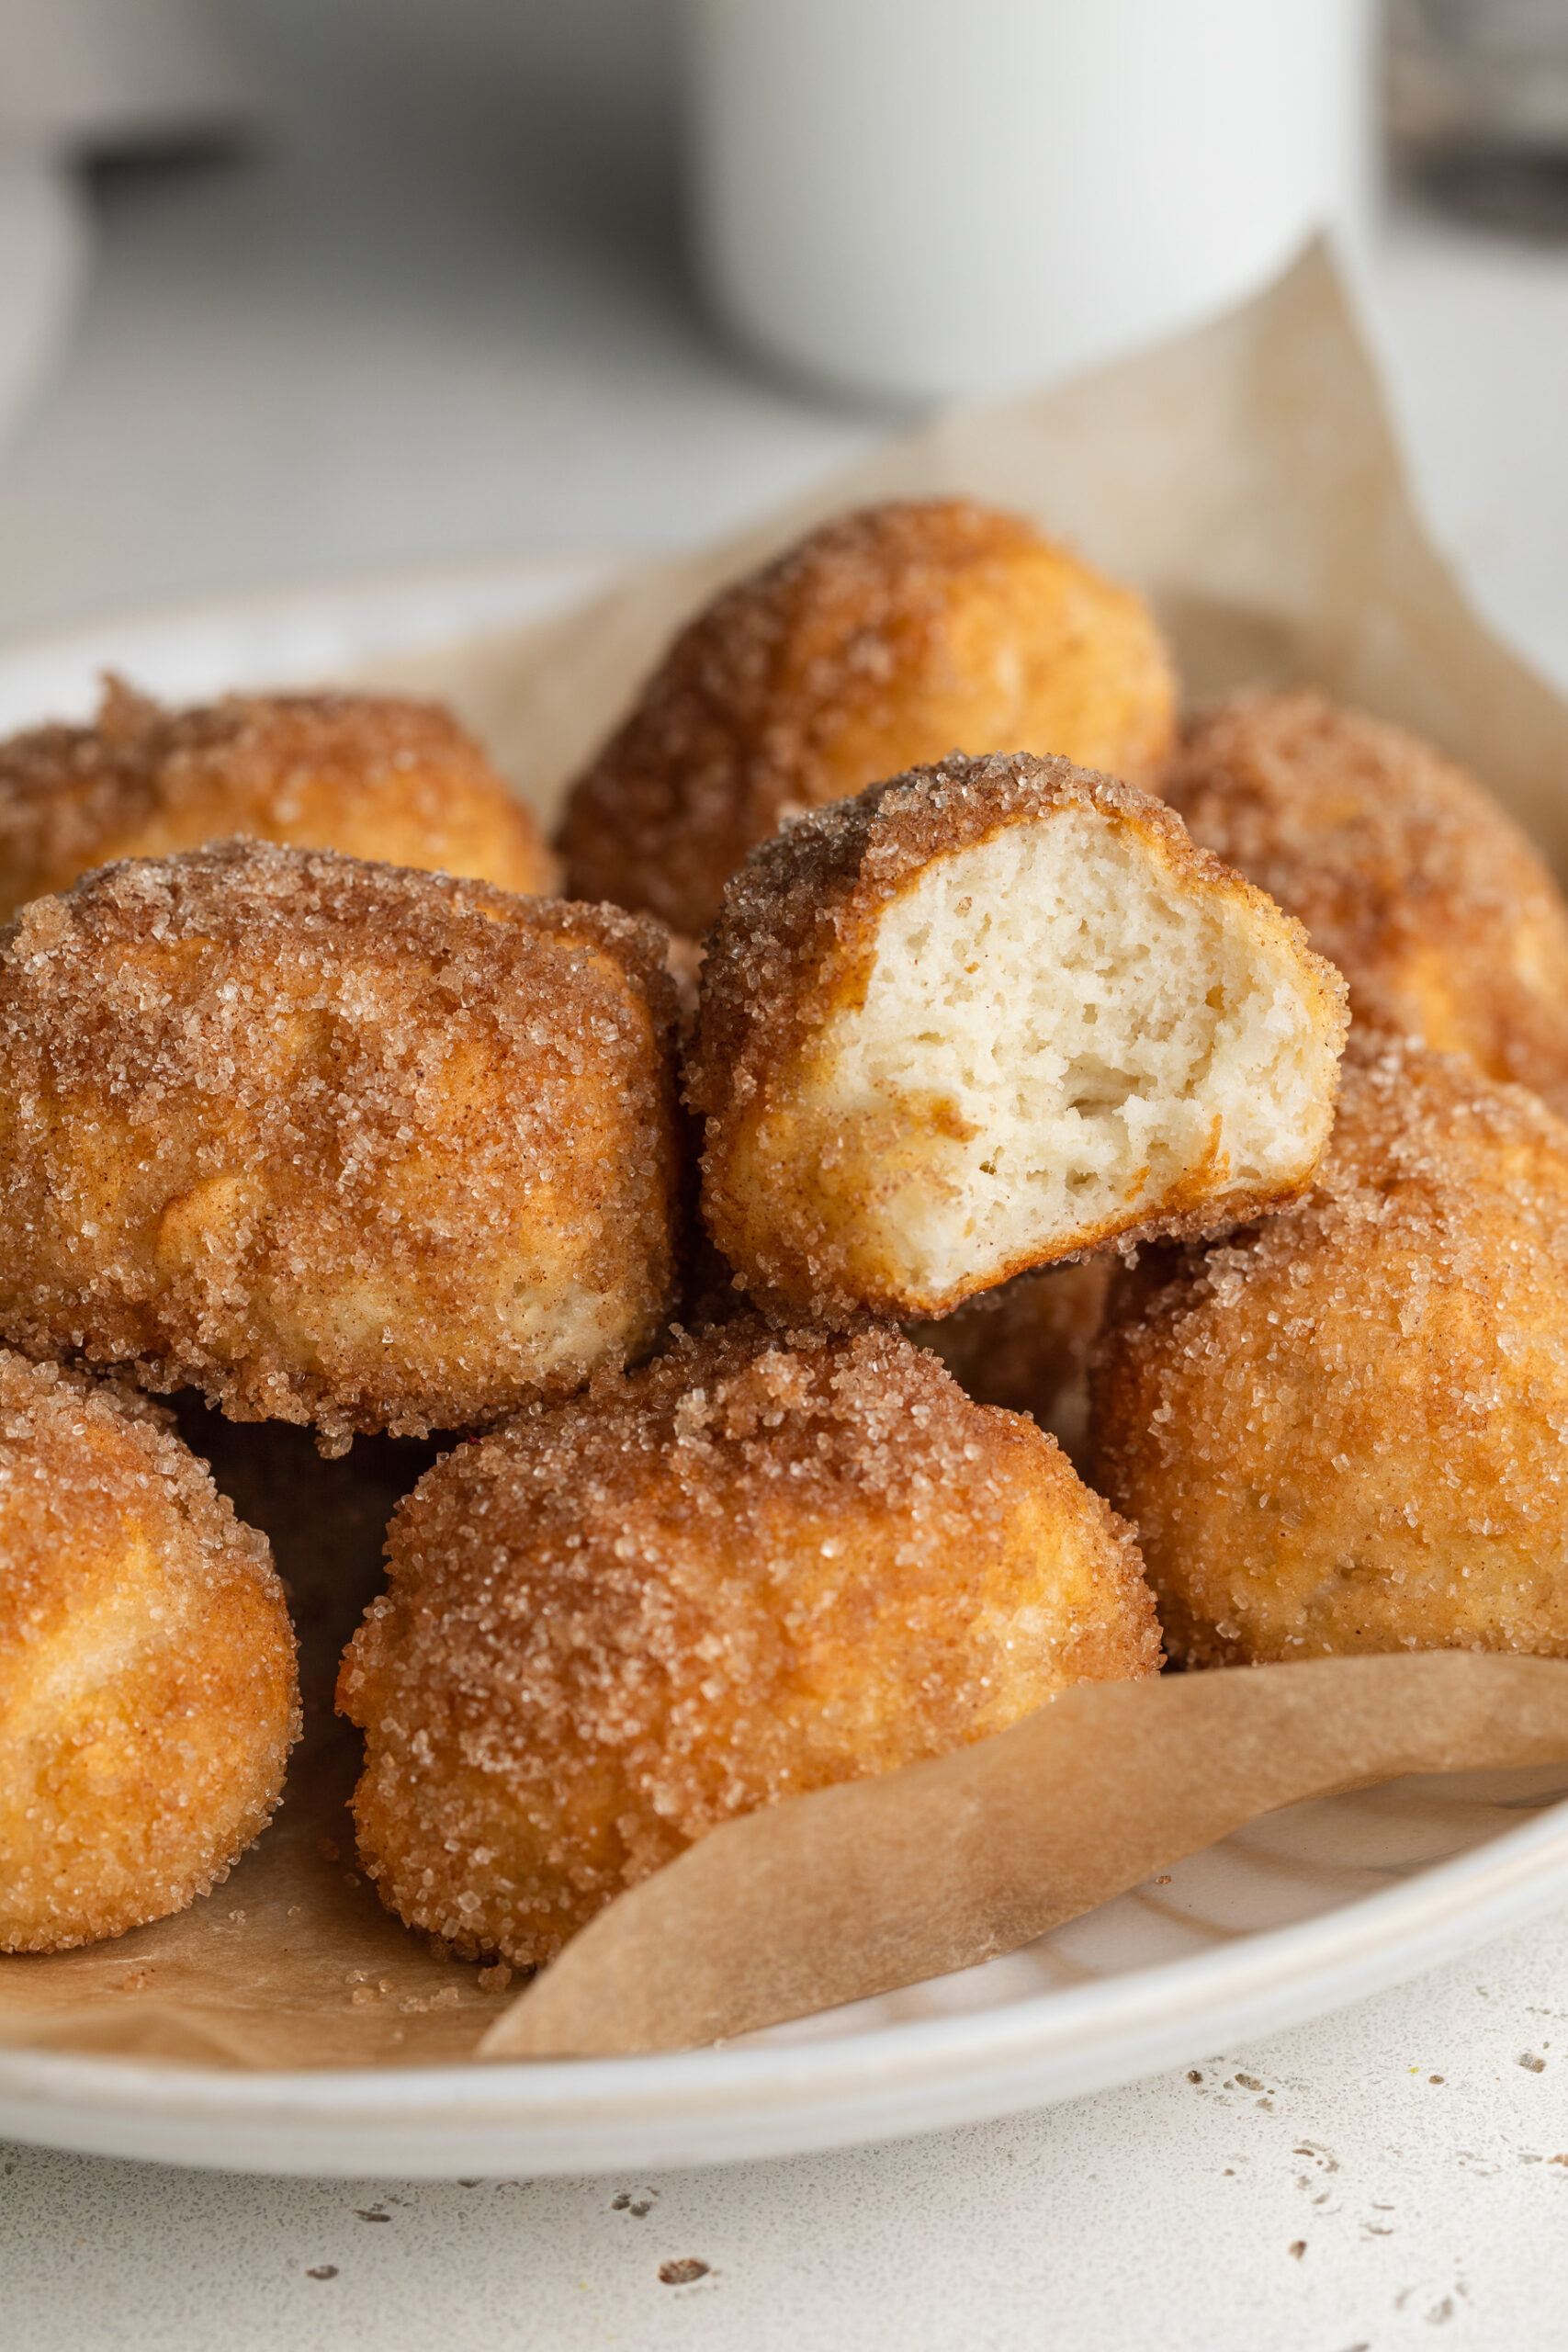
cinnamon sugar pretzel bites on a plate, one with a bite taken out.
No ratings yet

6-Ingredient Cinnamon Sugar Pretzel Bites (gluten-free!)

These 6-ingredient Cinnamon Sugar Pretzel Bites are soft, chewy, and coated in delicious cinnamon sugar! Made with gluten-free flour and Greek yogurt, this no-knead recipe comes together in just 30 minutes for a quick and easy treat. You’ll love how easy these pretzel bites are to make – no yeast, no rising, just mix, bake, and enjoy!
Print Pin Rate
Prep Time: 10 minutes
Cook Time: 20 minutes
Total Time: 30 minutes
Servings: 4 servings

Equipment

  • 1 large bowl
  • 1 small bowl
  • 1 large baking sheet

Ingredients

  • 1 cup gluten-free all purpose flour
  • 1 teaspoon baking powder
  • 1 cup plain Greek yogurt

For the baking soda wash:

  • 1 cup water
  • 1 tablespoon baking soda

For topping:

  • 3 tablespoons melted butter
  • 1/3 cup sugar
  • 1 teaspoon cinnamon

Instructions

  • Preheat oven to 425° Fahrenheit and line a baking sheet with parchment paper.
  • Mix together the gluten-free all purpose flour and baking powder in a large bowl. Then, add in the plain Greek yogurt and mix until a dough comes together (you may need to use your hands to help bring the dough together). If the dough seems dry and won’t come together in a ball, try adding an additional 1-3 tablespoons of Greek yogurt to the dough.
  • Scoop about 1 tablespoon of dough and roll it between the palms of your hands to form it into an oval nugget shape. Place each pretzel bite onto your prepared baking sheet.
  • Make the baking soda wash by whisking together the water and baking soda in a small bowl, then either brush or dip each pretzel bite into the wash.
  • Bake the pretzel bites for 15-20 minutes, or until deep golden brown. While the pretzel bites bake, make your cinnamon-sugar coating by mixing together the sugar and cinnamon in a small bowl.
  • Remove the pretzel bites from the oven and while they’re still warm, toss them in the melted butter then either toss or sprinkle them with the cinnamon sugar.

Nutrition

Serving: 1serving | Calories: 240kcal | Carbohydrates: 30g | Protein: 9g | Fat: 10g | Fiber: 1g | Sugar: 10g