Tag

summer recipe

Browsing

My mom’s been making her FAMOUS strawberry shortcakes every summer for as long as I can remember! Flaky, buttery shortcake biscuits piled high with juicy, fresh strawberries and homemade whipped cream. It’s simple, classic, totally nostalgic, and the perfect summer dessert!

I always thought this recipe seemed more complicated than it actually was, which is why it took me years to try making it myself. But once my mom finally shared it with me, I was genuinely shocked at how simple it is. You don’t need a stand mixer, you don’t need any special equipment, and the whole thing – biscuits, strawberries, and homemade whipped cream – can be on the table in just over an hour! It’s the kind of recipe that feels fancy but is actually pretty simple, which makes it absolutely perfect for summer parties, Fourth of July, and honestly any time you can get your hands on fresh, in-season strawberries. If you love fresh berry-forward desserts like this one, then you’ll want to try my 4-Ingredient Peach Cobbler and 4-Ingredient Baked Peaches next!

Why You’ll Love These Strawberry Shortcakes

  • My mom’s famous recipe! This isn’t just any strawberry shortcake – it’s the one my mom has made every single summer for as long as I can remember, and the first thing I crave every year when the weather warms up. Some recipes are just special, and this one is. I’m so excited to finally share it here!
  • Perfect for summer parties. Flaky biscuits, juicy macerated strawberries, and homemade whipped cream. This is a showstopping dessert that always gets rave reviews, whether you’re serving it at a backyard barbecue, a Fourth of July gathering, or a casual dinner party. You can even set up a shortcake bar and let everyone build their own!
  • Amazing during strawberry season. Ripe, in-season strawberries are the star of this recipe, and when they’re at their peak sweetness there is truly nothing better. Macerated in sugar and a little lemon juice, they become incredibly juicy and flavorful in a way that store-bought strawberry sauce just can’t replicate.
  • Feels fancy, but is actually pretty simple. I know shortcake biscuits can sound intimidating, but they’re really just a lightly sweetened, butter-packed dough that comes together in minutes. No mixer or special equipment, just your hands, a bowl, and a baking sheet.
  • Easily made gluten-free! Simply swap the cake flour for a gluten-free all-purpose flour blend and you’ve got a completely gluten-free strawberry shortcake that nobody will ever know is different. See the variations section below for all the details!
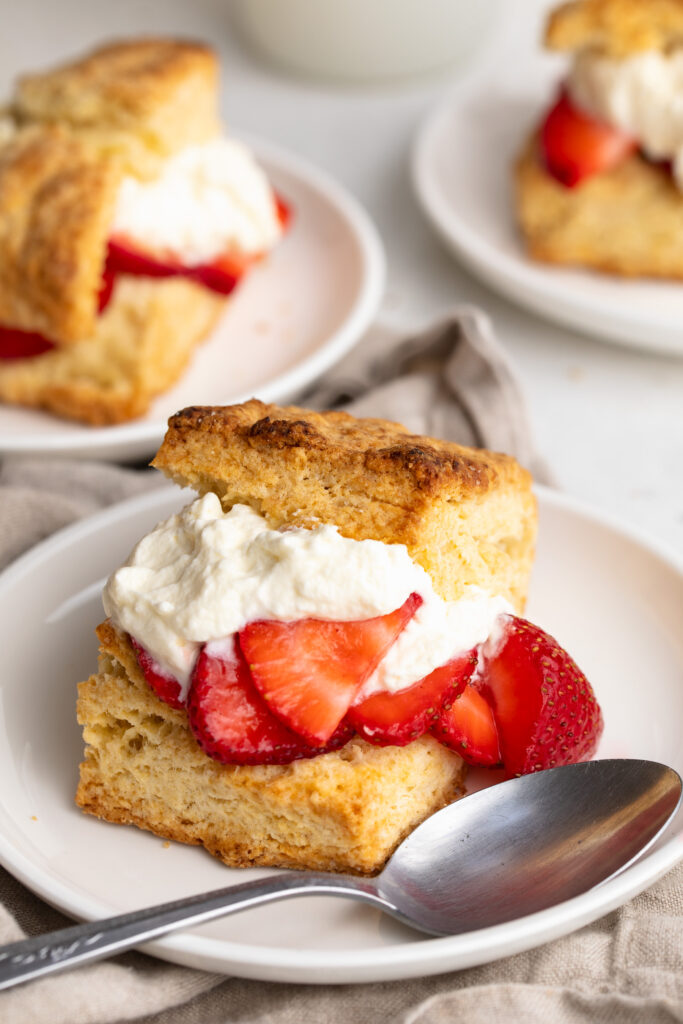
three plates of strawberry shortcakes with whipped cream and strawberries.

Recipe Variations and Substitutions

Make ahead: The macerated strawberries can be made up to 24 hours in advance and stored covered in the fridge. The biscuits are best eaten the day they’re baked, but can be stored in an airtight container at room temperature for up to 2 days and warmed slightly before serving. Make the whipped cream fresh just before serving.

Make it gluten-free: Swap the cake flour for a gluten-free all-purpose flour blend (I love Bob’s Red Mill 1-to-1 or King Arthur Measure for Measure) in a 1:1 ratio. The texture may be very slightly different but still absolutely delicious. Just make sure your baking powder is certified gluten-free as well.

Make it dairy-free: Swap the butter in the biscuits for cold vegan butter (Miyoko’s or Earth Balance work great), the heavy cream in the biscuits for full-fat coconut cream, and the heavy cream in the whipped cream for a chilled can of coconut cream. Whip the coconut cream until fluffy — it’s a wonderful dairy-free whipped topping!

Add blueberries: Toss a handful of fresh blueberries into the macerated strawberries for a beautiful red, white, and blue summer dessert. This is especially perfect for Fourth of July!

Swap the fruit: This recipe works beautifully with any summer fruit. Try it with fresh peaches, mixed berries, or a combination of raspberries and strawberries.

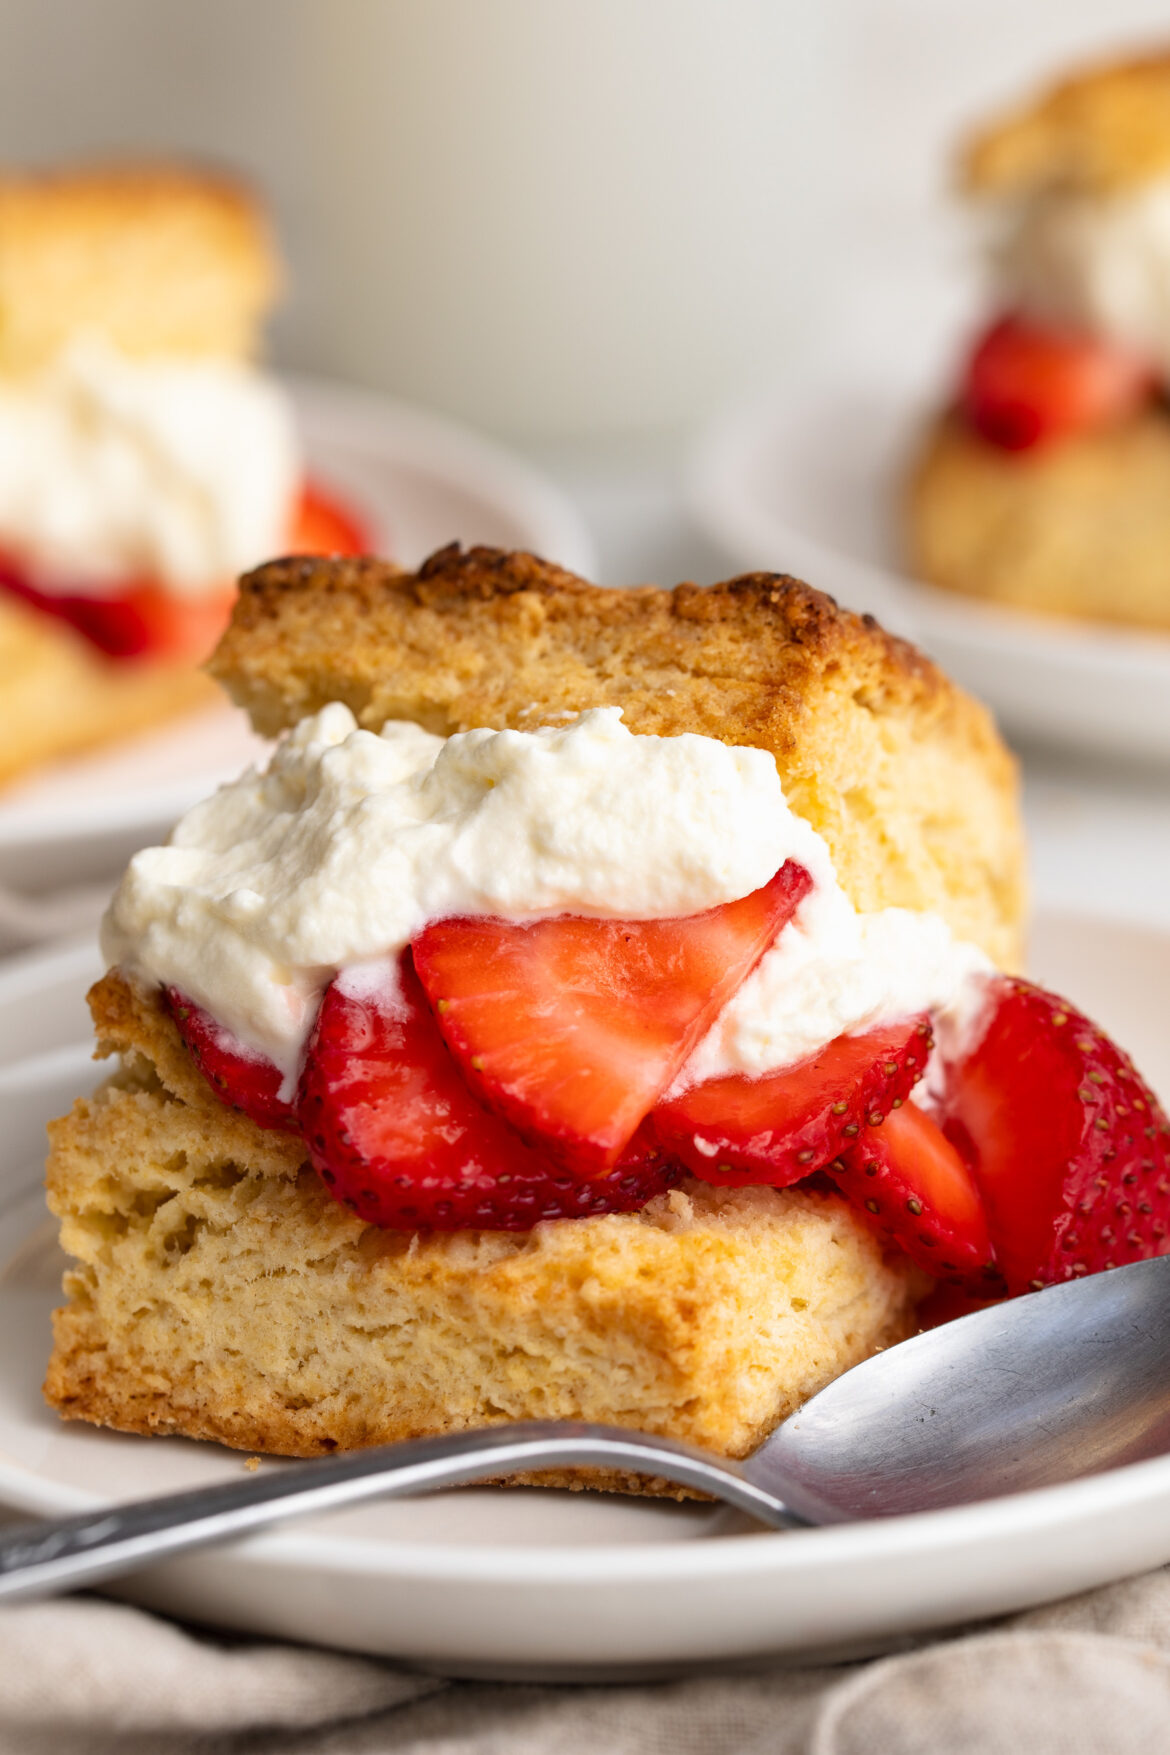
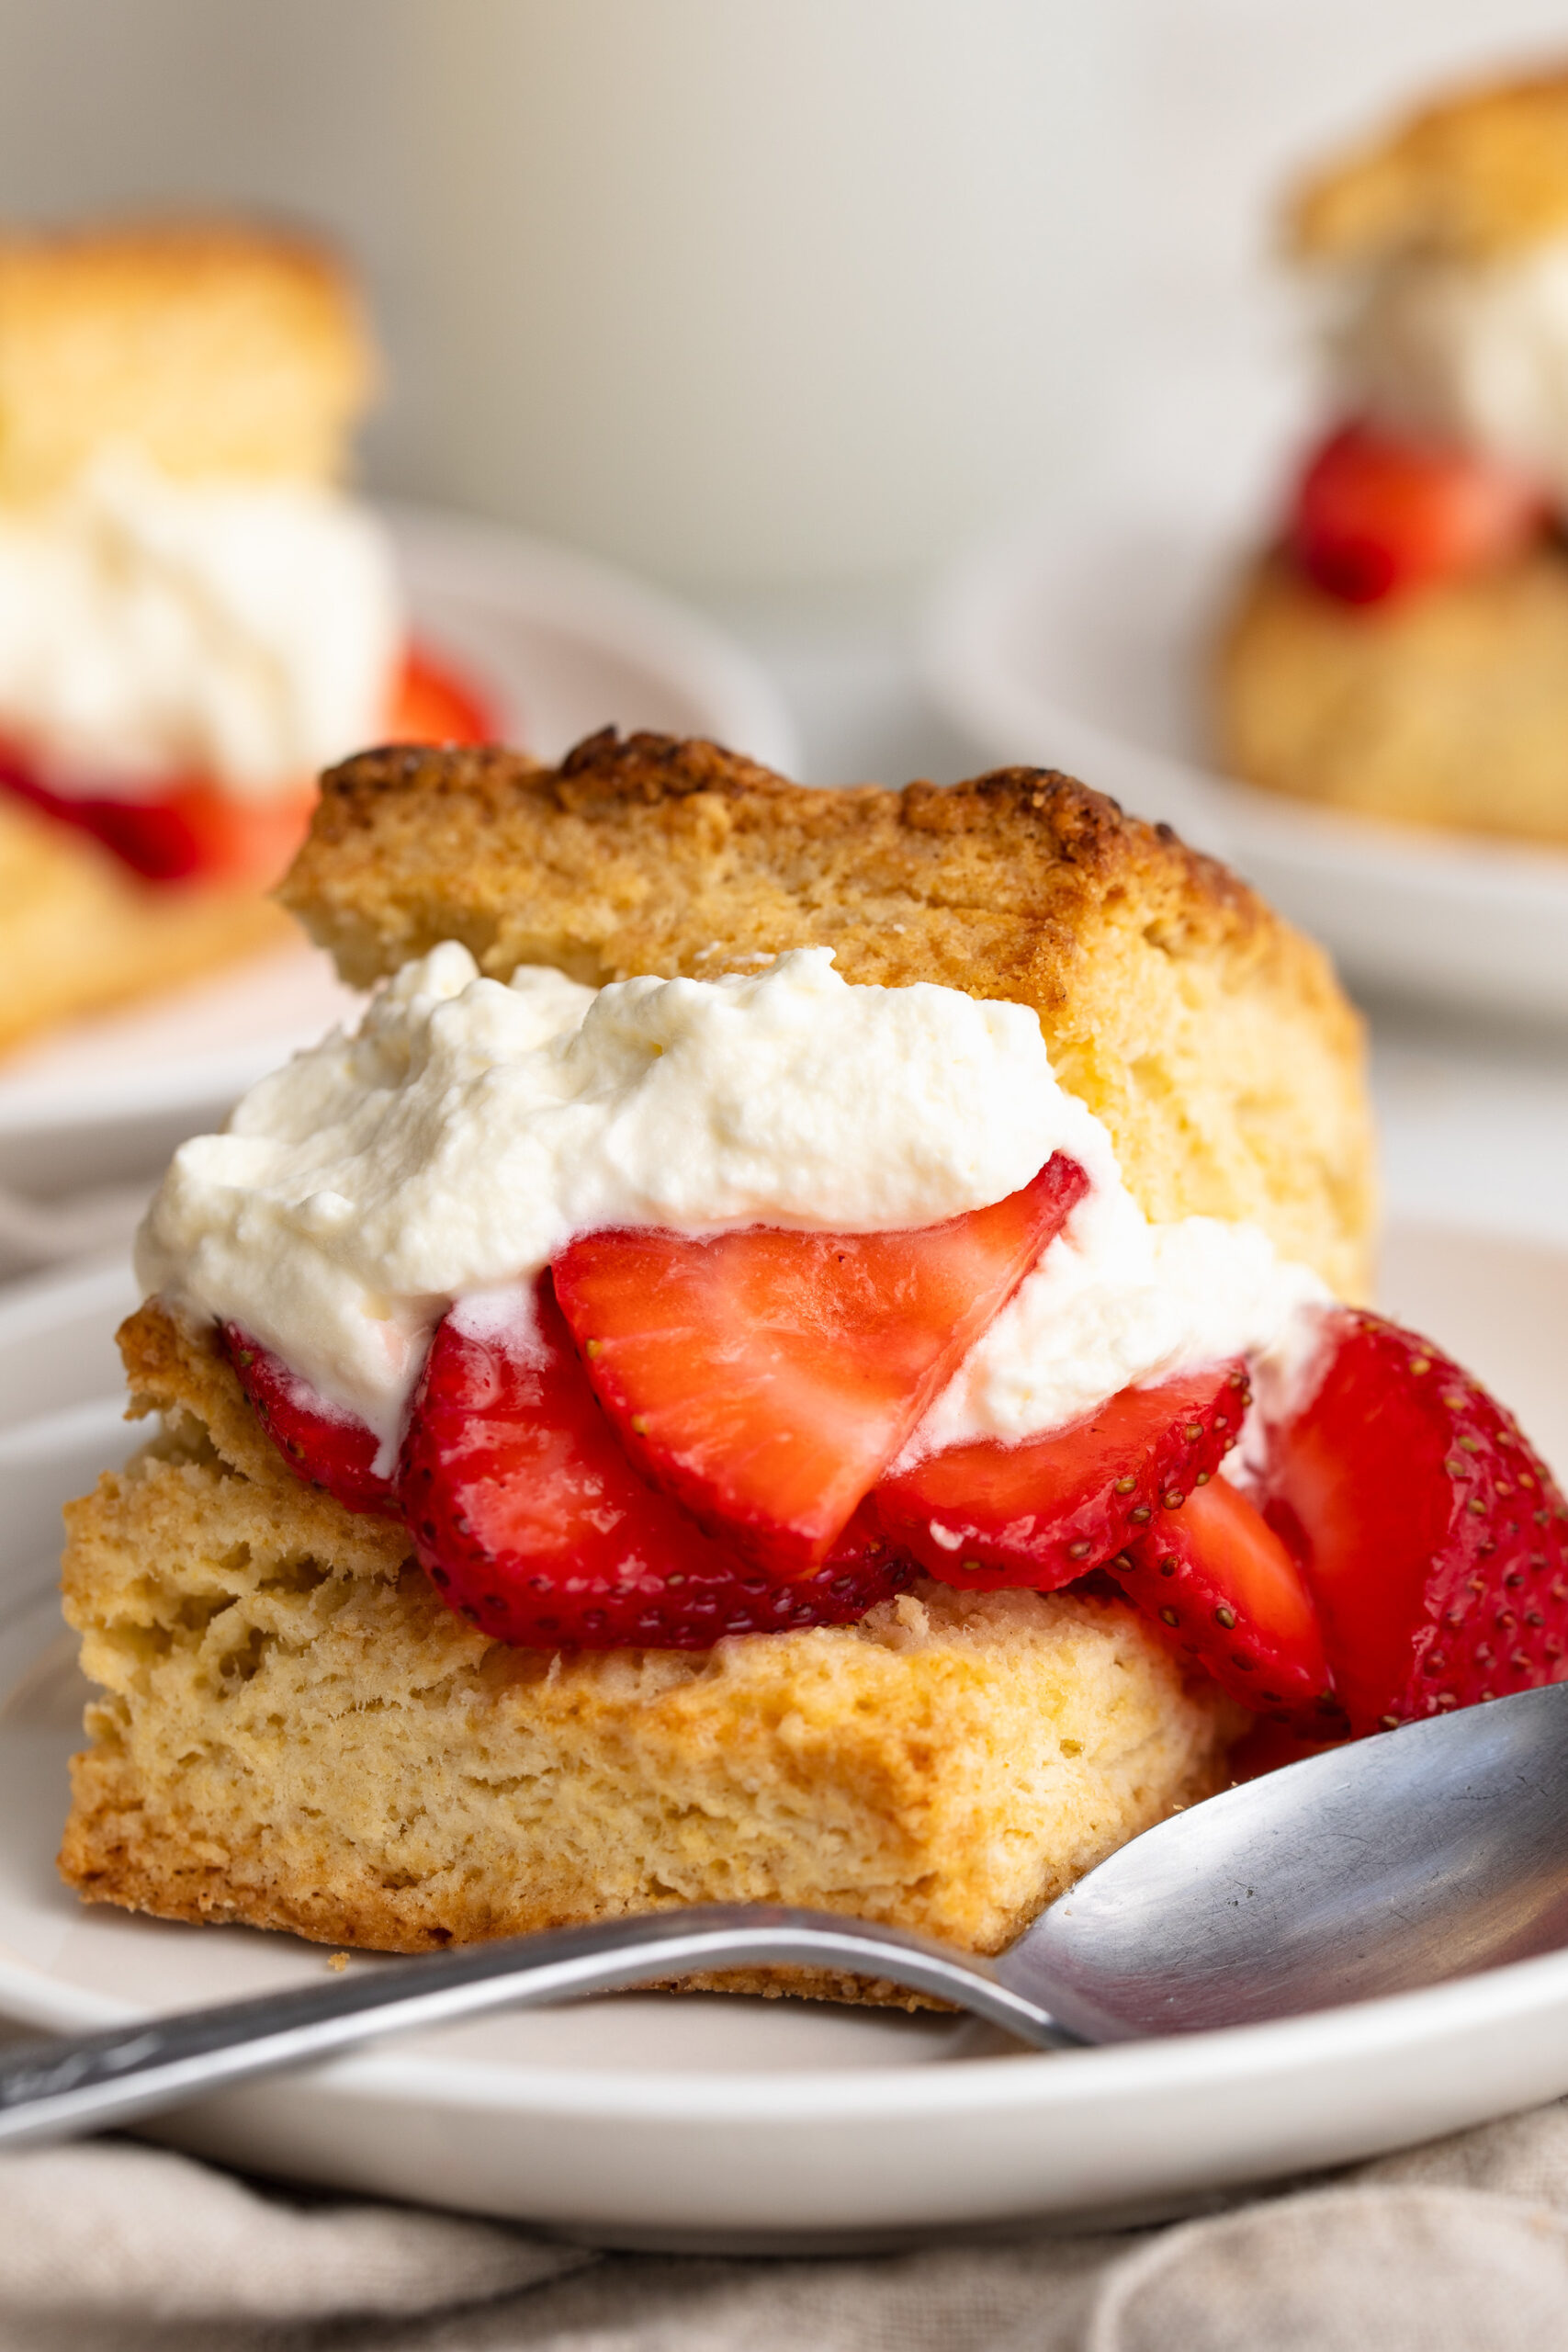
close up image of a strawberry shortcake stuffed with whipped cream and strawberries.
No ratings yet

Mom’s BEST Strawberry Shortcakes Recipe 🍓

These strawberry shortcakes are my mom's famous recipe – flaky, buttery biscuits piled high with juicy strawberries and homemade whipped cream, and the first dessert I crave every single summer when fresh berries are at their peak! They feel fancy enough for a summer party but are surprisingly simple to make from scratch, with no mixer or special equipment required. It's a classic strawberry shortcake recipe SO good, everyone will ask for the recipe!
Print Pin Rate
Prep Time: 20 minutes
Cook Time: 15 minutes
Total Time: 35 minutes
Servings: 8 servings

Ingredients

For the strawberries:

  • 6 cups strawberries sliced
  • 1/4 cup sugar
  • 1 tablespoon fresh lemon juice can sub orange or lime juice

For the shortcakes:

  • 2 cups cake flour or gluten-free all purpose flour
  • 1/2 teaspoon salt
  • 4 teaspoons baking powder
  • 1/2 teaspoon cream of tartar
  • 3 tablespoons sugar
  • 1/2 cup cold butter (1 stick)
  • 1 egg beaten
  • 1/3 cup heavy cream

For the homemade whipped cream:

  • 1 cup heavy cream
  • 1-2 tablespoons powdered sugar
  • 1 teaspoon vanilla extract

Instructions

  • Combine sliced strawberries, sugar, and lemon juice in a large bowl. Toss to combine. Let sit for 1–2 hours to release their juices.
  • Preheat oven to 425°F.
  • Combine the cake flour, salt, baking powder, cream of tartar, and sugar in a large bowl.
  • Cut butter into small bits and add to the dry ingredients. Using a pastry cutter or fork, work butter in until the mixture resembles coarse breadcrumbs.
  • Add the beaten egg and heavy cream and mix with a fork until the mixture just holds together.
  • Turn out onto a well-floured surface and knead by folding over 8–10 times, rotating as you go.
  • Pat into a ½-inch thick rectangle. Cut into 6 larger or 8 smaller equal squares.
  • Place biscuits on a parchment-lined baking sheet (do not grease). Separate biscuits slightly for crispier edges, or place touching for softer sides.
  • Bake 15–20 minutes until light golden brown.
  • While the shortcakes bake, add the heavy cream, powdered sugar, and vanilla extract to a clean bowl. Whip with a hand or stand mixer until soft peaks form.
  • Slice shortcakes in half horizontally. Spoon a generous helping of macerated strawberries onto the bottom half, top with a dollop of homemade whipped cream, place the top half on, and serve immediately. Enjoy!

I’ve seriously struggled to stay hydrated this summer! I spent the first half of the summer very pregnant, not the second half newly postpartum. So when water alone doesn’t do the trick, I love to whip up this homemade gatorade. I make a huge glass of it in the morning, then blend together one of my favorite healthy smoothies – and I head into the day feeling fueled and hydrated (despite a total lack of sleep thanks to my newborn – ha!).

What Makes This Homemade Gatorade Better Than Store-Bought

  • It cuts out artificial colors, high fructose corn syrup, and preservatives, giving you a refreshing drink made from wholesome ingredients while providing essential electrolytes.
  • Coconut water acts as a natural base, offering potassium and hydration without added sugars. I like to buy my coconut water in bulk – this is the case I buy on Amazon, totally organic for a great price.
  • You control the sodium with a pinch of high-mineral salt (linking to the one I buy on Amazon HERE) – crucial for electrolyte balance – but can easily tailor it to your health needs!
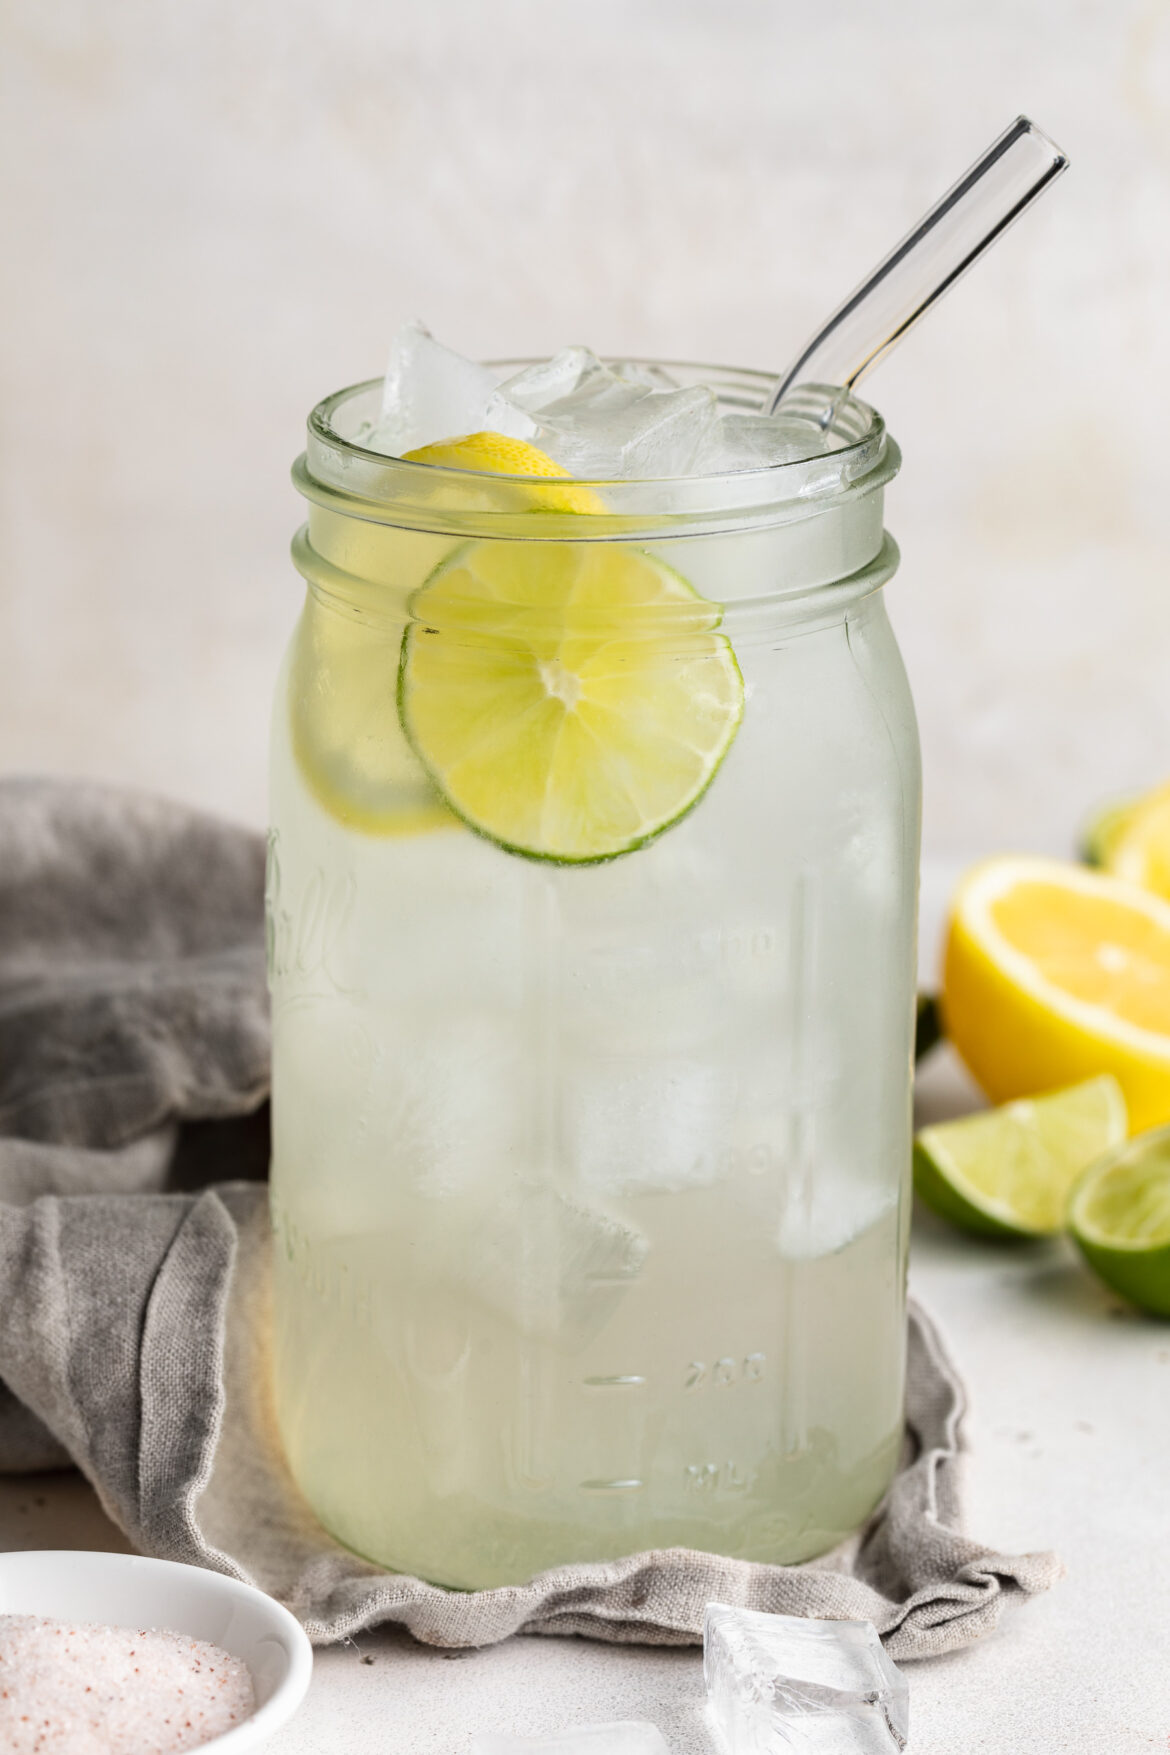
homemade gatorade in a large mason jar with ice and lime slices

I love sipping my homemade gatorade out of this 32 ounce mason jar (available on amazon!) and always use the Redmond’s Real Salt in this recipe – also available on amazon!

The Importance of Electrolytes

  • Sodium, potassium, magnesium, and calcium are vital for hydration, muscle function, and fluid balance – especially after sweating or exercise.
  • Dietitians note that homemade versions help you stay hydrated and replenish lost electrolytes without the added sugars found in commercial sports drinks.

Switch Up The Flavors of This Homemade Gatorade

Looking for variety? Swap in different flavor profiles with these easy twists:

  • Fruit Boosts: Add fresh watermelon juice, unsweetened cranberry, or tart cherry juice for natural sweetness and flavor.
  • Herbal Infusions: Stir in mint, cucumber, or a slice of ginger for added freshness and digestive support.
  • Sweetener Options: Use maple syrup, agave, or even stevia to control sweetness without compromising taste.
homemade gatorade in a large mason jar with lemons and limes on the side.
No ratings yet

Homemade Lemon-Lime Gatorade

Stay hydrated the healthy way with this refreshing homemade lemon-lime gatorade recipe. Made with coconut water, fresh citrus juice, raw honey, and mineral-rich salt, it’s a clean alternative to store-bought sports drinks. Perfect for post-workout recovery, hot summer days, or anytime you need a natural electrolyte boost!
Print Pin Rate
Prep Time: 1 minute
Total Time: 1 minute
Servings: 1 serving

Equipment

  • 1 large glass

Ingredients

  • 1 cup coconut water
  • 1 cup plain filtered water
  • juice of 1 lemon
  • juice of 1/2 lime
  • 1 tablespoon raw honey or agave
  • 1/4 teaspoon high mineral salt I used Redmond's Real Salt

Instructions

  • Add all ingredients to a large glass and stir to combine, then add in ice and enjoy!

Everyone needs a good berry crisp recipe in their back pocket! I’ve made a few berry crisps in my day, but to be completely honest – none were quite right. They were either too dry, didn’t have enough berries, or overly sweet. But this triple berry crisp recipe?? Well… I don’t mean to brag but, she’s just PERFECT! Made with 5 ingredients, in one bowl, with frozen berries (so you can bake it year-round!). I drew some inspo from my healthy apple crisp which was a huge hit last fall! And also my 4 ingredient peach cobbler which I can’t wait to break back out this upcoming peach season.

Why You’ll LOVE This Triple Berry Crisp with Frozen Berries

  • Super Easy to Make: With just 5 simple ingredients, this recipe comes together quickly for a stress-free dessert.​
  • Versatile and Adaptable: Easily customize the recipe to suit gluten-free, dairy-free, nut-free, or vegan diets without compromising on flavor.​
  • Deliciously Healthy: Made with wholesome ingredients, this crisp offers a guilt-free indulgence that’s both satisfying and nutritious.​
close up image of triple berry crisp with frozen berries in a baking dish.

Can I Use Fresh Berries?

Yes, you can use fresh berries in this recipe. However, frozen berries are convenient and available year-round, providing consistent quality and flavor. If using fresh berries, you may need to adjust the baking time slightly, as they release less juice than frozen ones.

Can I Make Ahead and Freeze This Recipe?

Absolutely! This berry crisp can be prepared ahead of time and frozen either before or after baking:​

  • Before Baking: Assemble the crisp, cover it tightly, and freeze. When ready to bake, remove from the freezer, let it thaw in the refrigerator overnight, and bake as directed.​
  • After Baking: Allow the crisp to cool completely, then cover and freeze. To reheat, warm it in the oven at 350°F until heated through.​
triple berry crisp with frozen berries on a plate with a scoop of vanilla ice cream on top.

Adjust This Recipe to Your Dietary Needs

  • Make it Gluten-Free: Use certified gluten-free oats and gluten-free all-purpose flour or almond flour for the crisp topping.
  • Make it Dairy-Free: Substitute the butter with a non-dairy alternative like coconut oil or a plant-based butter.​
  • Make it Nut-Free: Ensure all ingredients, including oats and flour, are free from cross-contamination with nuts.​
  • Make it Vegan: Replace the butter with a plant-based alternative and use a vegan-friendly sugar.
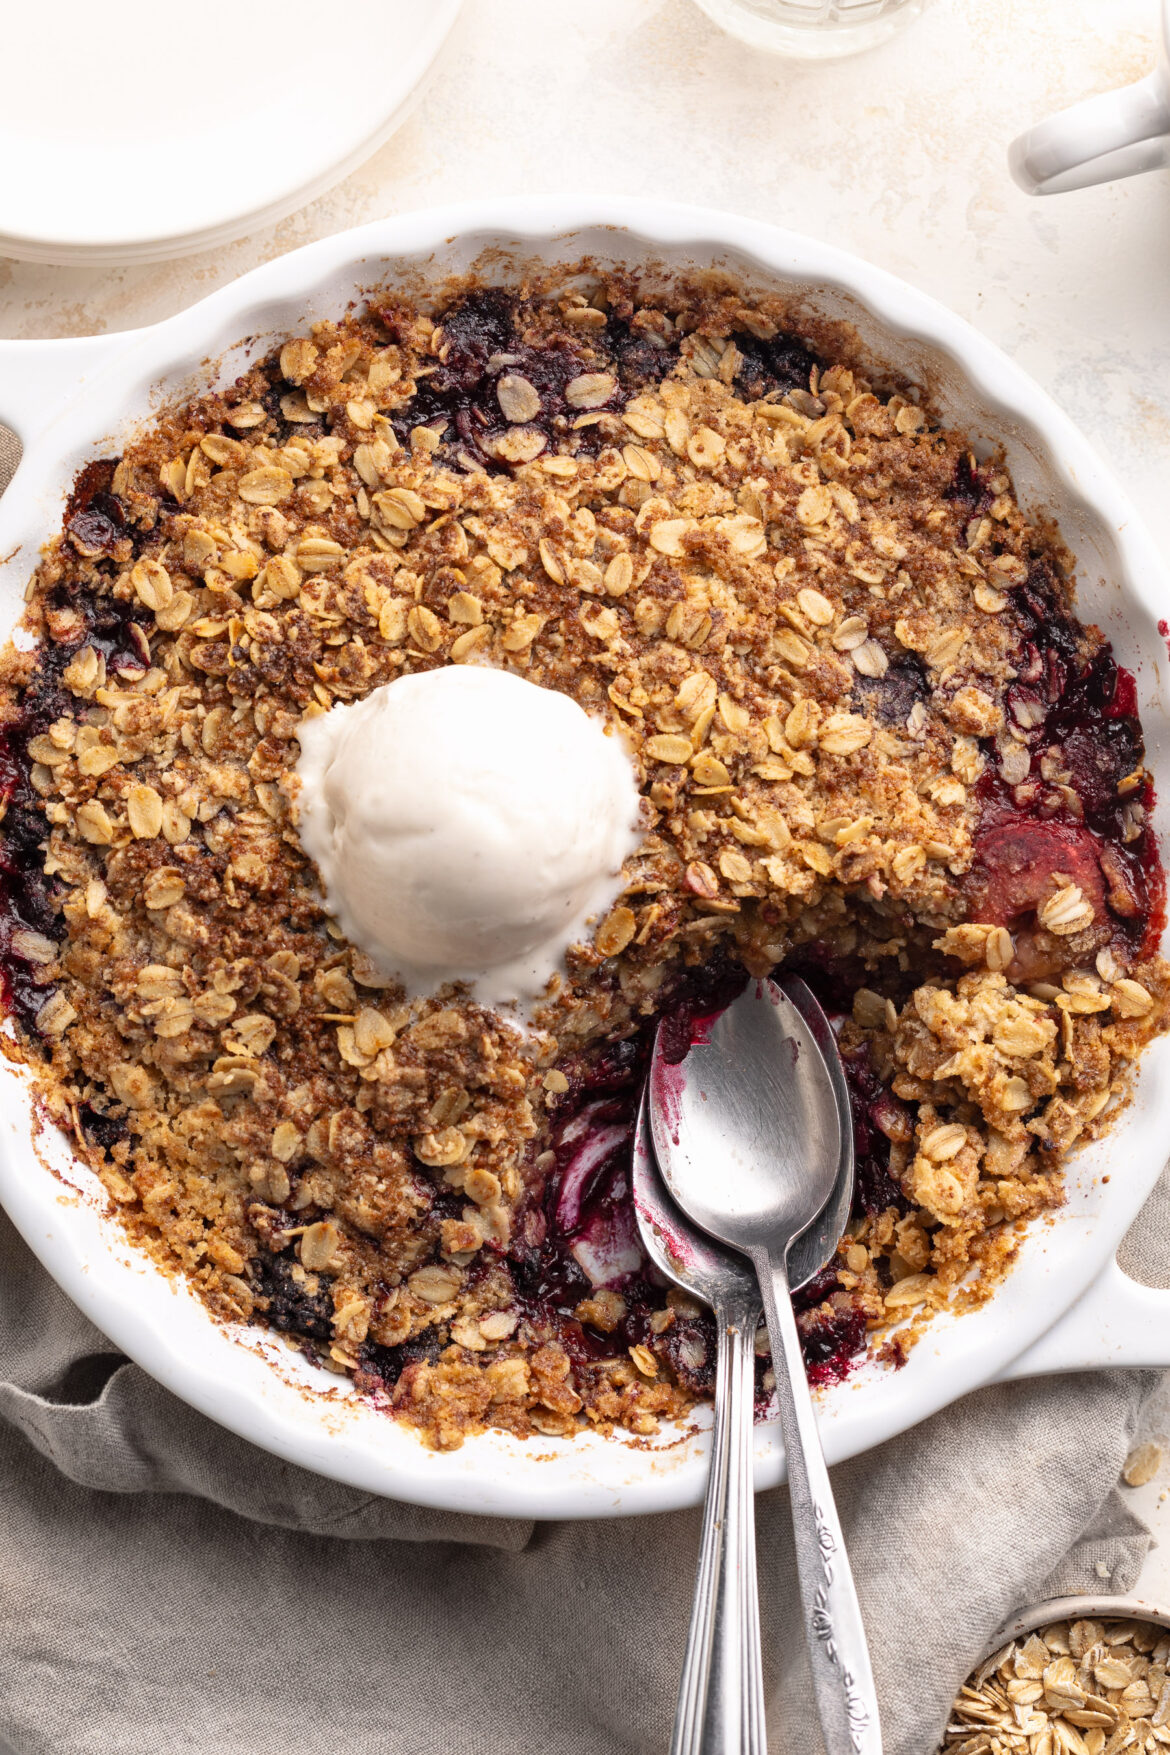
Overhead image of triple berry crisp with frozen berries in a baking dish with a scoop of vanilla ice cream on top.
3 from 2 votes

5-Ingredient Triple Berry Crisp with Frozen Berries

Effortless and delicious 5-Ingredient Triple Berry Crisp, crafted with frozen mixed berries and a simple, wholesome crisp topping! This fruit crisp is not only simple to make, but also easy to adapt to a variety of diets, making it a perfect treat for any occasion. Serve it warm with a scoop of vanilla ice cream for a delicious and healthy dessert!
Print Pin Rate
Prep Time: 10 minutes
Cook Time: 40 minutes
Total Time: 50 minutes
Servings: 8 servings

Equipment

  • 1 9-inch baking dish
  • 1 large bowl

Ingredients

For the berries:

  • 4 cups frozen mixed berries
  • 1/4 cup cane sugar or coconut sugar
  • 1/4 cup gluten-free all purpose flour or regular all purpose flour
  • 1/2 tablespoon lemon juice optional
  • 1 teaspoon vanilla extract optional

For the crisp:

  • 1 cup rolled oats
  • 3/4 cup gluten-free all purpose flour or almond flour
  • 1/2 cup cane sugar or coconut sugar
  • 6 ounces butter cut into 1-inch cubes

Instructions

  • Preheat oven to 350° Fahrenheit.
  • Add all berry ingredients to a 9-inch baking dish and toss together until evenly coated, then spread the berries into an even layer around the dish.
  • Add all crisp ingredients to a large bowl. Use a fork to mix together, until a crumbly mixture forms. Sprinkled the crisp topping evenly over the berries.
  • Bake for 40-45 minutes or until the berries are super soft, then let cool slightly before serving with a scoop of vanilla ice cream. YUM!
    berry crisp with frozen berries step 3

Nutrition

Serving: 1serving | Calories: 350kcal | Carbohydrates: 45g | Protein: 2g | Fat: 18g | Sugar: 24g

A few weeks ago, my mom had her first watermelon paloma while out to lunch, and she was hooked! She even texted me about it, and almost immediately got to working on recreating it. I feel like now’s a good time to mention, especially if you’re new around here, that my Mom is the cocktail queen! Last year she shared her BEST-ever daiquiri recipe with us, and she makes a mean aperol spritz. And guess what? Her version turned out even better than the one she had a brunch!

It’s a refreshing blend of watermelon and tequila, finished off with fizzy grapefruit soda. But not just any grapefruit soda, Mom tested a few and found her favorite, which I outline in the ingredients below! This watermelon paloma is a must, especially as the warm weather lingers. It’s perfect for sipping with brunch, or at your next summer party. I’ll surely be cheers-ing to the last days of summer with this refreshing cocktail in hand!

overhead image of watermelon paloma with fresh mint for garnish.

What Makes this the BEST Watermelon Paloma

This Watermelon Paloma stands out because it perfectly balances sweet, tangy, and refreshing flavors. The use of fresh watermelon juice brings a vibrant, natural sweetness, while the lime juice adds a necessary tartness. Tequila is the perfect base, and the Fever Tree grapefruit soda takes it over the top! The salted rim is the final touch, and my favorite part, but feel free to leave it out if that’s not your thing. Mom actually doesn’t include a salted rim in her original recipe, she prefers no salt.

What You’ll Need to Make It

  • Fresh Watermelon Juice: The star of the show! Use ripe, juicy watermelon for the best flavor. You can find watermelon juice at some grocery stores, like Trader Joe’s!
  • Fresh Lime Juice: Adds a tangy kick, and is signature to a classic paloma recipe. Mom always recommends using fresh limes rather than bottled juice for maximum flavor.
  • Simple Syrup: Easily made at home by dissolving equal parts sugar and water. You can also purchase it from most grocery stores, or use agave instead!
  • Tequila: The quality of your tequila matters. Opt for a good silver tequila, like Patron Silver or Casamigos Blanco, for a smooth finish.
  • Fever Tree Grapefruit Soda: This soda is light, fizzy, and not too sweet, making it a perfect addition to the cocktail. You can find it at specialty grocery stores, most liquor stores, or online. However, if you can’t find Fever Tree grapefruit soda, feel free to use whatever grapefruit soda you can get your hands on.

How to Make Fresh Watermelon Juice

Making fresh watermelon juice is simple. Cut your watermelon into chunks, removing the seeds. Then, blend the chunks until smooth. Strain the juice through a fine mesh strainer to remove the pulp, and you’re ready to go! Fresh watermelon juice can be stored in the fridge for up to three days.

watermelon paloma in a glass with a lime slice and watermelon slice.

How to Make It

  1. Prepare the Glass: Rub a lime wedge around the rim of your glass. Dip the rim in salt, then fill the glass with ice.
  2. Mix the Cocktail: In a cocktail shaker, combine the watermelon juice, lime juice, simple syrup, and tequila. Add ice and shake vigorously for 30 seconds to a minute until the drink is well chilled.
  3. Pour and Serve: Pour the mixture into your prepared glass, then top it off with Fever Tree grapefruit soda. Garnish with a lime wedge or a small watermelon slice.

Switch Up the Flavor

  • Use Vodka Instead of Tequila: If you’re not a tequila fan, swap it out for vodka for a lighter, less intense flavor.
  • Experiment with Other Juices: While watermelon is Mom’s favorite (mine too!), you can try other fresh fruit juices like pineapple, strawberry, or peach for a different twist.
  • Make it a Mocktail: Simply leave out the tequila for a light and refreshing non-alcoholic watermelon paloma mocktail!

By following these tips and using high-quality ingredients, you’ll create the perfect watermelon paloma that everyone will love. Don’t forget to share your creations and tag me on Instagram—I can’t wait to see how you enjoy this drink!

watermelon paloma in a glass with a lime slice and a small slice of watermelon.
No ratings yet

Mom’s Watermelon Paloma

This easy watermelon paloma recipe was developed by none other than my Mom! Consider her our resident bartender, and the only person I trust to make a really REALLY good drink. With fresh watermelon juice, a splash of lime, and a fizzy finish, this watermelon paloma will become your go-to summer cocktail!
Print Pin Rate
Servings: 0

Ingredients

  • 3 ounces watermelon juice
  • 1 ounce fresh lime juice
  • 1 ounce simple syrup, or agave
  • 2 ounces tequila
  • 2-3 ounces grapefruit soda (Mom recommends Fever Tree grapefruit soda)

Instructions

  • Rub a lime wedge around the edge of a glass, then dip the rim of the glass in salt and fill the glass with ice.
  • Add the watermelon juice, lime juice, simple syrup, and tequila to a cocktail shaker with ice. Secure the shaker with a lid, then shake for 30 seconds to a minute, or until the drink is very cold.
  • Pop the lid off the shaker and pour the drink into your prepared glass. Then, fill the glass the rest of the way with grapefruit soda.

I made this 4 ingredient peach cobbler for Father’s Day last weekend and let me tell ya, it was a HUGE hit! I even made it gluten-free (see note below), and no one could taste the difference. Now it doesn’t take much scrolling around here to realize that I’m a huge fan of few-ingredient desserts. I’m talkin’ 4 ingredient banana bread, 3 ingredient peanut butter mug cake, and 4 ingredient banana muffins. So ya, I’d say this 4 ingredient peach cobbler fits perfectly into that lineup!

4 ingredient peach cobbler on a plate with ice cream on top.

What You’ll Need to Make This Recipe

Fresh Peaches: You’ll need 5-6 large fresh peaches, sliced. Fresh peaches provide the best flavor and texture, but you can also use frozen or canned peaches as an alternative.

Sugar: You can use regular sugar, or swap it for coconut sugar or monkfruit sweetener for a healthier option.

Self-Rising Flour: Use 1 cup of self-rising flour to create the cobbler topping. If you don’t have self-rising flour, you can use all-purpose flour with 1 ½ teaspoons of baking powder added.

Butter: You’ll need ½ cup of melted butter for a rich and flavorful topping. For a dairy-free alternative, substitute with vegan butter or coconut oil.

close up image of 4 ingredient peach cobbler in a baking dish.

Types of Peach to Use

  • Fresh peaches are ideal for the best flavor and texture. Simply peel, slice, and they’re ready to go.
  • Frozen peaches are a great alternative when fresh peaches are out of season. Thaw and drain them before using.
  • Canned peaches are convenient and work well in this recipe. Make sure to drain them thoroughly before adding to the pan, and leave the sugar out of the filling since canned peaches are already sweetened.

Adjust This Recipe to Your Dietary Needs

Make it Gluten-Free: Use self-rising gluten-free all-purpose flour in place of regular self-rising flour.

Vegan Option: Substitute melted butter with vegan butter or coconut oil.

Make it Sugar-Free: Replace regular sugar with monkfruit sugar or your preferred sugar substitute.

overhead image of 4 ingredient peach cobbler in a baking dish with ice cream on top.
5 from 5 votes

4 Ingredient Peach Cobbler (gluten-free!)

This 4 ingredient peach cobbler is the perfect simple yet delicious dessert recipe! Made with fresh summer peaches and a perfectly sweet crumb topping. Whip up this super easy recipe for potluck, parties, or summer bbqs! This recipe even includes gluten-free and vegan options.
Print Pin Rate
Servings: 0

Ingredients

For the peach filling:

  • 4-5 fresh peaches, sliced
  • 2 tablespoons sugar

For the cobbler topping:

  • 1 cup self-rising flour, see Notes
  • 1/2 cup sugar
  • 1/2 cup butter, melted

Instructions

  • Preheat the oven to 350° Fahrenheit and lightly grease a 9-inch cake or pie pan. Add the sliced peaches and 2 tablespoons sugar to the prepared pan and mix together.
    4-Ingredient-Peach-Cobbler-Step-1
  • In a medium bowl, mix together the self-rising flour, sugar, and melted butter, to form a crumbly consistency.
  • Add the drained and sliced peaches to the prepared cake or pie pan, then top the peaches with the flour mixture. Do not stir the peaches and flour mixture together, simply layer then flour mixture evenly on top of the peaches.
  • Bake the peach cobbler for 40-45 minutes, or until it’s golden brown on top and the peaches are bubbly. Let it cool out of the oven for 20 minutes before serving with a scoop of vanilla ice cream – YUM!

Notes

  • If you don’t have self-rising flour, you can use all purpose flour and add 1 ½ teaspoons baking powder to the recipe.