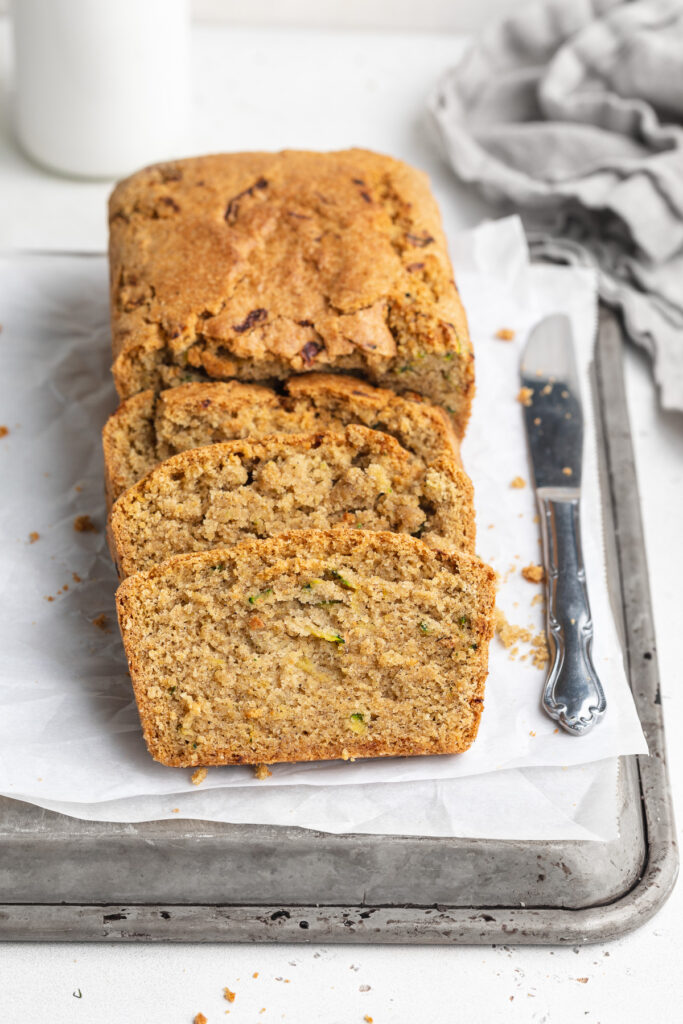
Carrot cake for breakfast? Yes plz! These carrot cake baked oats have all the warm, cozy flavors of your favorite spring dessert – cinnamon, nutmeg, sweet grated carrots, crunchy walnuts – baked into a hearty, high-protein breakfast that you can meal prep on Sunday and enjoy all week long. And the Greek yogurt cream cheese frosting takes this recipe over the top!
What I love most about this recipe, besides the fact that it genuinely tastes like carrot cake, is how totally easy it is! Simply whisk, stir, bake, and that’s it. No mixer, no complicated steps, just one bowl and one baking dish standing between you and the best breakfast of your week! If you’re already a fan of my Meal Prep Protein Pancakes or my High-Protein Breakfast Biscuits, you’re going to absolutely love this one.
Why You’ll Love These Carrot Cake Baked Oats
- Tastes just like carrot cake! Warm cinnamon and nutmeg, sweet shredded carrots, chewy raisins, crunchy walnuts, and that dreamy cream cheese frosting – every bite hits exactly like the real thing.
- High in protein and fiber. Between the Greek yogurt in the batter, the eggs, and the fiber-packed oats and carrots, this is a breakfast that will actually keep you full and energized all morning long.
- Perfect for meal prep. This recipe makes 9 generous squares. Bake it Sunday, store it in the fridge, and you’ve got a grab-and-go breakfast ready for the entire week – no reheating required if you enjoy it cold!
- Super easy to make. One large bowl, one baking dish, a quick whisk and stir, and the oven does the rest. Start to finish, you’re looking at under an hour with minimal work.
- Naturally sweetened. Maple syrup and the natural sweetness of the carrots and raisins do all the work here – no refined sugar needed!

Recipe Variations and Substitutions
- Milk: Any milk works here – dairy or non-dairy. Oat milk, almond milk, and coconut milk are all great options if you want to keep this dairy-free.
- Greek Yogurt: Plain full-fat Greek yogurt gives the best texture and the most protein. You can swap for a dairy-free yogurt (coconut or cashew-based work well) if needed – just note the bake may come out slightly softer.
- Maple Syrup: Honey works as a 1:1 swap. If you’d like to reduce the sweetness further, know that the carrots and raisins contribute natural sweetness, so you can comfortably cut the maple syrup back to 3 tablespoons.
- Walnuts: Pecans are a delicious swap and give an even more classic carrot cake flavor. You can also leave the nuts out entirely for a nut-free version.
- Raisins: These are totally optional! If you’re not a raisin fan, leave them out – the baked oats are just as delicious without them. Alternatively, try swapping them for dried pineapple or dried cranberries.
- Frosting: If you’re short on time, a simple dollop of plain Greek yogurt on top works beautifully and still adds that creamy, tangy element that makes carrot cake so good. For a fully dairy-free frosting, use a thick coconut yogurt and dairy-free cream cheese.
Sam’s Recipe Tips
- Grate your own carrots. Pre-shredded matchstick carrots from the store work in a pinch, but freshly grated carrots are finer, softer, and blend into the oats much more beautifully. A box grater takes just a couple of minutes and makes a real difference in the final texture.
- Let it cool completely before frosting. I know it’s tempting to frost straight out of the oven, but if the baked oats are still warm, the frosting will melt and slide right off. Patience pays off here – let them cool fully, then frost generously.
- Meal prep tip: store the frosting separately. If you’re making this for the week, cut the oats into squares and store them unfrosted in an airtight container in the fridge. Keep the frosting in a separate container and add a dollop to each square right before eating. This keeps everything fresh and prevents the oats from getting soggy.
- Room temperature eggs matter. Cold eggs can cause the batter to look curdled or uneven. Pull them out of the fridge 20–30 minutes before you start, and your batter will come together much more smoothly.
- Don’t overbake. The oats are done when the top looks set and a toothpick inserted into the center comes out clean. Overbaking can dry them out, so start checking at the 40-minute mark.
- Freeze for later. These carrot cake baked oats freeze beautifully! Let them cool completely, cut into individual squares, and freeze in a single layer. Once frozen, transfer to an airtight bag or container. They’ll keep for up to 2 months – just microwave in 30-second intervals until warmed through.

Healthy Carrot Cake Baked Oats with Greek Yogurt Cream Cheese Frosting
Equipment
- 1 9×9-inch baking pan
- 2 large bowls
- 1 hand or stand mixer
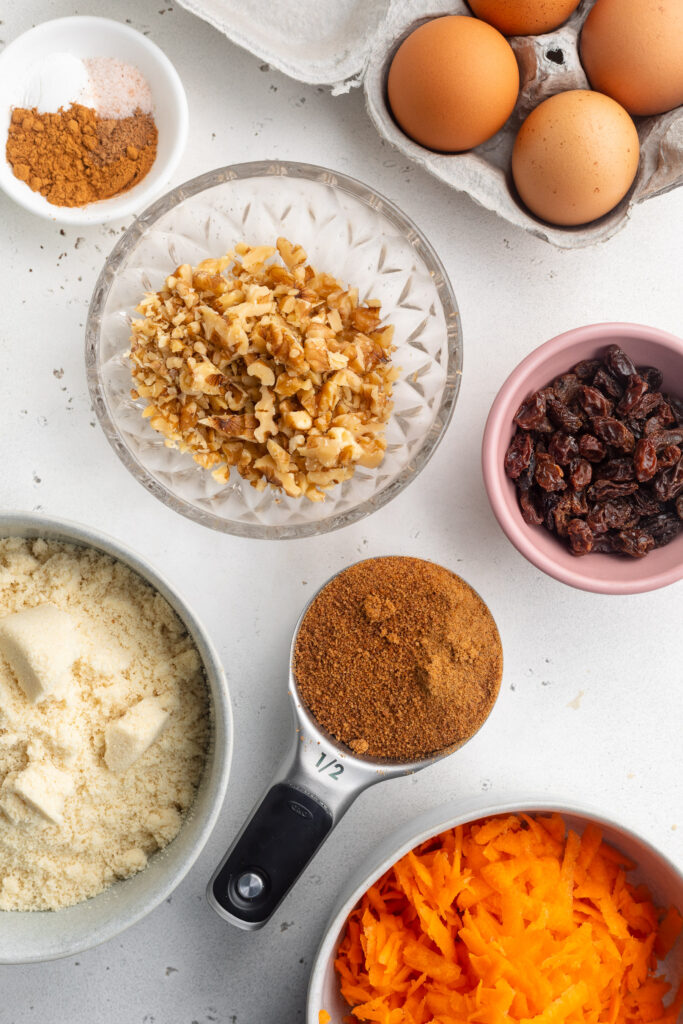
Ingredients
- 1 cup milk
- 1 cup Greek yogurt
- 2 eggs at room temperature
- 1/4 cup maple syrup
- 1 teaspoon vanilla extract
- 2 cups rolled oats
- 2 teaspoons cinnamon
- 1/2 teaspoon nutmeg
- 1 cup grated carrots
- 1/2 cup chopped walnuts
- 1/2 cup raisins optional
For the frosting:
- 1 cup Greek yogurt
- 1/2 cup (4 ounces) cream cheese softened, at room temperature
- 3-4 tablespoons maple syrup or honey
- 1 teaspoon vanilla extract
Instructions
- Preheat oven to 350° Fahrenheit and lightly grease the inside of a 9×9-inch baking dish.
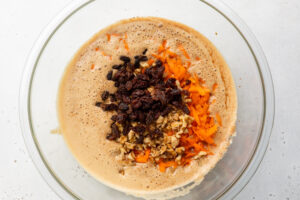
- Whisk together the milk, Greek yogurt, eggs, maple syrup, and vanilla extract in a large bowl.
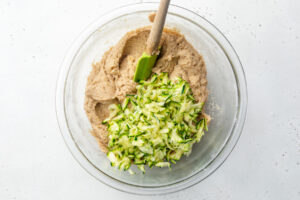
- Add in the rolled oats, cinnamon, nutmeg, carrots, walnuts, and raisins to the bowl and stir until everything is completely combined.
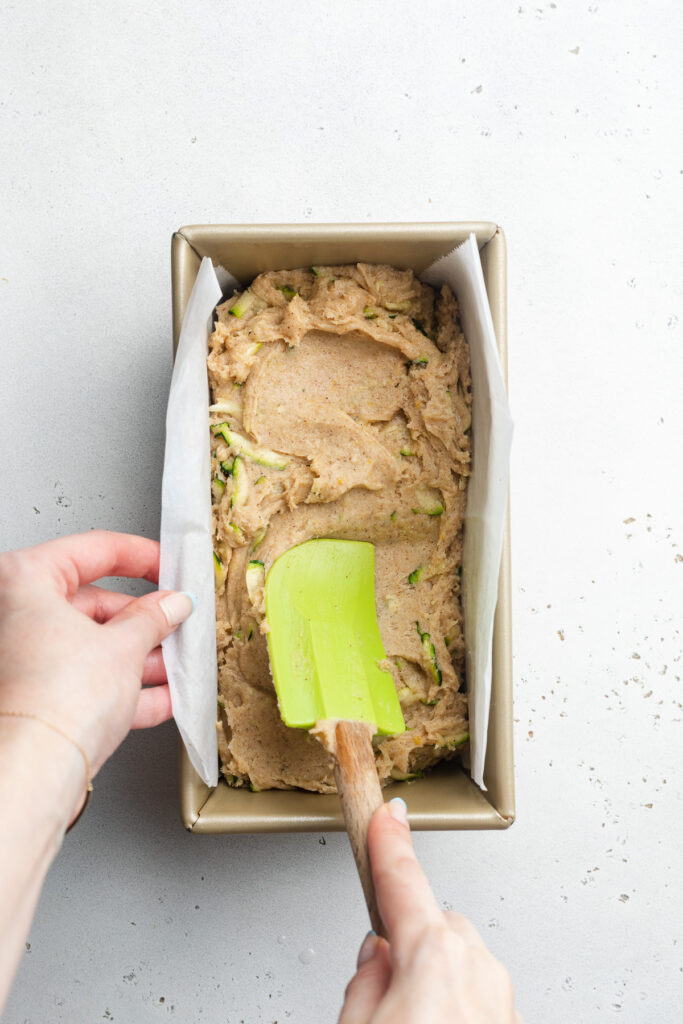
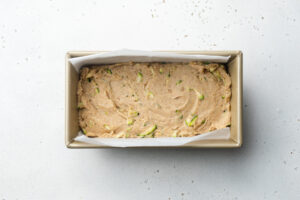
- Pour the oat mixture into your prepared baking dish and bake for 40-45 minutes, or until the top is set and the oats are cooked through.
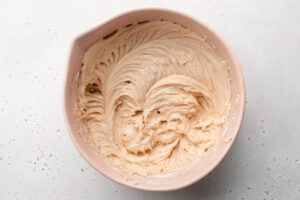
- Remove the baked oats from the oven and let them cool completely. While the oats cool, make the frosting by adding the Greek yogurt, cream cheese, maple syrup, and vanilla extract to a bowl and use either a hand or stand mixer to whisk it together until light and fluffy.
- Once the oats are completely cool, top with the frosting, cut into squares, and enjoy! Or, store the frosting separately, cut the oats into squares and store for an easy meal prep breakfast. Right before eating, top one serving of baked oats with a big dollop of frosting.