Tag

Christmas

Browsing

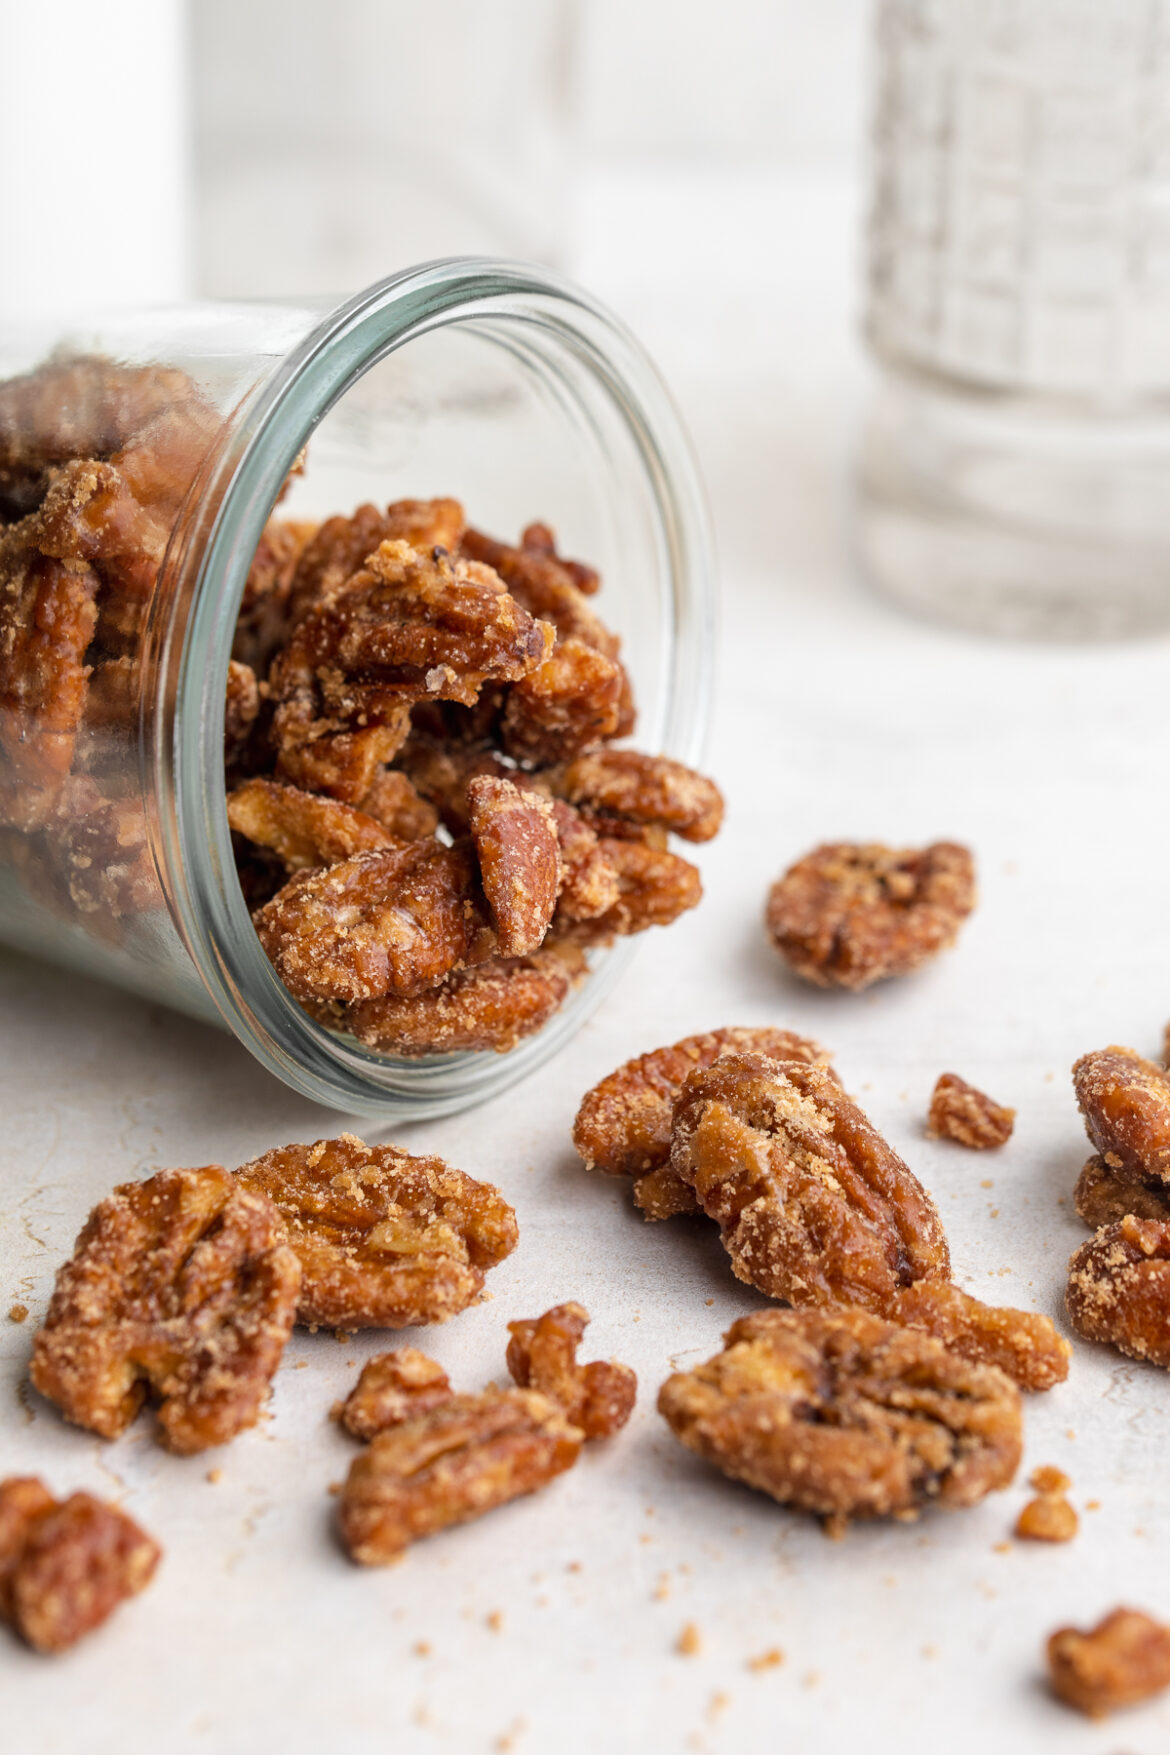
Just 3 ingredients to make these maple candied pecans! Perfectly sweet, crunchy, and totally delicious. Cooked on the stovetop in under 20 minutes!

maple candied pecans in a jar

What You’ll Need to Make Maple Candied Pecans

Pecans – Start with raw and unsalted pecans for this recipe. The cooking and flavoring of the pecans happens throughout this recipe, so it’s best to start with a blank canvas! Also, be sure to use whole pecan halves, not pecan pieces.

Maple Syrup – Just half a cup of maple syrup to sweeten these maple candied pecans! I love this unrefined sugar alternative, it’s healthier and tastes just as good. As the pecans cook, the maple syrup will begin to crystalize and coat the pecans, just like sugar would.

Salt – A pinch of salt to help round out those flavors! Salt seems like a counteractive addition to this recipe, but trust me, it brings it all together. And believe it or not, salt actually brings out the sweetness in this candy recipe!
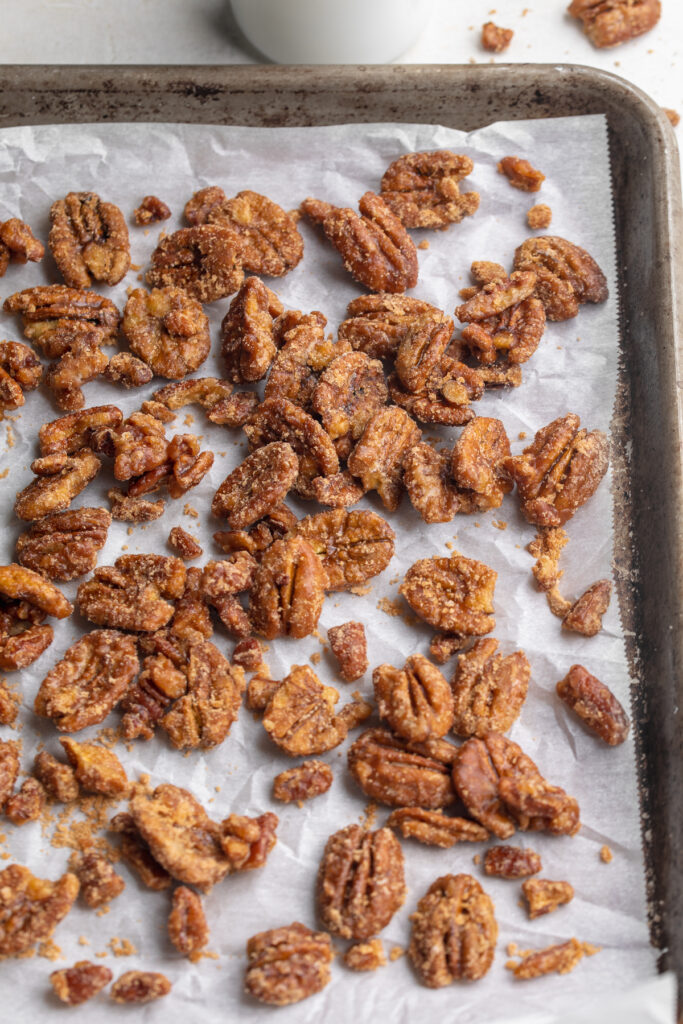
maple candied pecans on a baking sheet

Tips and Tricks

  • Avoid cooking these maple candied pecans at a high temperature. High heat will quickly cause the maple syrup to burn, which could ruin your recipe. Therefore, maintain a simmer, and continue stirring the pecans every few minutes to avoid burning.
  • Have fun with this recipe! Throw in a pinch of cinnamon, or a dash of vanilla extract while the pecans cook. Or, for an extra festive addition, serve them with a handful of festive candies or sprinkles!
  • Maple candied pecans are best stored at room temperature, in an airtight container for up to one week. You can even store them in the fridge for up to one month, or the freezer for up to three months!
overhead image of maple candied pecans on a baking sheet.

This Recipe Is…

Maple Candied Pecans

5 from 1 vote
Recipe by Samantha Course: Dessert, Snacks, SidesDifficulty: Easy
Servings

2

cups
Prep time

0

minutes
Cooking time

20

minutes
Total time

20

minutes

Ingredients

  • 2 cups raw pecan halves

  • 1/2 cup maple syrup

  • Small pinch of salt

Directions

  • Add all ingredients to a large pan over medium heat. Stir and bring the maple syrup to a simmer. Once simmering, reduce the heat to low.
  • Continue cooking on low for 20 minutes, stirring every couple of minutes. After 20 minutes, the maple syrup should begin to crystalize and look like sugar coating the pecans.
  • Once syrup has crystalized, pour the pecans onto a parchment-lined baking sheet. Spread pecans into an even layer, then let cool completely before eating or storing.

Did you make this recipe?

Share it and tag @samdoesherbest on Instagram!

Like this recipe?

Follow us @samdoesherbest on Pinterest

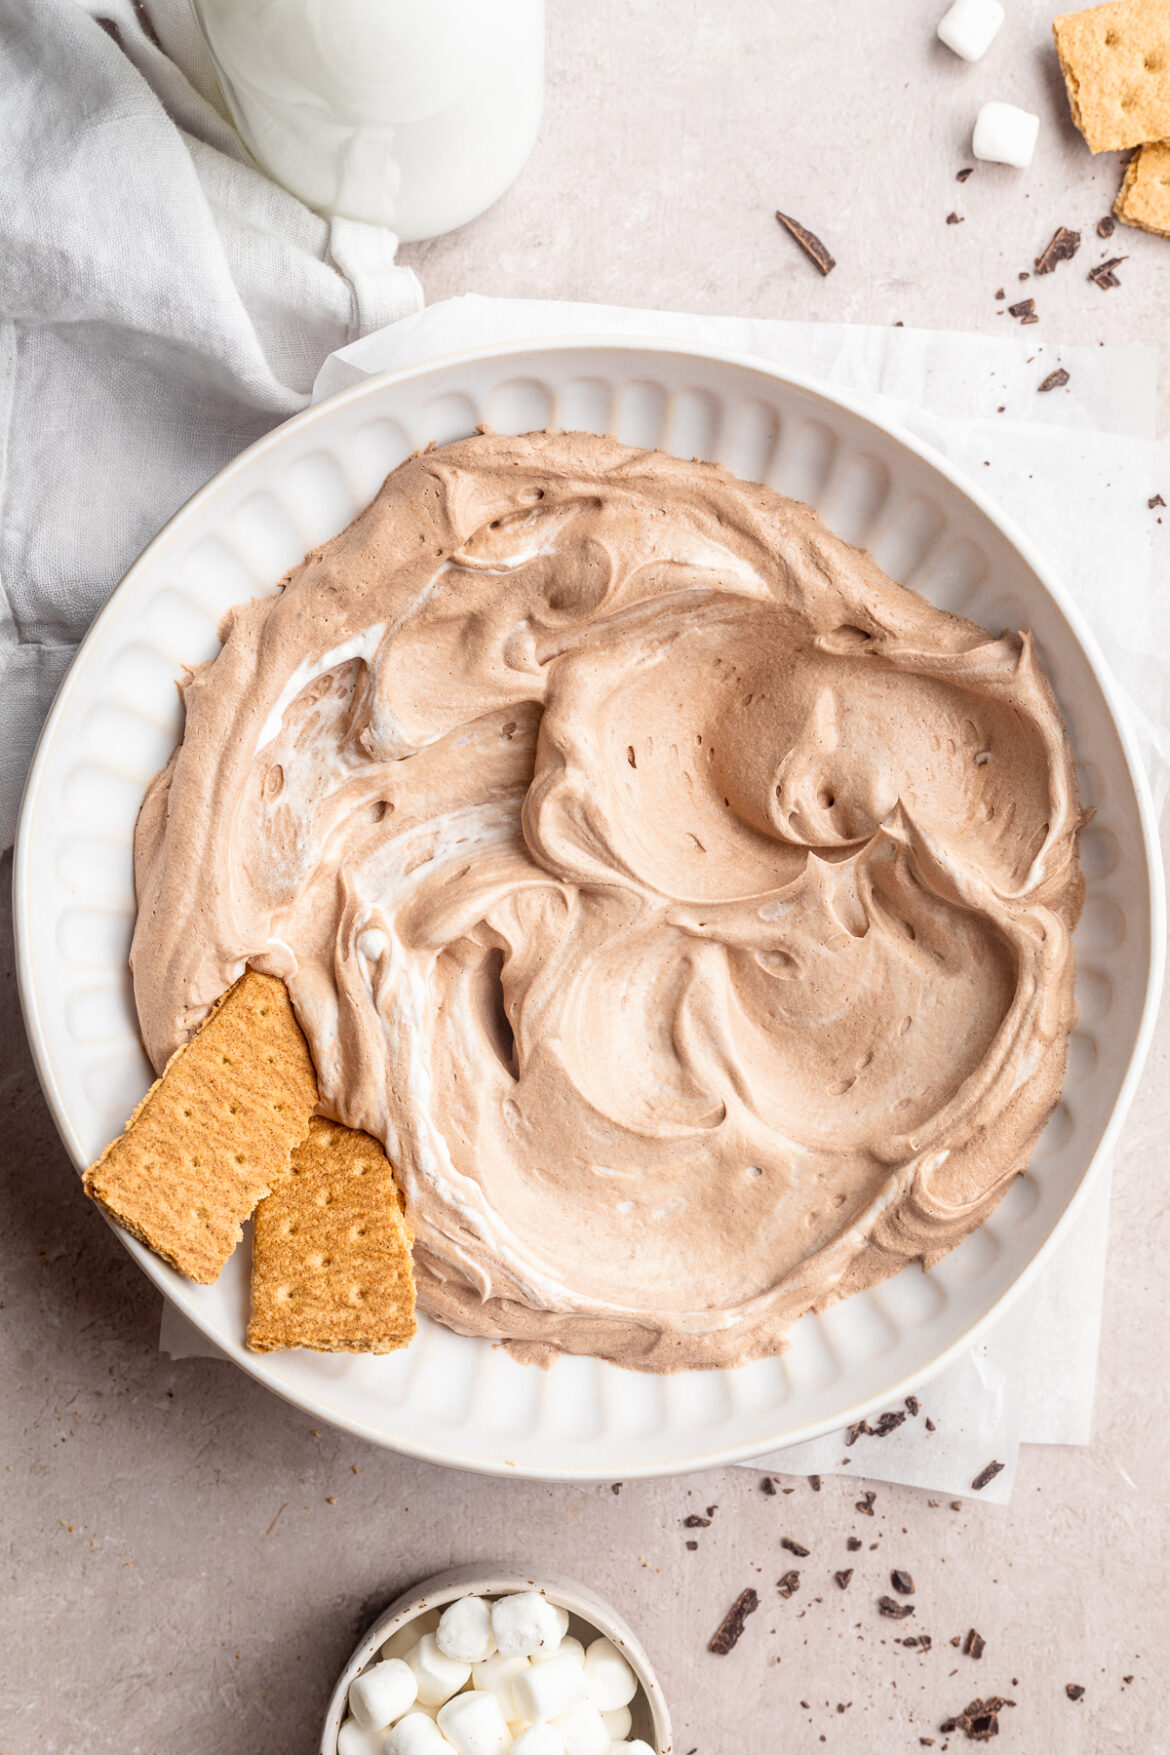
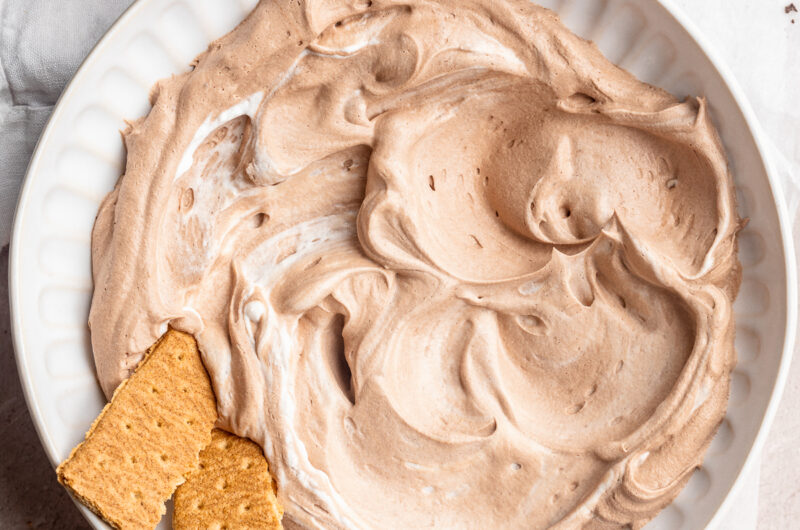
Blissfully easy and delicious vegan hot chocolate dip! Made with just 3 ingredients, no cooking or baking required. This fool-proof dessert recipe is perfect for holiday parties or potlucks!

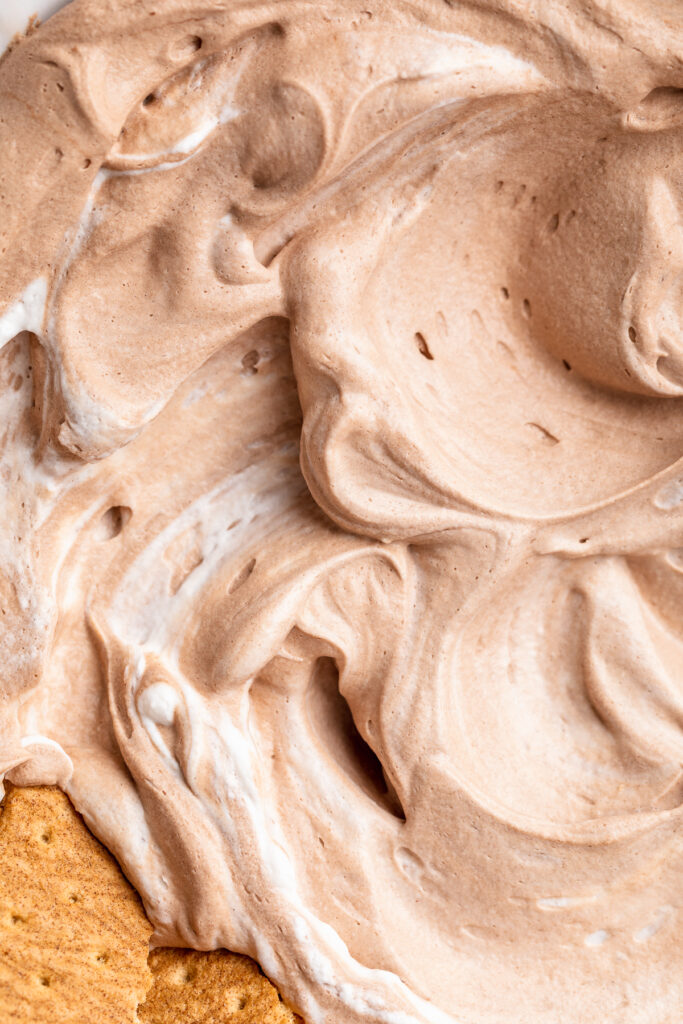
close-up image of vegan hot chocolate dip.

What You’ll Need to Make Vegan Hot Chocolate Dip

Vegan Whipped Cream – If not vegan, feel free to use regular ole’ whipped cream instead. However, I used Truwhip’s Vegan Whipped Topping and it tastes just like the real thing. I’ve also tested this recipe with So Delicious cocowhip, and it turned out fabulous! Or, for a healthier option, feel free to make a homemade coconut whipped cream. To do this, whip together the coconut cream (not the liquid part) from two cans of full-fat coconut milk with either a hand or stand mixer until light and fluffy. If taking this option, I recommend adding in at least 3 tablespoons of sugar to help sweeten this dessert dip!

Unsweetened Cocoa Powder – It’s super important to use unsweetened cocoa powder in this vegan hot chocolate dip recipe. If sweetened, you risk an overly sweet dip. Therefore, check the baking aisle at your grocery store for an unsweetened cocoa powder, such as this Hershey’s one.

Vanilla Extract – A splash of vanilla extract is the finishing touch to this vegan dessert recipe! It brings the hot chocolate flavor together, and is seriously so good.

vegan hot chocolate dip in a bowl with graham crackers.

Tips and Tricks

  • Don’t over-mix your dip! An over-mixed dip will turn runny, and lose its fluffiness. Simply stir until everything’s incorporated, then enjoy!
  • Feel free to prepare this vegan hot chocolate dip in advance! To do this, store in an airtight container in either the freezer for up to 2 months, or the fridge for up to 4 days. If freezing, simply transfer to the fridge a few hours before serving to thaw, then give it a quick stir.
  • Serve this chocolatey dessert dip however you’d like! I love mine with graham crackers and fresh strawberries. Though chocolate chip cookies, teddy grahams, apple slices, or even marshmallows all make for great dippers!
graham cracker being dipped into vegan hot chocolate dip.

Adjust This Recipe to Your Dietary Needs

Make it Paleo: For a paleo version, make a homemade coconut whipped cream and sweeten with either coconut sugar or a splash of maple syrup – YUM!

Vegan Hot Chocolate Dip

5 from 1 vote
Recipe by Samantha Course: DessertDifficulty: Easy
Servings

12

servings
Prep time

5

minutes
Cooking time

0

minutes
Total time

5

minutes

Blissfully easy and delicious vegan hot chocolate dip! Made with just 3 ingredients, no cooking or baking required. This fool-proof dessert recipe is perfect for holiday parties or potlucks!

Ingredients

  • 8 ounces vegan whipped cream

  • 3 tablespoons unsweetened cocoa powder

  • 1-3 tablespoons sugar, optional depending on how sweet you’d like it

  • 1/2 teaspoon vanilla extract

Directions

  • Add all ingredients to a bowl, then whisk together until combined.
  • Serve with graham crackers, animal crackers, marshmallows, strawberries, apple slices, Oreos, etc.

Recipe Video

Did you make this recipe?

Share it and tag @samdoesherbest on Instagram!

Like this recipe?

Follow us @samdoesherbest on Pinterest

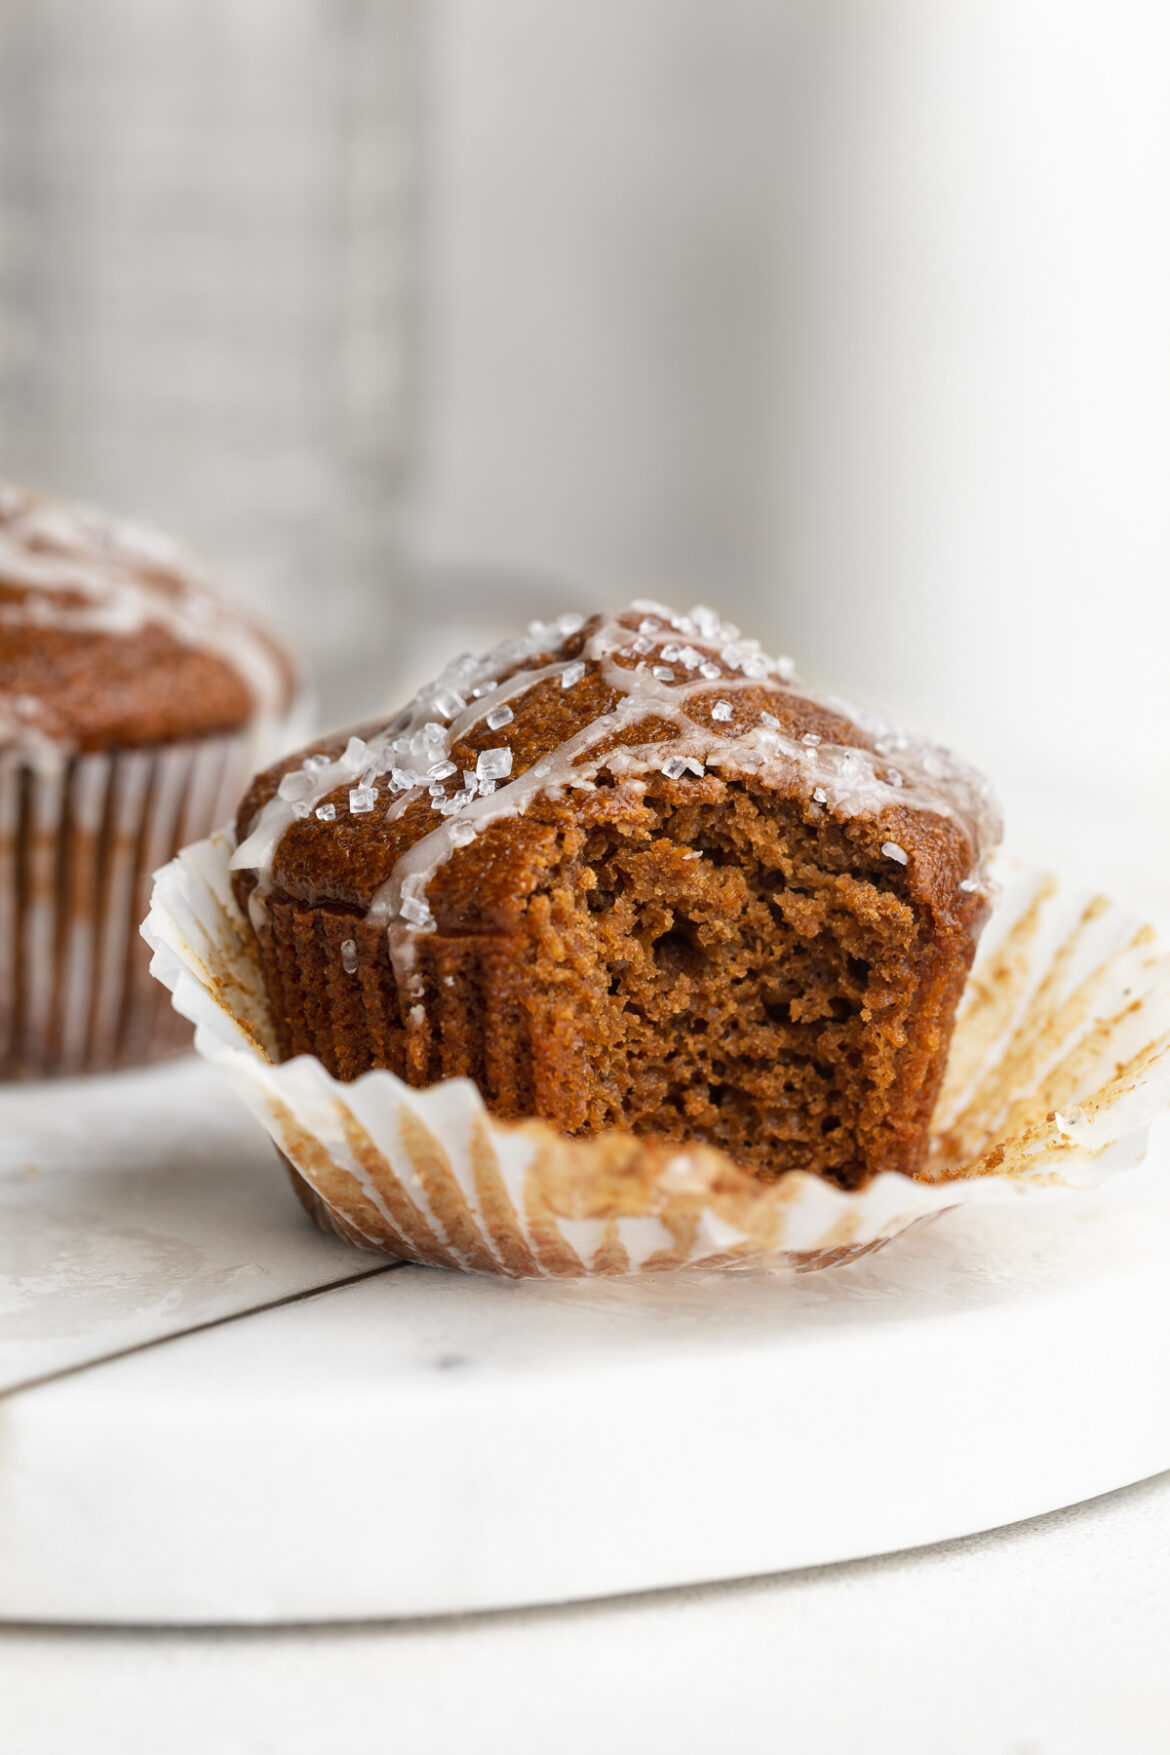
Fluffy and perfectly spicy healthy gingerbread muffins! The perfect festive snack, that comes together in the blender. Oats, molasses, and ground ginger make these gingerbread muffins healthy AND delicious!

glunte-free gingerbread muffins piled on top of a marble board.

What You’ll Need to Make Gluten-Free Gingerbread Muffins

Old Fashioned Rolled Oats – It’s super important you use old fashioned/rolled oats in this recipe. Avoid instant, steel-cut, or Irish oats. The first step involves grinding these oats into a flour in your blender. When doing this, try to grind them as fine as possible. Finely ground oats will result in fluffier muffins!

Apple Sauce – I used apple sauce in these gingerbread muffins, because it yields little to no flavor. However, if you don’t have apple sauce, feel free to substitute it with 1/2 cup mashed banana. Mashed banana will give these muffins a slight banana flavor, which if you like banana, I’m sure you won’t mind.

Molasses – Any and all gingerbread recipes contain molasses, which is how they get their signature dark-brown color. Don’t skip the molasses, it’s super important for both the flavor and structure of these muffins.

Ground Ginger – Wouldn’t be gingerbread muffins without some ginger! This recipe packs in tons of that spicy ginger flavor, which I personally LOVE. However, if you want a more subtle ginger flavor, go ahead and use just 1/2 teaspoon ground ginger instead.

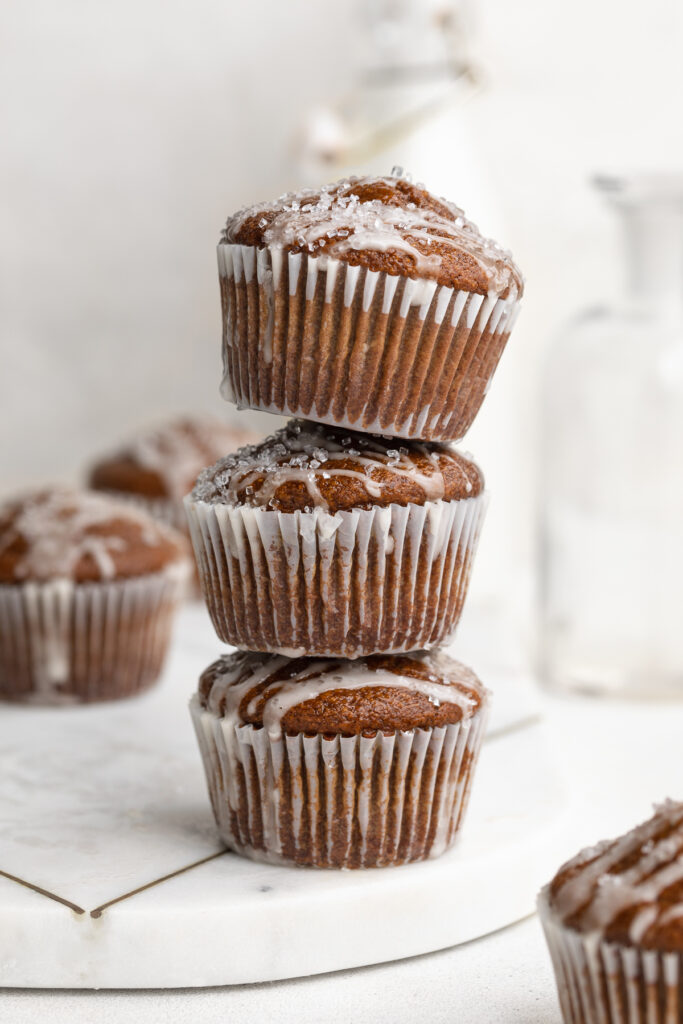
three gluten-free gingerbread muffins stacked on top of each other.

Tips and Tricks

  • Use a large cookie scoop or 1/4-cup measuring cup to fill your muffin tin. This’ll ensure even-sized muffins, with that beautiful dome on top!
  • For extra sweetness, top your muffins with a simple 2-ingredient powdered sugar glaze. To make it, whisk together 1/2 cup powdered sugar with 2-3 tablespoons milk. Once smooth, use a spoon to drizzle glaze over cooled gluten-free gingerbread muffins.
  • Store these muffins in an airtight container at room temperature for up to 3 days. Or, to make them last longer, pop them in the freezer for up to 3 months!

Adjust This Recipe to Your Dietary Needs

Make it Vegan: While I haven’t tested it myself, you can try replacing the eggs with either two flax eggs or by using your favorite vegan egg replacer. I’ve used this Bob’s Red Mill Egg Replacer in a number of other recipes and have always loved it!

Gluten-Free Gingerbread Muffins

4 from 28 votes
Recipe by Samantha Course: Snacks, DessertDifficulty: Easy
Servings

10

muffins
Prep time

5

minutes
Cooking time

20

minutes
Total time

25

minutes

Fluffy and perfectly spicy gluten-free gingerbread muffins! The perfect festive snack, that comes together in the blender. Oats, molasses, and ground ginger make these gluten-free gingerbread muffins healthy AND delicious!

Ingredients

  • 2 cups old fashioned rolled oats

  • 1/2 cup apple sauce, unsweetened

  • 1/2 cup maple syrup

  • 1/4 cup molasses

  • 2 eggs

  • 2 teaspoons vanilla extract

  • 2 teaspoons baking powder

  • 2 teaspoons cinnamon

  • 1 1/2 teaspoons ground ginger

  • 1/2 teaspoon nutmeg

  • 1/2 teaspoon salt

Directions

  • Preheat oven to 350° Fahrenheit and line a muffin tin with muffin liners.
  • Add oats to a blender and blend until it’s ground into a flour.
  • Add in remaining ingredients, then blend until a smooth batter forms.
  • Transfer ½ cup batter into each muffin mold, then bake for 20-25 minutes or until a toothpick inserted down the center of one muffin comes out clean. Remove from oven and transfer muffins to a wire cooling rack, let cool before eating.

Recipe Video

Did you make this recipe?

Share it and tag @samdoesherbest on Instagram!

Like this recipe?

Follow us @samdoesherbest on Pinterest

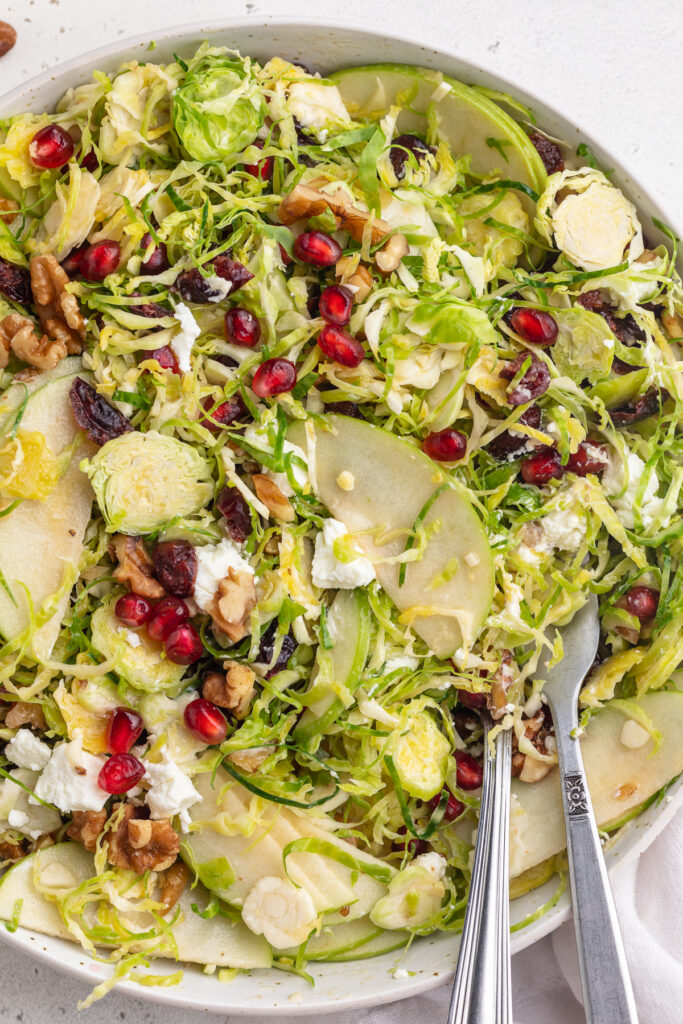
Fresh and crunchy shaved Brussels sprout salad, finished off with an out-of-this-world maple dijon dressing! A quick and easy side dish, comes together in just 10 minutes. A gluten-free salad, with nut-free and vegan options!

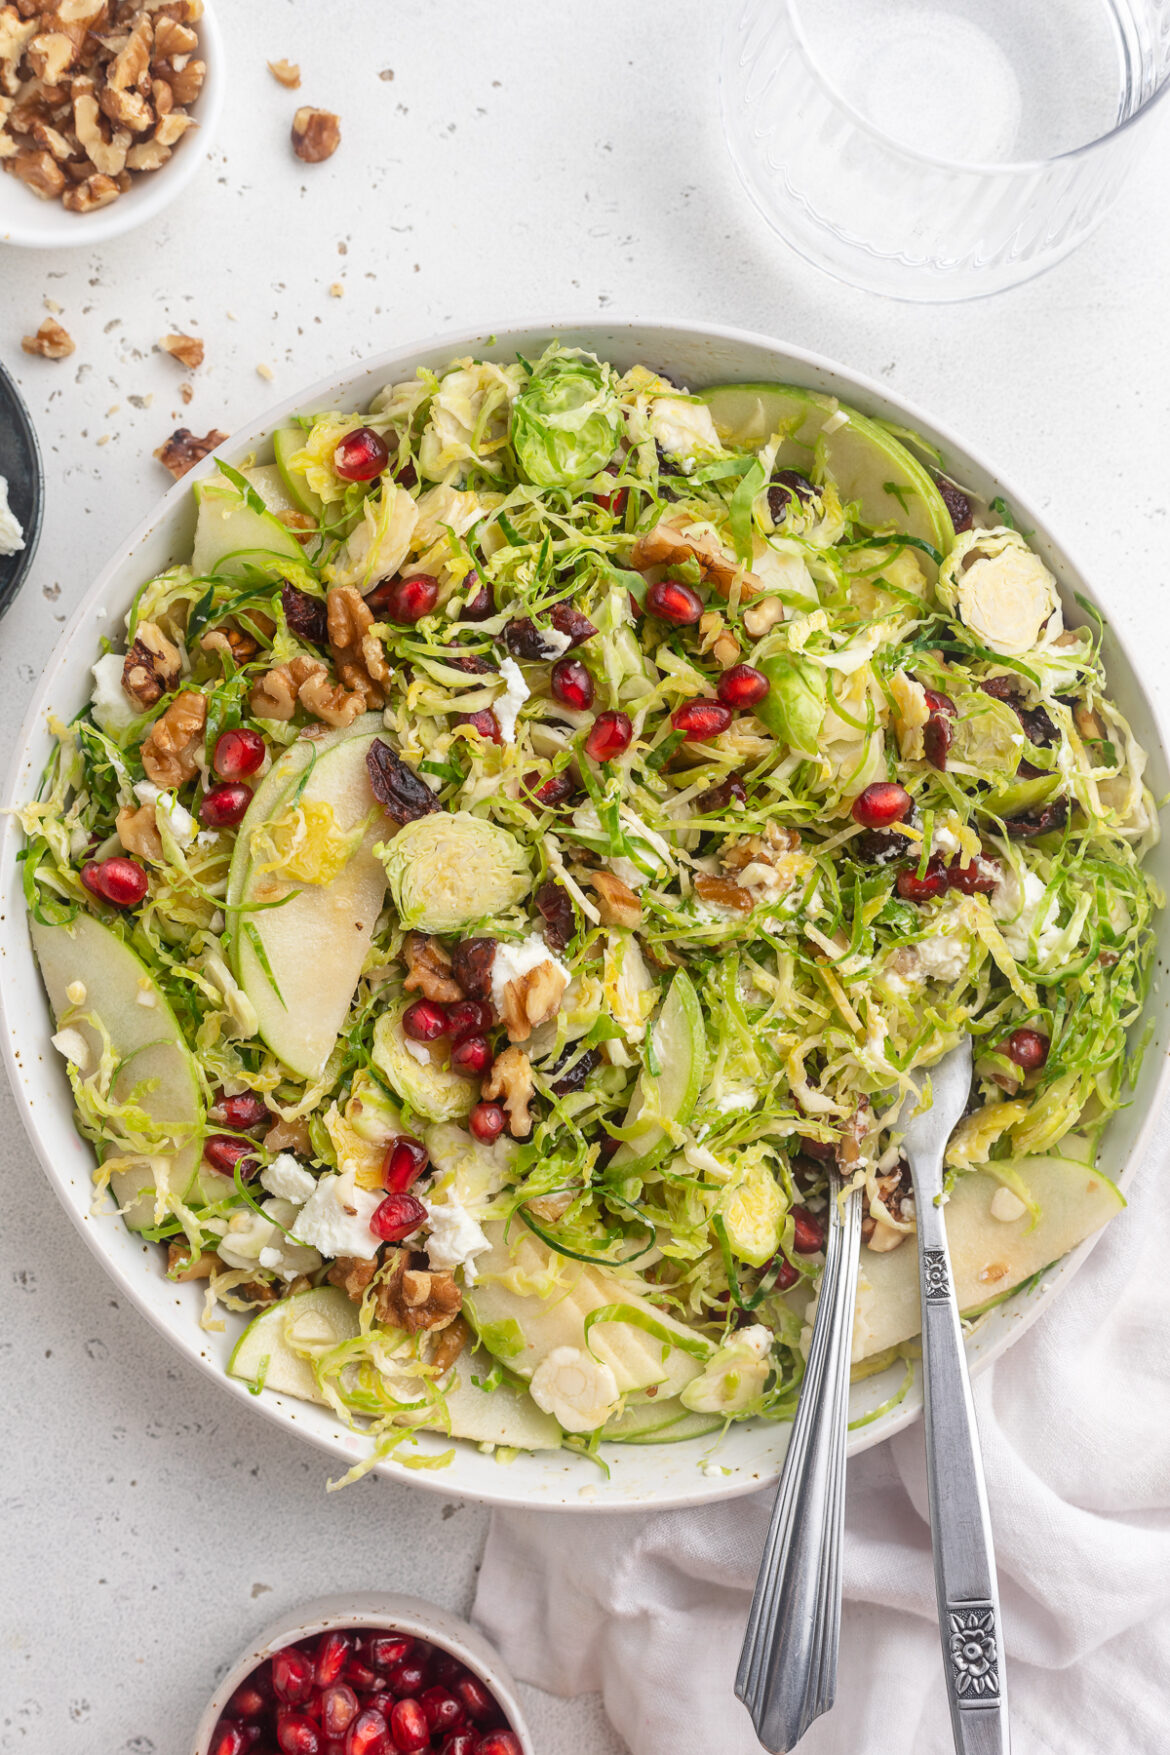
brussels sprout salad in a a bowl with serving utensils.

What You’ll Need to Make Brussels Sprout Salad

Brussels Sprouts – You can either buy shaved Brussels sprouts, or shave them yourself with a mandoline or sharp knife. If using a mandoline, cut off the the stem end of each sprout, then run the sprout down the mandoline to thinly slice. Or, if using a knife, remove the stem end then place the sprout on its side on a cutting board, then make thin slices through the sprout. Once shaved, your sprouts are ready to add to this delicious salad!

Pomegranate Arils/Seeds – First thing I want to note is that pomegranate arils are the exact same thing as pomegranate seeds. When buying your pomegranate for this salad, you have two options, you can either purchase the seeds out of the pomegranate, or you can purchase a whole pomegranate and remove the seeds yourself. I always opt for the latter option because it’s so much cheaper, and super easy to do! For help on how to cut a pomegranate, check out my step-by-step tutorial HERE.

Walnuts – Chopped walnuts add the perfect crunch to this recipe! Walnuts are creamy and buttery, and simply so good in this salad. However, if you don’t have walnuts, feel free to use any nut you have on-hand! Others I recommend are pine nuts, chopped pecans, or even unsalted pumpkin seeds.

Soft Cheese – Any soft cheese will taste great in this Brussels sprout salad! I used a soft chèvre goat cheese, and it was perfectly tangy and delicious. Though crumbled feta, blue cheese, or even freshly grated parmesan cheese work perfectly too.

dressing being poured over brussels sprout salad.

Tips and Tricks

  • This is the perfect make-ahead side dish for holiday parties or potlucks! The flavors get better with time, so go ahead and dress the salad then let it sit in the fridge until ready to serve. I just wouldn’t recommend letting it sit for more than 4 hours before eating, at that point, it’ll begin to lose its crunch.
  • Have fun with this recipe! Don’t be shy, switch up ingredients based on your preferences. Sub pears for the apples, blueberries for the pomegranate, and use any kind of cheese you’d like!
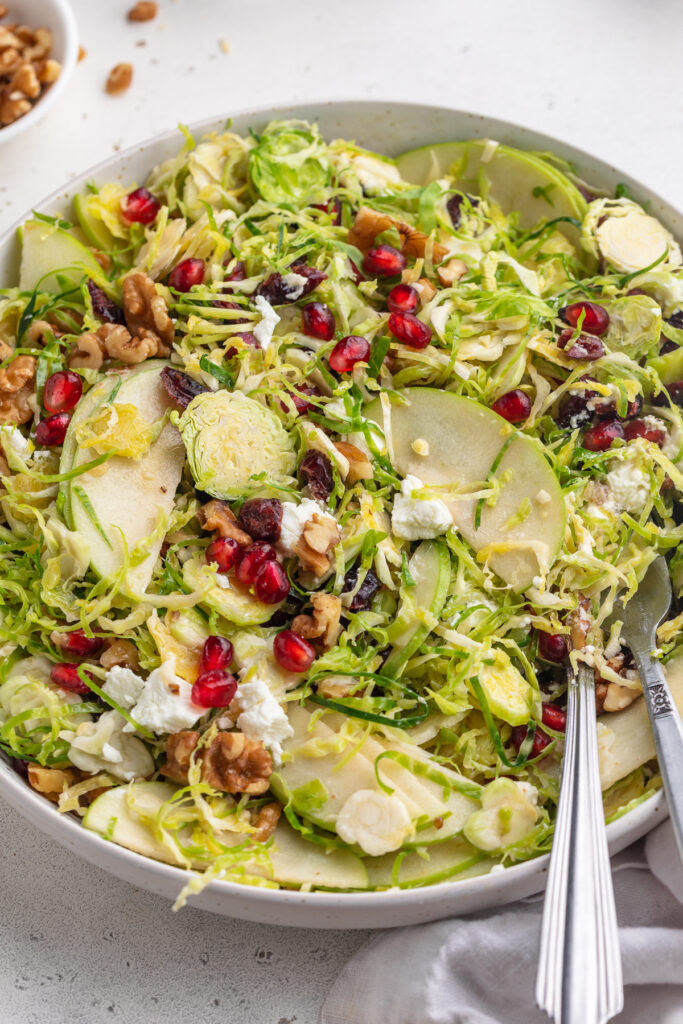
close-up image of brussels sprout salad in a bowl.

Adjust This Recipe to Your Dietary Needs

Make it Vegan: For a vegan Brussels sprout salad, either replace the cheese with your favorite vegan soft “cheese,” or leave the cheese out altogether, it’ll still be delicious and full of flavor!

Make it Nut-Free: Simply leave out the walnuts, or replace them with unsalted pumpkin or sunflower seeds.

Add Protein: Take this from a side dish to the main course by adding some lightly seasoned chicken (grilled or oven-roasted is best), or bulk it up with a can of your favorite white beans!

Brussels Sprout Salad

5 from 1 vote
Recipe by Samantha Course: SidesDifficulty: Easy
Servings

6

servings
Prep time

10

minutes
Cooking time

0

minutes
Total time

10

minutes

Fresh and crunchy shaved Brussels sprout salad, finished off with an out-of-this-world maple dijon dressing! A quick and easy side dish, comes together in just 10 minutes. A gluten-free salad, with nut-free and vegan options!

Ingredients

  • For the salad:
  • 4 cups thinly sliced Brussels sprouts

  • 1 apple, thinly sliced

  • 1/2 cup pomegranate arils (seeds)

  • 1/3 cup walnuts, roughly chopped (pecans or pine nuts work too!)

  • 1/4 cup dried cranberries

  • 1/4 cup soft cheese, crumbled (goat cheese, feta, gorgonzola, etc)

  • For the dressing:
  • 1/3 cup olive oil

  • 2 tablespoons apple cider vinegar

  • 1 tablespoon Dijon mustard

  • 1 tablespoon maple syrup

  • 1 garlic clove, minced

  • 1/2 teaspoon salt

Directions

  • Add all salad ingredients to a large bowl and toss.
  • Add all dressing ingredients to a small bowl and whisk to combine.
  • Pour dressing over salad, then either let sit in fridge for up to 3 hours, or serve immediately.

Recipe Video

Did you make this recipe?

Share it and tag @samdoesherbest on Instagram!

Like this recipe?

Follow us @samdoesherbest on Pinterest

These sugar cookies are SO delicious, no one will ever guess they’re gluten-free! Perfectly soft, sweet, and surprisingly easy to make. Cut these gluten-free sugar cookies into your favorite festive shapes, then decorate them any way you’d like!

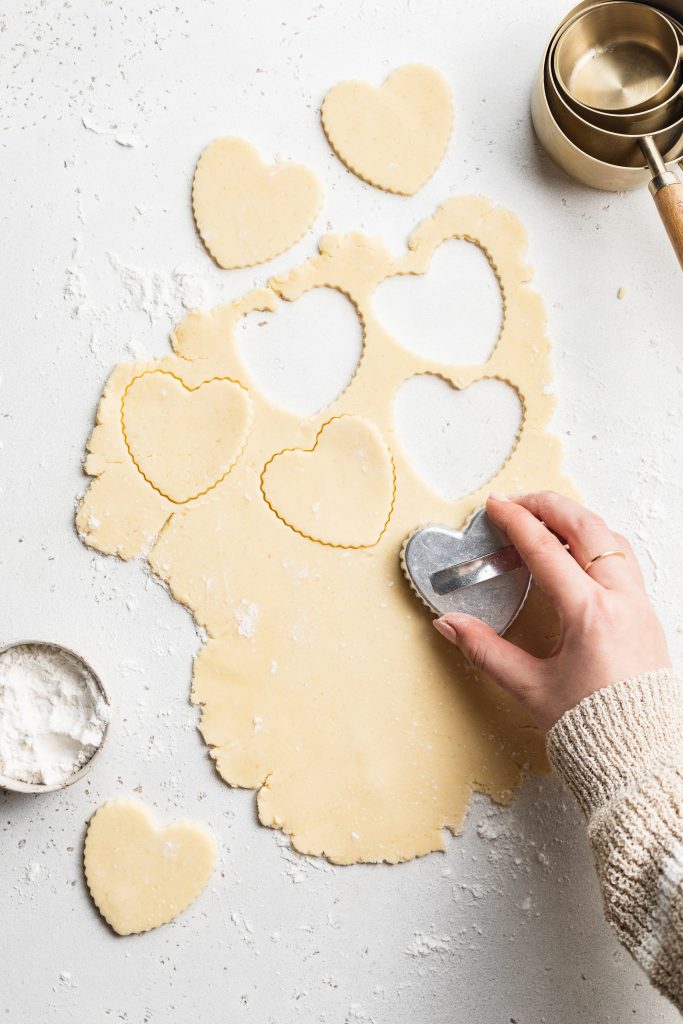
cutting out gluten-free sugar cookie dough into heart shapes

What You’ll Need To Make Gluten-Free Sugar Cookies

Butter – I used non-dairy butter, to keep these sugar cookies both gluten-free and dairy-free. However, you can use regular butter instead if you’d like. Remember to remove your butter from the fridge at least 30 minutes before baking. The key to perfectly soft and light cookies is working with room temperature butter. Also, whip the butter and sugar together in the first step until super light and fluffy.

Sugar – Cane, white, or even coconut sugar will work in this gluten-free dessert recipe. Cane sugar and white sugar will blend best into the dough, resulting in a colorless cookies. Meanwhile, coconut sugar (or brown sugar, which I don’t recommend here) will turn these cookies light brown once baked. They’ll still taste good, though they’ll be a bit more grainy and won’t look the same!

Gluten-Free Flour – I used Nature’s Promise Gluten-Free Flour Blend in my sugar cookies and had amazing results! I also highly recommend the Bob’s Red Mill Gluten-Free Baking Flour for any and all gluten-free recipes. While those are the only two gluten-free flours I can personally vouch for, I’m sure there are plenty out there that will work just as well. Though the one recommendation I have when it comes to any gluten-free flour is to make sure that it contains xanthan gum. Xanthan gum is a stabilizer, and super important to keeping your baked goods together. Without it, these sugar cookies would quite literally fall apart. Therefore, if your gluten-free flour blend does not already contain xanthan gum, add 1/2 teaspoon to your dough for this recipe.

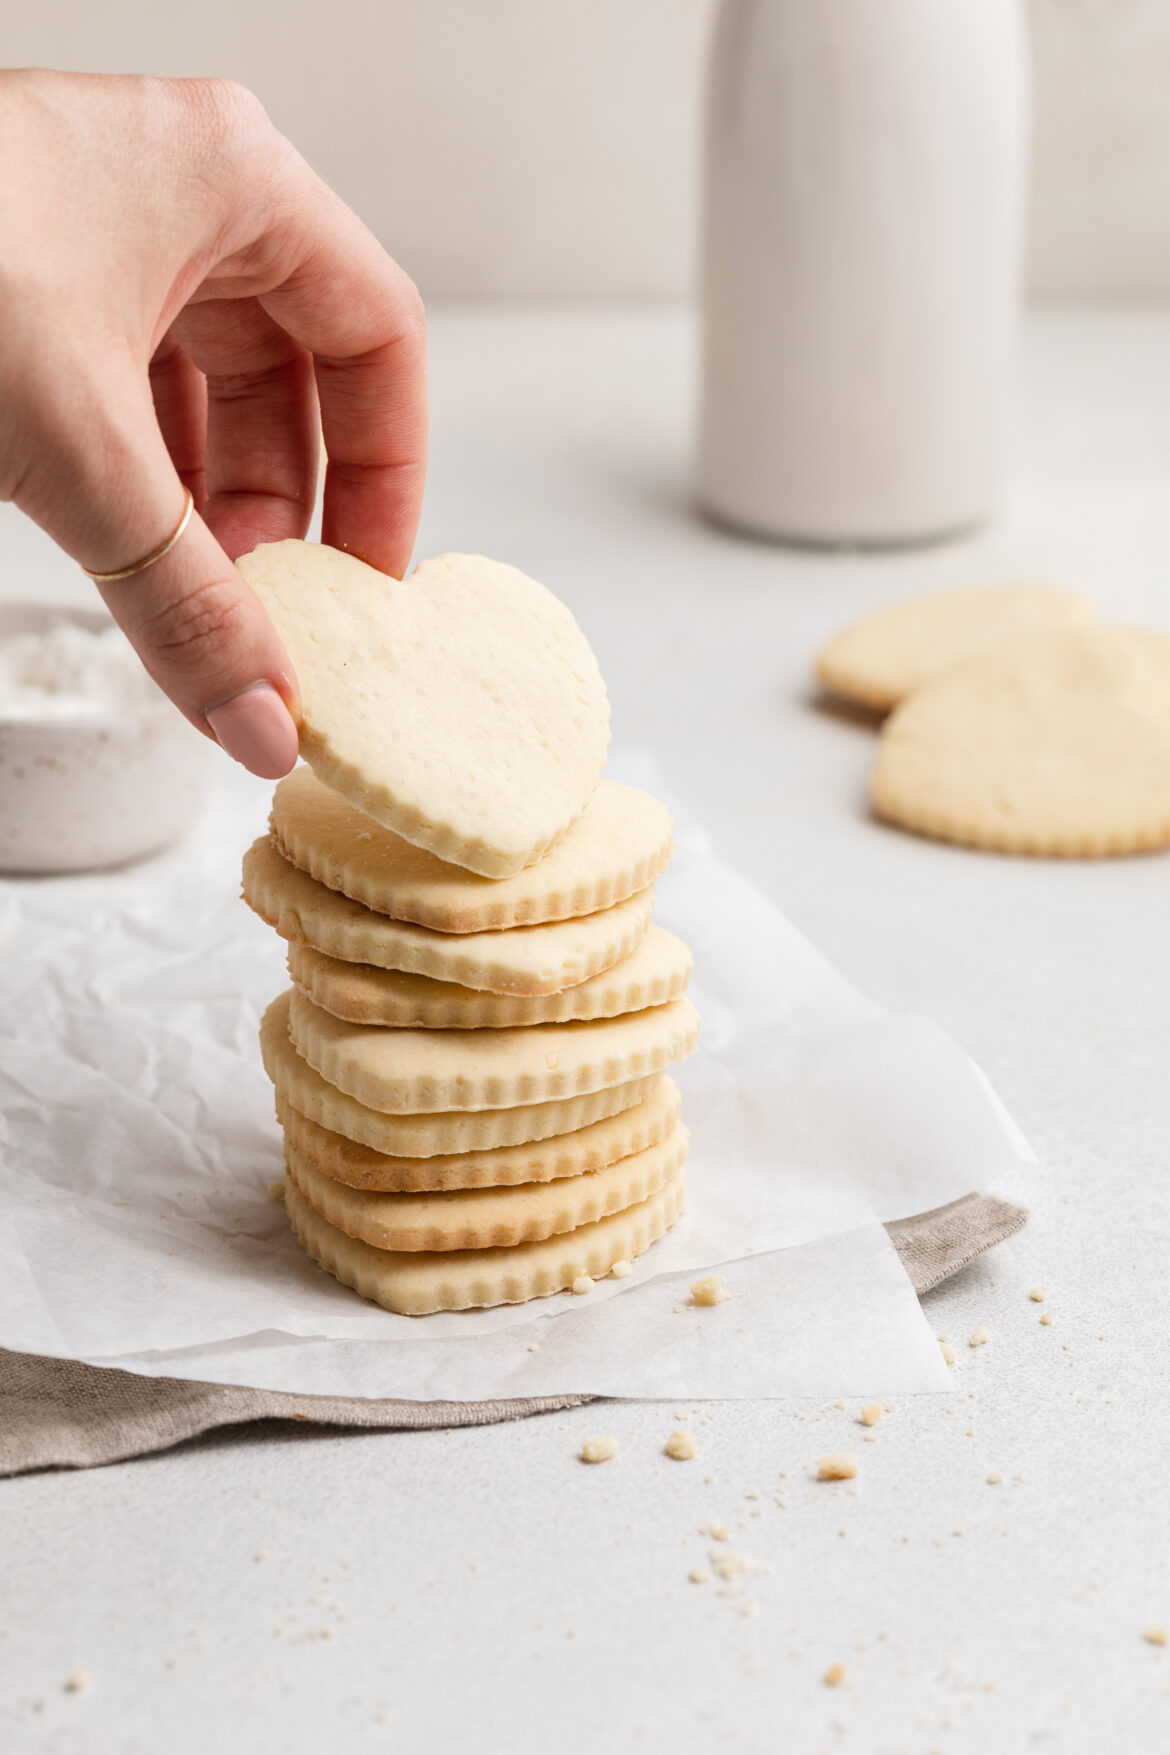
stack of gluten-free sugar cookies

Tips and Tricks

  • You don’t have to cut these cookies out if you don’t want to! Instead of rolling, then cutting the dough, simply remove your chilled cookie dough from the fridge and use a cookie scoop to shape them. Drop tablespoon-sized scoops of sugar cookie dough straight onto your baking sheet, then flatten each cookie out slightly with the palm of your hand. Last, but definitely not least, bake off those delicious little circular cookies just as you would a cut-out cookie!
  • Decorate these babies any way you’d like! A simple powdered sugar plus milk icing with a dash of food coloring is always a solid option. Or, melt some chocolate and drizzle that on top of each cooled cookie for a fun and delicious twist.
  • Prep this sugar cookie recipe days, or even months ahead of time if you’d like! Chilled sugar cookies dough will stay good in the fridge for up to 3 days and in the freezer for up to 4 months. If frozen, let it defrost at room temperature for a bit before attempting to roll or scoop the dough.

Adjust This Recipe To Your Dietary Needs

Make it Vegan: To make these vegan sugar cookies, be sure to use vegan butter and milk as well as your favorite egg substitute in place of the one egg in this recipe. I recommend the Bob’s Red Mill Egg Replacer, it’s both vegan and gluten-free, and works impressively well in most baking recipes.

Use Regular Flour: Feel free to replace the gluten-free flour with regular ole’ all purpose flour if you’d like!

Perfect Gluten-Free Sugar Cookies

5 from 1 vote
Recipe by Samantha Course: DessertDifficulty: Easy
Servings

24

cookies
Prep time

10

minutes
Cooking time

7

minutes
Chilling Time

1

hour

These sugar cookies are SO delicious, no one will ever guess they’re gluten-free! Perfectly soft, sweet, and surprisingly easy to make. Cut these gluten-free sugar cookies into your favorite festive shapes, then decorate them any way you’d like!

Ingredients

  • 1/2 cup butter, softened (I used non-dairy butter)

  • 1/2 cup sugar

  • 1 egg, at room temperature

  • 1 tablespoon milk (I used non-dairy)

  • 1 teaspoon vanilla extract

  • 2 cups gluten-free flour

  • 1/2 teaspoon baking powder

  • 1/4 teaspoon salt

Directions

  • Add butter and sugar to a bowl, beat together with either a hand or stand mixer until light and fluffy, about 3 minutes. Add in the egg, milk, and vanilla extract, beat to combine.
  • In a separate small bowl, mix together the gluten-free flour, baking powder, and salt.
  • Add the flour mixture into the butter mixture and mix until a dough forms. Cover dough with plastic wrap and chill in the fridge for at least 1 hour and up to overnight.
  • When ready to bake, preheat your oven to 375° Fahrenheit and remove dough from fridge. Roll the dough on a lightly floured surface to about ¼-inch thick, then use a cookie cutter to cut the dough into shapes.
  • Place cookies on a baking sheet and bake for 7-10 minutes. Remove from oven and transfer to a wire cooling rack to cool completely before decorating.

Recipe Video

Notes

  • For Icing: Mix together 1 cup of powdered sugar and 1 tablespoon milk in a small bowl for a quick and easy sugar cookie icing!

Did you make this recipe?

Share it and tag @samdoesherbest on Instagram!

Like this recipe?

Follow us @samdoesherbest on Pinterest