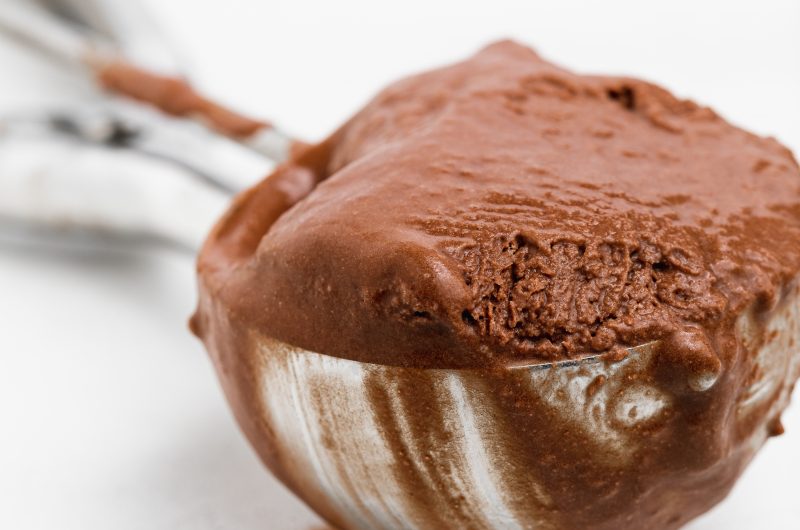
No ice cream machine necessary for this easy three ingredient vegan chocolate ice cream! This non-dairy frozen dessert is perfectly chocolatey and sweet. With minimal time and effort, you’ll have an irresistible vegan summertime (or anytime!) treat.

The Story Behind This Recipe
What most people don’t know about me is that my first job ever was actually at an ice cream shop. I worked there almost all through high school (before my dairy-free days) and ate ice cream literally every. single. day. Ohhhh what I wouldn’t do to have my high school metabolism again! So as you can imagine, once I went dairy-free in college I deeply, and I mean DEEPLY, missed ice cream. Back then, vegan/dairy-free ice cream wasn’t much of a thing. My options were typically limited to sorbet, which is already made without dairy. And while sorbet definitely helped cool me down and curb my sweet tooth, I longed for a big ole’ cone of classic chocolate ice cream.
These days, vegan ice cream isn’t nearly as hard to find, but what is hard to find is one that checks off all my boxes. I don’t want any funky ingredients such as fake sweeteners, gums, etc. Those cause just as much of a digestive nightmare for me as eating regular ole’ ice cream does. And most importantly, I don’t want to have to sell a kidney to afford it! The better the ingredient list, the more expensive it almost always is. Therefore, I came up with this vegan chocolate ice cream to both suit my needs and save me some money (because it’s either my bi-weekly manicure or $10 pints of ice cream, and I’d choose the former any day!).
The no-churn part of this recipe simply derived from the fact that I don’t own an ice cream maker. I’m looking into purchasing one now, but until I find one that doesn’t take up half of my freezer I will continue to make this no-ice-cream-machine-necessary recipe!
What You Need to Make Vegan Chocolate Ice Cream
Full Fat Coconut Milk – None of that low-fat or lite coconut milk here! We need all that luscious healthy fat to achieve a thick and smooth texture. You could even use two cans of coconut cream if you’d like, only adding to the creaminess of this vegan chocolate ice cream.
Coconut Sugar – Coconut sugar keeps this three ingredient vegan chocolate ice cream completely refined sugar-free. This natural sweetener is more nutritious than regular sugar and contains 25% less sucrose than white sugar. Though if you don’t have coconut sugar, you can easily swap this out for cane sugar or white sugar if you’d like!
Cocoa Powder – This ingredient seems pretty self-explanatory. However, I will say that if you’d like you can substitute cacao powder for the cocoa powder in this recipe. Cacao has more nutrients and antioxidants than cocoa powder and would make this three ingredient vegan chocolate ice cream that much healthier.
Vegan No-Churn Chocolate Ice Cream (refined sugar-free)
Course: DessertDifficulty: Easy8
servings5
minutes8
hoursNo ice cream machine necessary for this easy three ingredient vegan chocolate ice cream! This non-dairy frozen dessert is perfectly chocolatey and sweet. With minimal time and effort, you’ll have an irresistible vegan summertime (or anytime!) treat.
Ingredients
2 (14 ounce) cans full fat coconut milk or coconut cream, see Notes
1/2 cup coconut sugar
1/2 cup cocoa powder
Directions
- Add all ingredients to a blender and blend until smooth.
- Transfer to a parchment-lined container and freeze for 8 hours or until firm.
- Remove ice cream from freezer 10-15 minutes before serving.
Recipe Video
Notes
- Coconut Milk: I used Let’s Do Organic heavy coconut cream for this recipe, but any full-fat coconut milk or cream will work!
Did you make this recipe?
Share it and tag @samdoesherbest on Instagram!
Like this recipe?
Follow us @samdoesherbest on Pinterest
")


")

")