Tag

dairy-free milk

Browsing

Why You’ll Love These Gluten-Free and Dairy-Free Pecan Cinnamon Rolls

  • All the flavor, yet totally gluten-free and dairy-free — enjoy classic cinnamon rolls without the diet restrictions.
  • Sticky pecan topping turns them into a decadent treat that still feels homemade and delicious!
  • Surprisingly manageable — while they seem fancy, the method is clear, steps are simple, and you don’t need expert baking skills.
  • Perfect for gatherings — these rolls make a beautiful breakfast or brunch centerpiece that accommodates dietary restrictions!
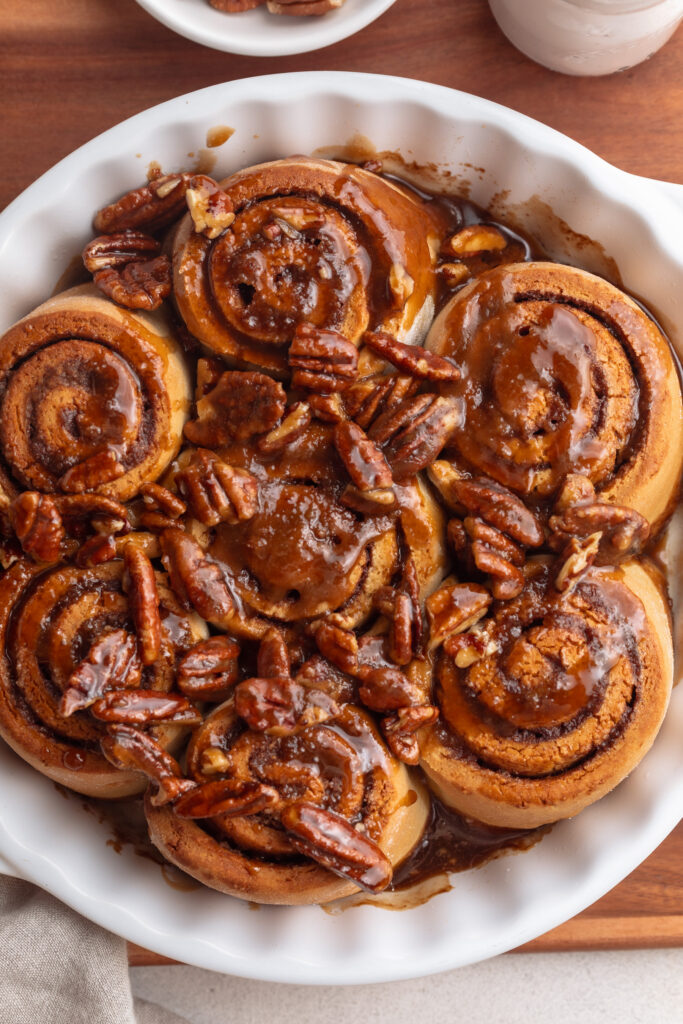
overhead image of gluten free dairy free pecan cinnamon rolls in a baking dish.

Frequently Asked Questions

Can I use gluten-free all-purpose flour instead of gluten-free bread flour?
Yes, in many cases you can substitute a high-quality 1:1 gluten-free all-purpose flour blend for the bread flour. Just make sure it contains xanthan gum or another binder (unless your mix is already pre-blended). You may need to adjust moisture slightly.

How do I prep these cinnamon rolls ahead of time?
You can assemble the rolls, cover, and refrigerate overnight. When ready to bake, let them come to room temperature, rise if needed, then bake as directed. You can also freeze the unbaked rolls and bake from frozen (adding a few extra minutes).

Can I make this recipe vegan?
Yes — use a flax o “egg” (e.g. 1 Tbsp flax + 3 Tbsp water per egg) and a plant-based non-dairy milk (like almond, oat, or soy) in the sticky topping. Be sure your gluten-free flour blend and protein sources are vegan.
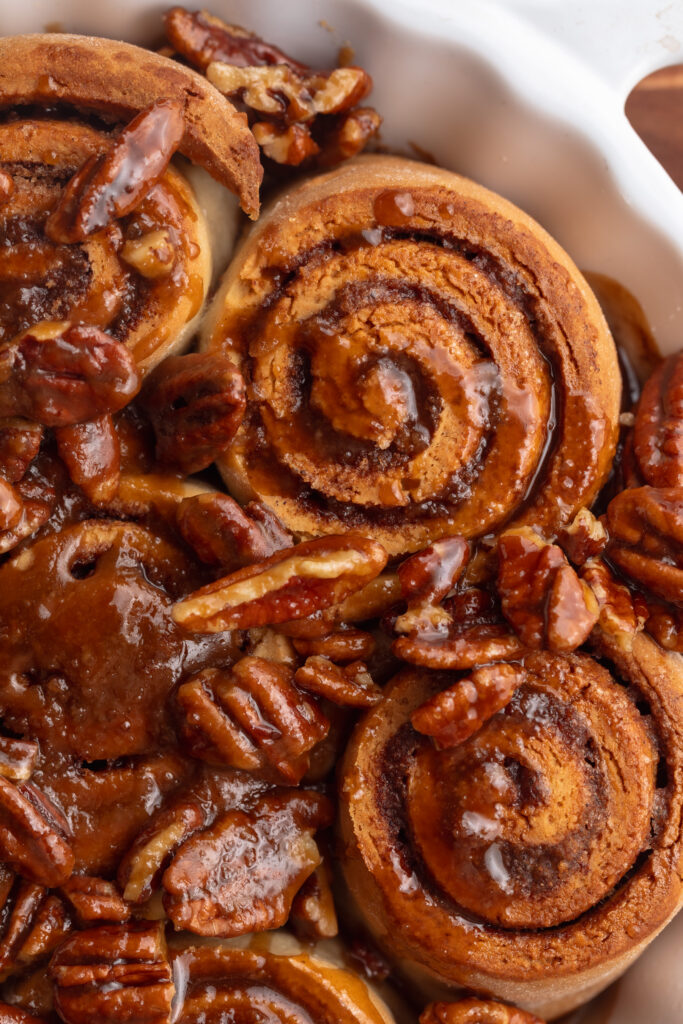
close up overhead image of gluten free dairy free pecan cinnamon rolls in a baking dish.

Sam’s Recipe Tips

  • Warm your non-dairy milk carefully — 110°F is ideal for activating yeast without killing it.
  • Don’t skip the rise — even gluten-free dough benefits from a good proofing if possible.
  • Roll gently but firmly — keep your log tight so the layers stay defined.
  • Coat pecans thoroughly — the sticky glaze is what makes the topping sing, so ensure even coverage.
  • Cool slightly before slicing — let the rolls set so the glaze doesn’t run off.
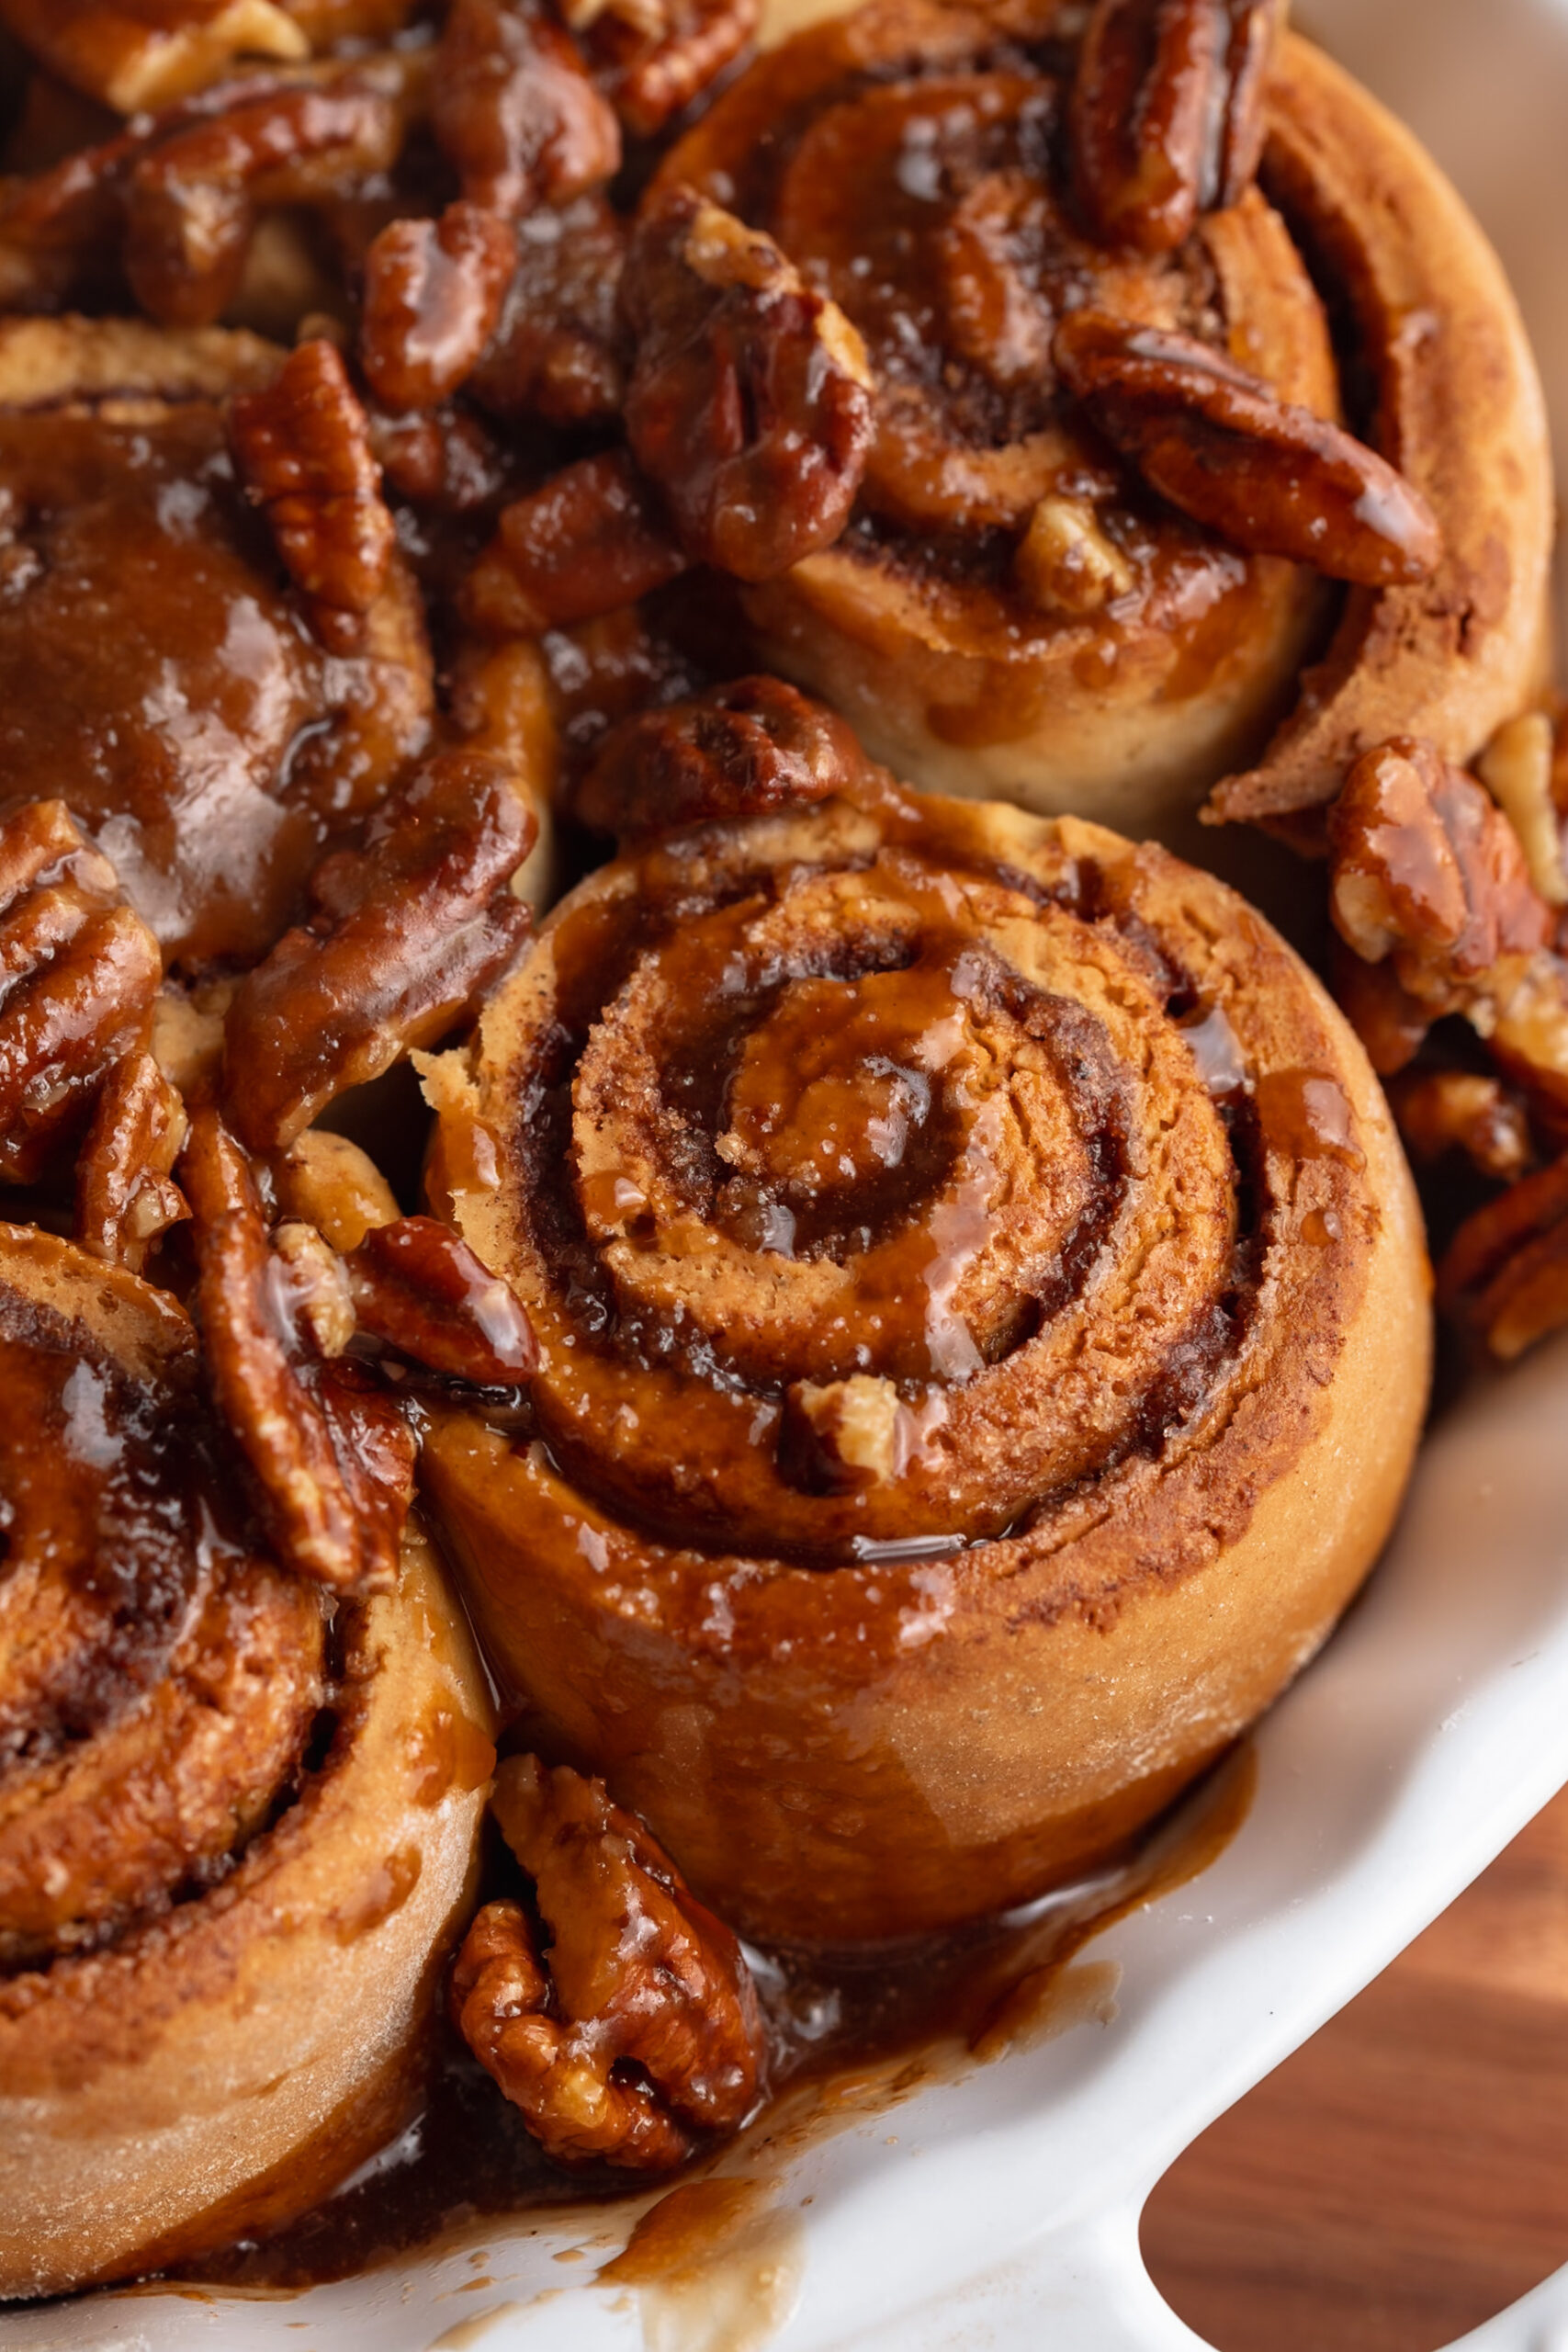
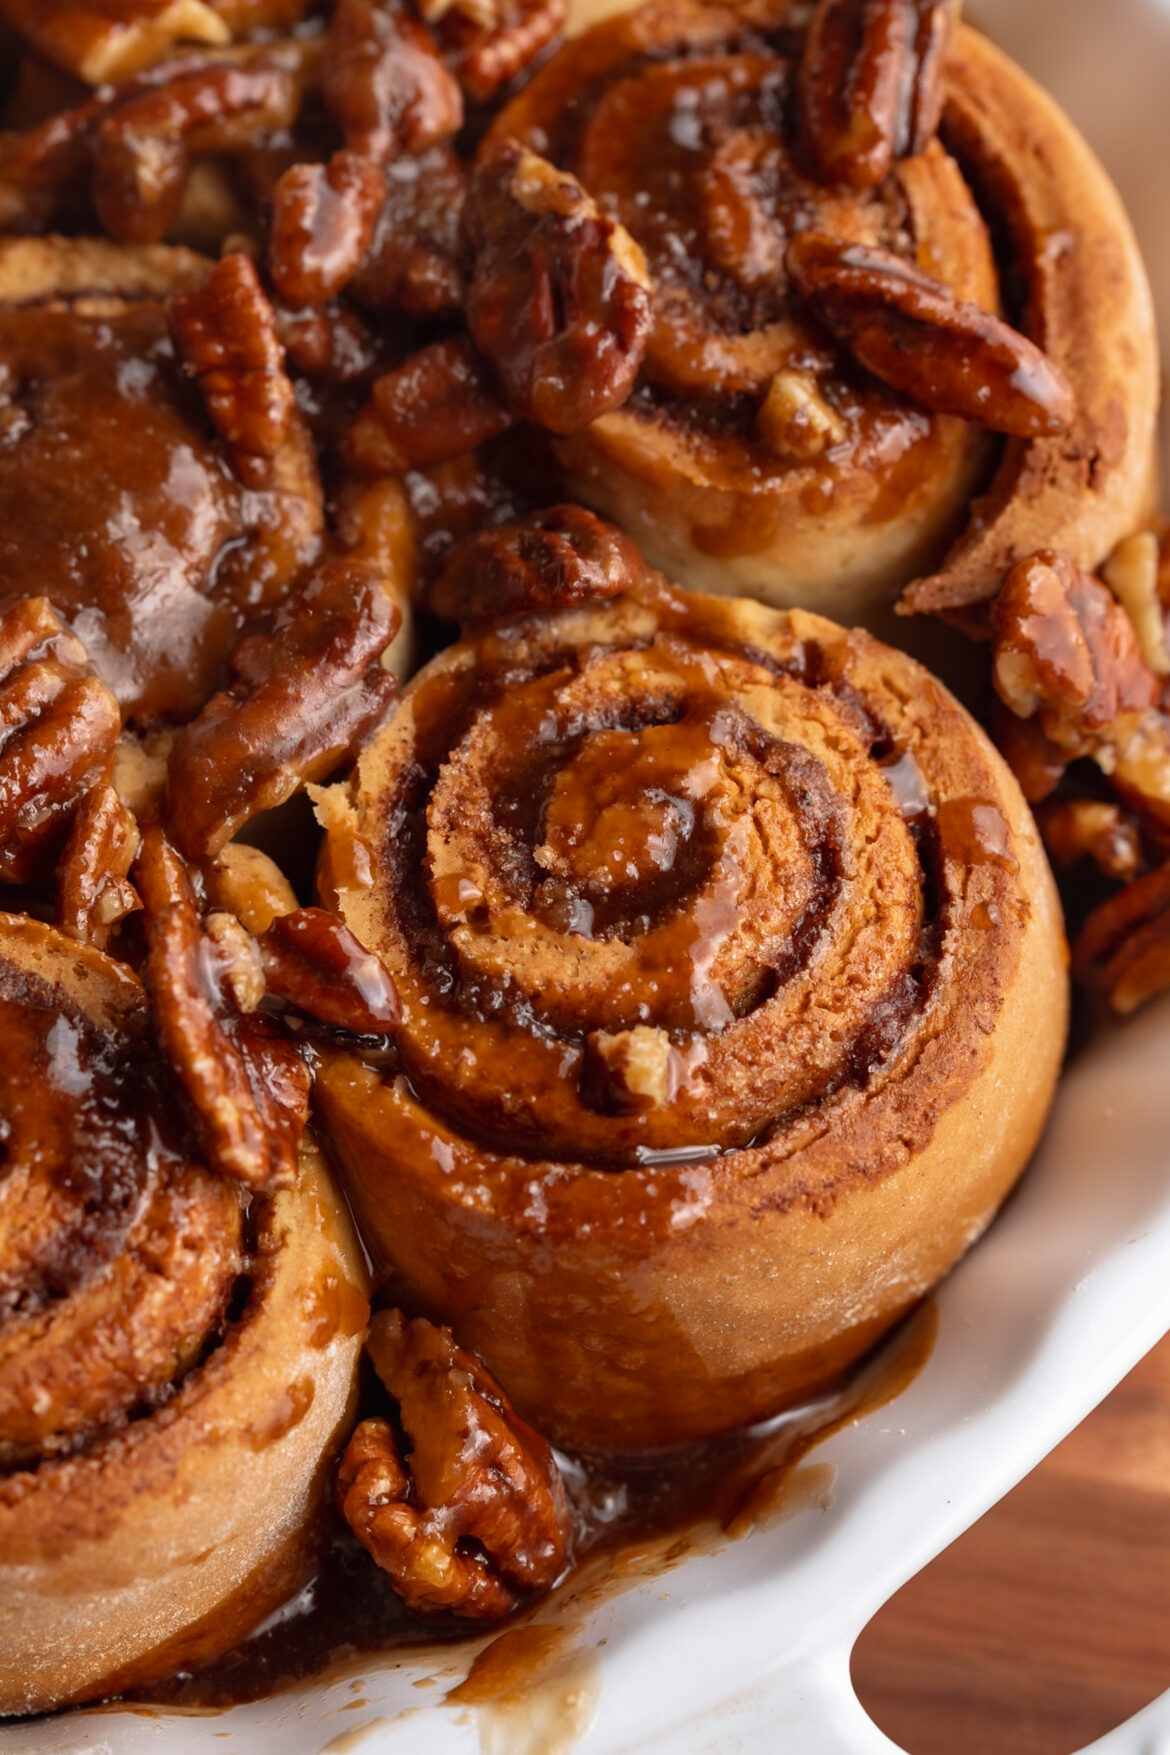
gluten free dairy free pecan cinnamon rolls in a baking dish.
No ratings yet

Gluten-Free and Dairy-Free Cinnamon Rolls (with sticky pecans!)

These Gluten-Free Pecan Cinnamon Rolls are soft, fluffy, and topped with a gooey caramelized pecan glaze that makes every bite irresistible! Made completely dairy-free with coconut oil and gluten-free flour, they’re a cozy homemade treat that everyone can enjoy. Perfect for brunch, holidays, or weekend baking, this easy recipe proves that gluten-free cinnamon rolls can be just as rich and delicious as the classic kind!
Print Pin Rate
Prep Time: 30 minutes
Cook Time: 30 minutes
Rising Time: 1 hour
Servings: 9 servings

Equipment

  • 1 stand mixer with dough hook attachment
  • 1 9-inch baking dish

Ingredients

For the cinnamon rolls:

  • 1 cup non-dairy milk warmed to 110 degrees Fahrenheit (I used canned light coconut milk)
  • 2 1/4 teaspoons active dry yeast
  • 1/4 cup sugar
  • 1 egg plus 1 egg yolk at room temperature
  • 1/4 cup coconut oil melted
  • 3 cups gluten-free bread flour plus more for rolling
  • 2 teaspoons baking powder
  • 1/2 teaspoon baking soda
  • 1/4 teaspoon salt

For the filling:

  • 1/4 cup coconut oil melted
  • 3/4 cup brown sugar
  • 2 tablespoons cinnamon
  • 1 teaspoon nutmeg
  • 1/2 teaspoon ground cloves

For the sticky pecan topping:

  • 1/4 cup coconut oil
  • 1 cup brown sugar
  • 1/4 cup non-dairy milk
  • 1 teaspoon vanilla extract
  • 1/4 teaspoons salt
  • 1 1/2 cups pecans roughly chopped

Instructions

  • Start by warming your milk in a medium bowl to about 110° Fahrenheit. Do this in either the microwave for about 30-40 seconds, or over low heat on the stove for 2 minutes.
  • Once milk is warm, add the active dry yeast, sugar, and melted coconut oil. Give it a gently whisk to combine, then let that sit for a couple minutes while you continue on with the recipe.
  • To the bowl of an electric mixer fitted with the dough hook attachment, add the gluten-free bread flour, baking powder, baking soda, and salt. Turn the mixer on low until the dry ingredients are combined.
  • With the electric mixer running on medium speed, slowly add the milk mixture into the flour mixture. Once the wet and dry ingredients are almost completely combined, add in the egg and egg yolk. Continue mixing to incorporate the eggs into the dough.
  • Once the eggs are incorporated, turn the mixer onto high speed and mix the dough for 5 minutes, until the dough is smooth and comes together in a ball.
  • Generously flour a work surface with the gluten-free bread flour, then press the dough on top of the flour and press/roll into a 13×19-inch rectangle. Add the filling by brushing the melted Nutiva Organic Coconut Oil over the dough in an even layer. Mix together the brown sugar, cinnamon, nutmeg, and cloves in a small bowl, then evenly sprinkle that on top of the coconut oil.
  • Carefully take the long end and roll the dough up into a tight log. Slice the log into 7-8 cinnamon rolls, each about 3 inches thick.
  • Then, place the cinnamon rolls in a greased 9×9-inch baking dish and tightly cover the dish with plastic wrap. Place the rolls in a warm place (by a window, in a proving drawer, in the oven with the light on, etc.) to rise for about 1 hour.
  • After the hour is up, remove the plastic wrap from the baking dish and preheat your oven to 350° Fahrenheit. Once the oven is hot, bake the cinnamon rolls for 25-30 minutes or until they’re golden brown on top.
  • Remove the rolls from the oven and let them cool while you make the sticky pecan topping.
  • To make the sticky pecan topping, melt the coconut oil in a small saucepan over medium heat. Then, add in the brown sugar, non-dairy milk, vanilla extract, and salt. Whisk everything together until the sugar has dissolved and the mixture starts to bubble, about 2 minutes.
  • Add the pecans into the saucepan and stir to coat the pecans in the sticky brown sugar mixture. Pour the sticky pecans on top of the cinnamon rolls, then let then cool completely before serving.

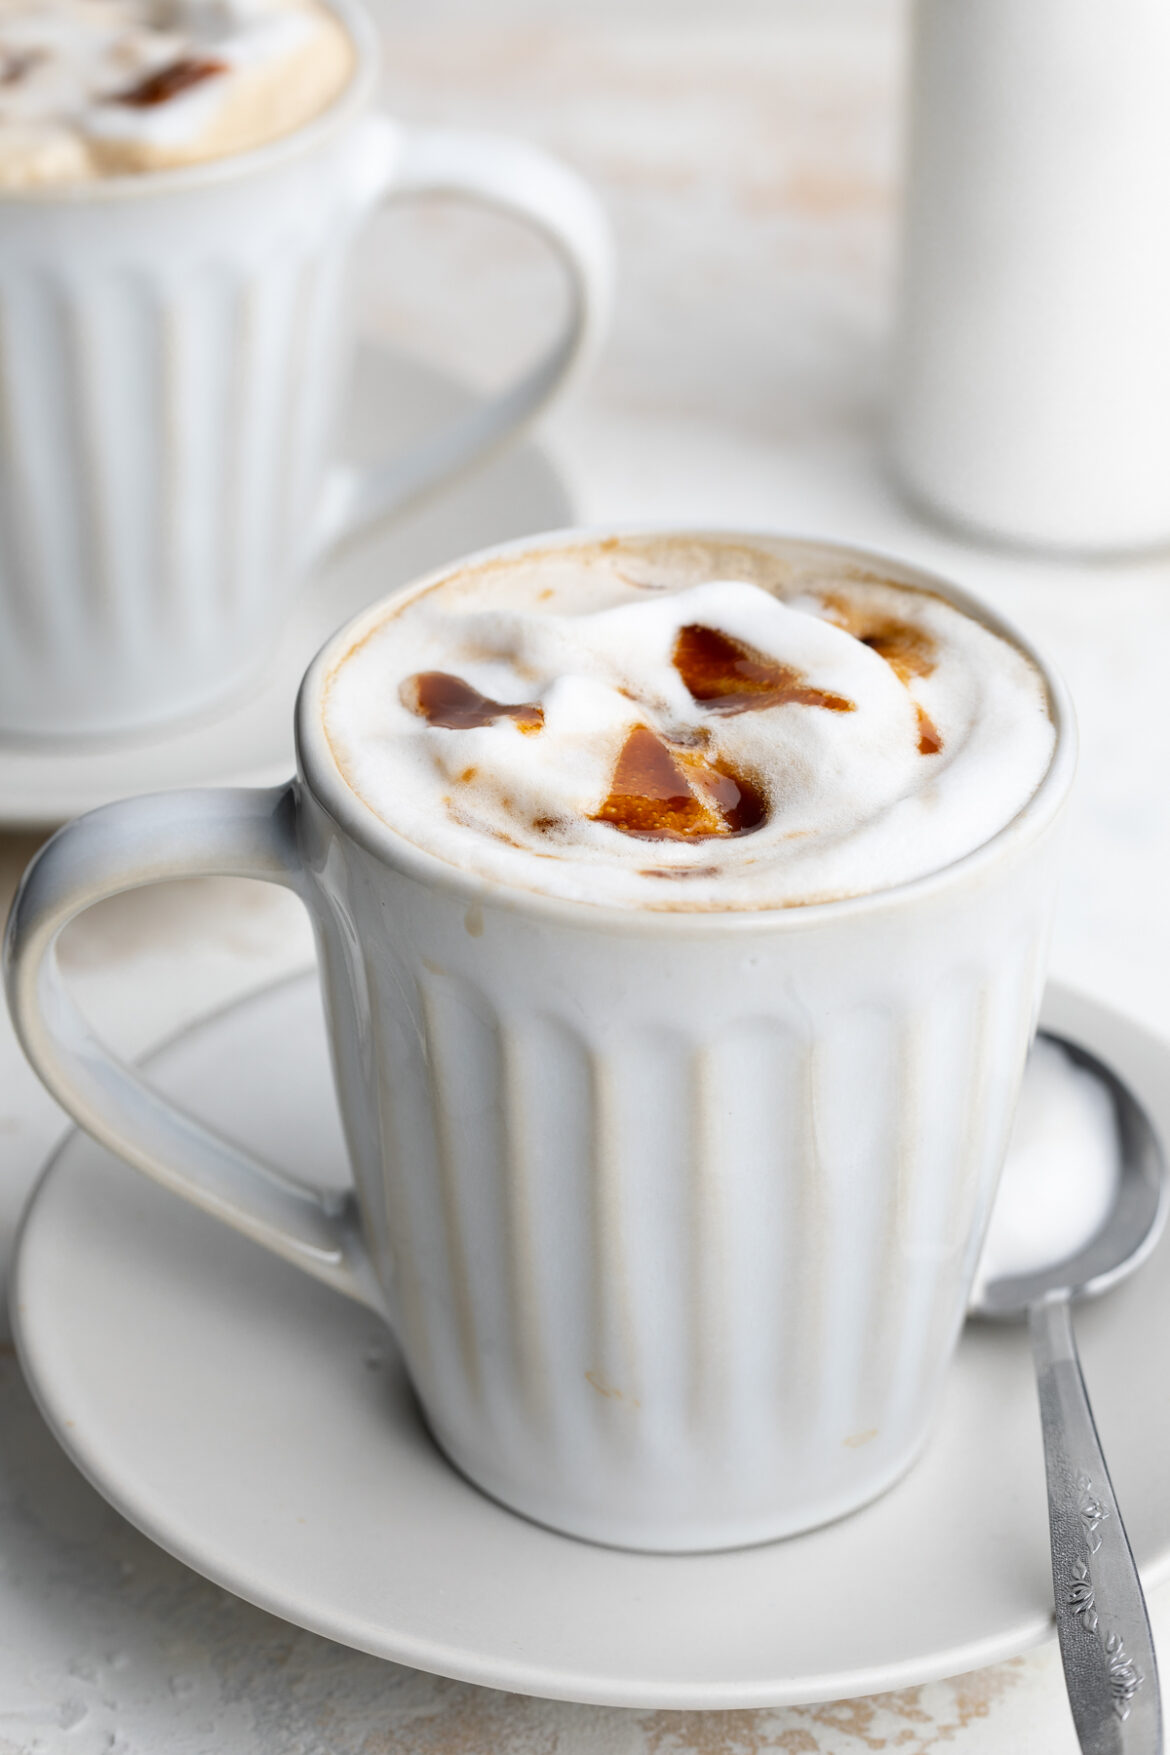
A healthier take on the classic caramel brulée latte! Made with non-dairy milk and sweetened with coconut sugar, this warming latte rivals Starbucks’ version. Super easy to make in the comfort of your own home, with a handful of ingredients you likely already have on-hand.

two mugs of caramel brulée latte with milk on the side.

What You’ll Need to Make This Healthy Caramel Brulée Latte

Butter – I used Miyoko’s vegan butter to keep this latte recipe vegan-friendly! It melts beautifully into the caramel sauce, giving it that smooth, buttery flavor. However, you can certainly use regular butter if you’d like!

Coconut Sugar – This natural sweetener is unrefined and lower on the glycemic index (meaning less of a spike in blood sugar). It also has a slightly deeper flavor, which only adds to the flavor of our caramel sauce! Though if you don’t have any coconut sugar, feel free to use regular sugar or even brown sugar instead.

Milk – I used non-dairy cashew milk in my healthy caramel brulée latte, and it was perfectly creamy and delicious! But really any milk will work, so go ahead and use whatever you have at home.

Espresso – Either one shot of espresso, or 1/4 cup of strong coffee will do the trick. Or, if you’re like me and can’t get enough caffeine in your life, make it a double and add an extra shot of espresso!

Tips and Tricks

  • Keep a close eye on your caramel sauce while it cooks! The sugar can burn quickly, and needs to be stirred frequently. So I recommend tending to it the entire 5 minutes it cooks – trust me, it’ll be worth it!
  • For a salted caramel brulée latte, top yours off with a tiny pinch of flaky salt! I go crazy for a good salty/sweet combo, and that little pinch of salt goes a long way.
  • Turn this recipe into an iced latte by serving it over ice! To do this, I recommend letting your hot caramel milk come to room temperature first, as well as your espresso.

Adjust This Recipe to Your Dietary Needs

Make it Vegan: That’s easy – just use all the vegan swaps I outlined above!

Make it Decaf: For a caffeine-free version, use your favorite decaf espresso or decaf coffee in your latte.

Healthy (& vegan!) Caramel Brulée Latte

4 from 2 votes
Recipe by Samantha Course: DrinksDifficulty: Easy
Servings

1

serving
Prep time

0

minutes
Cooking time

5

minutes
Total time

5

minutes

A healthier take on the classic caramel brulée latte! Made with non-dairy milk and sweetened with coconut sugar, this warming latte rivals Starbucks’ version. Super easy to make in the comfort of your own home, with a handful of ingredients you likely already have on-hand.

Ingredients

  • For the caramel sauce:
  • 1/2 cup butter, I used vegan butter

  • 1/2 cup coconut sugar, or regular sugar

  • For the latte:
  • 1 cup milk, I used non-dairy milk

  • 2 tablespoons caramel sauce

  • 1/2 teaspoon vanilla extract

  • 1 shot espresso, or 1/4 cup strong coffee

Directions

  • Make the caramel sauce by melting butter and sugar in a small saucepan over medium heat, stirring frequently. Once butter has melted, cook for an additional 4-5 minutes, stirring constantly until dark brown and bubbling.
  • Combine milk, 2 tablespoons of caramel sauce, and vanilla extract in a small saucepan over low heat. Bring to a simmer, then whisk until frothy.
  • Add espresso or strong coffee to a mug, then pour milk mixture over the top. Top with whipped cream an extra drizzle of caramel sauce.

Recipe Video

Did you make this recipe?

Share it and tag @samdoesherbest on Instagram!

Like this recipe?

Follow us @samdoesherbest on Pinterest

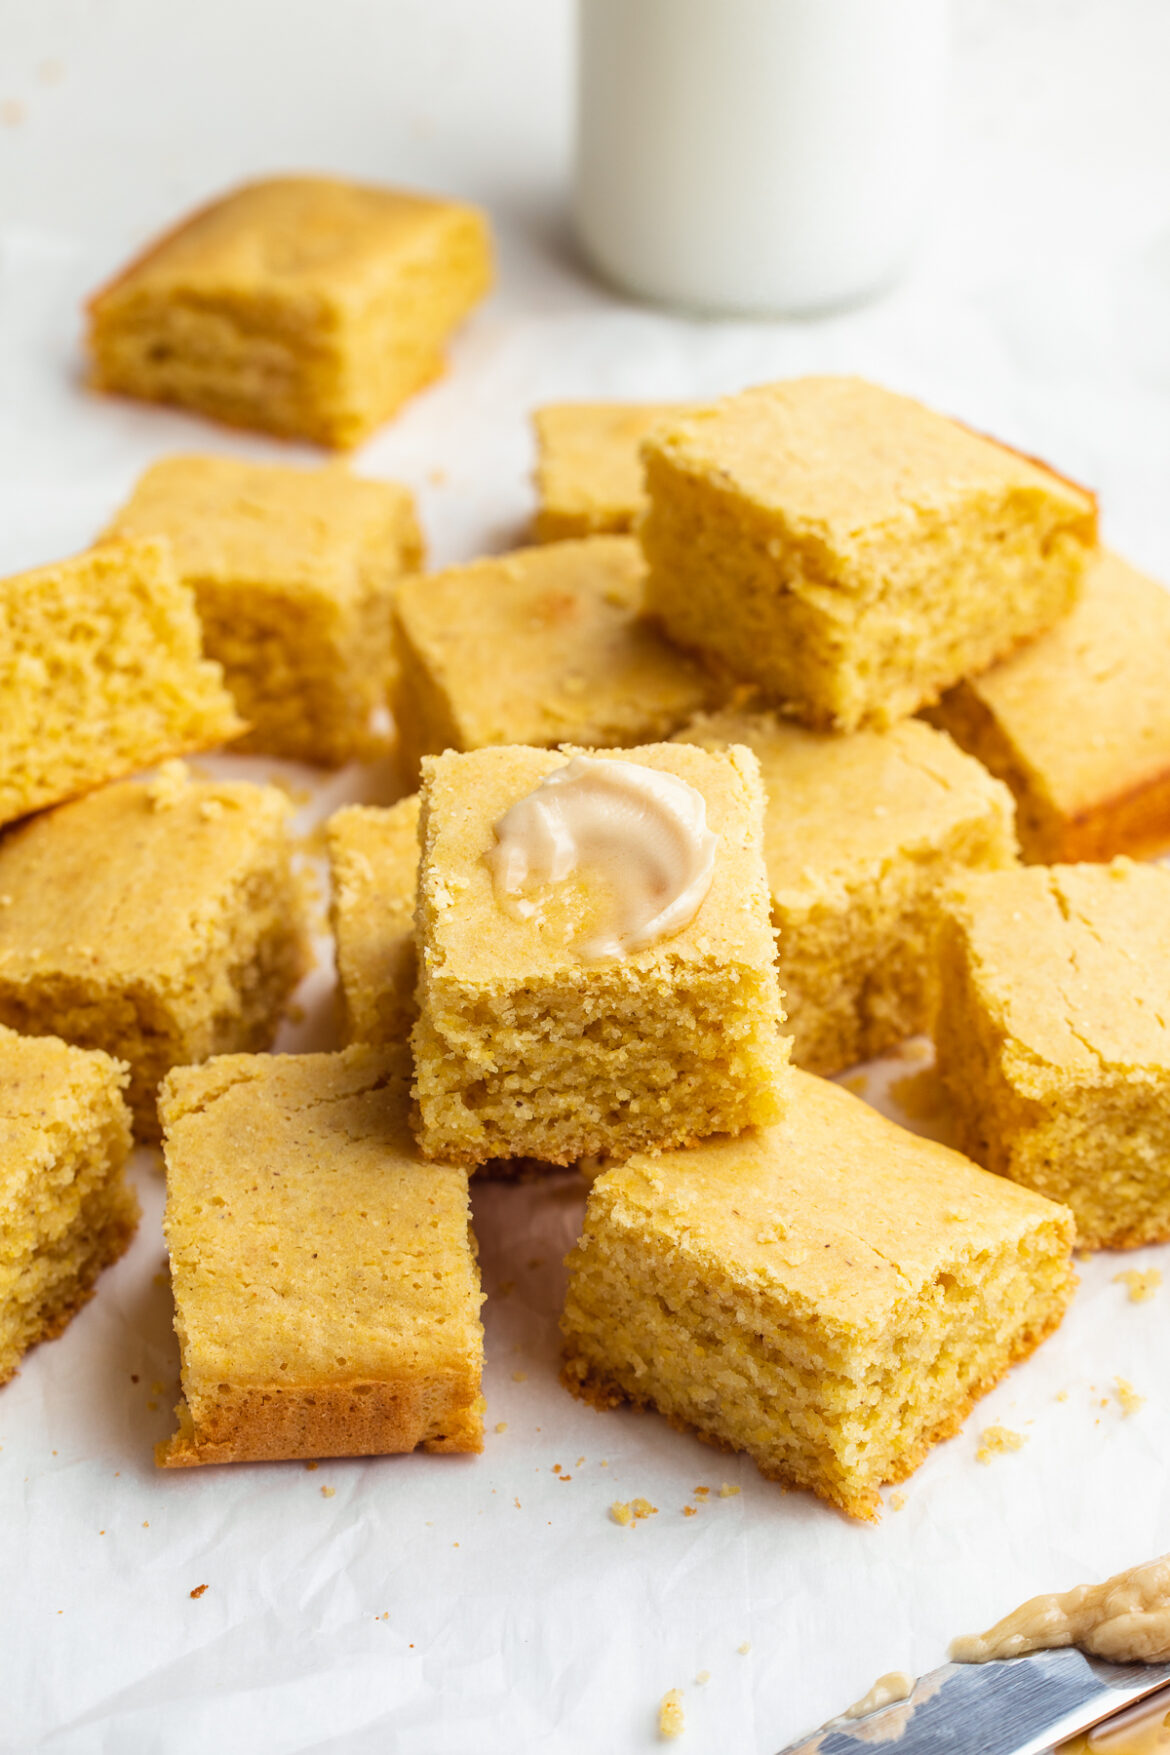
This light and fluffy gluten-free cornbread is perfectly sweet and surprisingly simple to make! With just a few easy swaps, you’ll have a gluten-free and dairy-free version of a comforting classic. Slather some dairy-free honey butter on a slice of this gluten-free cornbread for a delicious snack or side dish!

overhead image of gluten-free cornbread with honey butter on the side.

One Mother’s Day I wrote my Mom a card that read “Happy Mother’s Day! I like your cornbread.” And that my friends, is a true story. My Mom always made the BEST cornbread. Not too sweet, perfectly crumbly, and always served with her own homemade honey butter. I’d dream about that stuff and request it for breakfast, lunch, or dinner any chance I got.

While I wrote that Mother’s Day card many years ago, I’m still a huge fan of my Mom’s cornbread. Though her version has all of your “standard” ingredients – all purpose flour, milk, regular butter, etc. So when I set out to develop a gluten-free and dairy-free version of my Mom’s cornbread, I have to be honest, I didn’t have high hopes. But oh boy was I pleasantly surprised with how this recipe turned out! Nearly identical to the cornbread I grew up on, this gluten-free and dairy-free recipe does NOT disappoint. I was able to easily swap the all purpose flour for naturally gluten-free (and grain-free) flours, and the dairy for non-dairy counterparts. And if that hasn’t sold you on this cornbread – I was developed this recipe using just ONE BOWL. That’s right – easy baking and easy cleanup!

honey being drizzled over stacked gluten-free cornbread

What You Need To Make Gluten-Free Cornbread with Honey Butter

Cornmeal – Made from ground corn, this coarse “flour”is the star of this recipe! Though be sure to use cornMEAL and not corn starch or corn flour, which are simply not the same. And if you’re gluten-intolerant, be sure to use a cornmeal that reads “gluten-free” somewhere on the label. While cornmeal is naturally gluten-free, some brands may still contain traces of gluten.

Almond Flour – Not to be confused with almond meal, almond flour is a light, fluffy, and naturally gluten-free flour. Almond flour works in conjunction with tapioca flour to replace the all purpose flour in my Mom’s famous cornbread recipe. I’m not able to fully understand or explain the science of how these gluten-free flours work, but just trust me when I tell you, they WORK. Almond Flour and tapioca flour create a gluten-free cornbread that tastes just like any other cornbread!

Non-Dairy Butter – I use and love Earth Balance Vegan Buttery sticks in my dairy-free honey butter. However, feel free to use your favorite non-dairy butter in this recipe! And if you’re not dairy-free, feel free to use regular butter instead.

gluten-free cornbread with a bite taken out

Adjust This Recipe To Your Diet

  • Make it Vegan: Replace the egg with a flax egg and use maple syrup instead of honey to make this recipe vegan!
  • Add Dairy: Use regular milk instead of non-dairy milk, melted butter instead of coconut oil, and regular butter in the honey butter if you’re not dairy-free.
  • Make it Refined Sugar-Free: SURPRISE – this recipe is already refined sugar-free!

Gluten-Free Cornbread with Honey Butter

4 from 5 votes
Recipe by Samantha Russo Course: SidesCuisine: AmericanDifficulty: Easy
Servings

9

servings
Prep time

5

minutes
Cooking time

20

minutes
Total time

25

minutes

This light and fluffy gluten-free cornbread is perfectly sweet and surprisingly simple to make! With just a few easy swaps, you’ll have a gluten-free and dairy-free version of a comforting classic. Slather some dairy-free honey butter on a slice of this gluten-free cornbread for a delicious snack or side dish!

Ingredients

  • For the cornbread:
  • 1 cup cornmeal

  • 1 cup almond flour

  • 1/2 cup tapioca flour

  • 1/4 cup coconut sugar

  • 2 teaspoons baking powder

  • 1 teaspoon salt

  • 1 cup non-dairy milk

  • 1 egg, see Notes

  • 1/4 cup coconut oil, melted

  • For the honey butter:
  • 1/4 cup dairy-free butter, softened

  • 1/4 cup honey, see Notes

Directions

  • Preheat oven to 425° Fahrenheit and lightly grease an 8×8 baking dish.
  • Combine cornmeal, almond flour, tapioca flour, coconut sugar, baking powder, and salt in a large bowl.
  • Add in the almond milk, egg, and melted coconut oil then mix until well combined.
  • Transfer batter to the baking dish and bake for 20-25 minutes, then remove from the oven and transfer to a wire cooling rack.
  • While cornbread is cooling, mix together the softened butter and honey in a small bowl. Refrigerate the honey butter until ready to serve.

Recipe Video

Notes

  • Egg: You can substitute the egg in this recipe for a flax egg or your favorite egg substitute.
  • Honey: Feel free to use maple syrup instead of honey to turn this into a maple butter recipe.

Did you make this recipe?

Share it and tag @samdoesherbest on Instagram!

Like this recipe?

Follow us @samdoesherbest on Pinterest

More Gluten-Free Recipes You NEED To Make

This healthy cheesecake is light, tangy, and only tastes indulgent! It’s entirely vegan, gluten-free, and made with the healthiest ingredients. Enjoy a big slice of this healthy cheesecake with some fresh berries for dessert, a snack, or even breakfast – yup, it’s THAT healthy!

close up overhead image of healthy cheesecake with fresh strawberries of healthy cheese

I didn’t always love cheesecake. Most I tried were too dry, dense, and/or sweet. Therefore, in developing this cheesecake I made sure it was light, almost fluffy, and perfectly sweet! And it wouldn’t be a SDHB recipe if I didn’t make it healthier too. I took the best cheesecake recipes I could find, substituted a few simple ingredients, and voilà this better-for-you cheesecake recipe was born!

Ingredients such as vegan cream cheese, vegan yogurt, and a touch of maple syrup make for a more nutritient dense recipe. I wish I had recorded the look on my boyfriend’s face when I told him this cheesecake was SO healthy he could, in fact, eat it for breakfast! Once he processed the near too-good-to-be-true news, he excitedly inhaled a massive slice of this vegan and gluten-free treat.

What You Need To Make Healthy Cheesecake

Gluten-Free Graham Crackers – I used my own recipe for gluten-free graham crackers, though you can use your favorite store bought gluten-free graham crackers instead. To turn them into graham cracker crumbs you can either seal them in a ziploc bag and crush them with a rolling pin or heavy object, or add them to a food processor and give them a few pulses. Once all crackers have been ground into crumbs and no large pieces remain, you’re ready to use them in this recipe!

Vegan Cream Cheese – I used and love the Kite Hill Plain Vegan Cream Cheese in this recipe! Though feel free to use your favorite vegan cream cheese instead. If not vegan, you can use regular cream cheese. However, be sure to avoid flavored cream cheeses, plain is necessary for this healthy cheesecake recipe.

Vegan Yogurt – Similar to the vegan cream cheese, make sure your vegan yogurt is plain and unsweetened. Any added flavors or sugar would completely throw off the balance of this recipe. I used plain coconut yogurt and had great results, though any non-dairy plain unsweetened yogurt will work!

Corn Starch – Most cheesecakes contain eggs to help bind the filling once baked. However, this cheesecake recipe is both healthy and vegan with the use of corn starch instead. Corn starch is imperative in getting this cheesecake to firm up and set to its perfectly light and soft consistency. If you don’t have corn starch, you can use arrowroot starch instead.

Adjust This Recipe To Your Diet

  • Add Dairy: Use regular butter, cream cheese, and yogurt in this recipe if not vegan or dairy-free.
  • Make it Paleo: Use paleo graham crackers, coconut oil instead of vegan butter, and arrowroot starch instead of cornstarch to turn this into a healthy paleo cheesecake recipe!

Healthy Cheesecake (Vegan, Gluten-Free)

0 from 0 votes
Recipe by Samantha Russo Course: DessertCuisine: AmericanDifficulty: Intermediate
Servings

8

servings
Prep time

10

minutes
Cooking time

30

minutes
Chilling Time

8

hours

This healthy cheesecake is light, tangy, and only tastes indulgent! It’s entirely vegan, gluten-free, and made with the healthiest ingredients. Enjoy a big slice of this healthy cheesecake with some fresh berries for dessert, a snack, or even breakfast – yup, it’s THAT healthy!

Ingredients

  • For the graham cracker crust:
  • 1 1/2 cups gluten-free graham cracker crumbs, see Notes

  • 5 tablespoons vegan butter, melted

  • 1 tablespoon coconut oil

  • For the cheesecake filling:
  • 16 ounces plain vegan cream cheese

  • 2 cups plain unsweetened vegan yogurt

  • 2 teaspoons vanilla extract

  • 1 tablespoon lemon juice

  • 1/2 cup maple syrup

  • 3 tablespoons corn starch, see Notes

  • Pinch of salt

Directions

  • Preheat oven to 350° Fahrenheit and line a 9-inch springform pan with parchment paper.
  • Add all graham cracker crust ingredients to a large bowl and mix together.
  • Transfer crust to the springform pan, flatten into an even layer across the bottom, then bake for 7-8 minutes or until slightly golden brown.
  • Beat all cheesecake filling ingredients together in a large bowl then transfer to the pan and smooth over the crust.
  • Fill a pan with 1-inch of water and transfer it to the oven on the lower rack.
  • Place the cheesecake on the upper rack, above the water and bake for 30-35 minutes. Crack the oven door and allow cheesecake to cool in the oven for 1 hour.
  • Remove from the oven and chill in the fridge for at least 8 hours before slicing and eating.

Recipe Video

Notes

  • Gluten-Free Graham Cracker Crumbs: I made my vegan and gluten-free graham crackers, then turned them into crumbs by pulsing them in a food processor. However, you can use store bought gluten-free graham crackers instead if you’d like.
  • Corn Starch: Feel free to use arrowroot starch instead!

Did you make this recipe?

Share it and tag @samdoesherbest on Instagram!

Like this recipe?

Follow us @samdoesherbest on Pinterest

More Healthy Recipes You’ll Love

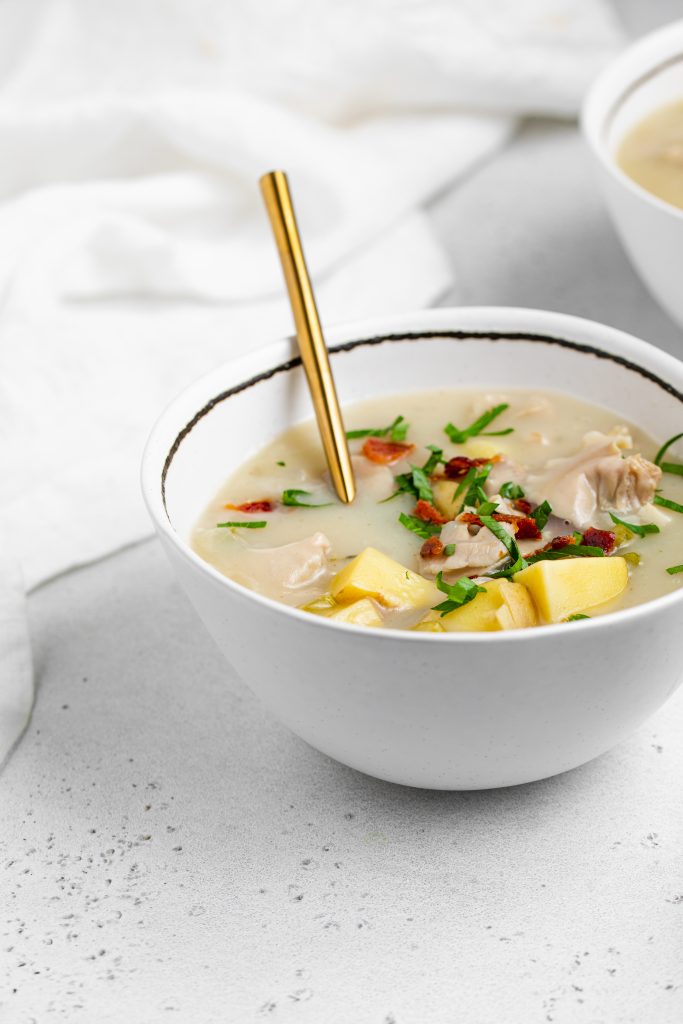
This dairy-free clam chowder is irresistibly creamy, without any actual cream! This easy one-pot recipe is loaded with clams and restaurant-quality flavor.

a bowl of dairy-free clam chowder with a spoon in it

Clam chowder was one of those dishes that I quit cold-turkey when I went dairy-free. It was by no means easy, but it had to be done. Dairy-free clam chowder simply doesn’t exist on a menu anywhere (at least that I’m aware of). To me, and all my other non-dairy friends out there, I feel sorry for us!

I grew up in New England, and creamy clam chowders were a major part of my summer diet. Everywhere I went, if clam chowder was on the menu – I was ordering a cup! I was such a big chowder-enthusiast that at one point I participated in a clam chowder contest. I was a taste-tester by the way, as this was looooong before my recipe developer/food blogger days. So I guess, yes, you could say I’m a bit of a clam chowder aficionado of sorts. I don’t mean to brag, but like, you get it. Therefore, I’d say I’m a bit (ok more than a bit *hair flip*) qualified to be providing you with this dairy-free clam chowder recipe today.

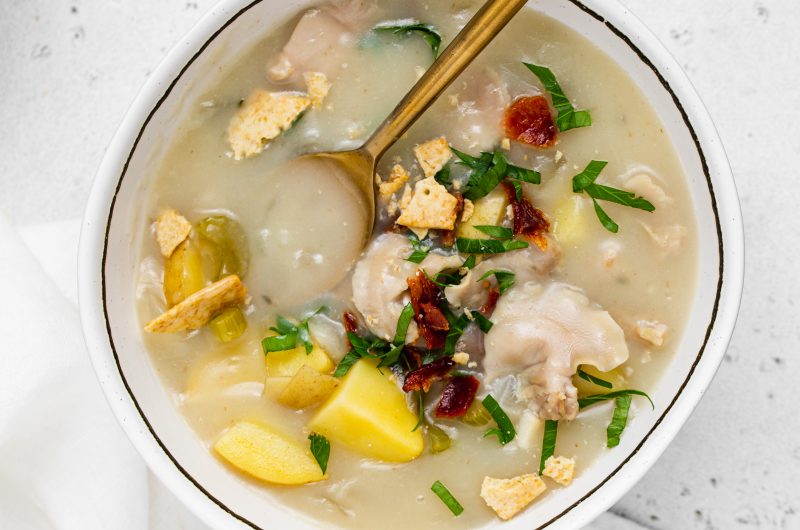
Plenty of clams, chunks of tender potatoes, and a handful of fresh herbs are enveloped in a creamy chowder base. This dairy-free clam chowder tastes incredible with a sprinkling of fresh parsley and crushed gluten-free crackers on top – YUM!

What You Need To Make Dairy-Free Clam Chowder

Bacon – Consider this our secret ingredient! Bacon adds the perfect savory, almost smokey flavor to this recipe. You’ll start by crisping up the bacon in your pot. Then, removing the bacon and cooking the rest of the dish in the pot with its delicious rendered fat. You can either enjoy the bacon separately, or crumble it on top of your finished chowder. I personally love the latter and enjoy coming across little pieces of bacon throughout my dairy-free clam chowder.

Clam Juice – If you’ve never made clam chowder before, you’re probably not familiar with clam juice. I mean, clam chowder is the only reason I’ve ever purchased clam juice in my life. Don’t let the sound of this ingredient fool you, it contributes a subtle briny flavor to this recipe. If you can’t find clam juice, you can use an additional cup of chicken stock instead.

Canned Clams – These are surprisingly easy to find at most grocery stores! You can use either chopped or whole clams in this chowder. The kind you’d order at a restaurant most often contain chopped clams. However, I think both taste equally as great in this dairy-free clam chowder recipe.

Adjust This Recipe To Your Diet

  • Make it Paleo: Use arrowroot starch instead of cornstarch for a paleo clam chowder.
  • Make it Whole30: Similar to paleo, use arrowroot starch instead of corn starch and make sure that your dairy-free milk is Whole30 compliant!

Dairy-Free Clam Chowder

0 from 0 votes
Recipe by Samantha Russo Course: MainCuisine: New EnglandDifficulty: Intermediate
Servings

6

servings
Cooking time

30

minutes
Total time

30

minutes

This dairy-free clam chowder is irresistibly creamy, without any actual cream! This easy one-pot recipe is loaded with clams and restaurant-quality flavor.

Ingredients

  • 4 slices bacon

  • 2 celery stalks, chopped

  • 1 yellow onion, chopped

  • 1 garlic clove, minced

  • 4 tablespoons corn starch, see Notes

  • 1 cup chicken stock

  • 1 (8 ounce) bottle clam juice

  • 3 yellow potatoes, peeled and cubed

  • 1 sprig fresh thyme, see Notes

  • 1/2 teaspoon salt

  • 1 bay leaf

  • 3 (6.5 ounce) cans whole or chopped clams

  • 1 cup dairy-free milk

  • Fresh chopped parsley, for serving

Directions

  • Cook bacon in a large pot or dutch oven until crispy, then remove and set aside on a paper towel-lined plate.
  • Add chopped celery and onion to the pot and cook over medium heat until soft, about 5 minutes. Then add in the garlic and cook for just 1 minute.
  • Add in the corn starch and mix until well combined, pour in the chicken stock and clam juice, then add in the potatoes, thyme, salt, and bay leaf. Bring to a boil then reduce to a simmer and cook for 15-20 minutes or until potatoes are easily pierced with a fork.
  • Pour in canned clams (with juice) and dairy-free milk, simmer for 3-5 minutes then taste and adjust seasoning as desired. Served with crumbled bacon and fresh parsley.

Recipe Video

Notes

  • Corn Starch: You can use arrowroot starch instead if you’d like.
  • Fresh Thyme: If you don’t have fresh thyme, you can use 1 teaspoon of dried thyme instead.

Did you make this recipe?

Share it and tag @samdoesherbest on Instagram!

Like this recipe?

Follow us @samdoesherbest on Pinterest

Other Dairy-Free Dinner Recipes