Tag

easy dinner

Browsing

This hearty Mexican soup is full of fresh, delicious flavor! The perfect quick and easy dinner recipe to throw together on a busy weeknight. Requires only a handful of simple ingredients, cooked in one pot, in just 30 minutes!

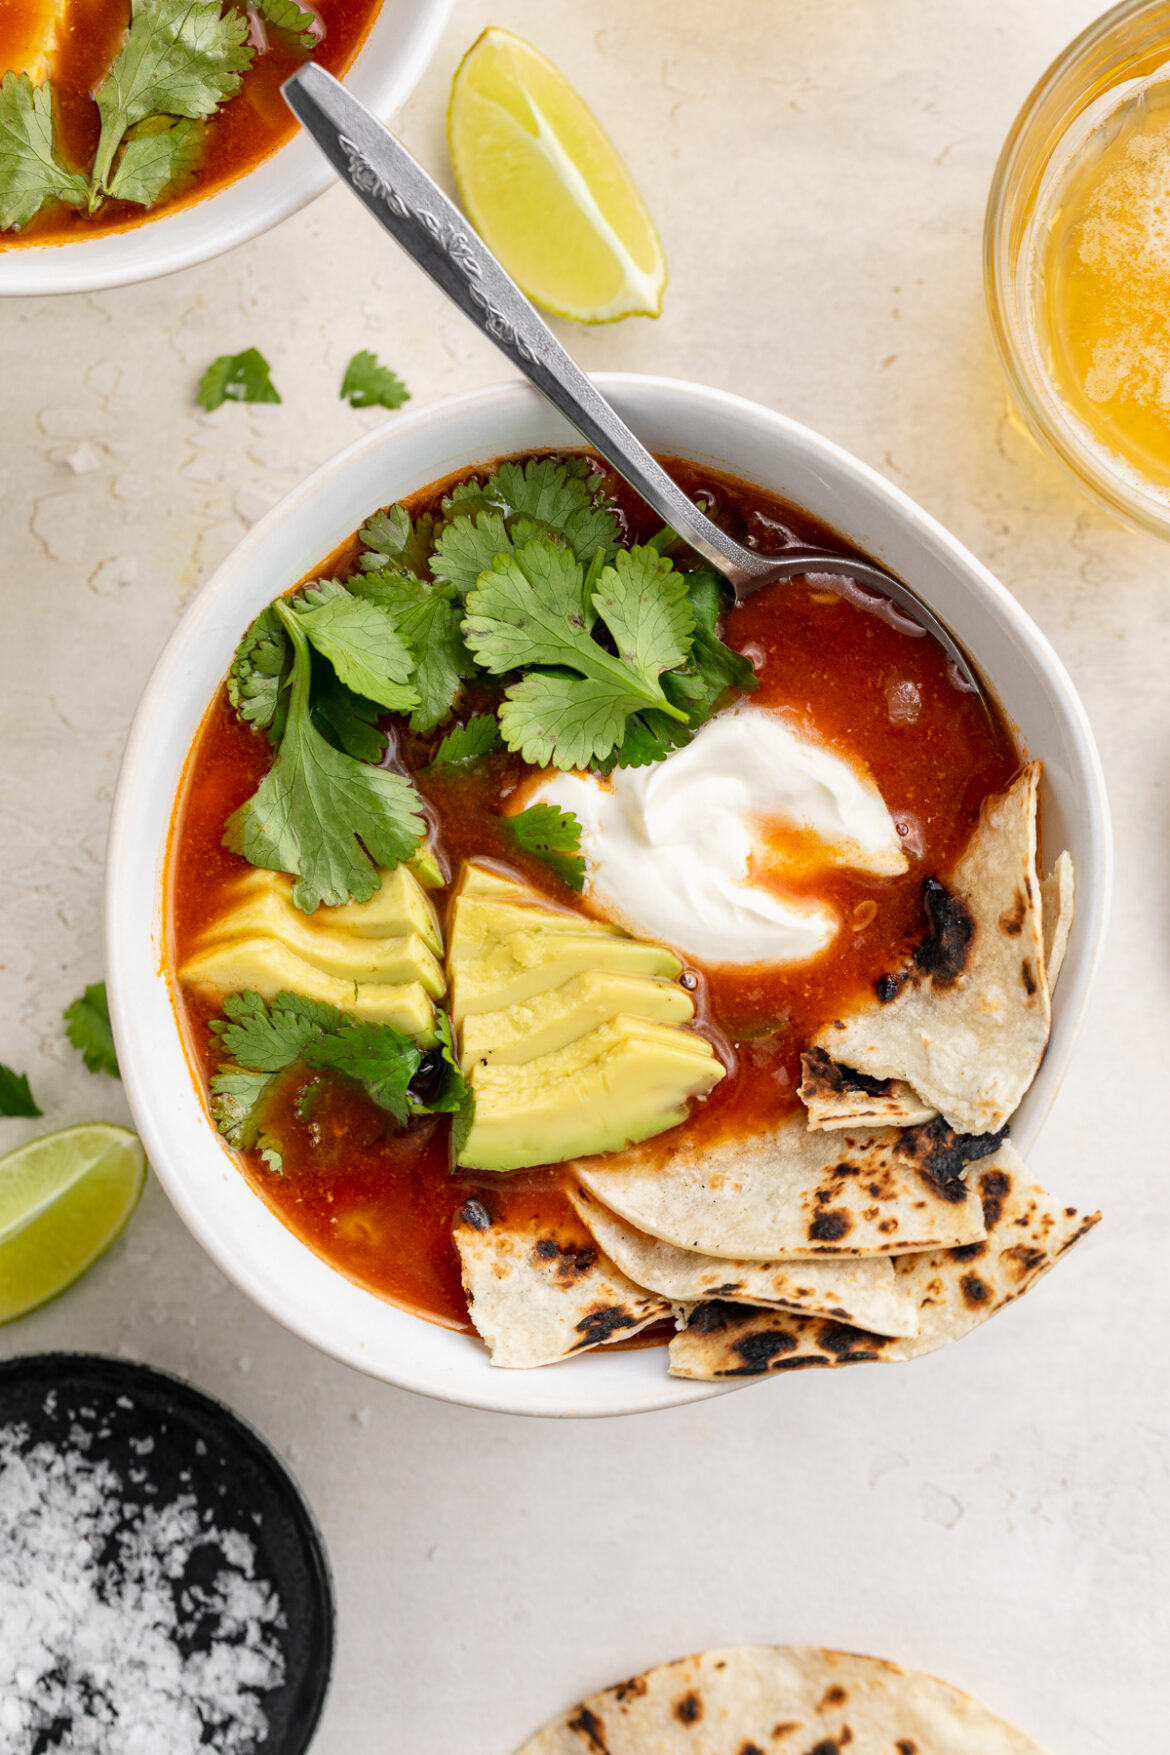
overhead image of Mexican soup with avocado, cilantro, sour cream, and tortillas on top.

What You’ll Need to Make Mexican Soup

Chicken – This recipe calls for chicken breasts, but really any cut of chicken will work. My one recommendation when it comes to buying your chicken, is to make sure it’s boneless and skinless. This’ll make the cooking and dicing process much easier! Also, for a vegan/vegetarian Mexican soup, check out the “Adjust This Recipe to Your Dietary Needs” section below.

Chicken Broth – I used chicken bone broth in my Mexican soup for an extra boost of nutrients. However, any chicken broth, or even chicken bouillon dissolved in water will do the trick. And if you don’t have chicken broth, feel free to use vegetable broth instead.

Taco Seasoning – Two tablespoons of taco seasoning load this soup up with TONS of delicious flavor! This addition makes this recipe even easier to throw together. Though if you don’t have taco seasoning, feel free to use a combo of your favorite Mexican spices. I love smoked paprika, cumin, garlic powder, onion powder, and dried oregano.

Jalapeño – While optional, I love throwing in a diced jalapeño for extra flavor and spice! However, for a mild soup, try just half a jalapeño. Or, feel free to leave it out altogether.

mexican chicken soup in a bowl with a spoon.

Tips and Tricks

  • I highly recommend doubling this recipe! Leftover Mexican soup tastes just as good, and is easy to reheat and enjoy all week long. Heck, you can even freeze it for up to three months!
  • For a heartier meal, add rice! I love adding in a cup or two of cooked rice to my soup. And to keep things super easy, I typically opt for a pre-cooked microwaveable rice.
  • You can also make this Mexican soup in the Instant Pot! To do that, use the sauté function to cook up with veggies. Then, add the remaining ingredients, seal the lid and cook on high pressure for 15 minutes. After 15 minutes, remove the chicken, dice it up, then add it back into your soup – that’s it!
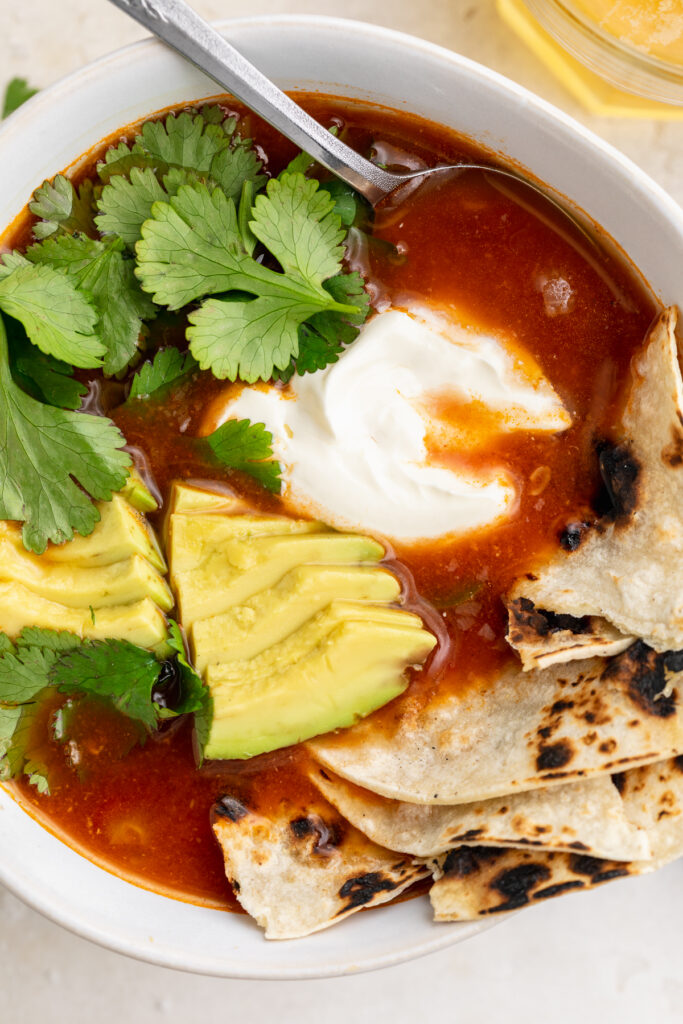
close-up overhead image of Mexican soup with avocado, cilantro, sour cream, and tortillas on top.

Adjust This Recipe to Your Dietary Needs

Make it Vegan/Vegetarian: For a vegan or vegetarian Mexican soup, replace the chicken with two cans of your favorite beans – I love either black beans or navy beans! Also, replace the chicken broth with vegetable broth.

Make it Gluten-Free: While mostly gluten-free, make sure the taco seasoning you use is 100% gluten-free as well!

overhead image of Mexican soup with avocado, cilantro, sour cream, and tortillas on top.
No ratings yet

One-Pot Mexican Soup

This hearty Mexican soup is full of fresh, delicious flavor! The perfect quick and easy dinner recipe to throw together on a busy weeknight. Requires only a handful of simple ingredients, cooked in one pot, in just 30 minutes!
Print Pin Rate
Prep Time: 5 minutes
Cook Time: 20 minutes
Total Time: 25 minutes
Servings: 5 servings

Ingredients

  • 2 tablespoons olive oil
  • 1/2 yellow onion, chopped
  • 1 celery stalk, chopped
  • 1 carrot, chopped
  • 3 garlic cloves, minced
  • 1 quart chicken broth
  • 1 (14-ounce) can crushed tomatoes
  • 1-2 pounds chicken breast
  • 2 tablespoons taco seasoning
  • salt, to taste

Instructions

  • Heat olive oil in a large pot over medium heat, Add in the onion, celery, carrots, garlic, and jalapeño. Cooked 4-5 minutes, or until veggies are tender.
  • Add in chicken broth, crushed tomatoes, chicken, taco seasoning, and salt.
  • Bring to a boil then reduce heat to a simmer, cook uncovered for 20 minutes. Remove chicken from pot, dice into ½-inch pieces, then transfer back into pot. Stir to combine then serve warm with fresh cilantro, lime juice, avocado, sour cream, and tortilla chips.
Nutrition

Calories: 300kcal

Quick and easy white chicken chili made in the Instant Pot! Full of flavor, and deliciously creamy. Whip up this Instant Pot white chicken chili in under 30 minutes!

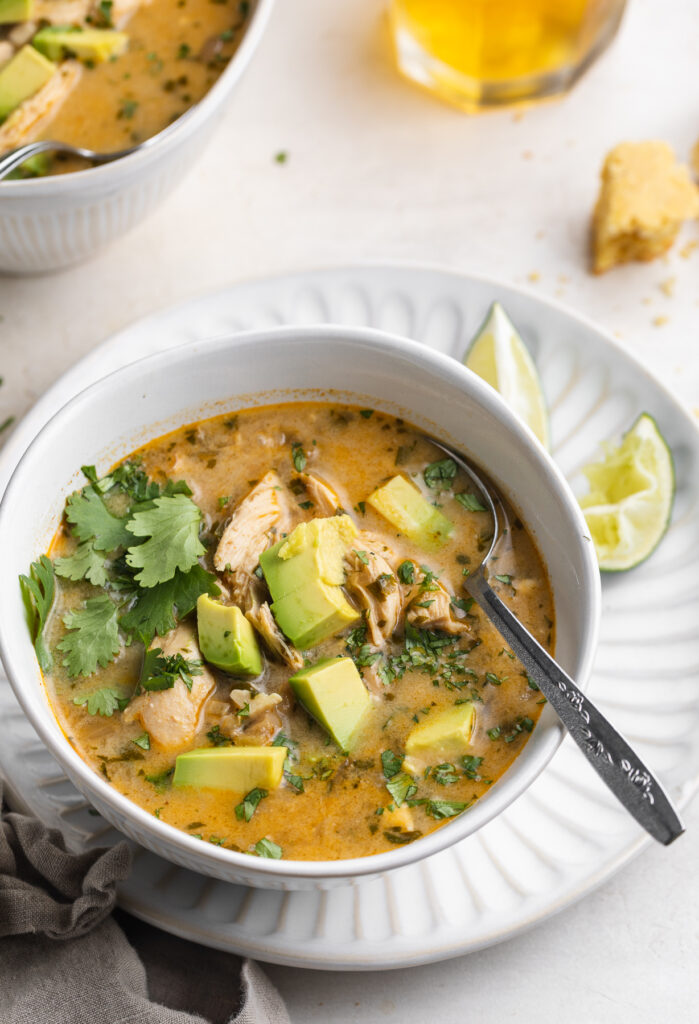
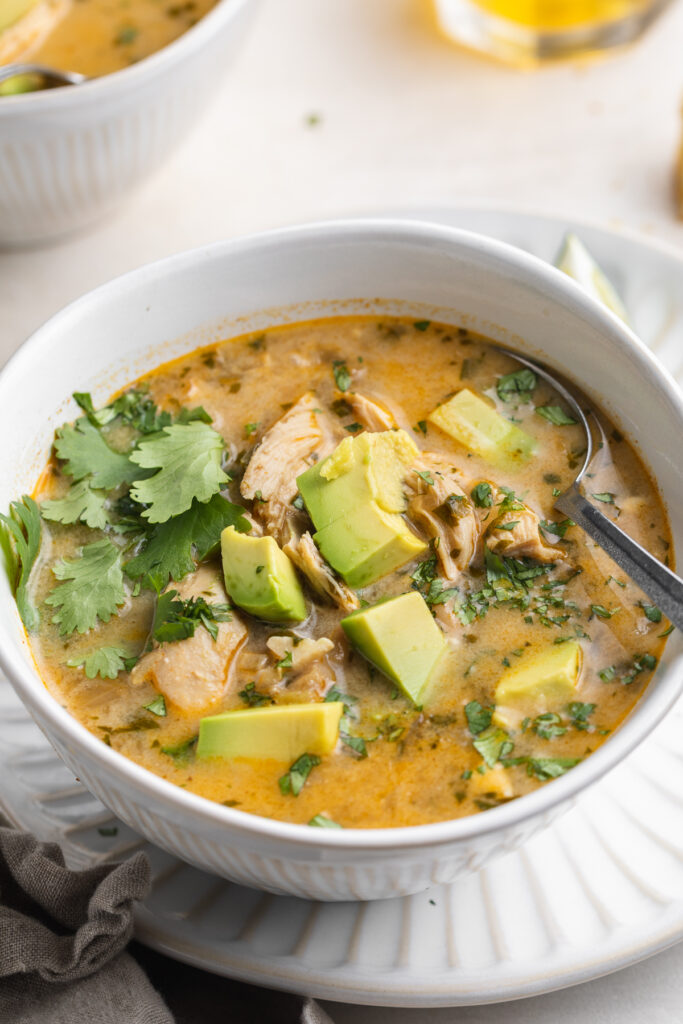
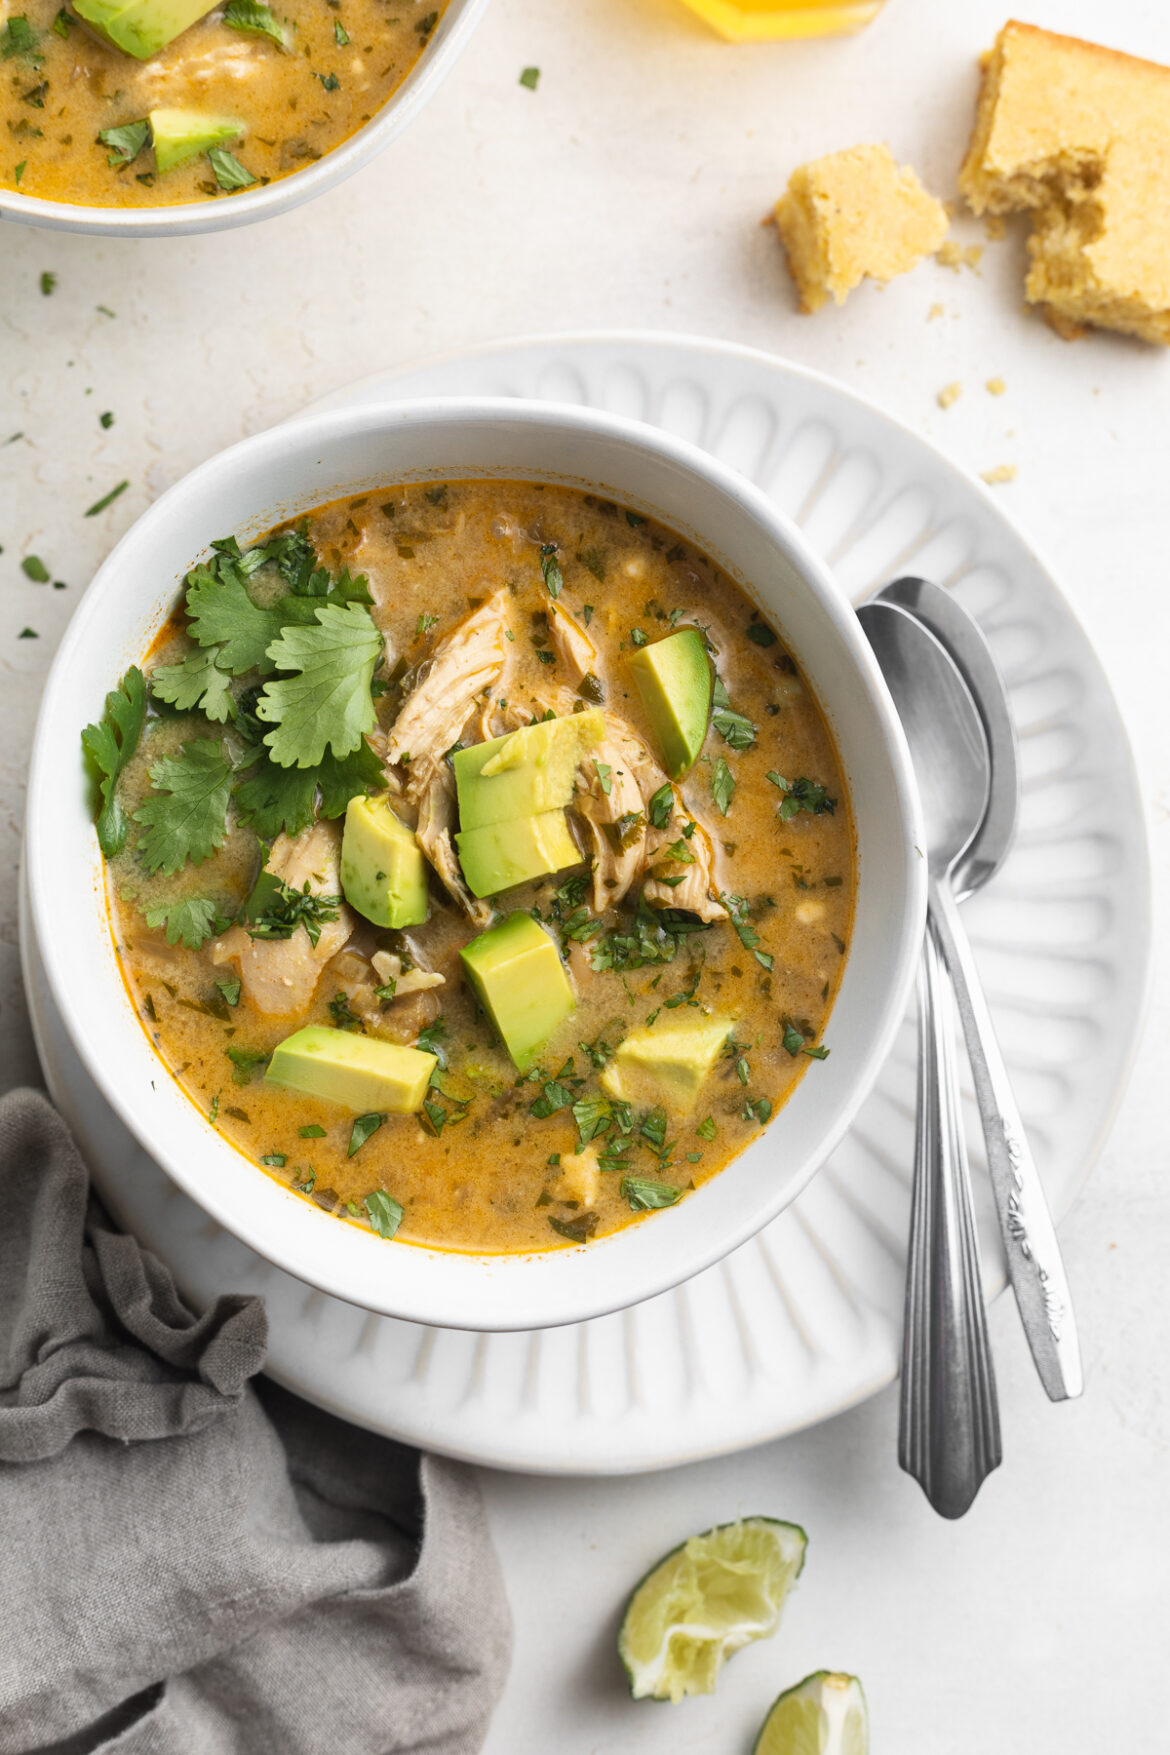
close-up overhead image of Instant Pot white chicken chili with cilantro and avocado on top

What You’ll Need to Make Instant Pot White Chicken Chili

Chicken – Duh! Two boneless and skinless chicken breasts are the main characters of this show. However, if you don’t have chicken breasts, you can certainly use one to two pounds of any chicken part. Boneless and skinless chicken thighs would work great in this chili recipe, too!

White Beans – A can of drained and rinsed white beans make for a heartier soup. They cook up perfectly soft and creamy in the Instant Pot, and absorb a ton of flavor. Any kind of white bean will work too! I used cannellini beans, but navy, great northern, or even lima beans would taste just as delicious.

Jalapeño – One jalapeño adds loads of flavor, but very (and I mean VERY) little spice! If you’re worried about any spice, use just half a jalapeño instead. Or, if you’re like me, and loooove spice – use two or three whole jalapeños in this Instant Pot white chicken chili recipe!

Cream Cheese – Melt some cream cheese into the pot for an ultra creamy, and velvety smooth soup! Cream cheese also adds a slight bit of tanginess to this chili, which is just to-die-for.

Instant Pot white chicken chili in a bowl with lime wedges on the side.

Tips and Tricks

  • Serve this easy weeknight meal however you’d like! I love mine with fresh avocado, cilantro, a squeeze of lime juice, and tortilla chips. And not just any tortilla chips, but these Siete Grain-Free Tortilla Chips – yum!
  • If the cream cheese and sour cream won’t melt in the last step, then turn your Instant Pot back on to the sauté setting. This’ll heat the pot up and help melt the creams!
  • Store leftover Instant Pot white chicken chili in an airtight container in the fridge for up to four days. Or, to enjoy weeks later, freeze this chili for up to three months! To reheat, simply transfer to the fridge for a few hours, then reheat in a pot until warm throughout.
close-up image of Instant Pot white chicken chili in a bowl with avocado and cilantro on top.

Adjust This Recipe to Your Dietary Needs

Make it Vegan/Vegetarian: For a fully vegan or vegetarian white chili recipe, then replace the chicken with an additional can of white beans. Also, sub the chicken broth for vegetables broth – it’s that easy!

Make it Dairy-Free: Use your favorite dairy-free cream cheese and dairy-free sour cream in this Instant Pot white chicken chili. Or, replace both of those things with a can of full-fat coconut milk, just as creamy and delicious!

overhead image of Instant Pot white chicken chili with cilantro and avocado on top
No ratings yet

Instant Pot White Chicken Chili

Quick and easy white chicken chili made in the Instant Pot! Full of flavor, and deliciously creamy. Whip up this Instant Pot white chicken chili in under 30 minutes!
Print Pin Rate
Prep Time: 5 minutes
Cook Time: 20 minutes
Total Time: 25 minutes
Servings: 4 servings

Ingredients

  • 2 tablespoons olive oil
  • 1 yellow onion, chopped
  • 4 garlic cloves, minced
  • 1 jalapeño, seeded and chopped
  • 1 teaspoon cumin
  • 1 teaspoon paprika
  • 1/2 teaspoon chili powder
  • 1/2 teaspoon salt
  • 1/4 teaspoon black pepper
  • 1 (15-ounce) can white beans, drained and rinsed
  • 2 boneless and skinless chicken breasts
  • 1 (4-ounce) can diced green chiles, undrained
  • 1 quart chicken broth
  • 1/2 cup sour cream or unsweetened plain Greek yogurt
  • 1/4 cup cream cheese
  • 1/2 cup fresh cilantro, chopped

For serving:

  • Tortilla chips
  • Additional fresh cilantro
  • Lime wedges
  • Avocado, sliced

Instructions

  • Turn Instant Pot to sauté setting and add in olive oil. Once oil is hot, add in the onion, garlic, and jalapeno. Sauté for 2-3 minutes or until veggies are tender.
  • Add the cumin, paprika, chili powder, salt, and black pepper, then cook for just 1 minute.
  • Add in the drained beans, chicken breast, diced green chiles, and chicken broth (in that order). Secure the lid and cook on high pressure for 15 minutes, then manually release the steam.
  • Remove chicken from Instant Pot and shred with two forks before adding back into the pot. While chili is still hot, add in the sour cream, cream cheese, and fresh cilantro then stir to combine. Serve warm with tortilla chips, additional cilantro, fresh avocado, and lime wedges.

Nutrition

Calories: 300kcal

Quick, easy, and super delicious one-pan chicken and rice! Full of flavor, with a handful of simple ingredients you likely already have on hand. This chicken and rice recipe is the perfect weeknight meal, ready in just 30 minutes!

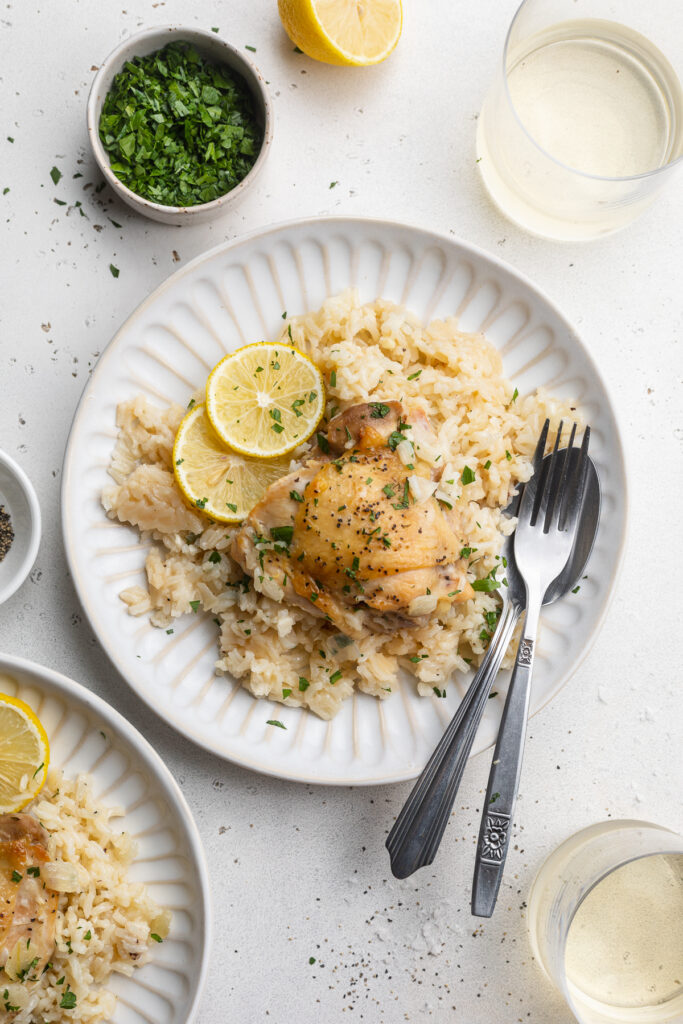
overhead image of chicken and rice on a plate with lemon, parsley, and white wine on the side.

What You’ll Need to Make This Chicken and Rice Recipe

Chicken – Any piece of chicken will work in this recipe! I used skin-on bone-in chicken thighs, because they pack in tons of delicious flavor. However, feel free to use chicken breasts for a healthier option, or chicken legs if that’s what you have handy.

White Rice – The rice in this recipe must specifically be long grain white rice. Other rices will have a different cook time/method, and simply won’t work. I used this brand of organic long grain white rice, but any will work!

Broth – Either chicken or vegetable broth will taste great! Though if you don’t have broth, you can use 2 cups of water plus one chicken or vegetable bouillon cube instead.

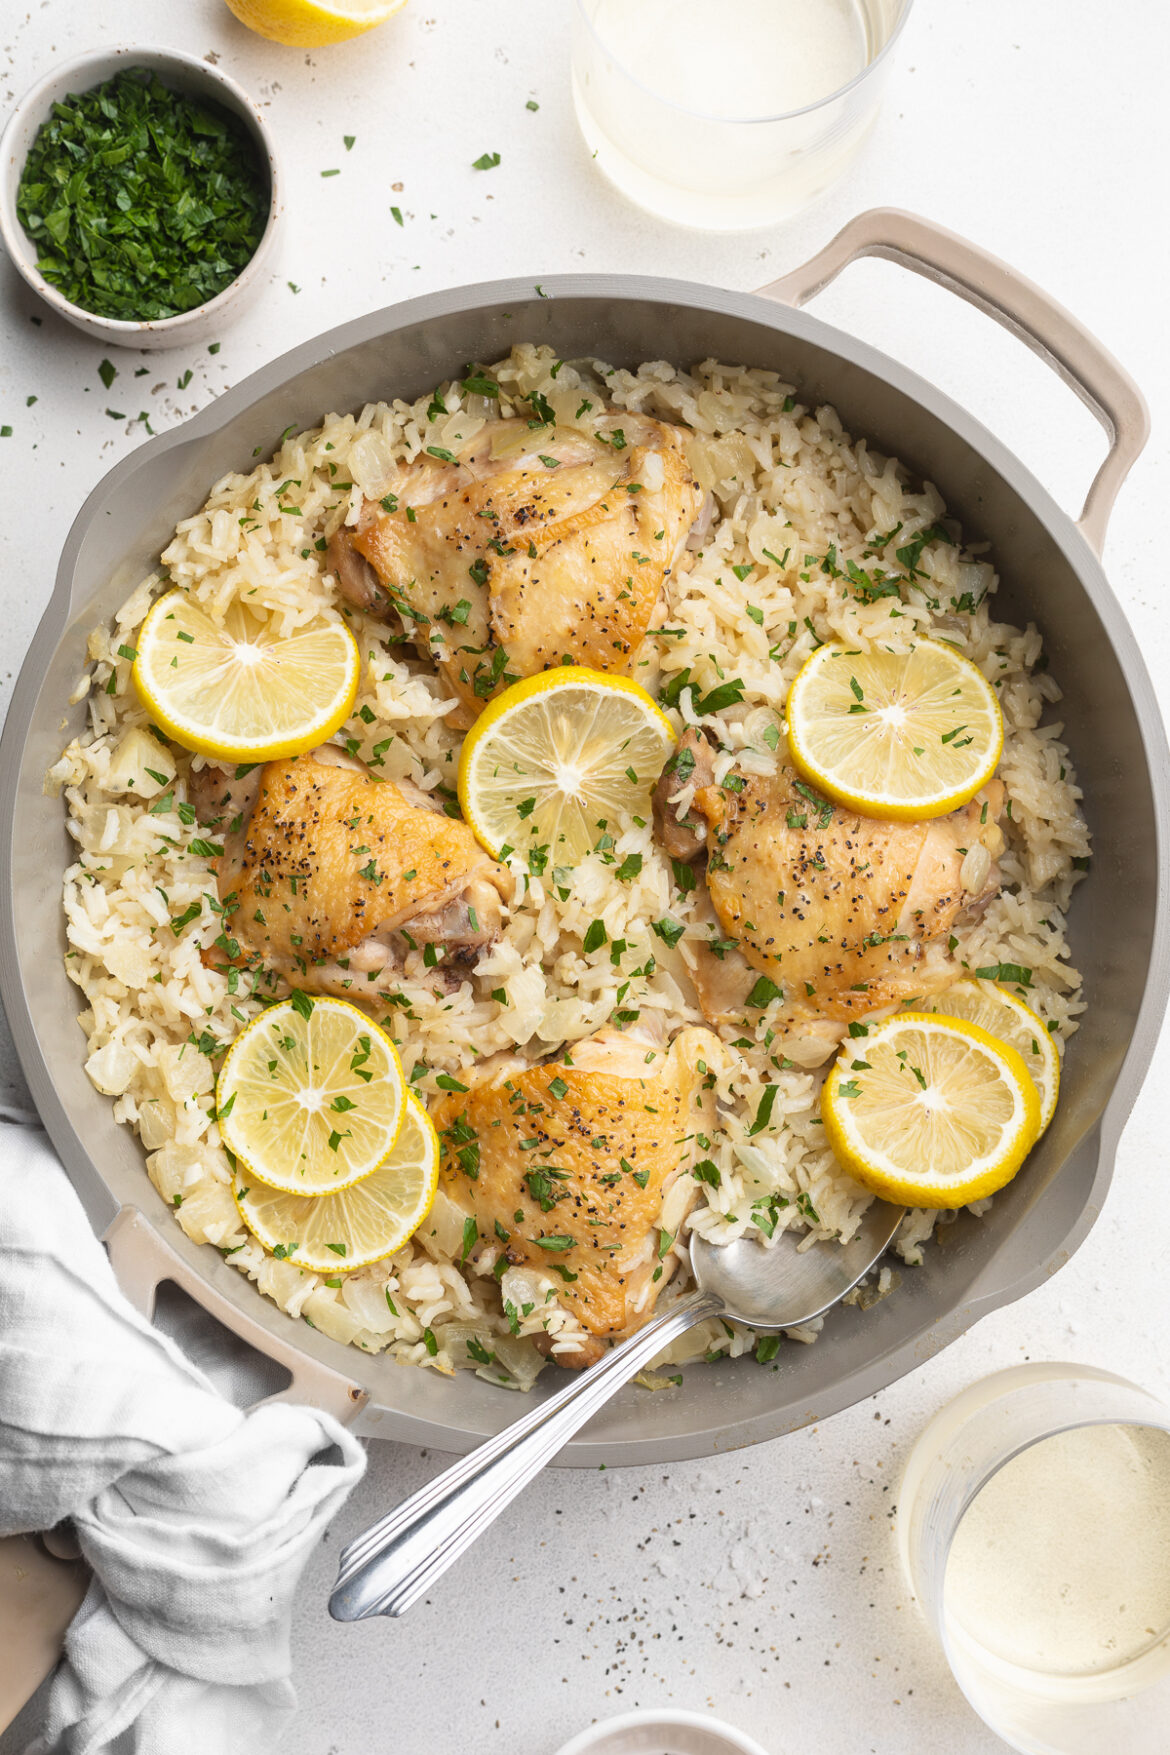
chicken and rice in a pan with a serving spoon.

Tips and Tricks

  • I recommend a large skillet with high sides and a tight fitting lid for this chicken and rice recipe. Since everything gets cooked in the same skillet, make sure the one you use is large enough to fit all ingredients! I use and looooove my Always Pan – I can’t recommend it enough.
  • You can make this in your Instant Pot if you’d like! To do that, sear the chicken then cook the onion and garlic on the saute setting. Then, add in all remaining ingredients, secure lid, and set to manual high pressure for 10 minutes. After 10 minutes, your chicken should be cooked through, and your rice fluffy!
close-up image of chicken and rice in a pan with lemon slices on top.

Adjust This Recipe To Your Dietary Needs

Make it Gluten-Free: While this recipe is already both gluten and dairy-free, I always recommend double checking your rice to make sure it’s 100% gluten-free. Most rice is, but some contain trace amounts of gluten.

Make it Paleo/Grain-Free: For a paleo chicken and “rice” recipe, replace the white rice with cauliflower rice. To do this, reduce the amount of broth you use to just 1/4 cup, then cover skillet and cook until the chicken is cooked through.

overhead image of chicken and rice in a pan with lemon slices on top.
5 from 1 vote

One-Pan Chicken and Rice Recipe

Quick, easy, and super delicious one-pan chicken and rice! Full of flavor, with a handful of simple ingredients you likely already have on hand. This chicken and rice recipe is the perfect weeknight meal, ready in just 30 minutes!
Print Pin Rate
Prep Time: 5 minutes
Cook Time: 25 minutes
Total Time: 30 minutes
Servings: 4 servings

Ingredients

  • 4 pieces chicken (I use bone-in skin-on chicken thighs)
  • salt and black pepper, to taste
  • 1 tablespoon avocado or olive oil
  • 1 yellow onion, chopped
  • 3 garlic cloves, minced
  • 1 cup uncooked long grain white rice
  • 2 cups chicken or vegetable broth
  • 1 tablespoon lemon juice
  • fresh chopped parsley, for serving

Instructions

  • Pat chicken dry with a paper towel, then season well with salt and black pepper.
  • Heat oil in a large skillet over medium-high heat. Place chicken into hot skillet, and sear for 2-3 minutes per side, or until golden brown. (You do not want to fully cook the chicken in this step, just sear it until brown).
  • Remove chicken from skillet, then add onion and garlic to the skillet. Cook 4-5 minutes or until onion is soft.
  • Add in the rice and cook for 1-2 minutes to toast the rice, then pour in the chicken or vegetable broth. Gently stir and lift any brown bits from the bottom of the skillet.
  • Return chicken to the skillet, then bring rice to a boil before reducing to a simmer. Cover skillet with lid, and leave to simmer for 20 minutes, or until rice is cooked. Remove from heat, add in lemon juice and gently fluff rice with a fork. Serve warm with fresh chopped parsley on top.

Nutrition

Calories: 300kcal

Quick, easy, and full of flavor – air fryer salmon patties with a creamy dill sauce! The perfect healthy, gluten-free, and dairy-free dinner recipe. Comes together in a few simple steps, and in just 15 minutes!

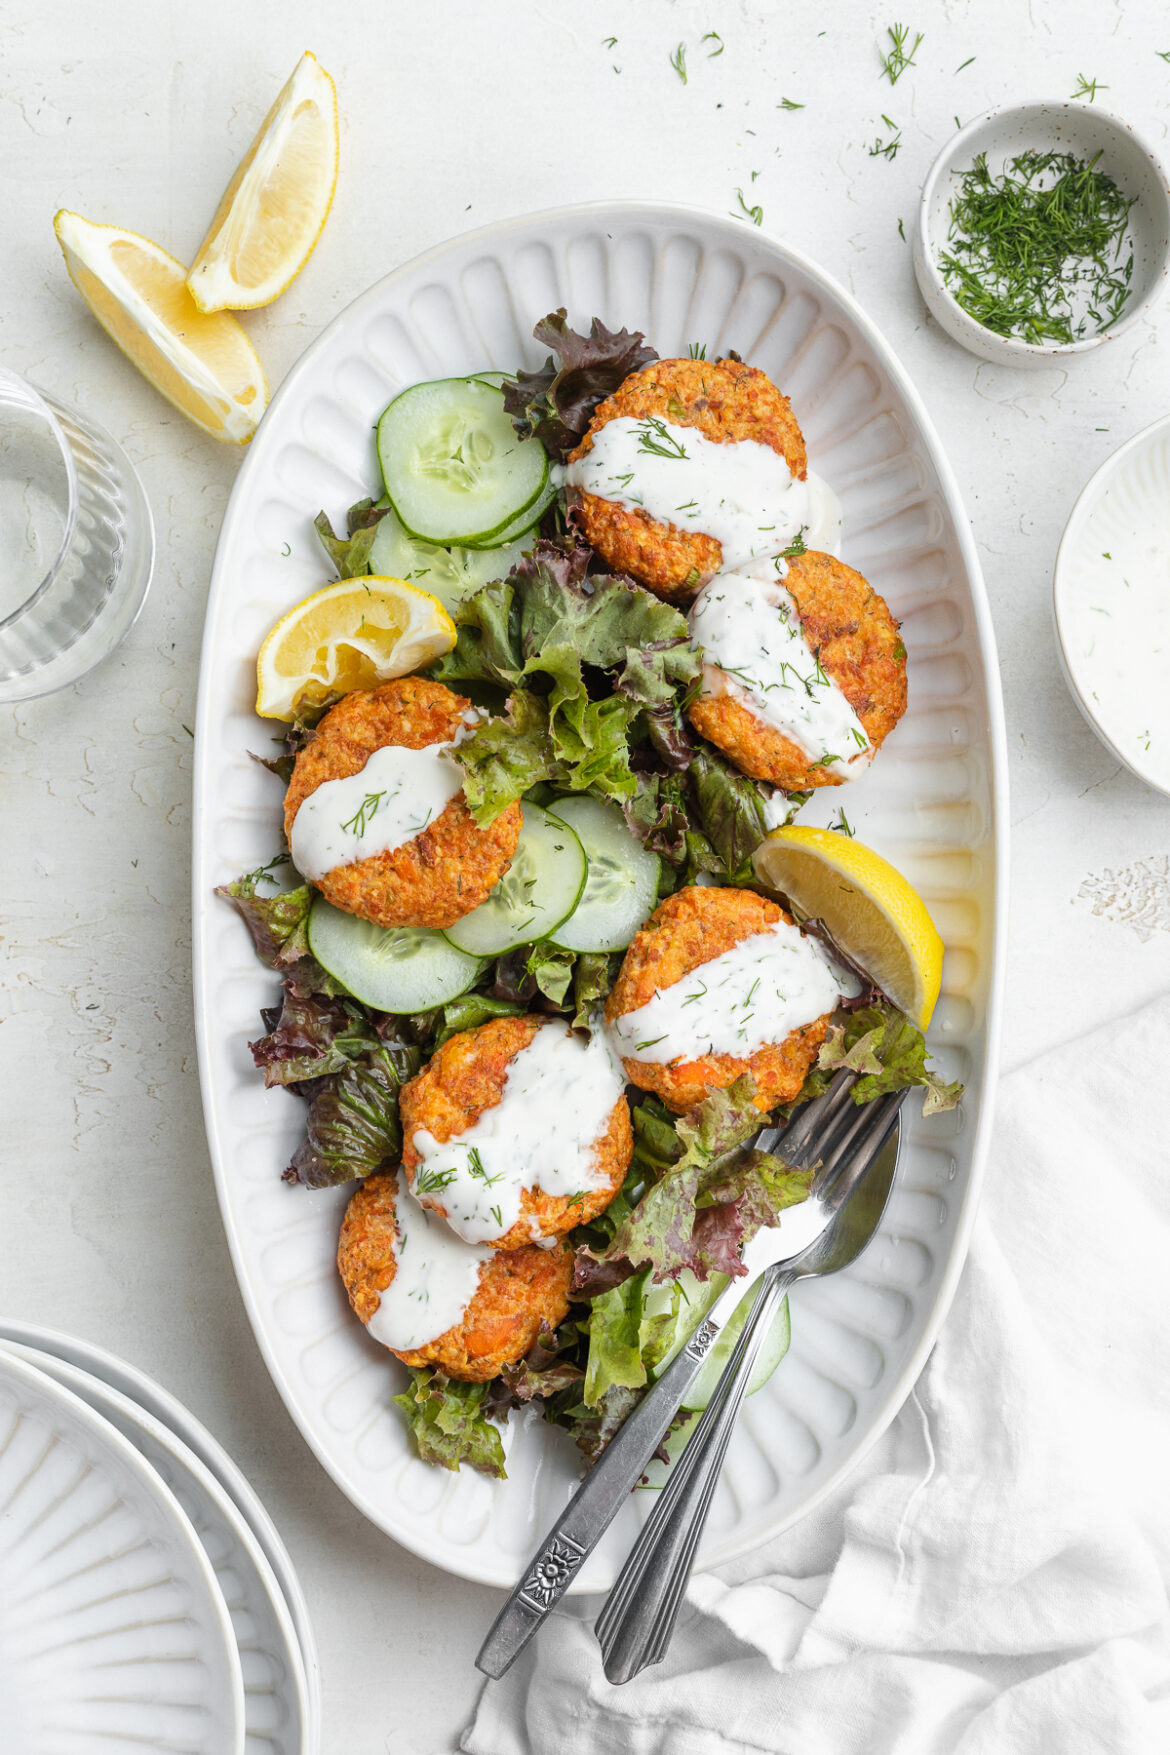
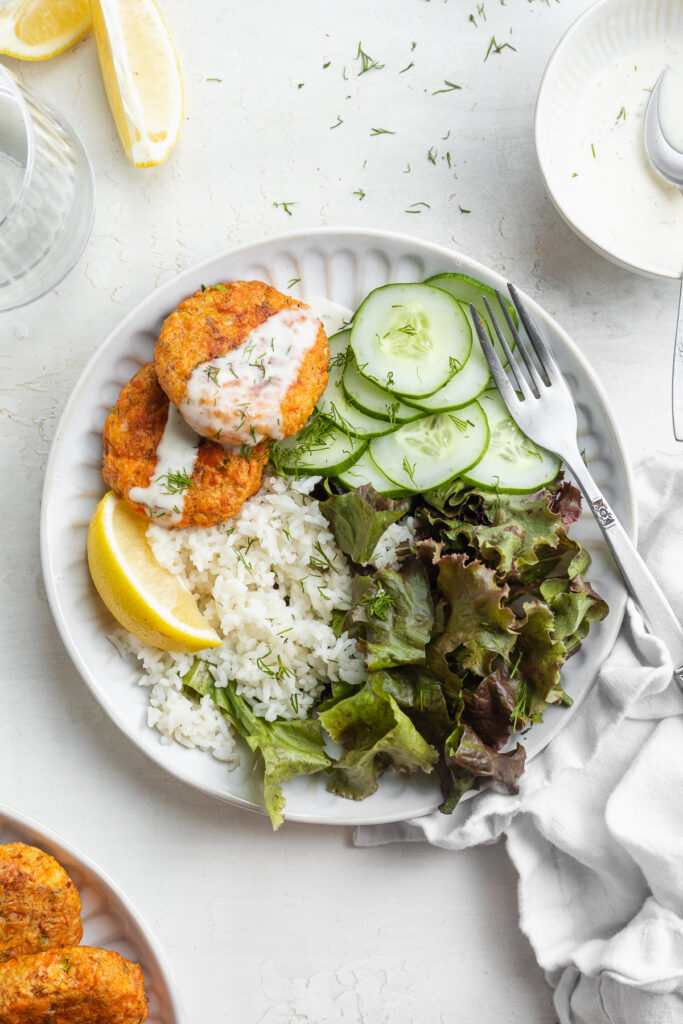
Overhead image of air fryer salmon patties on a plate over rice and lettuce with creamy dill sauce on top.

What You’ll Need to Make Air Fryer Salmon Patties

Canned Salmon – I used two cans of wild sockeye salmon in my patties, but any canned salmon will work. Canned salmon is an easy addition to this already super easy meal. It’s also a great source of lean protein, vitamin B12, iron, potassium, and vitamin D. However, these air fryer salmon patties are so delicious, no one will ever guess how healthy they are!

Breadcrumbs – I used gluten-free panko breadcrumbs, but any unflavored/unseasoned breadcrumbs will taste great! Panko breadcrumbs are lighter and will yield a crispier patty. Or, if you don’t have breadcrumbs, you can use 1/3 cup of almond flour in its place.

Mayonnaise – This creamy condiment comes in handy in both the salmon patties and the creamy dill sauce. If not a mayo fan, you can use unsweetened greek yogurt instead!

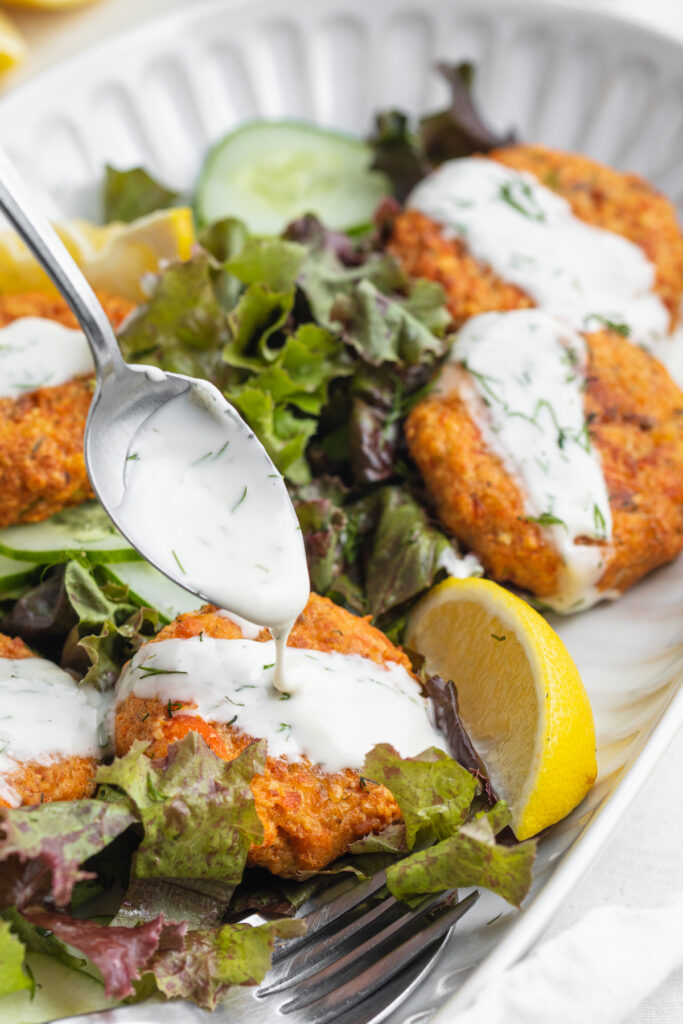
creamy dill sauce being poured over air fryer salmon patties.

Tips and Tricks

  • For an even crisper salmon patty, coat the outside in additional breadcrumbs. Then, place in the air fryer and coat with a drizzle of oil before cooking. The end result will be golden brown, soft on the inside, and crispy on the outside air fryer salmon patties!
  • Enjoy this recipe however you’d like. I served mine over lettuce and rice, with a drizzle of that creamy dill sauce. Though these would also taste amazing as a salmon burger between two buns!
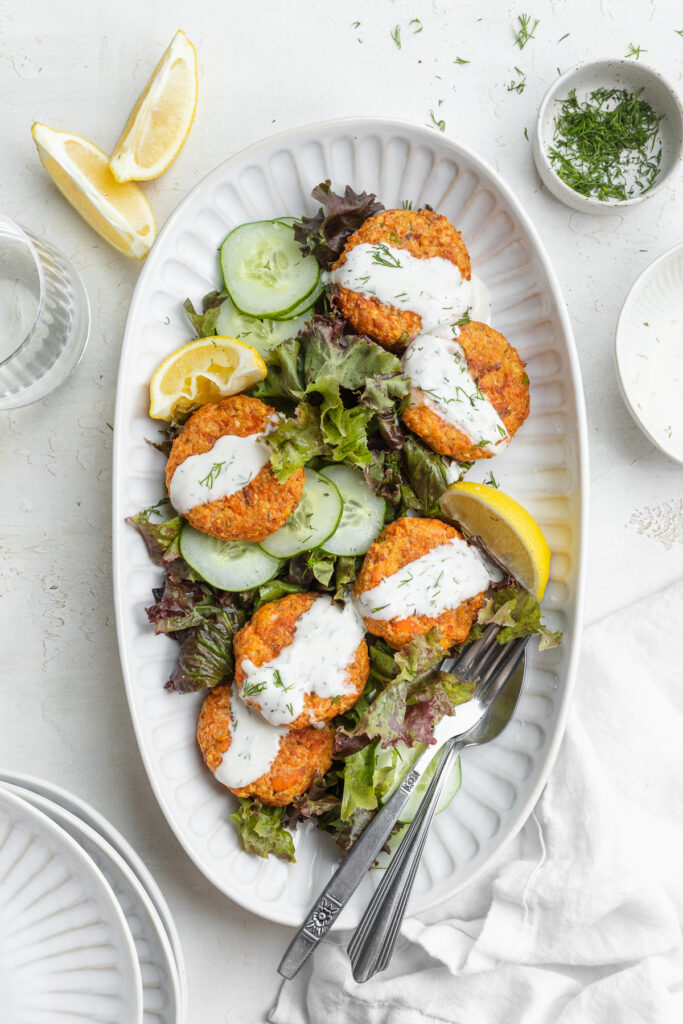
overhead image of air fryer salmon patties on a platter.

Adjust This Recipe To Your Dietary Needs

Make it Egg-Free: While I haven’t tested this option myself, you may be able to replace the eggs in this recipe with flax eggs. Or, try this Bob’s Red Mill Egg Replacer as a substitute. Also, be sure to use an egg-free mayo!

Make it Gluten-Free: For a gluten-free dinner recipe, use gluten-free breadcrumbs like I did! Then, serve these air fryer salmon patties over a bed of your favorite veggies and rice.

close-up image of air fryer salmon patties on a plate with rice and cucumbers.
No ratings yet

Air Fryer Salmon Patties with Creamy Dill Sauce

Quick, easy, and full of flavor – air fryer salmon patties with a creamy dill sauce! The perfect healthy, gluten-free, and dairy-free dinner recipe. Comes together in a few simple steps, and in just 15 minutes!
Print Pin Rate
Prep Time: 5 minutes
Cook Time: 8 minutes
Total Time: 13 minutes
Servings: 8 salmon patties

Ingredients

  • 2 (7.5 ounce) cans canned salmon, drained
  • 2 eggs
  • 1/2 cup breadcrumbs, I used gluten-free panko breadcrumbs
  • 2 tablespoons mayonnaise
  • 1 green onion, finely chopped
  • 1 tablespoon fresh dill, chopped
  • 1/2 teaspoon paprika
  • 1/4 teaspoon salt

For the dill sauce:

  • 1/2 cup mayonnaise
  • 1-2 tablespoons lemon juice
  • 3 tablespoons fresh dill, chopped

Instructions

  • Mix together all salmon patty ingredients in a large bowl until fully combined.
  • Scoop ¼ cup of the mixture into the palms of your hands and gently form a 1-inch thick patty. Repeat this process with remaining mixture, should form 8 salmon patties.
  • Lightly grease air fryer tray or basket, then place salmon patties into the air fryer and cook at 390° Fahrenheit for 8 minutes, pausing to flip halfway through.
  • Make the dill sauce by adding all ingredients to a small bowl and whisking until smooth, then spoon over salmon patties.

Nutrition

Calories: 300kcal

Buttery, flaky salmon atop a simply dressed maple dijon salad! This quick and easy recipe yields perfectly seasoned, and cooked salmon every time. A complete meal, loaded with fresh veggies, then finished off with a tangy maple dijon dressing, ready in under 20 minutes!

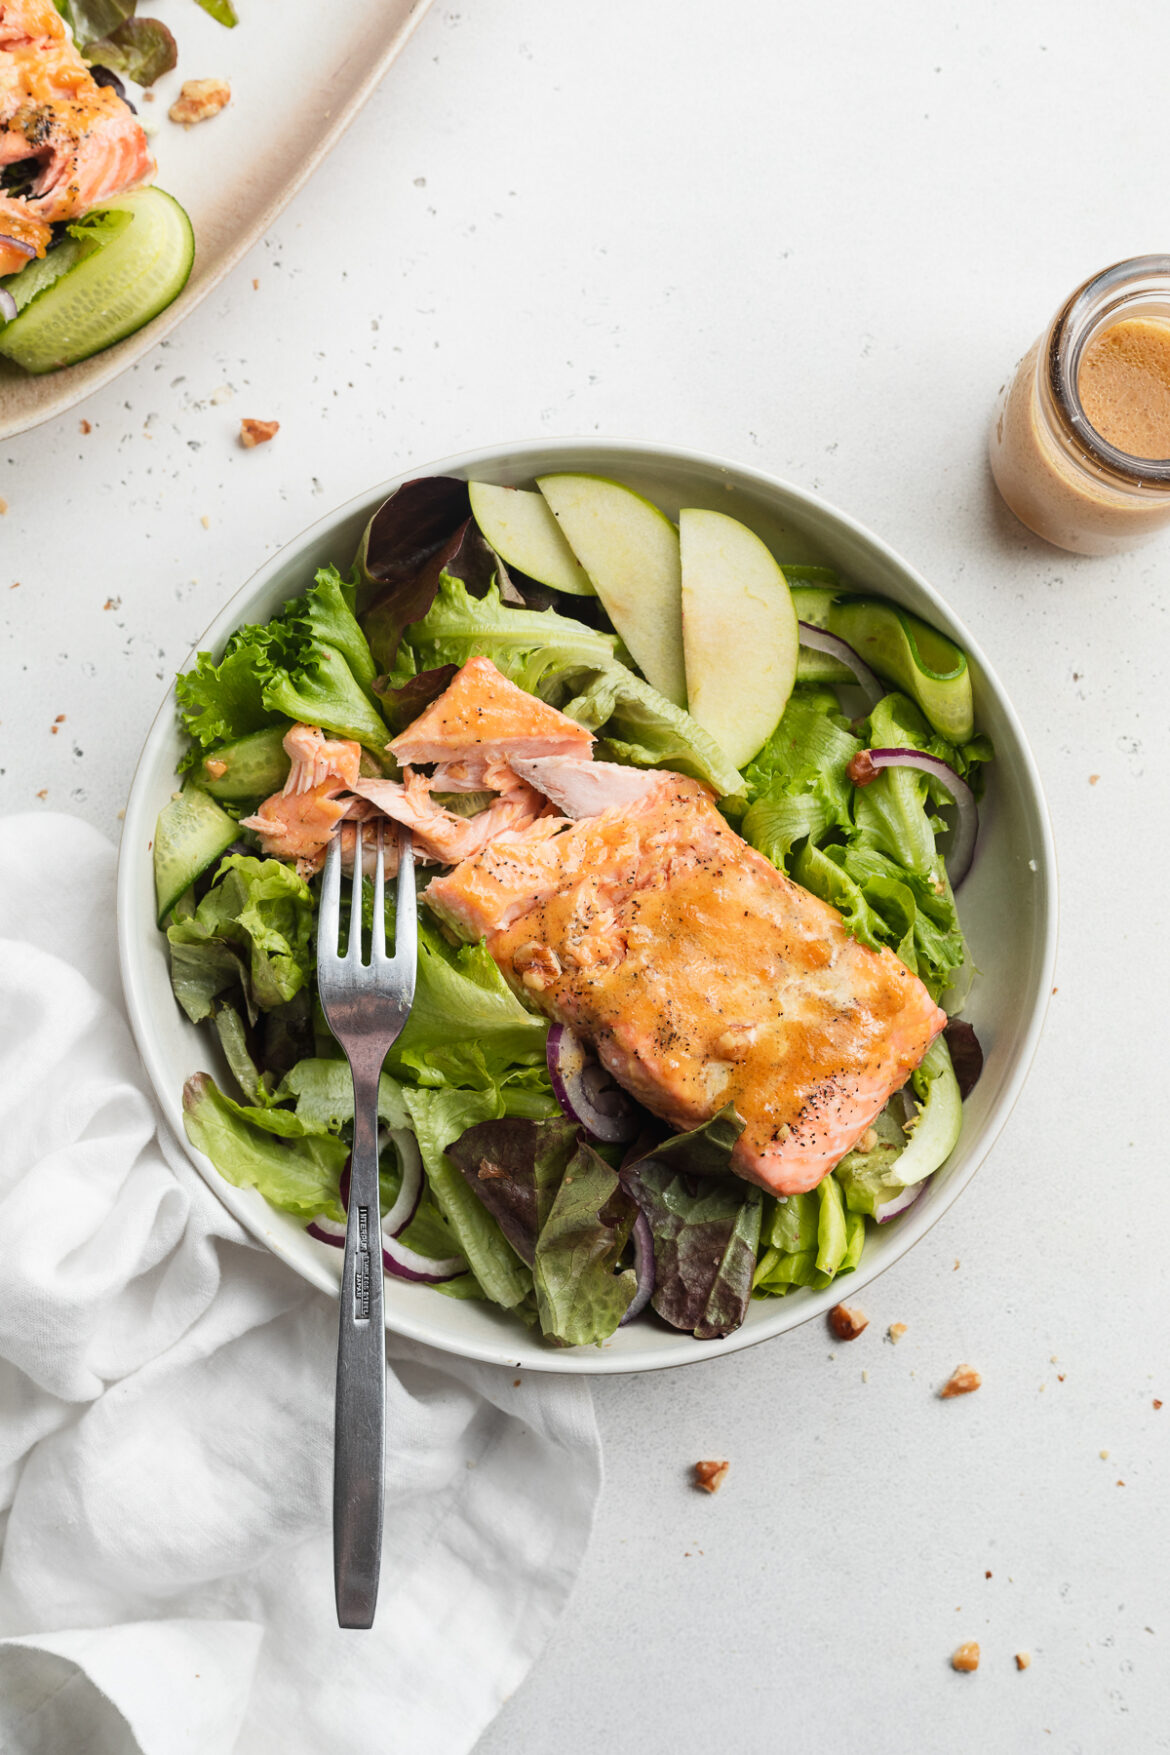
close-up overhead image of maple dijon salmon salad on a plate with a fork

What You’ll Need To Make This Maple Dijon Salmon Salad

Dijon Mustard – We do NOT use this ingredient sparingly in our maple dijon dressing! An entire 1/4 cup gives this entire meal tons of tangy, delicious flavor. In case you’re not familiar with this French ingredient, dijon mustard is creamier, spicier, and has less vinegar than yellow mustard. It’s a favorite in my home, for everything from sandwiches to salad dressings. It’s among one of the healthiest condiments you can use, with no added-sugar or preservatives!

Maple Syrup – A touch of maple syrup is necessary to balance out the intensely savory flavors in this salmon salad recipe. And if you don’t have any maple syrup on-hand, you can use an equal amount of honey instead.

Salmon Fillets – Feel free to use any variety of salmon fillets you’d like! Sockeye salmon and atlantic salmon are the two most common types, and are only slightly different from each other. Sockeye salmon is a bit more lean, and has a stronger fish flavor, while atlantic salmon is fattier, with a more mild flavor. I personally love atlantic salmon for it’s ultra-soft, buttery, and flaky qualities. Though again, you can use any type of salmon fillets you’d like for this lunch or dinner recipe!

Green Apple – I know, not all of us are fans of fruit in our salads. However, green apple is much more tart than sweet in this salmon salad. Also, remember we have a bit of sweetness in our dressing – so the little bit of natural sweetness from a thinly sliced green apple works to compliment that. If you don’t have any green apples, you can easily leave them out or use a red apple in its place.

Pecans or Walnuts – I have just one rule when it comes to salads, they all must include a crunchy component. A little bit of crunch goes a long way in rounding out the textures in this dish. Roughly chopped pecans and/or walnuts are a healthy alternative to standard croutons. Loaded with vitamins, minerals, and plenty of healthy fats!

maple dijon dressing being poured over salmon salad.

Tips and Tricks

  • Feel free to add or remove any salad ingredients you’d like! Not a fan of nuts? Simple leave them out. Prefer a certain type of lettuce? Then definitely use it! This super simple salad recipe is incredibly easy to customize.
  • For anyone who cooks meat or fish regularly, I highly recommend investing in a kitchen thermometer. This is the thermometer I use on pretty much a daily basis. It’s the easiest way to ensure perfectly cooked salmon every time!
  • This salmon salad can be enjoyed hot or cold! Salmon’s one of those things that tastes delicious at just about any temperature. I often double this recipe for easy grab-and-go lunches all week long – no need to reheat!
Maple dijon salmon salad on a serving platter.

Adjust This Recipe To Your Dietary Needs

Make it Sugar-Free: For an entirely sugar-free recipe, use Lankanto Maple Flavored Syrup in place of the maple syrup.

Make it Nut-Free: Simply replace the nuts with sunflower seeds to make this a nut-free lunch or dinner recipe.

5 from 1 vote

Maple Dijon Salmon Salad

Buttery, flaky salmon atop a simply dressed maple dijon salad! This quick and easy recipe yields perfectly seasoned, and cooked salmon every time. A complete meal, loaded with fresh veggies, then finished off with a tangy maple dijon dressing, ready in under 20 minutes!
Print Rate
Prep Time: 5 minutes
Cook Time: 12 minutes
Total Time: 17 minutes
Servings: 4 servings

Ingredients

For the dressing:

  • 1/4 cup olive oil
  • 1/4 cup Dijon mustard
  • 3 tablespoons maple syrup
  • juice from 1 lemon, see Notes
  • 3 garlic cloves, minced
  • 1 teaspoon salt

For the salmon:

  • 4 salmon fillets, boneless
  • salt and black pepper, to taste

For the salad:

  • 4 cups lettuce, see Notes
  • 1 cucumber, sliced
  • 1/2 red onion, thinly sliced
  • 1 green apple, thinly sliced
  • 1/2 cup pecans or walnuts, roughly chopped

Instructions

  • Preheat oven to 400° Fahrenheit.
  • Whisk together all dressing ingredients in a small bowl.
  • Place salmon fillets on a baking sheet and pat dry with a paper towel. Season filets with salt and black pepper, then drizzle half the maple Dijon dressing evenly over top of the salmon.
  • Bake salmon for 10-12 minutes, or until a thermometer inserted into thickest end of the salmon read 125° Fahrenheit.
  • While salmon cooks, place all salad ingredients in a large bowl and toss to combine. Once salmon is done, divide salad between four plates, top each plate with a salmon filet and serve with remaining dressing.

Notes

  • Lemon Juice: If you don’t have any fresh lemons, you can use 1 tablespoon of apple cider vinegar or white wine vinegar in place of the lemon juice in this recipe.
  • Lettuce: Use any type of lettuce you like, I used mesclun!
  • Nutrition

    Calories: 300kcal