")
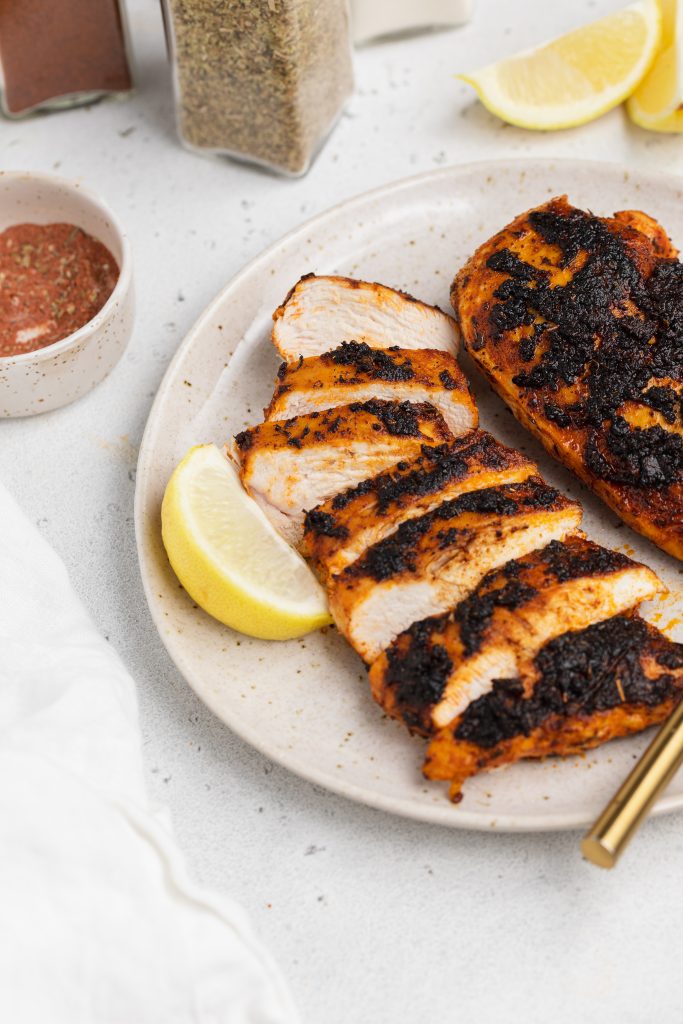
This blackened chicken is incredibly tender and juicy! With a handful of delicious spices, and just one pan, you’ll have an intensely flavorful protein. Enjoy this blackened chicken over a salad, with your favorite veggies, or whatever your heart desires for a quick and healthy meal!
What You Need To Make Blackened Chicken
Smoked Paprika – The main spice in our blackened seasoning is the incredible smoked paprika! Unlike regular paprika, smoked paprika has this irresistible smoky flavor that simply can’t be beat. If you don’t already have this delicious spice in your spice cabinet, then I highly recommend you buy some.
Cayenne Pepper – The amount of cayenne pepper you use in this blackened chicken recipe is entirely up to you and your spice preferences. I personally love a bit of spice, so I use almost 1/4 teaspoon in my seasoning. However, if you’re averse to spice, you can simply leave the cayenne pepper out altogether.
Chicken Breasts – Boneless and skinless chicken breasts are the way to go! Without the skin, the spices can better penetrate into the meat. This makes your chicken that much more delicious. And as far as boneless goes, it’s easier to eat – a no brainer if you ask me!
Adjust This Recipe To Your Diet
- Make it Less Spicy: If you don’t like spice, simply omit the cayenne pepper in this blackened chicken recipe.
- Make it Vegan: Turn this into a blackened tofu recipe by taking a block of tofu, pressing as much water out of it as possible, then slicing it down the center to create two tofu “steaks.” Then, season the tofu exactly how you would the chicken and cook for 3-5 minutes per side!
Tips For Making Blackened Chicken
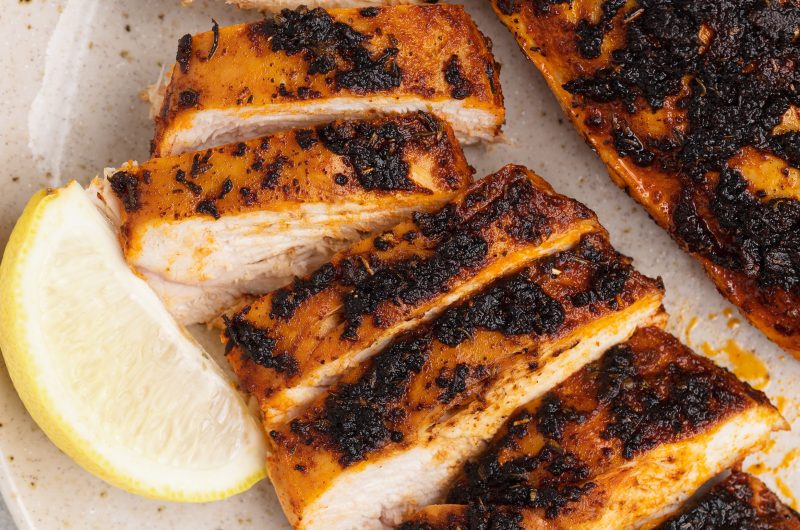
- Cook over medium-high heat, nothing lower! The key to blackened chicken is placing the seasoned breasts into a very hot pan. Then, do not touch the chicken until it’s ready to be flipped. This way, the crust will cook up super crispy and delicious!
- Don’t forget to let your chicken rest after cooking. Once out of the pan, your chicken is holding on to a ton of its flavorful juices. Therefore, if you slice into it too soon, you risk having all that flavor pour out. So do yourself a favor and leave the chicken alone for at least 5 minutes!
- Serve this chicken however you’d like! I enjoyed mine over a salad loaded with my favorite fresh vegetables. However, for a heartier meal, I recommend pairing this blackened chicken with a side of rice and/or roasted potatoes – yum!
Blackened Chicken (Gluten-Free, Dairy-Free)
Course: MainDifficulty: Easy2
servings5
minutes10
minutes15
minutesThis blackened chicken is incredibly tender and juicy! With a handful of delicious spices, and just one skillet, you’ll have an intensely flavorful protein. Enjoy this blackened chicken over a salad, with your favorite veggies, or whatever your heart desires for a quick and healthy meal!
Ingredients
3 teaspoons smoked paprika
1/2 teaspoon onion powder
1 teaspoon salt
1/2 teaspoon garlic powder
1/2 teaspoon dried thyme
1/2 teaspoon dried oregano
1/4 teaspoon black pepper
pinch of cayenne pepper, optional
2 boneless skinless chicken breasts
spray cooking oil
2 tablespoons avocado oil
Directions
- Mix together the smoked paprika, onion powder, salt, garlic powder, dried thyme, dried oregano, black pepper, and cayenne pepper in a small bowl.
- Coat both chicken breasts with either spray cooking oil or a drizzle of avocado oil, then sprinkle evenly with blackened seasoning.
- Heat avocado oil in a large skillet over medium-high heat, then transfer chicken to skillet and cook for 5 minutes per side, or until cooked through. Remove chicken from heat, transfer to a plate, and cover with foil then let rest for 5-10 minutes before serving.
Recipe Video
Notes
- This blackened chicken recipe can be easily doubles or even tripled! Making it the perfect and healthy meal to throw together for friends or family.
Did you make this recipe?
Share it and tag @samdoesherbest on Instagram!
Like this recipe?
Follow us @samdoesherbest on Pinterest
")


")
")
