Tag

ice cream

Browsing

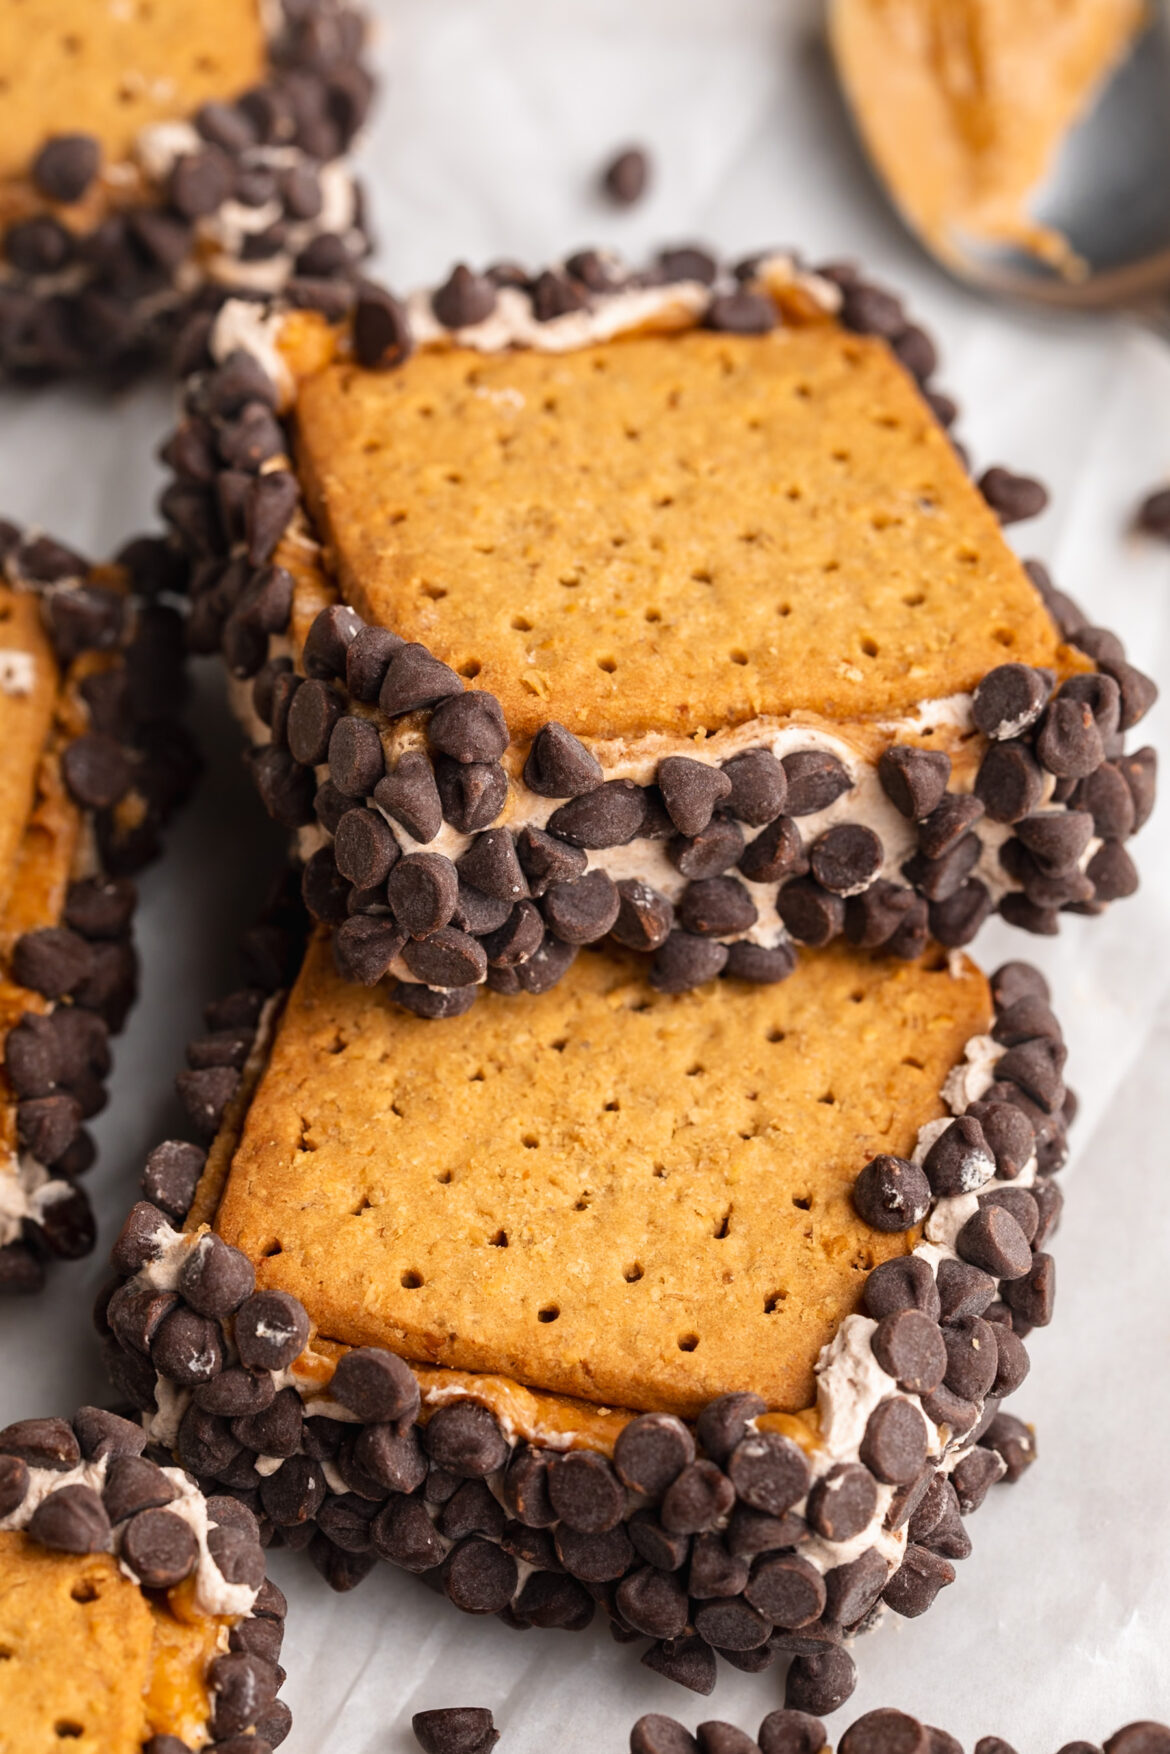
My husband swears these are the “BEST” dessert I’ve ever made! And, I mean… look around, I made a lot of dessert so that’s a bold statement. But he swears these frozen chocolate peanut butter s’mores bars are his favorite thing I’ve ever made.

While “best” might be a bit much for me, these s’mores bars are really REALLY good. I’d rank them up there with my protein chocolate chip cookies and healthier twix bars as one of the best recipes I’ve ever made. And the best part?? They’re made with just 5 simple ingredients, and there’s NO baking required. They’re incredibly delicious and indulgent!

overhead image of frozen chocolate protein peanut butter s'mores bars

Why You’ll Love These Frozen S’mores Bars

  • No bake & easy to make – Just a handful of ingredients and simple assembly steps.
  • Protein-packed – With chocolate protein powder mixed into the creamy whipped topping, each bar has an extra boost of protein to keep you satisfied and/or help you meet your protein goals!
  • Make-ahead friendly – Store them in the freezer for quick grab-and-go treats.

Recipe Variations and Substitutions

  • Swap the protein powder – Use vanilla protein powder instead of chocolate for a lighter flavor.
  • Add layers – Mix crushed graham crackers into the whipped topping for extra texture.
  • Make them extra chocolatey – Add a drizzle of melted chocolate on top before freezing, or dip them in melted chocolate after freezing.
  • Skip the chocolate chips – Keep it simple or roll the frozen bars in chopped nuts instead!
frozen chocolate protein peanut butter s'mores bar with a bite taken out.

Adjust This Recipe to Your Dietary Needs

frozen chocolate protein peanut butter s'mores bars stacked on top of each other on a table.
No ratings yet

Frozen Chocolate Protein Peanut Butter S’mores Bars

These Frozen Chocolate Protein Peanut Butter S’mores Bars are a chocolate protein twist on the nostalgic campfire classic. With graham crackers, creamy peanut butter, chocolate protein whipped cream, and a chocolate chip coating, they’re indulgent and seriously delicious! This no bake recipe is easy to make, freezer-friendly, and the perfect treat when you want something sweet and satisfying.
Print Pin Rate
Prep Time: 10 minutes
Freezing Time: 1 hour
Total Time: 1 hour 10 minutes
Servings: 9 servings

Equipment

  • 1 9×9-inch baking pan
  • 1 large bowl

Ingredients

  • 18 graham cracker squares I used gluten-free graham crackers
  • 1 container non-dairy whipped topping
  • 4 scoops chocolate protein powder about 1/2 cup
  • 1/4 cup peanut butter
  • 1/2 cup mini chocolate chips optional, but recommended!

Instructions

  • Line a 9×9-inch baking dish with parchment paper, then line the bottom of the pan with an even layer of graham crackers.
  • In a large bowl, mix together the whipped topping and chocolate protein powder, then transfer the whipped topping mixture on top the graham crackers and spread it into an even layer.
  • Drizzle and spread the peanut butter on top of the whipped topping, then arrange the remaining graham crackers in an even layer on top of the peanut butter.
  • Transfer the baking dish to the freezer for at least one hour or until firm, then remove from the freezer and cut into bars.Once cut, dip the outside of each bar in mini chocolate chips for the perfect finishing touch!

Nutrition

Serving: 1serving | Calories: 280kcal | Carbohydrates: 31g | Protein: 12g | Fat: 14g | Fiber: 3g | Sugar: 14g

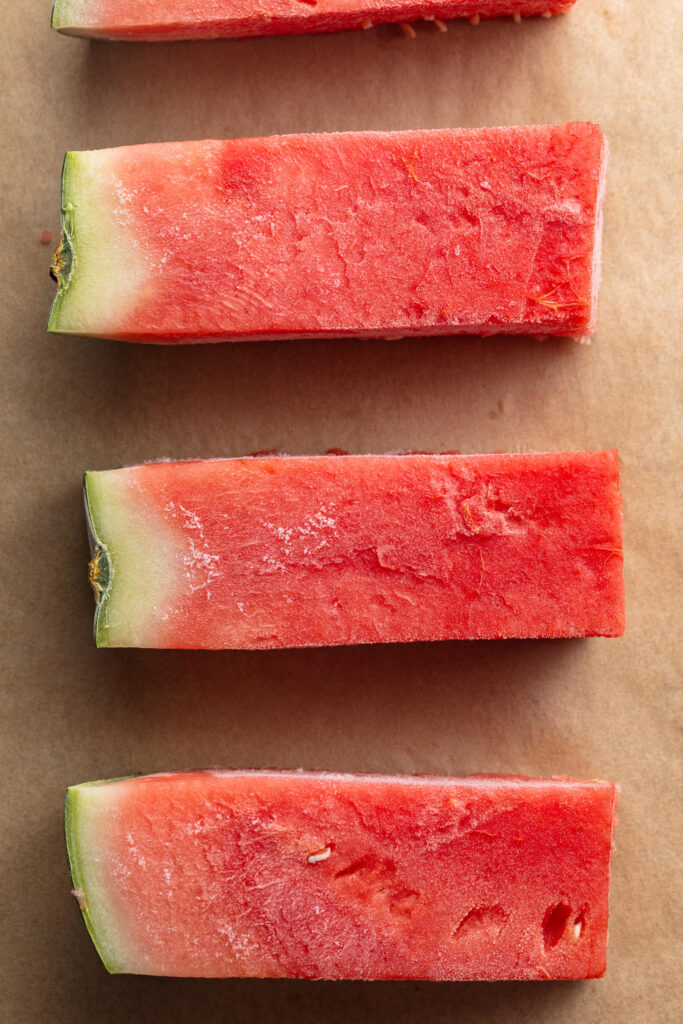
At 9 months pregnant in the dead of summer, watermelon is one of my biggest cravings! I got creative a few weeks ago with these 3-ingredient watermelon gummies, and can’t wait for the day I can have one of my frozen watermelon margaritas again. But for now, fresh watermelon sounds the best – and fresh watermelon happens to be the only ingredient in this watermelon shaved ice recipe. Just fresh watermelon, cut into spears, frozen solid, then shaved into a bowl. This healthy frozen treat couldn’t possibly get any easier (or more delicious)!

frozen watermelon spears on a baking sheet.

Why You’ll Love This Watermelon Shaved Ice

  • Only 2 ingredients – You don’t need any added sugar, syrups, or flavorings.
  • Naturally hydrating – Watermelon is over 90% water and rich in antioxidants like lycopene.
  • Perfect for summer – Cold, sweet, and incredibly refreshing.
  • Vegan, gluten-free, and dairy-free – Great for nearly every dietary preference.
  • Fun to make – Grating frozen watermelon turns it into a fluffy, icy treat that’s just as fun to prepare as it is to eat.

Can I Make This With Any Other Fruit?

Yes! This recipe works well with frozen mango, pineapple, or cantaloupe. Just make sure the fruit is firm enough to grate after freezing. Watermelon works especially well because of its high water content and natural sweetness, but feel free to experiment with other frozen fruits for different flavors and colors.

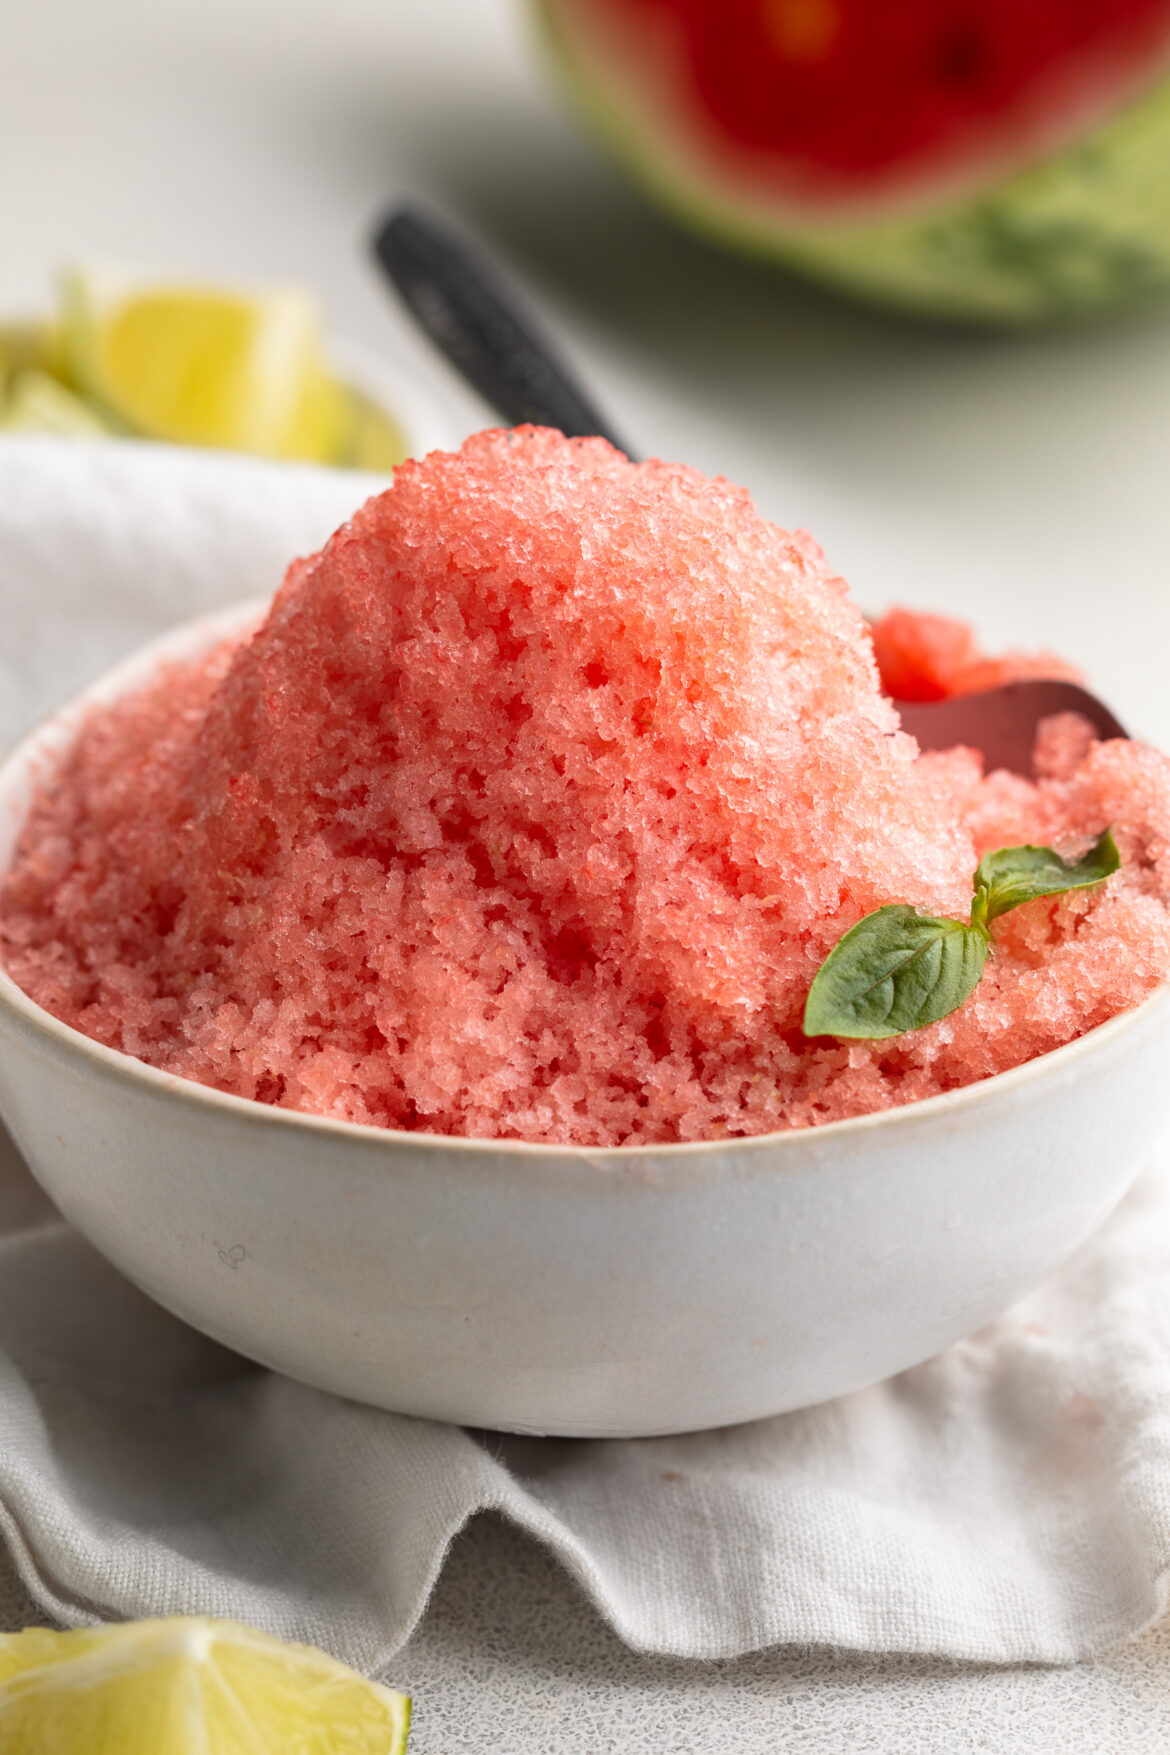
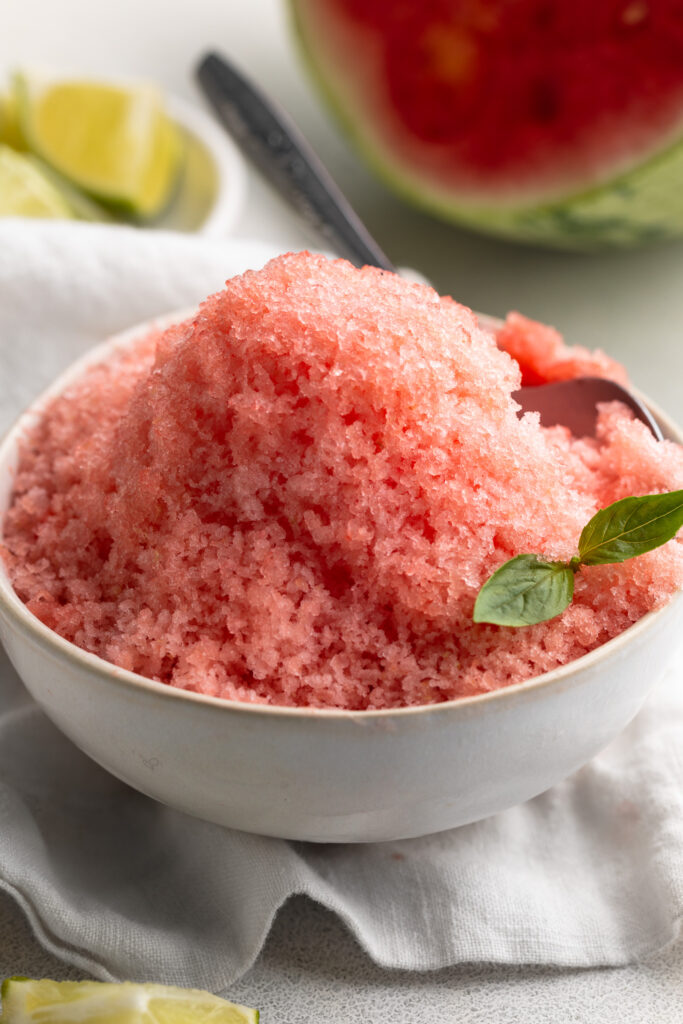
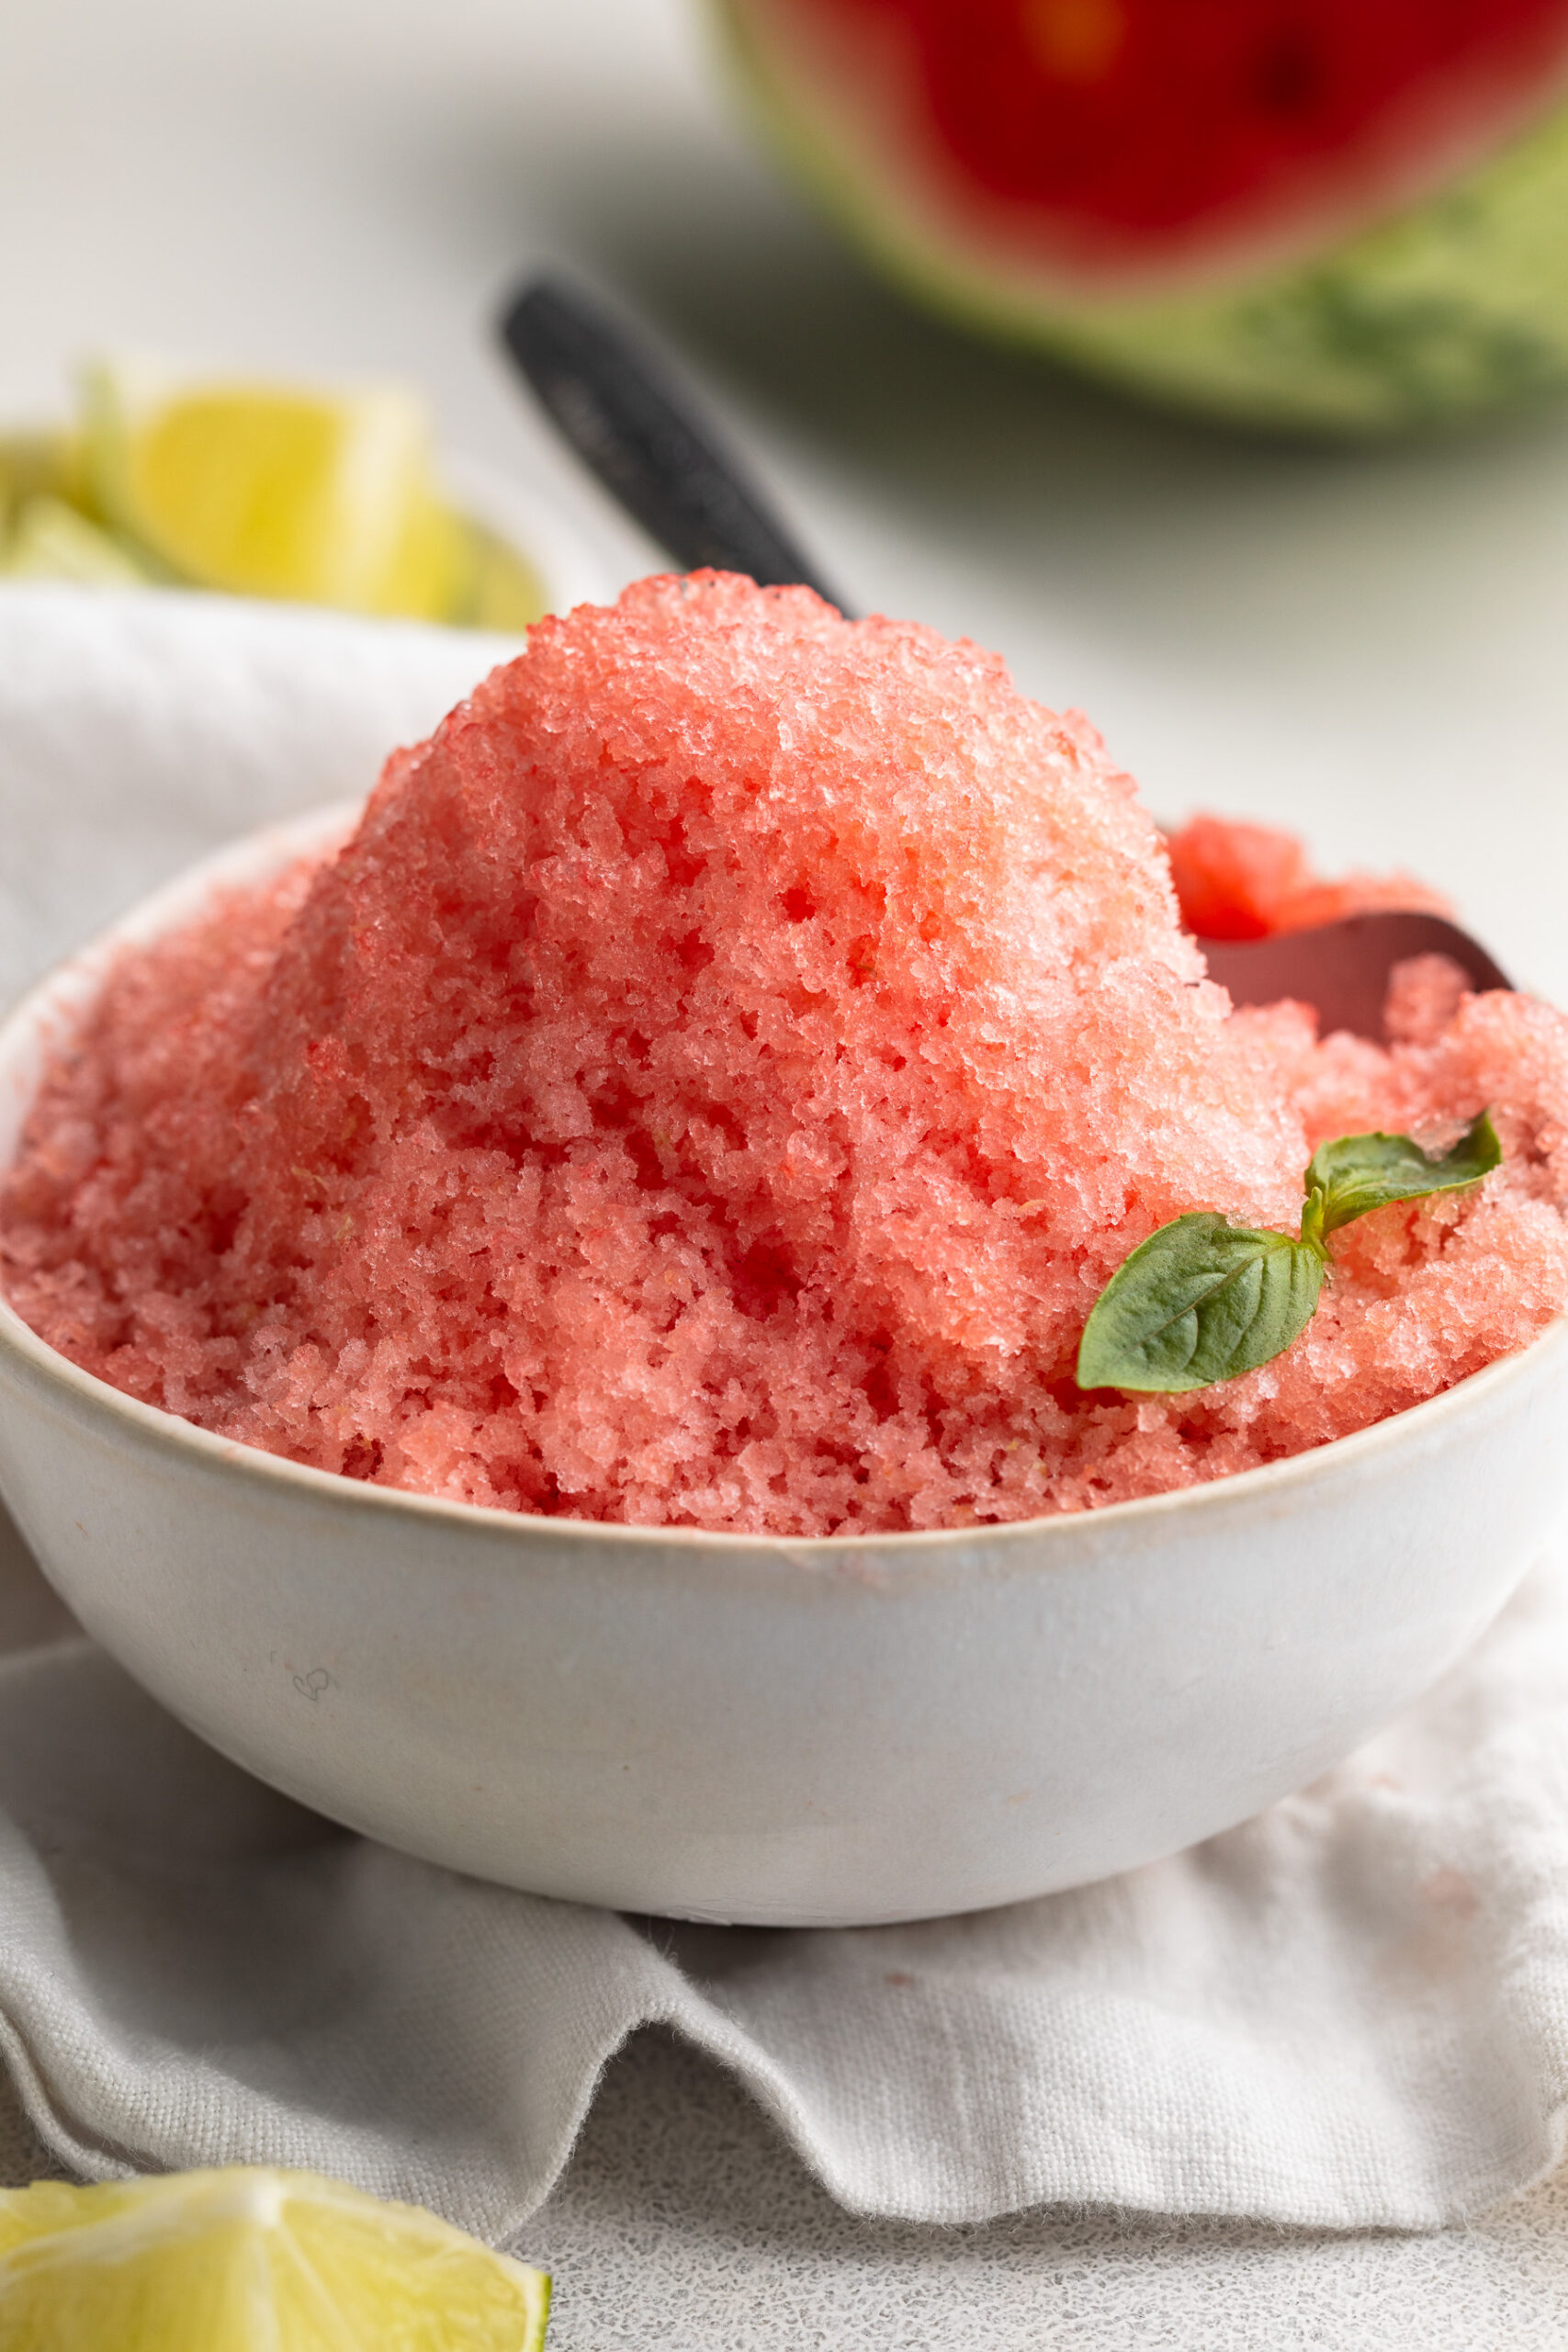
watermelon shaved ice in a small bowl with a spoon.

Recipe Variations and Toppings

  • Tajin or chili lime seasoning – Add a spicy, tangy twist!
  • Coconut milk drizzle – For a creamy, tropical flavor.
  • Fresh mint or basil – Chopped herbs elevate the flavor beautifully.
  • Fruit syrup or honey – Optional if you want it a little sweeter.
  • Top with berries or shredded coconut – Adds texture and color.
watermelon shaved ice in a small bowl with a sprig of fresh mint.
5 from 1 vote

Viral Watermelon Shaved Ice

This viral watermelon shaved ice is the ultimate healthy summer treat made with just frozen watermelon and a splash of fresh lime juice! It’s refreshing, naturally sweet, and perfect for hot days when you want something light and hydrating. This easy 1-ingredient recipe is vegan, gluten-free, dairy-free, and ready in minutes – no ice cream maker needed!
Print Pin Rate
Prep Time: 5 minutes
Total Time: 5 minutes

Equipment

  • 1 cheese grater

Ingredients

  • 1 whole watermelon
  • fresh lime wedges

Instructions

  • Cut the watermelon into spears, then freeze the spears for at least 2 hours.
  • Once the watermelon is frozen solid, use a cheese grater to shave the watermelon into a bowl. Top the shaved watermelon with fresh lime juice.

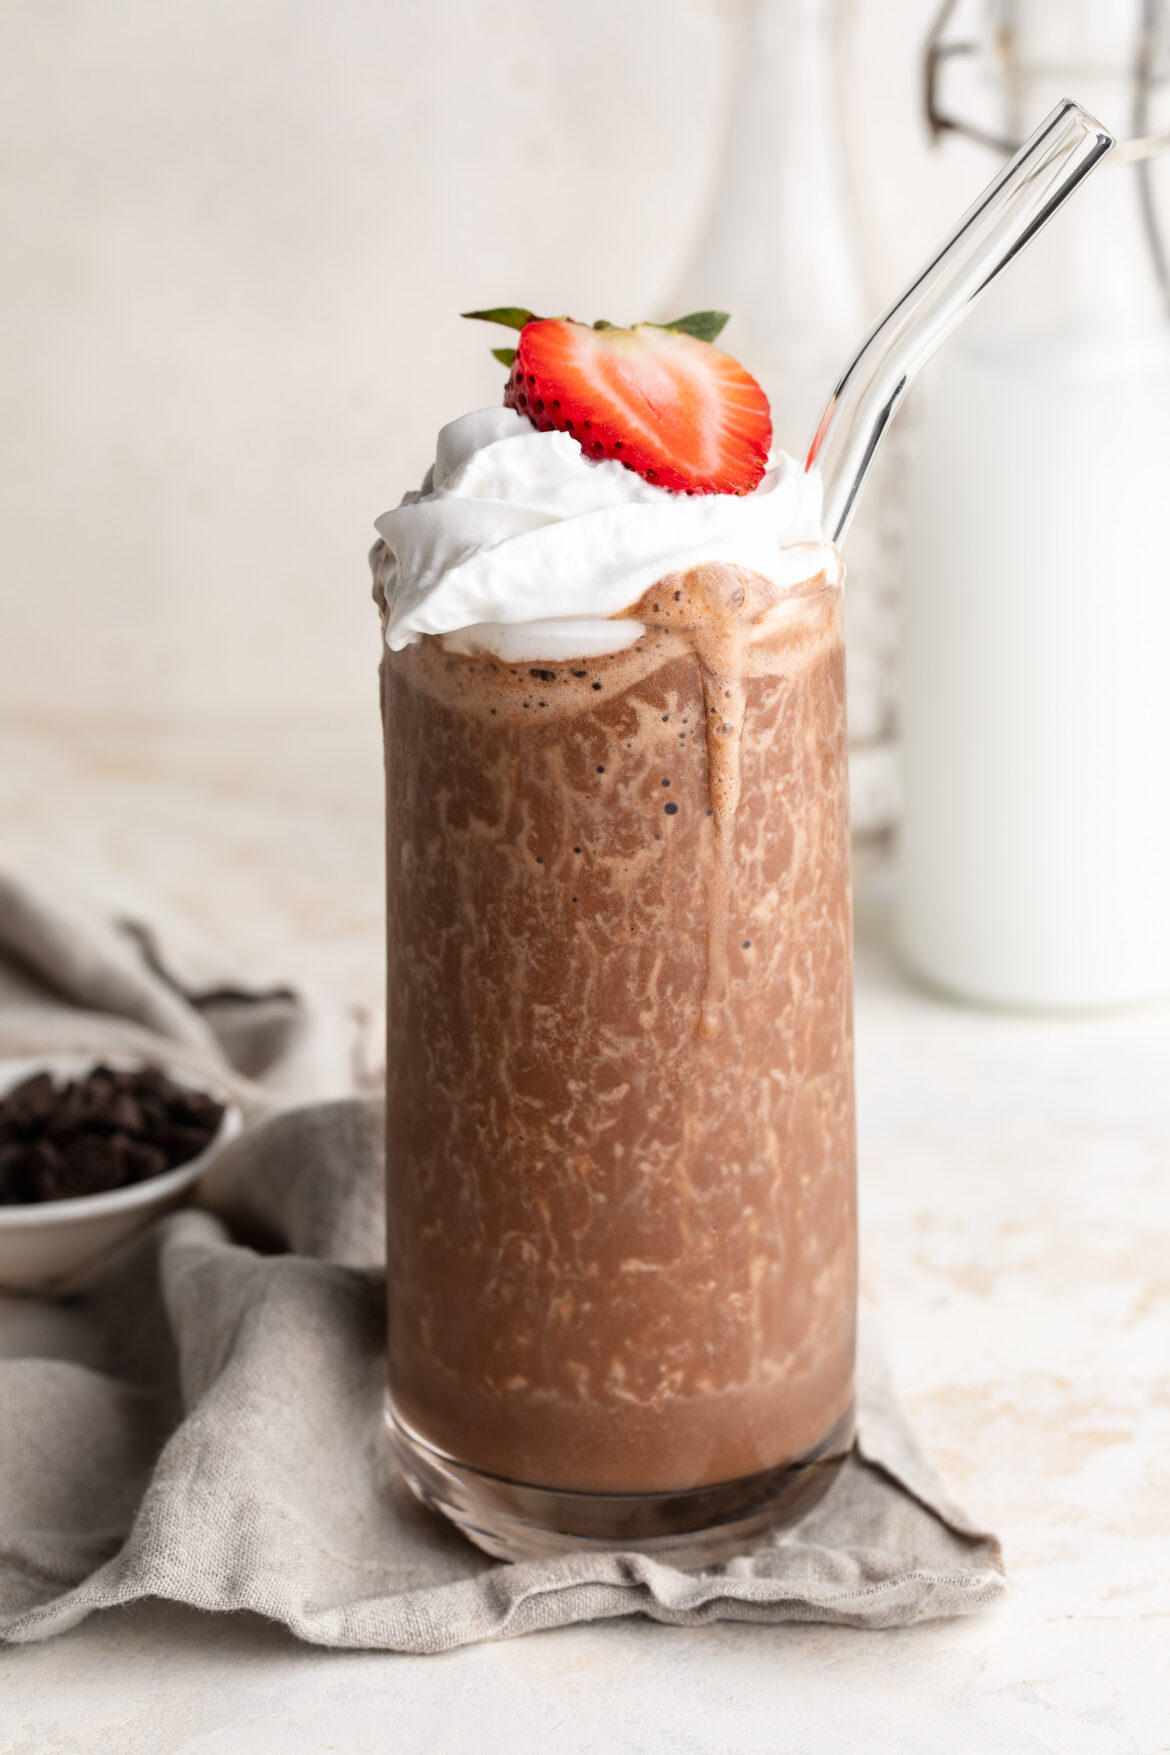
This healthy milkshake recipe has permanently cemented my spot as best wife ever. My husband is a huge ice cream guy, but he’ll admit – too much ice cream hurts his stomach. I often make him my no-churn vegan vanilla ice cream, and sometimes even my 2-ingredient healthy pineapple ice cream, but those take a bit more time. So this healthy milkshake is basically his way of enjoying an ice cream treat without any ice cream and in a matter of minutes! Just ice, milk (I use almond milk to keep it dairy-free), cocoa powder, and maple syrup is all you’ll need for this frosty treat. It’s even totally banana-free, because while I love banana, one of the most frequent comments on any banana-forward recipe I post is “I don’t like banana” or “what can I use instead of banana?” So, here ya have it – a healthy creamy and perfectly sweet chocolate milkshake with NO banana!

healthy milkshake in a glass with whipped cream on top.

Why You’ll Love This Healthy Milkshake

  • Only 4 simple ingredients, no unecessary additives.
  • Dairy‑free and naturally sweet, no banana – yet indulgently chocolatey!
  • Low‑calorie & flexible – customizable for keto, vegan, or paleo diets.

What Makes This Recipe Healthy

  • Made with unsweetened almond milk, reducing calories and sugar vs. regular milk.
  • Unsweetened cocoa delivers rich flavor plus antioxidants without extra fat .
  • Optional sweeteners let you control sweetness and caloric intake – use maple syrup, honey, stevia, or allulose .

Frequently Asked Questions

Can I make this sugar‑free?
Yes! Swap maple syrup for stevia, monk fruit, or allulose for a keto‑friendly version (around 100–150 cal).

What other sweeteners work besides maple syrup?
Honey, agave, dates, or even unsweetened applesauce can work – just adjust the quantity to your taste!

Can I add frozen banana?
Absolutely! Adding banana creates a thicker, fruitier smoothie; leave it out if you want a pure chocolate flavor.

healthy milkshake in a glass with whipped cream and a strawberry on top.

Sam’s Recipe Tips

  • Start with 2 Tbsp maple syrup, then adjust after tasting.
  • Add more ice if you prefer a frosty shake, or 1/2 a frozen banana for a creamier milkshake.
  • Freeze leftover milkshake in ice cube trays for future shakes!

Flavor Variations

  • Vanilla Milkshake: Omit cocoa powder. Add 1 teaspoon vanilla extract. Optional: add 1–2 tablespoons plain Greek yogurt or coconut cream for extra richness.
  • Strawberry Milkshake: Omit cocoa powder. Add ½ cup frozen strawberries before blending. Optional: a squeeze of lemon for brightness.
  • Mint Chocolate Milkshake: add a few drops of peppermint extract and top with a fresh mint leaf.
  • Peanut Butter Swirl Milkshake: blend in 1 Tbsp natural nut butter for a peanut butter-chocolate twist.
  • Mocha Milkshake: replace half of the almond milk with black coffee or espresso for a caffeine kick!
healthy milkshake in a glass with whipped cream and a strawberry on top.
5 from 2 votes

4-Ingredient Healthy Milkshake (no banana!)

This healthy milkshake recipe is creamy, dairy-free, and made with just 4 simple ingredients – no banana or ice cream required! Choose from chocolate, vanilla, or strawberry for a naturally sweetened treat you can blend in under 2 minutes. It’s the perfect quick and refreshing dessert or snack that’s vegan, gluten-free, and totally customizable!
Print Pin Rate
Prep Time: 5 minutes
Total Time: 5 minutes
Servings: 1 serving

Equipment

  • 1 blender

Ingredients

  • 1 cup ice cubes
  • 1/2 cup milk I used unsweetened almond milk
  • 1-2 tablespoons maple syrup
  • 2 tablespoons unsweetened cocoa powder

Instructions

  • Add all ingredients to a blender and blend until smooth, then pour into a glass and enjoy!

Nutrition

Serving: 1milkshake | Calories: 90kcal | Carbohydrates: 20g | Protein: 2.5g | Fat: 2.8g | Sugar: 12g

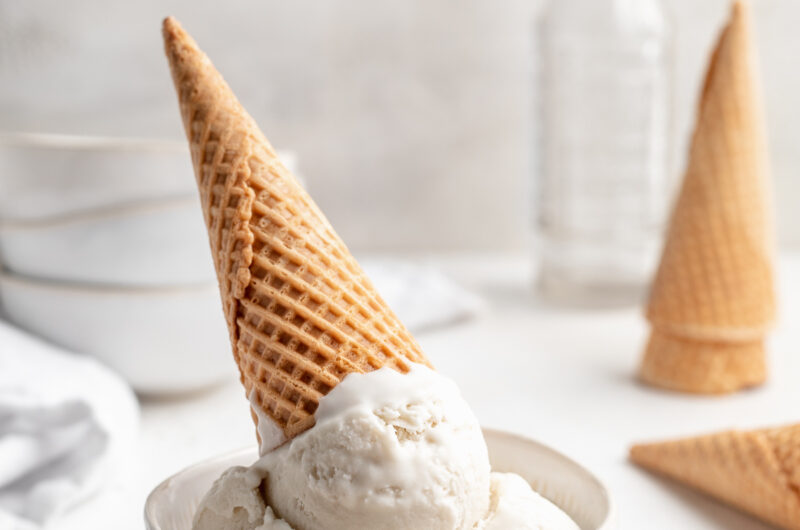
Perfectly smooth and creamy vegan ice cream – no fancy equipment required! Only three ingredients, this super easy plant-based recipe comes together in just two steps. The BEST sweet (but not too sweet) summertime treat!

hand holding a cone of vegan ice cream

What You’ll Need To Make No-Churn Vegan Ice Cream

Full-Fat Coconut Milk – Two cans (must be canned!) of full-fat coconut milk are the base of this creamy vegan ice cream recipe. I use and love the Native Forest Coconut Milk, but any unsweetened full-fat coconut milk should work. Other brands I recommend are Thai Kitchen and A Taste of Thai Coconut Milk.

Sweetened Condensed Coconut Milk – I used Nature’s Charm Sweetened Condensed Coconut Milk in my ice cream and it turned out perfect! However, I’m sure any brand of sweetened condensed coconut milk will work. And it doesn’t have to be coconut milk either, your sweetened condensed milk can be made of any non-dairy milk!

Vanilla Extract – A touch of vanilla extract for that deliciously sweet vanilla flavor! For an extra fancy ice cream, you can add a touch of vanilla bean paste as well.

Pinch of Salt – While not totally necessary, a pinch of salt helps to bring out the sweetness of this recipe! You’re gonna have to trust me on this one, a tiny pinch of salt goes a long way here. I highly recommend giving it a try!

vegan vanilla ice cream inside a loaf pan

Adjust The Flavors

Make it Vegan Chocolate Ice Cream: For a chocolate version, add 1/2 cup cocoa powder into the blender. And, for double chocolate (because why the heck not?!) swirl in some mini chocolate chips before freezing.

Add Cookie Dough: If you’re a cookie dough ice cream lover like me, sprinkle small scoops of this Healthy Cookie Dough into the coconut milk mixture right before freezing.

Make it Vegan Coffee Ice Cream: Blend a quarter cup of instant coffee powder in with the rest of the ingredients for a caffeinated twist!

No-Churn Vegan Vanilla Ice Cream

4 from 9 votes
Recipe by Samantha Course: UncategorizedDifficulty: Easy
Servings

8

servings
Prep time

5

minutes
Freezing Time

6

hours

Perfectly smooth and creamy vegan ice cream – no fancy equipment required! Only three ingredients, this super easy plant-based recipe comes together in just two steps. The BEST sweet (but not too sweet) summertime treat!

Ingredients

  • 2 (14-ounce) cans full-fat coconut milk

  • 1 (11.2-ounce) can sweetened condensed coconut milk

  • 1 teaspoon vanilla extract

  • small pinch of salt

Directions

  • Add all vegan vanilla ice cream ingredients to a blender and blend until smooth.
  • Transfer to a lined loaf pan or large container, then freeze for 6 hours. Thaw for at least 10 minutes before serving.

Did you make this recipe?

Share it and tag @samdoesherbest on Instagram!

Like this recipe?

Follow us @samdoesherbest on Pinterest

Fresh, creamy, and irresistibly delicious pineapple ice cream! Made with just two ingredients, and in under 5 minutes. This non-dairy frozen dessert is the BEST healthy summertime treat.

hand holding a cone of pineapple ice cream

What You’ll Need To Make Pineapple Ice Cream

Frozen Pineapple Chunks – Either cut, then freeze a fresh pineapple yourself, or buy already frozen pineapple chunks. For tips on how to cut a pineapple, check out my step-by-step blog post here. But if you’re looking to save some time, buy two bags of frozen pineapple chunks from the frozen aisle at your local grocery store.

Coconut Milk – Thick and creamy full-fat coconut milk tastes best in this pineapple ice cream! However, you can certainly use a light coconut milk instead, or really any kind of milk you’d like. And if you don’t have milk, use a couple tablespoons of water. The liquid is introduced at the very end of this recipe and should be used sparingly, just until you achieve a thick and creamy consistency.

Food Processor or High-Speed Blender – While food processors work best to make this non-dairy frozen dessert, a high-speed blender will work as well. I made my pineapple ice cream with this (super cheap!) Hamilton Beach food processor. But I’ve also tried this recipe in my Vitamix, and it worked as well – just required more stopping to scrape down the sides of the blender.

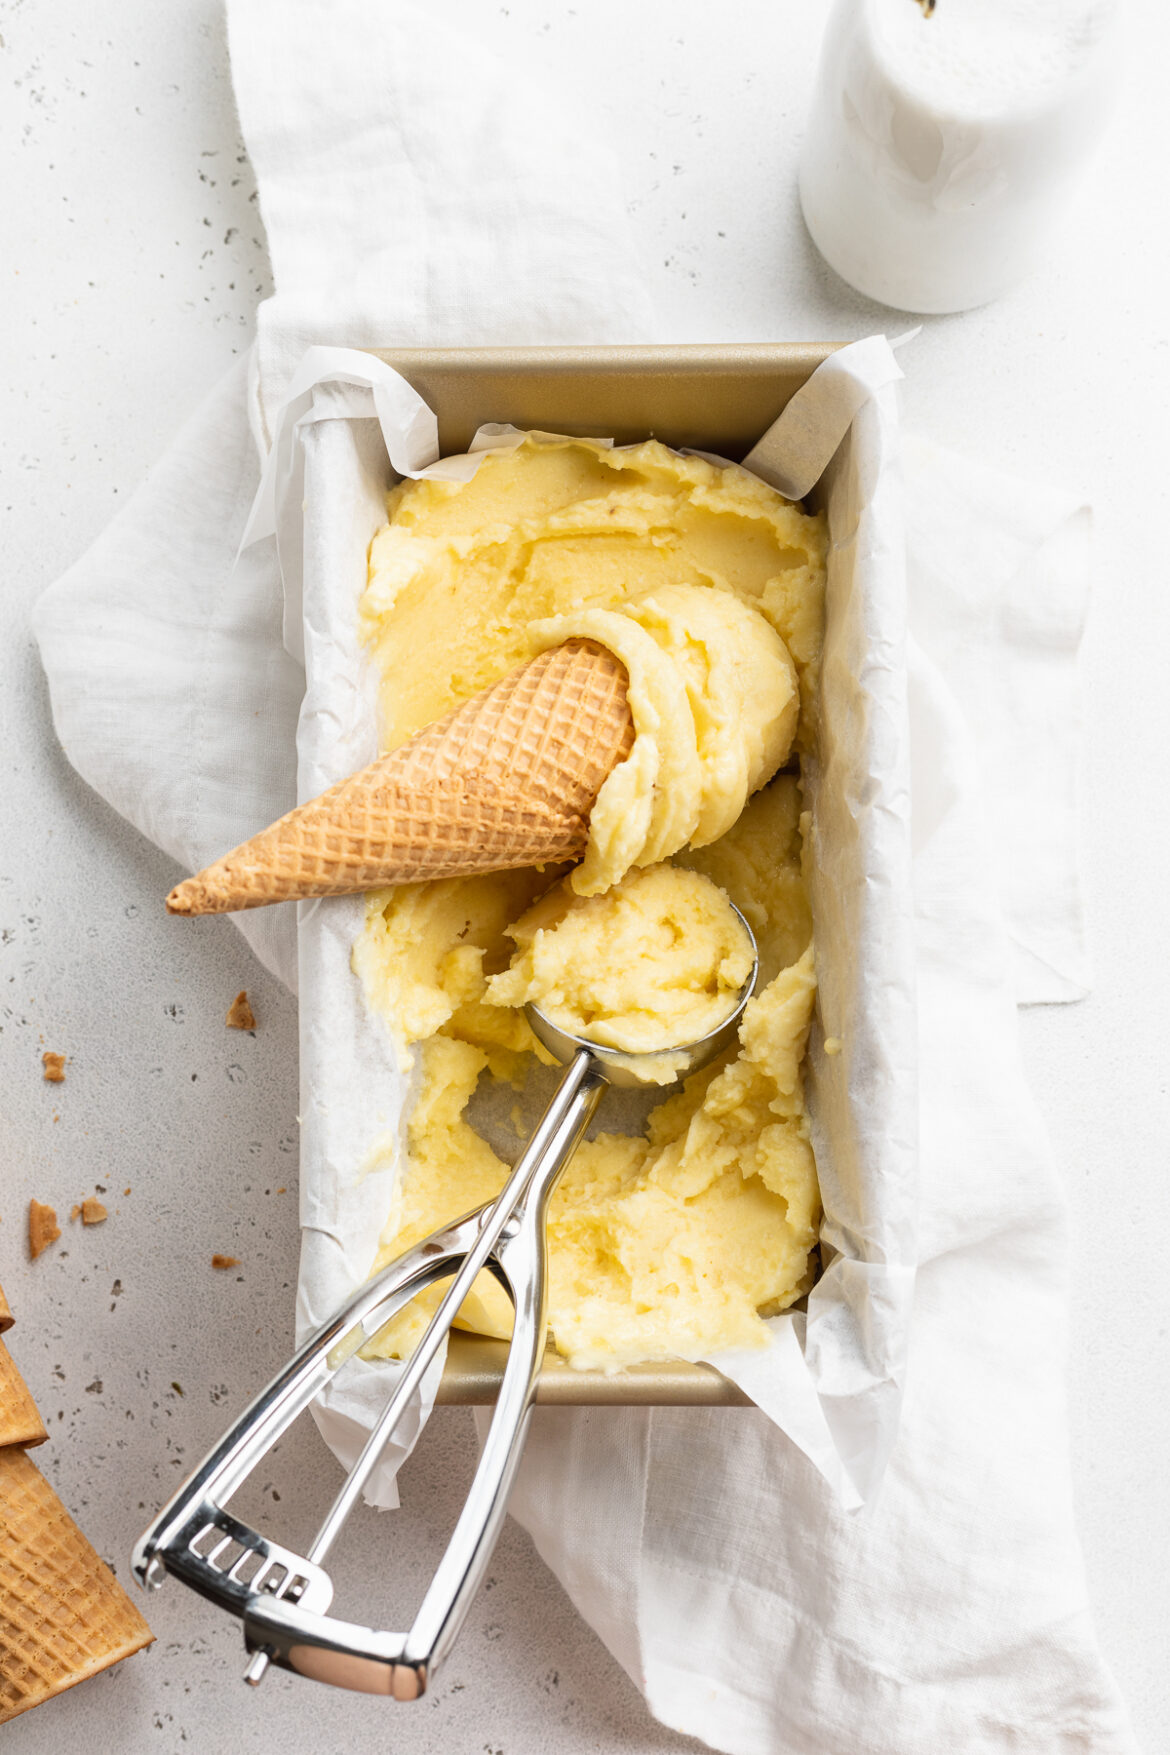
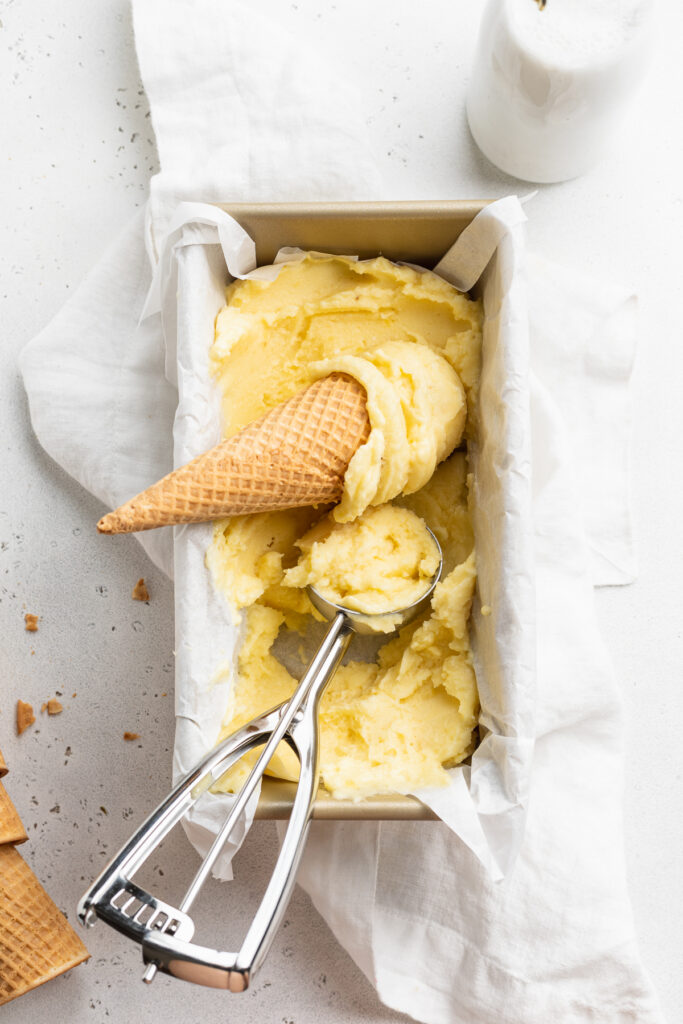
overhead image of pineapple ice cream in a loaf pan

Tips and Tricks

  • Start with 1/4 cup of coconut milk, then slowly add in more to blend. The frozen pineapple mixture will start out icy and crumbly, but slowly turn smooth and creamy as more liquid is introduced. It’s important to start small here, as to not risk “watering down” your ice cream!
  • Swirl in some toasted coconut or fresh pineapple chunks! Right after blending, transfer the pineapple ice cream to an airtight container and stir in any mix-ins you’d like. Or, serve this healthy dessert with your favorite ice cream toppings!
  • Depending on how solid you’d like your ice cream, either serve it right away or freeze for a few hours before eating. How solid it is may also depend on how warm it is outside. During the summer months, I certainly have to freeze this for at least an hour before scooping and serving!

This Pineapple Ice Cream Is…

2-Ingredient Pineapple Ice Cream

2 from 8 votes
Recipe by Samantha Course: Dessert, SnacksDifficulty: Easy
Servings

6

servings
Prep time

5

minutes
Cooking time

0

minutes
Total time

5

minutes

Fresh, creamy, and irresistibly delicious pineapple ice cream! Made with just two ingredients, and in under 5 minutes. This pineapple ice cream is the BEST healthy summertime treat.

Ingredients

  • 4-5 cups frozen pineapple chunks, about 2 10-ounce bags

  • 1/4-1/2 cup coconut milk

Directions

  • Add frozen pineapple chunks to food processor and pulse until crumbly.
  • Slowly add in coconut milk, starting with ¼ cup and adding more as necessary, and pulse until smooth.
  • Either serve immediately, or transfer pineapple ice cream to a parchment-lined loaf pan and freeze for 2-3 hours.
  • To serve, remove from freezer and let sit at room temperature for 5 minutes before scooping and enjoying.

Recipe Video

Did you make this recipe?

Share it and tag @samdoesherbest on Instagram!

Like this recipe?

Follow us @samdoesherbest on Pinterest