
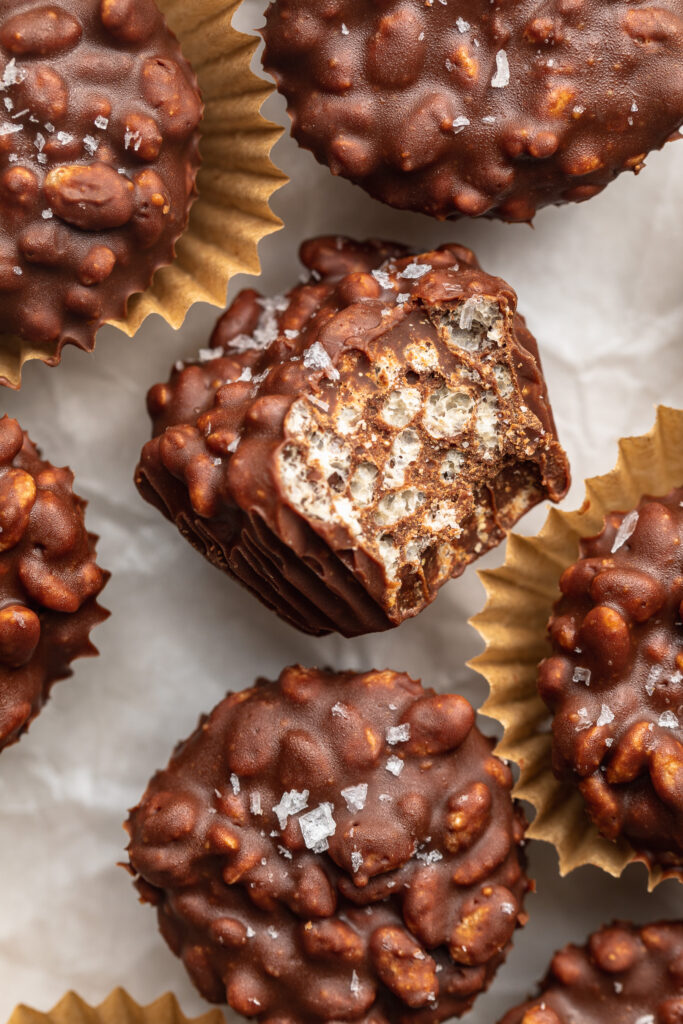
These peanut butter crunch cups are proof that the best treats don’t need a long ingredient list. Just chocolate chips, creamy peanut butter, and crispy rice cereal! Melt, stir, scoop, and freeze, and you’ve got rich, chocolatey, crunchy little cups that taste like a cross between a peanut butter cup and a candy bar. They take about 10 minutes of hands-on time and are perfect kept in the fridge for when those sweet cravings strike!
If you loved my Healthy Peanut Butter Crunch Bars, think of these as the even easier, grab-and-go version. No layers and no slicing. Just one bowl, and a muffin tin does the portioning for you. I keep a batch in my fridge at all times right next to my Healthy Peanut Butter Cup Bars and No-Bake Cookies. They’re the perfect little bite when that after-dinner chocolate craving hits. They’re also easy to make gluten-free, dairy-free, and vegan with the right chocolate chips and cereal (more on that below!).
Why You’ll Love These Peanut Butter Crunch Cups
- Just 3 ingredients. Chocolate chips, peanut butter, and rice cereal. That’s it! You probably already have everything you need in your pantry right now.
- No bake and SO easy. Melt, mix, scoop, freeze. There’s no oven and no double boiler, and you don’t need any candy-making skills. Even little kids can help make these.
- Perfectly portioned. Making these in a muffin tin means every cup is the same size. That’s great for lunchboxes, after-school snacks, or keeping a stash in the fridge for when a craving hits. Make them full-size or bite-size in a mini muffin tin. Both are delicious!
What Kind of Cereal Should I Use?
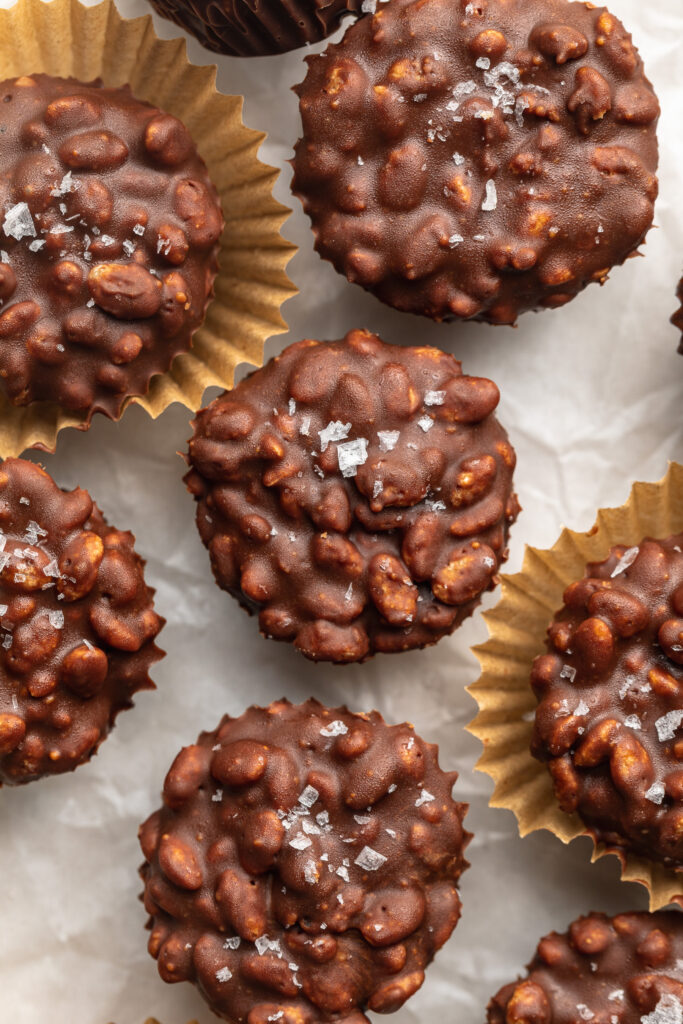
I recommend a plain organic puffed rice cereal with just one ingredient: organic rice. It keeps these cups as simple and clean as possible while still giving you that amazing crunch in every bite. I like this organic puffed rice cereal.
You can use regular Rice Krispies if that’s what you have, but they have added sugar and malt flavoring. Malt comes from barley, so regular Rice Krispies are not gluten-free. If you need these cups to be gluten-free, make sure your rice cereal is certified gluten-free.
What Makes This Recipe Healthy?
- Natural peanut butter: Use a creamy peanut butter made with just peanuts and salt. It gives these cups their rich, nutty flavor along with healthy fats and a little protein, without any added sugar or hydrogenated oils.
- Better-for-you chocolate: The chocolate chips are the only source of sweetness here, so choose your favorite. For a lower-sugar or refined-sugar-free option, I love Lily’s (sweetened with stevia) or Hu Kitchen (sweetened with coconut sugar). Dark chocolate chips are another great choice. For dairy-free or vegan cups, just make sure your chips are dairy-free.
- Simple puffed rice cereal: Plain puffed rice adds tons of crunch and volume with just one ingredient. That makes each cup feel more satisfying without adding extra sugar.
- Built-in portion control: Because each cup is a single serving, it’s easy to enjoy one or two and actually feel satisfied. You won’t find yourself working through a whole candy bag!
Sam’s Recipe Tips
- Melt slowly. Microwave in 30-second increments and stir well between each one. Chocolate can scorch quickly, and once it seizes, it turns grainy and won’t come back. Stop when there are still a few small pieces left and let the residual heat finish the job as you stir.
- Use drippy peanut butter. A runny, natural peanut butter blends into the melted chocolate more smoothly than a thick, stiff one. If yours is on the thicker side, warm it for 10–15 seconds before adding.
- Fold the cereal in gently. Stir just until every piece is coated so the cereal stays crispy and doesn’t break down.
- Add flaky sea salt. Sprinkle a pinch on top of each cup before freezing. The sweet-salty combo is SO good!
- Store them cold. These soften at room temperature, so keep them in the fridge or freezer until you’re ready to eat them.
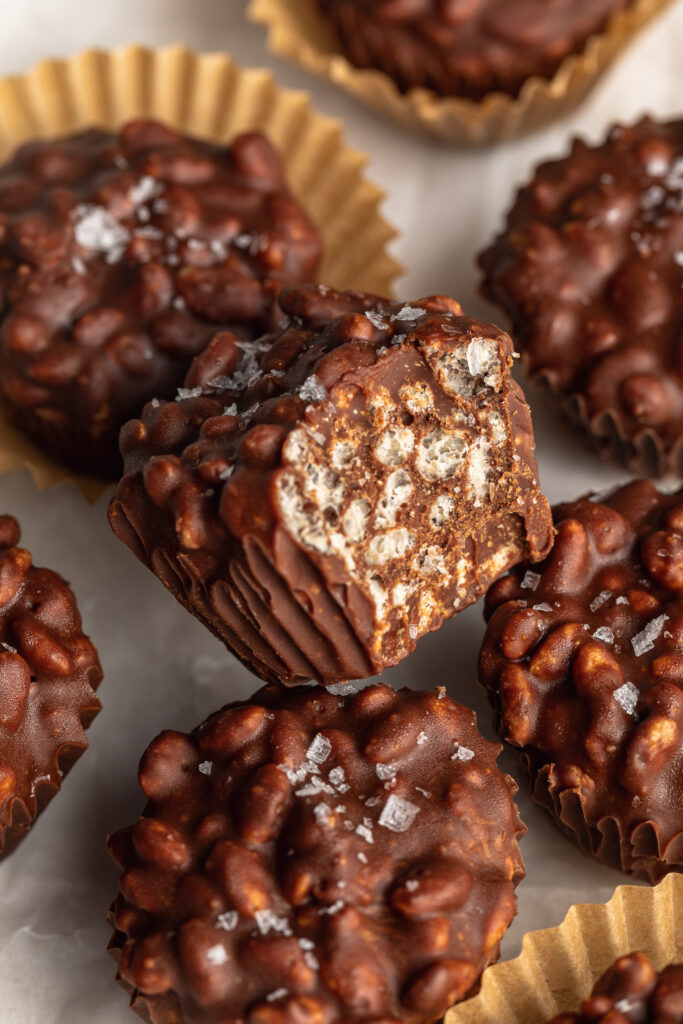
Flavor Variations
🥜 Almond Butter Crunch Cups Swap the peanut butter for creamy almond butter for a slightly sweeter, nuttier flavor.
🌻 Nut-Free Crunch Cups Use sunflower seed butter in place of the peanut butter for a school-safe version that’s perfect for lunchboxes.
🤍 White Chocolate Crunch Cups Use white chocolate chips instead of semi-sweet. Add a sprinkle of cinnamon for a cozy fall twist.
🎃 Holiday Crunch Cups Top each cup with festive sprinkles before freezing: orange and black for Halloween, red and green for Christmas, or pastels for Easter.
💪 Protein Crunch Cups Stir 2 tablespoons of chocolate or vanilla protein powder into the melted chocolate-peanut butter mixture before adding the cereal for an extra protein boost.
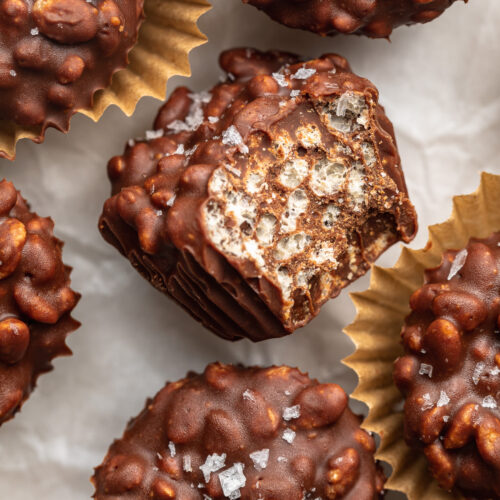
3-Ingredient Crunchy Peanut Butter Cups
Equipment
- 1 large bowl
- 1 mini muffin pan
Ingredients
- 1 ¼ cups chocolate chips
- ½ cup creamy peanut butter
- 1 ½ cups rice cereal
Method
- Fill either a 12-count muffin tin or a 24-count mini muffin tin with muffin liners.
- Add the chocolate chips and creamy peanut butter to a bowl, then microwave in 30 second increments (stirring between each increment) until the chocolate has melted and is completely smooth.
- Add in the rice cereal and mix everything together to combine.
- Scoop the mixture into the muffin liners then transfer to the freezer for about an hour, or until solid. Remove the cups from the freezer and either enjoy right away or store in the fridge for later!

Explore More
Paleo Spaghetti and Meatballs
Healthy High-Protein Apple Pie Salad
Single Serve Protein Cookie Skillet (30g protein!)
Easy & Healthy Kid-Friendly Snacks