Tag

coconut

Browsing

Channel your inner beach vacation with this easy piña colada recipe – frosty, tropical, perfectly creamy, and made with just 3 ingredients! NO added sugar, no pineapple juice from concentrate, no complicated steps required. Just frozen pineapple, coconut milk, and rum blended together into the most refreshing frozen cocktail you’ll make all summer. It’s healthier than any other piña colada recipe out there, and somehow still tastes just as good (if not better) than the version you’d order on vacation!

If you love an easy frozen cocktail, this one belongs right alongside my Mango Margaritas and Watermelon Margaritas in your summer entertaining rotation. This recipe makes a whole pitcher, which means it’s perfect for backyard parties, pool days, or just a Friday night when you want to feel like you’re on a tropical vacation without leaving your kitchen. 🙂

Why You’ll Love This Easy Piña Colada Recipe

  • Just 3 ingredients. Frozen pineapple, coconut milk, and rum. That’s it – no cream of coconut, no pineapple juice, no extra steps. This is the simplest piña colada recipe you’ll find anywhere.
  • No added sugar. Most piña colada recipes rely on cream of coconut, which is loaded with added sugar. This version uses frozen pineapple and full-fat coconut milk instead, which means all the sweetness here is naturally occurring – no refined sugar needed.
  • Healthier than any other piña colada. Without the added sugar from cream of coconut, this version is significantly lighter while still delivering that classic rich, creamy, tropical flavor you’re craving.
  • Just as delicious. Don’t let the simplicity fool you – this tastes exactly like the piña colada you’d order on vacation. Sweet, creamy, tropical, and perfectly balanced.
  • Makes a whole batch. This recipe makes plenty to share, making it perfect for summer parties, barbecues, and pool days. It also scales up easily if you’re hosting a crowd!
  • Super refreshing. Cold, frosty, and packed with tropical pineapple-coconut flavor – there’s nothing better on a hot summer day.
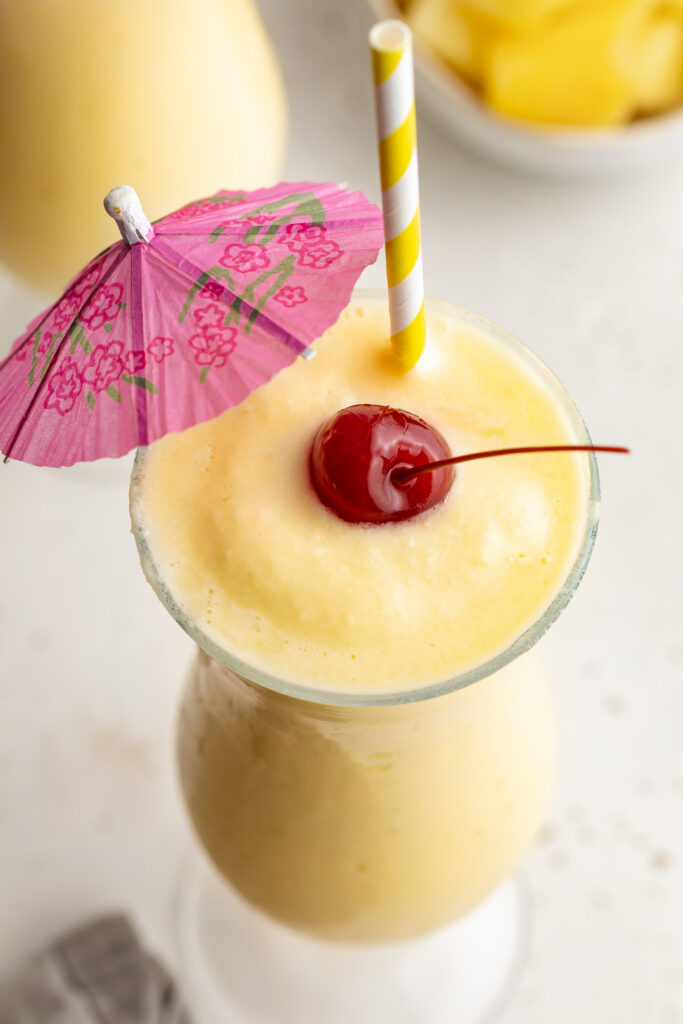
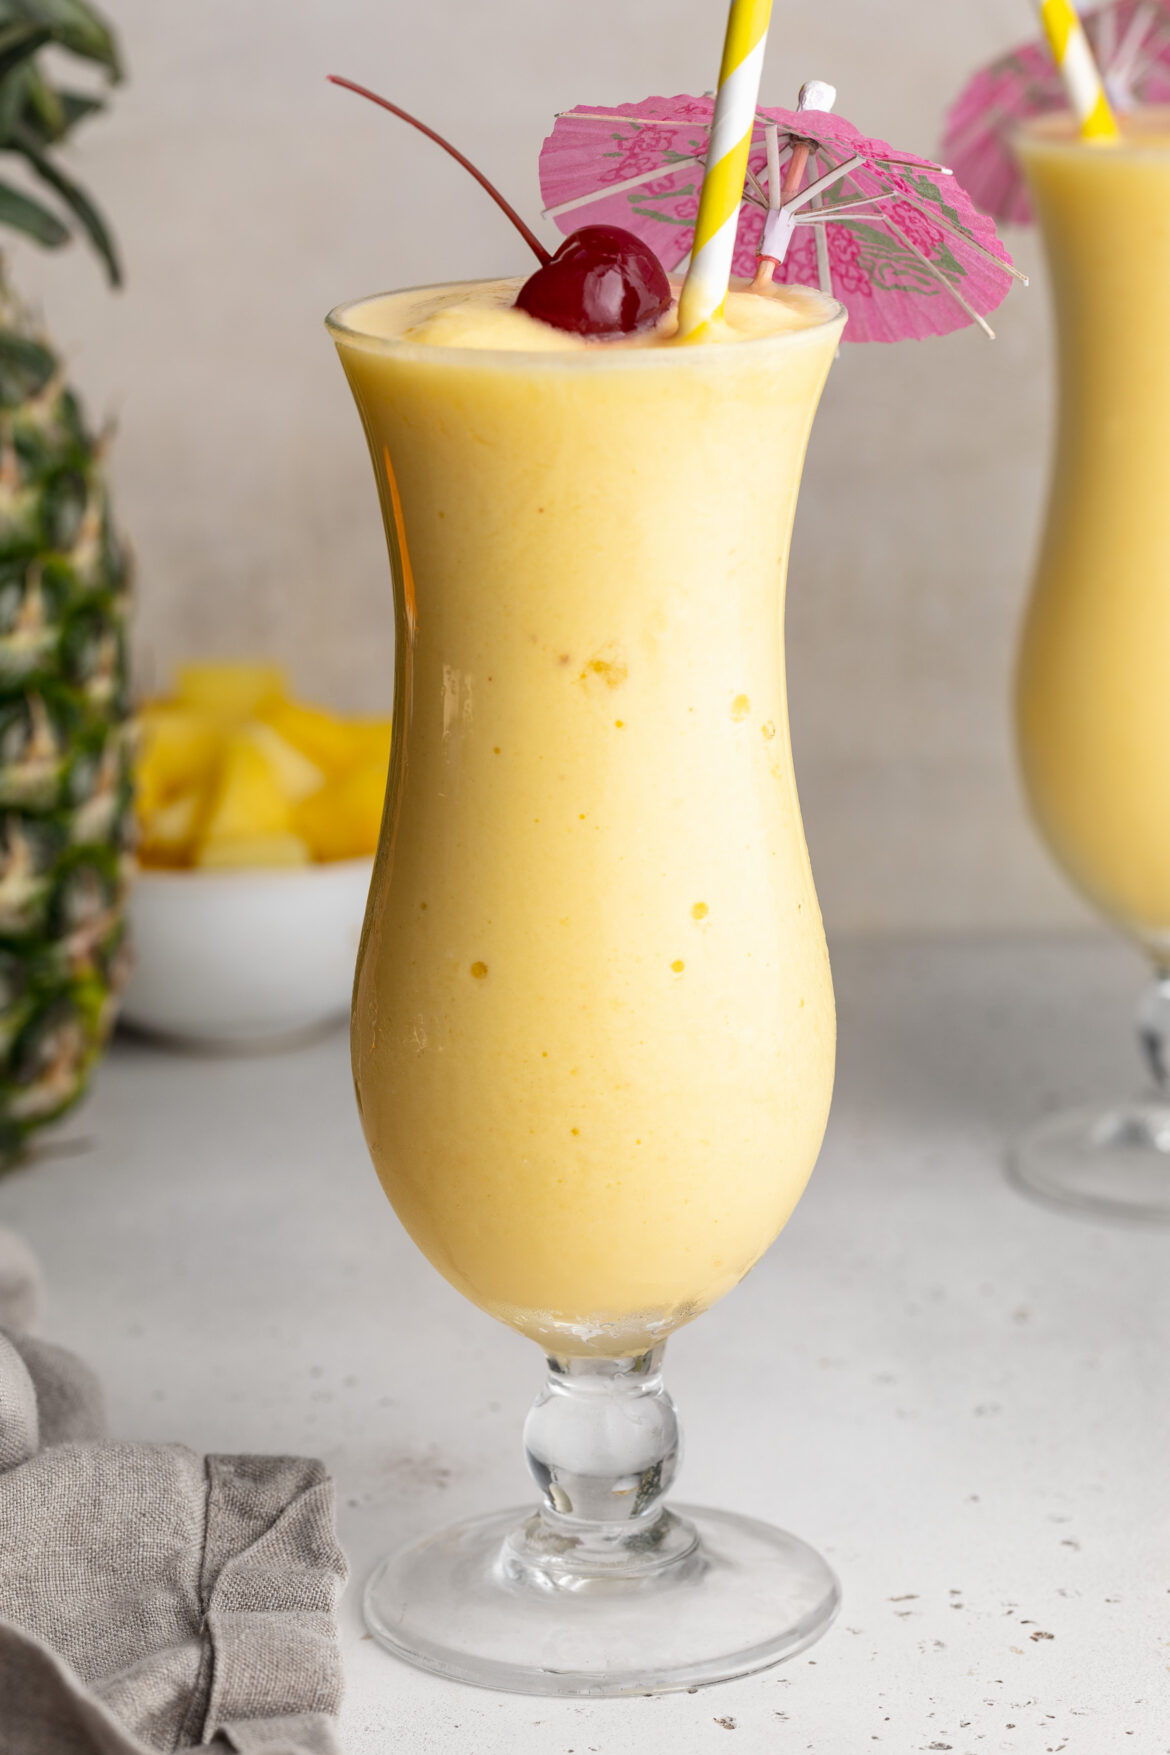
overhead close up image of a easy 3 ingredient pina colada in a glass.

Frequently Asked Questions

Can I use fresh pineapple?

You can, but I highly recommend sticking with frozen pineapple for this recipe. Frozen pineapple is what gives this piña colada its thick, frosty, slushy texture without needing any extra ice, which would water down the flavor. If you only have fresh pineapple, you can freeze your own: cut into 1-inch chunks and freeze in a single layer on a parchment-lined baking sheet for at least 2 hours before blending. You could also use fresh pineapple plus a cup of ice, but the texture will be slightly different – less thick and creamy, more like a slushy.

What can I use instead of rum?

If you’d like to make this alcohol-free, simply leave the rum out entirely or replace it with an extra splash of coconut milk or pineapple juice to maintain the liquid ratio. For a different flavor profile, coconut rum is a fun swap that doubles down on the tropical coconut flavor. White rum is the traditional choice, but if you prefer a richer, more caramel-forward flavor, you can use a small amount of dark or spiced rum – just know it will change the classic piña colada taste.

How do I make this a non-alcoholic piña colada?

Simply omit the rum! Replace it with an additional ¼–½ cup of coconut milk or pineapple juice to keep the same creamy, blended consistency. The frozen pineapple and coconut milk alone create such a rich, satisfying drink that you genuinely won’t feel like you’re missing anything. This is a great option for kids, pregnant friends, or anyone who prefers to skip the alcohol – and it’s just as refreshing!
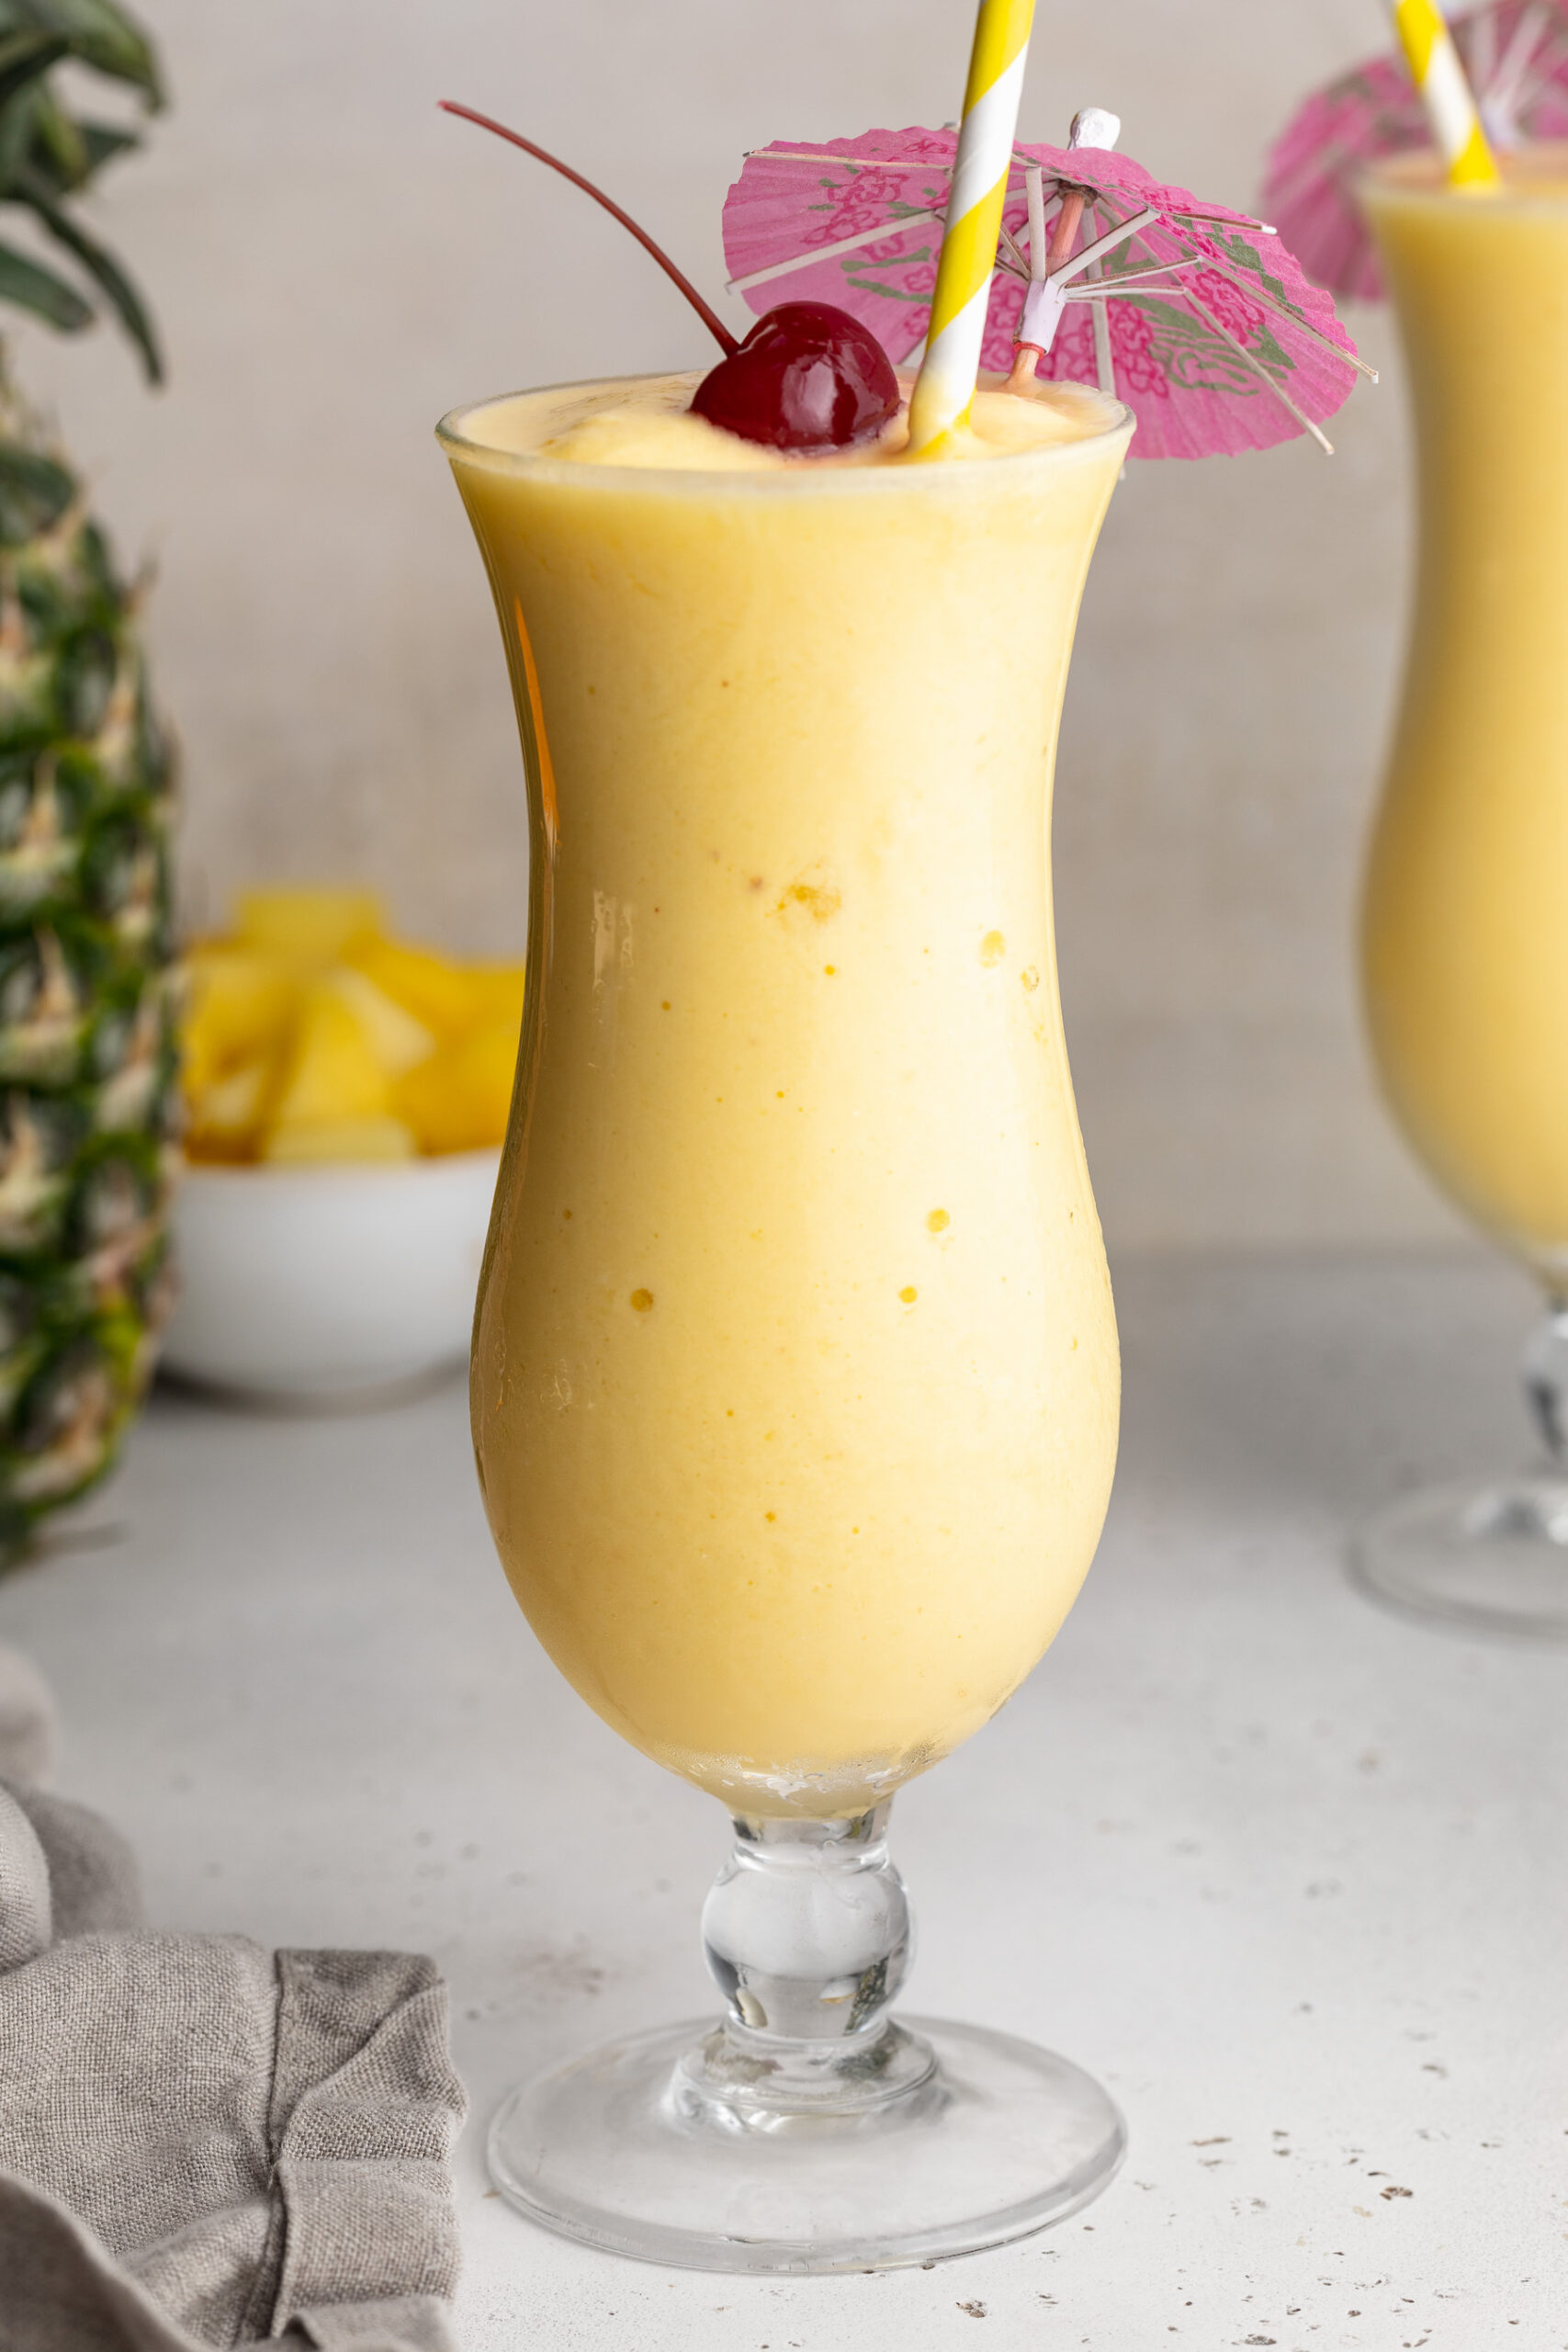
3 ingredient pina colada in a glass with a cherry and umbrella on top.
5 from 1 vote

3-Ingredient Easy Piña Colada Recipe

This easy piña colada recipe is made with just 3 ingredients – frozen pineapple, coconut milk, and light rum – blended into the most refreshing, tropical frozen cocktail with NO added sugar! It comes together in just 5 minutes, makes a whole pitcher, and tastes exactly like the piña colada you'd order on a beach vacation. If you're looking for an easy, healthier piña colada recipe that's perfect for summer parties, this is the one to make this weekend!
Print Pin Rate
Prep Time: 5 minutes
Total Time: 5 minutes
Servings: 4 servings

Equipment

  • 1 blender

Ingredients

  • 4 cups frozen pineapple
  • 1 cup coconut milk (from a can for the best flavor!)
  • 1/2 cup light rum

Instructions

  • Add all ingredients to a blender and blend until no chunks of pineapple remain.

Notes

  • Use canned, full-fat coconut milk for the richest, creamiest flavor — avoid the carton kind found in the dairy aisle.
  • Frozen pineapple gives the best thick, frosty texture without watering down the flavor.
  • For a non-alcoholic version, omit the rum and add an extra splash of coconut milk or pineapple juice.
  • Best enjoyed immediately — this drink will separate and thin out if left to sit too long.
Nutrition

Serving: 1serving | Calories: 220kcal | Carbohydrates: 24g | Protein: 1g | Fat: 9g | Fiber: 2g | Sugar: 17g

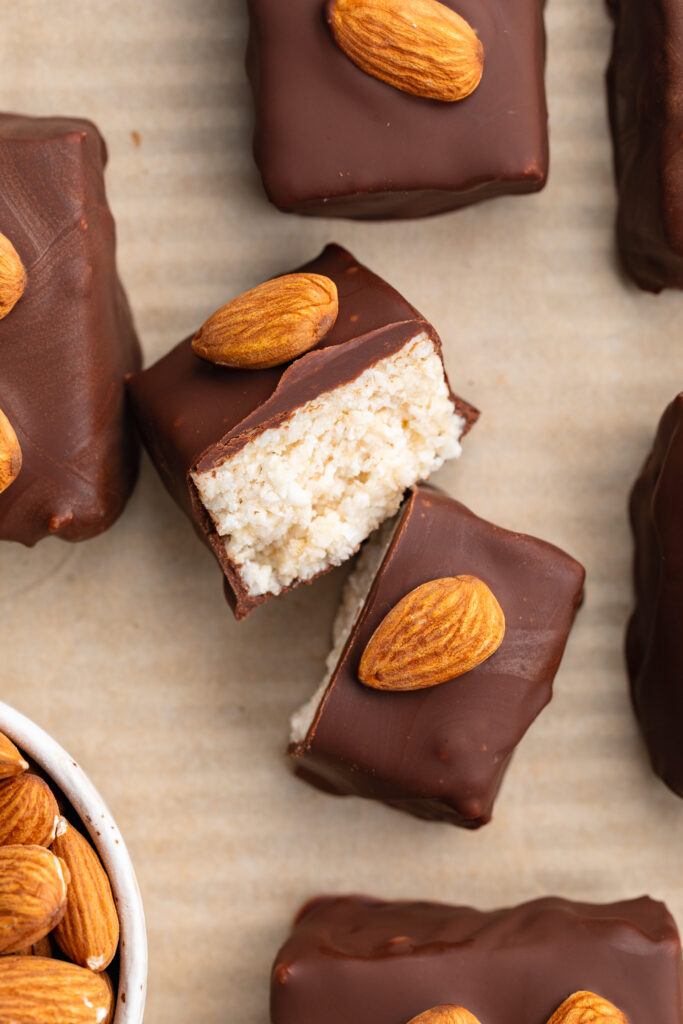
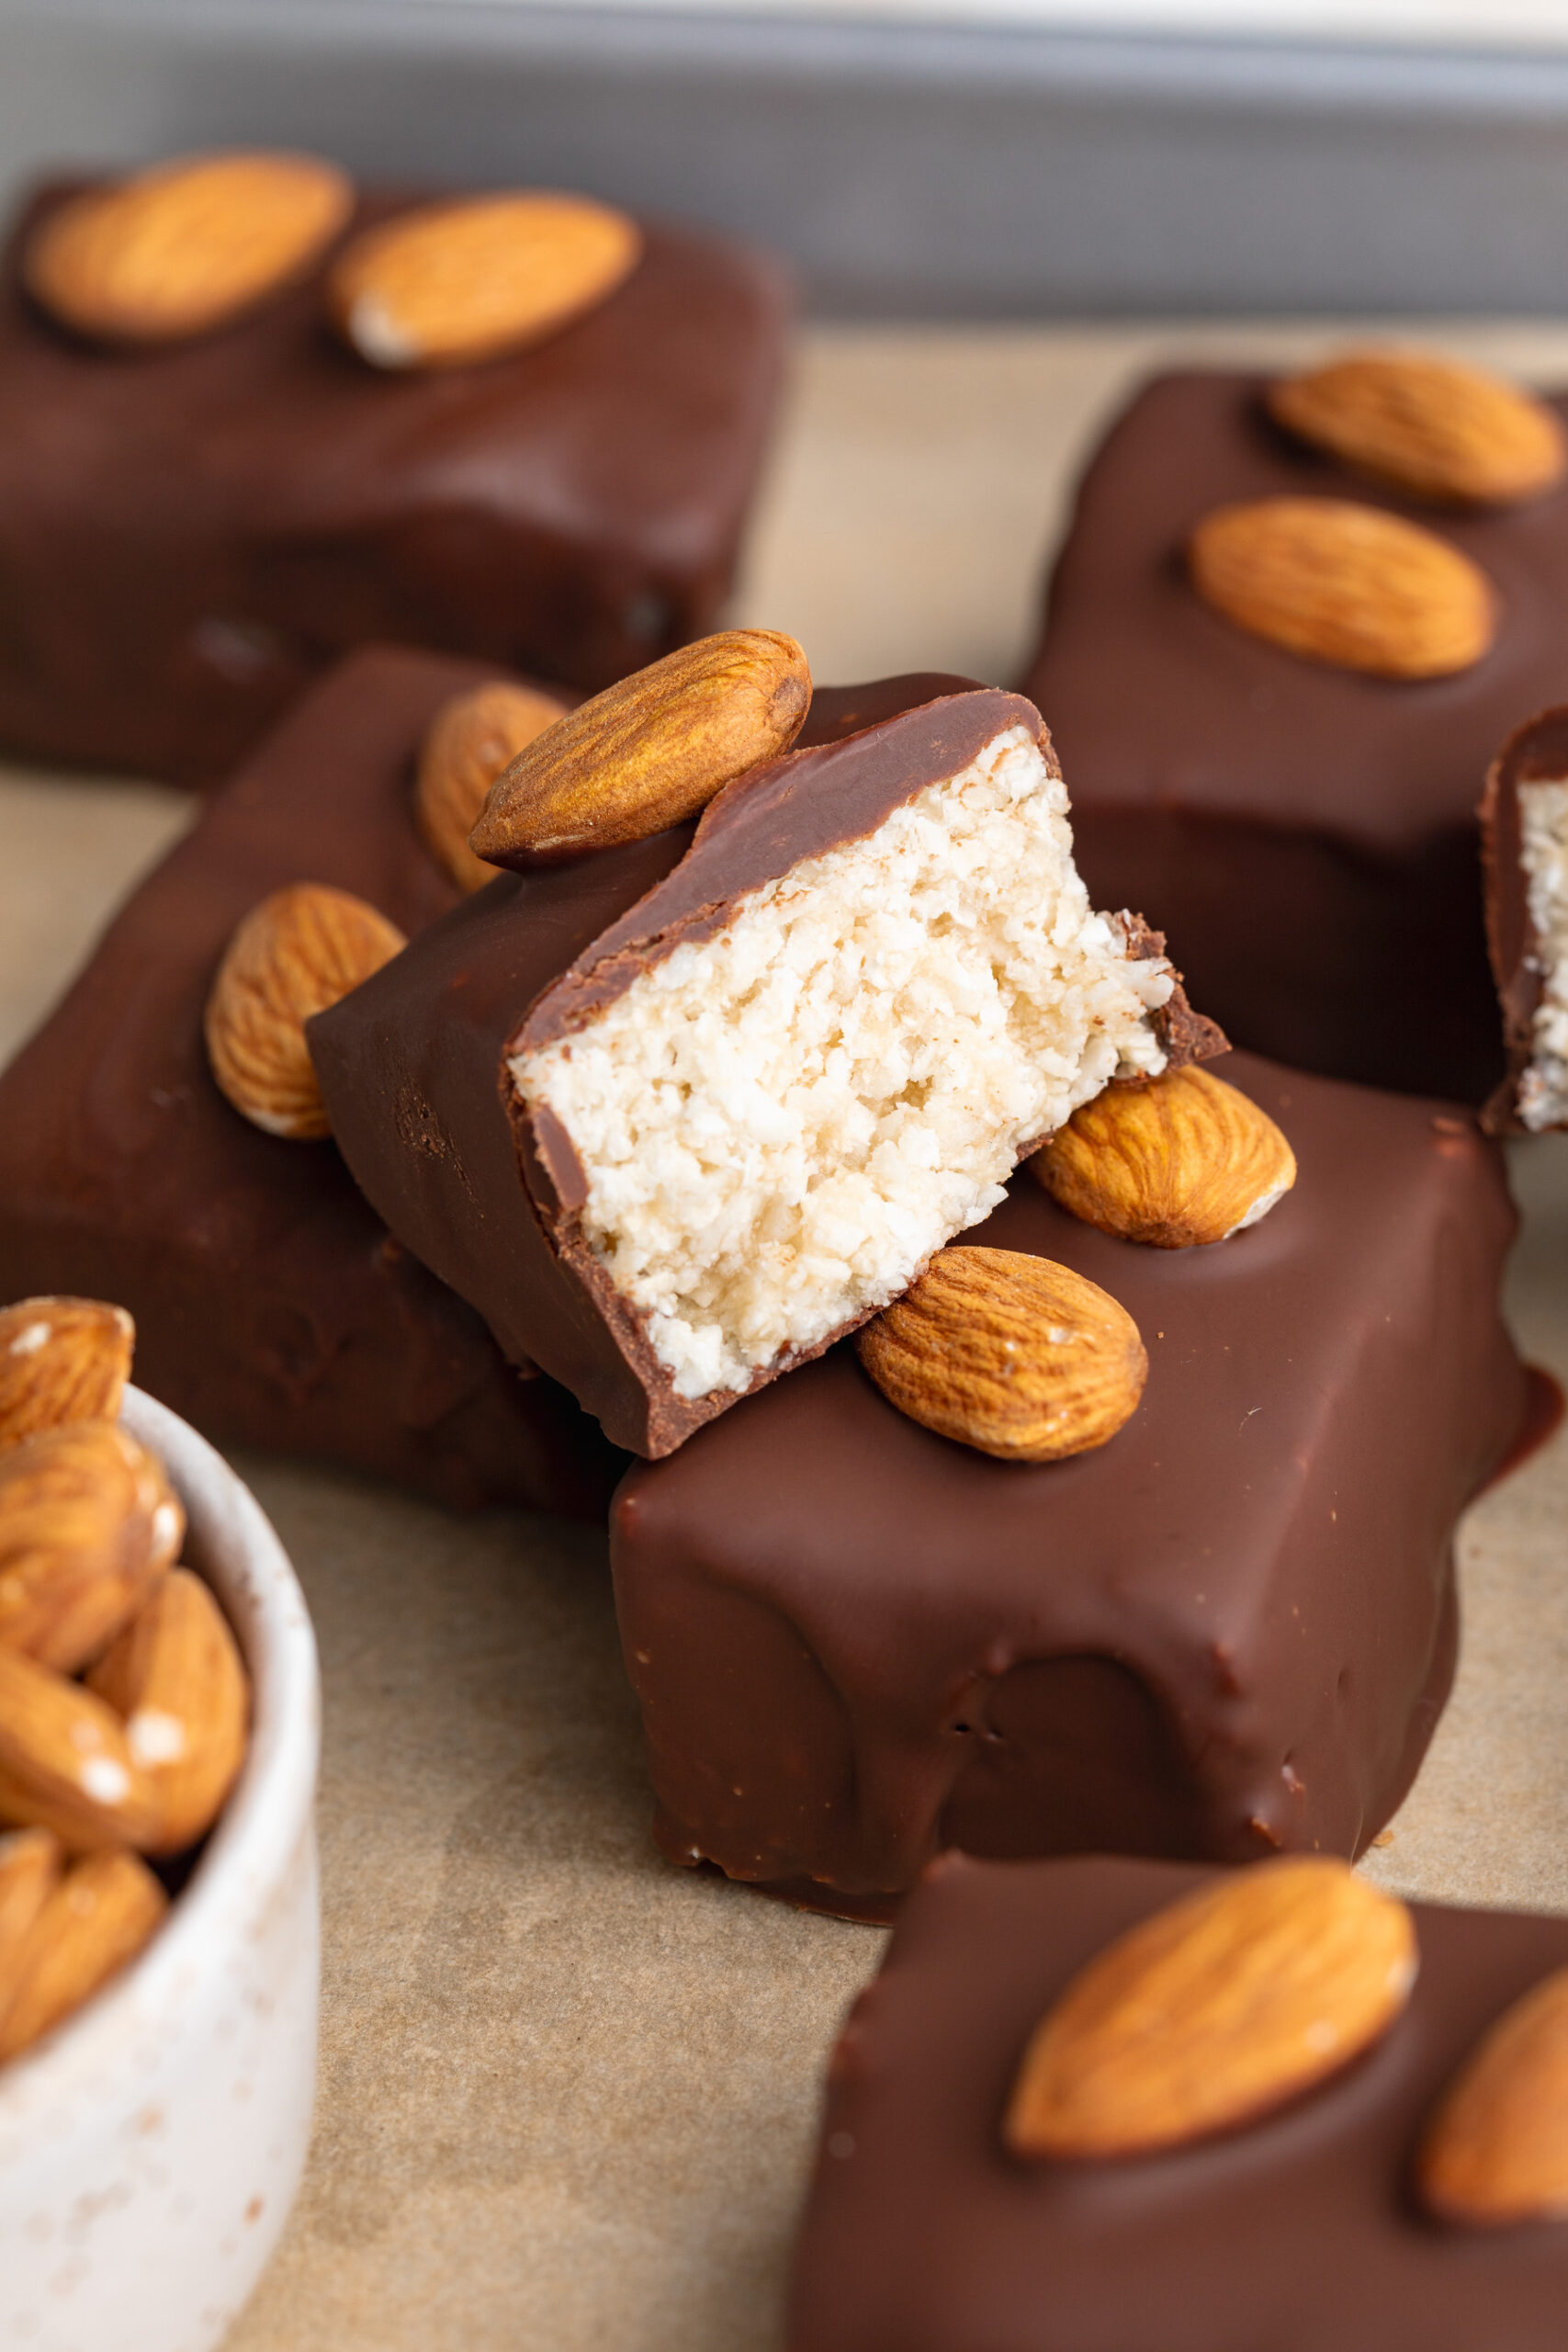
Chewy coconut filling, crunchy whole almonds, and a smooth chocolate shell — these healthy Almond Joy bars are the homemade version of your favorite candy bar, and are soooo much better than anything you’d find at the store! Made with just 5 simple ingredients, completely no-bake, gluten-free, and dairy-free, they’re just as delicious as the real thing, but NO corn syrup or refined sugar. I make a batch every couple of weeks and keep them in the fridge for whenever a chocolate craving strikes – which, if I’m being honest, is daily.

If you’re already obsessed with my 6-Ingredient Healthy Snickers and 4-Ingredient Date Caramels, these Almond Joy bars are the next addition to your healthy candy collection. One bite and you’ll never reach for the store-bought version again!

Why You’ll Love These Healthy Almond Joy Bars

  • Just 5 ingredients! Shredded coconut, coconut oil, honey, chocolate chips, and almonds. No condensed milk, no corn syrup, no refined sugar – just simple, healthier ingredients that come together into something truly incredible.
  • No-bake and super easy. Food processor, loaf pan, freezer. That’s all the equipment you need. The most “difficult” part of this recipe is waiting for the chocolate to set – and trust me, the wait is so worth it.
  • Gluten-free and dairy-free. Naturally free of both gluten and dairy, making these bars accessible for almost everyone. Just use your favorite dairy-free chocolate chips and you’re all set.
  • Tastes just like the real thing – but WAY healthier. The chewy coconut filling, the crunch of the whole almonds, the snap of the chocolate shell – it’s all here!
  • Great for meal prep and gifting. Make a batch and keep them in the fridge all week for a ready-to-grab sweet treat. They also make the most impressive homemade gift – nobody needs to know how easy they were to make!
overhead image of healthy almond joy bars.

Sam’s Recipe Tips

  • Don’t over-blend the coconut filling. This is the most important tip in the whole recipe. Pulse – don’t blend continuously – and stop as soon as the mixture sticks together when pressed. Over-blending will turn it into a greasy coconut paste that won’t hold its shape as a bar.
  • Press the coconut layer firmly into the pan. The more firmly you press the filling into an even layer, the cleaner and more uniform your bars will look once cut. Use the bottom of a flat measuring cup to really pack it in.
  • Freeze the coconut base before dipping. The filling needs to be completely firm and cold before you dip it in chocolate. If it’s too soft, the bars will fall apart in the chocolate. 20–30 minutes in the freezer is the minimum – longer is even better.
  • Use a fork for dipping. A fork gives you the most control when coating the bars in chocolate and lets the excess drip off cleanly. A dipping tool also works great if you have one.
  • Add a pinch of flaky sea salt on top. Completely optional, but highly recommended! A little flaky sea salt on top of the almonds takes these bars to an entirely different level.

Storage Instructions

In the fridge: Store in an airtight container in the refrigerator for up to 2 weeks. These bars are best served cold straight from the fridge – the coconut filling stays firm and the chocolate shell has the perfect snap.

In the freezer: These Almond Joy bars freeze beautifully! Store in an airtight container or zip-lock freezer bag for up to 2 months. Layer between sheets of parchment paper so they don’t stick together. Let sit at room temperature for 5 minutes before eating for the best texture, or enjoy them straight from the freezer if you like them extra firm and cold.

Note: These bars will soften and the chocolate may get a little melty at room temperature, so always store them cold. Do not leave out on the counter for extended periods!

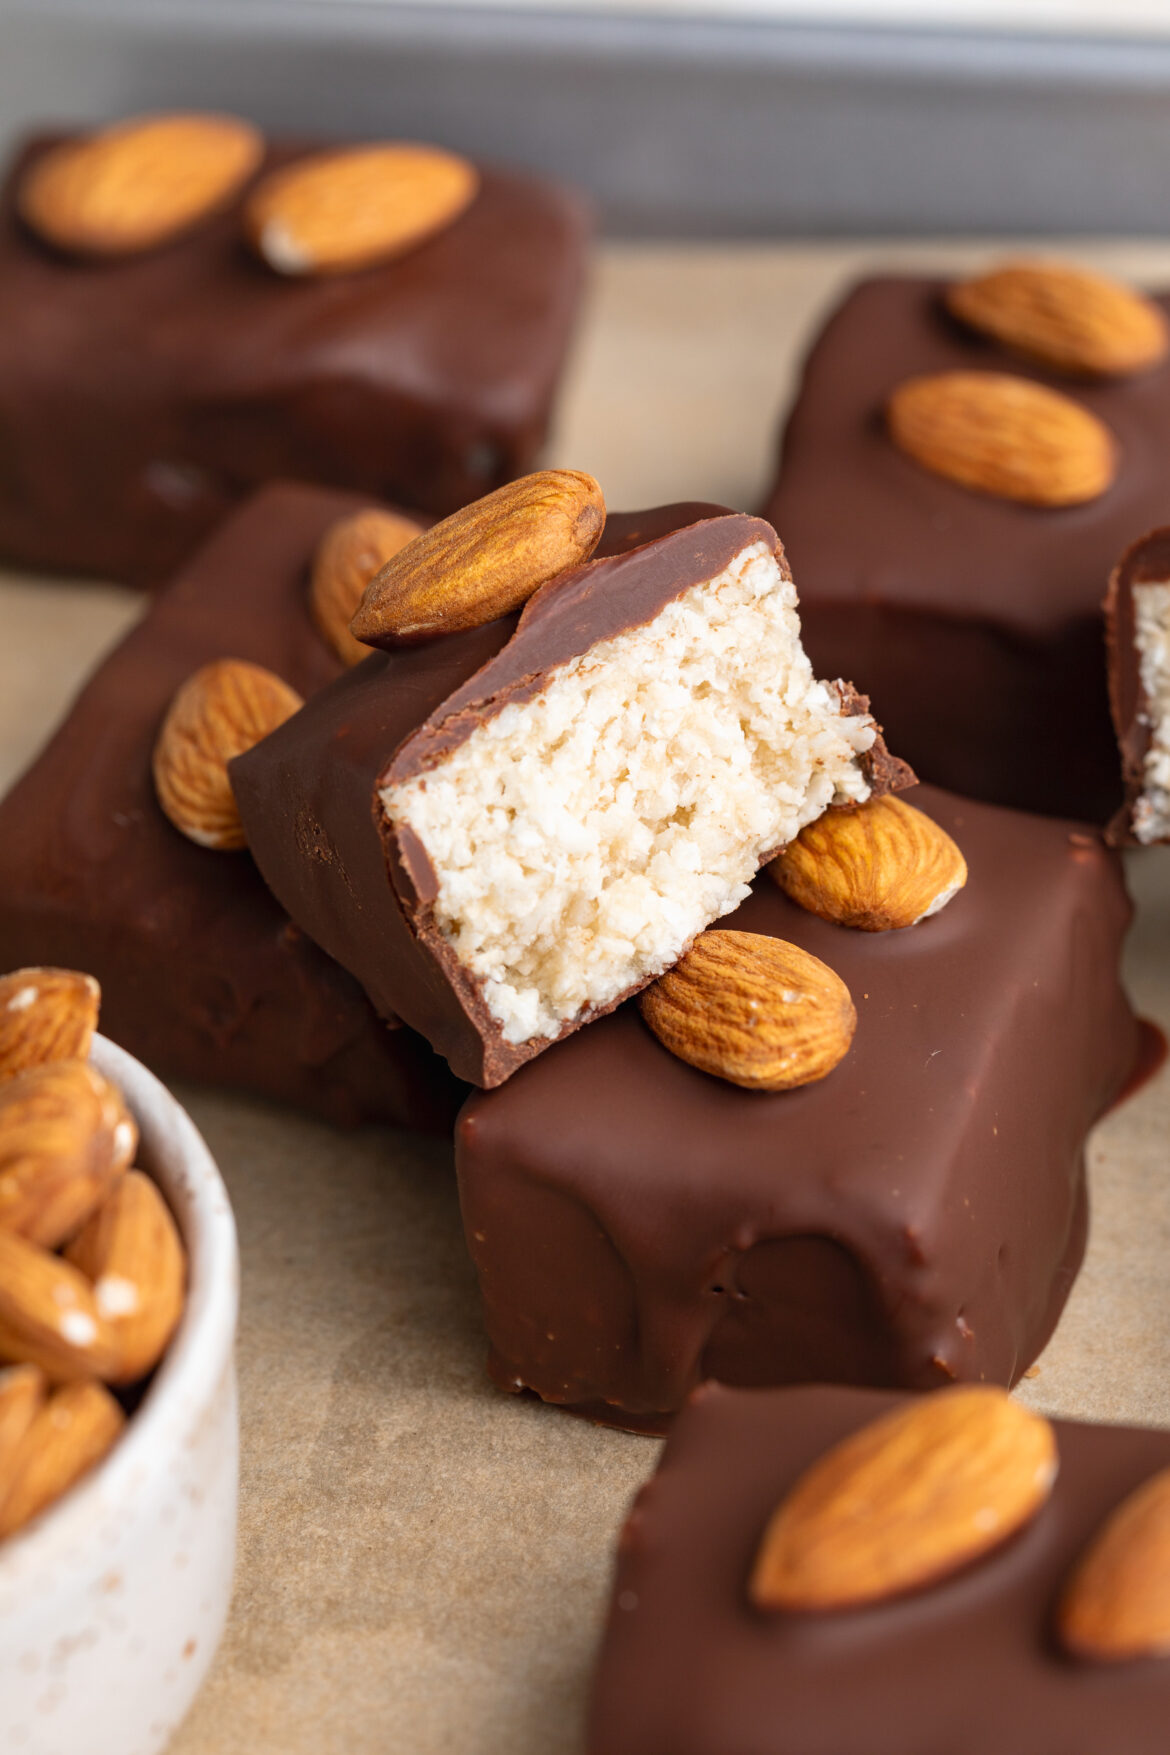
healthy almond joys bars, one cut in half to show the inside.
5 from 1 vote

5-Ingredient Healthy Almond Joy Bars

These healthy Almond Joy bars are a 5-ingredient, no-bake copycat of the classic candy bar – chewy coconut filling, crunchy whole almonds, and a smooth chocolate shell. They're gluten-free, dairy-free, naturally sweetened with honey or maple syrup, and come together in under 45 minutes with NO baking required! f you're looking for a healthy Almond Joy recipe that actually tastes like the real thing but is made with healthier ingredients, this is it!
Print Pin Rate
Prep Time: 15 minutes
Chill Time: 10 minutes
Servings: 12 servings

Equipment

  • 1 food processor
  • 1 9×4-inch loaf pan
  • 1 small bowl

Ingredients

For the coconut filling:

  • 2 cups unsweetened shredded coconut
  • 1/4 cup coconut oil melted
  • 1/4 cup honey or maple syrup

For the chocolate layer:

  • 1 cup chocolate chips
  • 2 teaspoons coconut oil

For topping:

  • 1/2 cup whole almonds

Instructions

  • Line a 9×4-inch loaf pan with parchment paper.
  • Add all of the coconut filling ingredients in a food processor and pulse until the coconut is finely chopped, and the mixture sticks when pressed together (be very careful not to blend the mixture too much!).
  • Transfer the coconut mixture to your prepared loaf pan and press it into an even layer. Transfer it to the freezer for about 20-30 minutes.
  • While the coconut filling is in the freezer, prepare the chocolate layer by melting the chocolate chips and coconut oil together in either the microwave or over a double boiler until completely smooth.
  • Remove the coconut bars from the freezer, and cut them into 12 squares. Dip each square into melted chocolate, then transfer them to a plate line with parchment paper. While the chocolate is still wet, place one or two almonds on top of each bar.
  • Once all bars are coated in chocolate and topped with almonds, transfer them back to the freezer to set for about 10 minutes, or until the chocolate has hardened.Either enjoy the almond joy bars right away, or store in an airtight container in the fridge for up to two weeks!

Nutrition

Serving: 1serving | Calories: 200kcal | Carbohydrates: 16g | Protein: 3g | Fat: 17g | Fiber: 3g | Sugar: 11g

Magic bars were one of my favorite childhood treats! My mom had a few dessert recipes she rotated through – her famous watergate salad was a big one, and 7-layer magic bars were a close second. So when I got hit with this insane craving for magic bars, I looked up a few recipes and was pretty shocked by what I found. Most magic bars are made with tons, and I mean TONS of processed sugar. Though since I’ve basically made it my life’s work to turn our favorite desserts into healthier ones, I knew I had to get working on a healthier magic bar recipe!

This recipe took quite a few tries, but I ultimately perfected it! I used the same almond flour shortbread crust as my healthy pecan pie bars recipe, and riffed off my healthy vegan caramel sauce for a healthier sweetened condensed milk alternative. I then topped these bars with plenty of coconuts, chopped nuts, and of course – chocolate chips! The end result is a bar just as indulgent as the classic magic bars we all know and love, made with healthier ingredients and a fraction of the sugar. I just know you’re gonna LOVE these!

Why You’ll Love This Recipe

  • Naturally Sweetened – No refined sugar, just maple syrup and coconut cream for a rich, caramel-like sweetness.
  • Easy & Quick – Simple ingredients, one bowl for the crust, and a short bake time.
  • Customizable – Easily make them nut-free, keto-friendly, or extra chocolatey!
a healthy gluten-free magic bar with a bite taken out.

What Makes These Magic Bars Healthier?

Traditional magic bars are loaded with processed sugars and condensed milk, but this healthier version swaps in:

  • Almond flour for a grain-free, nutrient-dense crust.
  • Maple syrup instead of refined sugar.
  • Coconut cream for a dairy-free caramel alternative.
  • Dark chocolate chips with minimal added sugar, or opt for a refined sugar-free chocolate chip like these!

Sam’s Recipe Tips

  • For Extra Firm Bars – Let them chill in the fridge overnight before slicing.
  • For More Chocolate Flavor – Drizzle melted chocolate over the top before serving.
  • For a More Caramel-Like Texture – Use cashew butter instead of almond butter.
two healthy gluten-free magic bars stacked on top of each other.

Adjust This Recipe to Your Dietary Needs

Nut-Free Option – Use sunflower seed butter instead of almond butter and swap the nuts for pumpkin or sunflower seeds.

Keto-Friendly Option – Substitute maple syrup with a keto-friendly syrup and use sugar-free chocolate chips.

Refined Sugar-Free – Stick with pure maple syrup and dark chocolate for a naturally sweet treat!

Storage Instructions

Fridge: Store bars in an airtight container in the refrigerator for up to one week.
Freezer: For longer storage, freeze them for up to 3 months and thaw before serving.

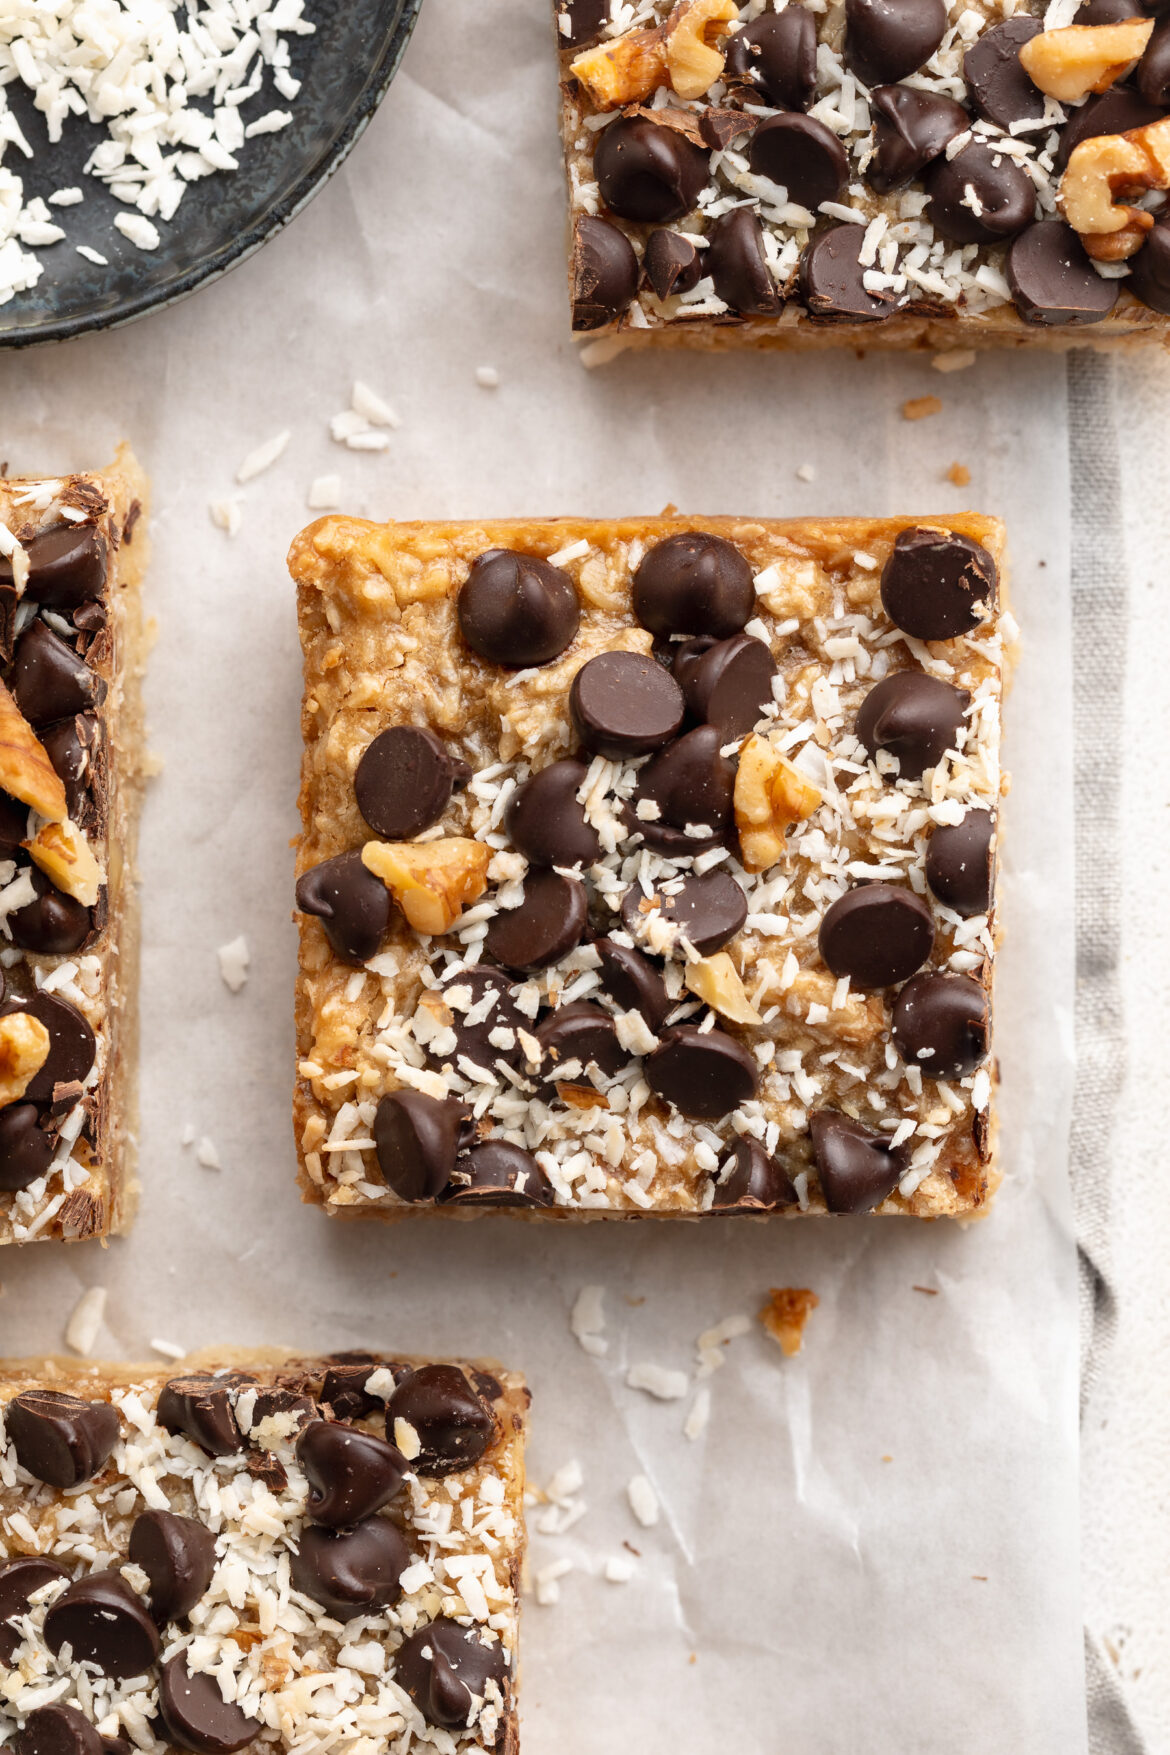
overhead image of a healthy gluten-free magic bar with chocolate chips on top.
5 from 1 vote

Healthy Gluten-Free Magic Bars

These healthy magic bars are a better-for-you twist on the classic 7-layer bars! Made with a buttery almond flour crust, a naturally sweetened caramel layer, crunchy nuts, coconut, and melty dark chocolate, these bars are gluten-free, dairy-free, vegan, and refined sugar-free. They’re the perfect treat for when you’re craving something sweet but still healthier.
Print Pin Rate
Prep Time: 10 minutes
Cook Time: 30 minutes
Chill Time: 1 hour
Total Time: 1 hour 40 minutes
Servings: 16 bars

Equipment

  • 1 9×9-inch baking pan
  • 1 large bowl
  • 1 small saucepan

Ingredients

For the shortbread crust:

  • 2 cups almond flour
  • 1/4 cup melted coconut oil
  • 1/4 cup maple syrup
  • 1 teaspoon vanilla extract

For the topping:

  • 1/2 cup coconut cream (the thick white part at the top of a can of full-fat coconut milk)
  • 1/4 cup maple syrup
  • 1/4 cup almond butter or peanut butter
  • 1 cup chopped walnuts or pecans
  • 1 cup unsweetened shredded coconut
  • 1 cup dark chocolate chips

Instructions

  • Preheat oven to 350° Fahrenheit and line a 9×9-inch baking pan with parchment paper.
  • Add all shortbread crust ingredients to a large bowl and mix to combine. Then, transfer the crust to your prepared baking pan and press the crust down into an even layer over the base of the baking dish. Bake for 10 minutes or until lightly golden brown around the edges.
  • Remove the crust from the oven to cool, and while it cools make the caramel by adding the coconut cream, maple syrup, and almond butter to a small saucepan over medium-low heat. Whisk the mixture together and cool for 3-5 minutes, whisking constantly, until the caramel has melted together and slightly thickened.
  • Remove the saucepan from the heat and allow the caramel to cool slightly, then mix the chopped walnuts or pecans and shredded coconut into the caramel.
  • Pour the caramel mixture over the cooled crust and spread it into an even layer over the crust. Sprinkle the chocolate chips evenly over the caramel layer (if you’d like, you can then sprinkle an additional 1-2 tablespoons of shredded coconut and chopped walnuts or pecans over the chocolate chips to make the bars a little prettier), then bake the bars for an additional 20 minutes.
  • Remove the bars from the oven and leave them to cool at room temperature for about 30 minutes, then transfer them to the fridge to completely set for at least one hour. Remove the bars from the fridge, cut into square, and enjoy!

Nutrition

Serving: 1bar | Calories: 325kcal | Carbohydrates: 20g | Protein: 6.4g | Fat: 27g | Sugar: 13g

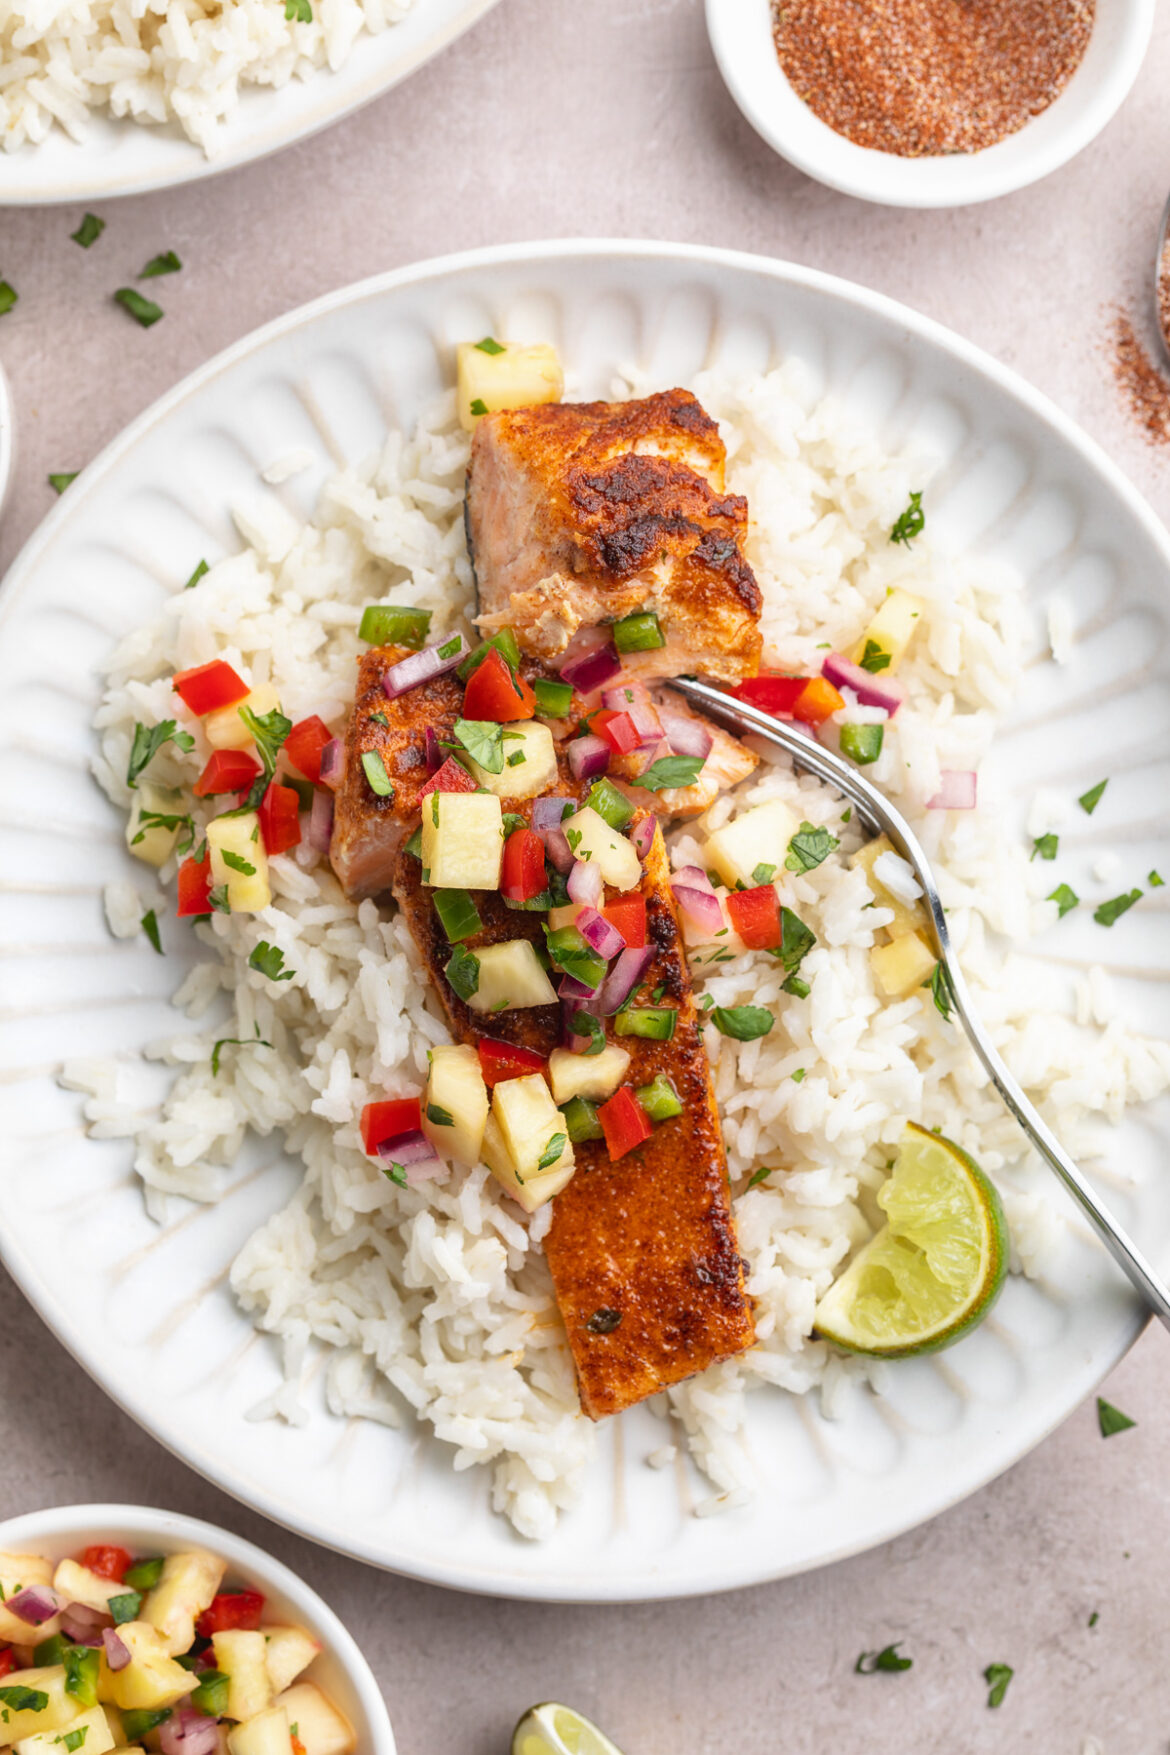
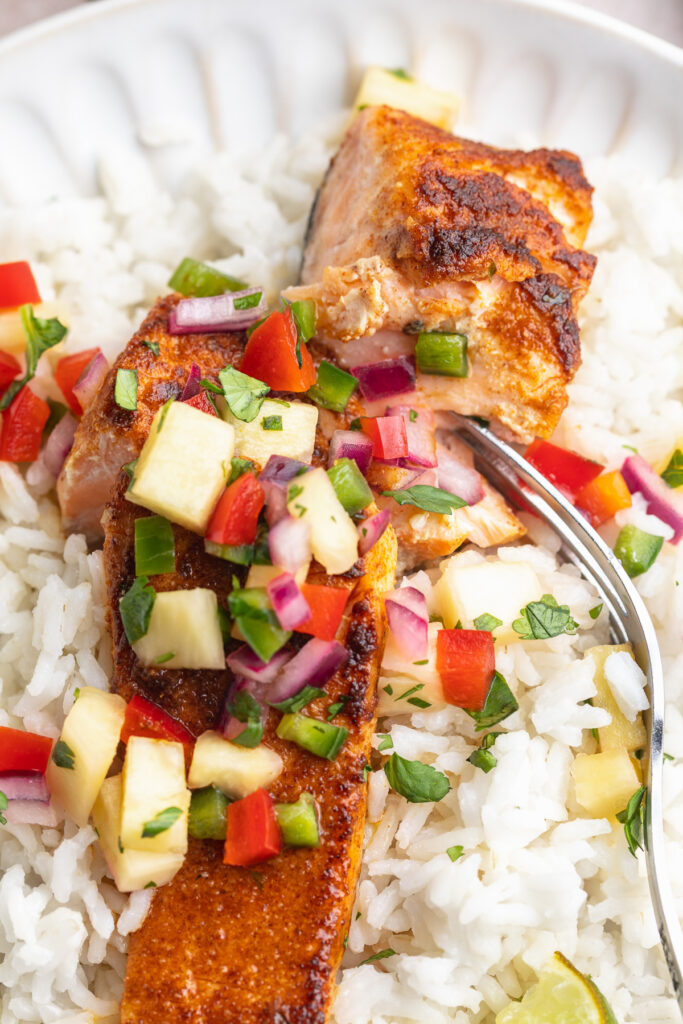
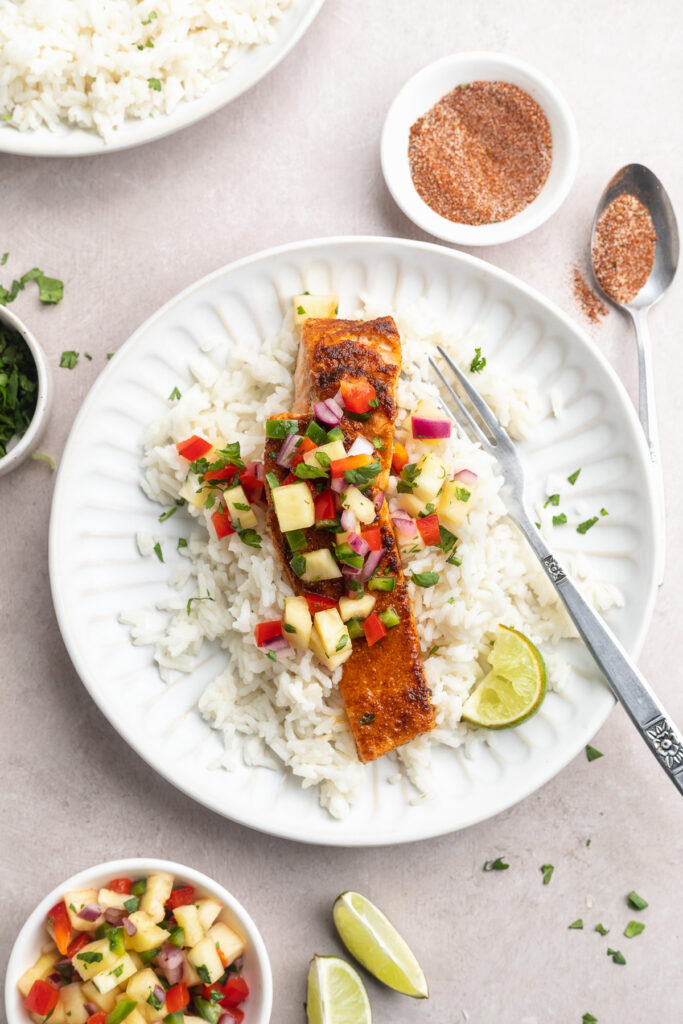
Perfectly cooked and seasoned blackened salmon, served over coconut rice with a fresh pineapple salsa! This delicious dinner recipe is surprisingly easy to make, and comes together in about 30 minutes. It’s full of flavor, super healthy, and will quickly become a family favorite!

close-up image of three blackened salmon fillets on a plate.

What You’ll Need to Make Blackened Salmon with Coconut Rice and Pineapple Salsa

Salmon – I prefer either atlantic or king salmon fillets for this recipe! Those varieties are thicker, and cook up perfectly flaky and tender. Another common type of salmon you’ll find at most grocery stores is sockeye salmon. However, sockeye is very lean, and doesn’t have nearly as much flavor as atlantic or king salmon.

Fresh Pineapple – Peel, core, and finely dice fresh pineapple for your pineapple salsa! Pineapple is perfectly tangy and sweet, which helps to balance out the savory and spicy components of the rest of this dish. Not a pineapple fan? Try one cup of fresh diced mango instead.

White Rice – Make sure you use a long grain white rice for this coconut rice recipe. Any other type of rice won’t cook the same. I love this organic long grain white rice – it’s delicious! Though if you’re looking for a grain free option, sauté up some cauliflower rice in about a tablespoon of coconut oil, instead.

Blackened Seasoning – Sure, you can buy blackened seasoning from the store, but it’s just as easy to make yourself at home! It’s a simple blend of six spices, which you likely already have on-hand. And this way, when you make this blackened salmon seasoning blend yourself, you have complete control over the flavors. Feel free to add in as much or as little of each spice as you’d like!

close-up image of blackened salmon served over coconut rice with pineapple salsa on top.

Tips and Tricks

  • Not sure if your salmon is cooked through? Check by inserting a meat thermometer into the thickest part of one of the salmon fillets. If the thermometer reads a minimum of 120° Fahrenheit, then your salmon is fully cooked and ready to eat!
  • Avoid heating your skillet to too high a temperature before cooking the salmon. I know this recipe is for blackened salmon, but we mostly achieve that blackened look through the seasonings we use. Not by cooking at a high temperature, which could easily burn and overcook our salmon fillets.
  • Switch up this recipe anyway you’d like! If you don’t like salmon, you can replace it with whatever fish you prefer. Blackened mahi mahi, halibut, or even red snapper would all taste delicious!
overhead image of a blackened salmon bowl with pineapple salsa and coconut rice on the side.

This Blackened Salmon Recipe is…

close-up image of three blackened salmon fillets on a plate.
5 from 1 vote

Blackened Salmon with Coconut Rice and Pineapple Salsa

Perfectly cooked and seasoned blackened salmon, served over coconut rice with a fresh pineapple salsa! This delicious dinner recipe is surprisingly easy to make, and comes together in about 30 minutes. It’s full of flavor, super healthy, and will quickly become a family favorite!
Print Pin Rate
Prep Time: 10 minutes
Cook Time: 20 minutes
Total Time: 30 minutes
Servings: 4 servings

Ingredients

For the pineapple salsa:

  • 1 cup finely diced fresh pineapple
  • 1/2 red bell pepper, finely diced
  • 1/4 cup finely diced red onion
  • 1 jalapeño, seeded and finely diced
  • 3 tablespoons fresh cilantro, finely chopped
  • 1 tablespoon lime juice
  • 1/4 teaspoon salt

For the coconut rice:

  • 2 cups long grain white rice
  • 1 (13.5 ounce) can coconut milk
  • 1 1/4 cup coconut water, or plain water
  • pinch of salt

For the blackened seasoning:

  • 3 tablespoons smoked paprika
  • 1 teaspoon salt
  • 1/2 teaspoon garlic powder
  • 1/2 teaspoon onion powder
  • 1/2 teaspoon dried thyme
  • 1/2 teaspoon dried oregano
  • pinch of cayenne pepper, optional

For the salmon:

  • 4 (6 ounce) salmon fillets
  • 2 tablespoons avocado oil

Instructions

  • Start by making the pineapple salsa by adding all salsa ingredients to a bowl and mixing to combine. Set aside, leaving the flavors to develop and intensify while you prepare the rest of this dish.
  • Now, make the coconut rice by adding all coconut rice ingredients to a small saucepan over medium heat. Bring rice to a boil, then reduce to a simmer and cover. Simmer for 15 minutes, then remove from heat and fluff with a fork.
  • While the rice cooks, prepare the blackened seasoning by adding all seasoning ingredients to a small bowl and mixing to combine.
  • Pat salmon fillets dry with a paper towel, then sprinkle flesh side with blackened seasoning.
  • Heat oil in a large skillet over medium heat. Once oil is hot, place salmon fillets in skillet, flesh side down, and cook 2-3 minutes. Then, flip salmon and cook 6-7 minutes, or until internal temperate of salmon reaches 120° Fahrenheit.
  • Divide the coconut rice between four bowls, place a salmon fillet into each bowl, then top the bowls with pineapple salsa.

Nutrition

Calories: 300kcal

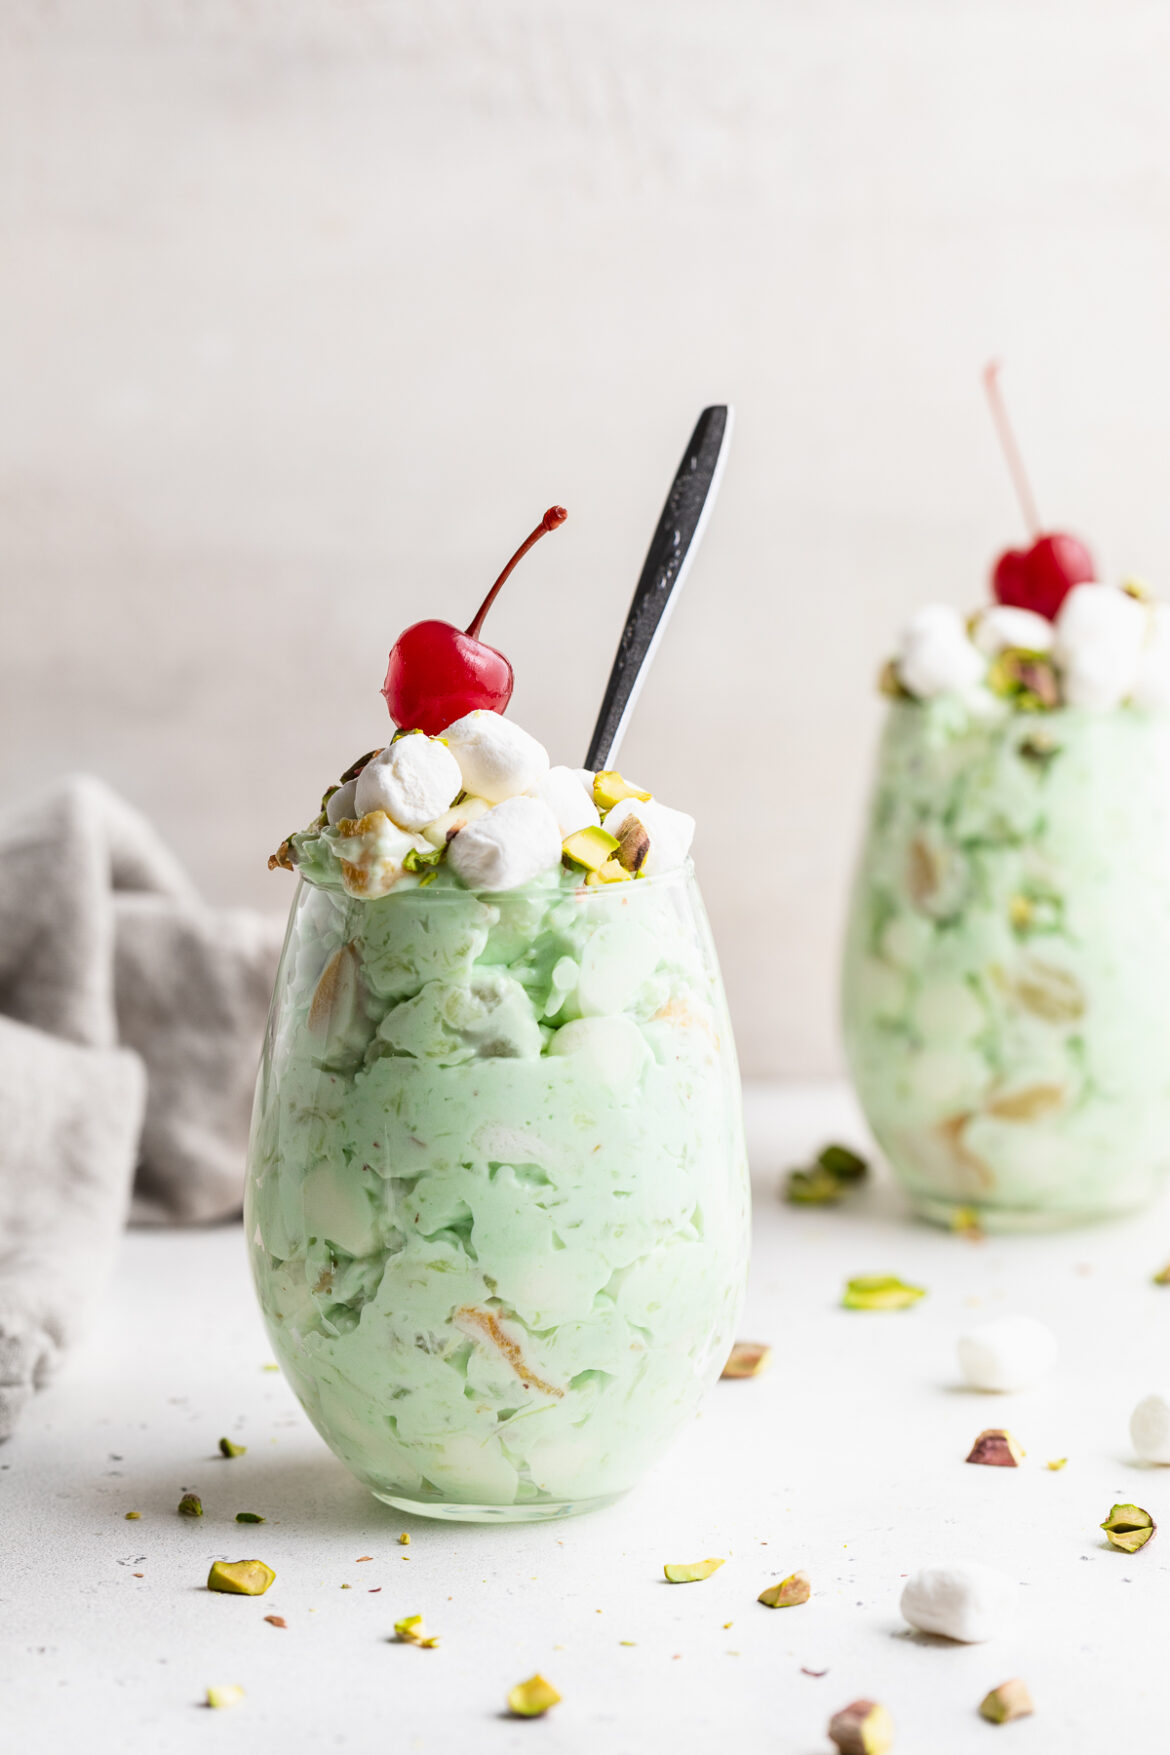
My Mom’s famous watergate salad recipe will blow your mind! A pistachio whipped cream base, with plenty of chopped fruit and mini marshmallows. I grew up on this best EVER no-bake dessert, my favorite for summer parties or barbecues!

overhead image of watergate salad in a glass with a cherry on top

What You’ll Need To Make Watergate Salad

Pistachio Pudding Mix – Any brand of pistachio pudding mix will taste delicious in this pistachio-flavored dessert! Use whatever you can find, whether that’s instant, low-sugar, etc.

Whipped Cream – For a dairy-free version, sub regular whipped cream for coconut whipped cream in this no-bake dessert recipe. I went the dairy-free route this time and used a tub of So Delicious Coconut Whipped Cream in my watergate salad. This is the only tweak I made from my Mom’s original recipe!

Fruit Cocktail – I think the fruit cocktail is my favorite part of this entire recipe. Chunks of peaches, pears, grapes, pineapple, and cherries swirled into the pistachio whipped cream base. My sister and I used to fight over who got the most cherries in their serving of watergate salad growing up. If ya ask me, those fruit cocktail cans never have enough maraschino cherries in ’em!

Crushed Pineapple – Crushed pineapple, sometimes labeled as “pineapple tidbits,” give this dessert its perfect texture. Smooth, creamy, light, and fluffy with just a little something to bite down on! If you can’t find crushed pineapple, you can finely chop up a can of cut pineapple instead.

Mini Marshmallows – My Mom always made her watergate salad with these rainbow mini marshmallows, but I couldn’t find any near me so I used the classic white mini marshmallows instead. The rainbow kind contribute a bit more fruity flavor, but the classic kind are just as delicious! Feel free to use whichever you prefer, or have on-hand.

one glass of watergate salad with chopped pistachios and a cherry on top.

Adjust This Recipe To Your Dietary Needs

Make it Vegan – Make this watergate salad vegan by using a tub of coconut whipped cream, and vegan mini marshmallows. I tested this recipe with these Dandie’s Vegan Marshmallows and couldn’t even taste the difference!

two glasses of watergate salad with cherries on top
4.67 from 3 votes

Mom’s FAMOUS Watergate Salad

My Mom’s famous watergate salad recipe will blow your mind! A pistachio whipped cream base, with plenty of chopped fruit and mini marshmallows. I grew up on this best EVER no-bake dessert, my favorite for summer parties or barbecues!
Print Pin Rate
Prep Time: 5 minutes
Total Time: 5 minutes
Servings: 12 servings

Ingredients

  • 1 (3.4 ounce) box pistachio pudding mix
  • 1 (9 ounce) tub whipped cream, or coconut whipped cream to make it dairy-free
  • 1 (15 ounce) can fruit cocktail, drained
  • 1 (20 ounce) can crushed pineapple, drained
  • 2 cups mini marshmallows

Instructions

  • Mix together pistachio pudding mix and whipped cream in a large bowl until fully combined.
  • Add in drained fruit cocktail, crushed pineapple, and mini marshmallows. Leave to set in fridge for at least one hour, then serve cold.

Nutrition

Calories: 300kcal