Tag

healthy

Browsing

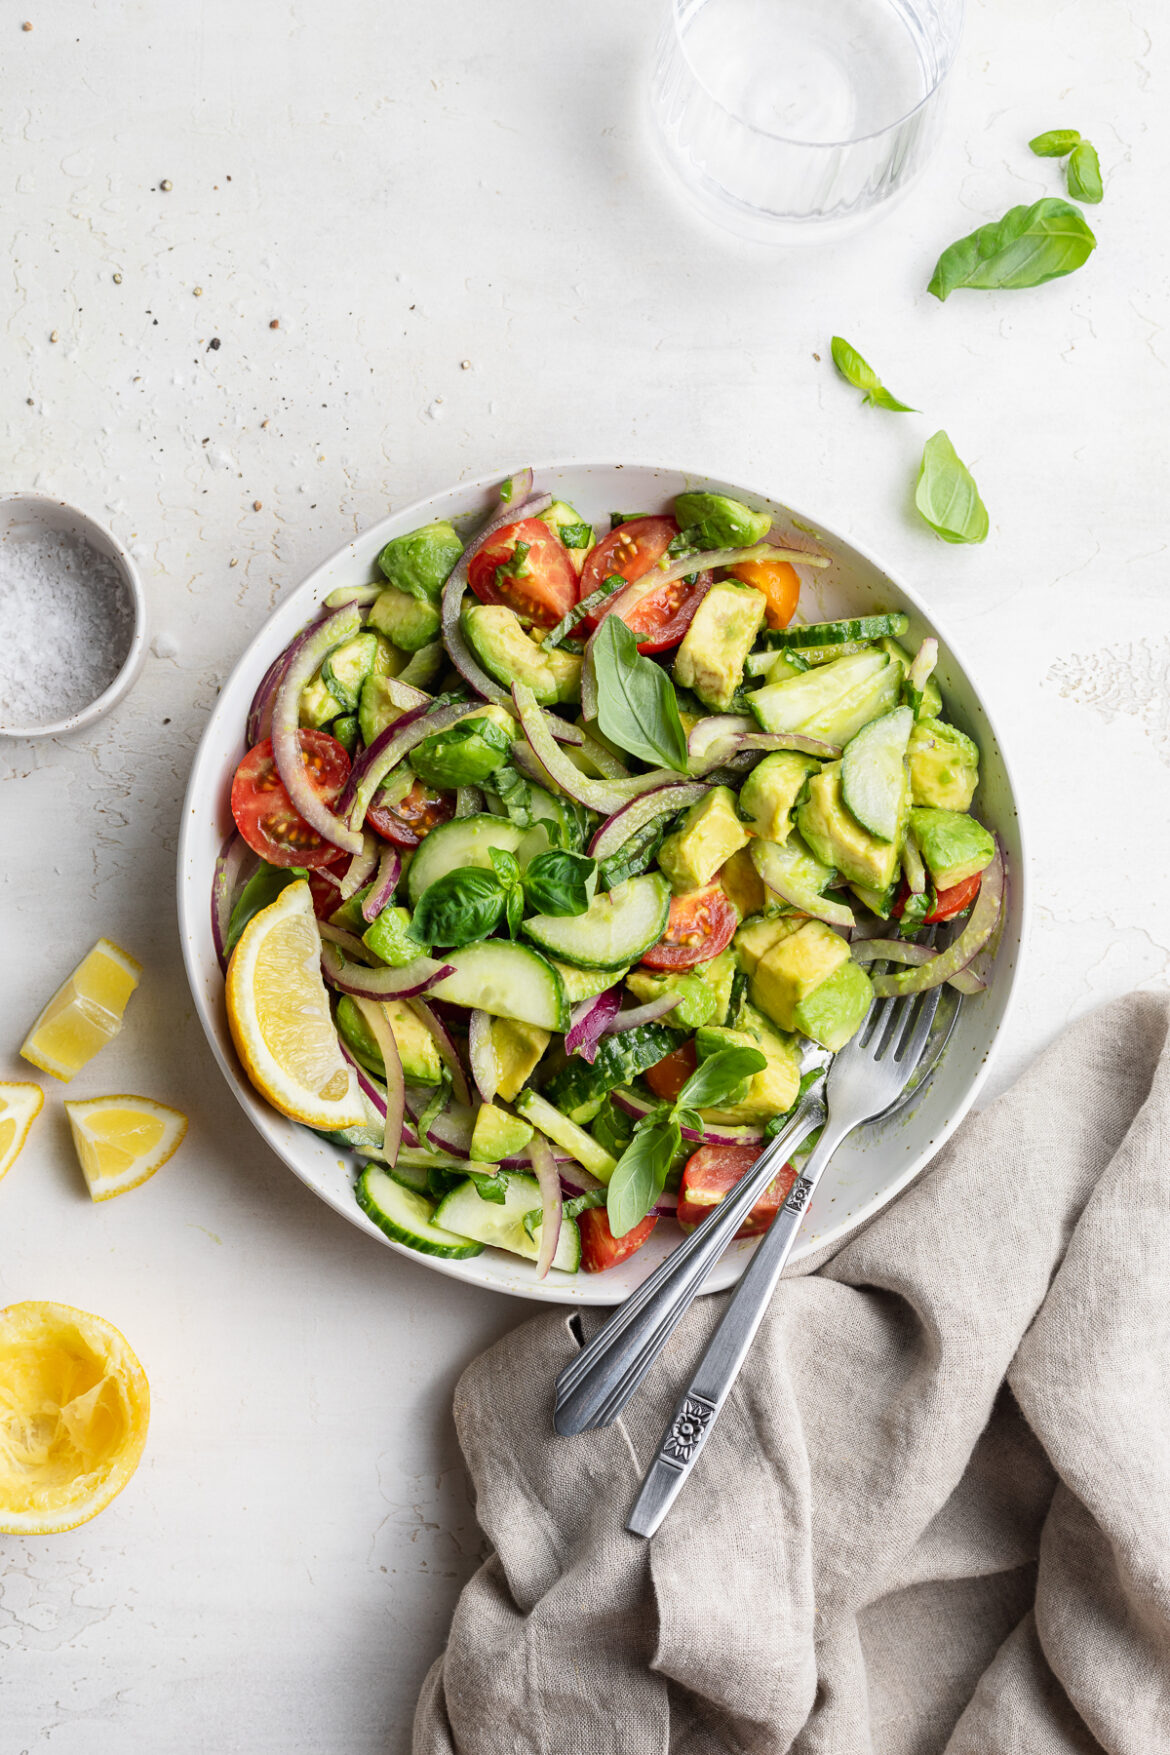
This avocado salad is BURSTING with fresh herbs and vegetables! Perfectly ripe avocado, juicy tomatoes, crisp cucumber, and tangy red onion tossed in fresh lemon juice and olive oil. This super quick and easy salad recipe comes together in one bowl, and in under 5 minutes!
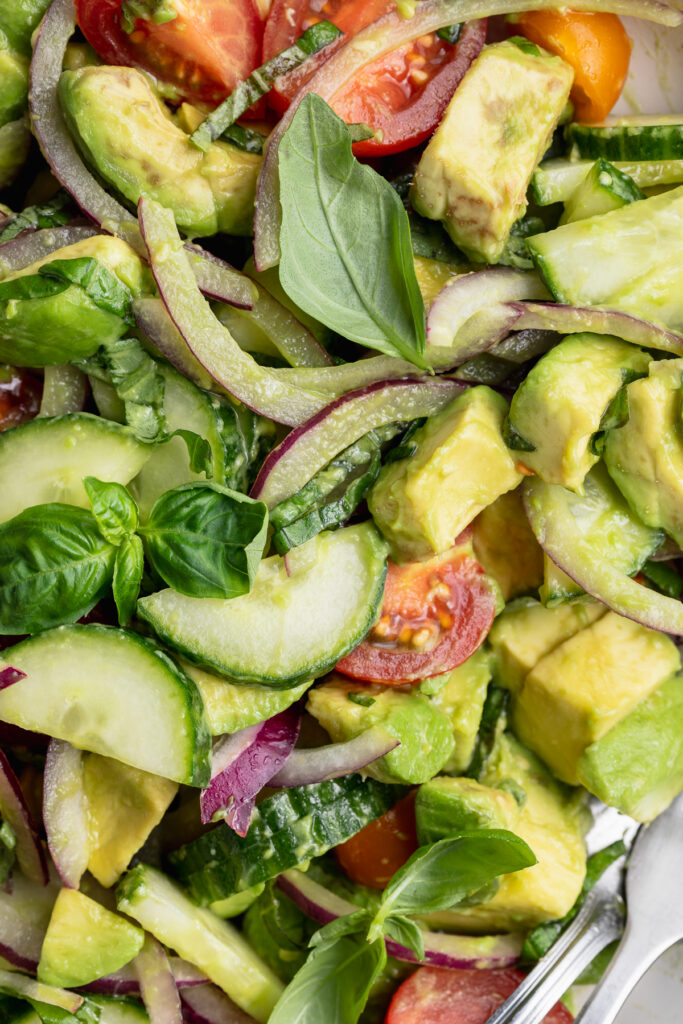
super close-up image of avocado salad

What You’ll Need To Make Avocado Salad

Avocados – Duh! The main ingredient, the stars of this show, are two perfectly ripe large avocados. How can you tell when an avocado is ripe? Give it a gentle squeeze, and if the skin feels firm but gives a little, then your avocado’s ripe and ready to use in this salad! However, if your avocado feels especially hard and doesn’t give at all when squeezed, then it’s not ripe and should be left at room temperature overnight to ripen.

Lemon Juice – A squeeze of fresh lemon juice gives this salad a nice touch of acidity and brightness! The lemon juice also helps to preserve the freshness of the vegetables in this dish. Though if you don’t have any lemon juice, a touch of apple cider vinegar will work too.

Fresh Herbs – Use any kind of fresh herb you’d like! I used fresh basil and OMG it was delicious. But I’ve also made this plant-based meal with fresh cilantro and fresh parsley, both of which were just as tasty.

Salt – I swear by lightly salting avocado, no matter what dish it’s in. A tiny pinch of salt brings out the rich, creamy, almost buttery taste in avocado. And if you don’t already have some, I highly recommend investing in some flaky sea salt. For this salad recipe, wait until the very end to add the salt. Salt, while enhancing flavor, will also turn the avocado brown. Therefore, to keep your avocado salad looking as bright and fresh as possible, salt the salad right before serving!

avocado salad in a bowl with serving utensils.

Tips and Tricks

  • If you’d like to prep this recipe ahead of time, then prep all ingredients except the avocado. Once avocado is removed from its skin and exposed to air, it’ll brown pretty quickly. This browning doesn’t mean the avocado’s gone bad, and won’t at all affect the taste, though it simply won’t look as pretty. Therefore, chop and prep all other herbs and veggies, then toss in the avocado and salt right before serving to keep it looking vibrant and fresh!
  • Enjoy this avocado salad as-is, or add in your favorite plant-based protein for a heartier meal. A can of drained beans, a cup of lentils, or some crispy cubed tofu would all go perfectly in this salad! Though if not vegan, feel free to serve this salad as a side dish to roast chicken, pan-seared salmon, or really any main course.
  • Store leftover avocado salad in an airtight container. Though before securing the lid, press a piece of plastic wrap over the veggies so that it comes into contact with the top of the salad. This’ll help prevent the avocado from turning brown, and lock in freshness for up to three days!
overhead image of avocado salad in a bowl with lemon on the side

This Avocado Salad Is…

Fresh Avocado Salad (ready in 5 minutes!)

0 from 0 votes
Recipe by Samantha Course: SaladsDifficulty: Easy
Servings

4

servings
Prep time

5

minutes
Cooking time

0

minutes
Total time

5

minutes

This avocado salad is BURSTING with fresh herbs and vegetables! Perfectly ripe avocado, juicy tomatoes, crisp cucumber, and tangy red onion tossed in fresh lemon juice and olive oil. This super quick and easy salad recipe comes together in one bowl, and in under 5 minutes!

Ingredients

  • 2 large avocados, diced

  • 1 cup grape tomatoes, halved

  • 1/2 red onion, thinly sliced

  • 1/2 English cucumber, sliced

  • 2 tablespoons lemon juice

  • 1 tablespoon olive oil

  • 1/4 cup fresh chopped herbs, such as cilantro, parsley, and/or basil

  • big pinch of salt

  • fresh cracked black pepper, to taste

Directions

  • Add all ingredients except salt and black pepper to a large bowl and toss to combine.
  • Just before serving, sprinkle in salt and black pepper, then eat immediately.

Recipe Video

Did you make this recipe?

Share it and tag @samdoesherbest on Instagram!

Like this recipe?

Follow us @samdoesherbest on Pinterest

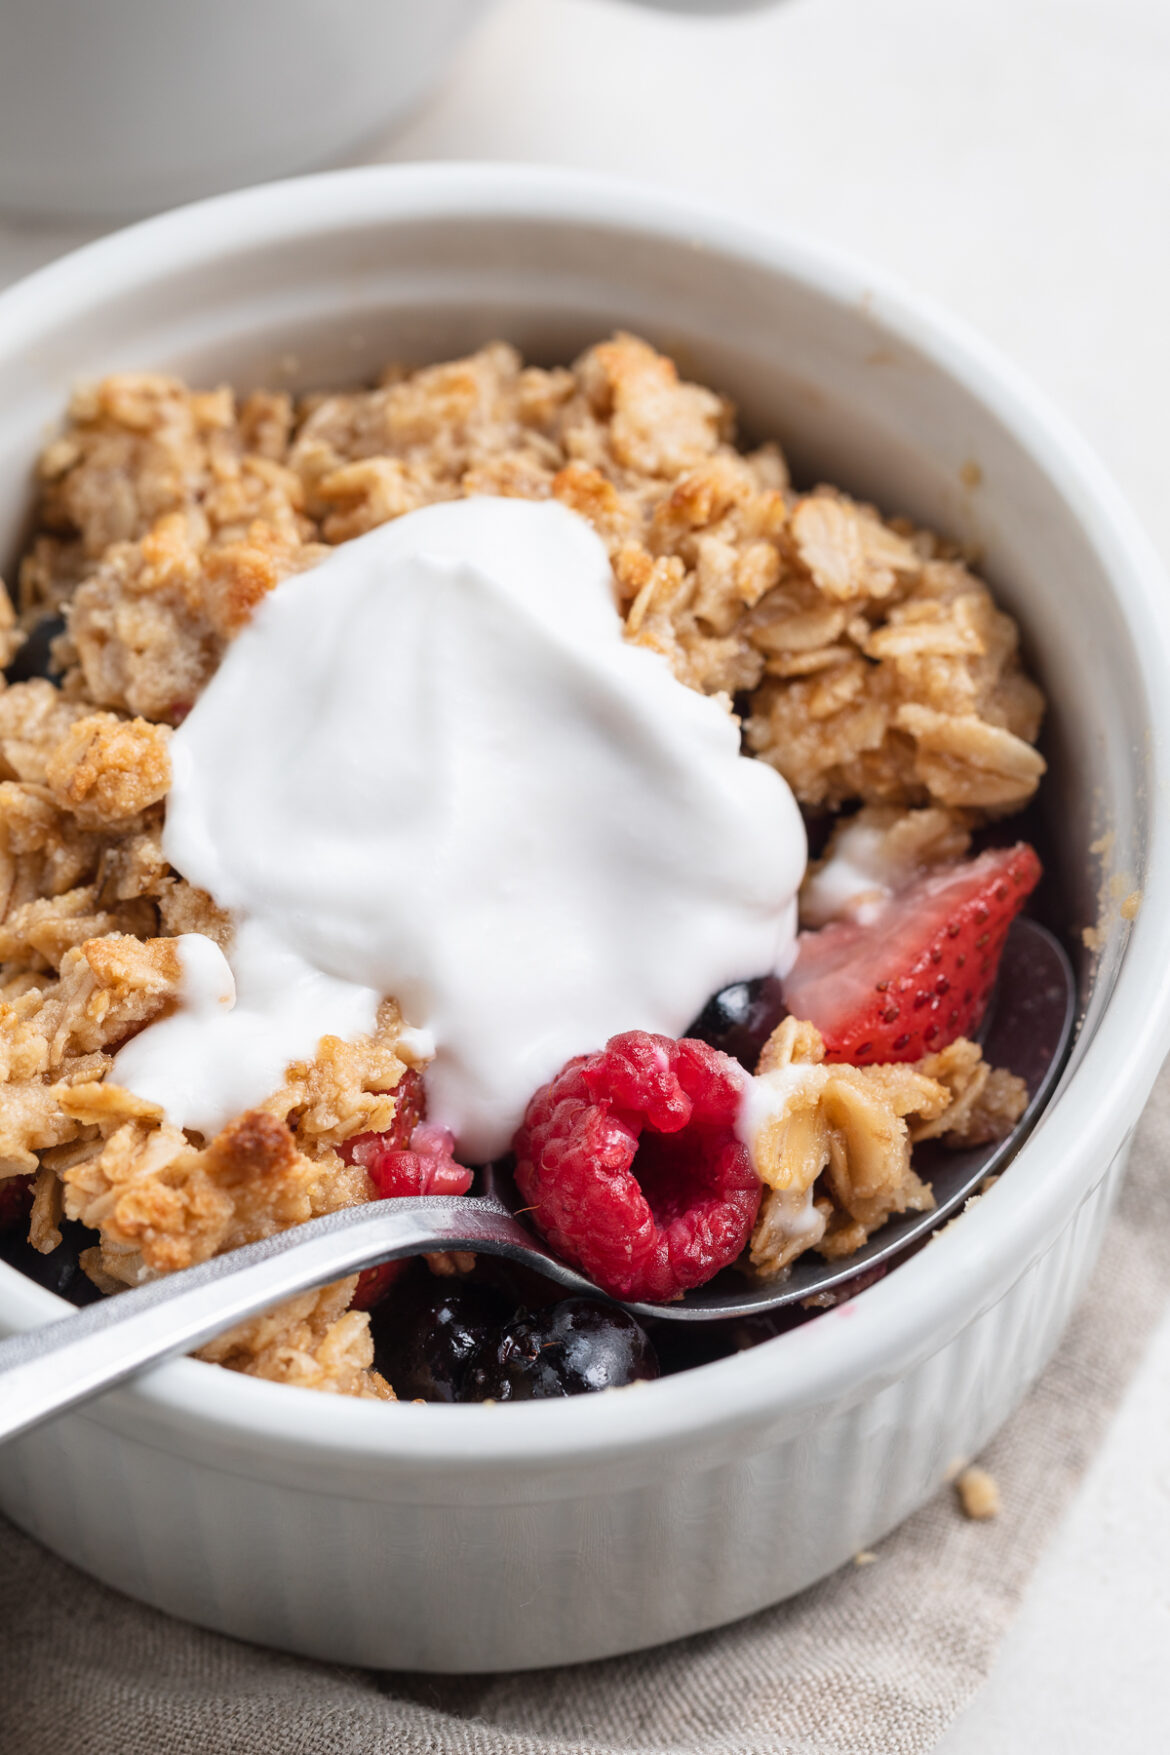
This berry breakfast crisp tastes so indulgent, it might as well be dessert! But don’t worry, it’s entirely gluten-free, dairy-free, and refined sugar-free. It’s super healthy with plenty of plant-based protein and fiber which will leave you feeling full until your next meal!

overhead image of berry breakfast crisp with coconut yogurt on top.

What You’ll Need To Make Berry Breakfast Crisp

Fresh Berries – Use any kind(s) of fresh berries you’d like! I used a combo of fresh strawberries, blueberries, and raspberries – and OMG they were delicious. However, you can totally use whatever berry’s in season, or whatever you have on-hand. You could even use frozen berries if you’d like, just keep in mind they’ll yield more liquid once baked, resulting in a watery filling.

Rolled Oats – It’s super important you use rolled oats, instead of whole or steel cut oats. Rolled oats are flattened then toasted, and bake up beautifully in this berry breakfast crisp.

Almond Flour – Either almond flour or almond meal will work in this gluten-free breakfast recipe. I use and love the Bob’s Red Mill Almond Flour, as well as Anthony’s Almond Flour. And if you’re interested in other almond flour breakfast recipes, check out my almond flour pancakes or almond flour banana bread – both are incredible!

Coconut Oil – A tablespoon of solid coconut oil gives the crumble atop this berry breakfast crisp its crumbly texture. If your coconut oil is liquid at room temperature (this happens when the weather’s warm), then simply place it in the fridge or freezer for 5-10 minutes before using. Also, if you don’t have any coconut oil, you can use a tablespoon of cold butter or ghee instead.

close-up image of berry breakfast crisp with coconut yogurt on top.

Tips and Tricks

  • Remember, this recipe makes a single serving. Therefore, you’ll want to double, triple, or even quadruple the recipe when baking for others!
  • Finish off this berry breakfast crisp with a scoop of vanilla yogurt! I topped mine with a dollop of Cocojune’s unsweetened coconut yogurt and it was perfectly creamy and delicious. Though if you’re eating this for dessert, feel free to top it off with a scoop of vegan vanilla ice cream instead – YUM!
  • You can easily prep this healthy breakfast recipe the night before if you’d like. To do this, assemble the berries and crumble, then cover and refrigerate overnight. Then, in the morning, bake it off as instructed and enjoy a warm berry crisp for breakfast!

Adjust This Recipe To Your Dietary Needs

Make it Paleo: For a paleo crisp, replace the rolled oats with finely chopped nuts and/or coconut flakes!

Make it Nut-Free: To make this a nut-free breakfast recipe, replace the almond flour with one tablespoon of brown rice flour or all purpose flour.

Berry Breakfast Crisp (for one!)

0 from 0 votes
Recipe by Samantha Course: BreakfastDifficulty: Easy
Servings

1

servings
Prep time

5

minutes
Cooking time

15

minutes
Total time

20

minutes

This berry breakfast crisp tastes so indulgent, it might as well be dessert! But don’t worry, it’s entirely gluten-free, dairy-free, and refined sugar-free. It’s super healthy with plenty of plant-based protein and fiber which will leave you feeling full until your next meal!

Ingredients

  • For the berries:
  • 1 cup fresh berries (strawberries, blueberries, raspberries, etc)

  • 1 teaspoon maple syrup

  • 1/4 teaspoon vanilla extract

  • For the crumble:
  • 1/4 cup rolled oats

  • 2 tablespoons almond flour or meal

  • pinch of salt

  • 1 tablespoon coconut oil, solid

  • 1 tablespoon maple syrup

Directions

  • Preheat oven to 350° Fahrenheit.
  • Add all berry ingredients to a bowl and toss to evenly coat, then transfer into small oven-safe dish.
  • Mix all crumble ingredients together in same bowl as the berries, then sprinkle over top of the berries.
  • Bake for 15-20 minutes, or until lightly golden brown and bubbly. Serve warm with additional maple syrup and/or a scoop of vanilla yogurt.

Recipe Video

Notes

  • Make this an apple breakfast crisp by replacing the fresh berries with fresh sliced apples!

Did you make this recipe?

Share it and tag @samdoesherbest on Instagram!

Like this recipe?

Follow us @samdoesherbest on Pinterest

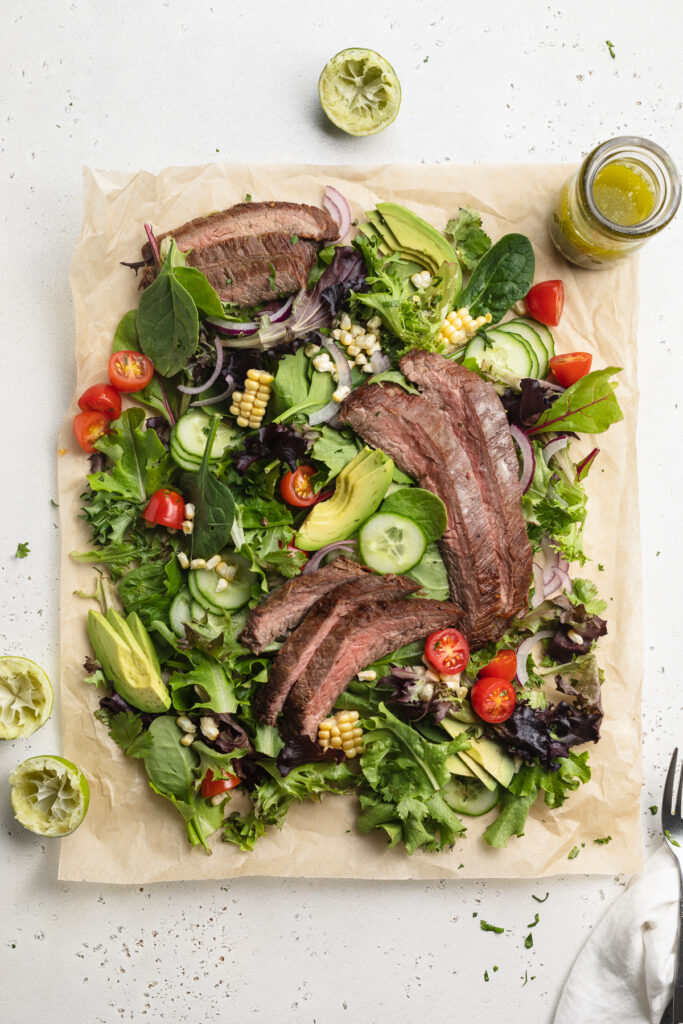
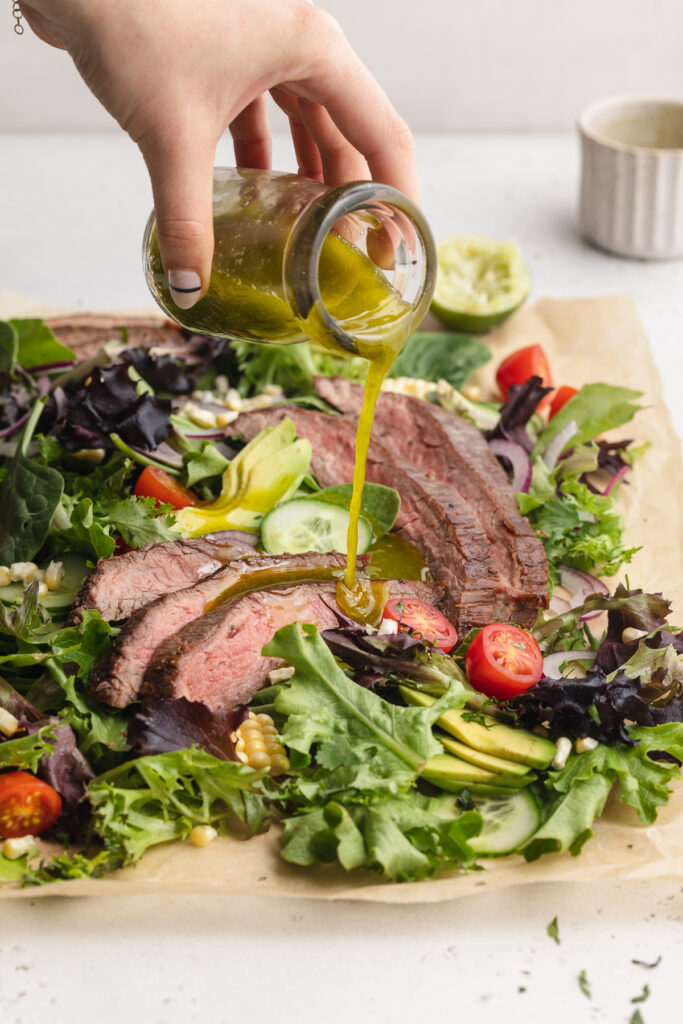
Perfectly pan-seared steak atop a bed of fresh greens, finished off with a drizzle of tangy cilantro-lime vinaigrette! Super quick and easy, this steak salad comes together in under 15 minutes.

Overhead image of steak salad on parchment paper with cilantro lime dressing on the side.

What You’ll Need To Make This Steak Salad Recipe

Flank Steak – Flank steak is a thin, lean cut of beef, and takes just a few minutes to cook. I love pan-searing flank steak, which gives it this incredible brown crust. We also keep the seasoning on the steak simple, since the rest of our salad is loaded with flavor. A generous sprinkling of salt and black pepper is all you’ll need, followed by a drizzle of avocado oil for cooking.

Mixed Salad Greens – Feel free to use any type of salad greens you’d like! I love a good spring mix for my steak salad, but really any bed of greens would taste delicious. I’ve made this recipe with fresh arugula, chopped kale, and baby spinach – all of which turned out perfect!

Cilantro – I’m one of those people who looooves cilantro. It’s perfectly fresh and flavorful. However, if you don’t like cilantro, you can use fresh parsley in its place. And whichever herb you use, make sure to reserve a little extra to top off your finished salad.

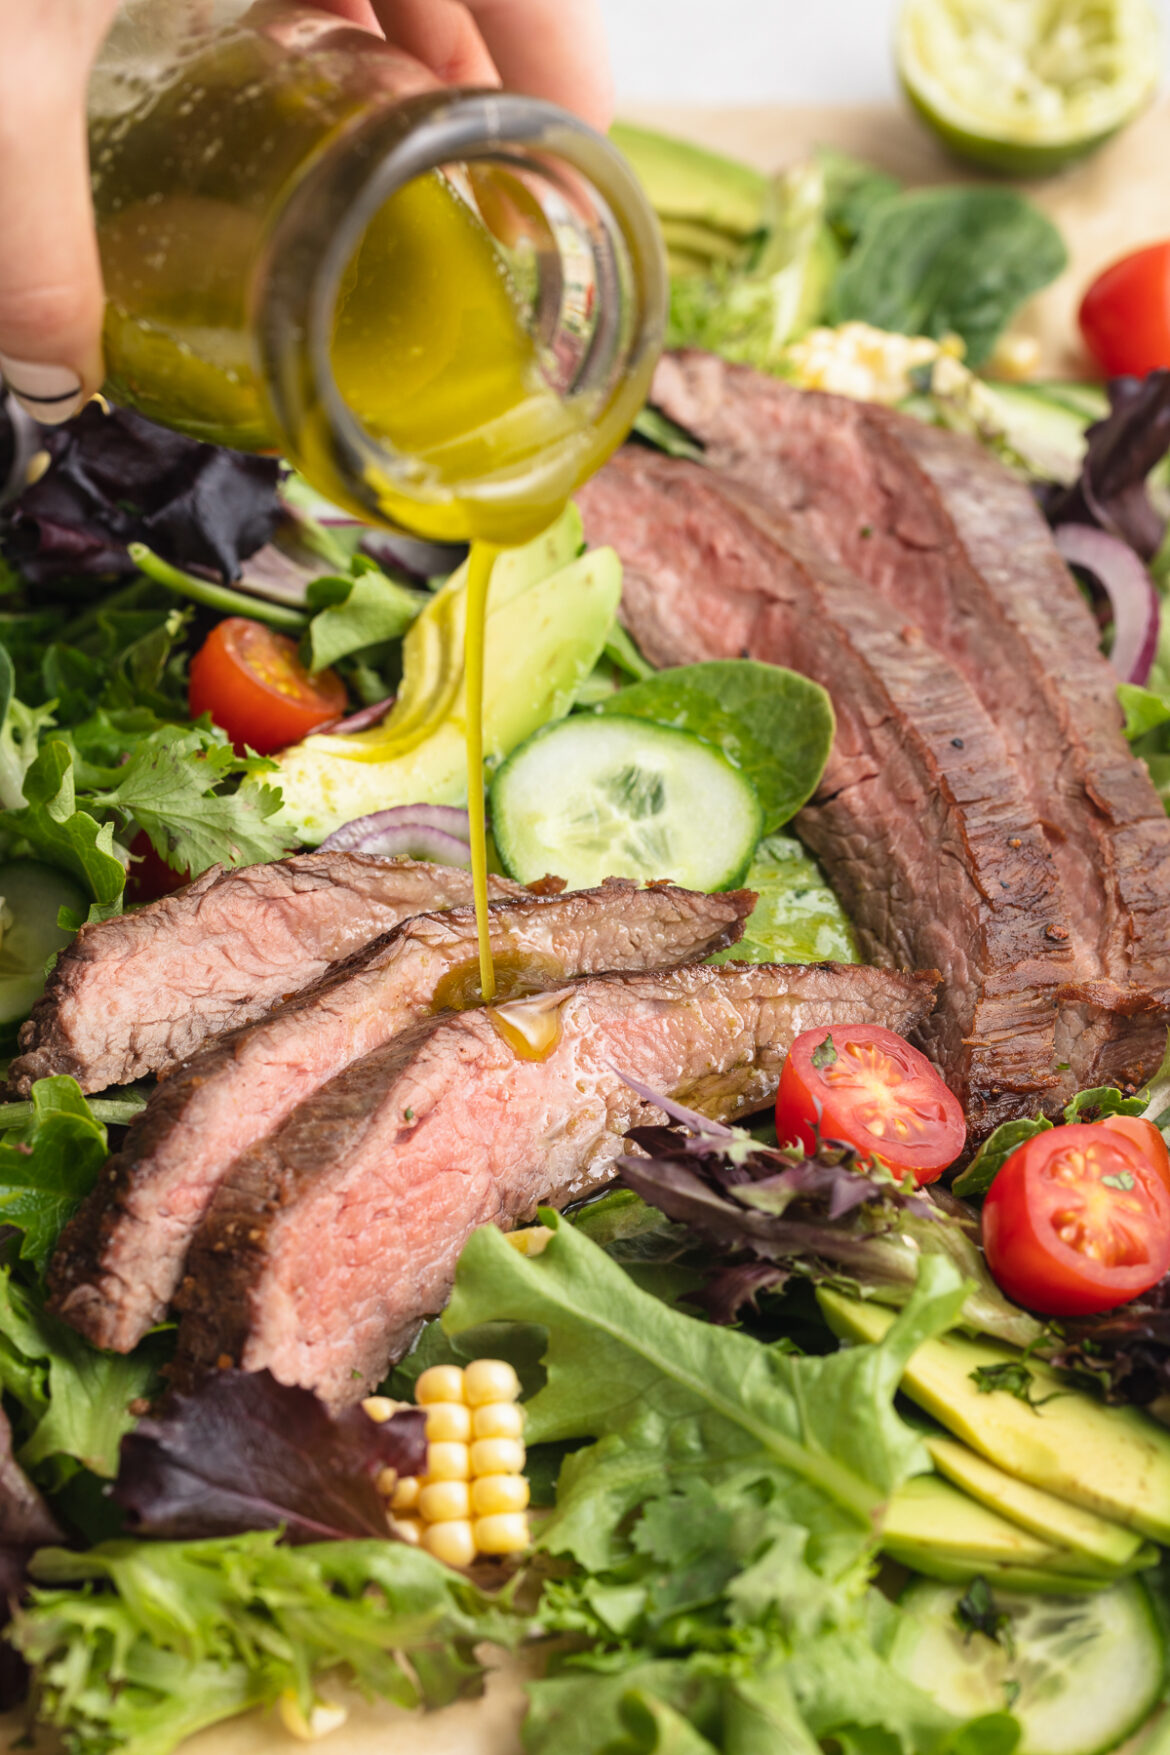
cilantro lime dressing being poured over steak salad.

Tips and Tricks

  • Have fun with this healthy lunch or dinner recipe! Add or remove any fresh herbs and/or veggies you’d like. This is also a great meal to use up any leftover produce you have lying around …before it goes bad!
  • Add this steak salad to your weekly meal prep! The best way to prep this recipe is to cook the steak and assemble your salads, then store them separately from your dressing. When ready to eat, toss in the cilantro lime vinaigrette and enjoy!
  • If marinated steak is more your thing, then marinate the flank steak in half of the cilantro lime vinaigrette for 30 minutes before cooking. If you have the time, this extra step truly takes this recipe to the next level!
close-up image of steak salad.

Adjust This Recipe To Your Dietary Needs

Make it Vegan/Vegetarian: Replace the flank steak with either cauliflower steaks or tofu steaks for an easy, healthy vegan meal.

Add Cheese: If not dairy-free, sprinkle a small handful of crumbled queso fresco, or herby goat cheese into this steak salad!

Steak Salad with Cilantro Lime Vinaigrette

0 from 0 votes
Recipe by Samantha Course: MainDifficulty: Easy
Servings

4

servings
Prep time

10

minutes
Cooking time

5

minutes
Total time

15

minutes

Perfectly pan-seared steak atop a bed of fresh greens, finished off with a drizzle of tangy cilantro-lime vinaigrette! Super quick and easy, this steak salad comes together in under 15 minutes.

Ingredients

  • For the steak:
  • 1 pound flank steak

  • 1 teaspoon salt

  • 1/2 teaspoon black pepper

  • 2 tablespoons avocado oil, or any high-heat oil

  • For the salad:
  • 6 cups mixed salad greens

  • 1 ear sweet corn, sliced off the cob

  • 1 cup grape tomatoes, halved

  • 1 avocado, sliced

  • 1/2 English cucumber, chopped

  • 1/2 red onion, thinly sliced

  • small handful fresh cilantro, chopped

  • For the cilantro-lime vinaigrette:
  • 1 cup fresh cilantro leaves

  • 1/2 cup olive oil

  • 2 limes, juiced

  • 1 tablespoon honey or maple syrup

  • 1 garlic clove, peeled

  • 1/2 teaspoon salt

Directions

  • Pat steak dry with a paper towel and season on both sides with salt and pepper, then drizzle steak in avocado oil.
  • Place steak in a hot pan, and cook about 5 minutes per side for medium-rare steak.
  • Remove steak from pan and let rest on a cutting board for at least 10 minutes, before thinly slicing against the grain.
  • Make the cilantro lime dressing by adding all ingredients to a blender or food processor and blend until smooth.
  • Make the cilantro lime dressing by adding all ingredients to a blender or food processor and blend until smooth.

Recipe Video

Did you make this recipe?

Share it and tag @samdoesherbest on Instagram!

Like this recipe?

Follow us @samdoesherbest on Pinterest

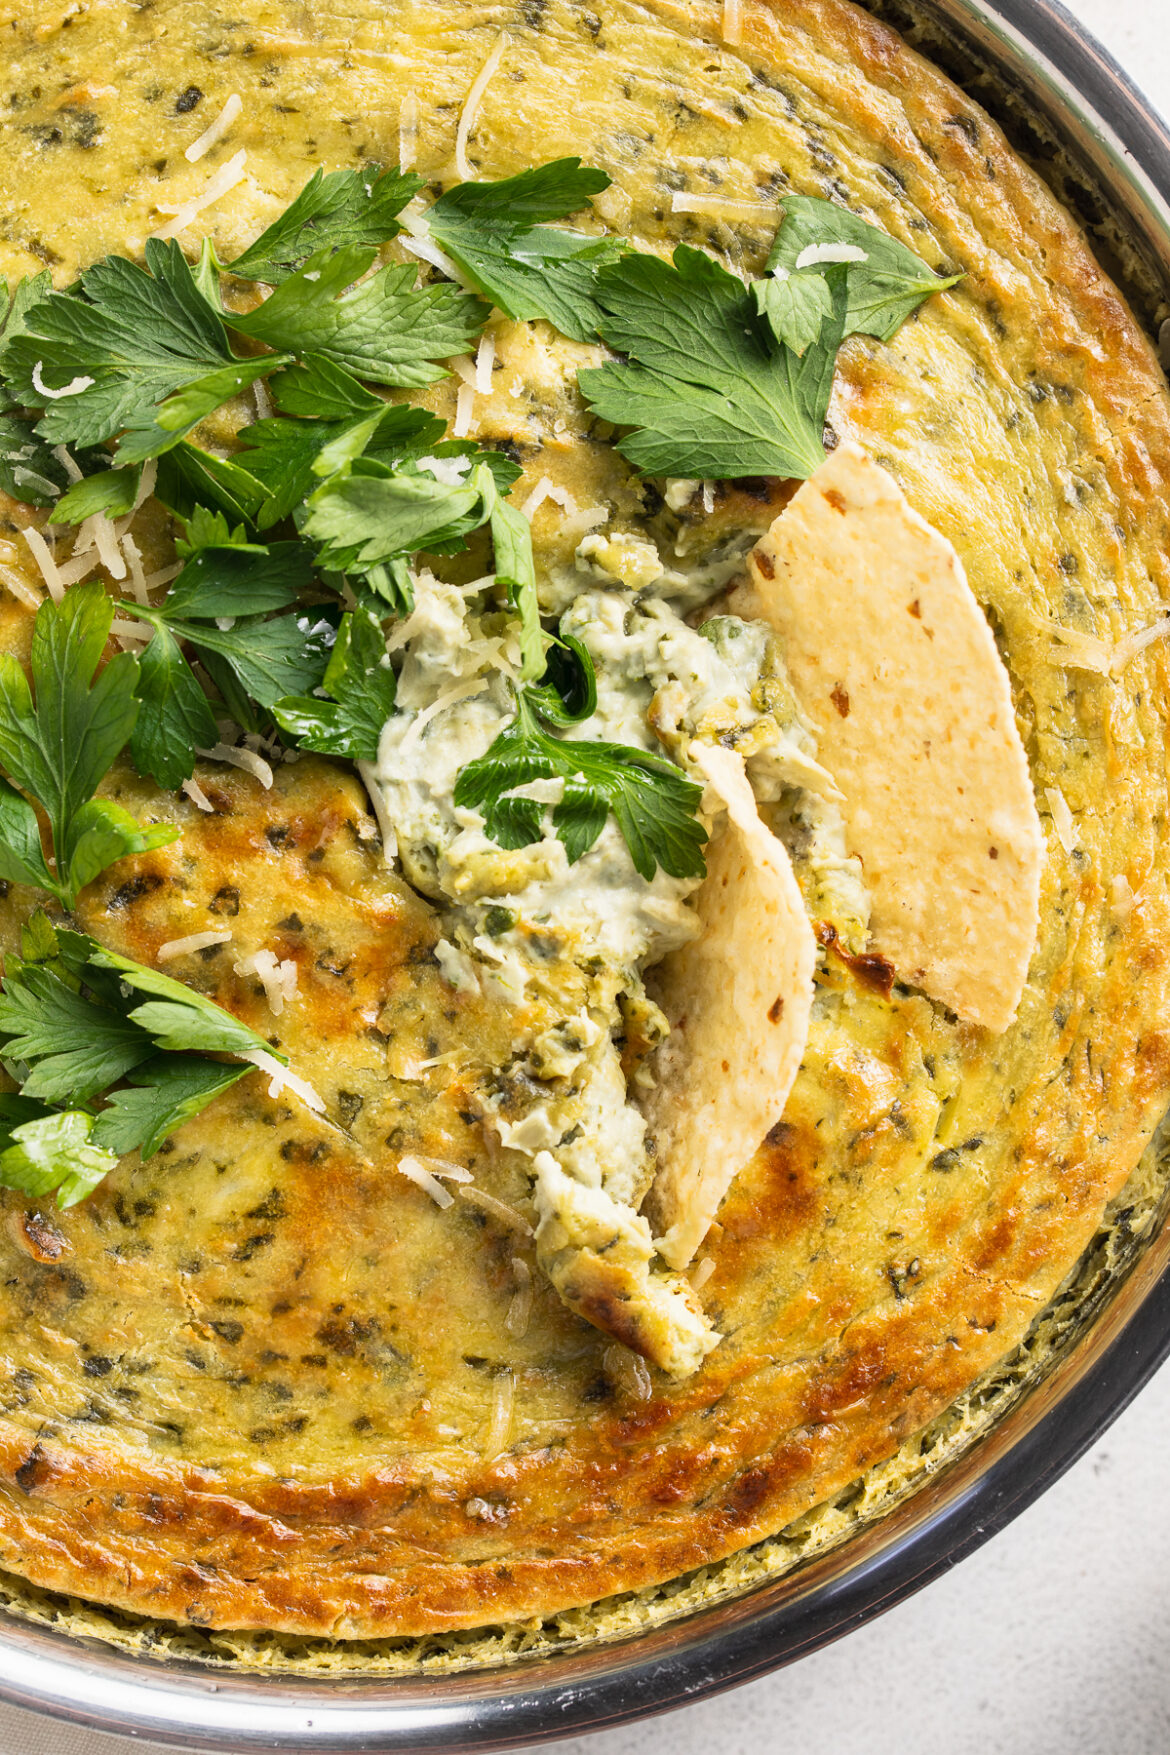
Perfectly creamy and extra “cheesy” vegan spinach and artichoke dip! Perfect for entertaining, bring this easy vegan recipe to your next party or potluck. A handful of simple ingredients, a blender, a baking dish, and 30 minutes is all you’ll need!

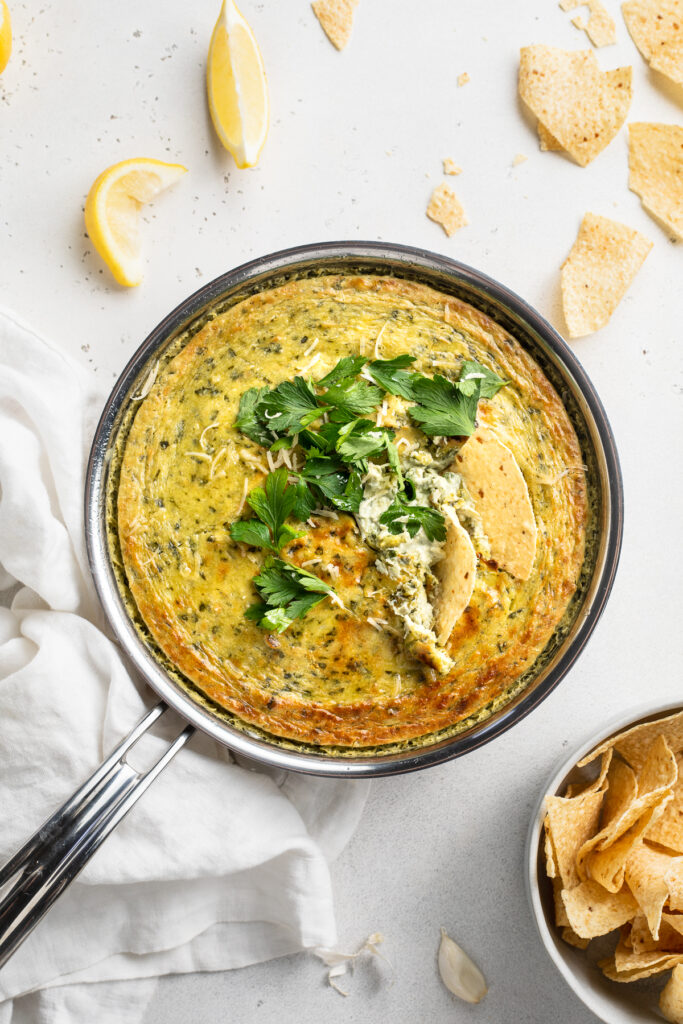
Overhead image of vegan spinach artichoke dip in a skillet with chips on the side.

What You’ll Need To Make This Vegan Spinach Artichoke Dip

Cashews – Raw and unsalted cashews are the base of this hearty plant-based dip. You’ll start by soaking them in boiling for water for about 10 minutes, this’ll soften them and help them blend. I love using cashews in this recipe for not only their buttery flavor, but for how nutritionally dense they are! This vegan spinach artichoke dip is so much healthier than the classic kind, and higher in protein.

Nutritional Yeast – I know what you’re thinking …nutritional what? Just hear me out. Nutritional yeast is a totally natural, plant-based ingredient with a nutty, “cheesy” flavor. I use and love this Bragg’s Nutritional Yeast for all of my savory vegan recipes. It’s surprisingly versatile and tastes delicious sprinkled over popcorn, pasta, potatoes, and in this recipe. Though if you’re not vegan and/or have no interest in getting yourself some nutritional yeast (you’re missing out), you can easily replace the two tablespoons of nutritional yeast with two tablespoons of powdered parmesan cheese.

Lemon Juice – A touch of lemon juice mimics the tanginess found in most dairy products. And because this vegan spinach artichoke dip is completely dairy-free, the lemon juice is necessary. Though if you don’t have any fresh lemon juice on-hand, you can use a tablespoon of apple cider vinegar or white wine vinegar instead.

Artichoke Hearts – Arguably the best part, one whole can of drained artichoke hearts give this side dish its signature hearty texture. They key here is using a can of artichokes packed in water, not oil!

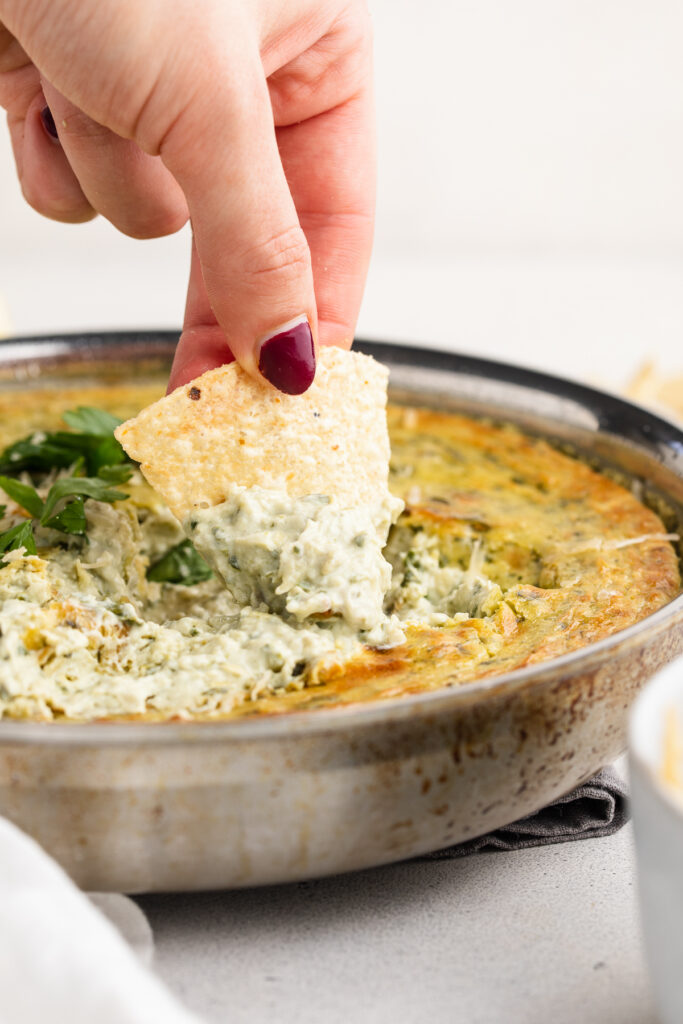
A tortilla chip being dipped into vegan spinach artichoke dip.

Tips and Tricks

  • This vegan spinach artichoke dip tastes best straight out of the oven! When making for guests, I recommend blending and prepping this dish ahead of time, then popping it in the oven right before your guests arrive. This’ll guarantee the dip is bubbling hot, and tastes its best for friends and family.
  • Store any leftovers in an airtight container in the fridge for up to one week. To reheat, you can either microwave on high for 45 seconds, or bake at 425° Fahrenheit for 5-10 minutes.
  • Serve this plant-based dip however you’d like! I enjoyed mine with a side of crispy corn tortilla chips. Though you can even serve it with a side of fresh veggies for a super healthy, vegan snack.

Adjust This Recipe To Your Dietary Needs

Make it Nut-Free: For a nut-free version of this recipe, use raw and unsalted sunflower seeds in place of the cashews!

Add Cheese: If not vegan or dairy-free, go ahead and top this spinach artichoke dip off with some shredded parmesan and/or mozzarella right before baking.

Vegan Spinach Artichoke Dip

0 from 0 votes
Recipe by Samantha Course: SidesDifficulty: Easy
Servings

10

servings
Prep time

5

minutes
Cooking time

20

minutes
Total time

25

minutes

Perfectly creamy and extra “cheesy” vegan spinach and artichoke dip! Perfect for entertaining, bring this easy vegan recipe to your next party or potluck. A handful of simple ingredients, a blender, a baking dish, and 30 minutes is all you’ll need!

Ingredients

  • 1 1/2 cups raw cashews, unsalted

  • 1 1/2 cups unsweetened non-dairy milk, I used almond milk

  • 2 tablespoons nutritional yeast

  • 1 tablespoon lemon juice

  • 2 teaspoons garlic powder

  • 1 teaspoon onion powder

  • 1 teaspoon salt

  • 1 (14-ounce) can artichoke hearts, drained

  • 4 cups fresh spinach, or 2 cups frozen spinach

Directions

  • Preheat oven to 425° Fahrenheit.
  • Soak cashews in a heat-safe bowl with boiling water for 5-10 minutes, then drain.
  • Add soaked and drained cashews to blender along with the non-dairy milk, nutritional yeast, lemon juice, garlic powder, onion powder, and salt. Blend until super smooth and no lumps remains.
  • Add drained artichoke hearts and fresh or frozen spinach to blender and pulse 2-3 times to finely chop the veggies.
  • Transfer to an oven-safe dish or skillet and bake for 20 minutes, or until lightly golden brown and bubbly.

Recipe Video

Did you make this recipe?

Share it and tag @samdoesherbest on Instagram!

Like this recipe?

Follow us @samdoesherbest on Pinterest

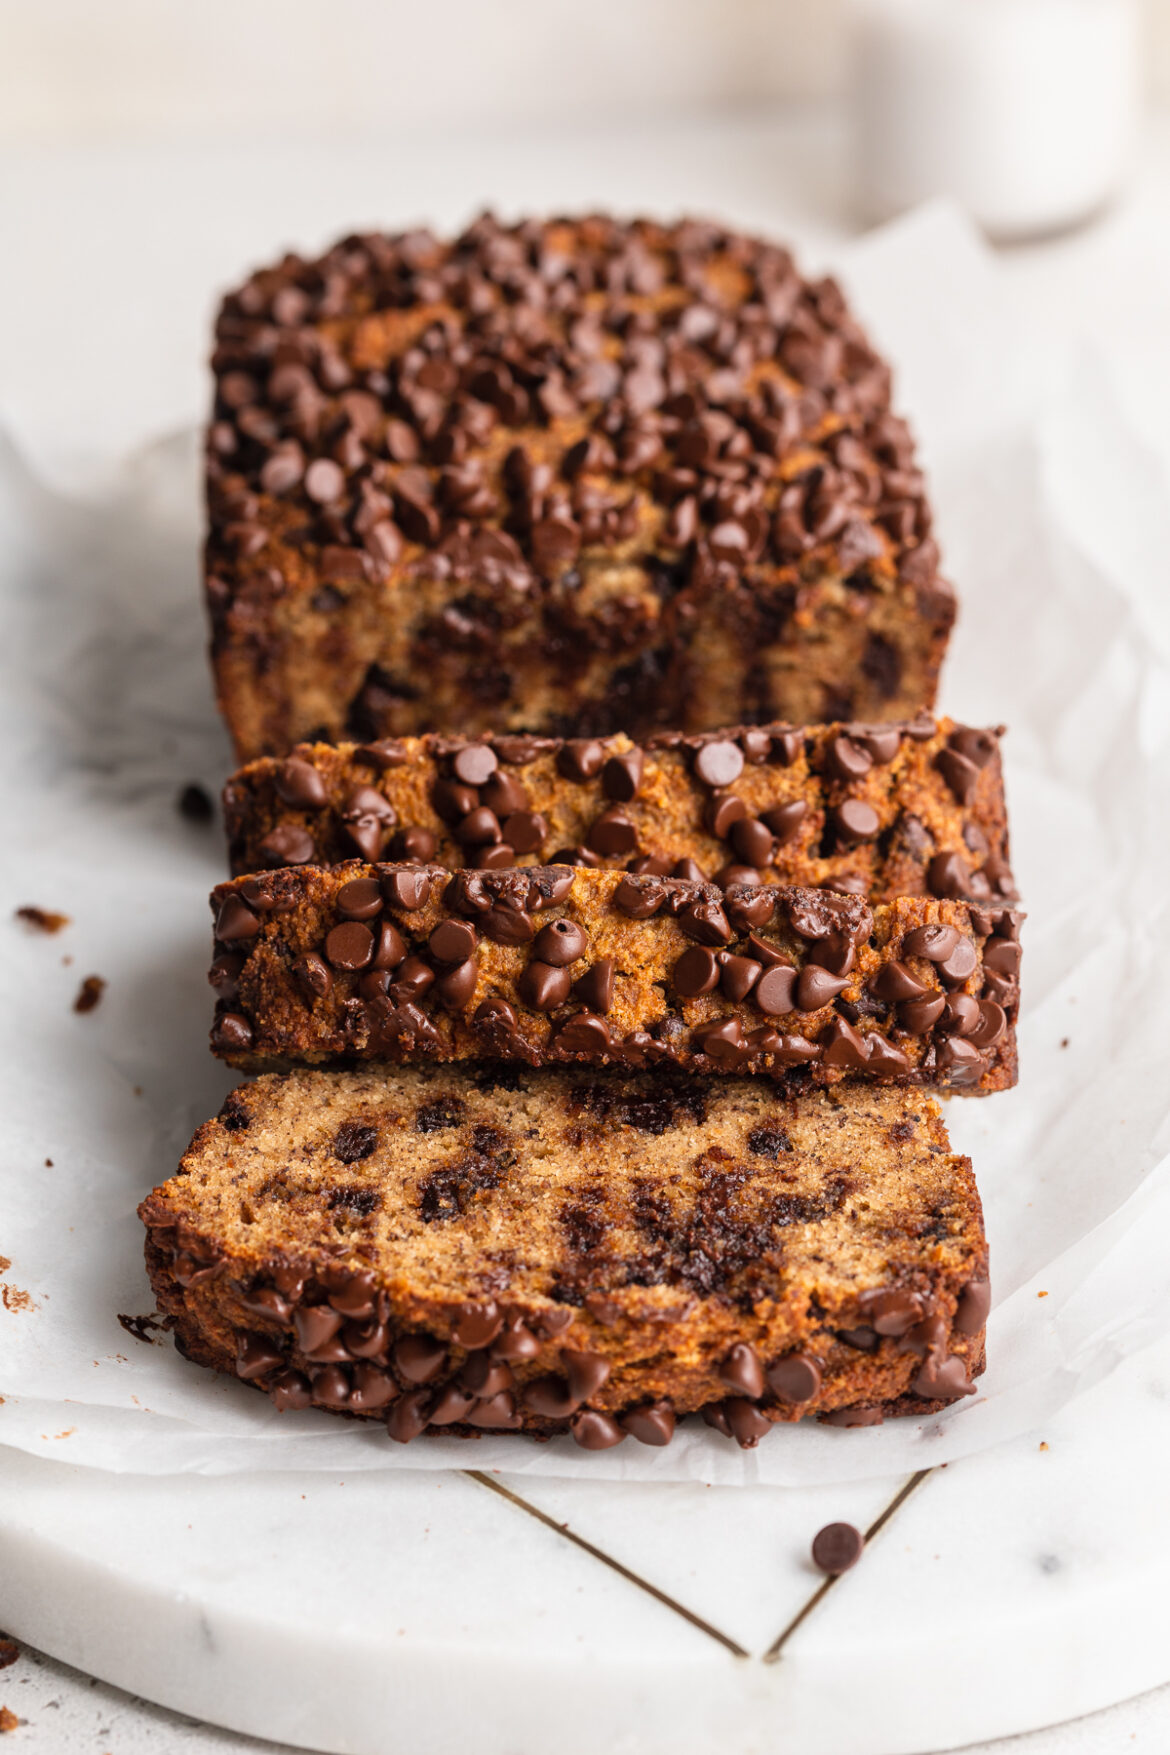
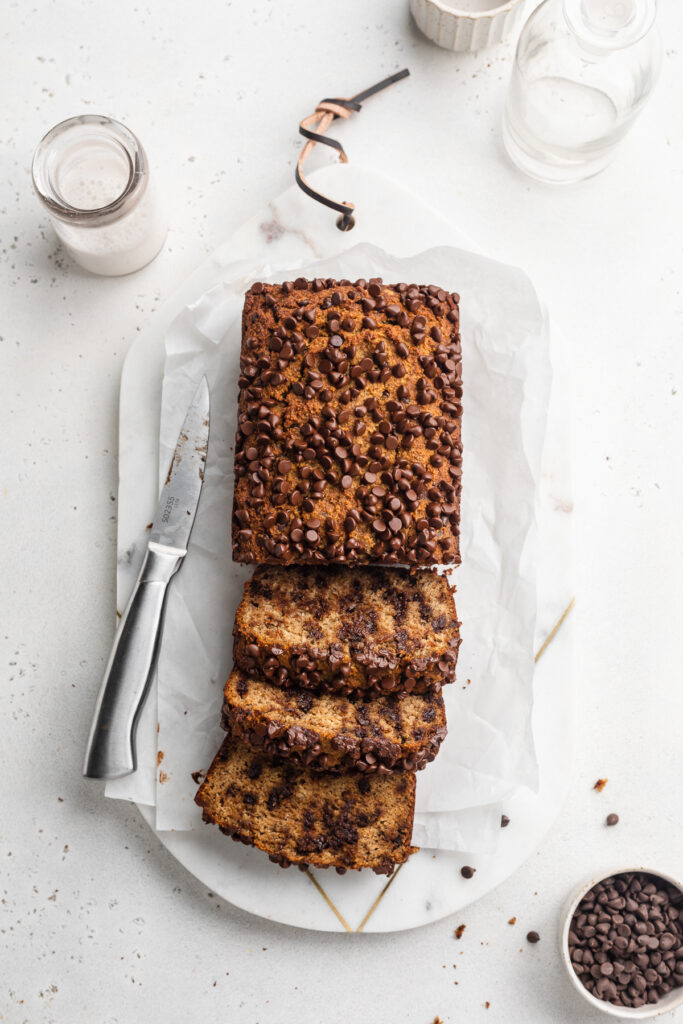
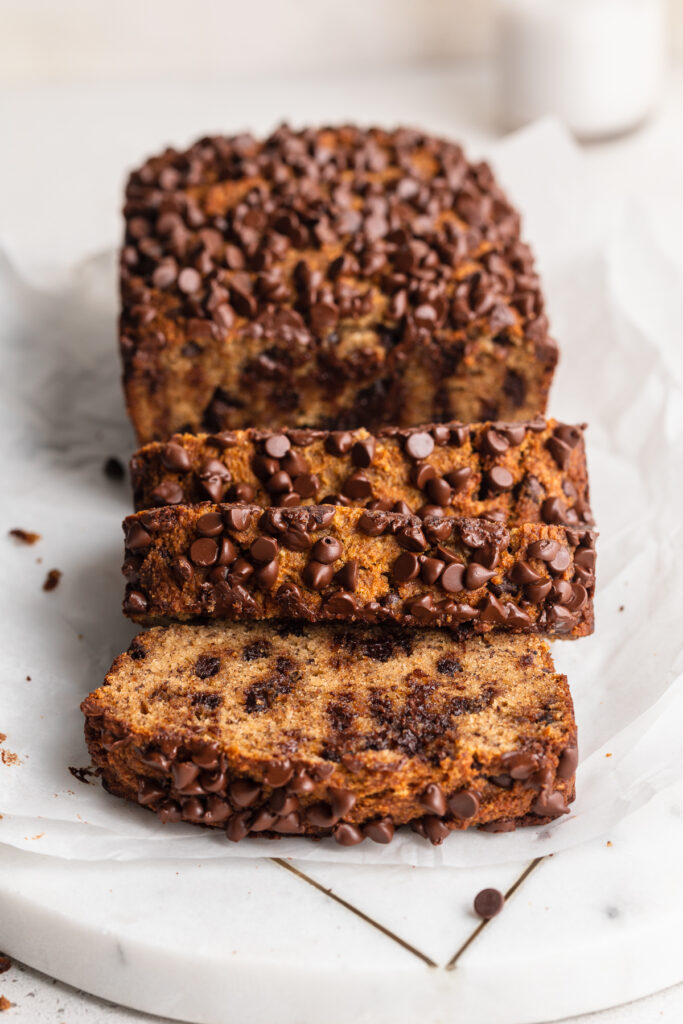
Super healthy and delicious almond flour banana bread! Made with whole, good-for-you ingredients, perfectly sweet, and totally irresistible. Toast up a slice of this grain-free, dairy-free, and refined sugar-free banana bread as a comforting, yet nutritious breakfast, snack, or dessert.

overhead image of almond flour banana bread

What You’ll Need To Make Almond Flour Banana Bread

Almond Flour – The one and only flour we use in this grain-free recipe is almond flour. Almond flour is a favorite among low-carb, gluten-free, and paleo recipes. It yields little-to-no flavor and, when done right, bakes up beautifully soft and tender. If you don’t already have a bag of almond flour in your pantry, I highly recommend you go pick some up. I’ve tried pretty much every brand of almond flour out there, and my favorite so far is this Anthony’s Almond Flour. Though whichever brand of almond flour you decide to use in this recipe, make sure it’s blanched almond flour, and not almond meal.

Coconut Sugar – A quarter cup of coconut sugar is all you’ll need to sweeten up this healthy dessert recipe! The bananas yield some natural sweetness of their own, and a touch of coconut sugar helps bring that out. If you don’t have coconut sugar, you can use brown sugar in its place.

Bananas – About two very ripe bananas should do the trick here! Or, however many mashed bananas you need to equal one cup. And while I feel like this goes without saying, make sure your bananas are super ripe for this recipe. You can tell a banana is ripe when it’s beginning to form large brown spots all around the outside peel.

Chocolate Chips – While optional, chocolate chips make this almond flour banana bread extra indulgent and delicious! If you don’t have chocolate chips, you can easily use one cup of chopped chocolate instead. I recommend semi-sweet chocolate or dark chocolate for this recipe. And if you’re looking to keep your entire loaf paleo, use your favorite paleo chocolate chips, such as these Hu Kitchen Chocolate Gems.

almond flour banana bread sliced

Tips and Tricks

  • Instead of greasing your loaf pan, line it with parchment paper. Also, cut your parchment paper larger than the loaf pan, leaving its edges sticking out from the sides of your banana bread. This’ll make it easier to lift and remove your bread from its baking pan!
  • Leave the almond flour banana bread to cool completely (about an hour) before slicing. Then, once cool, I recommend slicing the bread all at once, before storing. Lastly, store the slices in an airtight container at either room temperature for 3 days, in the fridge for 7 days, or in the freezer for up to 3 months!
  • For the ultimate slice of banana bread that’ll leave your tastebuds singing, toast it before eating! Then, once toasted, top that baby off with some vegan butter, ghee, peanut butter, and/or almond butter. Let me tell ya, toasted almond flour banana bread makes for the perfect afternoon snack or nightcap.
the inside of almond flour banana bread

Adjust This Recipe To Your Dietary Needs

Make it Vegan: For a vegan grain-free banana bread, try replacing the eggs with three flax eggs. One flax egg equals one tablespoon of ground flax seed meal mixed into three tablespoons of water. While I haven’t tried this vegan option myself yet, I’m sure it’d work just fine!

Make it Added Sugar-Free: Because the bananas are so naturally sweet, you can totally leave the coconut sugar out of this healthier dessert recipe.

Almond Flour Banana Bread

4 from 3 votes
Recipe by Samantha Course: Snacks, Breakfast, DessertDifficulty: Easy
Servings

10

slices
Prep time

10

minutes
Cooking time

40

minutes
Total time

50

minutes

Super healthy and delicious almond flour banana bread! Made with whole, good-for-you ingredients, perfectly sweet, and totally irresistible. Toast up a slice of this grain-free, dairy-free, and refined sugar-free banana bread as a comforting, yet nutritious breakfast, snack, or dessert.

Ingredients

  • 2 1/2 cups almond flour

  • 1/4 cup coconut sugar

  • 1 teaspoon baking soda

  • 1/2 teaspoon baking powder

  • 1 teaspoon cinnamon

  • 2 tablespoons coconut oil, melted

  • 1 cup mashed banana (about 2 very ripe bananas)

  • 3 eggs

  • 1 teaspoon vanilla extract

  • 1 cup chocolate chips, optional

Directions

  • Preheat oven to 350° Fahrenheit and line a 9×5-inch loaf pan with parchment paper.
  • Whisk together the almond flour, coconut sugar, baking soda, baking powder, and cinnamon in a large bowl.
  • Add in the melted coconut oil, mashed banana, eggs, and vanilla extract – mix until fully combined. Fold in chocolate chips if using, until evenly dispersed throughout batter.
  • Transfer batter to prepared loaf pan and bake for 40-50 minutes or until a toothpick inserted down the center of the bread comes out clean. Remove from the oven and transfer to a wire cooling rack, cool bread completely (about 1 hour) before slicing.

Recipe Video

Did you make this recipe?

Share it and tag @samdoesherbest on Instagram!

Like this recipe?

Follow us @samdoesherbest on Pinterest