Tag

non-dairy

Browsing

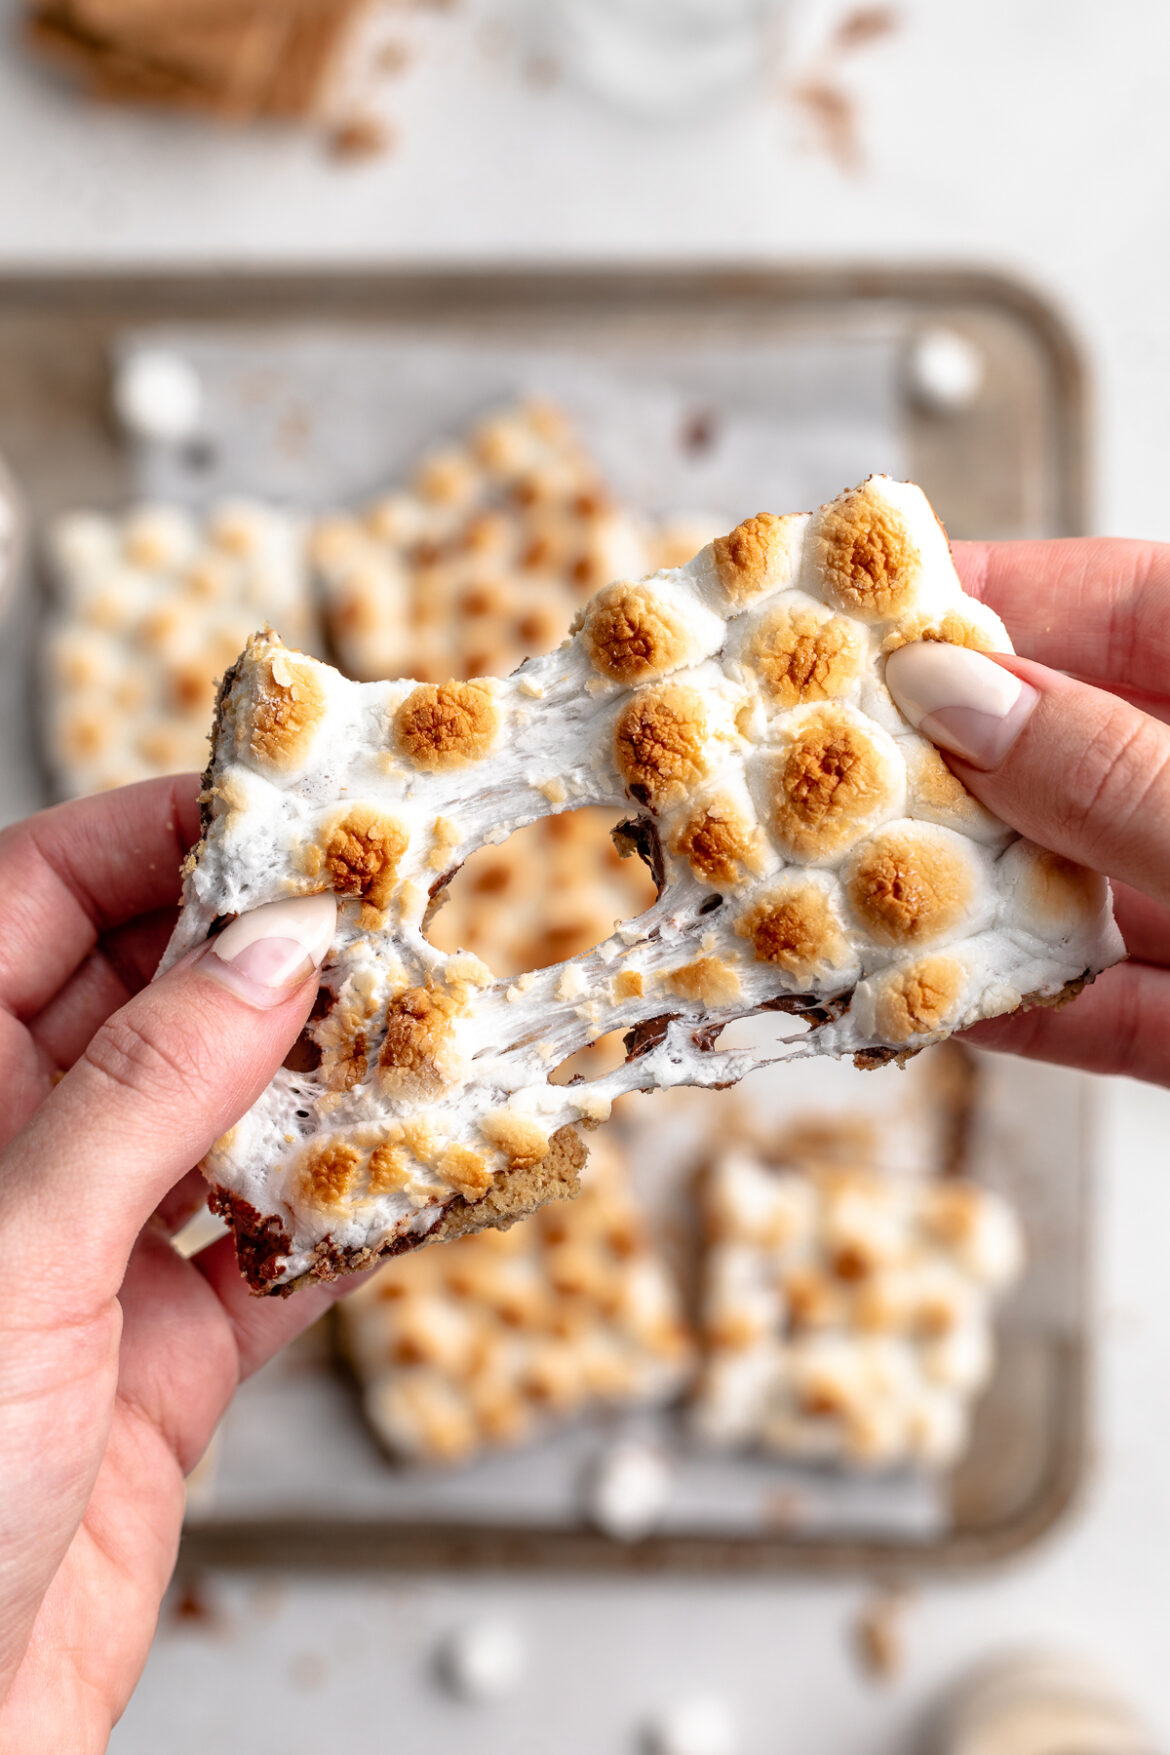
These s’mores bars are something else! A buttery graham cracker base followed by a lush layer of chocolate is topped off with toasty marshmallows. These s’mores bars will blow you away with how delicious and addictive they are – all while gluten-free!

gluten-free s'mores bars stacked on top of each other.

What You Need To Make S’mores Bars

Oat Flour – You can either purchase oat flour from the store or easily make it yourself at home. To make oat flour, start by adding 1 and 1/2 cups of rolled oats to a blender or food processor. Then, blend the oats for a few seconds or until ground into a powder. Once ground, you now have oat flour to use in this gluten-free recipe!

Chocolate Chips – Any chocolate chips or even a chopped chocolate bar will work in these s’mores bars. I used the Enjoy Life Mini Chips since they are vegan and nut-free, though you can use any vegan chocolate you’d like. And if you’re not vegan, feel free to use whatever chocolate you have on-hand! (P.S. you should always have chocolate on-hand.)

Marshmallows – I prefer mini marshmallows for simply how cute and satisfying they look all lined up on top of these s’mores bars. However, the standard size marshmallows will work just fine. The key to perfectly toasty and golden brown marshmallows is sticking them under the broiler for about 1 minute. It’s super important you keep an eye on the bars during this final trip in the oven, as the broiler has a tendency to burn things in literal seconds. Therefore, watch your vegan marshmallow-y treats and pull them out once they’ve achieved your desired level of toasty-ness!
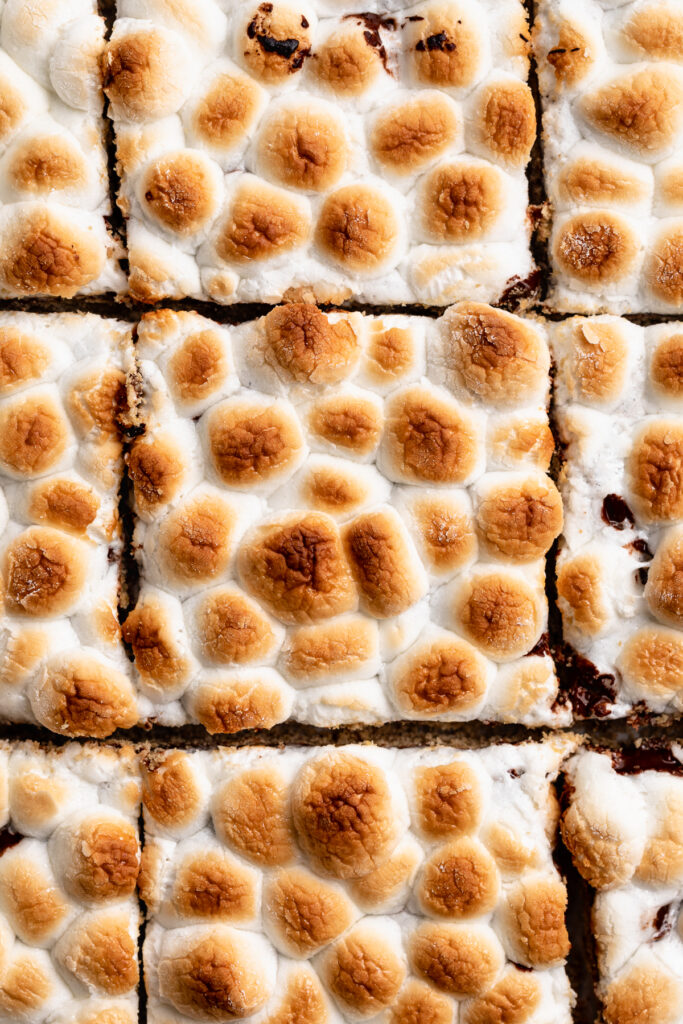
close-up overhead image of s'mores bars.

Adjust This Recipe To Your Diet

Don’t Have Oat Flour? If you don’t have oats and/or oat flour, you can replace it with an equal amount of either brown rice flour or all purpose flour in this recipe.

Add Dairy: Use regular melted butter in place of the vegan butter in this recipe.

s'mores bars on a baking sheet with graham crackers on the side.

Tips For Making S’mores Bars

  • Be sure to leave the bars to cool on the baking sheet for at least 15 minutes after you take them out of the oven! These s’mores bars are surprisingly delicate, so leaving them to cool will ensure they stick together when handled.
  • Use a greased knife to quickly and easily slice the bars. To do this, take a sharp knife and either spray it with spray cooking oil or drizzle it with some coconut oil. Once greased, cut into the bars and wipe down the knife between each slice!
  • I highly recommend storing this vegan and gluten-free dessert in the fridge or freezer during the summer months. Due to the butter and chocolate, they are at risk of melting if left to sit out in too high of a temperate. Therefore, to avoid that risk, it’s best to just keep these babies in the fridge to enjoy them at your leisure!

S’mores Bars (Vegan, Gluten-Free)

5 from 3 votes
Recipe by Samantha Russo Course: DessertDifficulty: Easy
Servings

12

bars
Prep time

10

minutes
Cooking time

20

minutes
Total time

30

minutes

These s’mores bars are something else! A buttery graham cracker base followed by a lush layer of chocolate is topped off with toasty marshmallows. These s’mores bars will blow you away with how delicious and addictive they are – all while being vegan and gluten-free!

Ingredients

  • 1 1/4 cups oat flour, see Notes

  • 1/4 cup tapioca flour, or corn starch

  • 1/2 teaspoon baking powder

  • 1/4 cup maple syrup

  • 2 1/2 tablespoons butter, melted (I used vegan butter)

  • 1/2 teaspoon vanilla extract

  • 1 cup chocolate chips

  • 2 cups marshmallows

Directions

  • Preheat oven to 350° Fahrenheit.
  • Mix together the oat flour, tapioca flour, and baking powder in a bowl.
  • Add in the maple syrup, melted vegan butter, and vanilla extract, mix everything to combine.
  • Transfer to a lined 9×9 baking sheet, press into an even layer, then bake for 12-15 minutes or until golden brown.
  • Remove from the oven and sprinkle evenly with chocolate chips, then place back into the oven for 1 minute or until chocolate has melted.
  • Remove from the oven once more, spread the chocolate into an even layer, then top with marshmallows. Place in the oven on broil for 1 minute (watch closely to make sure it doesn’t burn!) or until marshmallows are lightly toasted.
  • Let cool in the pan for 15-20 minutes before slicing.

Recipe Video

Notes

  • Oat Flour: You can easily make your own oat flour by blending rolled oats in a blender until a powder forms and no large oat chunks remain!

Did you make this recipe?

Share it and tag @samdoesherbest on Instagram!

Like this recipe?

Follow us @samdoesherbest on Pinterest

More Delicious Vegan and Gluten-Free Desserts

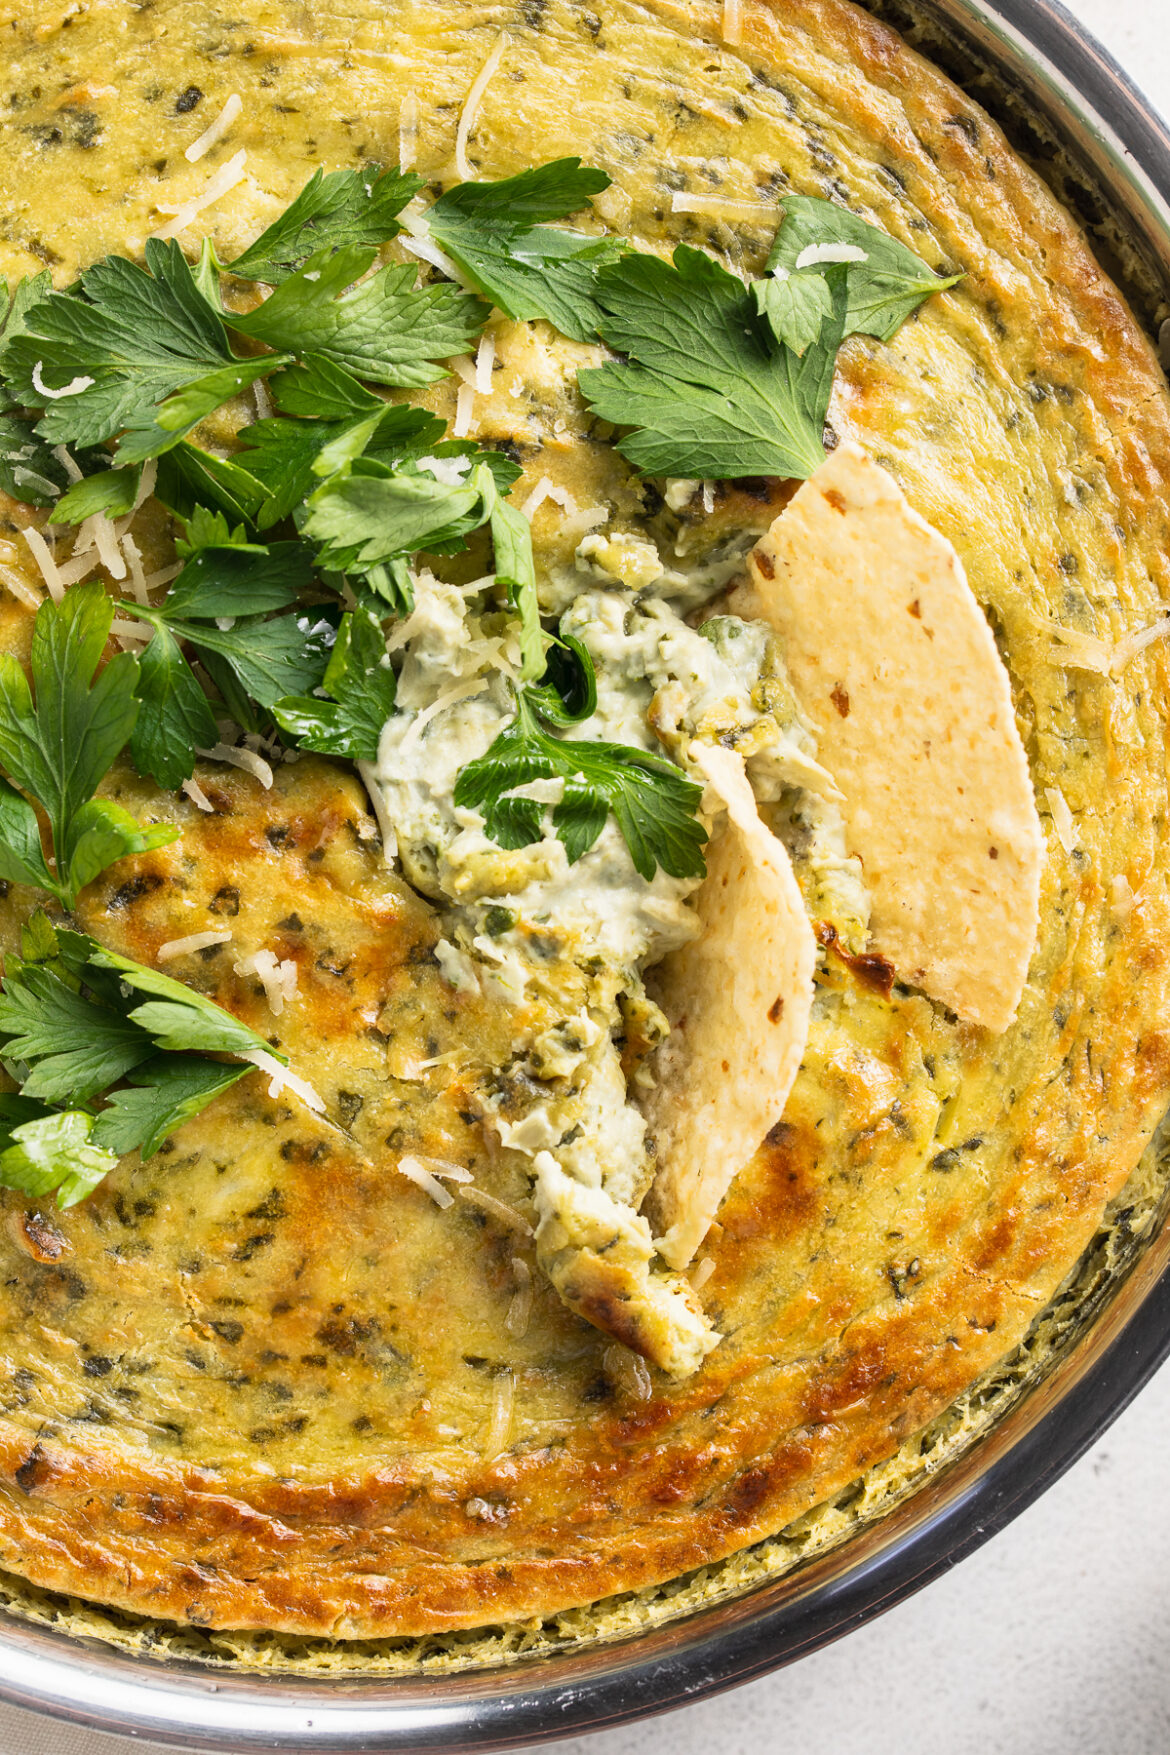
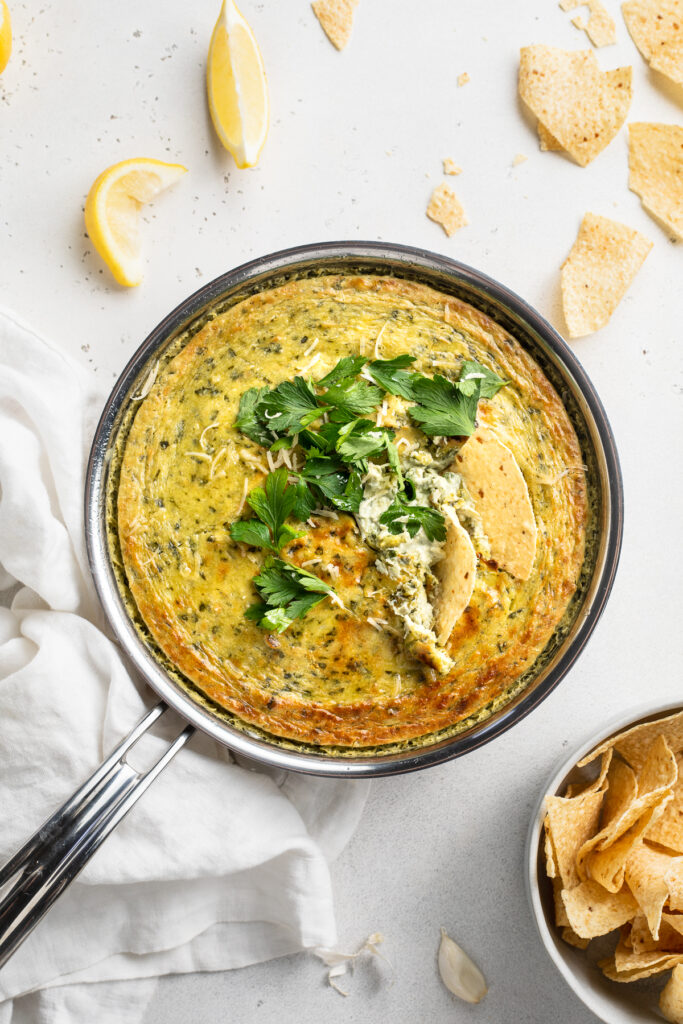
Perfectly creamy and extra “cheesy” vegan spinach and artichoke dip! Perfect for entertaining, bring this easy vegan recipe to your next party or potluck. A handful of simple ingredients, a blender, a baking dish, and 30 minutes is all you’ll need!

Overhead image of vegan spinach artichoke dip in a skillet with chips on the side.

What You’ll Need To Make This Vegan Spinach Artichoke Dip

Cashews – Raw and unsalted cashews are the base of this hearty plant-based dip. You’ll start by soaking them in boiling for water for about 10 minutes, this’ll soften them and help them blend. I love using cashews in this recipe for not only their buttery flavor, but for how nutritionally dense they are! This vegan spinach artichoke dip is so much healthier than the classic kind, and higher in protein.

Nutritional Yeast – I know what you’re thinking …nutritional what? Just hear me out. Nutritional yeast is a totally natural, plant-based ingredient with a nutty, “cheesy” flavor. I use and love this Bragg’s Nutritional Yeast for all of my savory vegan recipes. It’s surprisingly versatile and tastes delicious sprinkled over popcorn, pasta, potatoes, and in this recipe. Though if you’re not vegan and/or have no interest in getting yourself some nutritional yeast (you’re missing out), you can easily replace the two tablespoons of nutritional yeast with two tablespoons of powdered parmesan cheese.

Lemon Juice – A touch of lemon juice mimics the tanginess found in most dairy products. And because this vegan spinach artichoke dip is completely dairy-free, the lemon juice is necessary. Though if you don’t have any fresh lemon juice on-hand, you can use a tablespoon of apple cider vinegar or white wine vinegar instead.

Artichoke Hearts – Arguably the best part, one whole can of drained artichoke hearts give this side dish its signature hearty texture. They key here is using a can of artichokes packed in water, not oil!

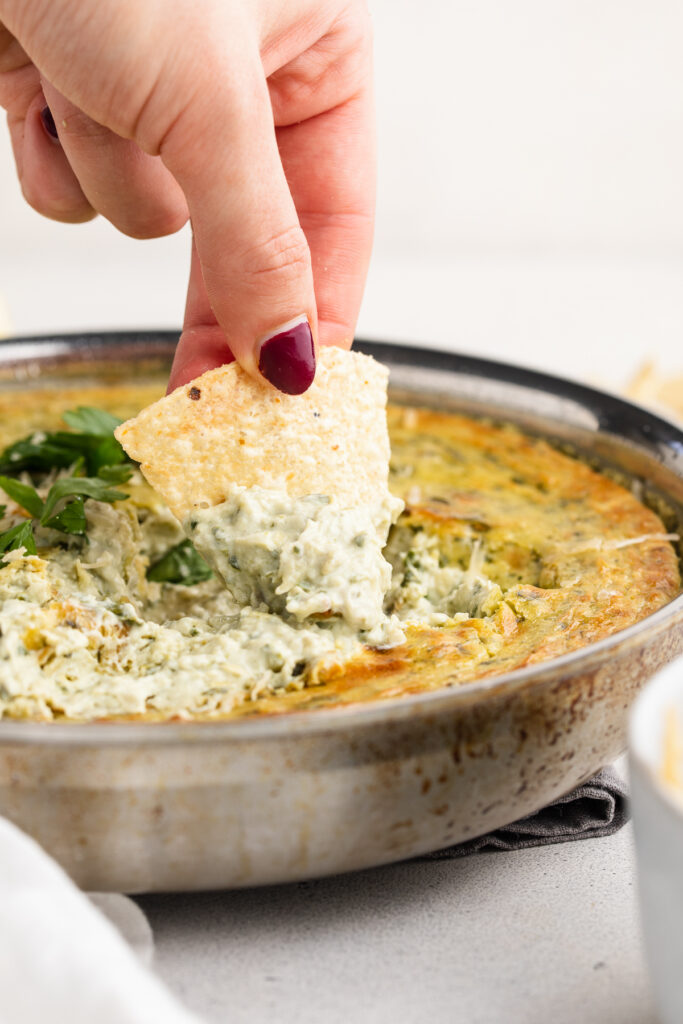
A tortilla chip being dipped into vegan spinach artichoke dip.

Tips and Tricks

  • This vegan spinach artichoke dip tastes best straight out of the oven! When making for guests, I recommend blending and prepping this dish ahead of time, then popping it in the oven right before your guests arrive. This’ll guarantee the dip is bubbling hot, and tastes its best for friends and family.
  • Store any leftovers in an airtight container in the fridge for up to one week. To reheat, you can either microwave on high for 45 seconds, or bake at 425° Fahrenheit for 5-10 minutes.
  • Serve this plant-based dip however you’d like! I enjoyed mine with a side of crispy corn tortilla chips. Though you can even serve it with a side of fresh veggies for a super healthy, vegan snack.

Adjust This Recipe To Your Dietary Needs

Make it Nut-Free: For a nut-free version of this recipe, use raw and unsalted sunflower seeds in place of the cashews!

Add Cheese: If not vegan or dairy-free, go ahead and top this spinach artichoke dip off with some shredded parmesan and/or mozzarella right before baking.

Vegan Spinach Artichoke Dip

0 from 0 votes
Recipe by Samantha Course: SidesDifficulty: Easy
Servings

10

servings
Prep time

5

minutes
Cooking time

20

minutes
Total time

25

minutes

Perfectly creamy and extra “cheesy” vegan spinach and artichoke dip! Perfect for entertaining, bring this easy vegan recipe to your next party or potluck. A handful of simple ingredients, a blender, a baking dish, and 30 minutes is all you’ll need!

Ingredients

  • 1 1/2 cups raw cashews, unsalted

  • 1 1/2 cups unsweetened non-dairy milk, I used almond milk

  • 2 tablespoons nutritional yeast

  • 1 tablespoon lemon juice

  • 2 teaspoons garlic powder

  • 1 teaspoon onion powder

  • 1 teaspoon salt

  • 1 (14-ounce) can artichoke hearts, drained

  • 4 cups fresh spinach, or 2 cups frozen spinach

Directions

  • Preheat oven to 425° Fahrenheit.
  • Soak cashews in a heat-safe bowl with boiling water for 5-10 minutes, then drain.
  • Add soaked and drained cashews to blender along with the non-dairy milk, nutritional yeast, lemon juice, garlic powder, onion powder, and salt. Blend until super smooth and no lumps remains.
  • Add drained artichoke hearts and fresh or frozen spinach to blender and pulse 2-3 times to finely chop the veggies.
  • Transfer to an oven-safe dish or skillet and bake for 20 minutes, or until lightly golden brown and bubbly.

Recipe Video

Did you make this recipe?

Share it and tag @samdoesherbest on Instagram!

Like this recipe?

Follow us @samdoesherbest on Pinterest

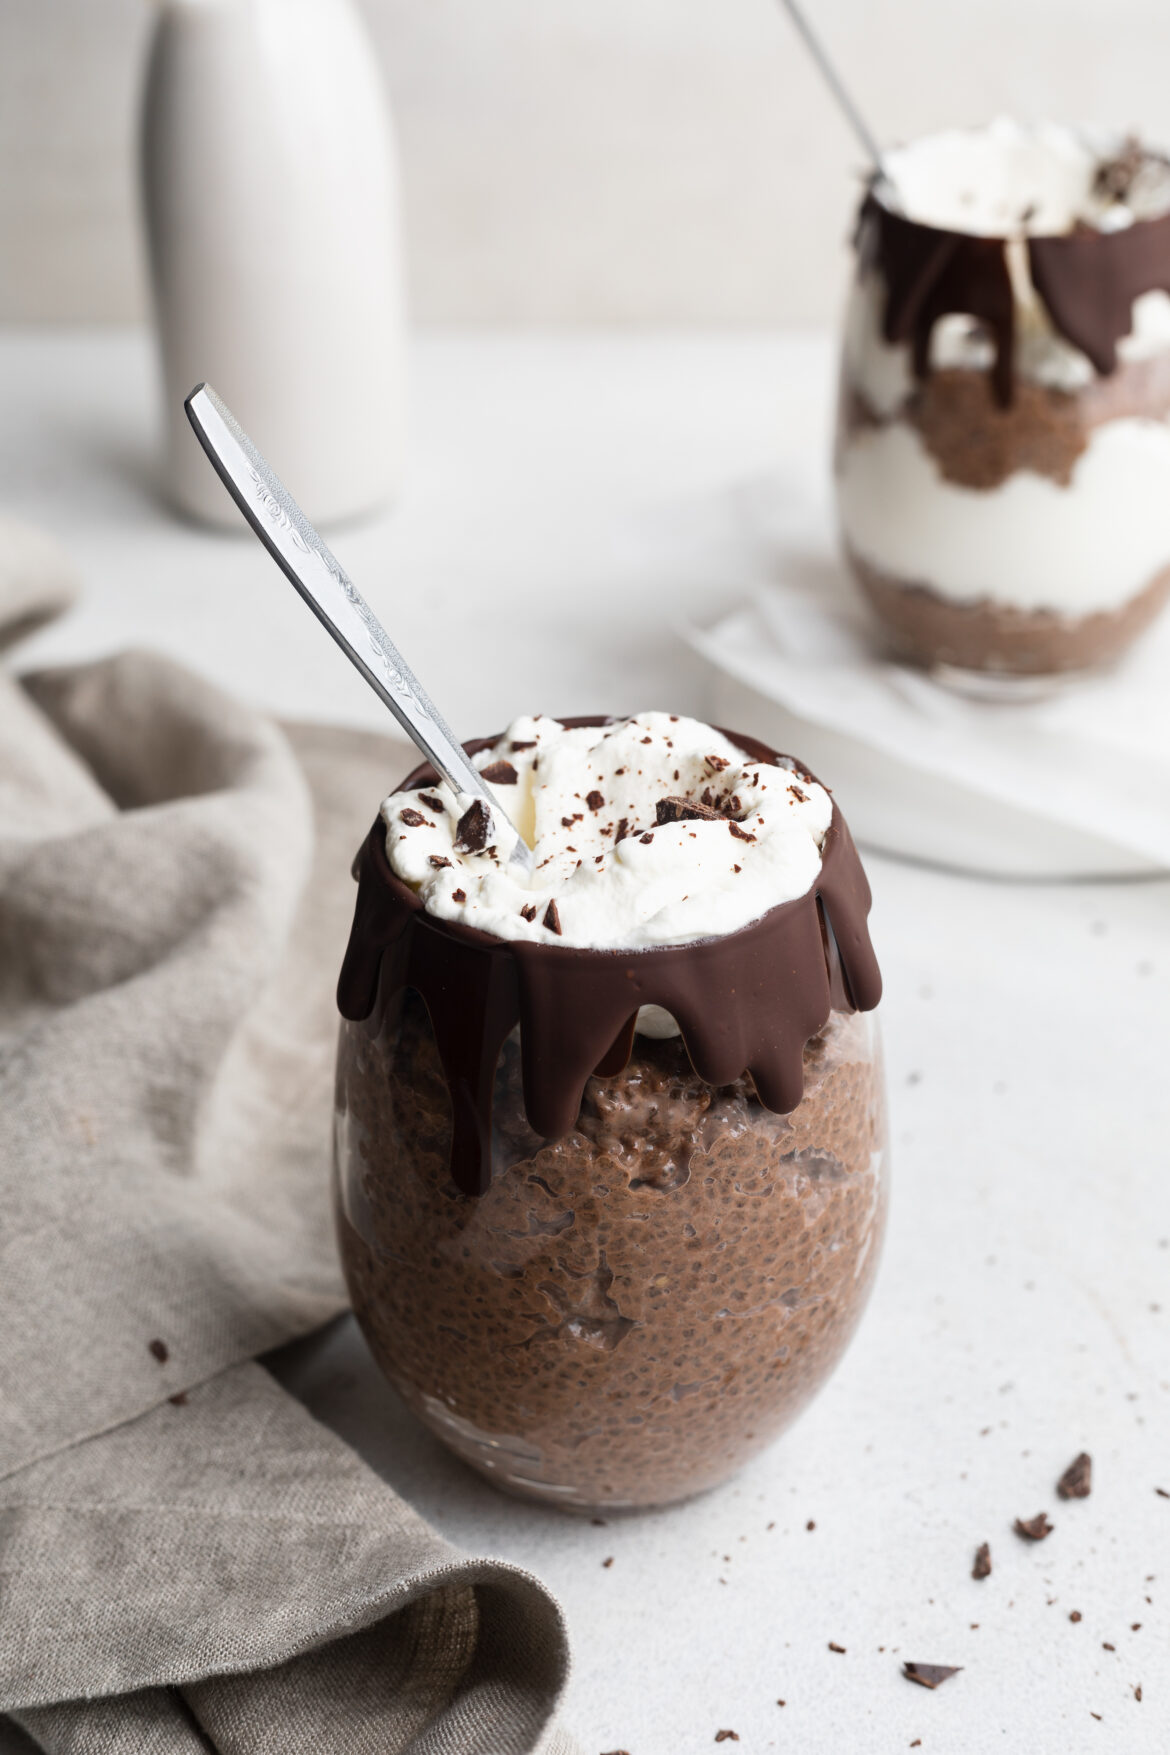
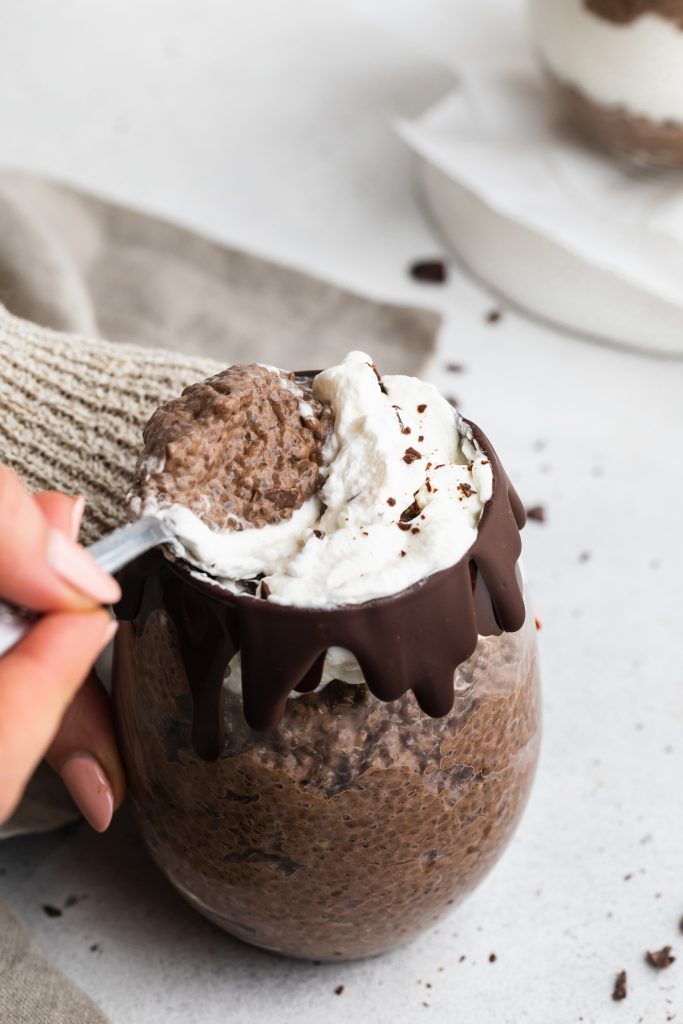
Ultra decadent, yet healthy double chocolate chia pudding! Whip together this easy breakfast or snack in no time at all. Top this rich and extra chocolatey treat off with fresh berries, whipped cream, or what the heck – even more chocolate!

chocolate chia pudding in cups with whipped cream and chopped chocolate on top

What You’ll Need To Make This Double Chocolate Chia Pudding

  • Non-Dairy Milk – Use any non-dairy milk you’d like! I used the Elmhurst Almond Milk since it’s what I had on-hand, and I love their simple ingredients (literally just almonds and water). Though whichever non-dairy milk you use, make sure it’s completely unsweetened. The maple syrup in this plant-based recipe yields all the sweetness we need.

  • Maple Syrup – This unrefined sweetener is slightly lower on the glycemic index than white sugar, meaning it’s less likely to cause that awful sugar spike, then crash. I absolutely love maple syrup, and use it whenever possible! It’s super versatile, perfectly sweet, and has this caramel-y flavor that is to-die-for. However, if you don’t have maple syrup, you can use honey or date syrup in its place.

  • Cocoa Powder – Unsweetened cocoa powder, that is! While most cocoa powders are unsweetened, there are a select few on grocery store shelves that have sugar in them. So learn from my mistakes here, and don’t accidentally throw the sweetened kind into your cart. Ghirardelli and Hershey both make very good unsweetened cocoa powders. And if you want to make this vegan recipe even healthier, then use cacao powder instead. Cacao is less processed than cocoa, and is chock-full of vitamins and minerals.

  • Chia Seeds – These tiny black seeds are the star of our double chocolate chia pudding recipe! Chia seeds are a superfood (for reasons I’ll get into in the next section), are gluten-free, and can be found at most grocery stores. Though if you can’t find chia seeds at your local grocery store, try a health store or vitamin shop instead. Also, Amazon sells pounds of them!
spoon scooping chocolate chia pudding out of a cup

Are Chia Seeds Healthy?

Yes, chia seeds are super duper healthy! They’re loaded with all sorts of nutrients, such as:

  • Iron – increases energy and focus.
  • Manganese – essential for bone health and development.
  • Phosphorus – repairs damaged muscle and bones.
  • Selenium – protects against cell damage and infection.
  • Magnesium – boosts heart health and helps regulate blood pressure.
  • Calcium – vital to building and maintaining strong bones.

They’re also a great source of plant-based protein, fiber, and healthy fats!

Toppings/Add-Ins

  • Protein Powder
  • Chocolate Chips
  • Fresh Berries
  • Sliced Banana
  • Peanut Butter
  • Hemp Seeds
  • Chopped Nuts
  • Granola

Double Chocolate Chia Pudding

5 from 1 vote
Recipe by Samantha Course: Breakfast, Snacks, DessertDifficulty: Easy
Servings

4

servings
Prep time

5

minutes
Chilling Time

4

hours

Ultra decadent, yet healthy double chocolate chia pudding! Whip together this easy breakfast or snack in no time at all. Top this rich and extra chocolatey treat off with fresh berries, whipped cream, or what the heck – even more chocolate!

Ingredients

  • 2 cups non-dairy milk

  • 1/4 cup maple syrup

  • 1/4 cup cocoa powder

  • 1 teaspoon vanilla extract

  • pinch of salt

  • 1/2 cup chia seeds

  • 1/4 cup chocolate chips or chopped chocolate

Directions

  • Whisk together the milk, maple syrup, cocoa powder, vanilla extract, and salt in a bowl.
  • Add in chia seeds and chocolate chips, stir once to combine, then cover and refrigerate for at least 4 hours and up to overnight.
  • Once thick, remove from the fridge and give chia pudding a stir before serving.

Notes

Did you make this recipe?

Share it and tag @samdoesherbest on Instagram!

Like this recipe?

Follow us @samdoesherbest on Pinterest

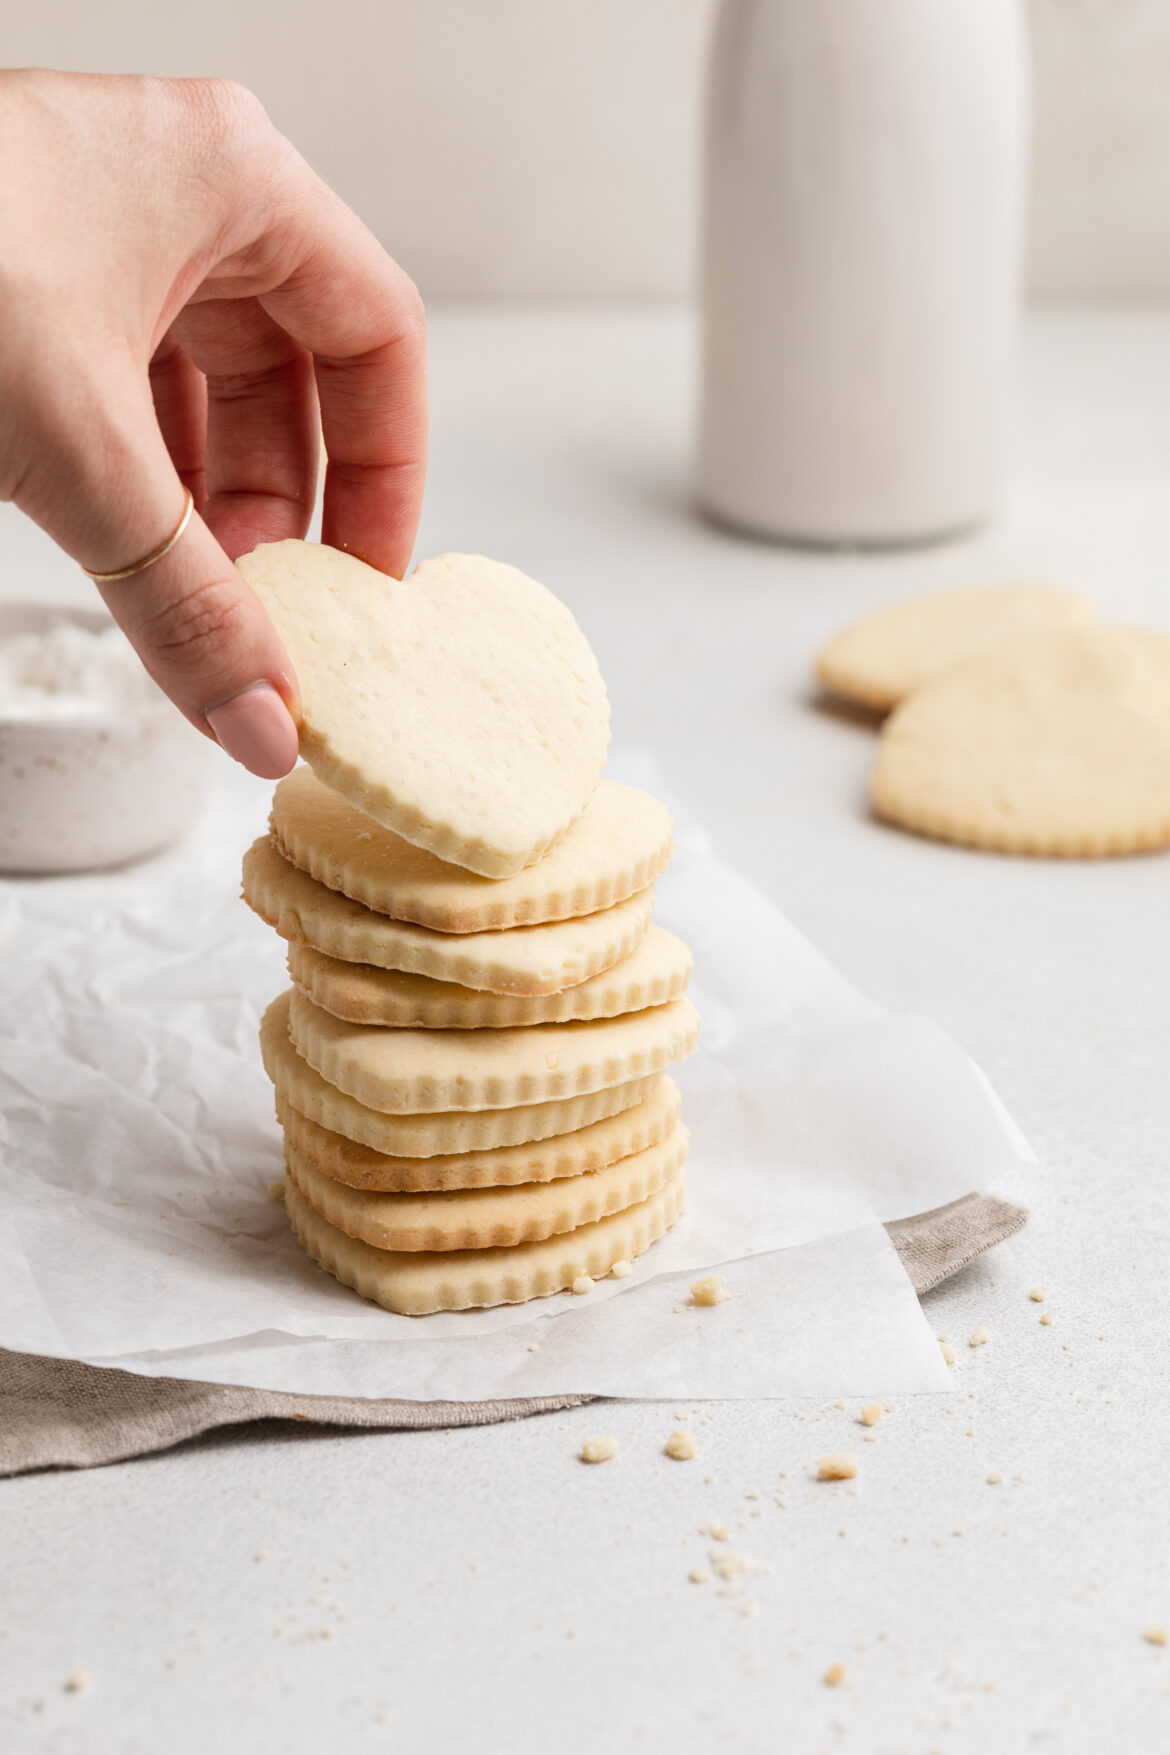
These sugar cookies are SO delicious, no one will ever guess they’re gluten-free! Perfectly soft, sweet, and surprisingly easy to make. Cut these gluten-free sugar cookies into your favorite festive shapes, then decorate them any way you’d like!

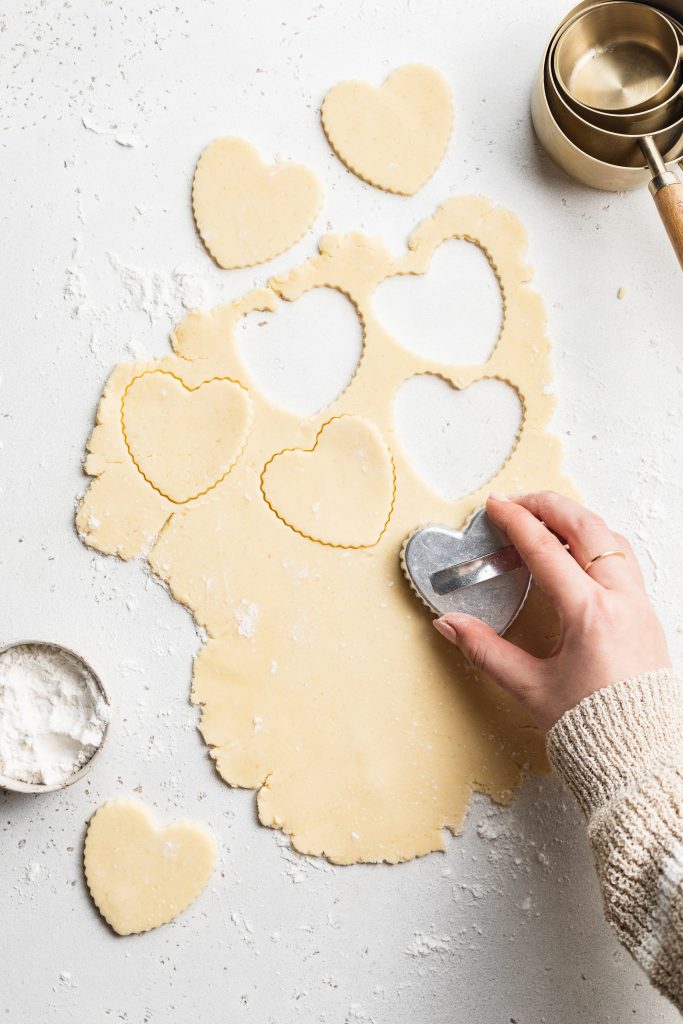
cutting out gluten-free sugar cookie dough into heart shapes

What You’ll Need To Make Gluten-Free Sugar Cookies

Butter – I used non-dairy butter, to keep these sugar cookies both gluten-free and dairy-free. However, you can use regular butter instead if you’d like. Remember to remove your butter from the fridge at least 30 minutes before baking. The key to perfectly soft and light cookies is working with room temperature butter. Also, whip the butter and sugar together in the first step until super light and fluffy.

Sugar – Cane, white, or even coconut sugar will work in this gluten-free dessert recipe. Cane sugar and white sugar will blend best into the dough, resulting in a colorless cookies. Meanwhile, coconut sugar (or brown sugar, which I don’t recommend here) will turn these cookies light brown once baked. They’ll still taste good, though they’ll be a bit more grainy and won’t look the same!

Gluten-Free Flour – I used Nature’s Promise Gluten-Free Flour Blend in my sugar cookies and had amazing results! I also highly recommend the Bob’s Red Mill Gluten-Free Baking Flour for any and all gluten-free recipes. While those are the only two gluten-free flours I can personally vouch for, I’m sure there are plenty out there that will work just as well. Though the one recommendation I have when it comes to any gluten-free flour is to make sure that it contains xanthan gum. Xanthan gum is a stabilizer, and super important to keeping your baked goods together. Without it, these sugar cookies would quite literally fall apart. Therefore, if your gluten-free flour blend does not already contain xanthan gum, add 1/2 teaspoon to your dough for this recipe.

stack of gluten-free sugar cookies

Tips and Tricks

  • You don’t have to cut these cookies out if you don’t want to! Instead of rolling, then cutting the dough, simply remove your chilled cookie dough from the fridge and use a cookie scoop to shape them. Drop tablespoon-sized scoops of sugar cookie dough straight onto your baking sheet, then flatten each cookie out slightly with the palm of your hand. Last, but definitely not least, bake off those delicious little circular cookies just as you would a cut-out cookie!
  • Decorate these babies any way you’d like! A simple powdered sugar plus milk icing with a dash of food coloring is always a solid option. Or, melt some chocolate and drizzle that on top of each cooled cookie for a fun and delicious twist.
  • Prep this sugar cookie recipe days, or even months ahead of time if you’d like! Chilled sugar cookies dough will stay good in the fridge for up to 3 days and in the freezer for up to 4 months. If frozen, let it defrost at room temperature for a bit before attempting to roll or scoop the dough.

Adjust This Recipe To Your Dietary Needs

Make it Vegan: To make these vegan sugar cookies, be sure to use vegan butter and milk as well as your favorite egg substitute in place of the one egg in this recipe. I recommend the Bob’s Red Mill Egg Replacer, it’s both vegan and gluten-free, and works impressively well in most baking recipes.

Use Regular Flour: Feel free to replace the gluten-free flour with regular ole’ all purpose flour if you’d like!

Perfect Gluten-Free Sugar Cookies

5 from 1 vote
Recipe by Samantha Course: DessertDifficulty: Easy
Servings

24

cookies
Prep time

10

minutes
Cooking time

7

minutes
Chilling Time

1

hour

These sugar cookies are SO delicious, no one will ever guess they’re gluten-free! Perfectly soft, sweet, and surprisingly easy to make. Cut these gluten-free sugar cookies into your favorite festive shapes, then decorate them any way you’d like!

Ingredients

  • 1/2 cup butter, softened (I used non-dairy butter)

  • 1/2 cup sugar

  • 1 egg, at room temperature

  • 1 tablespoon milk (I used non-dairy)

  • 1 teaspoon vanilla extract

  • 2 cups gluten-free flour

  • 1/2 teaspoon baking powder

  • 1/4 teaspoon salt

Directions

  • Add butter and sugar to a bowl, beat together with either a hand or stand mixer until light and fluffy, about 3 minutes. Add in the egg, milk, and vanilla extract, beat to combine.
  • In a separate small bowl, mix together the gluten-free flour, baking powder, and salt.
  • Add the flour mixture into the butter mixture and mix until a dough forms. Cover dough with plastic wrap and chill in the fridge for at least 1 hour and up to overnight.
  • When ready to bake, preheat your oven to 375° Fahrenheit and remove dough from fridge. Roll the dough on a lightly floured surface to about ¼-inch thick, then use a cookie cutter to cut the dough into shapes.
  • Place cookies on a baking sheet and bake for 7-10 minutes. Remove from oven and transfer to a wire cooling rack to cool completely before decorating.

Recipe Video

Notes

  • For Icing: Mix together 1 cup of powdered sugar and 1 tablespoon milk in a small bowl for a quick and easy sugar cookie icing!

Did you make this recipe?

Share it and tag @samdoesherbest on Instagram!

Like this recipe?

Follow us @samdoesherbest on Pinterest

Perfectly fluffy and delicious coffee cake muffins made gluten-free, with a dairy-free option as well! They’re irresistibly soft, sweet, and complete with a cinnamon streusel topping. I especially love enjoying a warm gluten-free muffin with my coffee in the morning – there’s no better way to start the day!

three gluten-free coffee cake muffins stacked on top of each other

What You’ll Need For This Recipe

Gluten-Free All Purpose Baking Flour – I use Bob’s Red Mill Gluten Free 1-1 Baking Flour in most of my gluten-free baking recipes. It bakes up beautifully and can pretty much be used as a 1:1 swap for regular all purpose flour! However, you can use any gluten-free all purpose baking flour you’d like. Though when it comes to gluten-free flours, it’s super important to the integrity of your bake that your flour contains xanthan gum. Xanthan gum creates structure and will essentially hold these muffins together. Therefore, if your gluten-free flour doesn’t have xanthan gum, supplement it with 1 teaspoon of xanthan gum in this gluten-free coffee cake muffins recipe.

Butter – Any butter you’d like will work here! Salted, unsalted, and non-dairy butter all bake perfectly in this recipe. When it comes to salted butter, I truly don’t believe any butter has enough salt in it to make any difference in a recipe. So, feel free to use whatever butter you have on hand!

Eggs – Bring your eggs to room temperature before getting started on this delicious breakfast or snack recipe. By doing this, we reduce the risk of the cold eggs re-solidifying the melted butter. It’s also always a great rule-of-thumb to have all ingredients at room temperature before starting on any baked goods recipe!

Top Tips

  • You can freeze leftover gluten-free muffins for up to 3 months! I currently have half my batch in the freezer right now, ensuring they don’t go bad before I have a chance to eat them. Though for muffins you plan on eating right away, simple store them in an airtight container at room temperature for up to 1 week.
  • Avoid over-mixing the batter, as this could result in tough and chewy muffins! Therefore, when folding the wet ingredients into the dry, simply mix until no more flour pockets remain. Once just combined, put down the spatula and head straight into the next step!
  • These muffins are best enjoyed warm! So to warm them up after baking, I recommend either popping them in the microwave for 10-15 seconds, or into the toaster for a couple of minutes. Once warm, they’re irresistibly soft and flufy!

Adjust This Recipe To Your Dietary Needs

Make it Vegan – While I haven’t tried this variation myself yet, you may be able to get away with replacing the eggs in these muffins with a vegan egg substitute. I’ve used the Bob’s Red Mill Vegan Egg Substitute in other recipes, and have almost always found it successful. Flax eggs might work here as well, though expect a slightly more dense gluten-free muffin if going that route.

Cut the Recipe in Half – This recipe makes 24 gluten-free coffee cake muffins, but if that sounds like too much for you, you can easily cut this recipe in half! That’s right, use half of all ingredients listed for just 12 perfect muffins.

Use Regular Flour – Feel free to simply swap the gluten free all purpose flour for regular all purpose flour in this recipe.

Other Delicious Mix-Ins

Instead of the cinnamon and streusel topping, feel free to add one of the following to your gluten-free muffins:

  • Blueberries
  • Sliced Bananas
  • Chocolate Chips
  • Cranberries and Orange Zest
  • Lemon Juice and Poppyseeds
  • Strawberries
  • Raspberries
  • or simply leave them plain!

Perfect Gluten-Free Coffee Cake Muffins

3 from 137 votes
Recipe by Samantha Course: BreakfastDifficulty: Easy
Servings

24

servings
Prep time

10

minutes
Cooking time

20

minutes
Total time

30

minutes

Perfectly fluffy and delicious coffee cake muffins made gluten-free, with a dairy-free option as well! They’re irresistibly soft, fluffy, sweet, and complete with a cinnamon streusel topping. I especially love enjoying a warm gluten-free muffin with my coffee in the morning – there’s no better way to start the day!

Ingredients

  • For the gluten-free muffins:
  • 3 cups gluten-free all purpose baking flour

  • 2 teaspoons baking powder

  • 1 teaspoon cinnamon

  • 1/2 teaspoon salt

  • 1 cup sugar

  • 1 cup butter, melted (I used non-dairy butter)

  • 3/4 cup milk (I used non-dairy almond milk)

  • 3 eggs, at room temperature

  • 1 teaspoon vanilla extract

  • For the crumb topping:
  • 1 cup gluten-free all purpose baking flour

  • 1 cup brown sugar

  • 1/2 cup butter, softened

  • 1 teaspoon cinnamon

Directions

  • Preheat oven to 350° Fahrenheit and line a muffin tin with cupcake liners.
  • Mix together the flour, baking powder, cinnamon, and salt in a large bowl.
  • In a separate bowl, whisk together the sugar, melted butter, milk, eggs, and vanilla extract.
  • Slowly pour the wet ingredients into the dry ingredients, mix until just combined. Fill each muffin mold with about ¼ cup of batter.
  • Mix together all crumb topping ingredients in a bowl, then sprinkle over each muffin.
  • Bake for 20-25 minutes or until a toothpick inserted down the center of a muffin comes out clean. Let cool in tin for 10 minutes before transferring to a wire cooling rack to cool completely.

Notes

  • Gluten-Free All Purpose Flour: I used Bob’s Red Mill Gluten Free 1:1 Baking Flour.
  • Butter: I used Earth Balance Vegan Buttery Sticks to make this recipe dairy-free.

Did you make this recipe?

Share it and tag @samdoesherbest on Instagram!

Like this recipe?

Follow us @samdoesherbest on Pinterest

Other Delicious Gluten-Free Recipes You Must Try!