
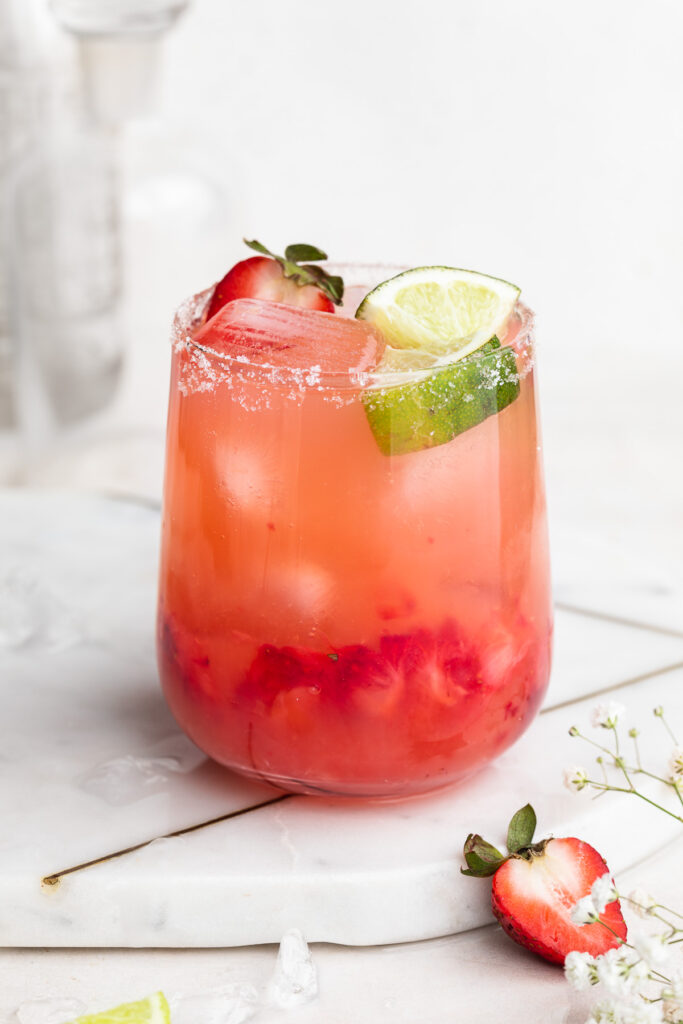
A lighter, but just as delicious skinny strawberry margarita! Shake up one of these ice cold cocktails at your next Cinco de Mayo, Memorial Day, or summer party. Made with fresh-squeezed juice, good quality tequila, and fresh strawberries for an incredibly light and refreshing cocktail!
What You’ll Need To Make A Skinny Strawberry Margarita
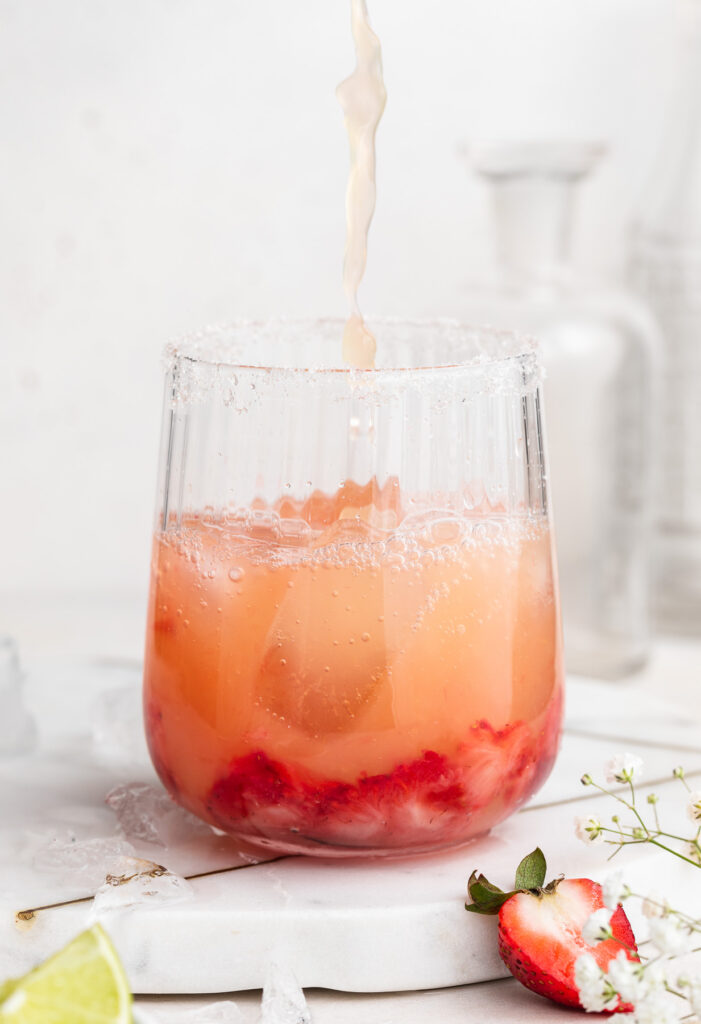
Strawberries – Fresh (not frozen) strawberries are a perfect fruity addition to this classic cocktail! Slice off the tops of your strawberries, then gently muddle them in the bottom of your drink glass. Last, pour your shaken skinny margarita on top and give it a gentle stir to incorporate.
Lime Juice – Fresh-squeezed lime juice is best in any margarita recipe. However, if you’re short on time, or making a large batch of these, go ahead and use bottled lime juice instead. Though when picking a bottled lime juice, make sure it has just one ingredient – limes – no added sugar, please!
Orange Juice – Just like the lime juice, fresh-squeezed orange juice is best, and healthiest in this recipe. Most traditional margarita recipes have some sort of orange liquor which packs in extra calories and sugar. So by replacing the liquor with fresh-squeezed orange juice, we effectively turn this into a “skinny” cocktail!
Agave Nectar – Another key component to this skinny strawberry margarita recipe. The agave nectar replaces simple syrup, with a very similar taste and sweetness! Though if you don’t have agave nectar, you can use honey or simple syrup to sweeten your drink instead.
Tips and Tricks
- Craving a frozen strawberry margarita? Place all ingredients (strawberries, tequila, lime juice, orange juice, and agave nectar) in a blender with a small handful of ice! I love making a whole pitcher of frozen margs for friends and family on hot summer days.
- If you don’t own a fancy-shmancy muddler, simply use the end of a mixing spoon to muddle your strawberries instead. Preferably one with a wide, flat end – but really anything that allows you to press and crush your strawberries will do!
- Switch up this summer cocktail recipe however you’d like! Rim the glass with just salt, or just sugar, based on your preferences. You could even muddle in some fresh mint leaves to make it even more refreshing! Or for a skinny blackberry margarita, check out my recipe here.

Make It A Mocktail
For a virgin strawberry margarita, replace the tequila with 2 ounces of tonic or sparkling water!

Skinny Strawberry Margarita Recipe
Course: DrinksDifficulty: Easy1
serving5
minutes0
minutes5
minutesA lighter, but just as delicious skinny strawberry margarita! Shake up one of these ice cold cocktails at your next Cinco de Mayo, Memorial Day, or summer party. Made with fresh-squeezed juice, good quality tequila, and fresh strawberries for an incredibly light and refreshing cocktail!
Ingredients
1 tablespoon sugar
1 teaspoon salt
lime wedge
3-5 strawberries, stems removed
2 ounces tequila
3 tablespoons lime juice
2 tablespoons fresh orange juice
1 1/2 teaspoons agave nectar
Directions
- Mix sugar and salt together on a small plate. Run a lime wedge around the rim of your glass, then dip rim into sugar and salt mixture.
- Place strawberries at the bottom of the glass and muddle until crushed, then fill the glass with ice.
- Fill a cocktail shaker with ice and add in tequila. lime juice, orange juice, and agave nectar. Secure lid and shake for 30 seconds, then strain into glass. Gently stir to combine muddle strawberries and shaken margarita.
Recipe Video
Did you make this recipe?
Share it and tag @samdoesherbest on Instagram!
Like this recipe?
Follow us @samdoesherbest on Pinterest


