
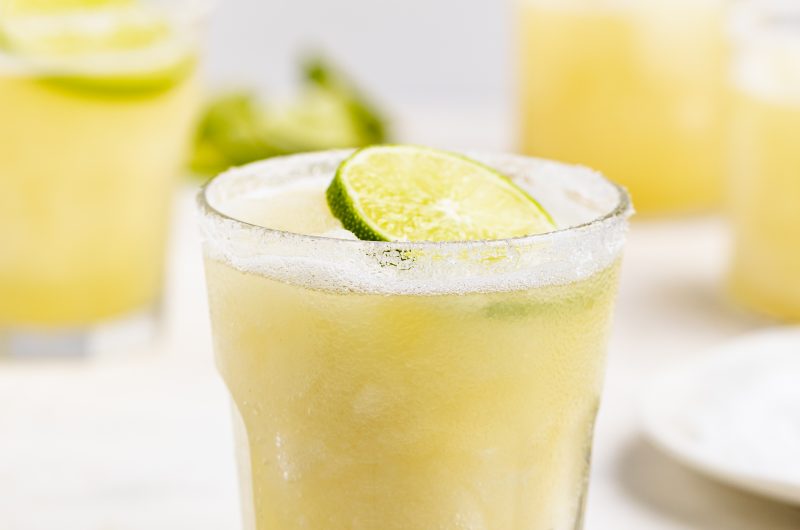
These frozen margaritas are everything you’ve ever dreamed of, and MORE! They’re deliciously tart, slightly sweet, and oh-so refreshing. Ditch the unnecessary margarita mix and blend together a batch of these homemade frozen margaritas. All you’ll need is 5 ingredients and just a few minutes!

What You Need To Make Frozen Margaritas
Silver Tequila – I’ve said it before, and I’ll say it again – use good quality tequila! I’m sure we’ve all taken a sip of a margarita and thought, hmmmm that’s not a very good margarita. And I’m telling you, 9 times out of 10 it’s because that marg you’re sipping on was made using dirt-cheap tequila. Whenever I pick up tequila, I aim for not the most expensive, but also not the cheapest. Espolón, Patron, and Casamigos are all brands I’ve tried and would definitely recommend!
Triple Sec – For those of you that don’t know, triple sec is an orange-flavored liqueur. It adds just a touch of sweetness and some nice fresh flavor to these frozen margaritas. However, if you don’t have triple sec, you can easily use fresh squeezed orange juice instead. Fresh squeezed orange juice is lower-cal and a slightly healthier option. So use whichever you’d like in this recipe!
Agave – This natural sweetener is used in place of the simple syrup in this frozen margaritas recipe. Agave dissolves quickly and packs in quite a bit of sweetness. This sweet syrup is the perfect compliment to the otherwise tart flavors in this frozen cocktail. Just a little bit of agave is all you need to make these drinks perfectly sweet!
Make It A Mocktail
- To make virgin frozen margaritas, substitute the tequila with grapefruit juice. Also, use fresh squeezed orange juice instead of triple sec. You’ll have a delicious and refreshing summertime mocktail!
Tips For Making Frozen Margaritas
- Serve these margaritas immediately after making! Unfortunately, any frozen cocktail will begin to separate after blending. Especially in the warmer months! Therefore, I highly recommend preparing your ingredients and then blending everything up right before serving.
- Feel free to add any frozen fruit you’d like! A handful of frozen strawberries would make a delicious addition to these cocktails.
- Blend just enough, but not too much. Under-blending will result in large ice chunks throughout your drink. And let me tell you, nothing’s worse than not being able to slurp up your frozen margarita because a giant ice chunk has clogged your straw. However, if you blend them too much, they could start to melt and taste watered down.
Frozen Margaritas
Course: DrinksCuisine: MexicanDifficulty: Easy4
servings5
minutes5
minutesThese frozen margaritas are everything you’ve ever dreamed of, and MORE! They’re deliciously tart, slightly sweet, and oh-so refreshing. Ditch the unnecessary margarita mix and blend together a batch of these homemade frozen margaritas with just 5 ingredients and in just a few minutes!
Ingredients
lime wedges
salt
8 ounces silver tequila
1 cup lime juice
4 ounce triple sec, see Notes
2 ounces agave or simple syrup
4-6 cups ice
Directions
- Run a lime wedge along the rim of each glass, then dip them in salt to coat the rim.
- Add all remaining ingredients to a blender and blend until no ice chunks remain.
- Pour into glasses and enjoy!
Recipe Video
Notes
- Triple Sec: If you don’t have triple sec, you can use fresh squeezed orange juice instead!
Did you make this recipe?
Share it and tag @samdoesherbest on Instagram!
Like this recipe?
Follow us @samdoesherbest on Pinterest
")

")

")


