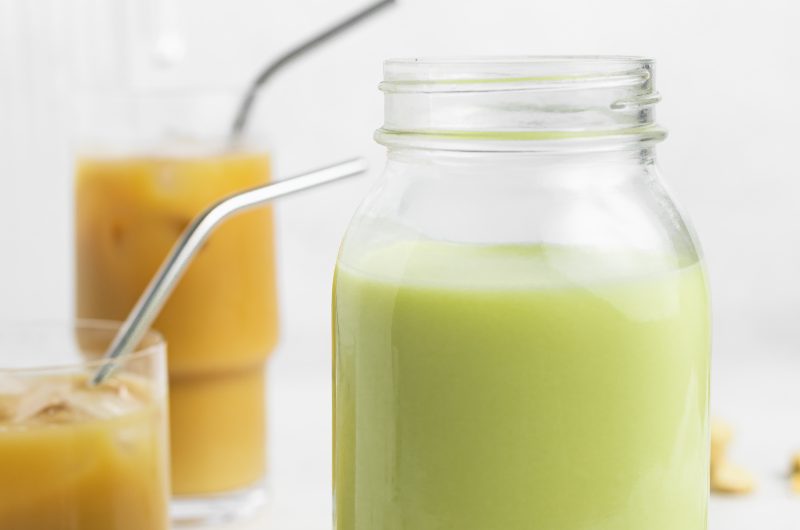
Learn how to make homemade pistachio milk in just a few easy steps. This new-on-the-scene dairy-free milk is totally creamy and delicious! Add a splash to your morning coffee for a tasty, naturally sweet addition.
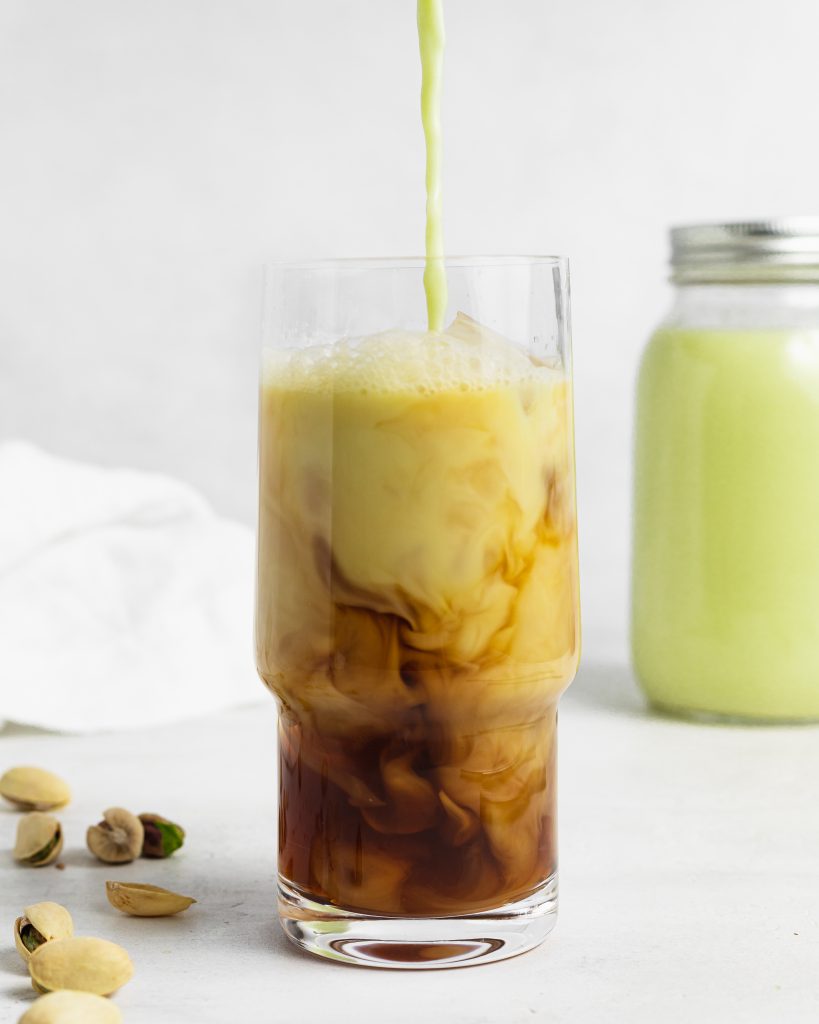
I don’t know about you, but I’m seeing pistachio milk everywhere these days! However, the store-bought version of this naturally vegan beverage often times comes with a hefty price tag. When I realized what was in pistachio milk (literally just pistachios and water), I knew I could and had to come up with a method for us to make it at home! Oh, and the great thing about this homemade pistachio milk recipe? It costs a fraction of the store-bought price.
Pistachio Milk Recipe Ingredients
Pistachios – Not just any pistachios, but raw and unsalted pistachios with the shells removed. You could very well get lucky and find this exact type of bagged pistachio at your grocery store. Though if you can’t find raw and unsalted pistachios with the shells removed, simply purchase raw and unsalted pistachios, then remove the shells yourself.
Water – I used filtered water, but any water you’d like will do! Bottled water, tap water, rain water… seriously whatever water you want.
Pinch of Salt – You might be thinking, why buy unsalted pistachios if we plan on adding salt anyway?? Well, that’s because we want just a tiny bit of salt. Salted pistachios would contribute WAY too much salt to this pistachio milk recipe. However, just a pinch of salt will bring out the natural sweetness of the pistachios and contribute more depth of flavor to this vegan beverage.
What Are The Benefits to Pistachio Milk?
To put this bluntly, pistachios are super healthy. Compared to their cousin, the almond, pistachios offer more Vitamin A and C than almonds. Vitamin A is amazing for a vast variety of things, but specifically important for your vision, immune system, and reproductive health. Then vitamin C, like vitamin A, has a ton of health benefits, though most notably it promotes collagen in the skin (bye bye wrinkles!) and helps to regulate blood pressure. Pistachios are also extremely high in antioxidants. So much so that they pretty much have every other nut beat in this category. Aside from these specific antioxidants increasing eye health, they may also help prevent cancer and heart disease. So there you have it. Pistachios are crazy good for you and more than worthy of finding a way into your everyday diet! So, pistachio milk is the perfect way to do this.
Optional (& Tasty) Pistachio Milk Recipe Add-Ins
- 2-3 Dates
- 1 Tablespoon Maple Syrup
- Sprinkle of Cinnamon
- 1/2 Teaspoon Vanilla Extract
Pistachio Milk
Course: DrinksDifficulty: Easy1 1/2
quarts6
minutes5
minutesLearn how to make homemade pistachio milk in just a few easy steps. This new-on-the-scene dairy-free milk is totally creamy and delicious! Add a splash to your morning coffee for a tasty, naturally sweet addition.
Ingredients
1 cup raw unsalted pistachios, shells removed
5 cups water
1 pinch of salt
Directions
- Soak the pistachios in cold water for at least 6 hours and up to 12 hours.
- Drain and rinse the pistachios, then add to a blender with 5 cups of water and a pinch of salt. Blend until smooth.
- Pour pistachio milk through a cheesecloth or fine mesh strainer, then discard the pulp.
- Store pistachio milk in an airtight container in the fridge for 4-5 days.
Recipe Video
Notes
- Feel free to replace the pistachios with whatever raw and unsalted nut you’d like!
Did you make this recipe?
Share it and tag @samdoesherbest on Instagram!
Like this recipe?
Follow us @samdoesherbest on Pinterest
")


")
")

