Tag

6 ingredients

Browsing

Like most of my recipes, this cinnamon sugar pretzel bites recipe started with a craving. Specifically a craving for a cup of warm cinnamon sugar pretzel bites from the mall… yup, you know the kind. The pretzels you smell as soon as you enter the mall and crave the entire time you shop. (No but really, they should seriously make a candle out of them because they smell so good!) Unfortunately though, those mall pretzel bites are made with regular flour and I’m sure a bunch of other ingredients that aren’t great for us. So I figured, why not make them myself?! Though if you look up pretzel bite recipes, you’ll find a bunch of very complicated ones that require kneading, rising, and a ton of steps I simply don’t have the time for. So, I came up with this 6 ingredient pretzels bites recipe that requires just 6 ingredients (!!!) and there’s no kneading, rising, or confusing steps required. Simply mix the dough, roll them into balls, quickly boil, then bake! And if cinnamon sugar really isn’t your thing, you can sprinkle these with salt instead. Either way, I just know you’re gonna love ’em!

And if you love these 6-ingredient cinnamon sugar pretzel bites, you’ll also go crazy for my 5-ingredient single serve cinnamon roll and 3-ingredient gluten-free bagel bites. They even all use the same set of ingredients!
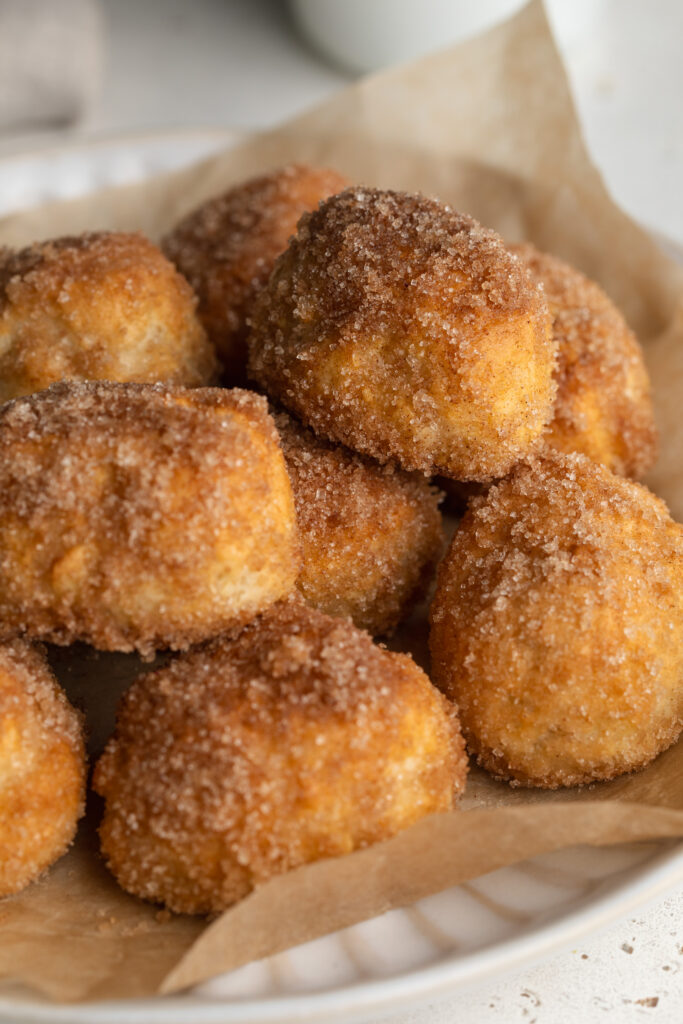
cinnamon sugar pretzel bites on a plate.

Why You’ll Love These Cinnamon Sugar Pretzel Bites

  • Gluten-free & 6 ingredients – just one bowl, no yeast required!
  • Quick prep + deep flavor – From mixing the dough to baking and coating, you’ll be done in about 30 minutes.
  • Versatile & crowd-friendly – Enjoy plain, with dips, or coated in cinnamon sugar for a delicious sweet treat!

Frequently Asked Questions

Can I make this recipe vegan?
Yes – use dairy-free yogurt (for the dough) and replace melted butter with a plant-based butter or coconut oil for the topping.

How do I store these pretzel bites?
Store in an airtight container at room temperature for up to 2 days. Reheat briefly in the oven or air fryer to restore texture.

Recipe variations?
Try topping with chocolate drizzle, sea salt instead of sugar, or adding shredded coconut. You could even roll in pumpkin spice for a seasonal twist.
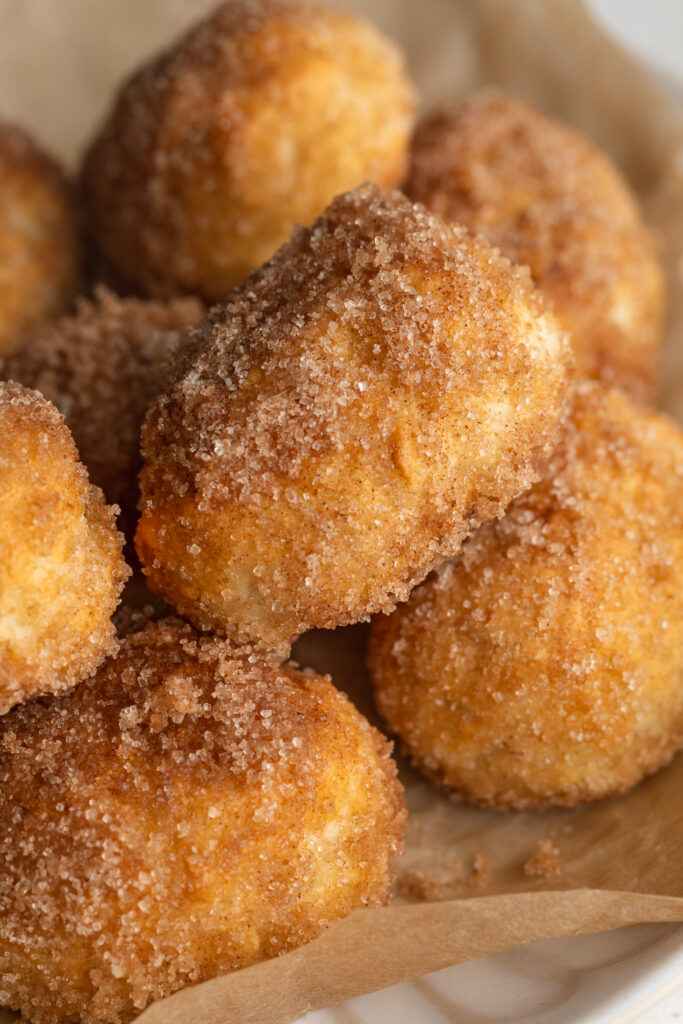
close up image of cinnamon sugar pretzel bites on a plate.

Sam’s Recipe Tips

  • Dust your work surface generously with gluten-free flour to prevent sticking – gluten-free dough tends to be a bit softer.
  • After brushing or dipping in the baking soda wash, place the bites on parchment to avoid sticking and allow the coating to set properly.
  • Shake the warm finished bites in a large bowl with melted butter and cinnamon sugar to ensure even coating.
  • Serve warm for the best texture – if they cool down, pop them into a warm oven (350°F) for 2-3 minutes.
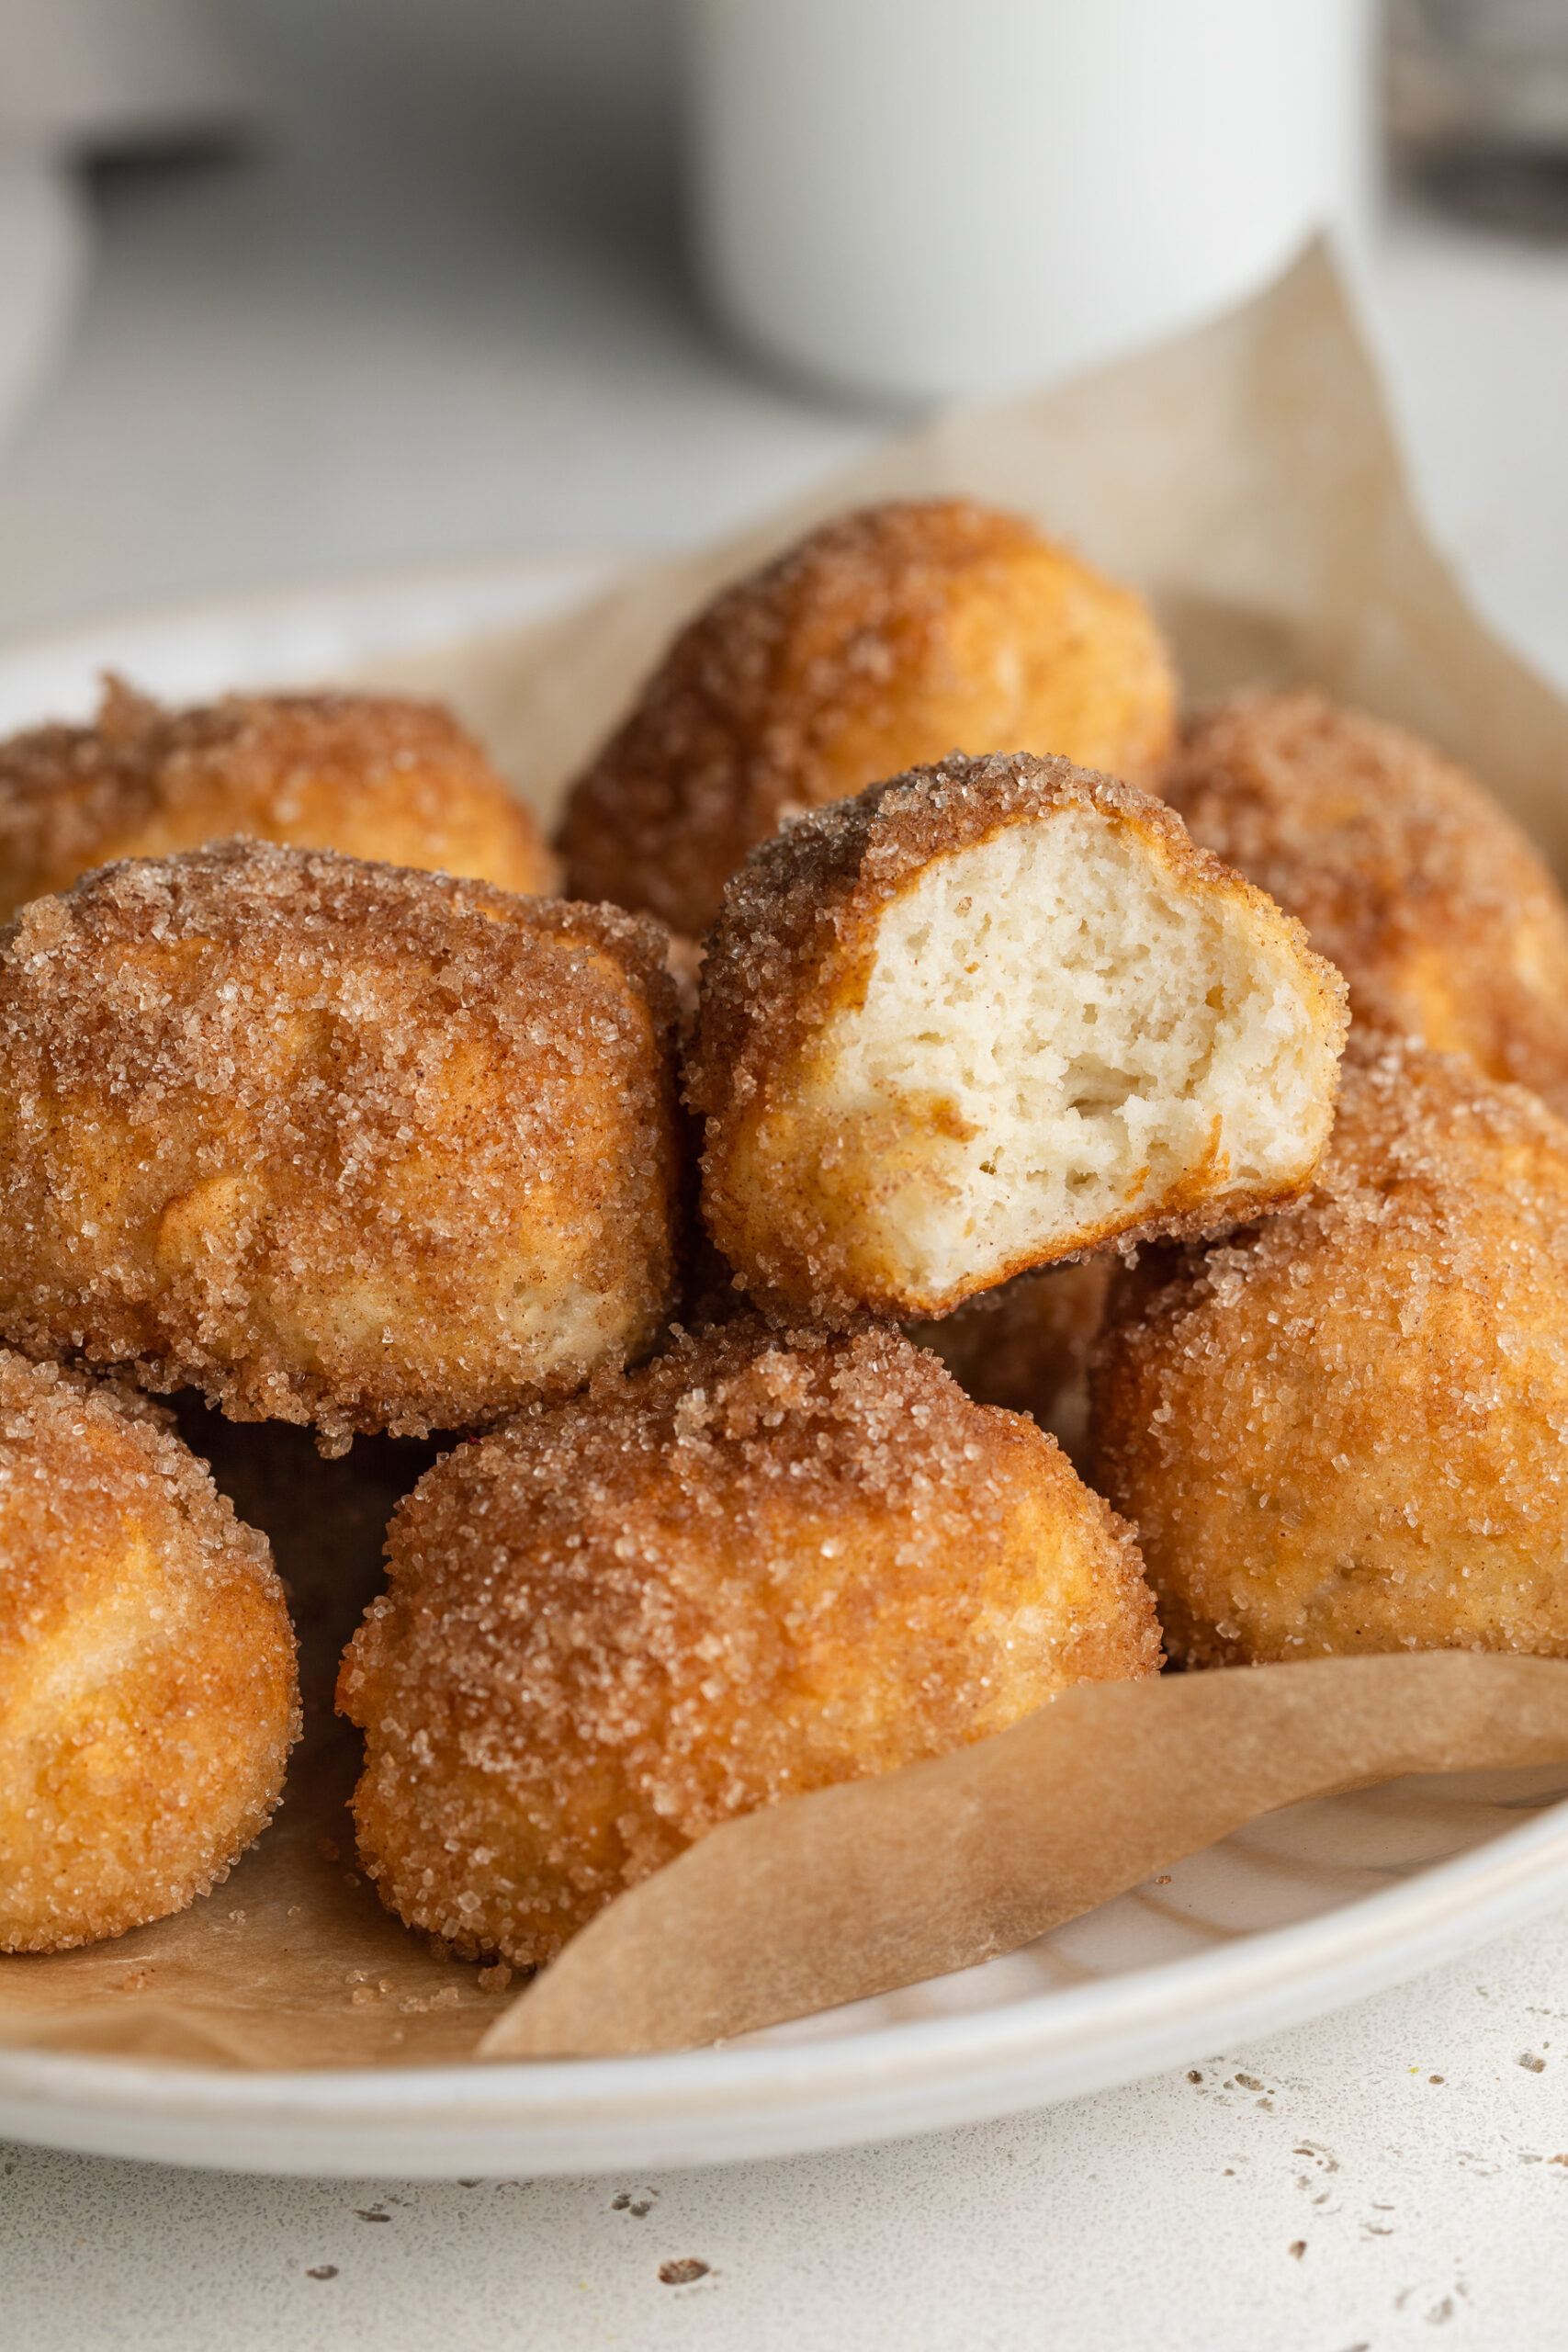
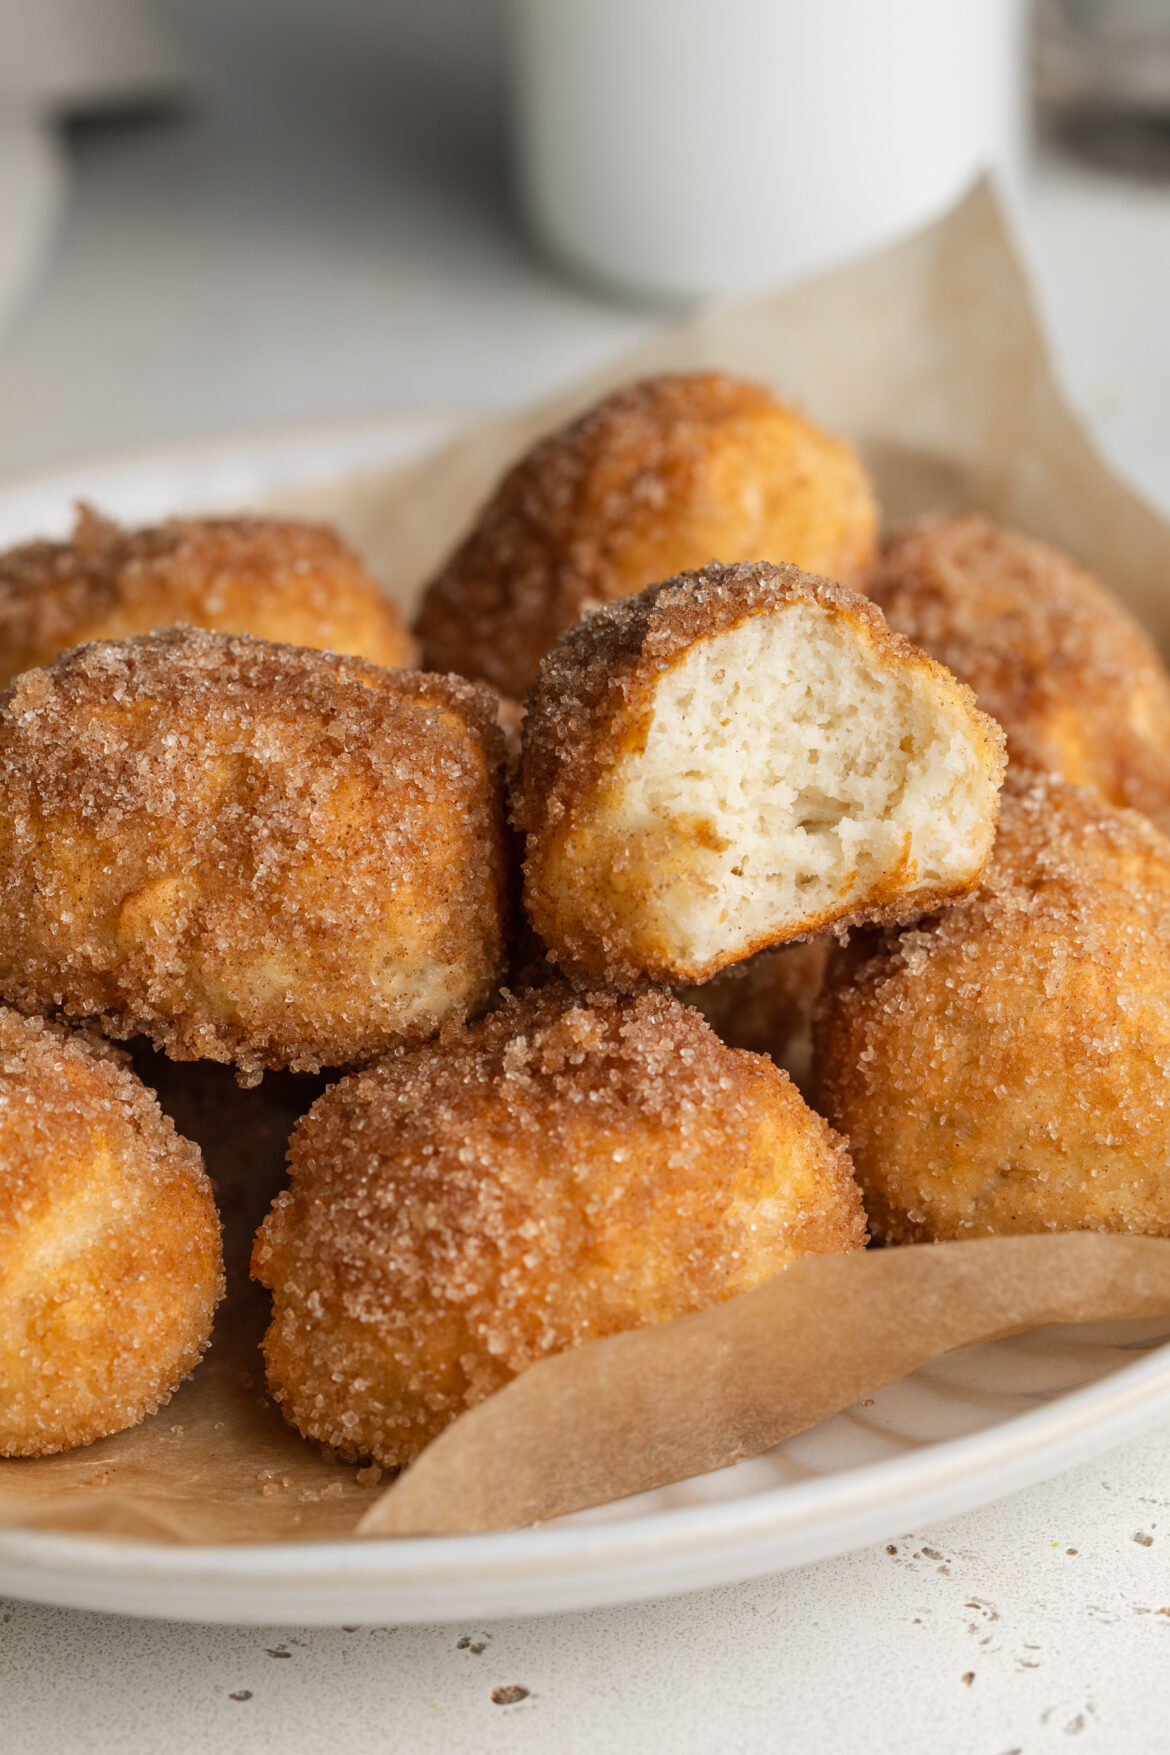
cinnamon sugar pretzel bites on a plate, one with a bite taken out.
No ratings yet

6-Ingredient Cinnamon Sugar Pretzel Bites (gluten-free!)

These 6-ingredient Cinnamon Sugar Pretzel Bites are soft, chewy, and coated in delicious cinnamon sugar! Made with gluten-free flour and Greek yogurt, this no-knead recipe comes together in just 30 minutes for a quick and easy treat. You’ll love how easy these pretzel bites are to make – no yeast, no rising, just mix, bake, and enjoy!
Print Pin Rate
Prep Time: 10 minutes
Cook Time: 20 minutes
Total Time: 30 minutes
Servings: 4 servings

Equipment

  • 1 large bowl
  • 1 small bowl
  • 1 large baking sheet

Ingredients

  • 1 cup gluten-free all purpose flour
  • 1 teaspoon baking powder
  • 1 cup plain Greek yogurt

For the baking soda wash:

  • 1 cup water
  • 1 tablespoon baking soda

For topping:

  • 3 tablespoons melted butter
  • 1/3 cup sugar
  • 1 teaspoon cinnamon

Instructions

  • Preheat oven to 425° Fahrenheit and line a baking sheet with parchment paper.
  • Mix together the gluten-free all purpose flour and baking powder in a large bowl. Then, add in the plain Greek yogurt and mix until a dough comes together (you may need to use your hands to help bring the dough together). If the dough seems dry and won’t come together in a ball, try adding an additional 1-3 tablespoons of Greek yogurt to the dough.
  • Scoop about 1 tablespoon of dough and roll it between the palms of your hands to form it into an oval nugget shape. Place each pretzel bite onto your prepared baking sheet.
  • Make the baking soda wash by whisking together the water and baking soda in a small bowl, then either brush or dip each pretzel bite into the wash.
  • Bake the pretzel bites for 15-20 minutes, or until deep golden brown. While the pretzel bites bake, make your cinnamon-sugar coating by mixing together the sugar and cinnamon in a small bowl.
  • Remove the pretzel bites from the oven and while they’re still warm, toss them in the melted butter then either toss or sprinkle them with the cinnamon sugar.
Nutrition

Serving: 1serving | Calories: 240kcal | Carbohydrates: 30g | Protein: 9g | Fat: 10g | Fiber: 1g | Sugar: 10g

It’s finally strawberry season and I’m SO excited to celebrate with this incredible gluten-free strawberry shortcake recipe! There’s just something about this warm spring air (after a VERY long winter) that makes me wanna whip out all the fresh fruit recipes I can think up. I kicked berry season off a couple weeks ago with my 5-ingredient triple berry crisp, then kept the party going with my new healthy strawberry peanut butter cups. And now – this absolutely flawless gluten-free strawberry cake! It’s a light and tender cake topped with a single-ingredient homemade whipped cream and ultra sweet strawberries. This is another one of those gluten-free cake recipes everyone (and I mean everyone) will LOVE!

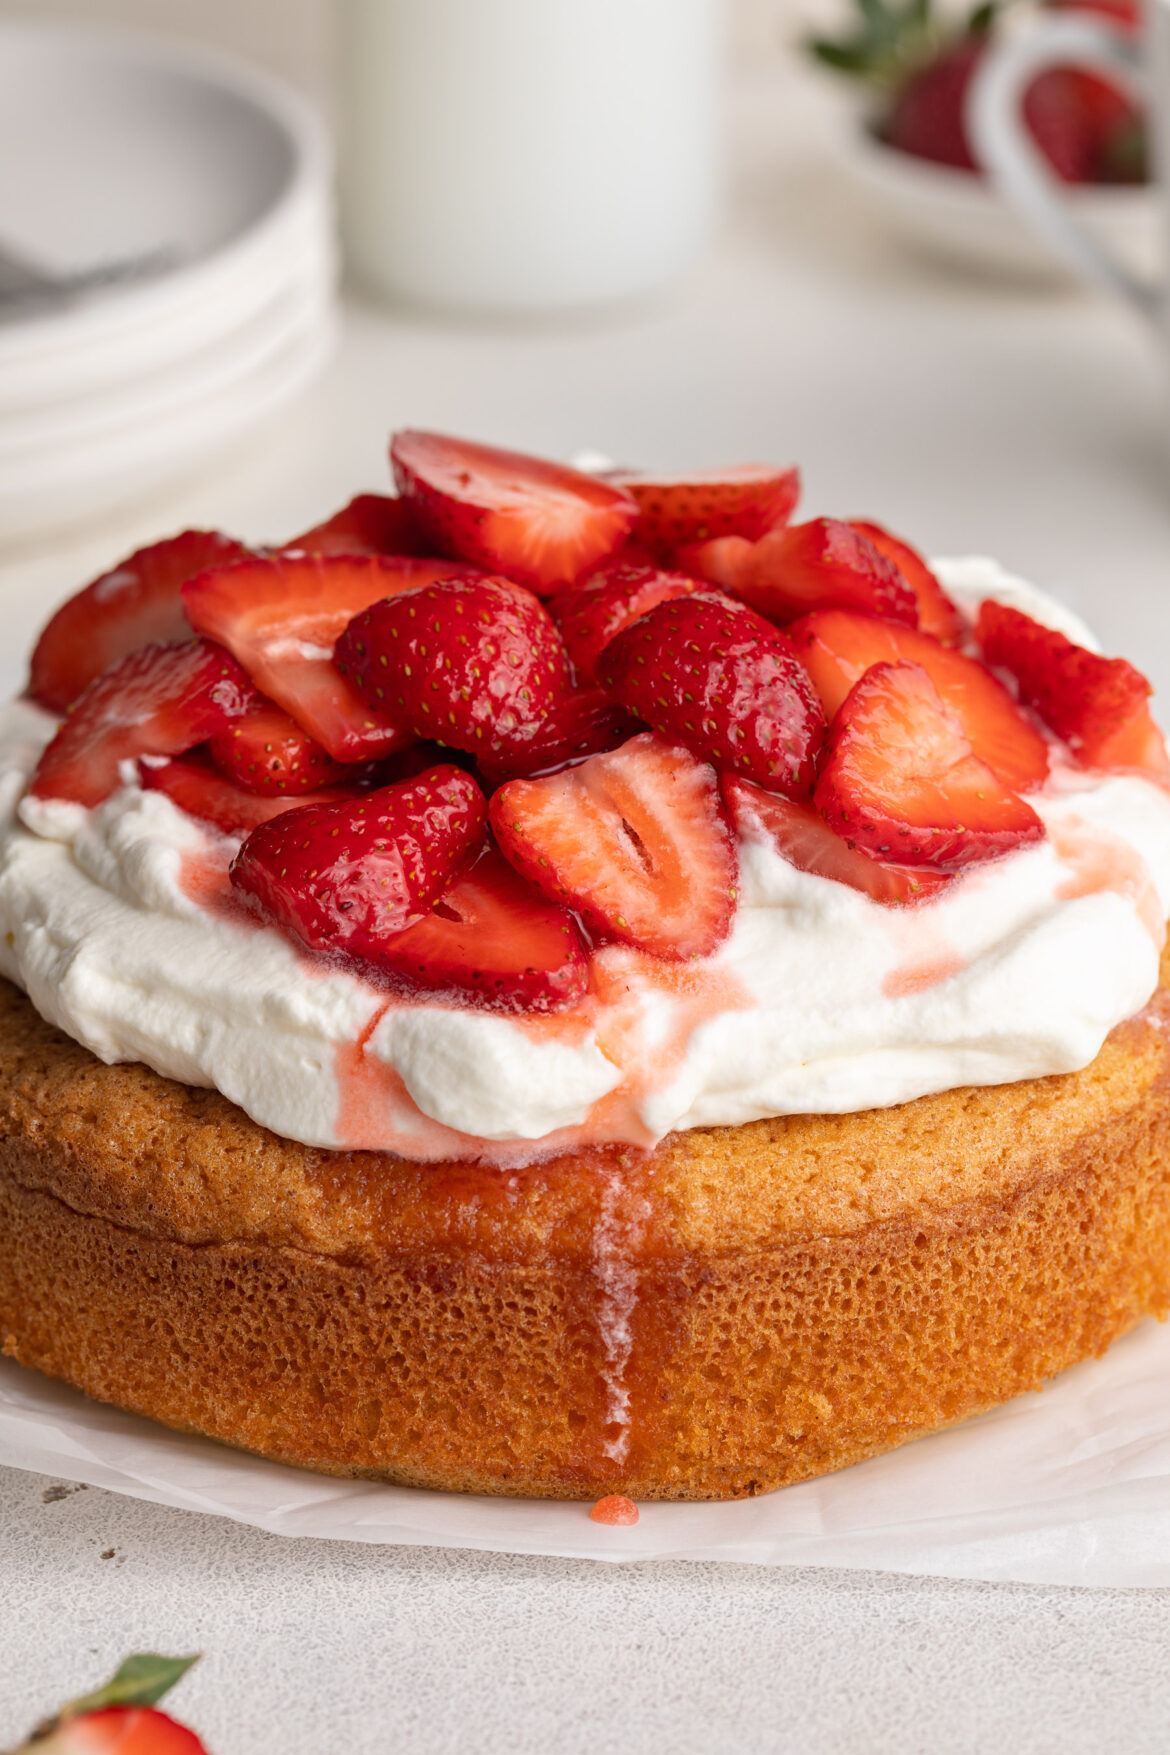
a slice of gluten-free strawberry shortcake on a plate with whipped cream and strawberries on top.

Why You’ll Love This Gluten-Free Strawberry Shortcake

  • It’s made with just 6 easy-to-find, wholesome ingredients.
  • Fluffy, soft, and sweet with the perfect balance of fresh fruit and homemade whipped cream!
  • Naturally gluten-free, with easy swaps to make it dairy-free or even keto-friendly.

Frequently Asked Questions

How do I store this gluten-free strawberry shortcake?
Store any leftover cake separately from the whipped cream and strawberries in an airtight container at room temperature for up to 2 days. Once topped, store in the fridge for up to 1 day for best texture.

Can I use a different kind of fruit?
Absolutely! Try blueberries, raspberries, peaches, or a mix of berries depending on the season.

What can I substitute for almond flour?
If you need a nut-free option, try oat flour. Note that texture and flavor may vary slightly.

gluten free strawberry shortcake on a table with whipped cream and strawberries on top.

Sam’s Recipe Tips

  • Be sure to beat the eggs and sugar until they’re superrrr airy and fluffy – this gives the cake its light, sponge-like texture.
  • Let the cake cool completely before adding the whipped cream to prevent it from melting!
  • Make the whipped cream just before serving for the fluffiest, creamiest texture.

Adjust This Recipe to Your Dietary Needs

  • Make it Dairy-Free: Use coconut cream or your favorite non-dairy whipped topping in place of heavy whipping cream.
  • Make it Keto: Replace the sugar with a keto-friendly sweetener like monk fruit or erythritol.
the inside cut of gluten free strawberry shortcake.

What Makes This the BEST Gluten-Free Strawberry Shortcake Recipe

This gluten-free strawberry shortcake is soft, simple, and super impressive. It’s a breeze to whip up in under an hour and delivers the perfect combination of sweet cake, whipped cream, and fresh fruit – no one will ever believe it’s gluten-free! Whether you’re hosting brunch or celebrating something special, this shortcake has your back.

gluten-free strawberry shortcake on a table with whipped cream and fresh strawberries on top.
5 from 1 vote

6-Ingredient Gluten Free Strawberry Shortcake

This gluten-free strawberry shortcake is the easy, light, and summery dessert you’ll want to make again and again! With just 6 simple ingredients, it’s fluffy, naturally gluten-free, and topped with a generous layer of whipped cream and sweet, juicy strawberries. It's perfect for birthdays, holidays, or any warm-weather gathering, this shortcake is a no-fuss, totally delicious crowd-pleaser!
Print Pin Rate
Prep Time: 15 minutes
Cook Time: 30 minutes
Total Time: 45 minutes
Servings: 8 servings

Equipment

  • 2 large bowls
  • 1 small bowl

Ingredients

  • 4 large eggs at room temperature
  • 1/2 cup sugar
  • 1 1/2 cups almond flour
  • 1 teaspoon baking powder

For the whipped cream:

  • 1 cup heavy whipping cream

For the strawberries

  • 1 cup fresh strawberries sliced
  • 1 tablespoon sugar

Instructions

  • Preheat oven to 350° Fahrenheit and grease a 6-inch cake pan.
  • Beat together the eggs and sugar with a hand or stand mixer on high speed until pale and thick, about 5 minutes.
  • Add in the almond flour and baking powder. Beat for another 30 seconds to one minute, until batter is just combined.
  • Transfer the batter to your prepared cake pan. Bake the cake 30-35 minutes, or until a toothpick inserted down the center of the cake comes out clean.
  • Remove cake from the pan and transfer it to a wire cooling rack to cool. While the cake cools, add the sliced strawberries and a tablespoon of sugar to a bowl, and stir until the strawberries are coated in sugar. Set the strawberries aside while you make the whipped cream.
  • Pour the heavy whipping cream into a large bowl and use a hand or stand mixer to beat the cream until it’s super light and fluffy and stiff peaks have formed (about 5 minutes).
  • Once the cake has completely cooled, top it with the homemade whipped cream then the strawberries. This cake is best served immediately!

Nutrition

Serving: 1serving | Calories: 200kcal | Carbohydrates: 10g | Protein: 5g | Fat: 16g | Sugar: 6g

Healthier sweet treats are kinda my thing. I recently set out to recreate as many of my favorite classic candy recipes to make them healthier, gluten-free, and dairy-free. My 4-ingredient healthy snickers have been a huge hit, and so have my 4-ingredient date caramels. I even made a healthy homemade butterfingers recipe for halloween last year and OMG they were gone in three days! These healthy twix bars were the obvious next choice because, well – who doesn’t love a twix?! This healthy twix bars recipe absolutely nail the classic flavors and textures we’re all addicted to when it comes to the traditional candy bar. A buttery shortbread crust, smooth and perfectly sweet caramel, and crispy chocolate shell make the perfect quick and easy sweet candy-inspired treat!

overhead image of healthy twix bars on parchment paper with flaky sea salt on top.

Why You’ll Love This Recipe

  • Made with wholesome ingredients – No refined sugars, artificial flavors, or preservatives.
  • Gluten-free, vegan, and dairy-free – Perfect for various dietary needs.
  • Easy to make – Just a few simple steps, no complicated techniques required.
  • Rich, chewy, and delicious – Just like the classic Twix bars but with a healthier twist!

What You’ll Need to Make Homemade Healthy Twix Bars

  • Almond Flour – Creates a light, buttery shortbread base while keeping the recipe gluten-free. I buy my almond flour in bulk on Amazon!
  • Coconut Oil – Used in all three layers for moisture, structure, and a silky texture.
  • Maple Syrup – Naturally sweetens the bars while adding a subtle caramel-like flavor.
  • Vanilla Extract – Enhances the sweetness and deepens the flavors of both the shortbread and caramel layers.
  • Peanut Butter – Provides a rich, creamy caramel-like texture without any refined sugar. Swap with almond or cashew butter for a different flavor.
  • Chocolate Chips – The perfect finishing touch for that classic Twix-like chocolate layer. Use dark chocolate for a richer taste!
close up image of healthy twix bars with flaky salt on top.

How to Make Healthy Twix Bars

  1. Prepare the Shortbread: Mix almond flour, melted coconut oil, maple syrup, and vanilla extract. Press into a lined 9×9-inch pan and bake at 350°F for 10 minutes. Let cool.
  2. Make the Caramel Layer: Heat peanut butter, coconut oil, maple syrup, and vanilla extract in a saucepan until smooth and bubbly. Pour over the shortbread layer and refrigerate until set.
  3. Melt the Chocolate: Melt chocolate chips with coconut oil, then spread over the caramel layer. Refrigerate again until firm.
  4. Slice & Enjoy! Remove from the fridge, cut into bars, and sprinkle with flaky sea salt if desired.

Frequently Asked Questions

  • Can I use regular flour? – No, almond flour is key to the texture and gluten-free nature of this recipe.
  • Can I make these nut-free? – Yes! Swap almond flour for oat flour and use sunflower seed butter instead of peanut butter.
  • What makes these “healthy”? – These bars use natural sweeteners, healthy fats, and no processed ingredients.
  • How do I store them? – Keep them in an airtight container in the fridge for up to a week or freeze for up to 3 months!
healthy twix bar with a bite taken out.

Sam’s Recipe Tips

  • For a crispier shortbread layer, bake for an extra 2-3 minutes.
  • Want a thicker caramel layer? Add an extra ¼ cup of peanut butter!
  • Use dark chocolate for a richer, more intense chocolate flavor.
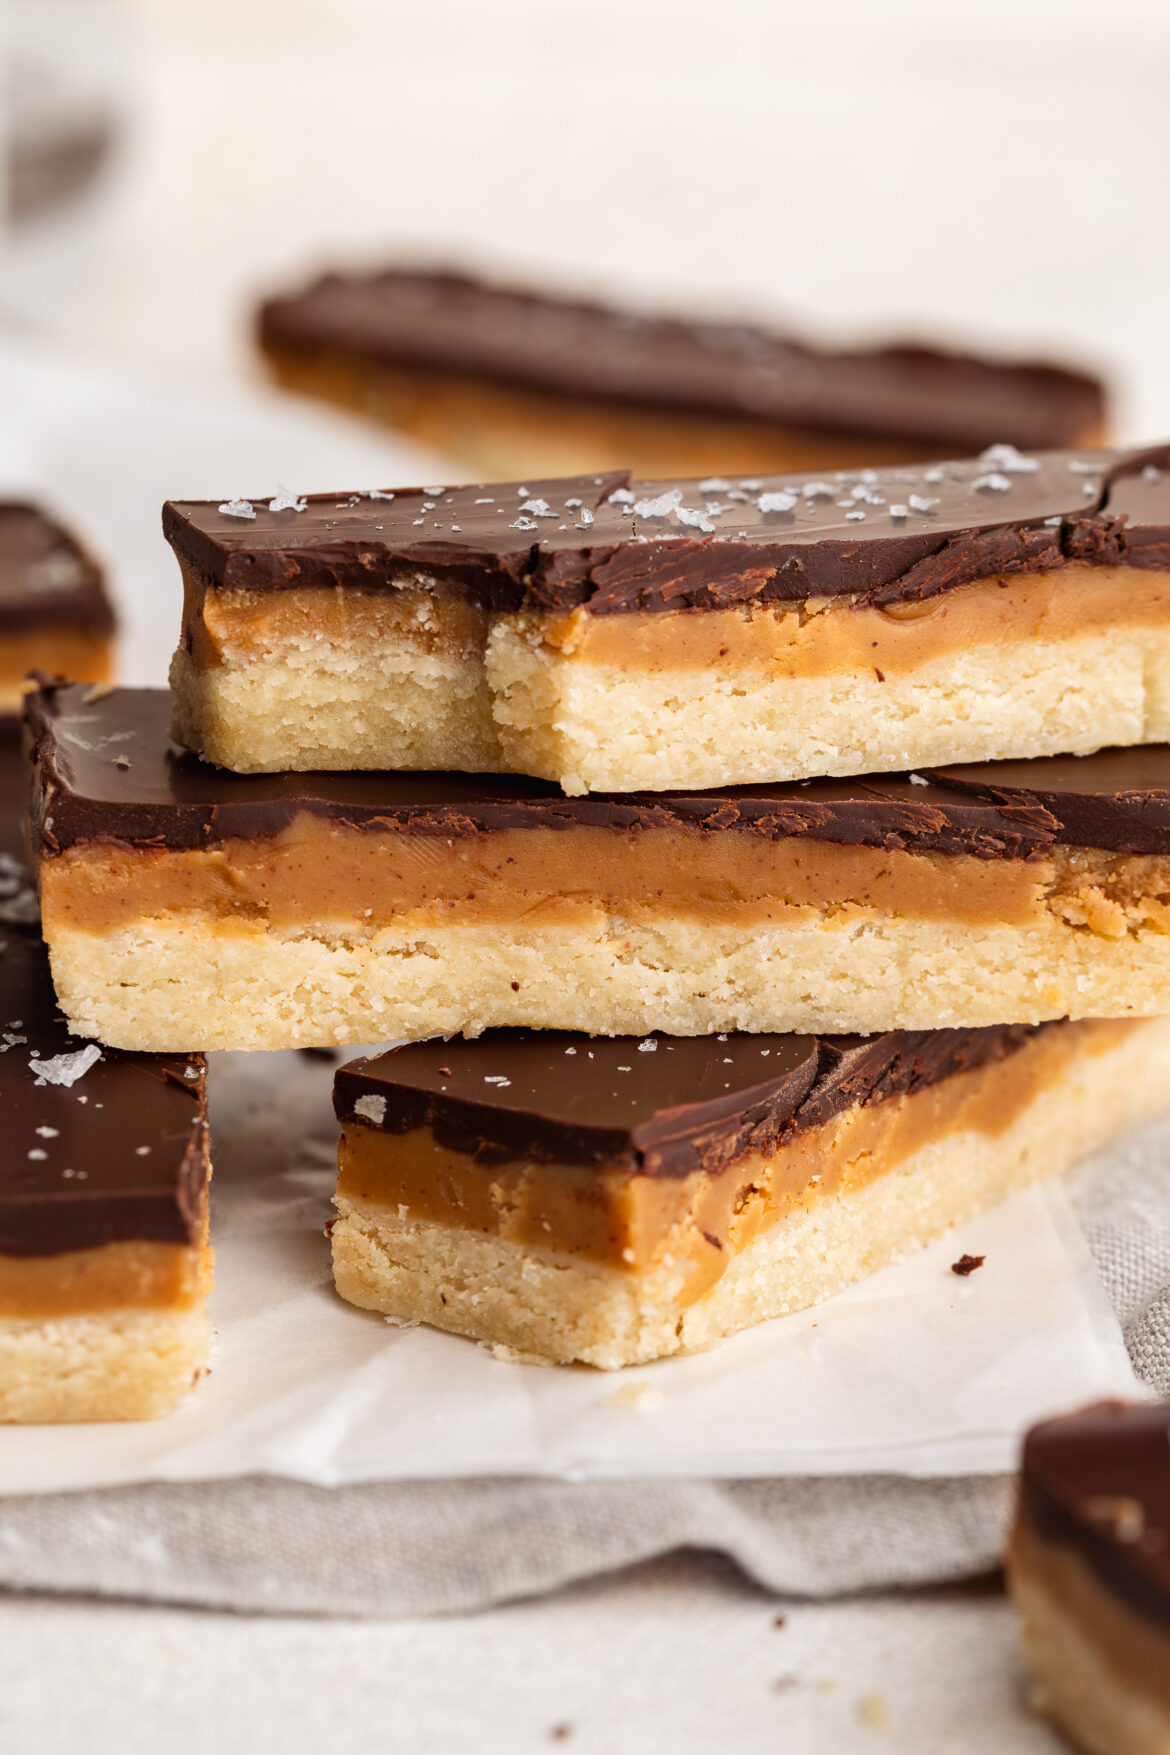
healthy twix bars stacked on top of each other with flaky salt on top.
5 from 13 votes

6-Ingredient Healthy Twix Bars

These homemade Healthy Twix Bars are made with just six simple ingredients, featuring a buttery almond flour shortbread, creamy peanut butter caramel, and a rich dark chocolate topping. They’re gluten-free, vegan, dairy-free, and naturally sweetened, making them a better-for-you sweet treat!
Print Pin Rate
Prep Time: 15 minutes
Cook Time: 13 minutes
Total Time: 28 minutes
Servings: 16 servings

Equipment

  • 1 9×9-inch baking pan
  • 1 large bowl
  • 1 small saucepan

Ingredients

For the shortbread layer:

  • 2 cups almond flour
  • 1/4 cup melted coconut oil
  • 1/4 cup maple syrup
  • 1 teaspoon vanilla extract

For the caramel layer:

  • 3/4 cup creamy peanut butter unsweetened
  • 1/4 cup coconut oil
  • 1/4 cup maple syrup
  • 1 teaspoon vanilla extract

For the chocolate layer:

  • 1 cup chocolate chips I used dark chocolate chips
  • 1 tablespoon coconut oil
  • flaky salt for topping (optional)

Instructions

  • Preheat oven to 350° Fahrenheit and line a 9×9-inch baking pan with parchment paper.
  • Add all shortbread ingredients to a large bowl and mix to combine. Then, transfer the crust to your prepared baking pan and press the crust down into an even layer over the base of the pan. Bake for 10 minutes or until lightly golden brown around the edges. Leave the shortbread to cool for at least 10 minutes before adding the caramel.
  • Make the caramel layer by adding all caramel ingredients to a small saucepan over medium-low heat. Whisk the mixture together, and continue whisking as it heats up and starts to gently bubble.After 2 minutes, remove the caramel from the heat and pour over the cooled shortbread crust. Transfer the baking pan to the fridge to allow the peanut butter to set for at least 30 minutes and up to one hour. Once the caramel is completely set and firm to the touch, make the chocolate layer.
  • To make the chocolate layer, melt together the chocolate chips and coconut oil in either the microwave or over a double boiler until completely smooth. Pour the melted chocolate over the caramel and gently spread into an even layer. Transfer the pan back to the fridge to set one last time for about 30 minutes or until the chocolate has hardened. Remove the twix bars from the fridge, then remove them from the pan and cut into 16 “full size” bars or 32 “mini” bars.

Nutrition

Serving: 1bar | Calories: 218kcal | Carbohydrates: 15g | Protein: 4g | Fat: 17g | Sugar: 11g