
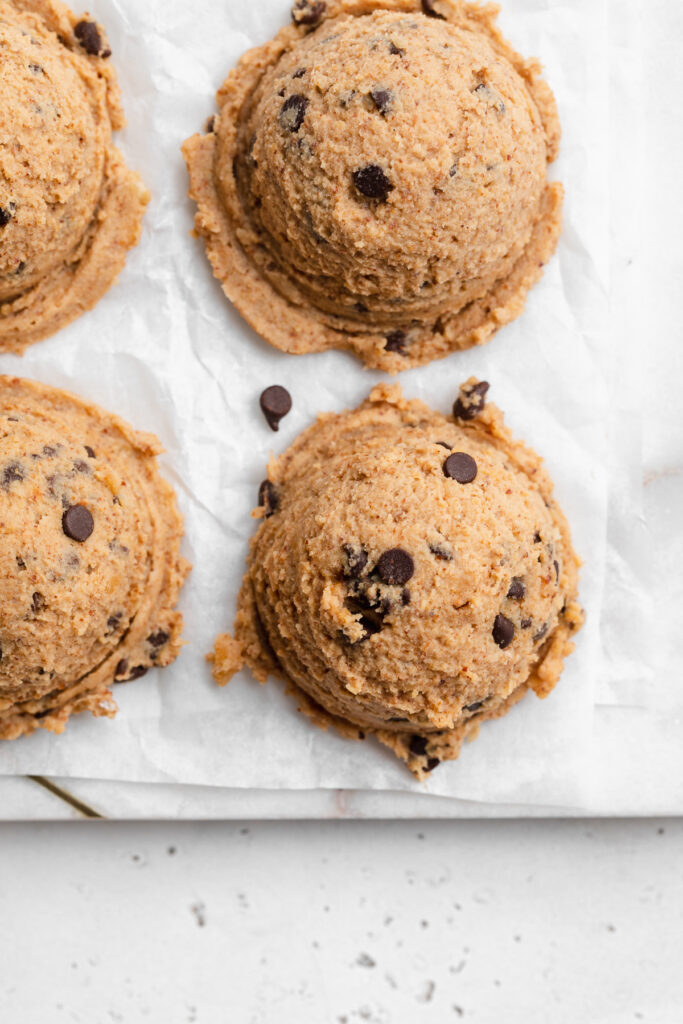
The healthiest raw cookie dough you’ll ever eat, made from chickpeas! Lightly sweetened with maple syrup, and loaded with extra chocolate chips. This chickpea cookie dough is vegan, gluten-free, super healthy, and totally delicious.
What You’ll Need To Make Chickpea Cookie Dough
Chickpeas – An entire can of chickpeas is the base to this healthy cookie dough recipe! Drain and rinse your chickpeas well before adding them to the blender. And for a smoother cookie dough, remove the skins off your chickpeas.
Nut or Seed Butter – I used almond butter, but any nut or seed butter will work in this recipe. Peanut butter, cashew butter, or even sunflower seed butter! Though whichever nut/seed butter you use, make sure it’s unsweetened.
Maple Syrup – This unrefined sweetener add sweetness, but keeps this vegan dessert recipe extra healthy. Though if you’d like, you can use honey, agave nectar, or even date syrup instead.

Tips and Tricks
- This chickpea cookie dough is high in plant-based protein! However, if you’d like to add even more protein, throw in a scoop of your favorite vanilla plant-based protein powder. I recommend the Aloha Vanilla Protein Powder, it’s not too sweet and won’t throw off the flavor of this healthy dessert recipe.
- Enjoy it however you’d like! By the spoonful, over ice cream, as breakfast, a snack, or dessert.
- Taste and adjust the flavor of this edible cookie dough however you’d like. For more sweetness, add in a touch more maple syrup. Or, for a thicker consistency, blend in an extra tablespoons of almond flour.

Adjust This Recipe To Your Dietary Needs
Make it Nut-Free: For a nut-free version of this chickpea cookie dough, replace the almond flour with 3 tablespoons of coconut flour, and use sunflower seed butter.
Make it Sugar-Free: For an entirely sugar-free healthy dessert, use your favorite sugar-free liquid sweetener in place of the maple syrup. Also, replace the chocolate chips with cacao nibs!

")


")


