Tag

chickpeas

Browsing

I know what you’re thinking – yogurt for breakfast is supposed to be sweet, but hear me out… this savory yogurt bowl is about to completely change the way you think about your morning meal! Creamy Greek yogurt topped with crispy roasted chickpeas, fresh avocado, juicy tomatoes, crunchy cucumber, and a perfectly boiled egg. It’s fresh, filling, packed with protein and healthy fats, and honestly one of the most satisfying breakfasts I’ve ever had! It tastes like something you’d order at your favorite brunch spot, but it comes together in just 30 minutes at home.

If you’re stuck in a breakfast rut – same smoothie, same overnight oats, same avocado toast on repeat – this is the recipe to shake things up! It’s the perfect way to switch up your morning routine with something that’s genuinely nourishing, surprisingly delicious, and totally different from anything else in your rotation. Pair it with my High-Protein Breakfast Biscuits for an extra protein boost, or serve it alongside my La Scala Chopped Salad for a light and satisfying lunch.

Why You’ll Love This Savory Yogurt Bowl

  • The perfect way to switch up your boring breakfast. If you eat the same thing every morning, this savory yogurt bowl is your sign to mix it up. It’s unexpected, exciting, and so delicious that you’ll genuinely look forward to breakfast again.
  • Packed with protein, veggies, fiber, and healthy fats. Greek yogurt, a soft-boiled egg, and crispy chickpeas deliver serious protein. Avocado brings healthy fats. Tomatoes and cucumber add freshness and fiber. This bowl truly does it all.
  • Surprisingly delicious. I know savory yogurt sounds a little unusual, but don’t knock it until you try it! The creamy, tangy yogurt is the perfect backdrop for the crispy chickpeas and fresh toppings – the combination just works.
  • Easy and quick to make. The crispy chickpeas take about 25 minutes to roast, but everything else comes together in minutes. Soft-boil your egg while the chickpeas roast and you’re ready to assemble right away.
  • Healthy and genuinely satisfying. This bowl will keep you full for hours – no mid-morning crash, no snacking before lunch. It’s the kind of breakfast that actually fuels your day!
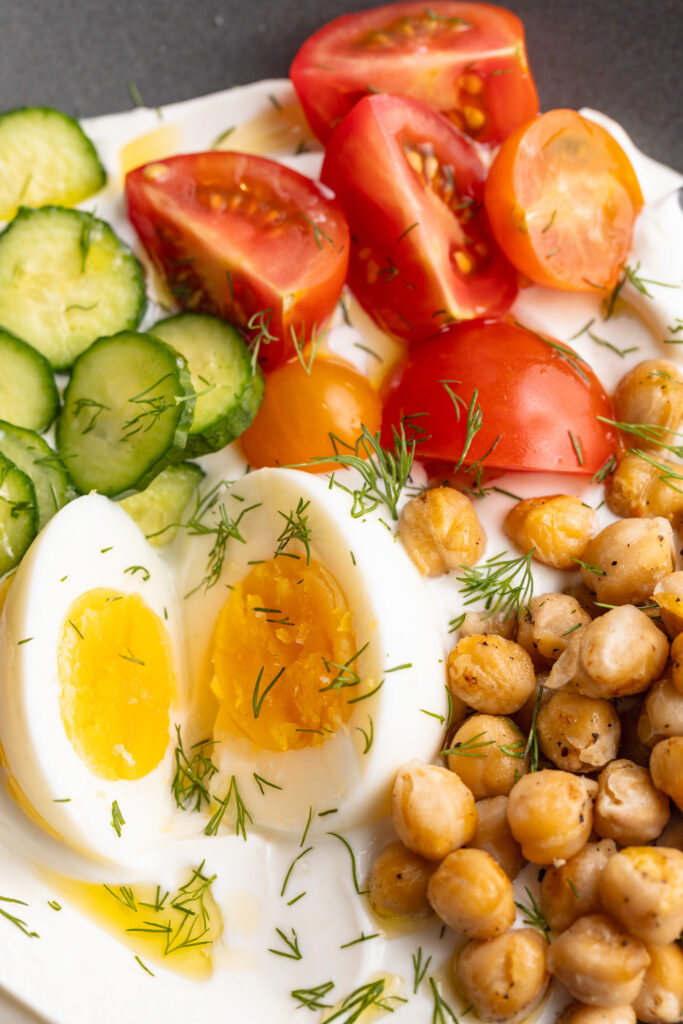
close up image of the toppings in a savory yogurt bowl.

Recipe Variations and Substitutions

  • Greek Yogurt: Any plain, full-fat yogurt works here – regular, dairy-free coconut yogurt, or even a thick labneh for an extra tangy, creamy base. For a dairy-free version, a thick plant-based yogurt like coconut or cashew yogurt both work well.
  • Egg: Not an egg fan? Skip it entirely – the bowl is still incredible without it. Hard-boiled eggs work too if you prefer a fully cooked yolk. For extra protein, add a few slices of smoked salmon instead.
  • Chickpeas: Short on time? Use canned chickpeas warmed in a skillet with olive oil and spices instead of roasting, or swap for white beans, lentils, or edamame.
  • Vegetables: This bowl is endlessly customizable. Swap the tomato and cucumber for whatever fresh vegetables you have on hand – radishes, roasted red peppers, shredded carrots, roasted sweet potato, or baby spinach all work beautifully.
  • Avocado: Not an avocado fan? Try hummus, a drizzle of tahini, or a handful of olives instead for a similar richness.
  • Add More Flavor: A sprinkle of everything bagel seasoning, za’atar, or red pepper flakes on top of the yogurt takes this bowl to an entirely different level. Highly recommended!
  • Make it a Meal Prep Breakfast: Roast a big batch of chickpeas at the beginning of the week (they keep for 3–4 days in an airtight container at room temperature) and keep all your toppings prepped in the fridge. In the morning, all you need to do is assemble – it takes under 5 minutes!
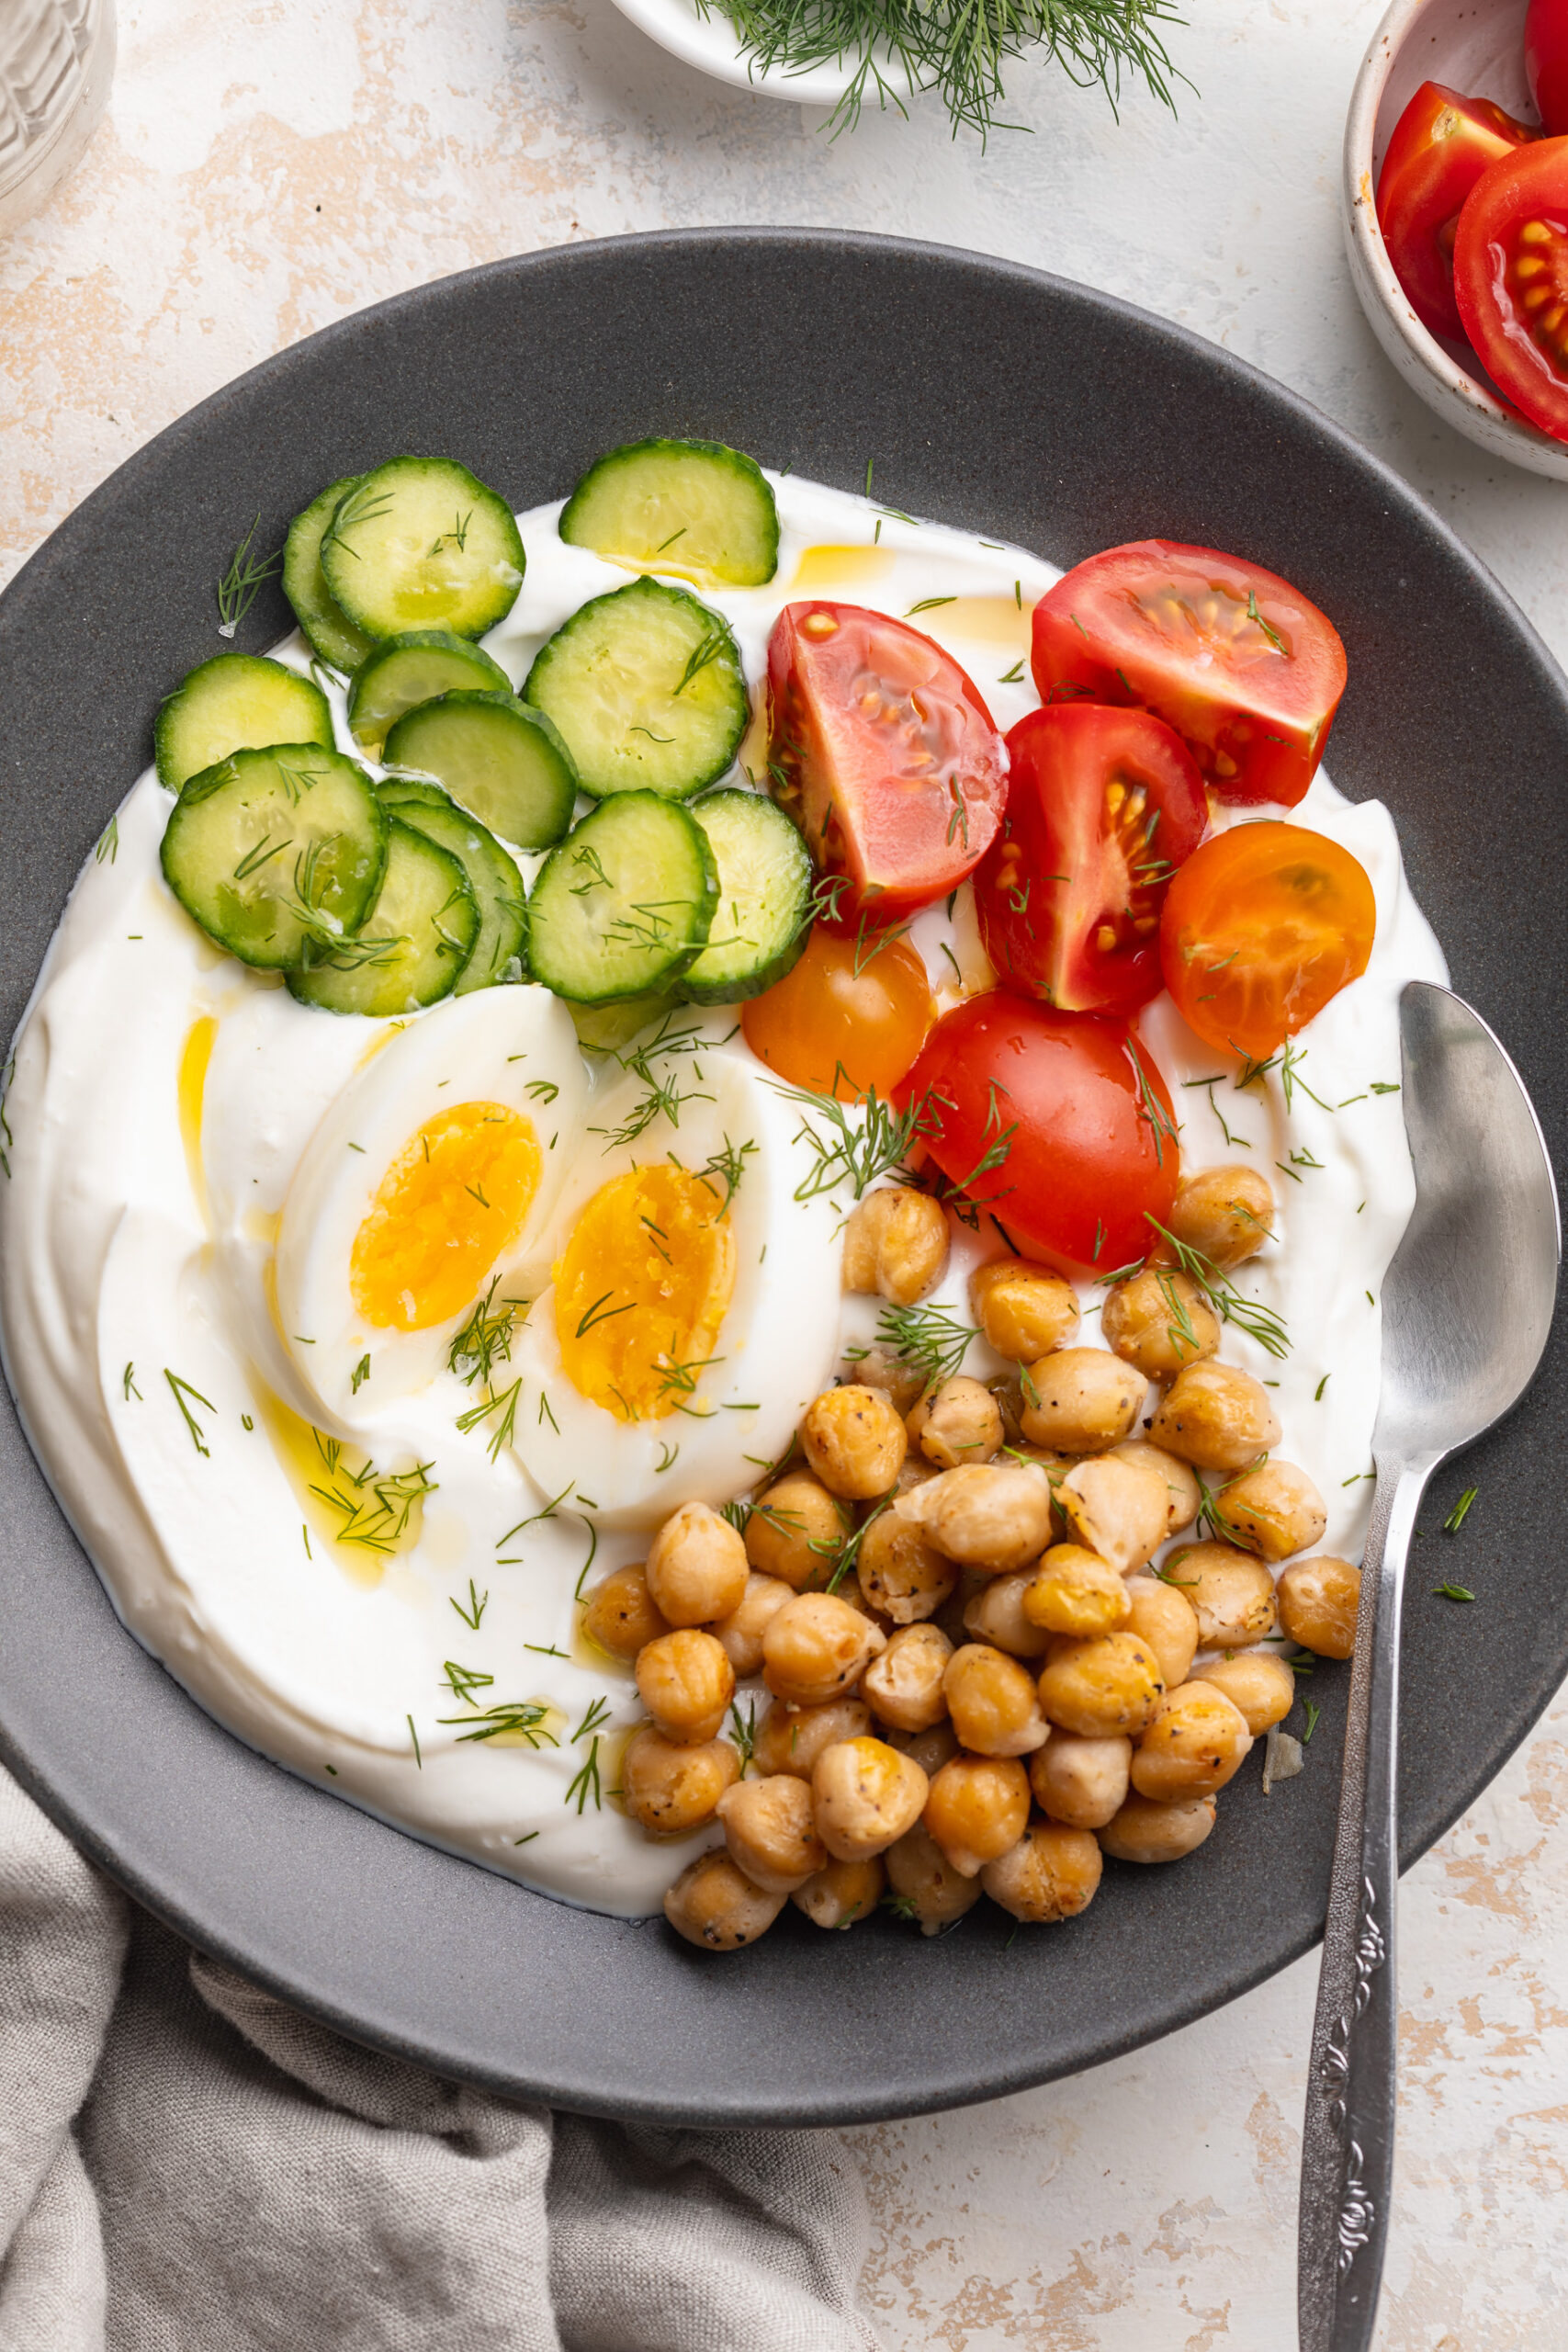
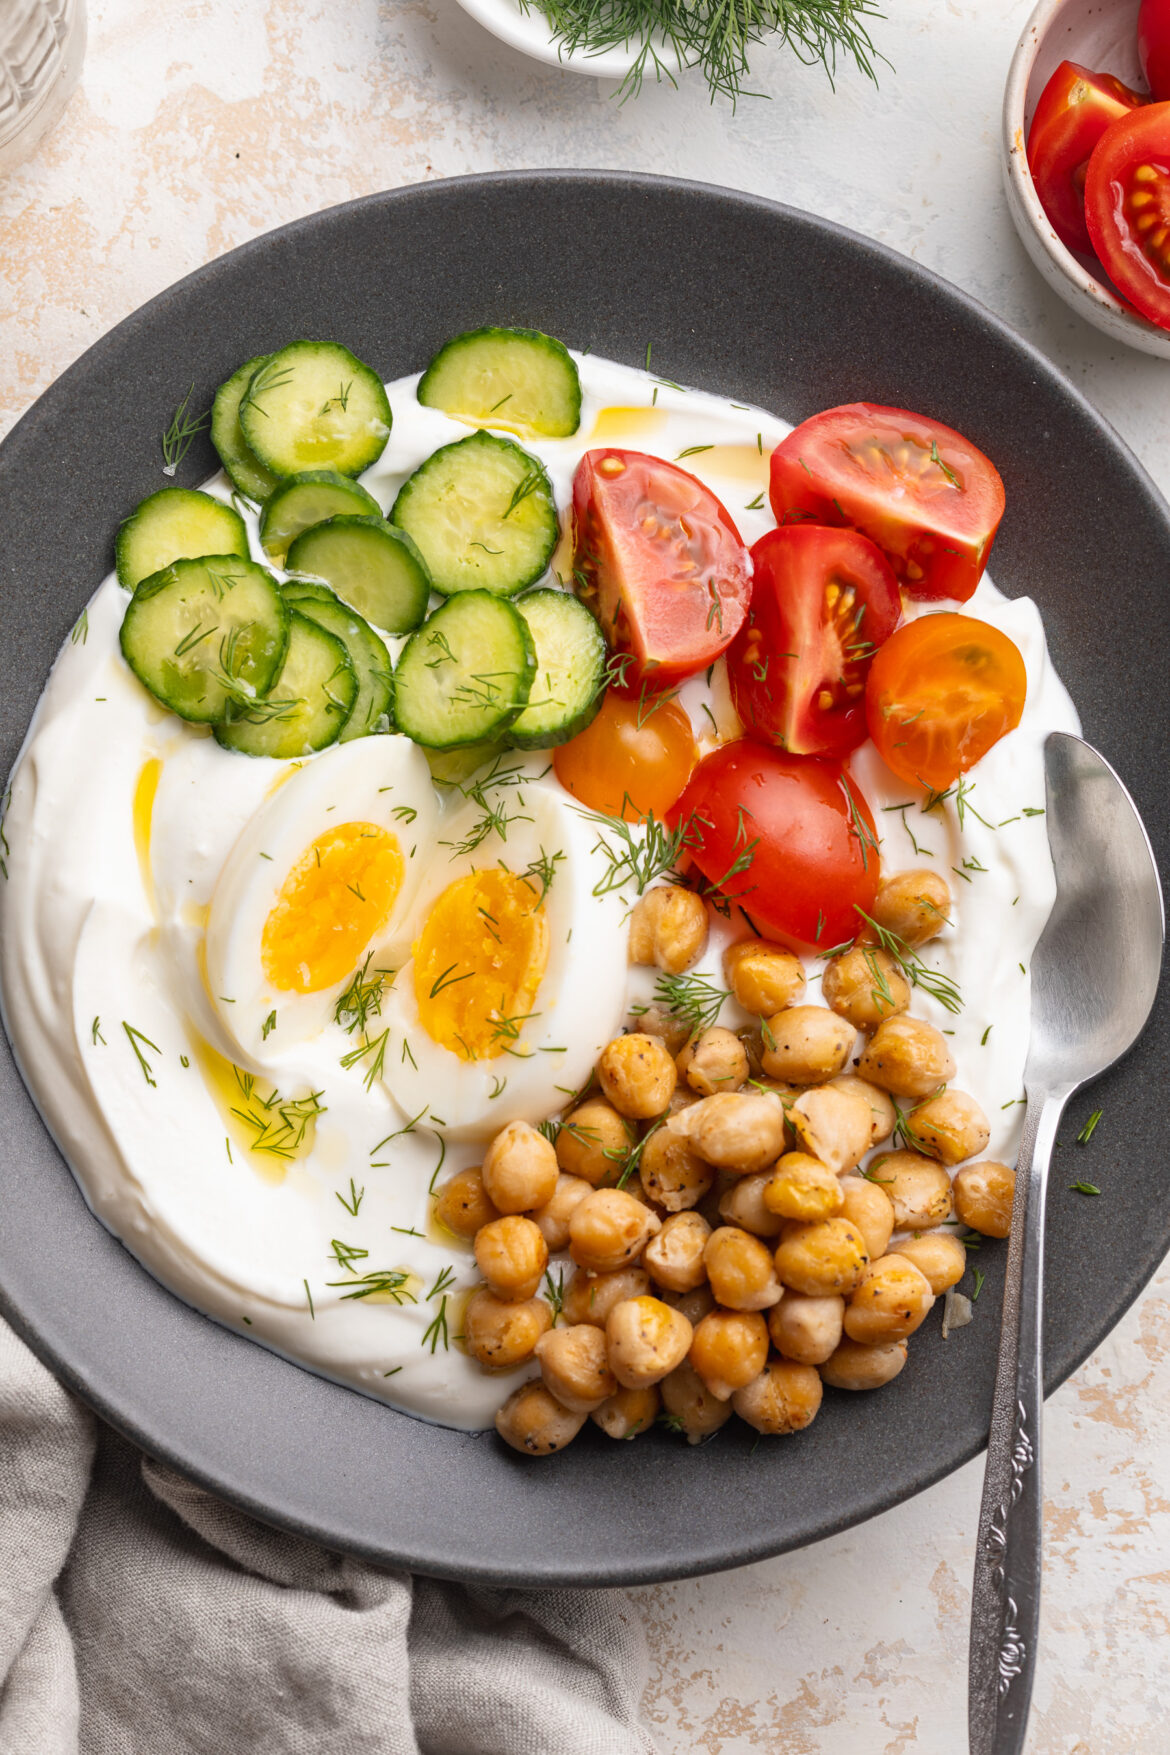
overhead image of a savory yogurt bowl on a table with a spoon.
No ratings yet

Savory Yogurt Bowl (25g+ protein!)

This savory yogurt bowl is a fresh, filling, and surprisingly delicious twist on your usual morning routine – topped with crispy roasted chickpeas, a jammy soft-boiled egg, avocado, tomatoes, and cucumber for a breakfast that's packed with protein, healthy fats, and feel-good ingredients! It comes together in just 30 minutes and tastes like something you'd order at a fancy brunch spot, but it's super EASY to make at home. If you've been stuck in a breakfast rut and are looking for a healthy protein-packed breakfast recipe that will actually keep you full all morning, this is it!
Print Pin Rate
Prep Time: 5 minutes
Cook Time: 25 minutes
Total Time: 30 minutes
Servings: 1 serving

Equipment

  • 1 baking pan
  • 1 serving bowl

Ingredients

  • 1/2 – 1 cup Greek yogurt
  • 1 boiled egg cooked to your liking!
  • 1/2 cup chickpeas
  • 1/4 avocado sliced or diced
  • 1/4 cup cherry tomatoes
  • 1/4 cup cucumber thinly sliced or diced
  • olive oil for roasting and drizzling
  • salt, pepper, garlic powder to taste
  • flaky sea salt to finish

Instructions

  • Preheat oven to 400°F. Pat chickpeas dry, toss with olive oil, salt, pepper, and garlic powder, and roast for 20–25 minutes until crispy.
  • Soft-boil the egg in boiling water for 6–7 minutes, then transfer to an ice bath for 5 minutes. Peel and slice in half.
  • Spoon Greek yogurt into a shallow bowl and spread to the edges. Drizzle with olive oil and a pinch of salt.
  • Top with crispy chickpeas, soft-boiled egg, avocado, tomato, and cucumber.
  • Finish with a drizzle of olive oil, flaky sea salt, and black pepper. Serve immediately!

Notes

  • Pat the chickpeas completely dry before roasting for the crispiest result.
  • Use full-fat Greek yogurt for the richest, creamiest base.
  • Add za’atar, everything bagel seasoning, or red pepper flakes on top for extra flavor.
  • For meal prep, roast a big batch of chickpeas and store at room temperature for up to 3–4 days.
  • Assemble just before eating — the yogurt will get watery if left to sit with the toppings for too long.

Nutrition

Serving: 1serving | Calories: 420kcal | Carbohydrates: 28g | Protein: 25g | Fat: 25g | Fiber: 8g | Sugar: 6g

I found myself in a salad rut recently. While I LOVE my buffalo chicken salad, it was getting kinda old. So I switched things up this week and added this La Scala chopped salad into the rotation, along with another reader fave, the Jennifer Aniston salad. I simply assemble the salad, portion it into four containers, then store the dressing separately – and it’s been awesome having a quick and easy lunch ready to go every day of the week!

If it’s good enough for a Kardashian, then it’s good enough for me! That’s my motto when it comes to this salad. While I haven’t personally been able to try the original La Scala chopped salad, I scoured the internet for the exact ingredients and recipe to bring you this incredibly delicious replica. It’s fresh, crunchy, full of flavor, and super easy to make. I just know you’re going to love it!

overhead image of la scala chopped salad in a bowl with parmesan cheese on the side.

What You’ll Need to Make the La Scala Chopped Salad

Lettuce – Any crunchy lettuce will work! La Scala uses iceberg lettuce, but I prefer romaine (it has more flavor, in my opinion). Whatever lettuce you use, chop it into small pieces – just like La Scala does!

Chickpeas – Drain and rinse a can of chickpeas, then add to your salad. Chickpeas offer a nice bit of protein to this easy lunch recipe. However, if you don’t have chickpeas, feel free to use any white bean you’d like. Navy beans or cannelloni beans would also taste great!

Italian Salami – Chopped Italian salami adds so much flavor to La Scala’s chopped salad. I recommend using deli salami, and slicing it into strips. Or, you can buy a whole salami, then fully slice it yourself! For a vegetarian/meatless salad, simply leave the salami out.

Mozzarella Cheese – Fresh shredded mozzarella is best, but pre-shredded works as well!

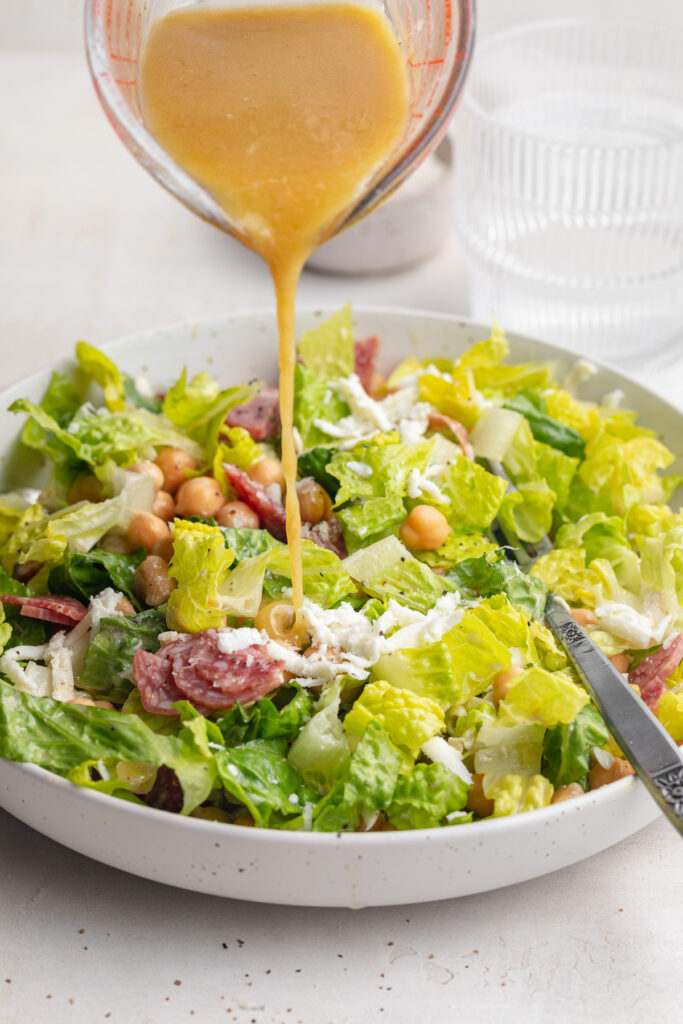
dressing being poured over la scala chopped salad.

Tips and Tricks

  • To meal prep this salad, simply make the salad and divide it between four containers. Then, whisk together the dressing and store separately. When ready to eat, pour dressing over your salad and enjoy!
  • This La Scala chopped salad is gluten-free! However, if you want a little extra crunch, a small handful of croutons makes a delicious addition to this salad.
  • This “Kardashian” salad recipe is also great for a crowd! Toss together in a big bowl, then bring it to your next potluck or dinner party. Everyone will go crazy for this hearty and oh-so satisfying side dish!
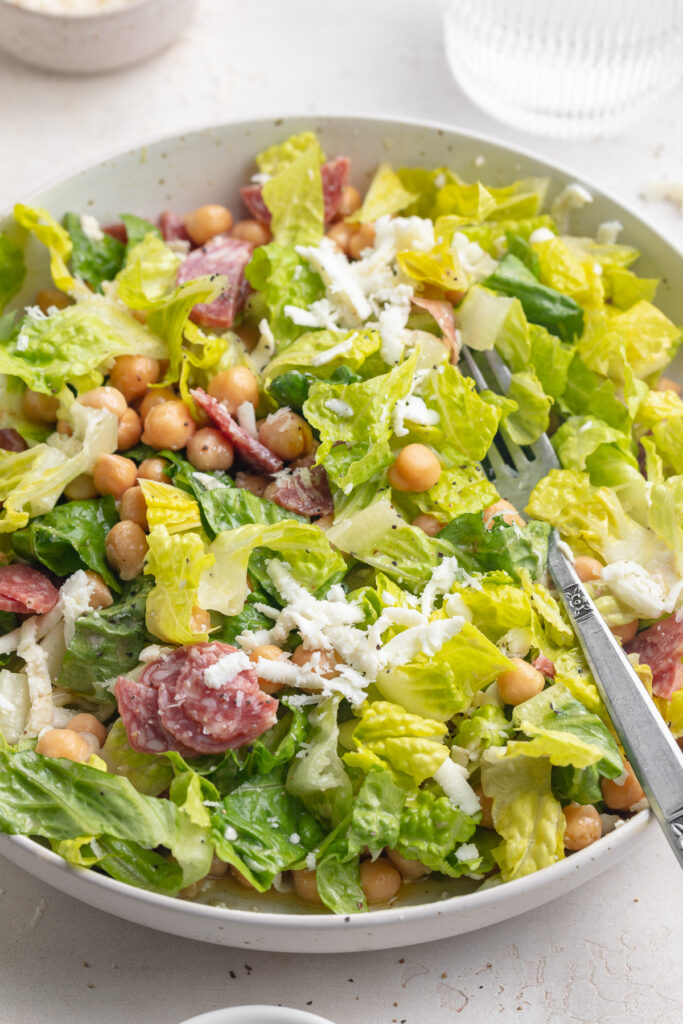
la scala chopped salad in a bowl with a fork.

Adjust This Recipe to Your Dietary Needs

Make it Vegan: For a completely plant-based La Scala salad, simply leave out the salami and swap the cheeses for your favorite vegan cheeses. I love Myoko’s Cashew Milk Mozzarella and Violife’s Vegan Parmesan Cheese!

Make it Dairy-Free: Similar to the vegan options, either swap out the cheeses for your favorite non-dairy cheeses, or leave them out of this salad recipe altogether.

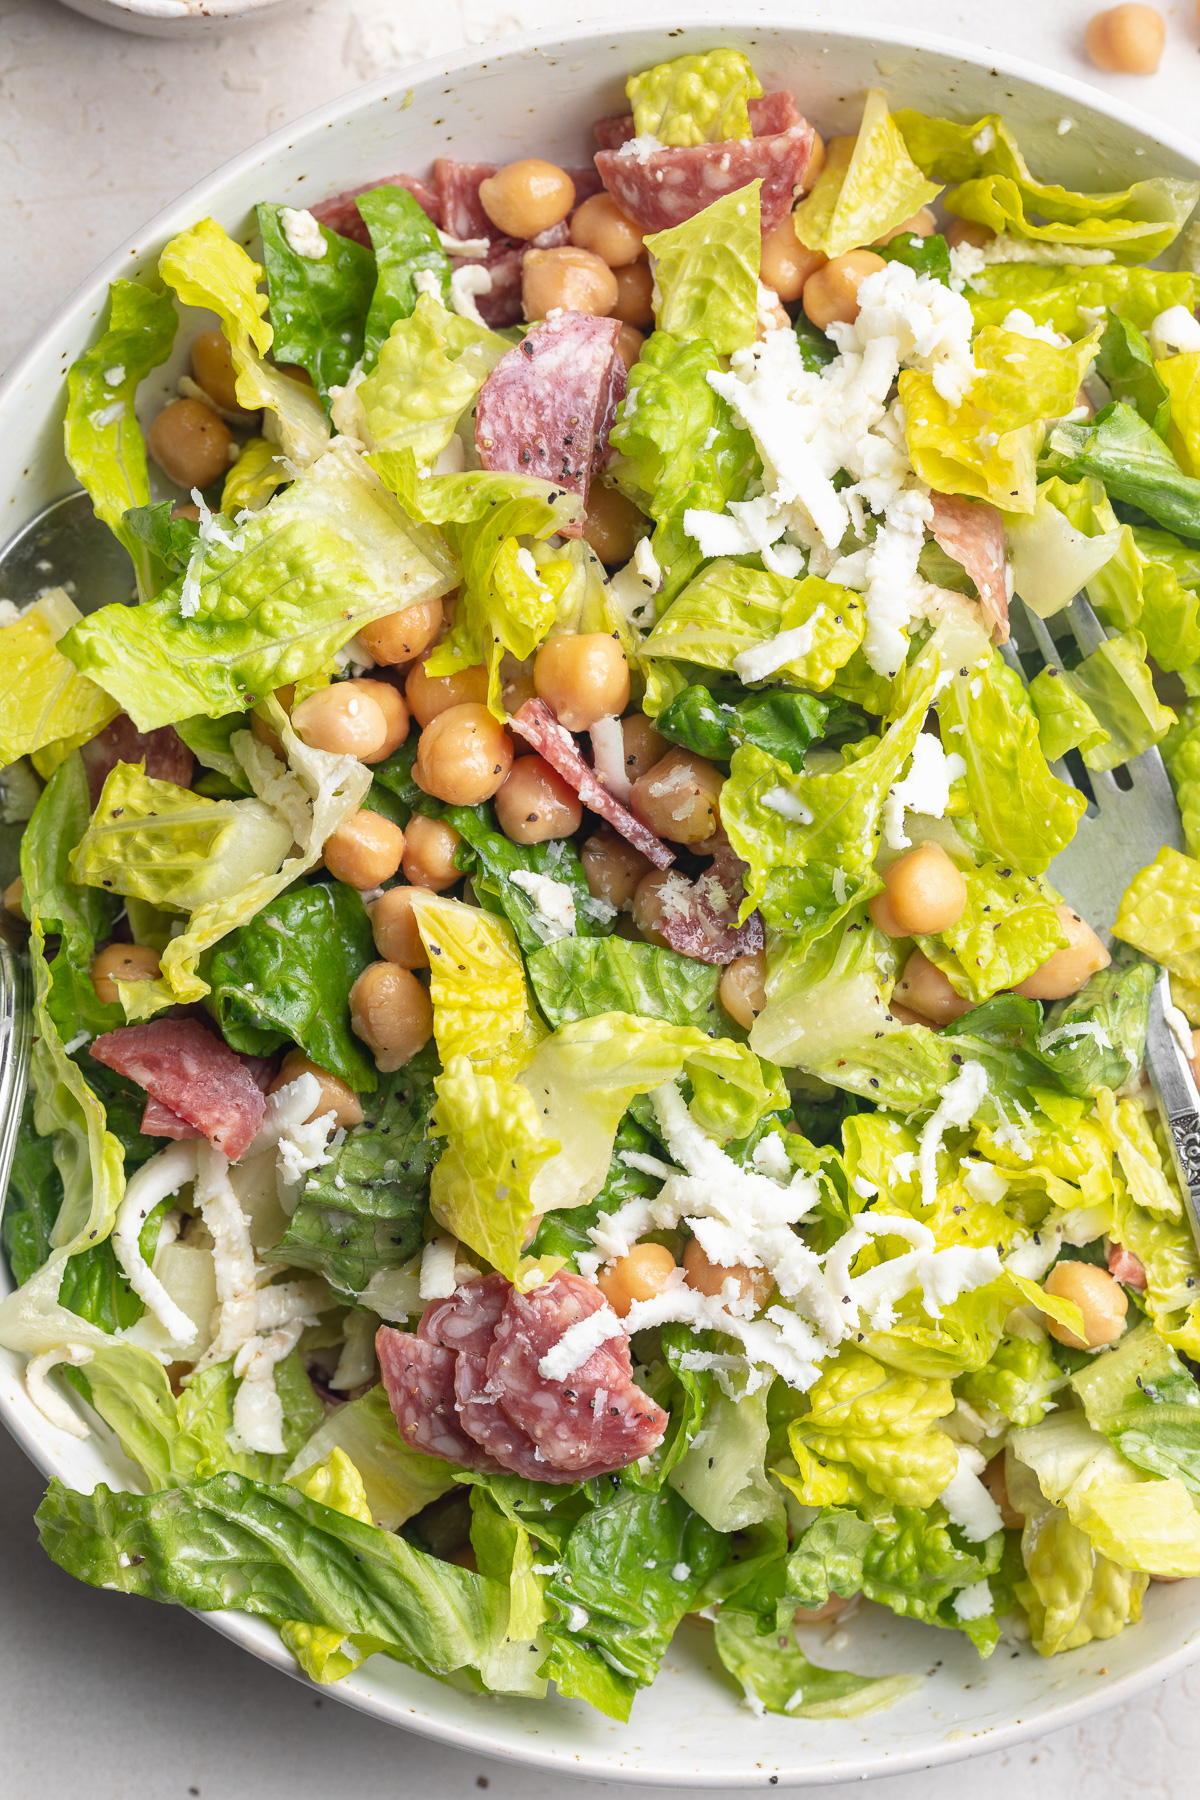
close-up overhead image of la scala chopped salad
3.64 from 90 votes

La Scala Chopped Salad aka “The Kardashian Salad”

The La Scala chopped salad is widely known as a Kardashian favorite – and it’ll quickly become your favorite, too! Super quick and easy to make, with only a handful of simple ingredients. Make this famous Los Angeles salad at home in just 5 minutes.
Print Pin Rate
Prep Time: 10 minutes
Total Time: 10 minutes
Servings: 4 servings

Ingredients

  • 1 head lettuce, finely chopped (iceberg, romaine, etc.)
  • 1 (15 ounce) can chickpeas, drained and rinsed
  • 1/2 pound Italian salami, chopped
  • 1 cup freshly shredded mozzarella cheese

For the dressing:

  • 1/2 cup olive oil
  • 1/4 cup red wine vinegar
  • 1 tablespoon Dijon mustard
  • 1/2 teaspoon salt
  • 1/2 teaspoon black pepper
  • 1/4 cup grated parmesan cheese

Instructions

  • Add all salad ingredients to a large bowl and toss.
  • Add all dressing ingredients to a small bowl and whisk to combine.
  • Drizzle dressing over salad right before serving.

Nutrition

Calories: 300kcal

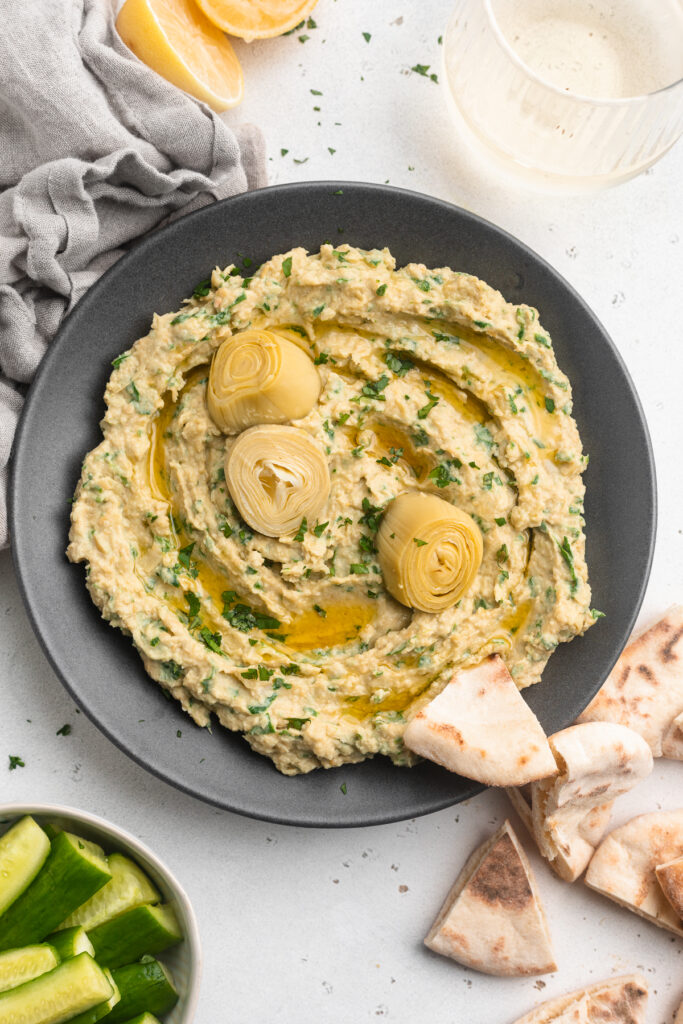
The BEST of both worlds! Super easy and ultra delicious spinach artichoke hummus. One of my all-time favorite healthy snacks or appetizers!

overhead image of spinach artichoke hummus with pita, cucumber, and white wine on the side.

What You’ll Need to Make Spinach Artichoke Hummus

Chickpeas – I used canned chickpeas, but feel free to soak and boil your own for this recipe. However, canned chickpeas makes things extra easy on you (which I highly recommend!).

Tahini – Every good hummus recipe has tahini! Never heard of tahini? It’s just ground sesame seeds. It’s also super easy to find at most grocery stores, typically located in the ethnic food aisle. This is the tahini brand I use and love in this spinach artichoke hummus!

Baby Spinach – Use fresh, not frozen spinach in this healthy snack recipe! Lucky for us, fresh spinach is loaded with good-for-you vitamins and minerals.

Canned Artichoke Hearts – Either whole or quartered canned artichoke hearts will work. I used these Cento artichoke hearts, and they were delicious. Also, if you have any leftover artichoke hearts, they make a great addition to salads and charcuterie boards!

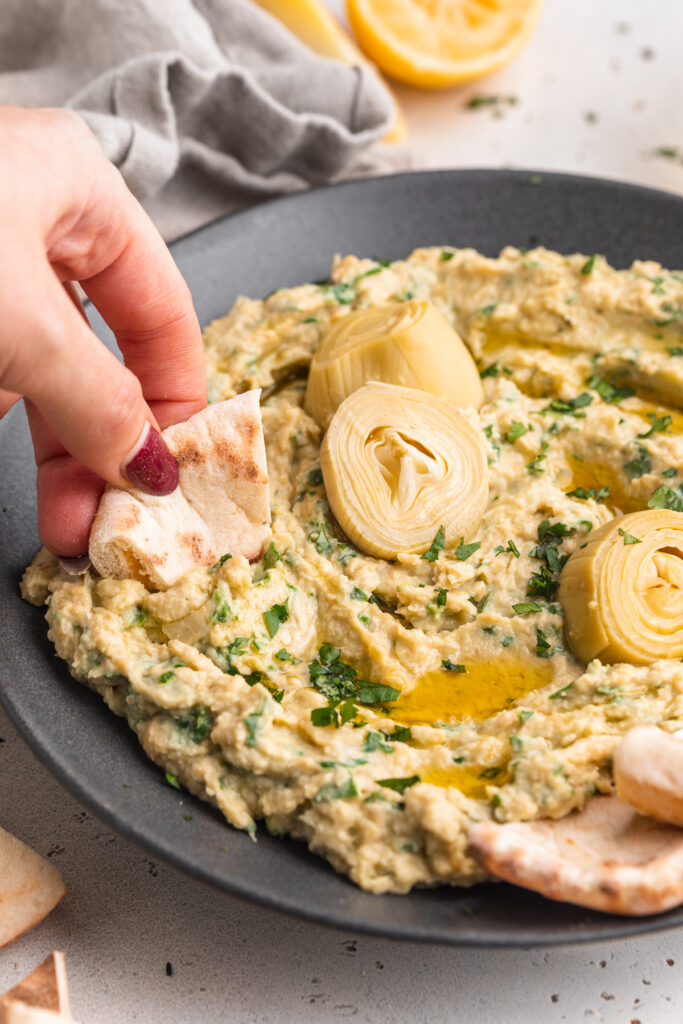
pita being dipped into spinach artichoke hummus.

Tips and Tricks

  • Once you add the spinach and artichokes, pulse the hummus only a few times. Too much pulsing will completely puree the spinach and artichokes. Instead, to achieve that finely chopped texture you get in a spinach artichoke dip, give your food processor just a few quick pulses.
  • Taste the hummus after the first step! This is the best time to adjust/add any seasonings you’d like. For an extra tangy hummus, add in a bit more lemon juice. Or, for a super garlicky hummus, add in another clove or two of garlic.
  • This spinach artichoke hummus dip will stay fresh in an airtight container in the fridge for up to 5 days. Enjoy it all week long with pita, pita chips, fresh veggies, or simply by the spoonful!
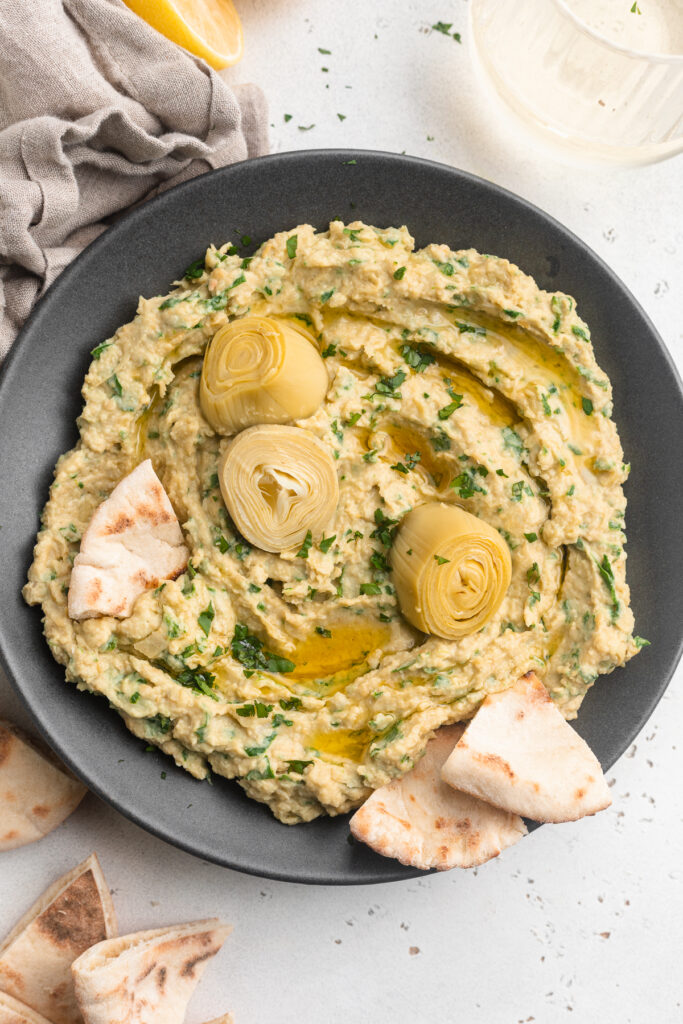
overhead image of spinach artichoke hummus with pita on the side.

This Recipe Is…

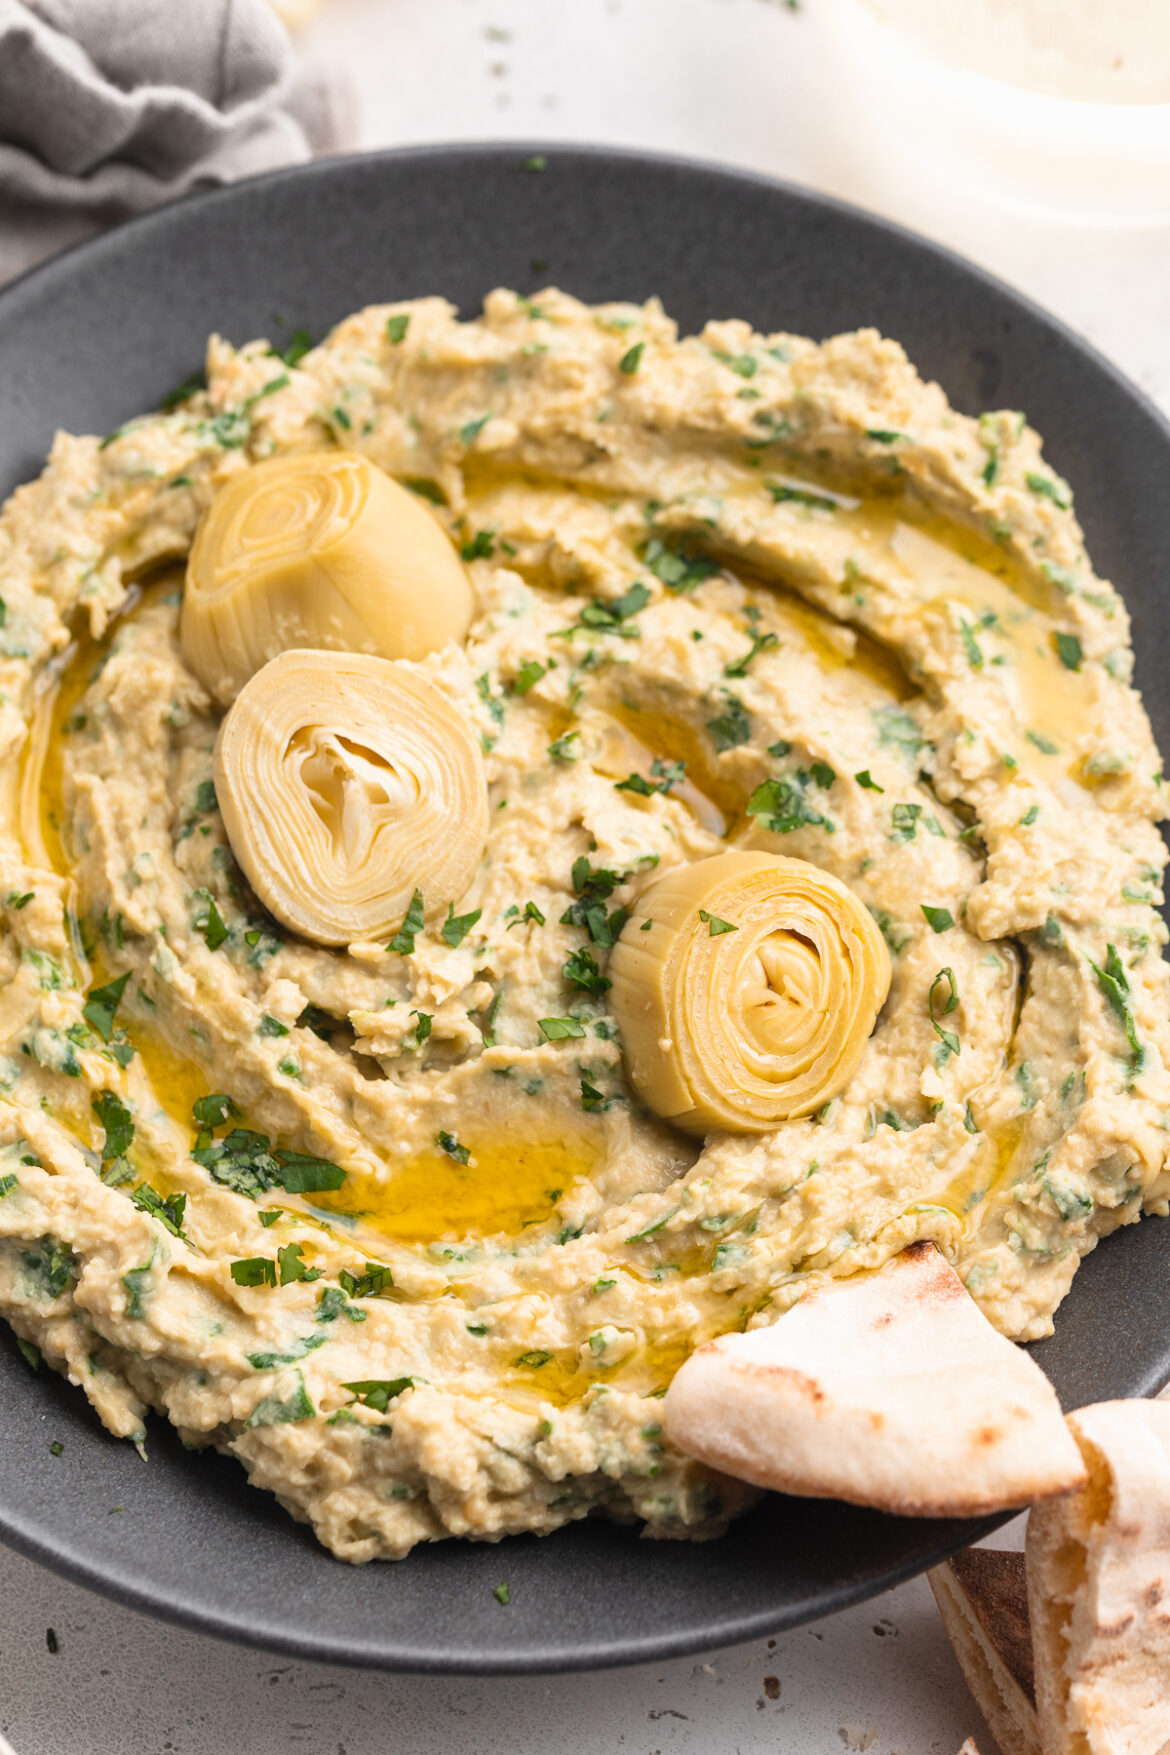
close-up image of spinach artichoke hummus with artichoke hearts on top.
5 from 2 votes

Spinach Artichoke Hummus

The BEST of both worlds! Super easy and ultra delicious spinach artichoke hummus. One of my all-time favorite healthy snacks or appetizers!
Print Pin Rate
Prep Time: 5 minutes
Total Time: 5 minutes
Servings: 2 cups

Ingredients

  • 1 (15 ounce) can chickpeas, drained and rinsed
  • 1/4 cup tahini
  • 1/4 cup olive oil
  • 2 tablespoons fresh lemon juice
  • 1 garlic clove, peeled
  • 1/2 teaspoon cumin
  • salt, to taste
  • 1 cup baby spinach
  • 1/2 cup canned artichoke hearts, drained

Instructions

  • Add chickpeas, tahini, olive oil, lemon juice, garlic, cumin, and salt to a food processor. Blend until completely smooth.
  • Add in baby spinach and artichoke heart, pule 5-6 times until spinach and artichokes are finely chopped, then serve.

Nutrition

Calories: 300kcal

The healthiest raw cookie dough you’ll ever eat, made from chickpeas! Lightly sweetened with maple syrup, and loaded with extra chocolate chips. This chickpea cookie dough is vegan, gluten-free, super healthy, and totally delicious.

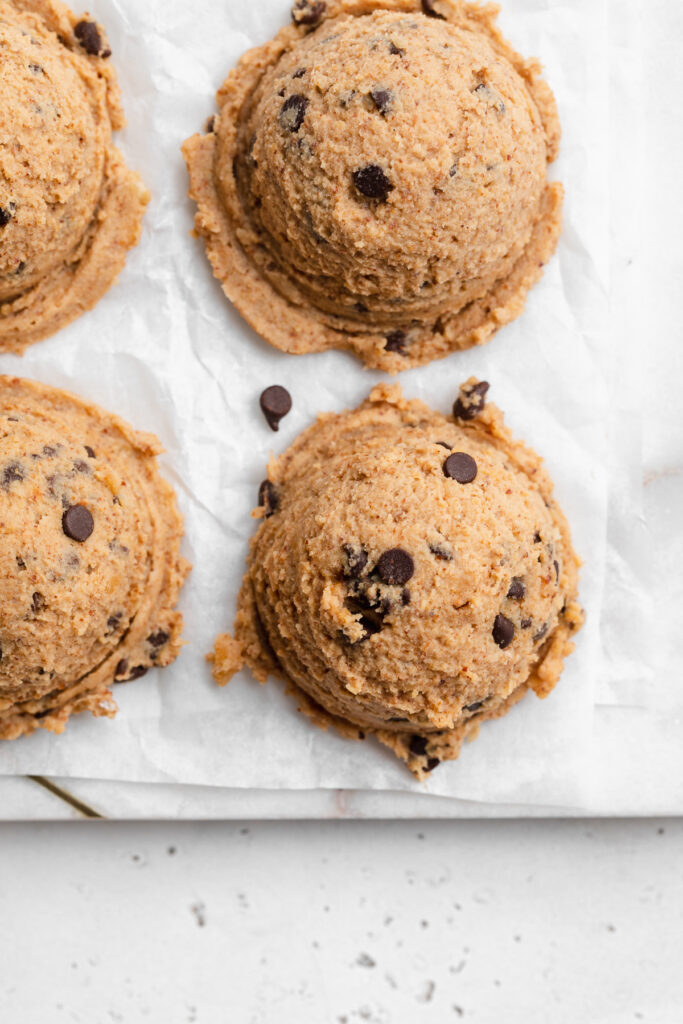
overhead image of scoops of chickpea cookie dough with extra chocolate chips

What You’ll Need To Make Chickpea Cookie Dough

Chickpeas – An entire can of chickpeas is the base to this healthy cookie dough recipe! Drain and rinse your chickpeas well before adding them to the blender. And for a smoother cookie dough, remove the skins off your chickpeas.

Nut or Seed Butter – I used almond butter, but any nut or seed butter will work in this recipe. Peanut butter, cashew butter, or even sunflower seed butter! Though whichever nut/seed butter you use, make sure it’s unsweetened.

Maple Syrup – This unrefined sweetener add sweetness, but keeps this vegan dessert recipe extra healthy. Though if you’d like, you can use honey, agave nectar, or even date syrup instead.

chickpea cookie dough inside a cookie scoop

Tips and Tricks

  • This chickpea cookie dough is high in plant-based protein! However, if you’d like to add even more protein, throw in a scoop of your favorite vanilla plant-based protein powder. I recommend the Aloha Vanilla Protein Powder, it’s not too sweet and won’t throw off the flavor of this healthy dessert recipe.
  • Enjoy it however you’d like! By the spoonful, over ice cream, as breakfast, a snack, or dessert.
  • Taste and adjust the flavor of this edible cookie dough however you’d like. For more sweetness, add in a touch more maple syrup. Or, for a thicker consistency, blend in an extra tablespoons of almond flour.
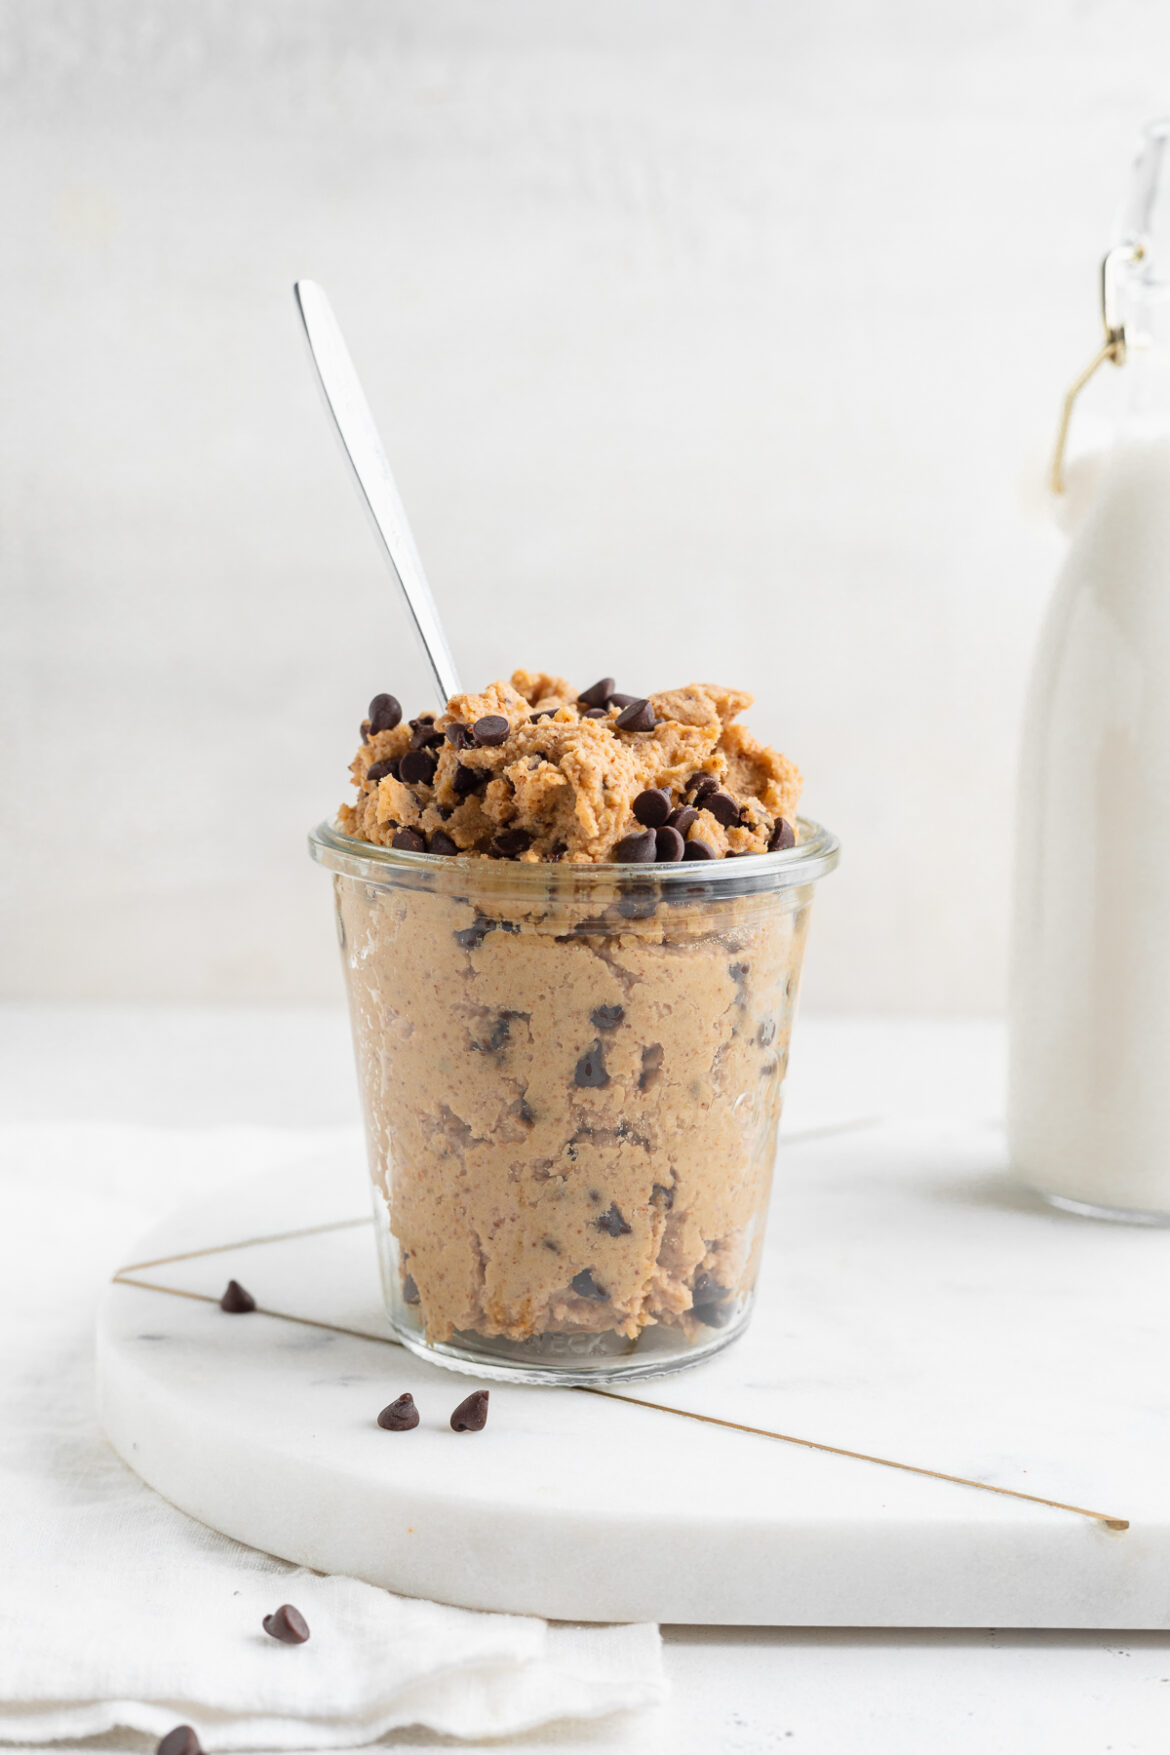
chickpea cookie dough in a jar with a spoon

Adjust This Recipe To Your Dietary Needs

Make it Nut-Free: For a nut-free version of this chickpea cookie dough, replace the almond flour with 3 tablespoons of coconut flour, and use sunflower seed butter.

Make it Sugar-Free: For an entirely sugar-free healthy dessert, use your favorite sugar-free liquid sweetener in place of the maple syrup. Also, replace the chocolate chips with cacao nibs!

No ratings yet

Chickpea Cookie Dough

The healthiest raw cookie dough you’ll ever eat, made from chickpeas! Lightly sweetened with maple syrup, and loaded with extra chocolate chips. This chickpea cookie dough is vegan, gluten-free, super healthy, and totally delicious.
Print Rate
Prep Time: 5 minutes
Total Time: 5 minutes
Servings: 4 servings

Ingredients

  • 1 (15-ounce) can chickpeas, drained and rinsed
  • 1/4 cup nut or seed butter, I used almond butter
  • 1/4 cup almond flour, see Notes for nut-free option
  • 3 tablespoons maple syrup
  • 1 tablespoon non-dairy milk, unsweetened
  • 1 teaspoon vanilla extract
  • pinch of salt
  • 1/4 cup chocolate chips

Instructions

  • Add all ingredients except chocolate chips to a food processor or high-speed blender, then pulse until super smooth.
  • Fold in chocolate chips and enjoy!

Video

Notes

  • Make it Nut-Free: Replace the almond flour with 3 tablespoons of coconut flour.
  • Nutrition

    Calories: 300kcal

    A stunningly vibrant, simple, and healthy beet hummus recipe, made in under 5 minutes! The perfect plant-based snack, appetizer, or side dish. This roasted beet recipe will quickly become one of your favorite ways to sneak more veggies into your diet.

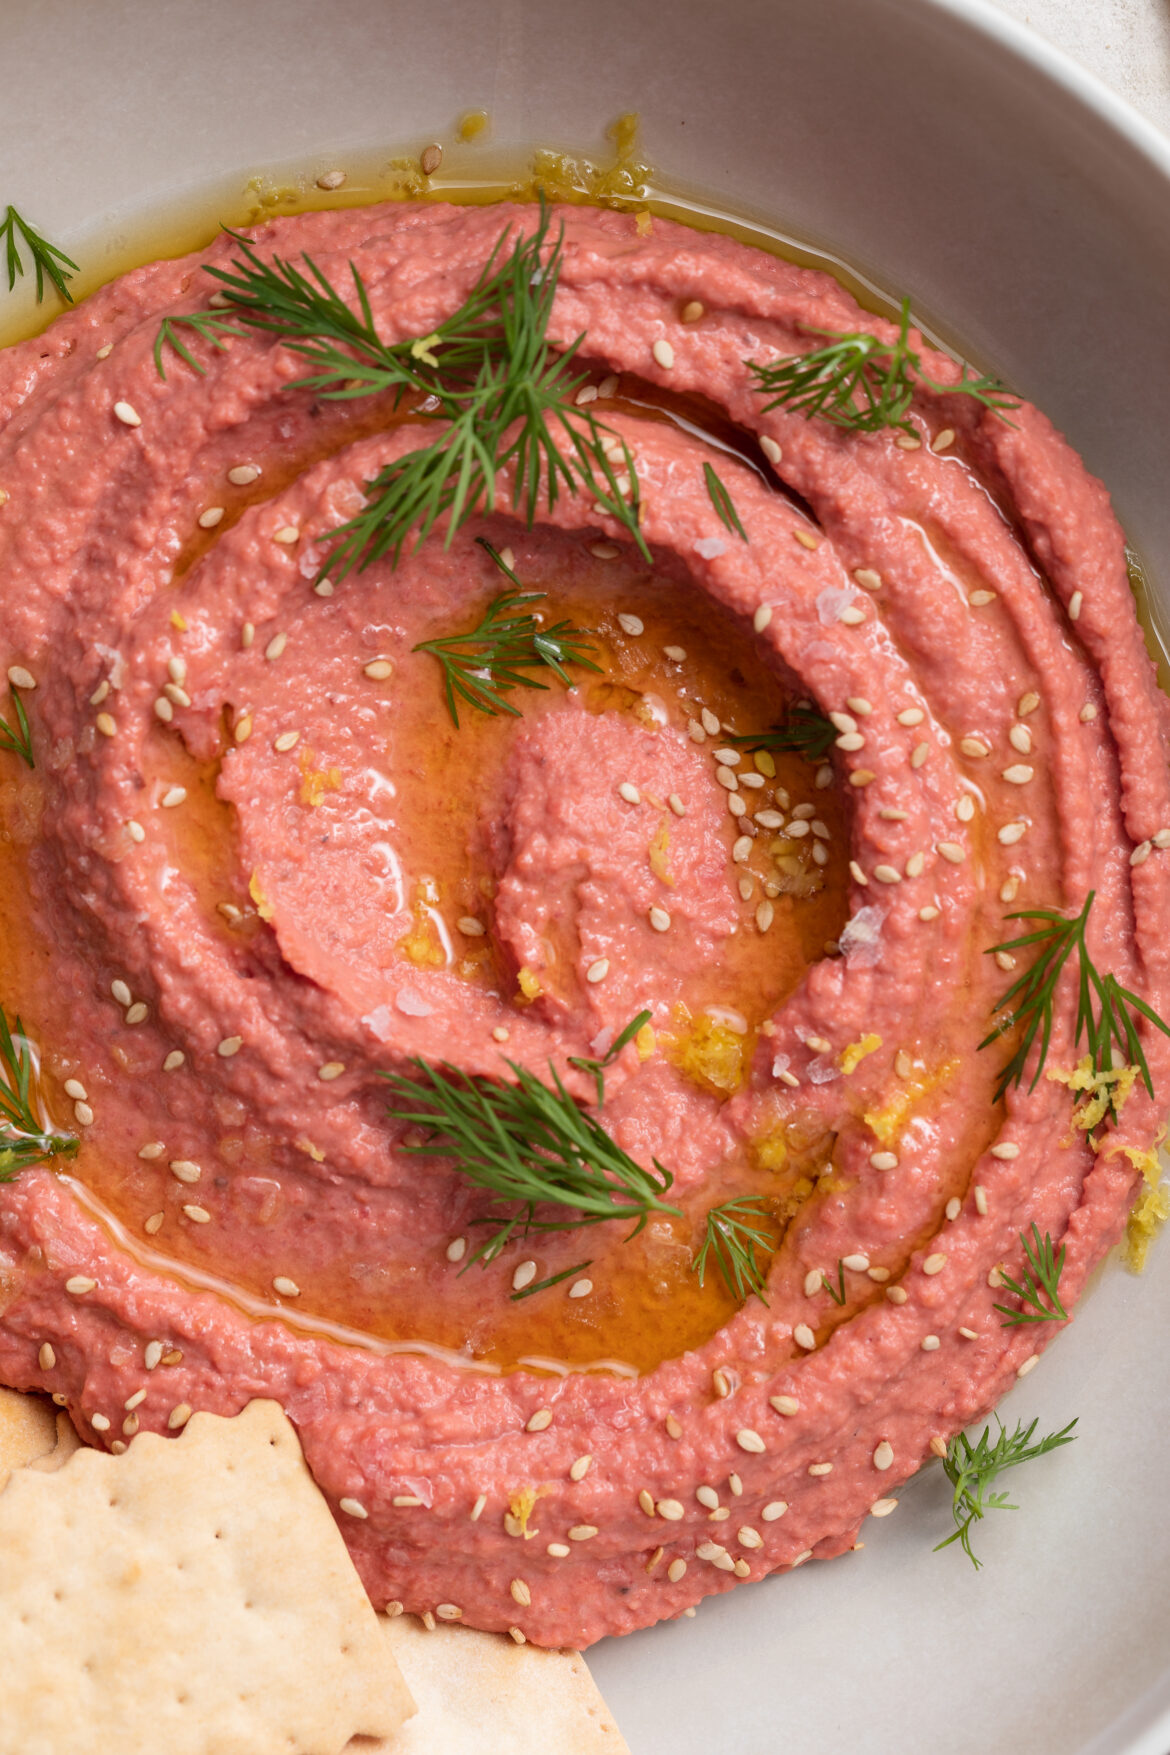
    overhead image of roasted beet hummus in a bowl with crackers on the side

    I had the BEST roasted beet hummus a few weeks ago while visiting Salt Lake City, Utah. It was perfectly smooth, tangy, and all-around delicious. We ordered it as an appetizer ahead of our meal, but I quickly (…like ate the whole bowl in under a minute) filled up on it. So as I was sitting there, belly fuller than full on the most incredible beet hummus, I took out my phone and made a note to recreate that out-of-this-world appetizer recipe as soon as I got home!

    Fast forward a few days, I’m home and stocked up on everything I’ll need for this recipe. Roasted beets, cans upon cans of chickpeas, tahini, olive oil, plenty of garlic, lemons, and of course salt. I quickly began experimenting and I can’t lie, it took a few tries, but I eventually achieved that same flawless, stunningly pink beet hummus as I had in SLC!

    What You’ll Need

    Roasted Beets – Use as many or as few roasted beets in this recipe as you’d like! I bought pre-roasted beets to save myself a bit of time, but you can definitely roast the beets yourself instead. For instructions on how to cook beets, check out this post I wrote for 40 Aprons.

    Chickpeas – Chickpeas are the base to every single hummus recipe out there! They’re high in protein, and blend up super smooth, creamy, and delicious. You can of course cook your own chickpeas for this recipe, but I almost always opt for the pre-cooked canned chickpeas in my recipes. They’re easier, just as good, and will save you a bunch of time. Regardless of what kind of chickpeas you’re using for this recipe (canned or homemade), be sure to drain and rinse them well ahead of placing them in a food processor or blender.

    Tahini – Here’s another ingredient you’ll find in all hummus recipes. Tahini is ground sesame seeds, it has a nutty flavor with a slightly bitter finish. This nut-free spread is delicious on its own, slathered on toast, and of course, in this easy beet hummus recipe.

    roasted beet hummus being scooped out of a bowl with a cracker

    Top Tips

    • Use either a food processor or high-speed blender to blend all ingredients together! I’ve tested both appliances for this recipe, and they honestly both work great. The food processor achieved an ever-so-slightly smoother beet hummus, but the difference was negligible.
    • Homemade hummus can be stored in an airtight container in the fridge for up to 4 days. Yes, the store-bought kind lasts longer, but doesn’t even come close in flavor and freshness to this homemade recipe!
    • Serve this easy snack or appetizer however you’d like! I went with gluten-free crackers, but pita bread, or even a sliced baguette would pair beautifully with this recipe. Also, for an even healthier option, serve your beet hummus with fresh cut veggies such as cucumber, carrots, and bell peppers!

    This Roasted Beet Hummus Is…

    • Plant-Based
    • Vegan
    • Gluten-Free
    • Nut-Free
    • Super Healthy
    • & Delicious!
    No ratings yet

    Roasted Beet Hummus

    A stunningly vibrant, simple, and healthy beet hummus recipe, made in under 5 minutes! The perfect plant-based snack, appetizer, or side dish. This roasted beet recipe will quickly become one of your favorite ways to sneak more veggies into your diet.
    Print Rate
    Prep Time: 5 minutes
    Total Time: 5 minutes
    Servings: 8 servings

    Ingredients

    • 1-2 roasted beets
    • 1 (15-ounce) can chickpeas, drained and rinsed
    • 1/3 cup tahini
    • 1/3 cup olive oil
    • 1-2 garlic cloves
    • juice and zest from 1/2 lemon
    • 1/2 teaspoon salt, plus more to taste

    Instructions

    • Add all ingredients to a blender or food processor and blend until completely smooth.

    Video

    Notes

  • This roasted beet hummus would also make a great addition to my vegan charcuterie board!
  • Nutrition

    Calories: 300kcal