Tag

eggs

Browsing

September is my birthday month! So it’s also the month I add rainbow sprinkles to, well.. everything. And this 5 ingredient birthday cake banana bread is no exception. But also, who knew adding sprinkles to banana bread would make for the most delicious and fun addition ever?! Not sure if I’ll ever not add sprinkles to my banana bread from now on. It’s really THAT good!

This birthday cake banana bread is just one of the recipes I’ll be baking for myself this month. I’ve already made my healthy gluten-free mug cakes a few times – because why not?? they’re SO easy. And as part of a larger celebration I’ll be baking up this gluten-free and dairy-free carrot cake because it’s simply my all-time FAVE. It’s shaping up to be a delicious month, friends! Happy birthday to me. 🙂

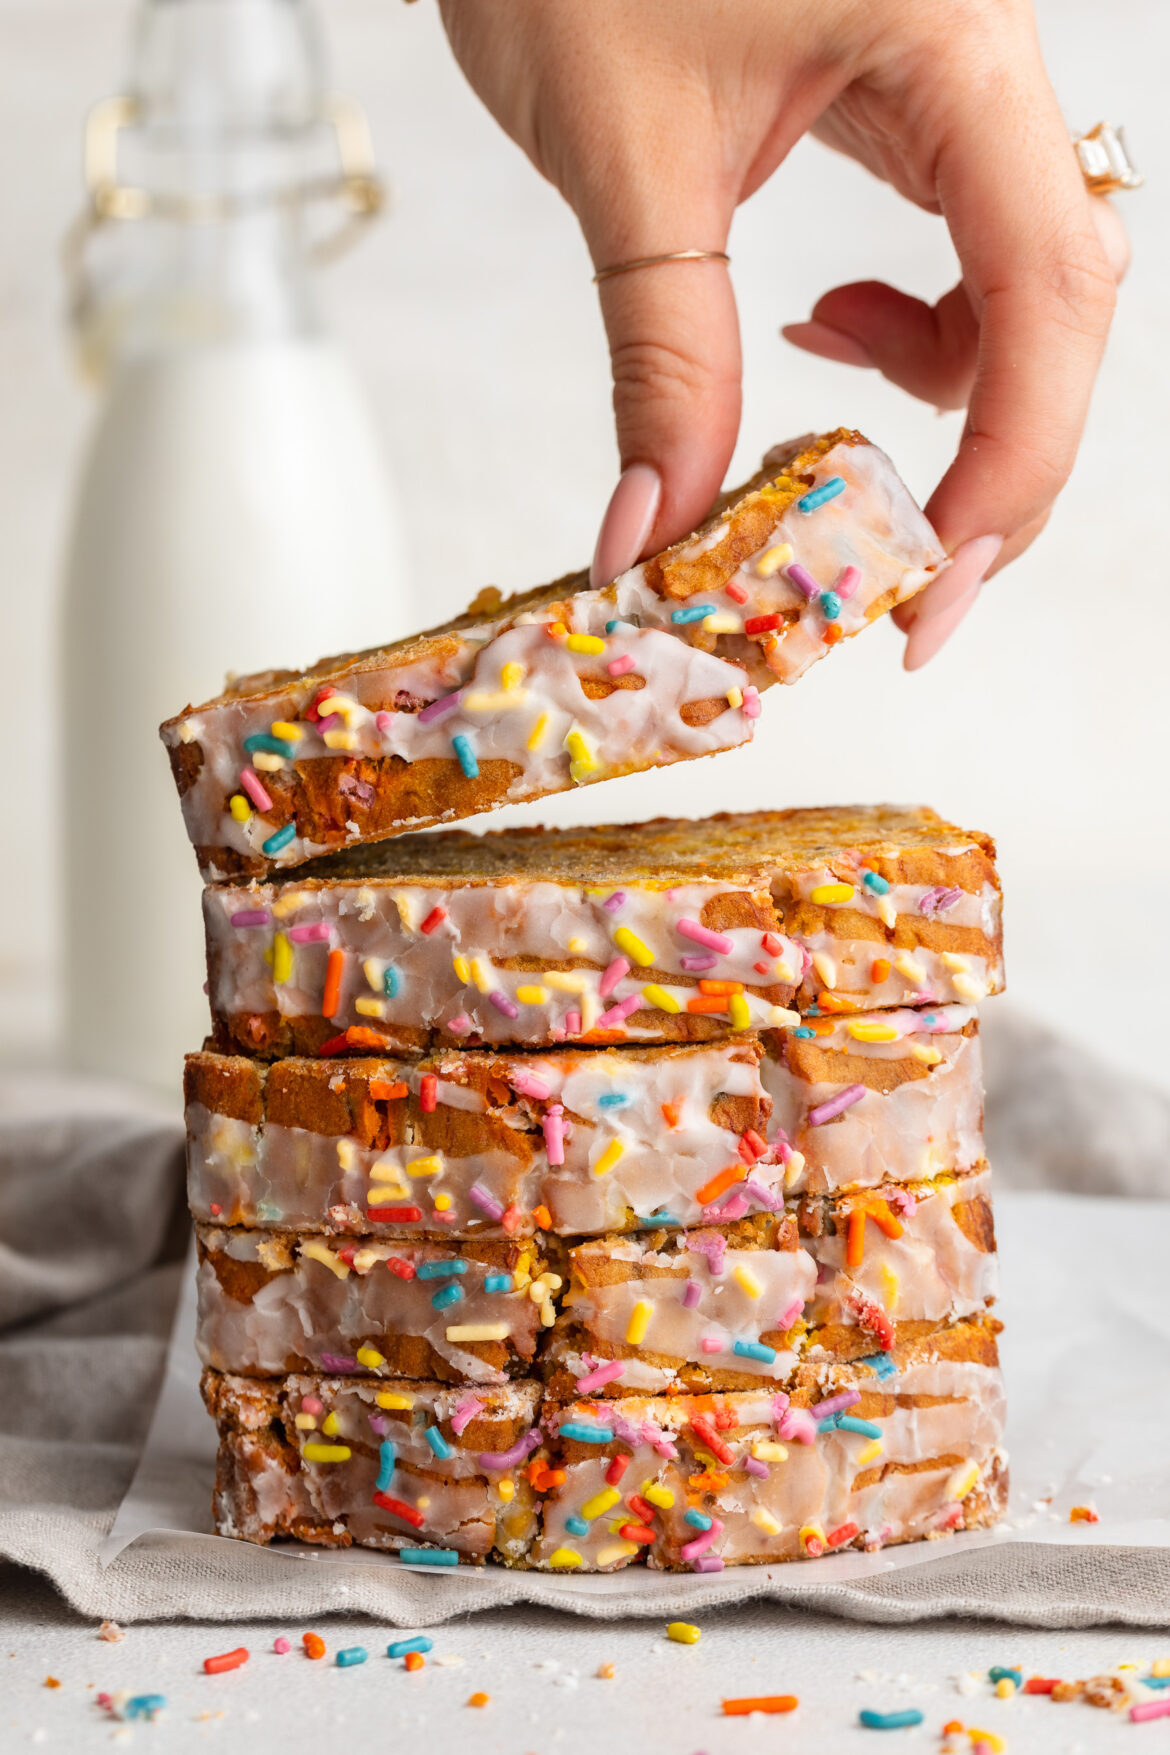
slices of birthday cake banana bread.

What You’ll Need to Make This Recipe

  • Bananas: Overripe bananas provide the natural sweetness and moisture for this recipe. The more ripe the bananas, the sweeter your banana bread will be, making them the key ingredient.
  • Eggs: Eggs act as a binder in this recipe, helping the banana bread rise and stay moist. They also contribute to the fluffy texture.
  • Vanilla Extract (Optional): Adding vanilla enhances the sweet, cake-like flavor, but it’s optional if you prefer a more banana-forward taste.
  • Brown Sugar: Adds sweetness and a slight caramel-y flavor to complement the bananas. It also keeps the bread moist while baking.
  • Self-Rising Flour: If you don’t have self-rising flour, use all-purpose flour with baking powder. This gives the bread structure and helps it rise properly. To make this recipe gluten-free like I did, use a gluten free self-rising flour, I recommend this one.
  • Rainbow Sprinkles: The fun part! Sprinkles give this banana bread a celebratory birthday cake vibe. Be sure to use rainbow sprinkles that hold up well during baking. I use and love these dye-free rainbow sprinkles from Amazon.
5 ingredient gluten-free birthday cake banana bread slices stacked on top of each other.

How to Make 5 Ingredient Birthday Cake Banana Bread

  1. Preheat and Prep: Start by preheating your oven to 350°F and greasing or lining a loaf pan. This ensures the bread doesn’t stick and bakes evenly.
  2. Mash the Bananas: In a large bowl, mash your overripe bananas until smooth. This will be the base for your bread, adding natural sweetness and moisture.
  3. Mix the Wet Ingredients: Add the eggs and vanilla extract (if using), and whisk everything together until fully combined.
  4. Combine Dry Ingredients: Add the brown sugar, flour, and rainbow sprinkles to the banana mixture, stirring until no flour pockets remain.
  5. Bake: Pour the batter into your prepared loaf pan and bake for 55-60 minutes. The loaf should be golden brown, and a toothpick inserted into the center should come out clean.
  6. Cool and Glaze: While the bread cools, mix powdered sugar and milk to make the glaze, then drizzle it over the cooled bread for extra sweetness.

How Can I Store the Leftovers?

This banana bread keeps well for 3-4 days at room temperature when covered tightly with plastic wrap or stored in an airtight container. If you want it to last longer, you can refrigerate it for up to a week, or freeze individual slices for up to 3 months!

overhead image of sliced birthday cake banana bread
5 from 1 vote

5 Ingredient Birthday Cake Banana bread

Author: Samantha Russo
This 5 ingredient birthday cake banana bread is not only super easy to make, but it’s also gluten-free and dairy-free! Whether you’re looking for a fun birthday-inspired dessert or just a unique spin on classic banana bread, this recipe delivers in taste and fun factor.
Print Pin Rate
Prep Time: 10 minutes
Cook Time: 1 hour
Total Time: 1 hour 10 minutes
Servings: 12 slices

Equipment

  • 1 large bowl
  • 1 9×4-inch loaf pan

Ingredients

  • 3 large and overripe bananas
  • 2 eggs
  • 2 teaspoons vanilla extract optional, but recommended
  • 1/2 cup brown sugar or coconut sugar
  • 1 1/2 cups self rising flour (I used gluten-free self-rising flour) or 1 1/2 cups all purpose flour PLUS 1 teaspoon baking powder
  • 1/2 cup rainbow sprinkles

For the optional glaze:

  • 1/2 cup powdered sugar
  • 1 tablespoon milk

Instructions

  • Preheat oven to 350° Fahrenheit and line a 9×4-inch loaf pan with parchment paper, then lightly coat the inside of the pan with oil.
  • Place the bananas in a large bowl and mash well with a fork, until mostly smooth.
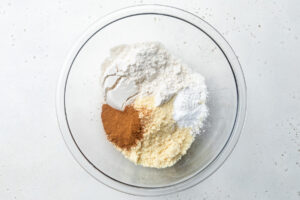
    birthday cake banana bread step 1
  • Add the eggs and vanilla extract (if using) to the bowl the and whisk to combine. Then, add the brown sugar, flour, and sprinkles then mix again until fully combined and no pockets of flour remain.
    birthday cake banana bread step 2
  • Pour the batter into your prepared loaf pan and bake for 55-60 minutes, or until a toothpick inserted down the center of the bread comes out clean.
  • Remove the birthday cake banana bread from the oven and let it cool while you make the glaze.
  • Add the powdered sugar and milk to a small bowl, then whisk together until smooth. Pour glaze over the cooled banana bread.
    birthday cake banana bread step 3

Nutrition

Serving: 1slice

Carrot cake is my all-time FAVORITE kind of cake! And a few weeks ago I realized – I’ve made healthy carrot cake cookies, gluten-free carrot cake muffins, and even carrot cake baked oats but I’ve never made an actual carrot CAKE before. I know, I was shocked too. So I found the time and started recipe testing!

I knew my carrot cake had to be a few things – one bowl, gluten-free, and easy to make. I also really wanted to keep this gluten-free cake recipe to taste as close to the real thing as possible. I wasn’t willing to compromise on taste or texture, so after a few (failed) tests I finally did it! The BEST EVER gluten-free (and can be made dairy-free) carrot cake, made in one bowl, and oh-SO delicious.

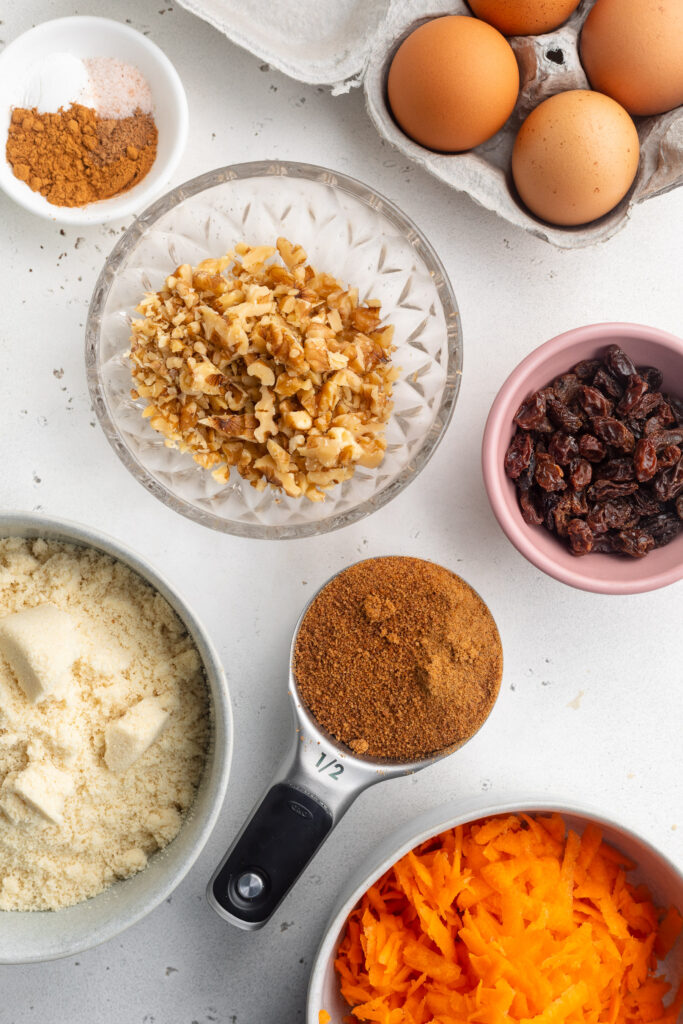
gluten free and dairy free carrot cake ingredients on a table.

Why You’ll Love This Gluten-Free Carrot Cake

  • Moist and Flavorful: This cake boasts a tender crumb, infused with warm spices and the natural sweetness of carrots.​
  • Simple Ingredients: Crafted with everyday items, making it accessible and easy to prepare.​
  • Versatile and Inclusive: Easily adaptable to various dietary needs without compromising on taste.
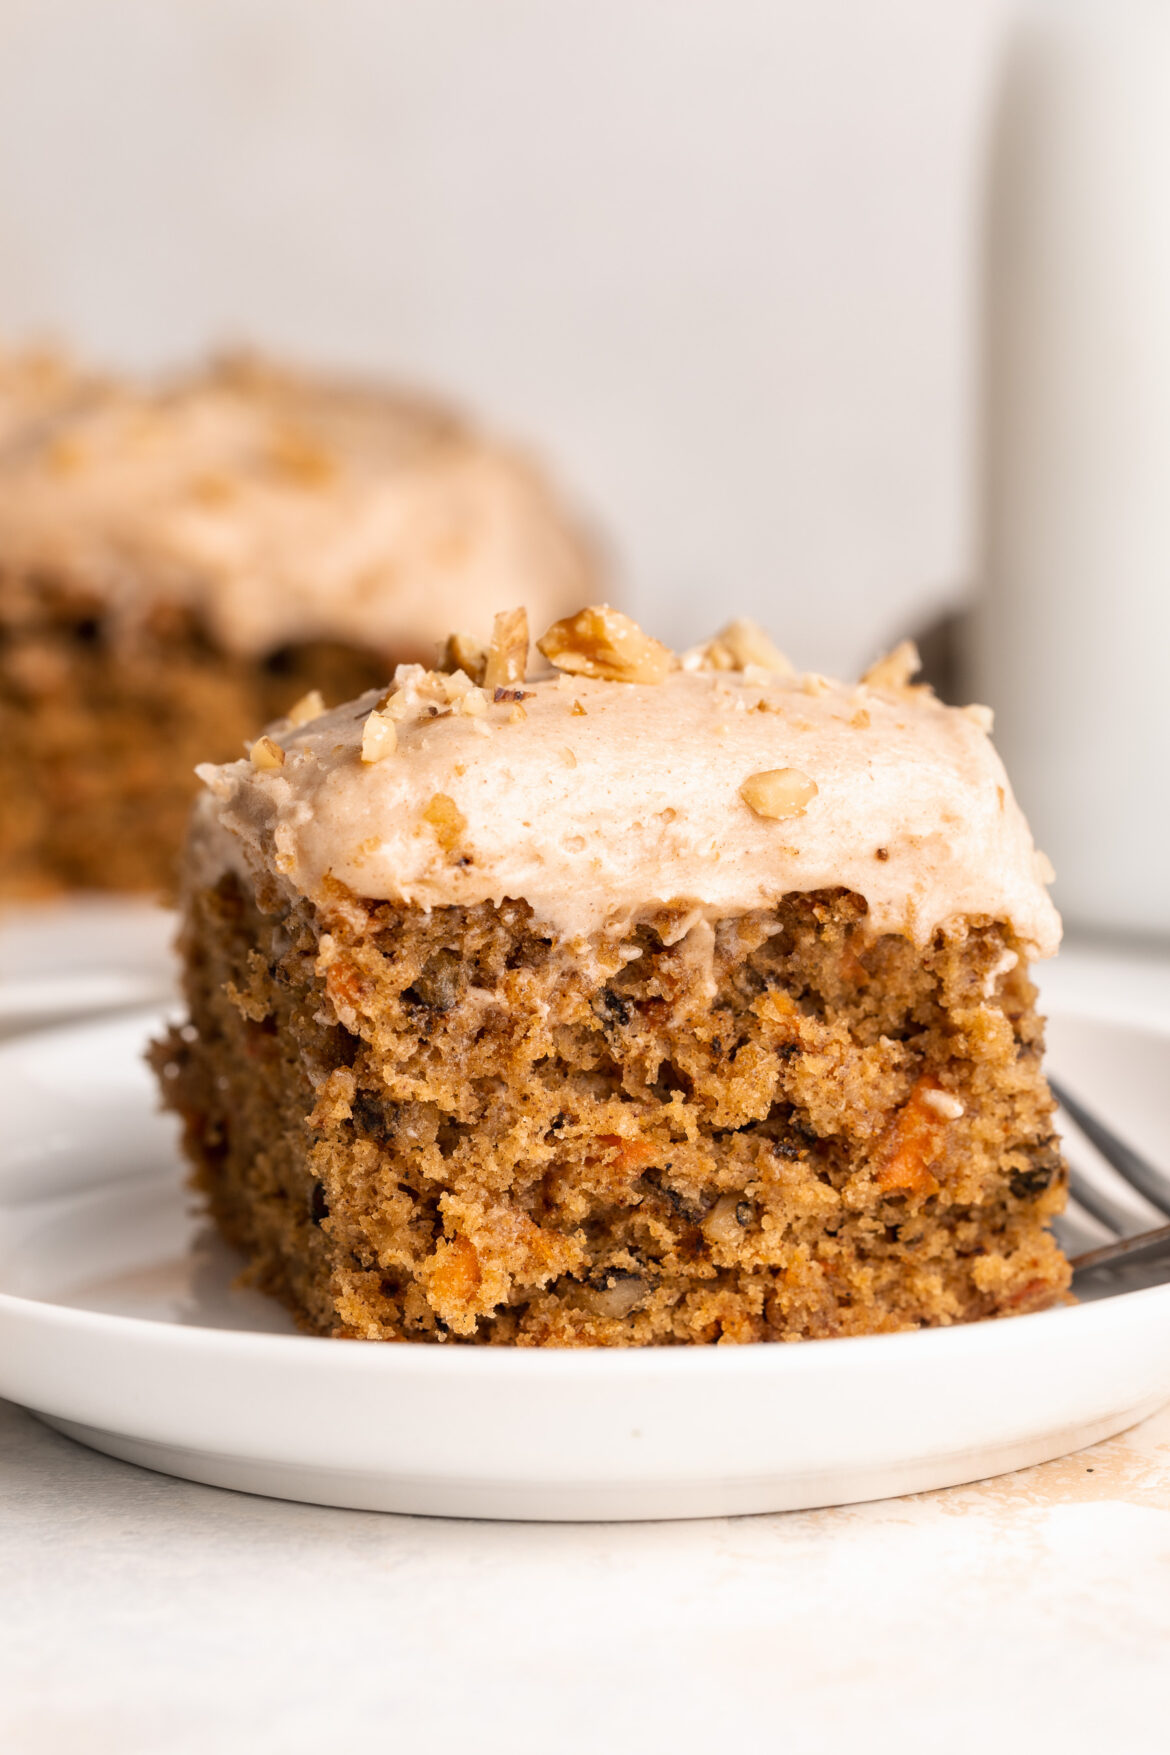
gluten free carrot cake with cinnamon cream cheese frosting cut into on a plate.

Sam’s Recipe Tips

  • Room Temperature Ingredients: Ensure eggs and dairy-free alternatives are at room temperature for a smoother batter.​
  • Grating Carrots: Use freshly grated carrots for optimal moisture and flavor.​
  • Frosting Consistency: Adjust the amount of milk in the frosting to achieve your desired thickness.​

Adjust This Recipe to Your Dietary Needs

Make it Dairy-Free: Use non-dairy cream cheese, butter, and milk alternatives in both the cake and frosting.​

Vegan Option: Replace eggs with flax eggs (1 tablespoon ground flaxseed mixed with 3 tablespoons water per egg) and use all dairy-free substitutes.

Make it Nut-Free: Omit the walnuts and ensure all other ingredients are free from cross-contamination.​

close up image of gluten-free carrot cake with cinnamon cream cheese frosting on a plate.

Storage Instructions

  • Refrigeration: Store the frosted cake in an airtight container in the refrigerator for up to one week.​
  • Freezing: For longer storage, freeze unfrosted cake layers wrapped tightly in plastic wrap for up to three months. Thaw and frost before serving.
4.67 from 3 votes

The BEST Gluten-Free and Dairy-Free Carrot Cake with Cinnamon Cream Cheese Frosting

This gluten-free cake is simply heavenly – and made in just one bowl! It's bursting with warm spices, shredded carrots, and topped with a luscious cinnamon cream cheese frosting. This cake is an incredible treat for any occasion!
Print Pin Rate
Prep Time: 15 minutes
Cook Time: 30 minutes
Total Time: 45 minutes
Servings: 9 servings

Equipment

  • 2 large bowls
  • 1 9×9-inch baking pan
  • 1 hand or stand mixer

Ingredients

  • 1 cup brown sugar, or coconut sugar
  • 1/2 cup vegetable oil I used olive oil
  • 1/4 cup milk I used non-dairy almond milk
  • 2 large eggs at room temperature
  • 1 teaspoon vanilla extract
  • 1 1/2 cups gluten-free all purpose flour
  • 1 teaspoon baking powder
  • 1 teaspoon baking soda
  • 2 teaspoons cinnamon
  • 1/2 teaspoon nutmeg
  • 1 1/2 cups grated carrots
  • 1/2 cups walnuts chopped
  • 1/2 cup raisins optional

For the cinnamon cream cheese frosting:

  • 1/2 cup cream cheese, softened (I used non-dairy cream cheese)
  • 1/2 cup butter, softened (I used non-dairy butter)
  • 4 cups powdered sugar
  • 3-4 tablespoons milk I used non-dairy almond milk
  • 2 teaspoons cinnamon
  • 1/4 teaspoon vanilla extract

Instructions

  • Preheat oven to 350° Fahrenheit and line a 9×9-inch baking pan with parchment paper.
  • In a large bowl, whisk together the brown sugar or brown sugar, oil, eggs, and vanilla extract until well combined.
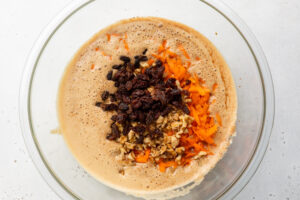
  • Add in the gluten-free all purpose flour, baking powder, baking soda, cinnamon, and nutmeg. Whisk everything together into a smooth batter. Then, add in the shredded carrots and chopped walnuts, and use a spatula to fold those ingredients into the batter.
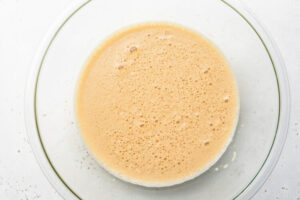
    gluten-free-carrot-cake-step-02
  • Pour the batter into your prepared baking pan and bake for 30-35 minutes, or until a toothpick inserted down the center of the cake comes out clean.
  • Remove the cake from the oven, let it cool inside the baking pan for 15 minutes then carefully remove the cake from the pan by sliding a sharp knife around the outside edge of the cake. Transfer the cake to a wire cooling rack and let it cool completely before frosting.
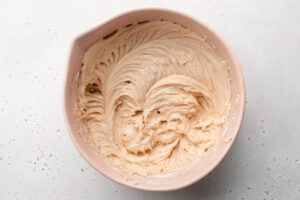
  • Once the cake is cool, make the cinnamon cream cheese frosting by adding all frosting ingredients to a large bowl and beating with either a hand or stand mixer until fully combined. Start by using just 3 tablespoons of milk in the frosting, then add an additional tablespoon of milk if the frosting is too thick.
  • Spread the frosting into an even layer over the top of the cooled carrot cake. Either serve cake immediately or cover and store in the fridge for up to 1 week!

Notes

Nutrition info may vary depending on the brand of ingredients used. The above nutrition info was calculated to include the cinnamon cream cheese frosting.

Nutrition

Serving: 1serving | Calories: 312kcal | Carbohydrates: 38g | Protein: 3g | Fat: 17g | Sugar: 26g

These homemade gluten-free cinnamon rolls creates deliciously sweet and fluffy buns with pull-apart edges and a soft cinnamon sugar center. With a perfectly tender texture, these cinnamon rolls are sure to be a hit, great for Christmas brunch or any special occasion and can also be made dairy-free!

Maybe I just have a sweet tooth, but I don’t know if there’s anything better than homemade freshly baked cinnamon rolls fresh out of the oven! These gluten-free cinnamon rolls are tender, soft, sweet, fluffy and taste absolutely incredible. Perfect for your holiday mornings, brunch, or any occasion!

Why You’ll Love These Gluten-Free Cinnamon Rolls

  • Soft & Fluffy Texture: These gluten-free cinnamon rolls straight out of the oven will leave you wanting more!
  • Sweet & Warm Filling: Who doesn’t love a good cinnamon flavor? These cinnamon rolls combined with the spice of cinnamon & the sweetness of brown sugar creates the perfect filling!
  • Great For Sharing: This is the perfect gluten-free dessert to share with your families and friends!
gluten-free cinnamon rolls in a baking dish, one being removed from the dish.

What You’ll Need To Make Gluten-Free Cinnamon Rolls

  • Gluten-Free Bread Flour: I recommend using King Arthur Gluten-Free Bread Flour (I buy it on Amazon). If you can’t find gluten-free bread flour, then you can use gluten-free all purpose baking flour in its place. However, bread flour yields fluffier and softer rolls!
  • Yeast: You’ll need to get your hands on some active dry yeast which will give a beautiful rise to these cinnamon rolls.
  • Eggs: Eggs will hold the batter together and ensure the perfect texture.
  • Milk & butter: I used non-dairy but if you don’t want dairy-free rolls, just use regular milk and butter!
  • Sugar & Powdered Sugar: I used regular white sugar, but see “Tips” section for alternatives.
  • Cinnamon: What’s a cinnamon roll without the cinnamon? This will be key for the filling!
  • Baking Powder: This will help along with the yeast to give a beautiful rise to the gluten-free cinnamon rolls!
  • Vanilla Extract: Along with the sugar, this will enhance the sweet flavor that will make these cinnamon rolls so good!

How To Make Homemade Gluten-Free Cinnamon Rolls

  1. Make The Dough: Start by warming your milk to about 110° Fahrenheit in a medium bowl. With the electric mixer running on medium speed, slowly add the milk mixture into the flour mixture. Add the egg and egg yolk once the wet and dry ingredients are almost completely combined. Continue mixing to incorporate the eggs into the dough.
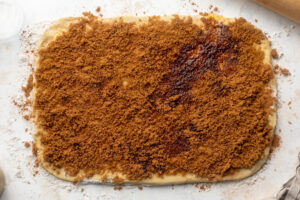
  2. Make The Filling: Combine your filling ingredients and add the filling to the dough first by spreading the softened butter over the dough in an even layer. Then, evenly sprinkle the brown sugar on top of the butter and the cinnamon on top of the brown sugar.
  3.  Bake The Cinnamon Rolls: Once the oven is hot, bake the cinnamon rolls for 25-30 minutes or until they’re golden brown on top.

Tips & Adjustments When Making These Gluten-Free Cinnamon Rolls

  • Sugar Substitutions: If you want to make these homemade gluten-free cinnamon rolls lower in sugar, you can sub the white sugar & powdered sugar with Lankanto.
  • Egg Replacements: Want to make these cinnamon rolls vegan? You can try using silken tofu, flax eggs or powdered egg replacers instead of regular eggs!
  • Room Temperature Butter: The secret to super tender homemade cinnamon rolls is room-temperature butter beaten into the dough. This technique works best if the butter is very soft.
  • Storage: These rolls will stay good at room-temperature for up to 2 days, in the fridge for up to a week, and in the freezer for up to 2 months.
gluten-free cinnamon roll on a plate with a fork.

FAQ’S

  • Can I Make These Vegan?: Yes! Feel free to replace the eggs with silken tofu, flax eggs, or your favorite egg replacer instead!
  • Do I Need To Start Over If My Yeast & Milk Mixture Do Not Become Frothy?: Yes, the mixture frothing ensures that the cinnamon rolls will rise properly before baking and once completed ensures that your cinnamon rolls have that soft and fluffy texture.
  • Can I Add Extra Mix-Ins?: Yes! Feel free to add any of your favorite nuts or spices to the filling!
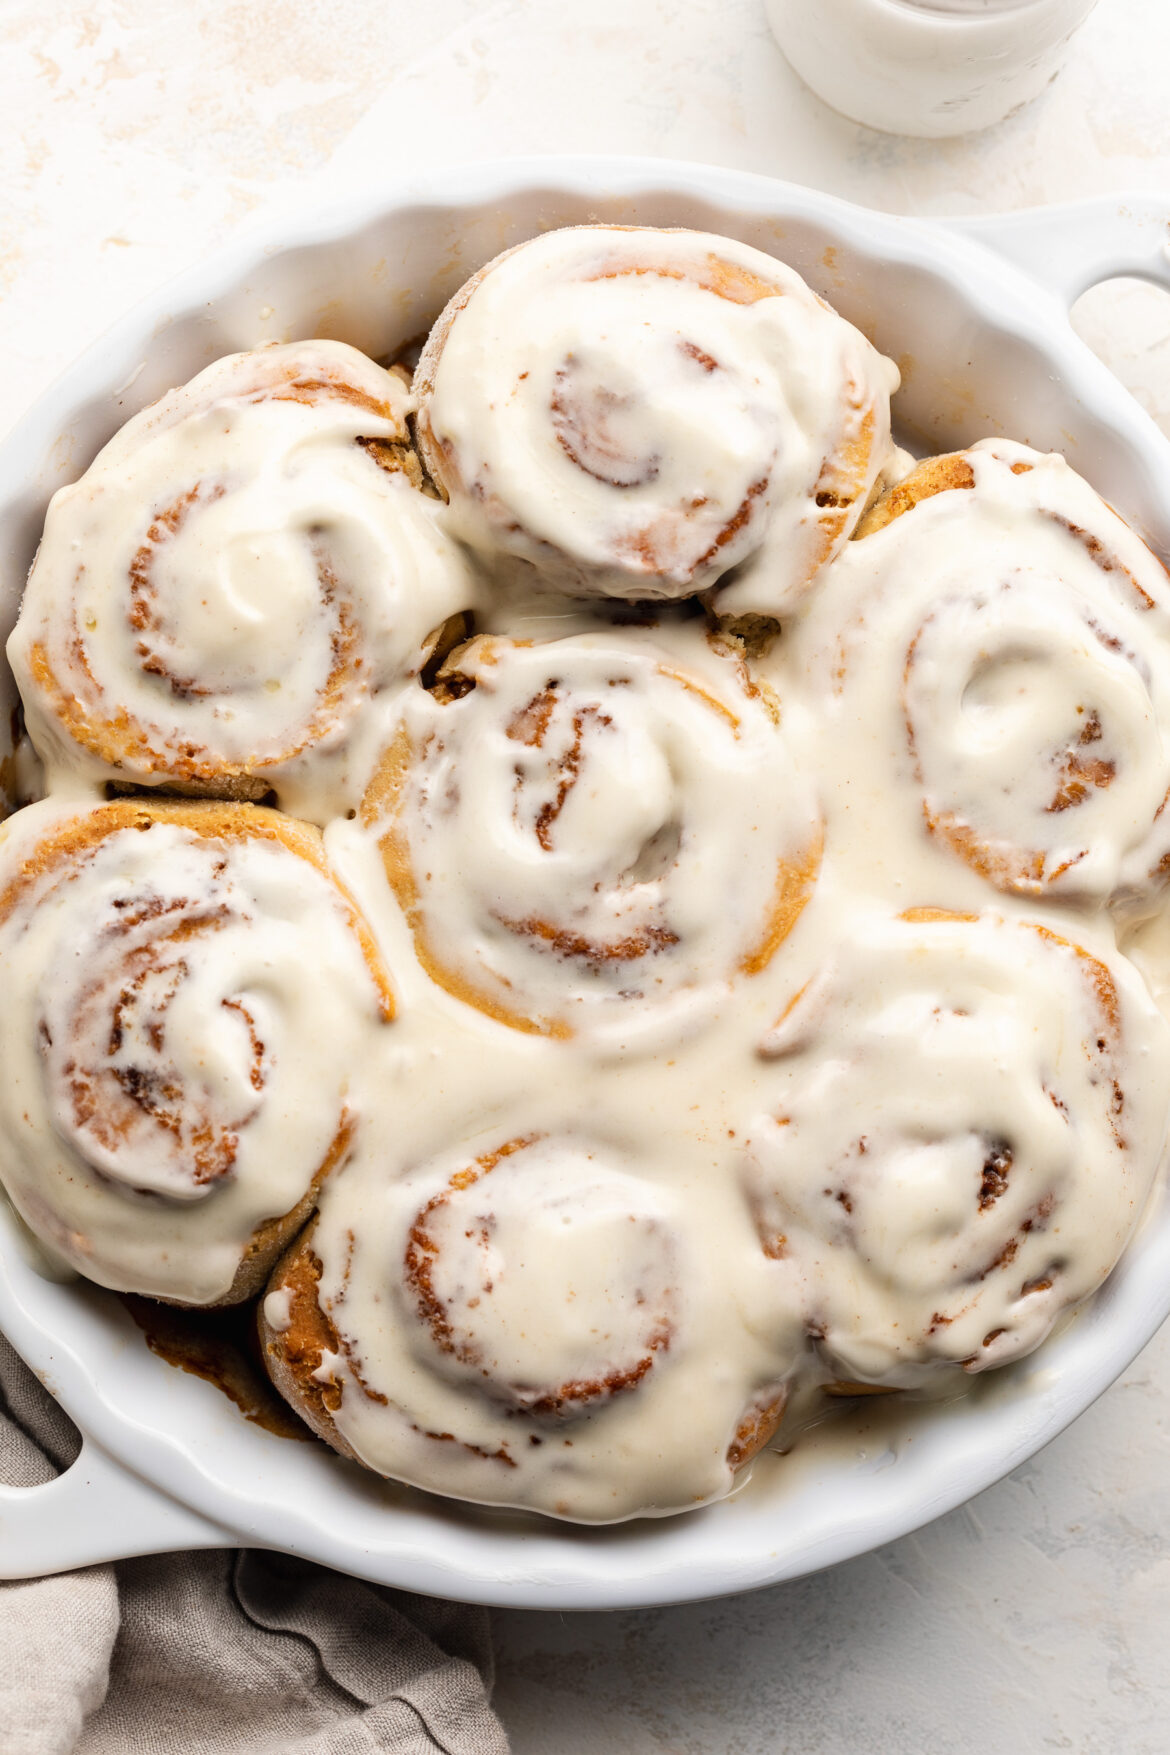
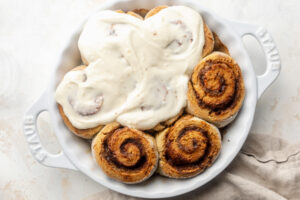
Overhead image of gluten-free cinnamon rolls in a baking dish with cream cheese frosting on top.
5 from 2 votes

Gluten-Free Cinnamon Rolls

This gluten-free cinnamon rolls recipe creates deliciously sweet and fluffy buns with pull-apart edges and a soft cinnamon sugar center. With a perfectly tender texture, these cinnamon rolls can also be made dairy-free!
Print Pin Rate
Prep Time: 1 hour
Cook Time: 30 minutes
Total Time: 1 hour 30 minutes
Servings: 9 servings

Ingredients

For the dough:

  • 1 cup warm milk 110 degrees Fahrenheit
  • 2 1/4 teaspoons active dry yeast
  • 1/4 cup sugar
  • 1/4 cup butter melted
  • 1 egg plus 1 egg yolk at room temperature
  • 3 cups gluten-free bread flour plus more for rolling
  • 2 teaspoons baking powder
  • 1/2 teaspoon baking soda
  • 1/4 teaspoon salt

For the filling:

  • 1/4 cup butter softened
  • 3/4 cup brown sugar
  • 2 tablespoons cinnamon

For the cream cheese frosting:

  • 1/2 cup cream cheese softened
  • 2 tablespoons butter softened
  • 3/4 cup powdered sugar
  • 1 teaspoon vanilla extract or vanilla bean paste

Instructions

  • Start by warming your milk in a medium bowl to about 110° Fahrenheit. Do this in either the microwave for about 30-40 seconds, or over low heat on the stove for 2 minutes.
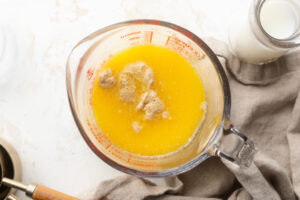
  • Once milk is warm, add the active dry yeast, sugar, and melted butter. Give it a gently whisk to combine, then let that sit for a couple minutes while you continue on with the recipe.
    gluten-free-cinnamon-rolls-step-1
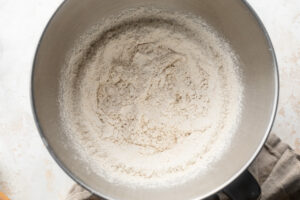
  • To the bowl of an electric mixer fitted with the dough hook attachment, add the gluten-free bread flour, baking powder, baking soda, and salt. Turn the mixer on low until the dry ingredients are combined.
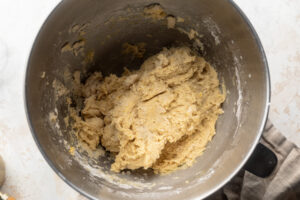
  • With the electric mixer running on medium speed, slowly add the milk mixture into the flour mixture. Once the wet and dry ingredients are almost completely combined, add in the egg and egg yolk. Continue mixing to incorporate the eggs into the dough.
    gluten-free-cinnamon-rolls-step-3
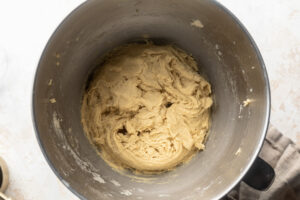
  • Once the eggs are incorporated, turn the mixer on high speed and mix the dough for 5 minutes, until the dough is smooth and comes together in a ball.
    gluten-free-cinnamon-rolls-step-4
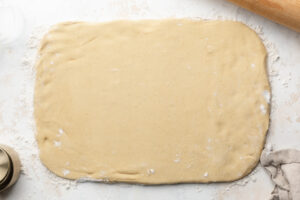
  • Generously flour a work surface with the gluten-free bread flour, then press the dough on top of the flour and press/roll into a 9×13-inch rectangle.
  • Add the filling by spreading the softened butter over the dough in an even layer. Then, evenly sprinkle the brown sugar on top of the butter and the cinnamon on top of the brown sugar. Carefully take the long end and roll the dough up into a tight log. Slice the log into 7-8 cinnamon rolls, each about 2 inches thick.
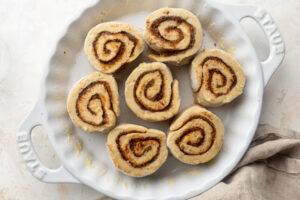
  • Then, place the cinnamon rolls in a greased 9×9-inch baking dish and tightly cover the dish with plastic wrap. Place the rolls in a warm place (by a window, in a proving drawer, in the oven with the light on, etc) to rise for about 1 hour.
    gluten-free-cinnamon-rolls-step-7
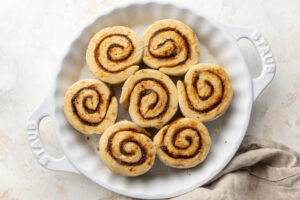
  • After the hour is up, remove the plastic wrap from the baking dish and preheat your oven to 350° Fahrenheit. Once the oven is hot, bake the cinnamon rolls for 25-30 minutes or until they’re golden brown on top. Remove the rolls from the oven and let them cool while you make the icing.
  • To make the cream cheese frosting, add the cream cheese, butter, powdered sugar, and vanilla extract to the bowl of an electric mixer and beat until it’s smooth and fluffy. Spread the frosting on top of your cinnamon rolls and ENJOY!
    gluten-free-cinnamon-rolls-step-9

Notes

Storage: These rolls will stay good at room-temperature for up to 2 days, in the fridge for up to a week, and in the freezer for up to 2 months.
*Nutrition facts reflect that of one plain cinnamon roll, without cream cheese frosting.

Nutrition

Serving: 1serving | Calories: 280kcal | Carbohydrates: 37g | Protein: 3.6g | Fat: 14g | Sugar: 23g

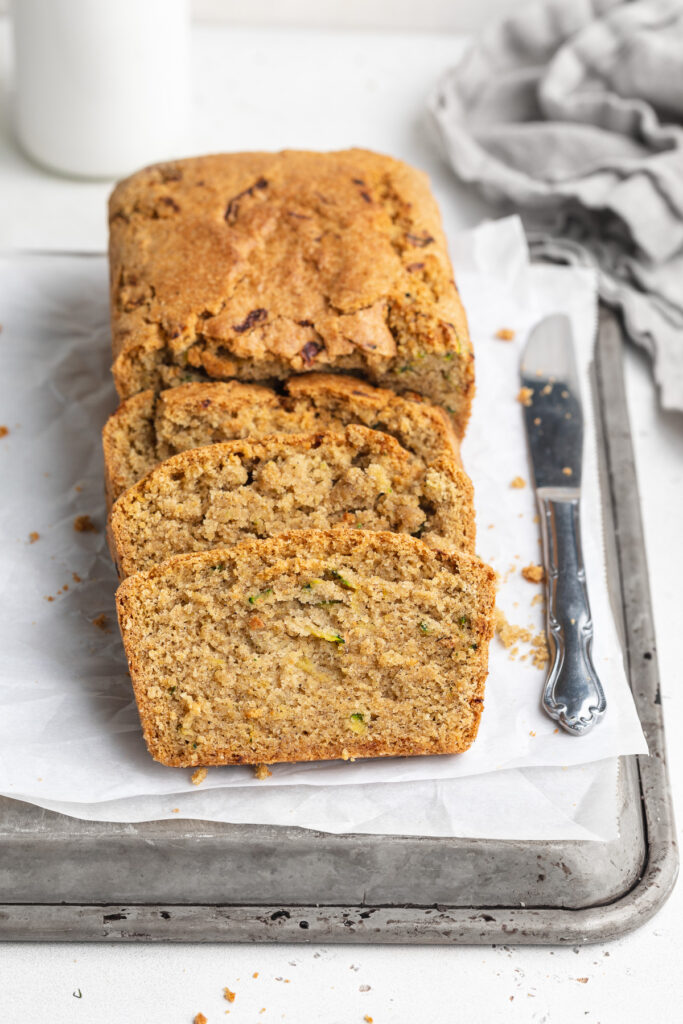
This gluten-free zucchini bread is deliciously moist! It’s super easy to make and loaded with fresh zucchini. Enjoy a thick slice of this gluten-free zucchini bread with a little butter for breakfast or as a snack!

gluten-free zucchini bread on a baking sheet.

The Story Behind This Gluten-Free Zucchini Bread Recipe

My parents were those people that built a garden during quarantine. Anyone else?? And while it took a while to enjoy the fruits (literally) of their labor, oh man was it worth all their hard work! They have strawberries, blueberries, lettuce, every herb you can think of, and a whole BUNCH of zucchini. Like A LOT of zucchini. So when they sent me home a couple weeks ago with a massive bag of homegrown zucchini, I knew exactly what I was going to do with it. Though I had never made gluten-free zucchini bread before, so I took a few notes from my gluten-free banana bread recipe, tweaked things a bit, and this incredible recipe was born!

sliced gluten-free zucchini bread on a baking sheet with milk on the side.

What You Need To Make Gluten-Free Zucchini Bread

Zucchini – This dark green veggie is loaded vitamins, minerals, and antioxidants! It’s also high in fiber and has been proven to aid healthy digestion. Good-for-you zucchini also flourishes in the summer months! (A big reason why my parents currently have SO much of it right now).

To prep zucchini for this recipe, simply slice off one end and run the zucchini down a cheese grater. Continue to grate the zucchini until you have one heaping cup worth of shredded zucchini. Once grated, you’ll wrap the zucchini in a dish towel and squeeze out as much of the liquid from the zucchini as possible. This summer vegetable holds on to a lot of water, and to avoid a soggy zucchini bread, you’ll want to squeeze out as much of that water as you can. Once the water is removed, you’re ready to use your shredded zucchini in this gluten-free zucchini bread recipe!

Gluten-Free All Purpose Flour – I use and love the King Arthur Measure for Measure Gluten-Free Flour for most of my gluten-free baked goods recipes. It’s a solid gluten-free flour that holds its structure when baked and never fails me. However, you can use your favorite gluten-free all purpose flour for this recipe. My one suggestion is to always make sure that whatever gluten-free all purpose flour you use contains xanthan gum. Xanthan gum is crucial to binding and quite literally keeping everything together.

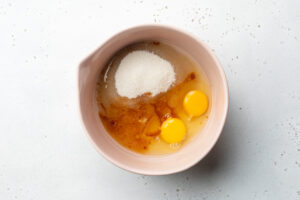
gluten-free zucchini bread step 1
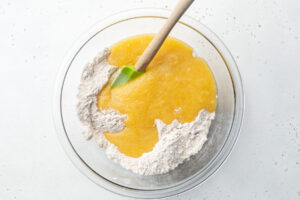
gluten-free zucchini bread step 3
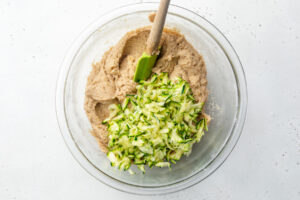
gluten-free zucchini bread step 4

Adjust This Recipe to Your Dietary Needs

  • Make it Nut-Free: Omit the almond flour in this recipe and use an additional 1/2 cup of gluten-free all purpose flour instead.
  • Make it Vegan: To make this a gluten-free and vegan zucchini bread, try using either two flax eggs, one ripe mashed banana, or 1 cup of apple sauce in place of the eggs in this recipe.
  • Add Gluten: Use 2 cups of regular all purpose flour in place of the gluten-free all purpose flour and almond flour.
sliced gluten-free zucchini bread on a baking sheet with a knife.
5 from 1 vote

Gluten-Free Zucchini Bread

This gluten-free zucchini bread is deliciously moist! It’s super easy to make and loaded with fresh zucchini. Enjoy a thick slice of this gluten-free zucchini bread with a little butter for breakfast or as a snack!
Print Pin Rate
Prep Time: 10 minutes
Cook Time: 45 minutes
Total Time: 55 minutes
Servings: 8 servings

Ingredients

  • 1 cup shredded zucchini
  • 1 1/2 cups gluten-free all purpose flour, see Notes
  • 1/2 cup almond flour
  • 1 teaspoon baking soda
  • 1 teaspoon baking powder
  • 1 teaspoon cinnamon
  • 2 eggs
  • 1/2 cup coconut oil or butter, melted
  • 1 cup sugar
  • 1 tablespoon lemon juice
  • 2 teaspoons vanilla extract

Instructions

  • Preheat oven to 375° Fahrenheit and lightly grease a 9×5 loaf pan.
  • Wrap the shredded zucchini in a dish towel and squeeze over the sink to remove as much water from the zucchini as possible, then set aside.
  • Mix together the gluten-free all purpose flour, almond flour, baking soda, baking powder, and cinnamon in a large bowl.
    gluten-free zucchini bread step 1
  • In a separate bowl, whisk together the eggs, melted coconut oil, sugar, lemon juice, and vanilla extract until combined.
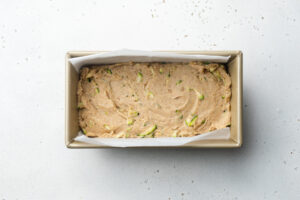
    gluten-free zucchini bread step 2
  • Add the wet ingredients into the dry ingredients and gently fold together until no flour remains.
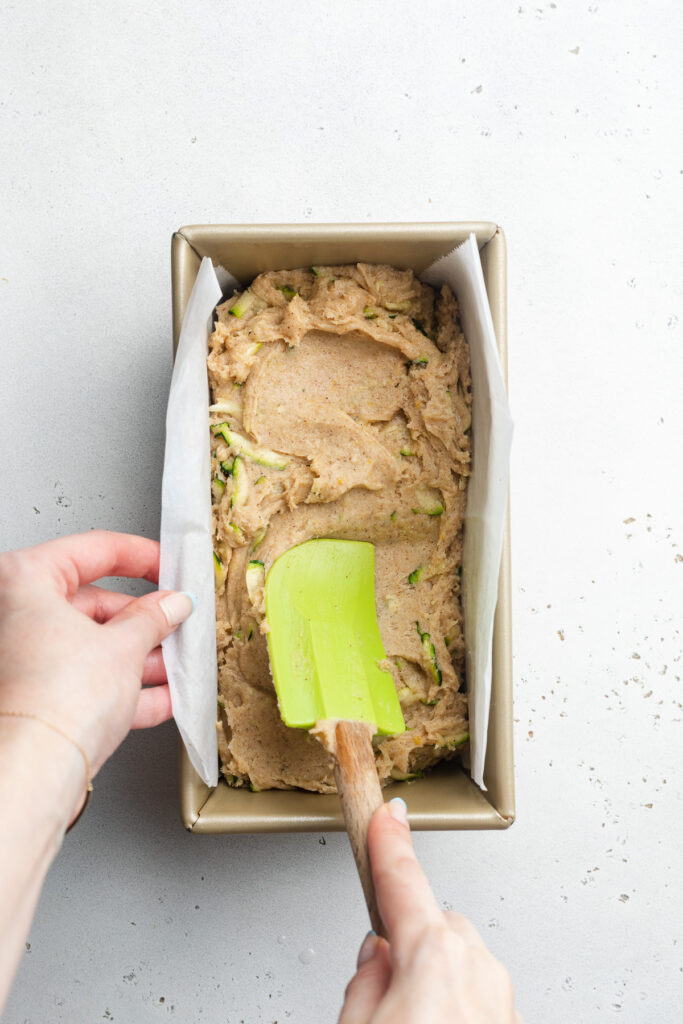
  • Gently fold in the shredded zucchini until just combined.
  • Transfer batter to prepared loaf pan and bake for 45-50 minutes or until a toothpick inserted in the center comes out clean. Let cool in pan for 10 minutes before transferring to a wire rack to cool completely.
    gluten-free zucchini bread step 5

Notes

  • Gluten-Free All Purpose Flour: I use and love the King Arthur Measure for Measure Gluten-Free Flour in this recipe, though you can use any all purpose gluten-free flour you’d like as long as it contains xantham gum.
  • Nutrition

    Calories: 300kcal

    A classic French Niçoise salad, fully loaded with all things fresh and delicious! Bursting with seasonal spring veggies such as crisp green beans, baby potatoes, cherry tomatoes, and capers. This hearty Niçoise salad is then finished off with a tangy and herby dijon vinaigrette.

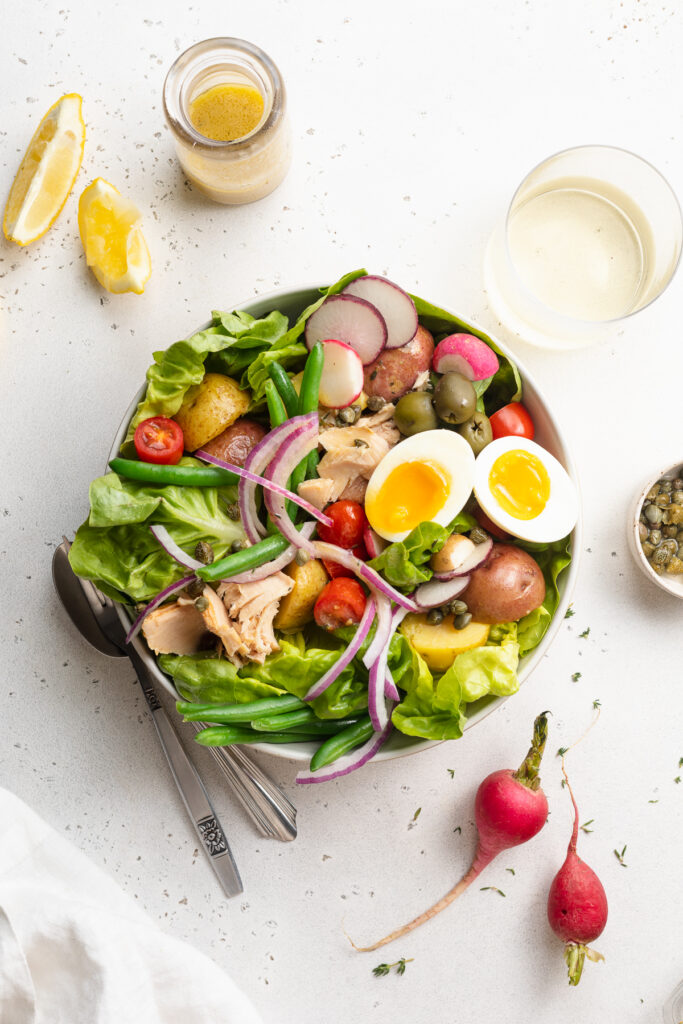
    overhead image of nicoise salad in a bowl with dressing on the side.

    What You’ll Need To Make This Niçoise Salad

    Dijon Mustard – This French mustard works perfectly in this French recipe! Two tablespoons of tangy, slightly spicy Dijon mustard gives our dressing loads of delicious flavor. If you don’t have Dijon mustard, you can use spicy brown mustard or 1 teaspoon of ground mustard seed in its place.

    Olive Oil – Plenty, and I mean plenty of olive oil is essential to a smooth and creamy vinaigrette! I like having two different kinds of olive oil in my kitchen – one cheaper, less flavorful kind, and one higher quality kind. The higher quality olive oil is exactly what I’d reach for in this, or any, salad dressing recipe. Whereas the cheaper, less flavorful olive oil is perfect for cooking, since much of its flavor will get cooked off anyway!

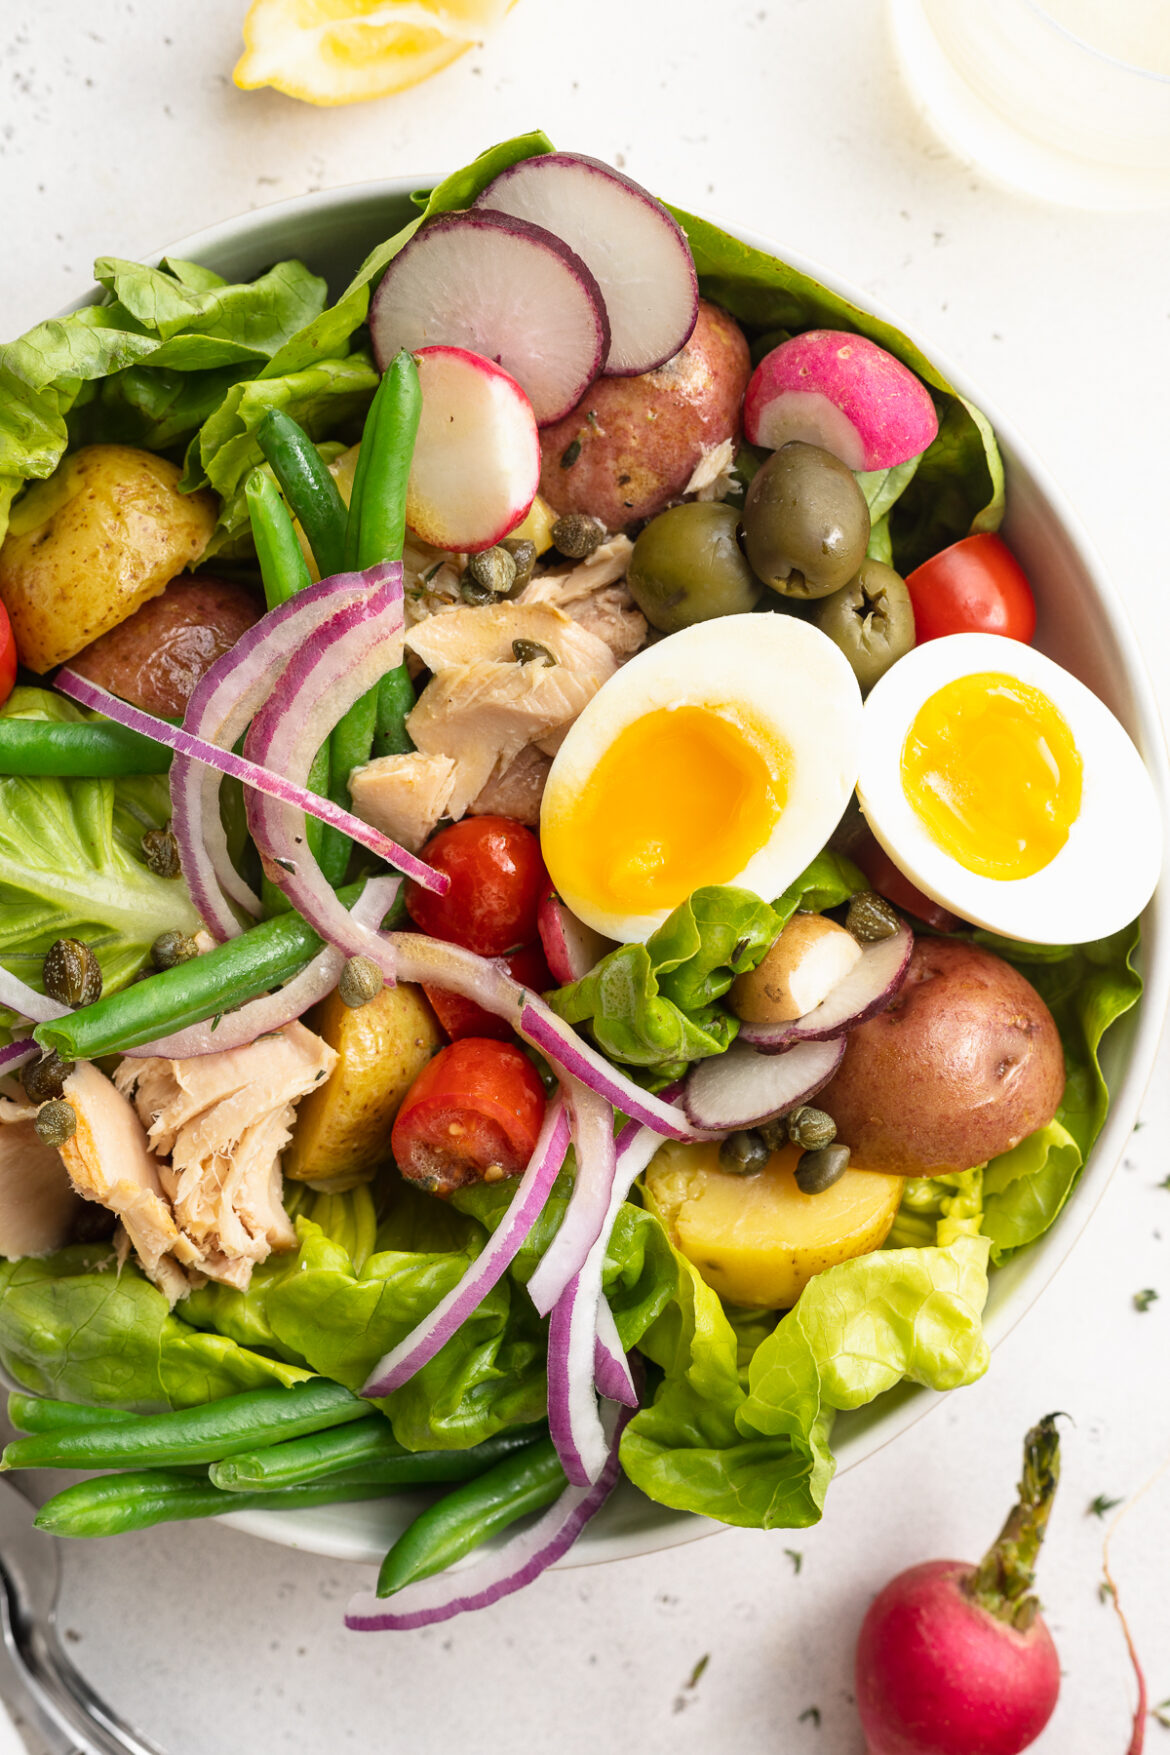
    Baby Potatoes – These creamy, adorable potatoes are traditional to all Niçoise salads recipes. Either red or yellow baby potatoes will work here (I used a combination of both). To prep them for this dish, give them a good scrub under cold water then slice each one in half. Once prepped, quickly boil the baby potatoes until fork tender, then coat in dressing and add to your salad!

    Lettuce – Really any kind of lettuce would work in this salad! Boston or butter lettuce taste both fresh and crisp, and are the perfect base to this hearty salad. However, I’ve swapped out the lettuce for arugula, baby spinach, and romaine – all were delicious!
    Eggs – Hard boiled eggs, soft boiled eggs, or anywhere in between! There are a ton of boiled egg how-tos out there on the internet, in case you need some guidance. I followed this jammy egg recipe and my boiled eggs turned out PERFECT.
    Tuna – It’s not a Niçoise salad without some flaked tuna! Similar to the olive oil in this salad recipe, we want to use good quality tuna as well. Also, look for solid canned tuna, as opposed to chunk light tuna. And for an even richer, more flavorful tuna, use tuna packed in oil – it’s extra buttery and delicious!

    close-up image of nicoise salad on a plate

    Tips and Tricks

    • When making the Niçoise salad dressing, *slowly* pour in the olive oil, while whisking. Doing this will help to emulsify the oil into the dressing, creating a smooth and well-combined vinaigrette. And take your time here, because rushing this step could cause the dressing to separate.
    • Boil the fresh green beans for no more than a few minutes! Green beans cook quickly, and can overcook even quicker. Therefore, to ensure they maintain their crisp-ness, boil them for no more than 3 minutes, then immediately transfer to a bowl of ice water to stop the cooking!
    • Add this Niçoise salad into your weekly meal prep! To do this, simply chop and prep all salad ingredients, then whisk together the dressing. Divide and assemble your salads into four separate containers, and store the dressing on the side – then, when ready to eat, dress your salads and enjoy!
    nicoise salad on a plate with white wine on the side

    Adjust This Recipe To Your Dietary Needs

    Make it Vegan: For a vegan Niçoise salad, leave out the hard boiled eggs, and replace the tofu with a cup or two of cooked lentils.

    Make it Paleo: This recipe is easily made paleo by leaving out the potatoes! If you’d like, you can even use cauliflower florets in their place.

    Fresh and Delicious Niçoise Salad

    0 from 0 votes
    Recipe by Samantha Course: MainCuisine: FrenchDifficulty: Easy
    Servings

    4

    servings
    Prep time

    10

    minutes
    Cooking time

    10

    minutes
    Total time

    20

    minutes

    A classic French Niçoise salad, fully loaded with all things fresh and delicious! Bursting with seasonal spring veggies such as crisp green beans, baby potatoes, cherry tomatoes, and capers. This hearty Niçoise salad is then finished off with a tangy and herby dijon vinaigrette.

    Ingredients

    • For the dressing:
    • 1/4 cup white wine vinegar

    • 2 tablespoons Dijon mustard

    • 1 tablespoon lemon juice

    • 1/2 tablespoon fresh thyme, chopped

    • 1 teaspoon honey

    • 1/2 teaspoon salt

    • 1/4 teaspoon black pepper

    • 3/4 cup olive oil

    • For the salad:
    • 1 pound baby potatoes, sliced in half

    • 8 ounces green beans, trimmed

    • 1 head Boston lettuce or butter lettuce, chopped

    • 2 (5-ounce) cans tuna, drained (see Notes)

    • 4 eggs, boiled

    • 1/2 red onion, thinly sliced

    • 1/2 cup cherry tomatoes, halved

    • 5-6 radishes, ends trimmed and cut in half

    • 1/4 cup mixed olives

    • 2 tablespoons capers

    Directions

    • Make the dressing my whisking together all ingredients except olive oil. Once combined, slowly pour in olive oil while whisking to emulsify oil and create a smooth dressing.
    • Bring a large pot of water to a boil, then add in the sliced potatoes along with a pinch of salt. Cook potatoes until fork tender, about 10 minutes, then drain from water. Transfer potatoes to a large bowl and toss in ¼ cup of dressing.
    • Bring another large pot of water to a boil, then add in trimmed green beans. Cook green beans until tender, about 2-3 minutes, then transfer to an ice bath to stop the cooking. Once cool, remove green beans from ice bath.
    • Assemble all salad ingredients on a large platter – cooked potatoes, green beans, lettuce, tuna, boiled eggs, red onion, tomatoes, radishes, mixed olives, and capers. Drizzle some dressing over salad and serve with extra dressing on the side.

    Recipe Video

    Notes

    • Tuna: Canned tuna packed in oil is ideal here, since it’s moist and has more flavor. However, if all you have is canned tuna packed in water then that works too!

    Did you make this recipe?

    Share it and tag @samdoesherbest on Instagram!

    Like this recipe?

    Follow us @samdoesherbest on Pinterest