Tag

fall

Browsing

If there’s one thing about my boys, it’s that they love anything and everything pumpkin! My gluten-free pumpkin coffee cake is always a huge hit this time of year, and for a healthier treat my husband and son love my pumpkin protein balls. We pretty much always have a pumpkin snack on-hand when those seasonal cravings strike, and I’m so excited to add these healthy pumpkin muffins to the mix! They’re gluten-free, dairy-free, lightly sweetened with maple syrup, and made in just ONE bowl. My idea of a perfect fall morning is one of these healthy pumpkin muffins in one hand, and a healthy pumpkin spice latte in the other. So cozy and SO delicious!
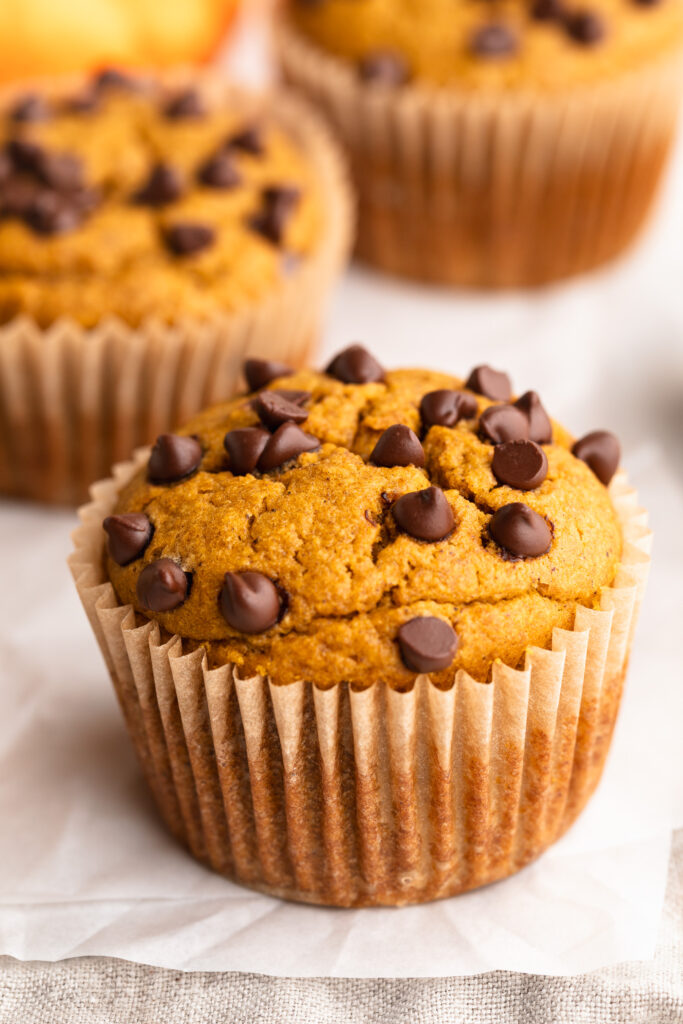
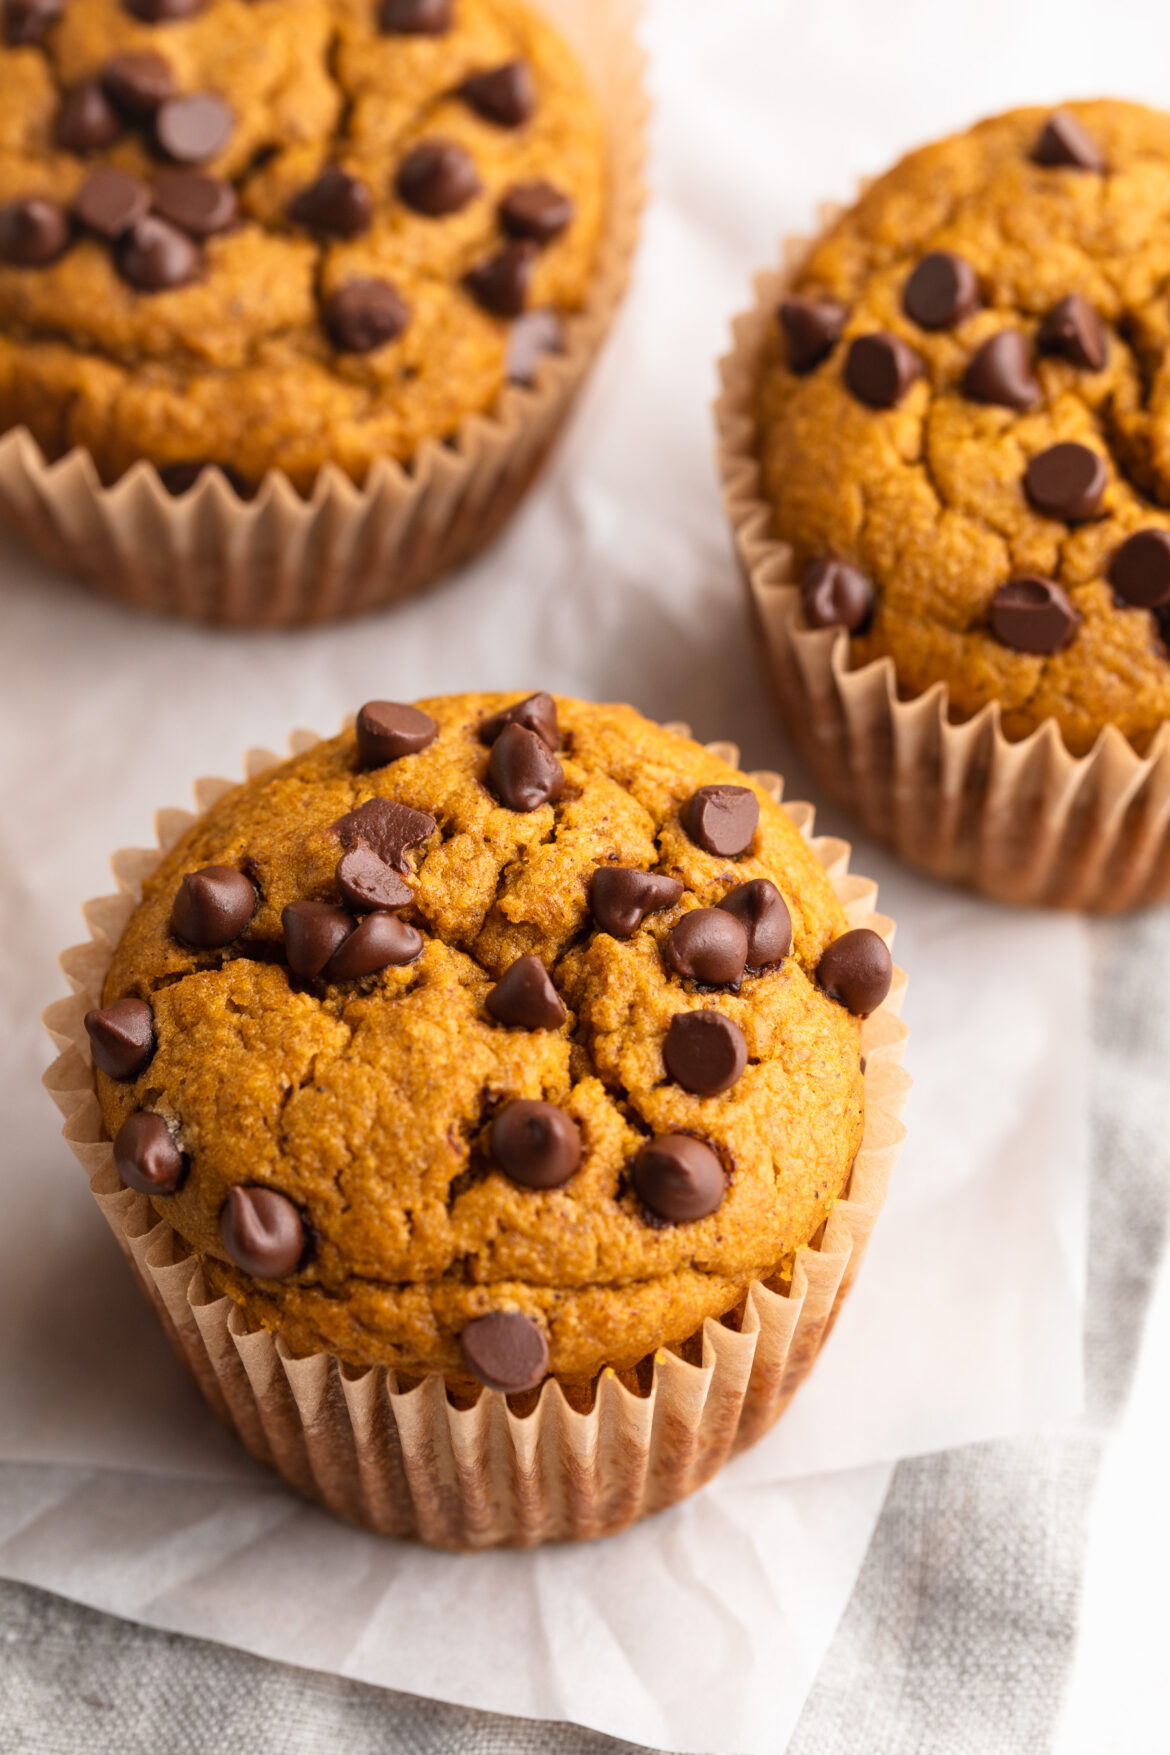
close up image of a healthy pumpkin muffin with chocolate chips on top.

🧡 What Makes This Recipe Healthy?

Unlike traditional pumpkin muffins loaded with refined sugar and flour, these are made with simple, nourishing ingredients you can feel good about. The oat flour provides whole-grain fiber, while pumpkin puree adds natural sweetness, moisture, and a boost of vitamins A and C. They’re also lightly sweetened with maple syrup, keeping them just sweet enough without going overboard. Plus, no butter or dairy means these muffins are naturally dairy-free and gluten-free!

🍂 Why You’ll Love These Healthy Pumpkin Muffins

  • Made with real pumpkin and warming fall spices for that cozy flavor you crave.
  • Naturally gluten-free, dairy-free, and nut-free, so everyone can enjoy them.
  • Lightly sweetened, moist, and fluffy – and made in just one bowl for easy cleanup!
  • Perfect for breakfast, meal prep, or healthy snacks throughout the week.
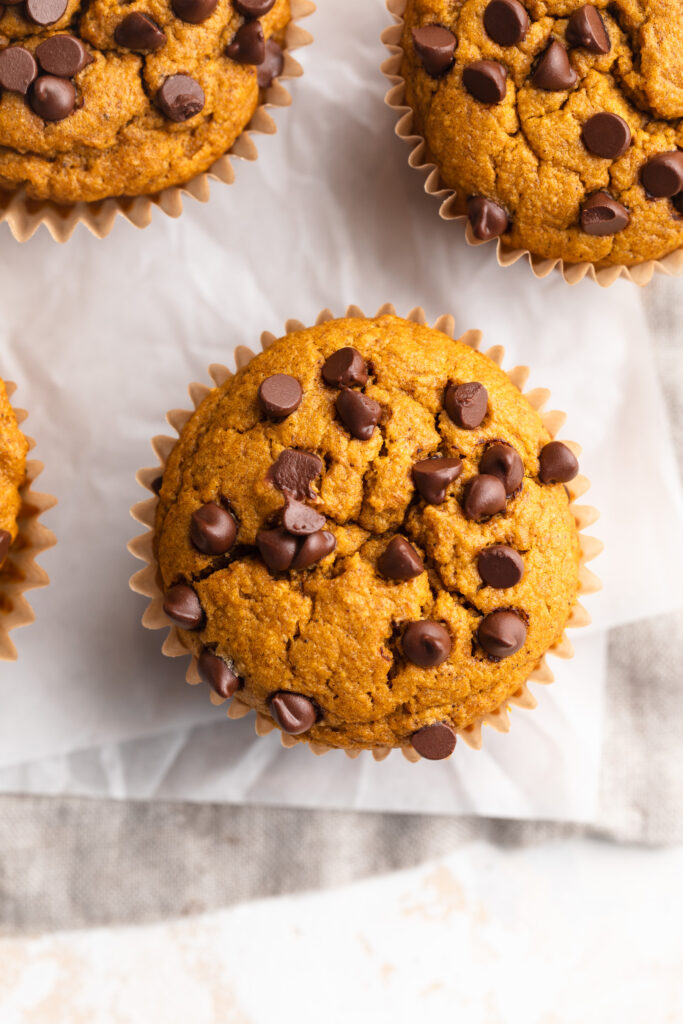
overhead image of healthy pumpkin muffins.

Frequently Asked Questions

Can I make these pumpkin muffins vegan?
Yes! Swap the eggs for two flax eggs (2 tablespoons ground flaxseed + 5 tablespoons water). Let the mixture sit for 5–10 minutes before adding it to the batter.

How do I store these muffins?
Store your muffins in an airtight container at room temperature for up to 3 days, or in the fridge for up to a week. You can also freeze them for up to 3 months – just thaw overnight or reheat in the microwave for 20 seconds.

What can I add to this recipe?
Feel free to mix in chocolate chips, chopped walnuts, or pumpkin seeds for a fun twist! You can also top them with a sprinkle of oats or cinnamon sugar before baking for extra texture.
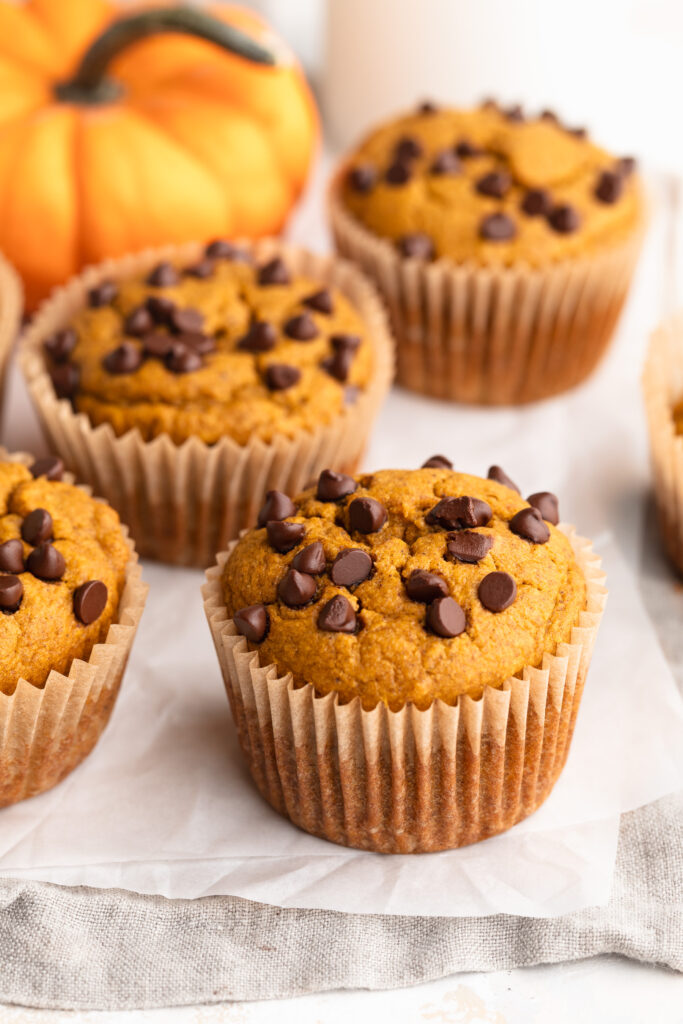
healthy pumpkin muffins on a table with a small pumpkin.

👩‍🍳 Sam’s Recipe Tips

  • Don’t overmix the batter! Stir until the dry and wet ingredients are just combined for fluffy muffins.
  • Use room temperature eggs and milk for a smoother, more even batter.
  • If you love extra spice, add a pinch of nutmeg or cloves for a stronger fall flavor.
  • These muffins make a great freezer-friendly snack – just pop one out when you need a quick breakfast or healthy snack on the go!
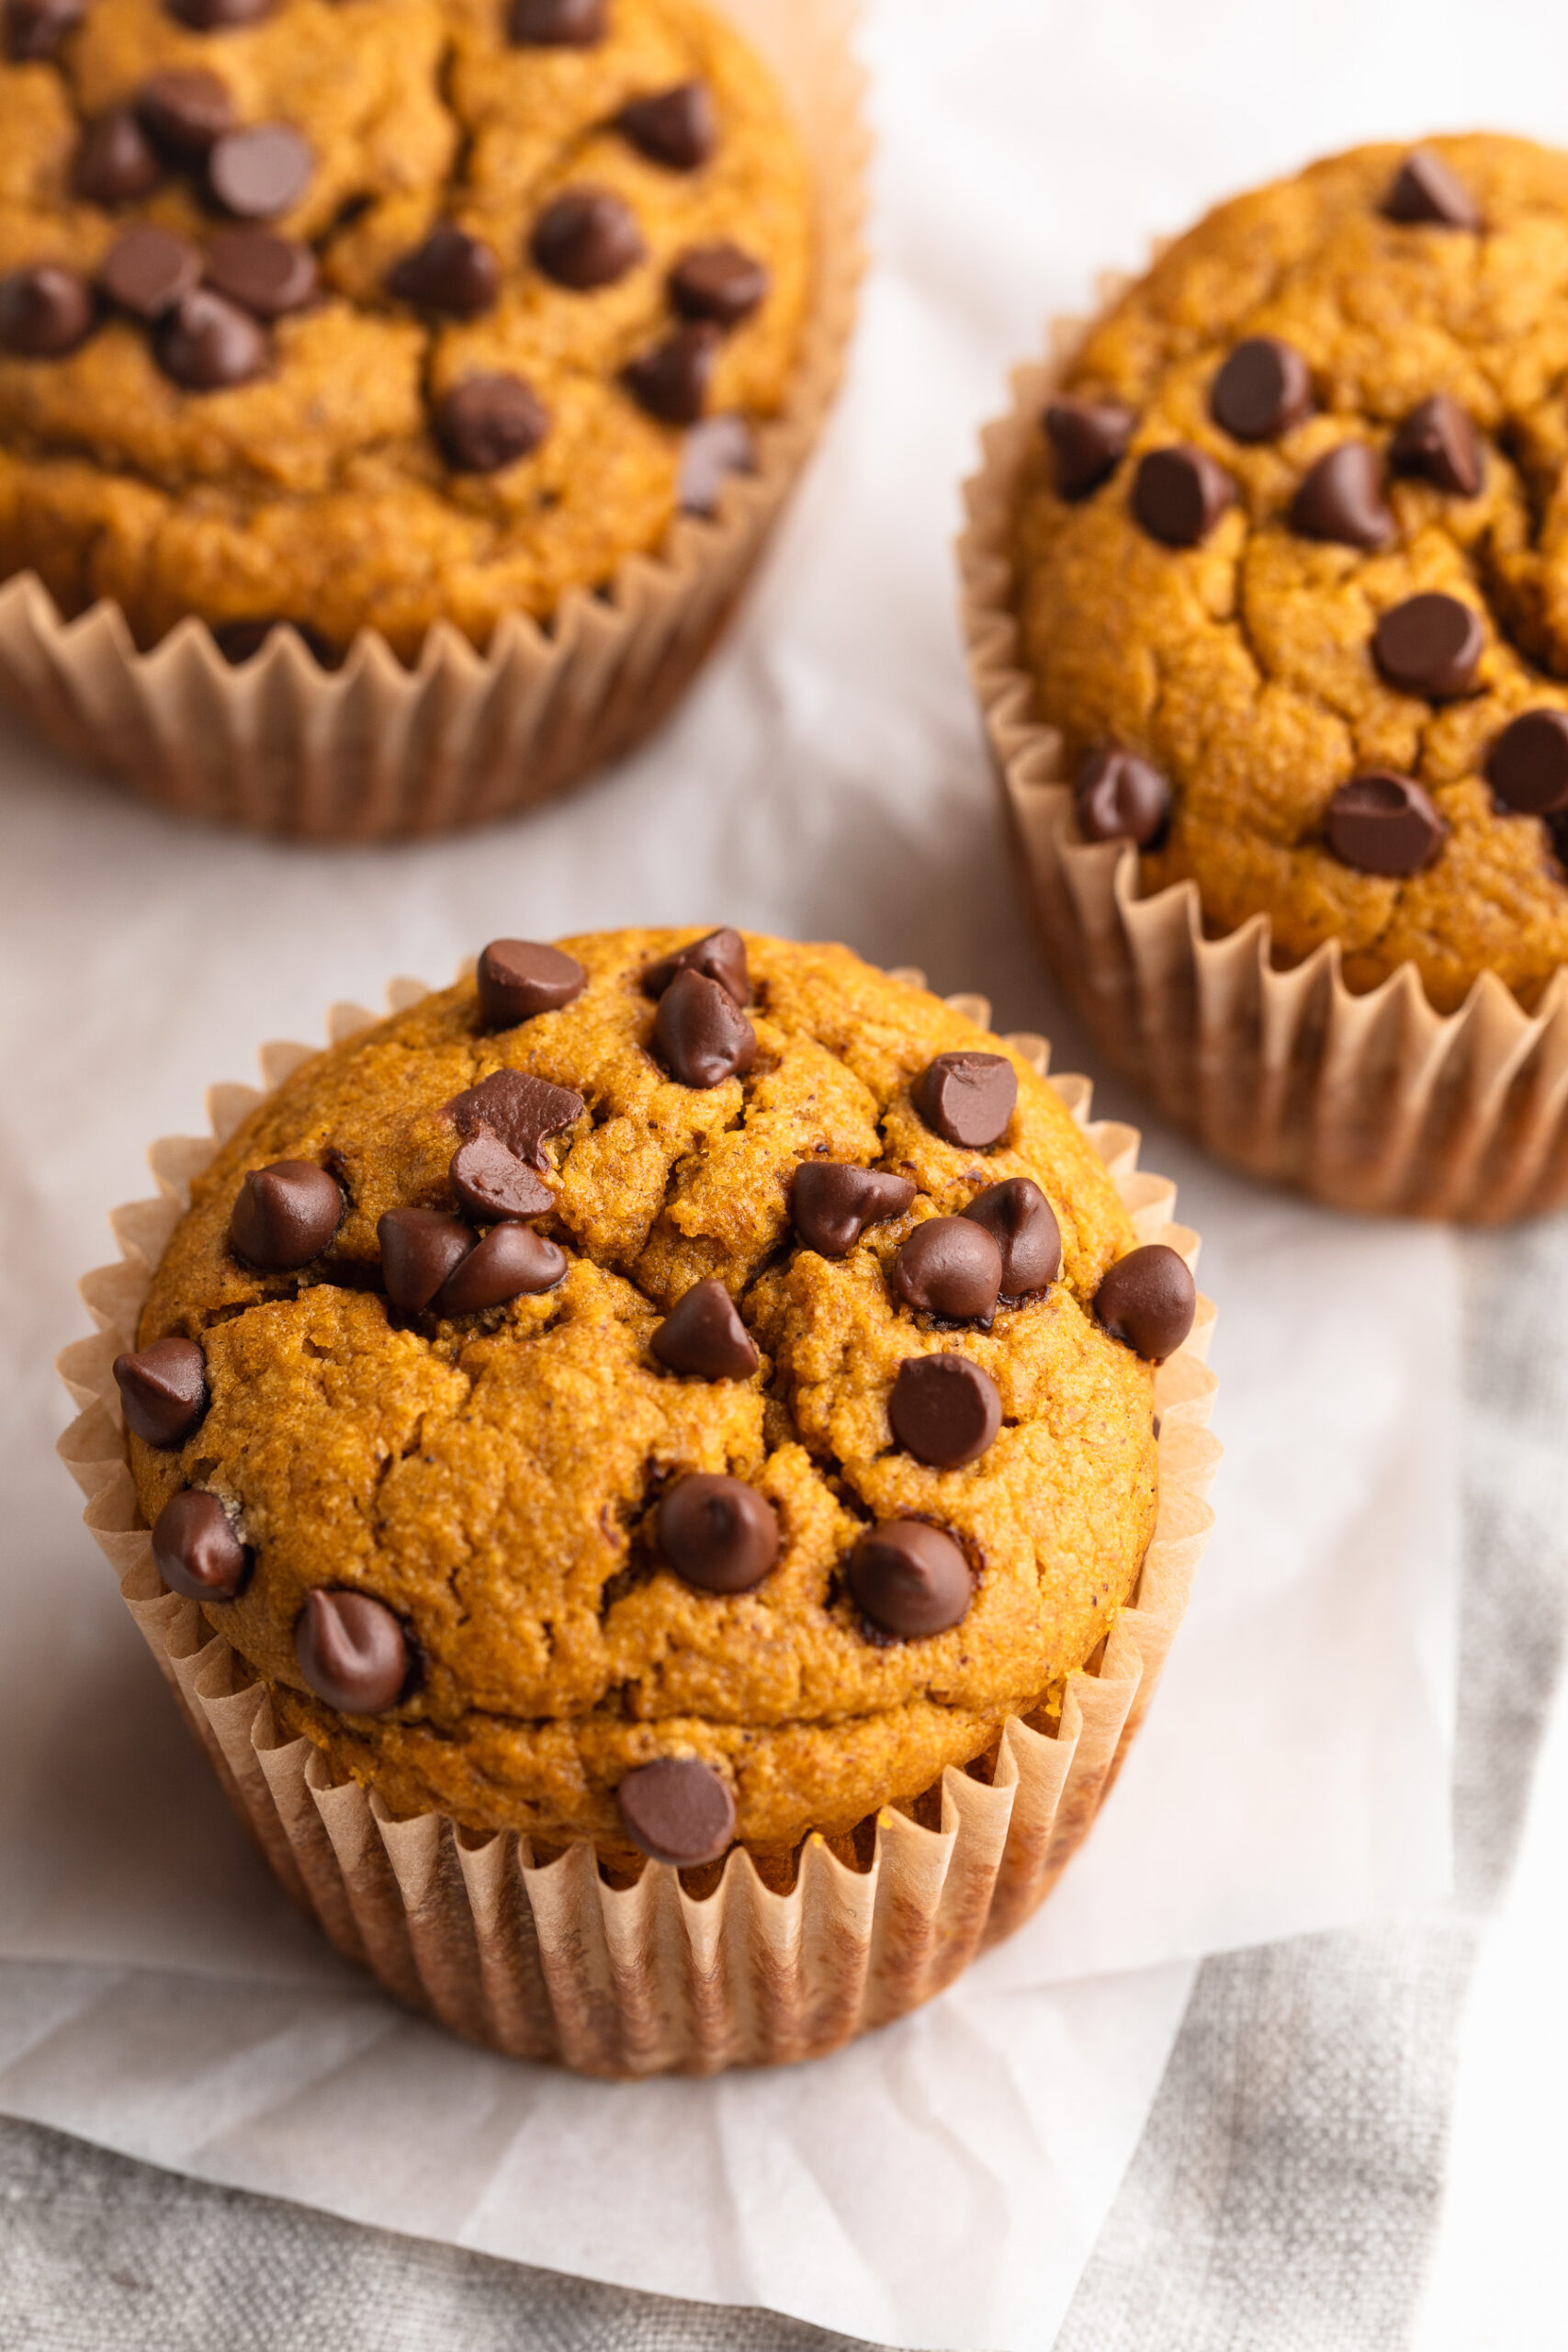
three healthy pumpkin muffins on parchment paper.
No ratings yet

One-Bowl Healthy Pumpkin Muffins

These healthy pumpkin muffins are soft, fluffy, and perfectly spiced! Made in one bowl with oat flour, pumpkin puree, and maple syrup, they’re a wholesome and cozy fall treat you’ll want on repeat. Gluten-free, dairy-free, and naturally sweetened, these muffins are perfect for breakfast, snacks, or meal prep all week long!
Print Pin Rate
Prep Time: 10 minutes
Cook Time: 25 minutes
Total Time: 35 minutes
Servings: 12 muffins

Equipment

  • 1 large bowl
  • 1 muffin pan

Ingredients

  • 1 cup pumpkin puree
  • 1/2 cup oil either melted coconut oil, avocado oil, olive oil, or vegetable oil
  • 1/3 cup maple syrup
  • 1/4 cup milk I used almond milk
  • 2 eggs at room temperature
  • 1 teaspoon vanilla extract
  • 1 1/2 cups oat flour
  • 2 teaspoons pumpkin pie spice
  • 1 teaspoon baking powder
  • 1/2 teaspoon baking soda

Instructions

  • Preheat oven to 350° Fahrenheit and line a 12 cup muffin pan with muffin liners.
  • Mix together the pumpkin puree, oil, maple syrup, milk, eggs, and vanilla extract in a large bowl.
  • Add in the oat flour, pumpkin pie spice, baking powder, and baking soda and mix until everything is fully combined.
  • Scoop ¼ cup of muffin batter into each muffin liner, then sprinkle with either chocolate chips, pumpkin seeds, chopped nuts, or leave plain. Bake the muffins for 22-25 minutes, or until a toothpick inserted down the center of a muffin comes out clean.
  • Remove the muffins from the oven and transfer them to a wire cooling rack to cool completely before serving or storing.

Nutrition

Serving: 1muffin | Calories: 190kcal | Carbohydrates: 18g | Protein: 3g | Fat: 12g | Fiber: 1g | Sugar: 7g

Single serve recipes really are the best. They make just the right amount, always hit the spot, and are always easier than making a whole batch of something. A few single serve recipes I find myself coming back to time and time again are my 5-ingredient single serve cinnamon roll, single serve protein cookie, healthy gluten-free mug cake, and now (& especially this time of year) this single serve apple crumble. It’s perfectly sweet, super easy to make, and just as delicious as your favorite apple crumble recipe. I even managed to make this recipe with just 5 ingredients. So the next time you’re craving a delicious fall treat, whip up this single serve apple crumble, cozy up on the couch, and enjoy! 🥰

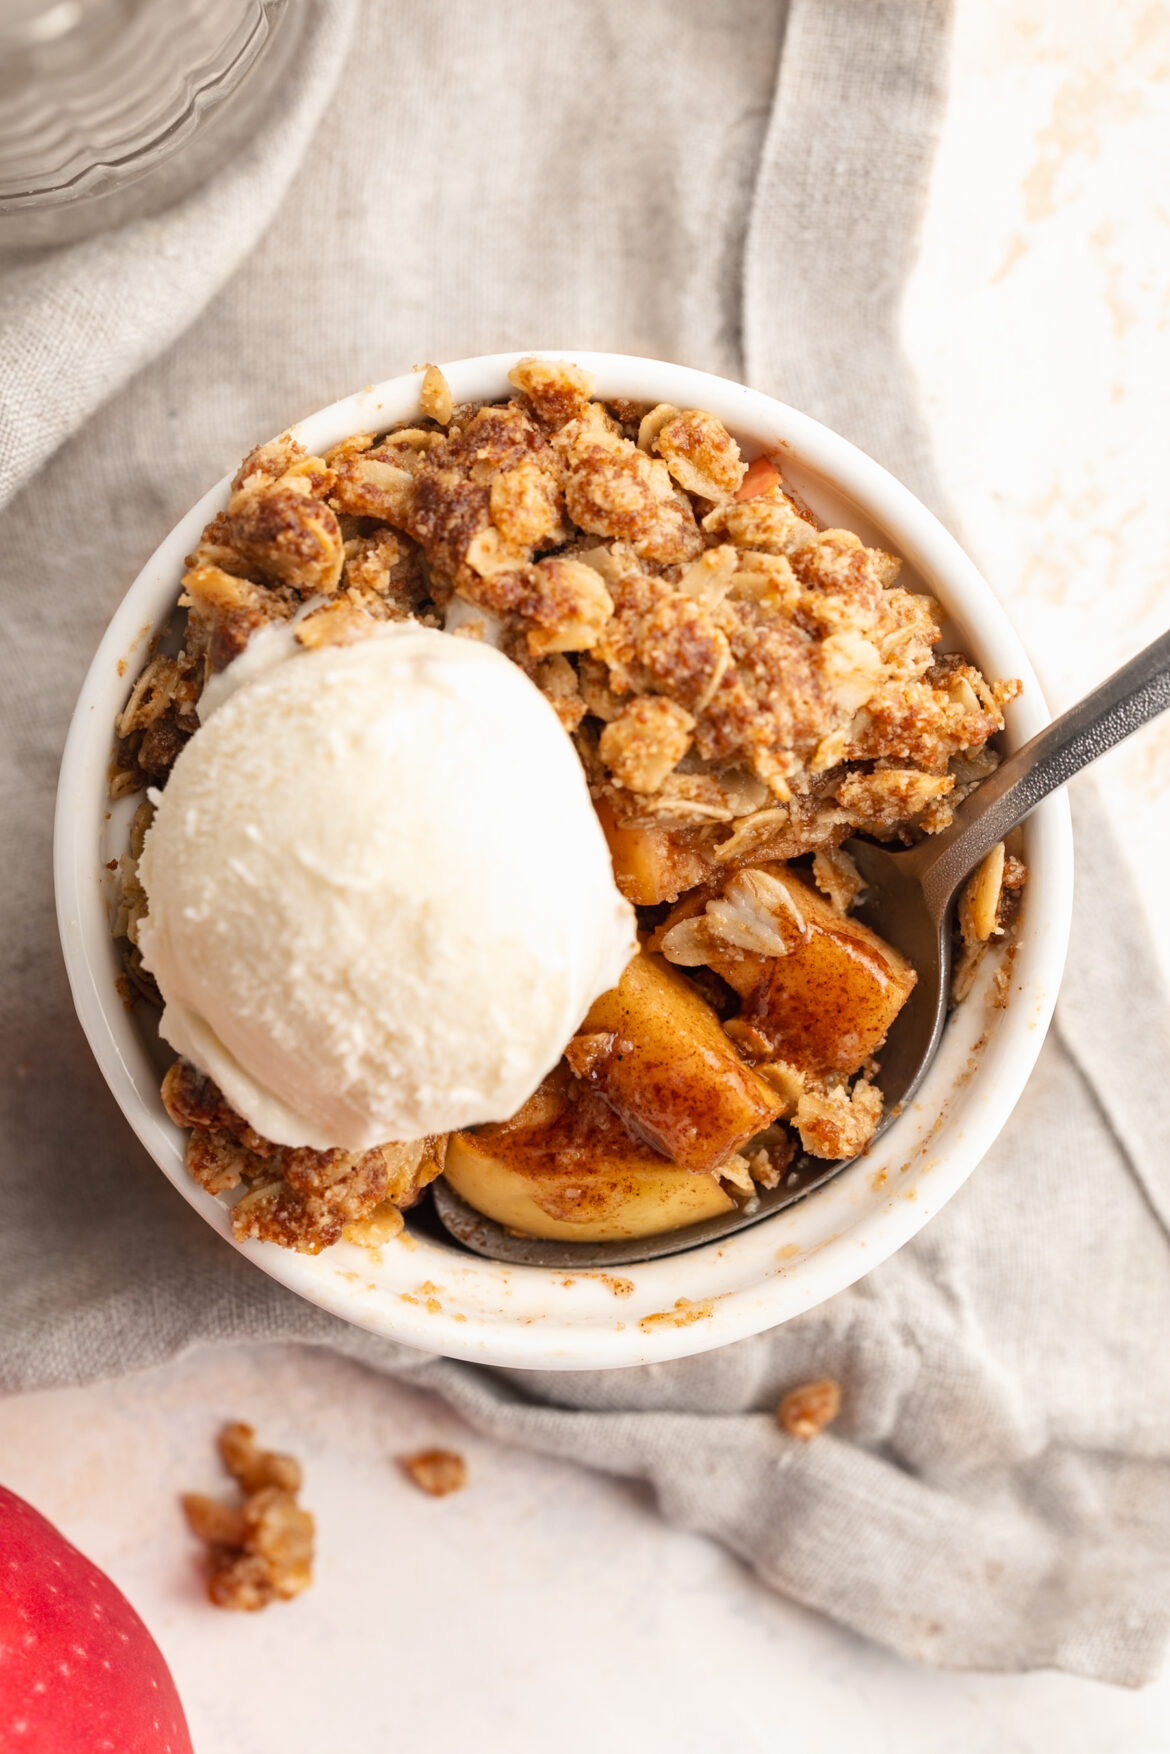
single serve apple crumble with ice cream.

Why You’ll Love This Single Serve Apple Crumble

  • Perfect for one – no sharing needed!
  • Minimal ingredients & fuss – only 5 components and one bowl for prep.
  • Customizable & comforting – cozy, fall flavor, and ready in under 30 minutes!
  • Gluten-Free – naturally gluten-free with rolled oats and almond flour.

Sam’s Recipe Tips

  • Use a firm but juicy apple (e.g. Honeycrisp, Pink Lady) so pieces soften but don’t disappear.
  • Ensure the topping is crumbly, not doughy – mix just until the oat/almond flour mix clumps slightly.
  • Let it cool for a few minutes before digging in – this helps juices settle.
  • For extra depth, stir a pinch of nutmeg or allspice into the apples before topping.
single serve apple crumble with a spoon.

Adjust This Recipe to Your Dietary Needs

  • Make it Vegan / Dairy-Free: Use coconut oil or vegan butter instead of regular butter.
  • Make it Nut-Free: Replace almond flour with extra oats or a seed-based flour (e.g. sunflower seed flour).
  • Optional Flavors: Add a splash of vanilla extract or a teaspoon of maple syrup for extra sweetness.
overhead image of single serve apple crumble with a scoop of ice cream on top.
No ratings yet

5-Ingredient Single Serve Apple Crumble

This single serve apple crumble is a cozy, 5-ingredient dessert that bakes up in just 30 minutes! Made with warm cinnamon apples and a golden oat topping, it’s the perfect healthier fall treat. Easy to make in one bowl, no sharing required!
Print Pin Rate
Prep Time: 5 minutes
Cook Time: 25 minutes
Total Time: 30 minutes
Servings: 1 serving

Equipment

  • 1 small bowl
  • 1 small ramekin

Ingredients

For the apples:

  • 1 apple peeled and chopped
  • 1 tablespoon brown sugar or coconut sugar
  • 1/2 teaspoon cinnamon optional

For the crumble:

  • 1/4 cup rolled oats
  • 2 tablespoons almond flour or all purpose flour
  • 1 tablespoon brown sugar or coconut sugar
  • 2 tablespoons melted butter or coconut oil

Instructions

  • Preheat oven to 350° Fahrenheit.
  • Add the chopped apples, coconut sugar, and cinnamon to a small ramekin and stir until the apples are evenly coated in sugar. Set that aside then make the crumble.
  • Mix together the rolled oats, almond flour, coconut sugar, and melted butter or coconut oil in a small bowl until a crumby mixture forms. Sprinkle the crumble evenly over the top of the apples.
  • Bake the apple crumble for 25-30 minutes, or until the apples are very soft. Let the apple crumble cool slightly before topping with ice cream, yogurt, or whipped cream.

Nutrition

Serving: 1serving | Calories: 400kcal | Carbohydrates: 60g | Protein: 6g | Fat: 20g | Fiber: 7g | Sugar: 40g

It’s finally fall! Well kinda. September 1st is the unofficial first day of fall in my book, and I’m celebrating with yet another apple recipe! I kicked things off last week with my healthy gluten-free apple crisp, and am eager to make my apple pie protein smoothie and gluten-free cinnamon sugar apple cake in the coming weeks. Today though, we’re focusing on the EASIEST of all the apple recipes – apple pie salad. And not just any apple pie salad, one with just 5 ingredients, that’s high in protein, and comes together in a few minutes. I absolutely LOVE this recipe when I’m short on time but craving fall flavors. Think fresh crisp apples, cinnamon, honey, and something crunchy like pecans, walnuts, or or granola. It’s the perfect afternoon snack or high-protein dessert!

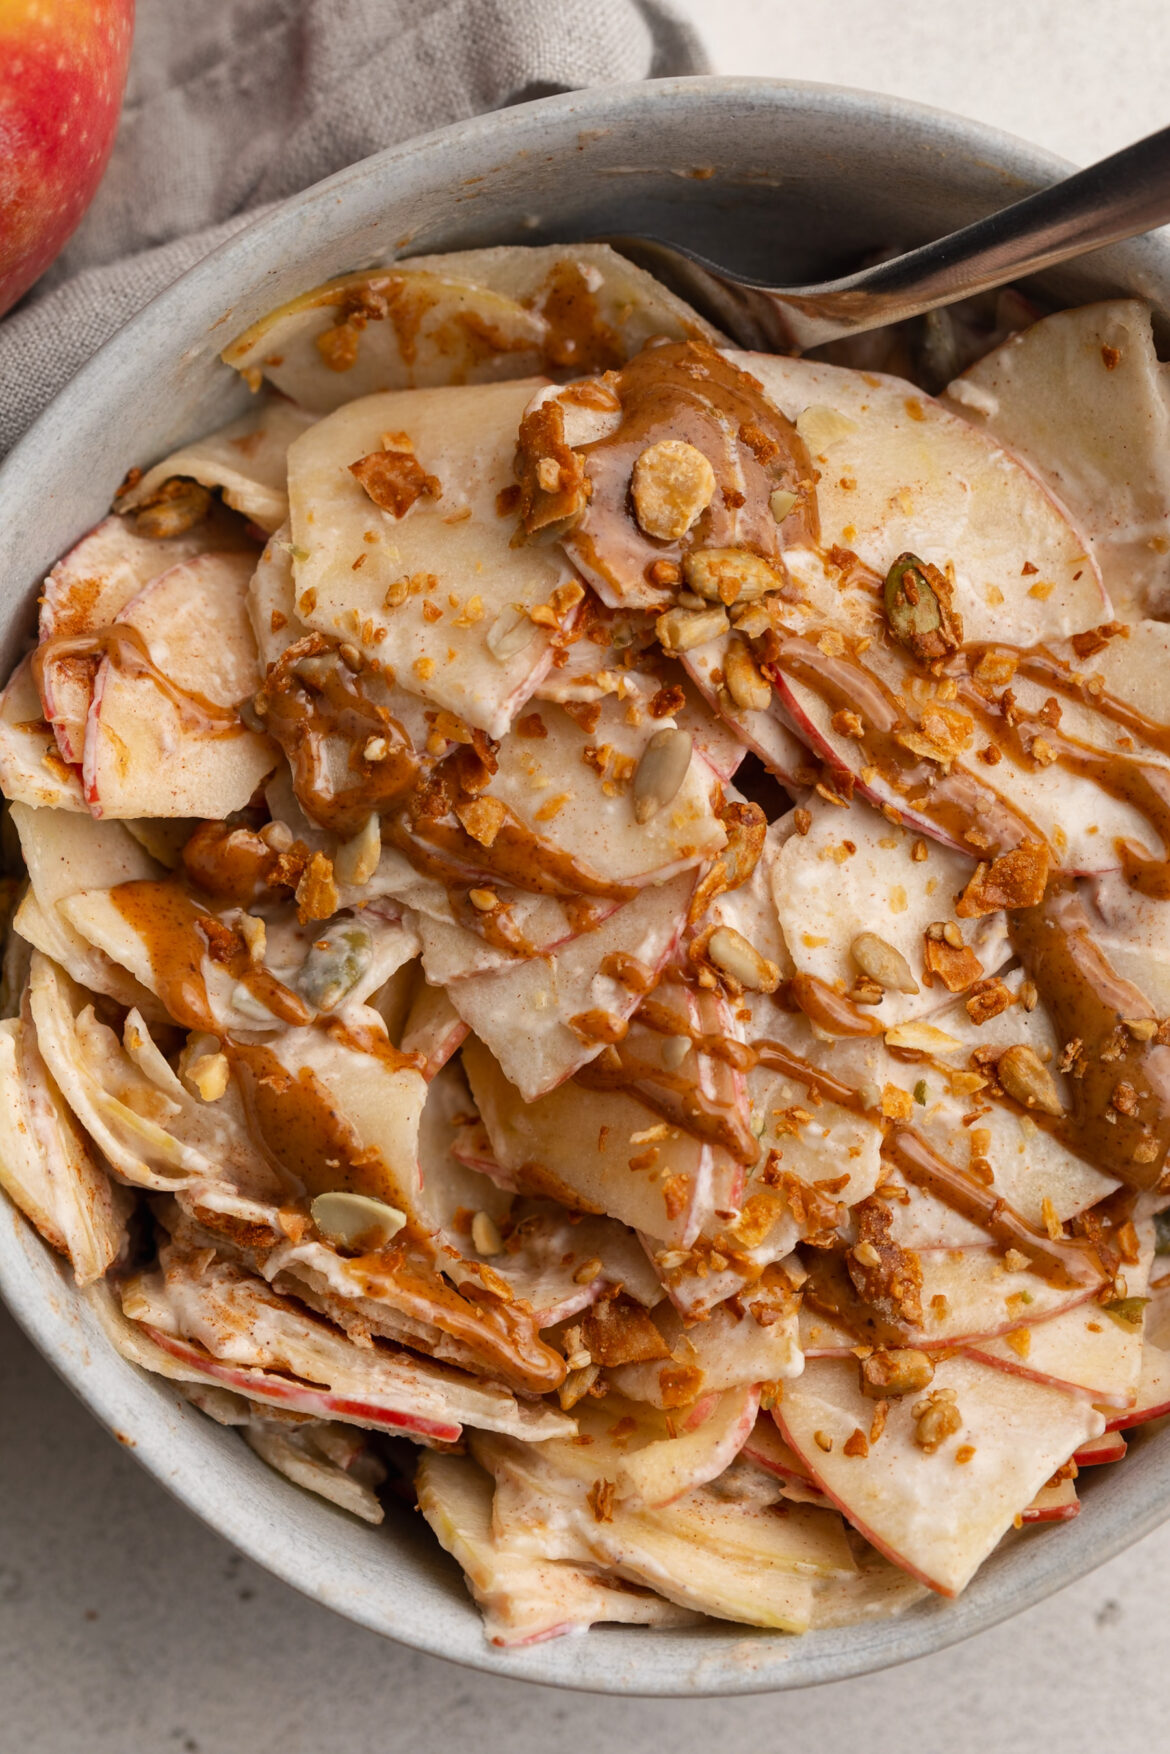
healthy high protein apple pie salad in a bowl with a fork.

Why You’ll Love This Apple Pie Salad

  • High-Protein, No-Bake Goodness: Just apples, yogurt, and a hint of sweetener – no oven needed!
  • Quick & Nourishing: Ready in under 5 minutes, with over 20 grams of protein to fuel your day.
  • Flavor Meets Function: Satisfy your pie cravings with warm spices and dippable (is that a word??) toppings!

What Makes This Recipe Healthy

  • The apple base adds fiber and antioxidants while keeping it naturally sweet and refreshing.
  • Greek yogurt (or plain coconut yogurt) provides a protein-packed, gut-friendly foundation.
  • A drizzle of honey or maple syrup gives balance without refined sugars.
  • Protein-boosting peanut butter and satisfying nuts round out the nutrition and texture!
overhead image of healthy apple pie salad in a bowl with an apple on the side.

Frequently Asked Questions

What kind of apples should I use?
Crisp, sweet varieties like Fuji or Honeycrisp work best – Granny Smith are a bit more tart so they may need extra sweetener to balance its tartness.

Can I make this dairy-free?
Yes! Swap in a thick, unsweetened coconut or almond-based yogurt to keep it plant-based and creamy.

How much protein is in this recipe?
Each serving delivers approximately 20 grams of protein, depending on your yogurt choice.

overhead image of healthy apple pie salad in a bowl with a drizzle of peanut butter and granola on top.
No ratings yet

Healthy High-Protein Apple Pie Salad

This high-protein apple pie salad is a creamy, crunchy, no-bake recipe that tastes just like dessert but fuels your body with 20 grams of protein. Made with fresh apples, Greek yogurt, cinnamon, and a drizzle of peanut butter, it’s a quick and healthy snack or post-workout treat. Perfect for when you’re craving apple pie flavor in a light, wholesome, and protein-packed treat!
Print Pin Rate
Prep Time: 5 minutes
Total Time: 5 minutes
Servings: 1 serving

Equipment

  • 1 medium bowl or container
  • 1 mandoline or use a knife to thinly slice the apples

Ingredients

  • 1 apple
  • 1 cup Greek yogurt or plain coconut yogurt
  • 1-2 teaspoons honey or maple syrup
  • 1/2 teaspoon cinnamon

Toppings:

  • Drizzle of peanut butter
  • Chopped walnuts, pecans, or granola

Instructions

  • Add all ingredients to a bowl and mix until apples are evenly coated in yogurt. Top with a drizzle of peanut butter and chopped nuts or granola.

Notes

Nutrition info is calculated using 1 cup of plain unsweetened Greek yogurt, 1 teaspoon of honey, and 1/2 tablespoon of unsweetened peanut butter. Also, keep in mind that this recipe may seem high in sugar, but that is natural sugar from the apple.

Nutrition

Serving: 1serving | Calories: 260kcal | Carbohydrates: 39g | Protein: 20g | Fat: 4g | Fiber: 5.5g | Sugar: 22g

I’ve been making a variation of this healthy gluten-free apple crisp for the last 6+ years! But it wasn’t until this year that I finally decided to sit down, perfect it, and write out each ingredient.

It’s just one of those staple recipes I come back to every fall/holiday season. It’s that perfect end-of-day treat, best enjoyed warm with a scoop of vanilla ice cream… and maybe even a healthy homemade pumpkin spice latte on the side?? Yup, now we’re talkin’! So head to your local orchard, pick alllll the apples, then run home and bake up this cozy apple crisp.

overhead image of healthy gluten free apple crisp in a baking dish

What Makes This the BEST Gluten-Free Apple Crisp?

  • Quick and Easy: No complicated steps, just mix, sprinkle, and bake!
  • Wholesome Ingredients: Made with healthier alternatives like coconut sugar and almond flour.
  • Perfect Texture: Gooey apples with a crisp, buttery oat topping. YUM!
  • Adaptable for Dietary Needs: Can easily be made vegan and nut-free without sacrificing flavor.
  • Delicious Fall Flavor: The combination of tart apples, cinnamon, and a touch of lemon gives this dessert a warm and comforting taste.

What You’ll Need to Make This Recipe

Apples: Granny Smith apples are recommended because they hold their shape well and provide a nice tartness that balances the sweetness of the topping. Other firm apples like Honeycrisp, Pink Lady, and Fuji are also great options.

Coconut Sugar or Brown Sugar: Adds sweetness without overpowering the dish. Coconut sugar is less refined and has a subtle caramel flavor.

Corn Starch: Helps thicken the apple juices as they bake, preventing the filling from becoming watery.

Lemon Juice (Optional): Brightens the apple filling and enhances the flavors. It also prevents the apples from browning too much before baking.

Cinnamon: Essential for that classic fall flavor. It adds warmth and depth to both the filling and the topping!

Rolled Oats: Provides a crisp, crumbly texture to the topping. Be sure to use certified gluten-free oats if necessary.

Almond Flour: A great gluten-free alternative to regular flour, adding a subtle nutty flavor and additional texture to the topping.

Butter (Non-Dairy Optional): Adds richness and helps create a crispy topping. Non-dairy butter works perfectly if making this vegan. I used Miyoko’s non-dairy butter and it works great in this recipe!

Top 5 Apples For Baking

  1. Granny Smith: Tart and firm, making them perfect for baking as they hold their shape.
  2. Honeycrisp: Sweet, juicy, and crisp, adding great flavor and texture.
  3. Pink Lady: Sweet with a nice tartness, they retain their shape well when baked.
  4. Braeburn: Well-balanced between sweet and tart, perfect for crisps and pies.
  5. Fuji: Sweet and firm, they add a great depth of flavor to any baked dessert.

Adjust This Recipe to Your Dietary Needs

  • Make it Nut-Free: Replace almond flour with oat flour or a gluten-free all-purpose flour blend to make the recipe nut-free.
  • Vegan Option: Use non-dairy butter to keep it fully vegan.
gluten free apple crisp on a plate with a scoop of vanilla ice cream

Can I Make Other Gluten-Free Fruit Crisps?

Absolutely! This versatile crisp recipe can be adapted with various fruits:

Cherry Crisp: Use fresh or frozen cherries in place of apples. Reduce the coconut sugar slightly to account for the cherries’ sweetness.

Pear and Cranberry Crisp: Replace apples with sliced pears and add 1 cup of fresh cranberries for a tart twist.

Peach Blueberry Crisp: Substitute peaches and blueberries, but reduce the sweetener slightly as these fruits can be naturally sweeter.

Why This Recipe is Perfect for Any Occasion This gluten-free apple crisp is not just another dessert; it’s a comforting, warm, and healthier treat that everyone can enjoy. Whether you’re accommodating dietary restrictions or just looking for a delicious fall dessert, this crisp checks all the boxes. Plus, it’s easy to adjust, making it the ideal recipe for any gathering.

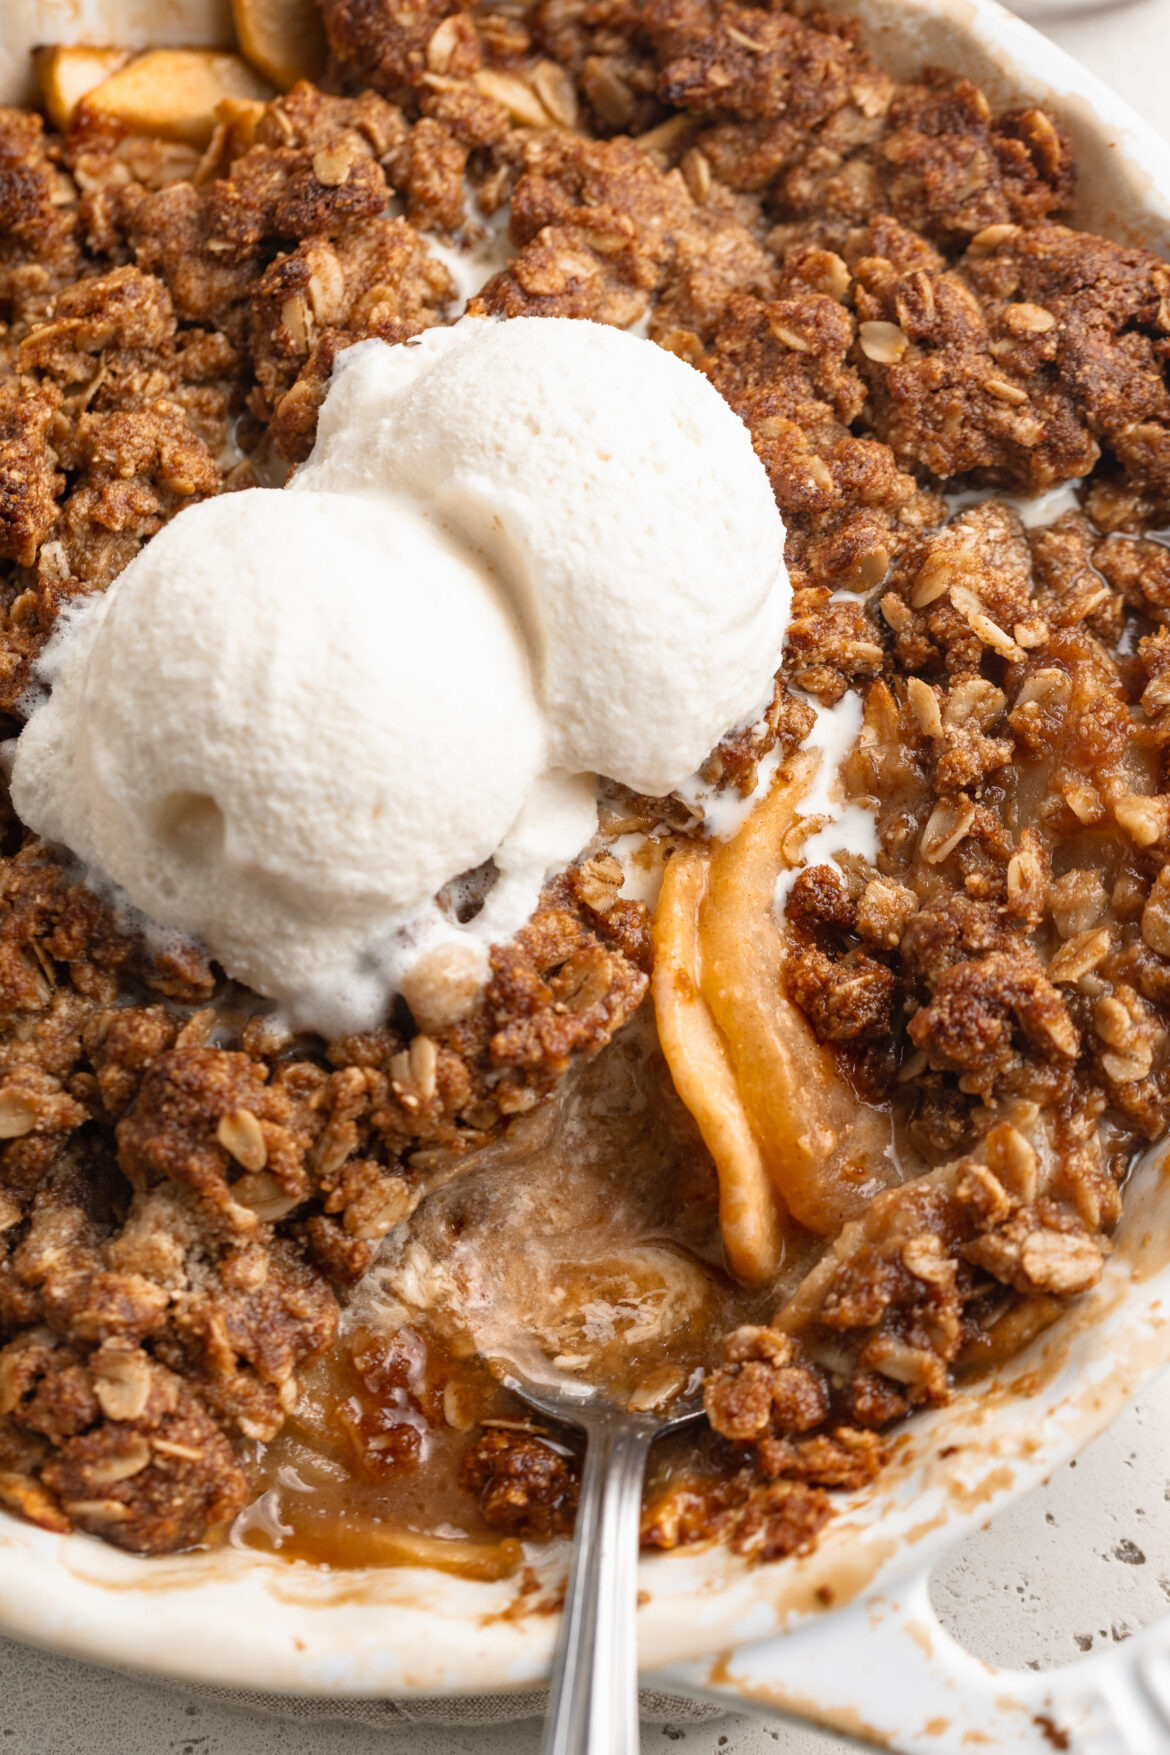
gluten free apple crisp in a baking dish with a spoon and two scoops of ice cream on top.
5 from 2 votes

Gluten-Free Apple Crisp

This healthy gluten-free apple crisp is the easiest and best fruit crisp you’ll ever make. It’s perfectly sweet with a crumbly oat topping, and ready in no time! This recipe is not only gluten-free but can be adapted to be dairy-free, vegan, and refined sugar-free.
Print Pin Rate
Prep Time: 5 minutes
Cook Time: 30 minutes
Total Time: 35 minutes
Servings: 8 servings

Ingredients

For the apples:

  • 5-6 apples, peeled and thinly sliced (about 1/8-inch thin)
  • 1/4 cup coconut sugar, or brown sugar
  • 1 tablespoon corn starch
  • 2 tablespoons lemon juice (optional)
  • 1 teaspoon cinnamon

For the crisp:

  • 1 cup rolled oats
  • 3/4 cup almond flour
  • 1/2 cup coconut sugar, or brown sugar
  • 6 ounces butter, cut into 1-inch cubes (I used non-dairy butter)
  • 2 teaspoons cinnamon

Instructions

  • Preheat oven to 350° Fahrenheit.
  • Add all apple ingredients to a 9-inch baking dish and toss together until evenly coated, then spread apples into an even layer around the dish.
  • Add all crisp ingredients to a large bowl. Use a fork to mix together, until a crumbly mixture forms. Sprinkle crisp topping evenly over the apples.
  • Bake for 40-45 minutes or until apples are soft, then let cool slightly before serving.

Hey, pasta lovers! If you’re on the hunt for a cozy, creamy, and utterly delightful vegan pasta recipe, you’re in the right place. Our Butternut Squash Pasta is here to dazzle your taste buds and provide that warm hug you crave during chilly evenings. No dairy, no problem – let’s dive into the comforting world of plant-based pasta magic!

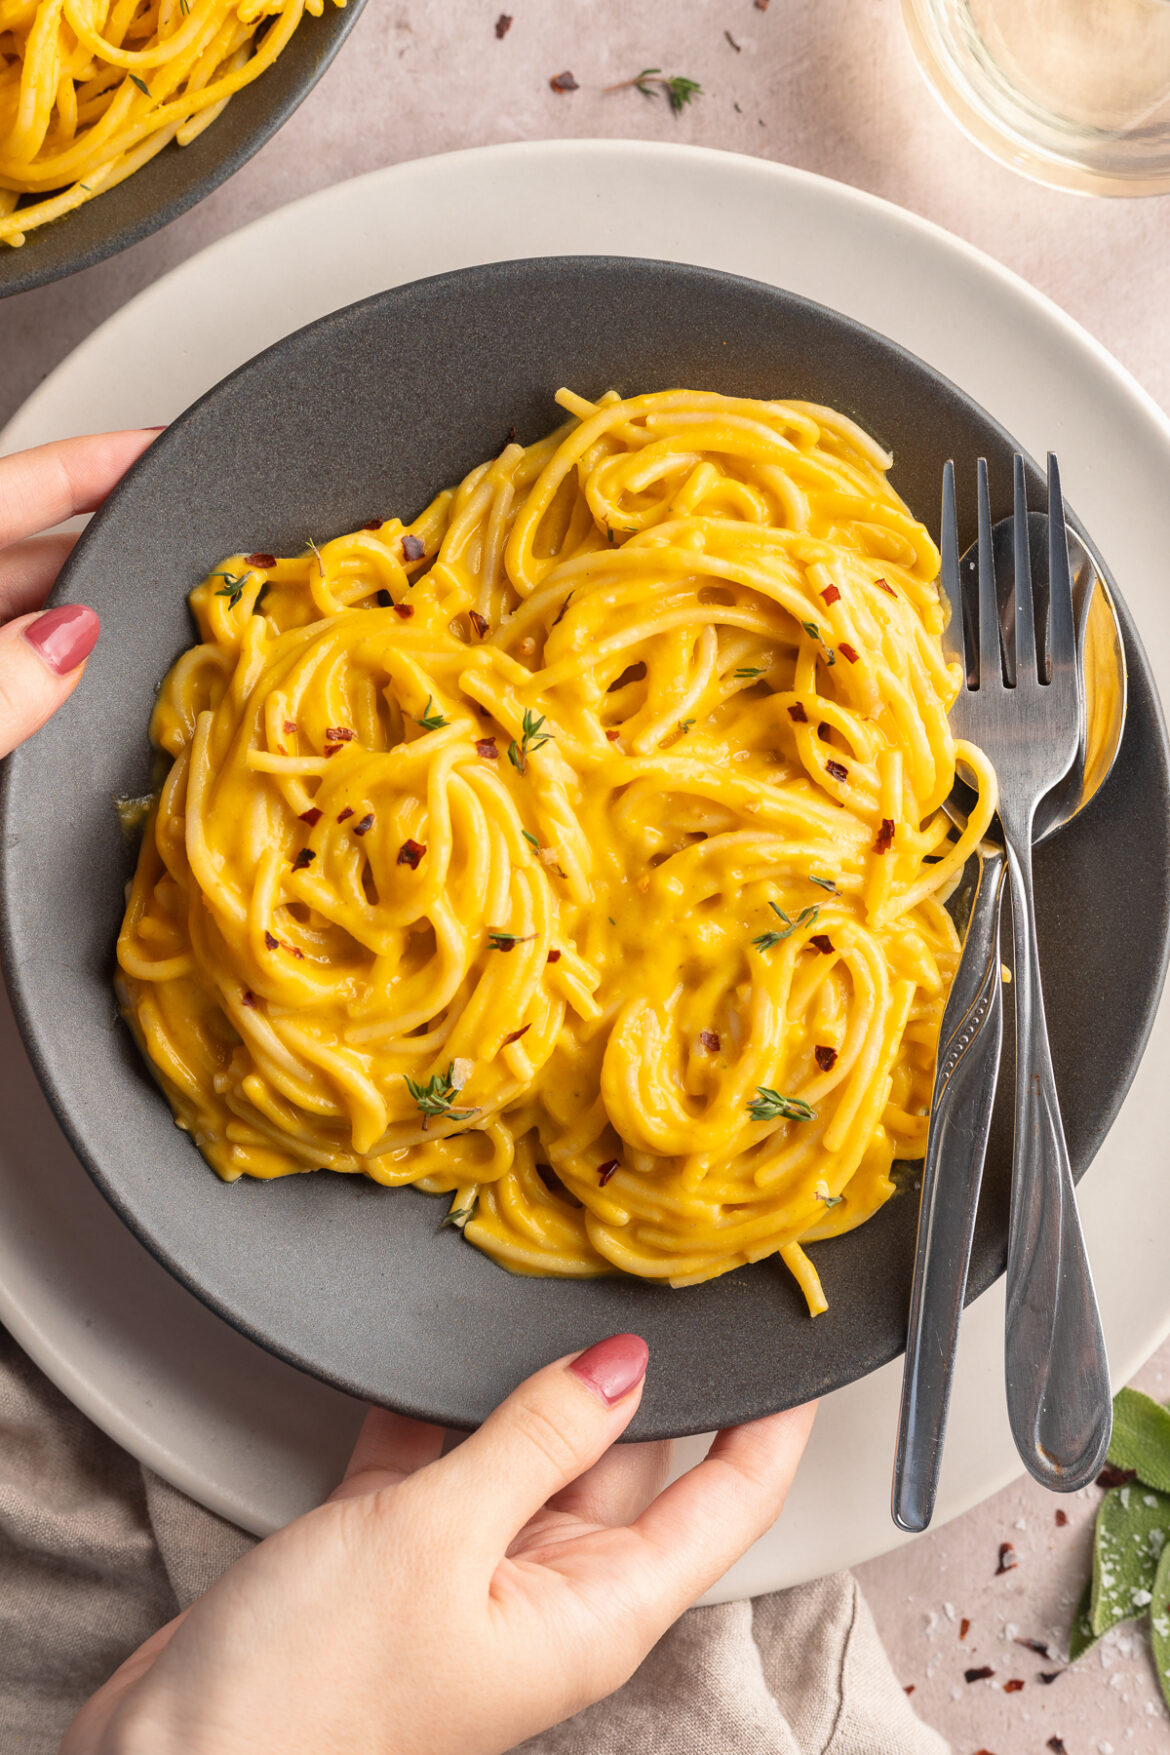
fork lifting butternut squash pasta out of a bowl.

What You’ll Need to Make Butternut Squash Pasta

Butternut Squash (with Skin): That’s right, no need to peel off the skin! It’s not only a time-saver but also adds a lovely nutty flavor and extra nutrients. Slice, roast, and blend.

A Whole Head of Garlic: Roasting garlic adds a caramelized, almost sweet flavor to the sauce. Plus, the aroma while it’s roasting is heavenly.

Shallots: These little gems provide a delicate oniony flavor that complements the butternut squash beautifully.

Raw Cashews: Creamy, dreamy, and oh-so-healthy. Cashews are the secret to that luscious, dairy-free creaminess.

Pasta of Your Choice: Feel free to pick your favorite pasta shape. Whether you’re into the classic spaghetti or something quirky like fusilli, it’s all about what makes you smile. I used this gluten-free spaghetti, and it was delicious!

close-up image of butternut squash pasta in a bowl.

Tips and Tricks

  • Roast ‘n’ Toast: Roasting the butternut squash and garlic is the superstar move here. The caramelization adds a depth of flavor that’s hard to resist. Drizzle with olive oil, sprinkle with salt and red pepper flakes , and pop ’em in the oven.
  • Add a Splash of Lemon: For an extra layer of flavor and a touch of freshness, consider adding a squeeze of fresh lemon juice to your creamy butternut squash sauce. The hint of citrus can brighten up the dish and provide a delightful contrast to the richness of the sauce. Just a little goes a long way, so start with a modest amount and adjust to your taste. It’s a simple twist that can elevate your pasta to a whole new level of deliciousness!
  • Season to Perfection: Don’t forget to season well with salt, pepper, and maybe a pinch of nutmeg for that extra warmth. Taste as you go to get it just right.
Placing down a bowl of vegan creamy butternut squash pasta.
No ratings yet

Easy and Creamy Butternut Squash Pasta

If you’re on the hunt for a cozy, creamy, and utterly delightful vegan pasta recipe, you’re in the right place. Our Butternut Squash Pasta is here to dazzle your taste buds and provide that warm hug you crave during chilly evenings. No dairy, no problem – let’s dive into the comforting world of plant-based pasta magic!
Print Pin Rate
Prep Time: 15 minutes
Cook Time: 45 minutes
Total Time: 1 hour
Servings: 4 servings

Ingredients

  • 2-3 cups cubed butternut squash, skin left on or peeled off
  • 1 whole head garlic, peeled
  • 2 shallots, peeled and cut in half
  • 1 tablespoon fresh thyme leaves
  • 2 tablespoons olive oil
  • 1 teaspoon salt
  • 1/4 teaspoon red pepper flakes
  • 1 pound pasta
  • 1 cup vegetable broth, or water
  • 1/2 cup raw cashews, unsalted
  • 2-3 fresh sage leaves

Instructions

  • Preheat oven to 400° Fahrenheit.
  • On a large baking sheet, toss together the cubed butternut squash, peeled garlic cloves from one whole head of garlic, peeled and cut shallots, fresh thyme leaves, olive oil, salt, and red pepper flakes. Bake for 30 minutes, or until butternut squash is very soft.
  • Remove baking sheet from oven and let cool slightly. While the squash cools, bring a large pot of water to a boil. Once boiling, add in a big pinch of salt and the pasta. Cook pasta according to package instructions.
  • Once butternut squash is slightly cool, add to a blender along with the vegetable broth, raw cashews, and sage. Blend until completely smooth.
  • Right before draining the pasta, reserve 1 cup of pasta water. Then, drain the pasta and return to the pot along with the butternut squash sauce. Add ¼ cup of pasta water at a time to the pasta to thin out the sauce, as needed.
  • Serve immediately with additional fresh herbs.

Nutrition

Calories: 300kcal

Interested In More Gluten-Free and Dairy-Free Pasta Recipes? Try These!