
I take my snacks very seriously… arguable a little too seriously. I typically rotate between my protein cookies, healthy snickers rice cakes, and 6-ingredient protein muffins – and now I’ll add these chocolate shell yogurt cups to the lineup! What it comes down to for me is needing just a little something delicious to look forward to when that daily afternoon slump hits. A fun and delicious treat is usually just what I need to boost my mood and energy, and to get me through the rest of the day. These chocolate shell yogurt cups pack in a ton of nutrients from chia seeds, flax seeds, and fresh strawberries! They’re also insanely delicious and pretty much taste like dessert.
Why You’ll Love These Chocolate Shell Yogurt Cups
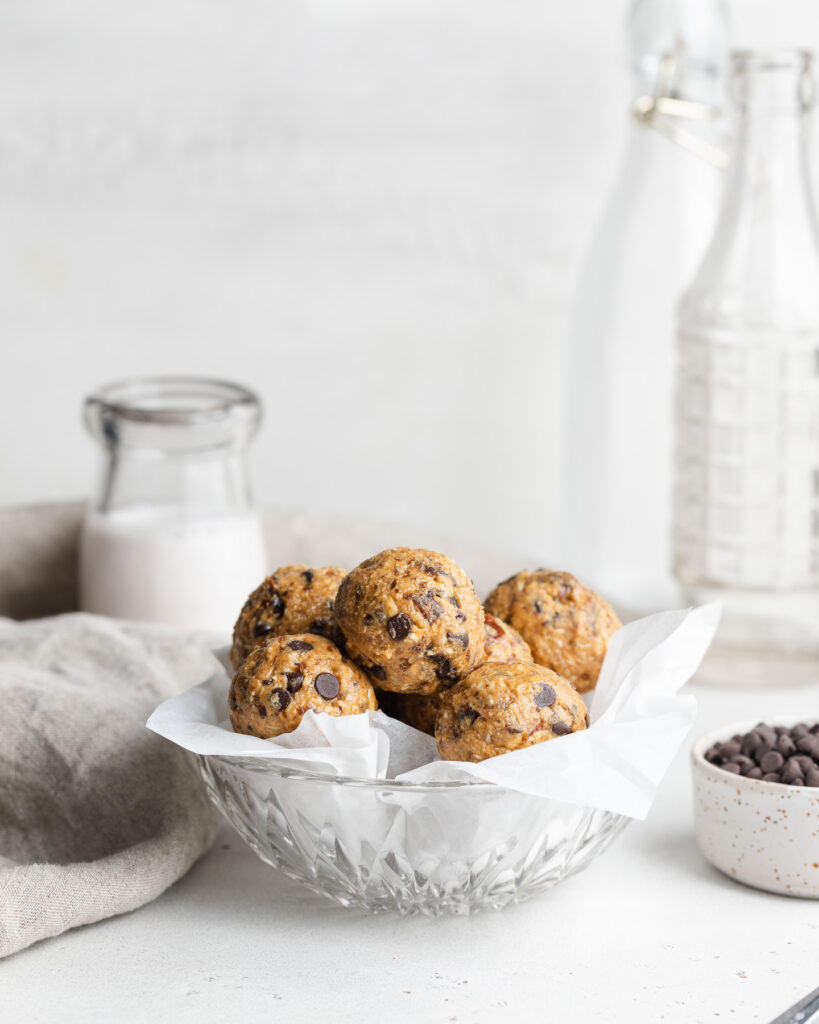
These chocolate shell yogurt cups are the perfect balance of creamy, crunchy, and healthy! Made with wholesome ingredients like yogurt, chia seeds, peanut butter, and a crisp dark chocolate shell, they’re great for breakfast, a midday snack, or a healthy dessert. With no baking required and only a few minutes of prep, this is an easy treat you’ll want to make on repeat!

What Makes This Recipe Healthy?
These yogurt cups are packed with nutritious ingredients! Greek yogurt (or a dairy-free alternative) offers protein and gut-friendly probiotics, while chia seeds and flaxseed meal provide a boost of fiber and omega-3s. The chocolate shell is made with just two ingredients and gives the perfect sweet crunch without a ton of sugar.
Recipe Variations and Substitutions
- Yogurt Options: Use any yogurt you love – plain, vanilla, Greek, or dairy-free options like almond or coconut yogurt all work well.
- Nut-Free Version: Swap peanut butter for sunflower seed butter or tahini to make this completely nut-free.
- Berry Swap: No strawberries? Try blueberries, raspberries, or sliced banana for a twist.
- Add a Crunch: Sprinkle in crushed nuts or granola before pouring the chocolate shell on top for extra texture.

Frequently Asked Questions
What kind of yogurt can I use?
You can use any yogurt you like! Greek yogurt adds extra protein, but dairy-free options like coconut or almond yogurt work great, too. I used Siggi’s plant-based protein yogurt cups and the texture is spot-on!
How long can I keep these yogurt cups in the fridge?
These are best enjoyed right after the chocolate sets, but you can store them in the fridge for up to 24 hours. The texture may soften slightly over time.
Can I make these nut-free?
Yes! Just swap the peanut butter for a nut-free alternative like sunflower seed butter or tahini.

Chocolate Shell Yogurt Cups (with protein + fiber!)
Ingredients
- 1 5-ounce container yogurt
- 1 tablespoon chia seeds
- 1 teaspoon flaxseed meal
- 1 strawberry chopped into small pieces
- 1 tablespoon peanut butter
- 2 tablespoons chocolate chips
- 1/2 teaspoon coconut oil
Instructions
- Remove the lid from the yogurt cup and mix the chia seeds and flaxseed meal into the yogurt.
- Top the yogurt with the chopped strawberry pieces and peanut butter.
- Melt together the chocolate chips and coconut oil until completely smooth, then pour the melted chocolate over the yogurt. Transfer the yogurt to the freezer for about 15 minutes or until the chocolate has hardened, then remove and enjoy!


")


")


