These cottage cheese egg bites are soft, creamy, fluffy, and packed with protein, thanks to the blended cottage cheese base that gives them that dreamy, fluffy texture without any fancy equipment. Just a blender and a muffin tin. That’s all you need!
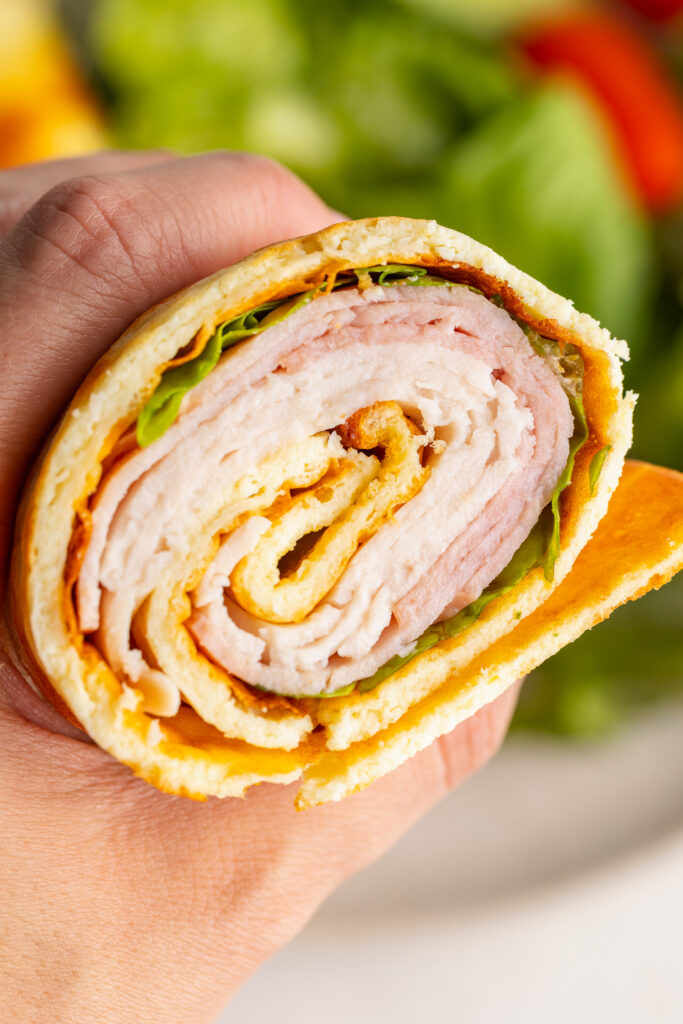
Cottage cheese makes these rich and fluffy, also packs in live and active cultures so it’s as good for you as it is delicious. And just like my Cottage Cheese Wrap and Cottage Cheese Alfredo, once the cottage cheese is blended smooth, you’d never know it’s in there. What you get instead is a fluffy, protein-packed egg bite made in 30 minutes, ready to grab and enjoy all week long!
Why You’ll Love These Cottage Cheese Egg Bites
- High-protein and genuinely satisfying. Between the eggs, cottage cheese, cheddar, and ham, each egg bite delivers a solid 10g protein each that keeps you full and fueled all morning! No mid-morning crash, no snacking before lunch.
- Perfect for meal prep. Make a full batch of 12 on Sunday and you have a grab-and-go breakfast ready for the entire week. They reheat in the microwave in just 30–60 seconds and taste just as good as the day they were made.
- Endlessly customizable. Use whatever fillings you love – different cheeses, different proteins, different vegetables. This recipe is a completely blank canvas that works with whatever you have in your fridge. See the flavor variations below for inspiration!

Sam’s Recipe Tips
- Place a pan of water in the bottom of the oven. This is the single biggest tip for getting those Starbucks-level egg bites at home. The steam created by the water prevents the egg bites from drying out and puffing too aggressively, resulting in a noticeably smoother, fluffier bite. You don’t need a fancy sous vide machine – just a pan of hot water on the bottom rack!
- Grease the muffin tin VERY well. Eggs are notorious for sticking. Spray every cup generously, getting the sides and the bottom. A silicone muffin tin is even better, egg bites pop out cleanly with zero sticking. If you have one, use it!
- Don’t blend on high speed. Medium speed is the sweet spot. Too much blending whips air into the egg mixture, which causes the egg bites to puff dramatically in the oven and then collapse as they cool. Medium speed gives you smooth without foamy.
- Let them cool in the tin before removing. The egg bites will look perfectly puffed when they come out of the oven, and then they’ll deflate slightly as they cool – that’s normal and expected! Trying to remove them while they’re still very hot will cause them to fall apart. Give them a full 10 minutes to cool and firm up before popping them out.

Flavor Variations & Filling Options
The ham and cheddar base is a classic, but these egg bites are endlessly customizable! Here are some of my favorite combinations:
🧀 Classic Bacon & Gruyere Swap the ham for cooked, crumbled bacon and the cheddar for shredded gruyere. Rich, savory, and deeply satisfying.
🌿 Spinach & Feta Skip the ham, add a handful of fresh baby spinach (wilted and pressed dry), and swap cheddar for crumbled feta. Add a pinch of garlic powder to the egg base.
🌶️ Jalapeño Popper Keep the cheddar, swap ham for crumbled turkey sausage, and add diced pickled jalapeños and a spoonful of cream cheese to each cup before baking.
🍅 Caprese Skip the ham, add diced fresh tomatoes, fresh mozzarella, and a few torn fresh basil leaves. Drizzle with a little olive oil before baking.
🧄 Everything Bagel Keep the ham and cheddar and stir 1 teaspoon of everything bagel seasoning into the egg base before pouring. Sprinkle extra everything bagel seasoning on top before baking.

Ham & Cheese Cottage Cheese Egg Bites (just 4 ingredients!)
Equipment
- 1 12-cup muffin tin
- 1 blender or food processor
Ingredients
- 8 eggs
- 1 cup cottage cheese (I used Daisy 4% Cottage Cheese)
- salt and black pepper to taste
- 1/2 cup shredded cheddar cheese
- 1/2 cup chopped ham
Instructions
- Preheat oven to 325°F and generously spray a 12-cup muffin tin with cooking spray. Optional: place a pan of hot water on the bottom oven rack for fluffier egg bites.
- Blend eggs, cottage cheese, salt, and pepper until completely smooth – about 60 seconds on medium speed.
- Pour into the muffin tin, filling each cup ¾ full. Divide chopped ham and shredded cheddar evenly into each cup.
- Bake for 20–25 minutes until set and cooked through.
- Cool in the tin for 10 minutes before removing. Serve warm or store for later!
Video
Notes
- Place a pan of water on the bottom oven rack before baking for the fluffiest, most custardy egg bites.
- Grease the muffin tin very generously – eggs stick easily. A silicone muffin tin works best!
- Blend on medium speed, not high, to avoid a foamy egg mixture.
- Store in an airtight container in the fridge for up to 5 days. Reheat in the microwave for 30–60 seconds.
- Freeze individually for up to 3 months. Thaw overnight in the fridge or microwave from frozen for 60–90 seconds.