Tag

gluten-free

Browsing

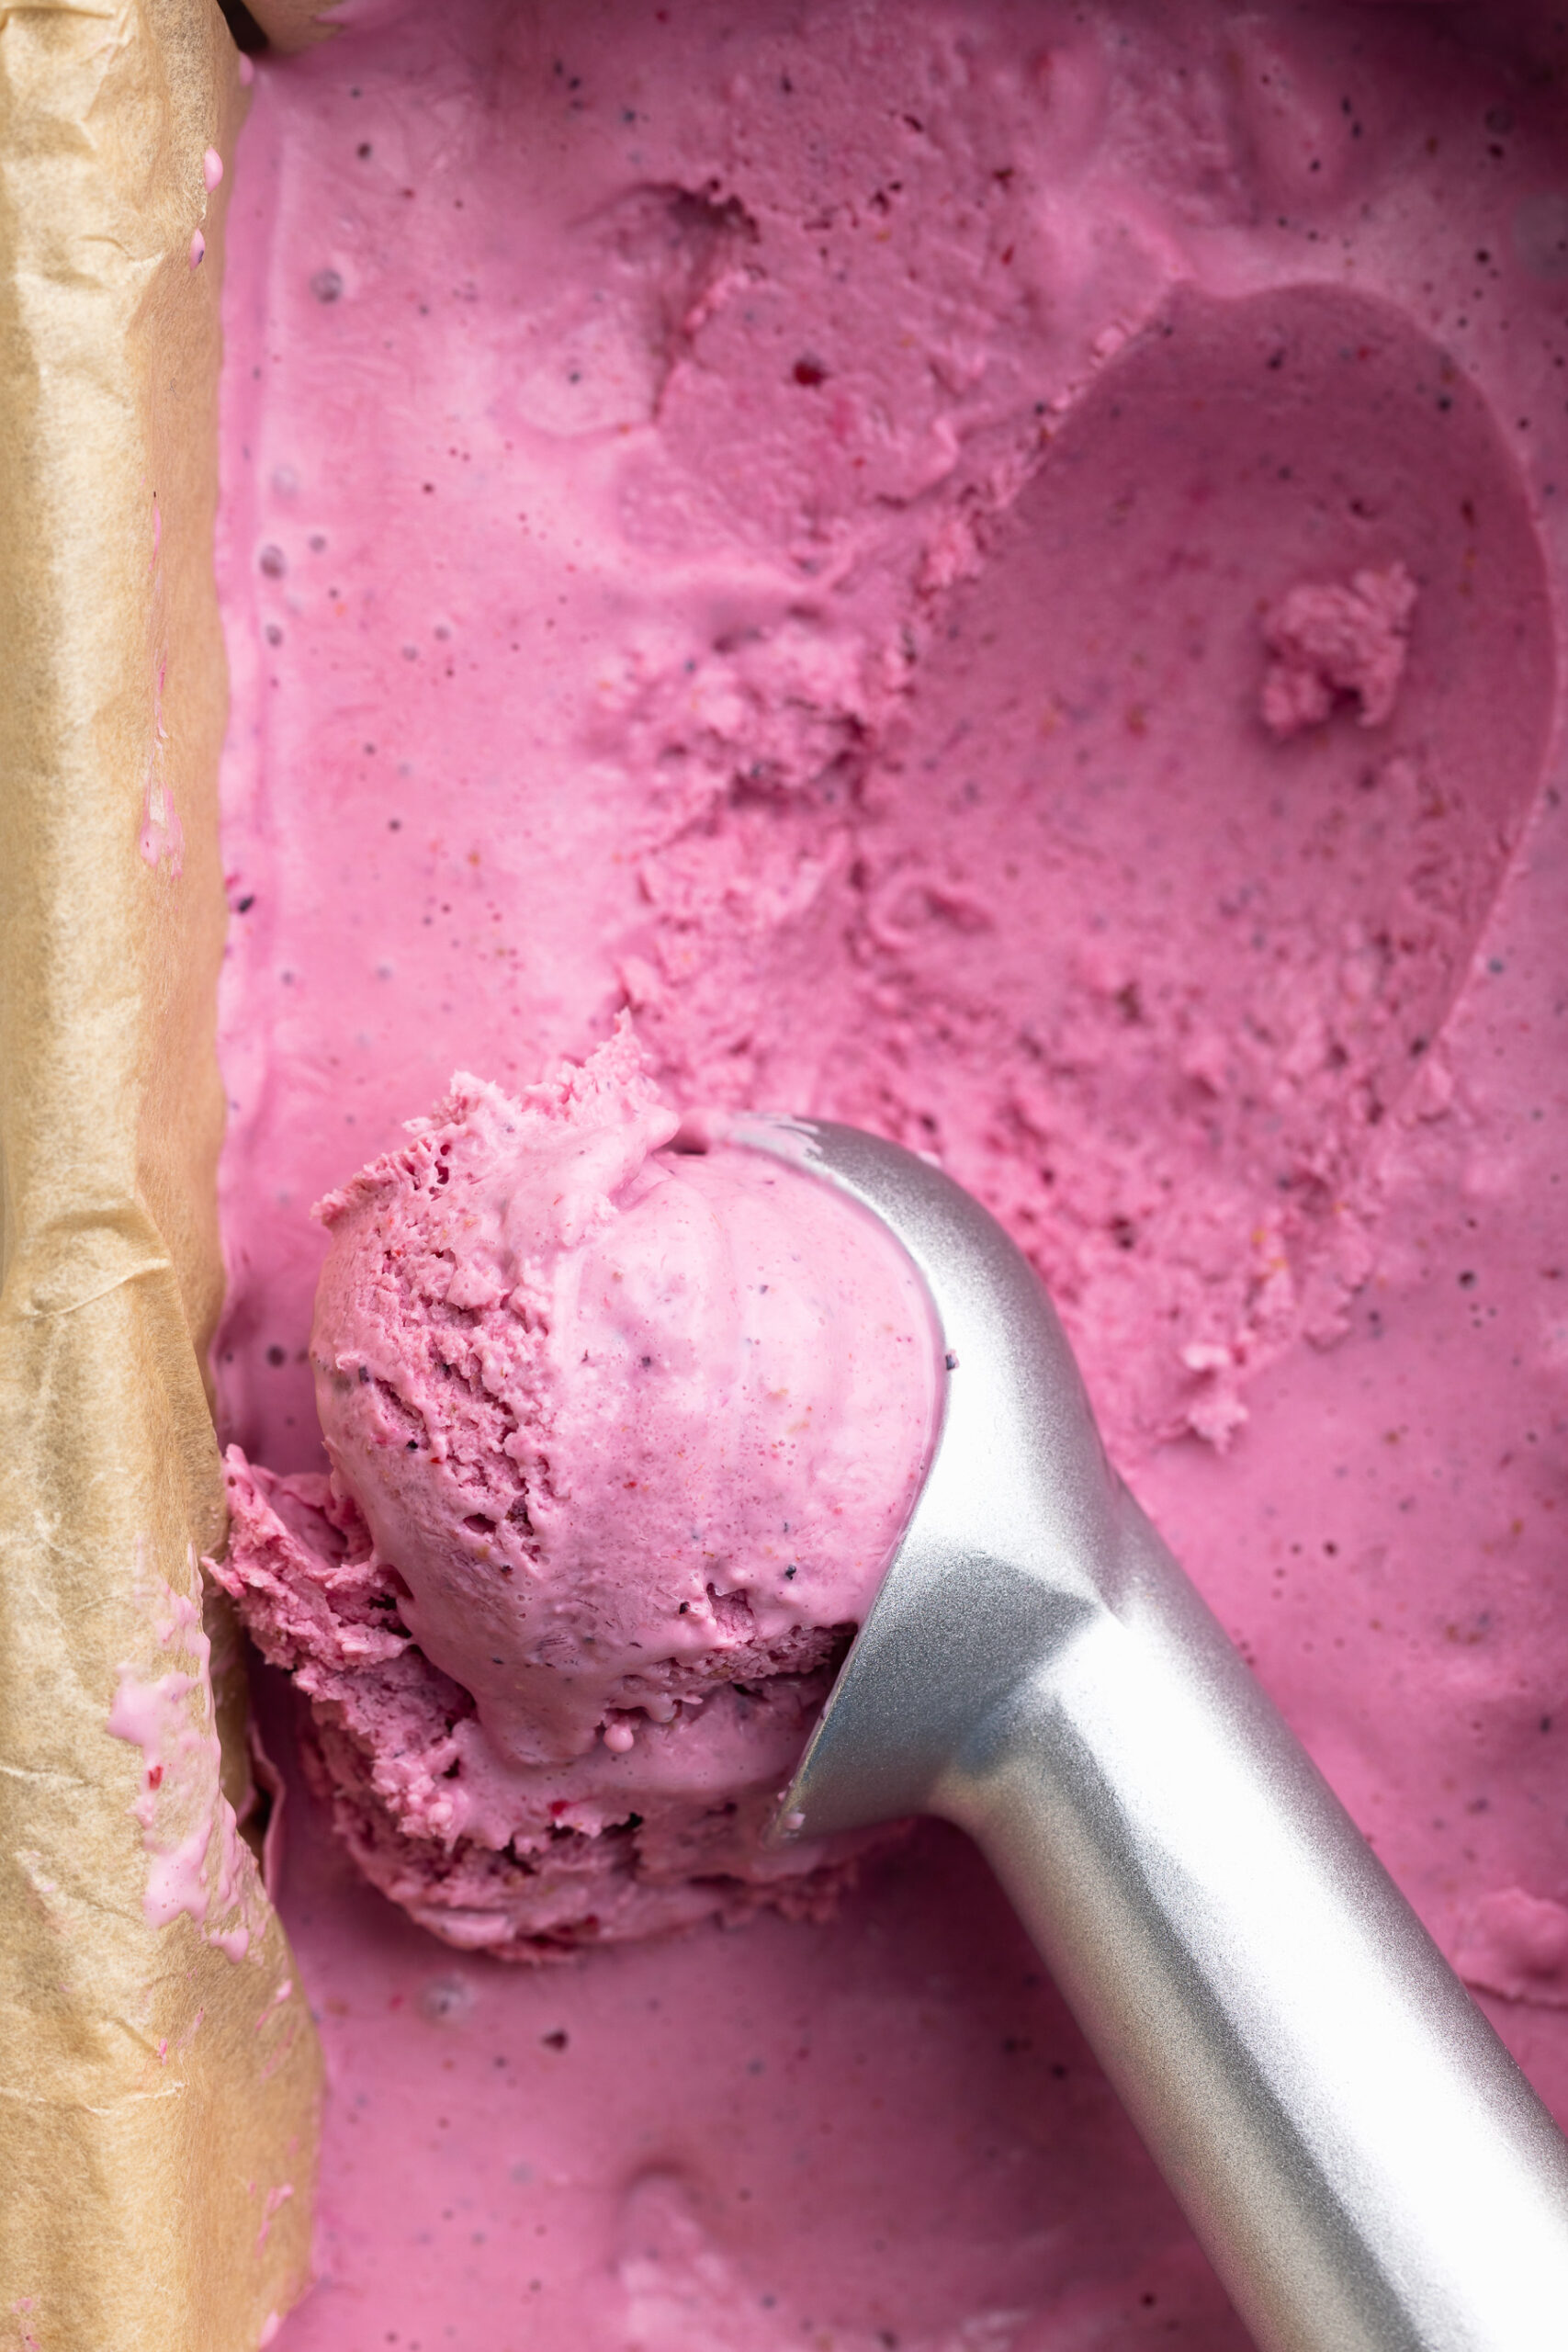
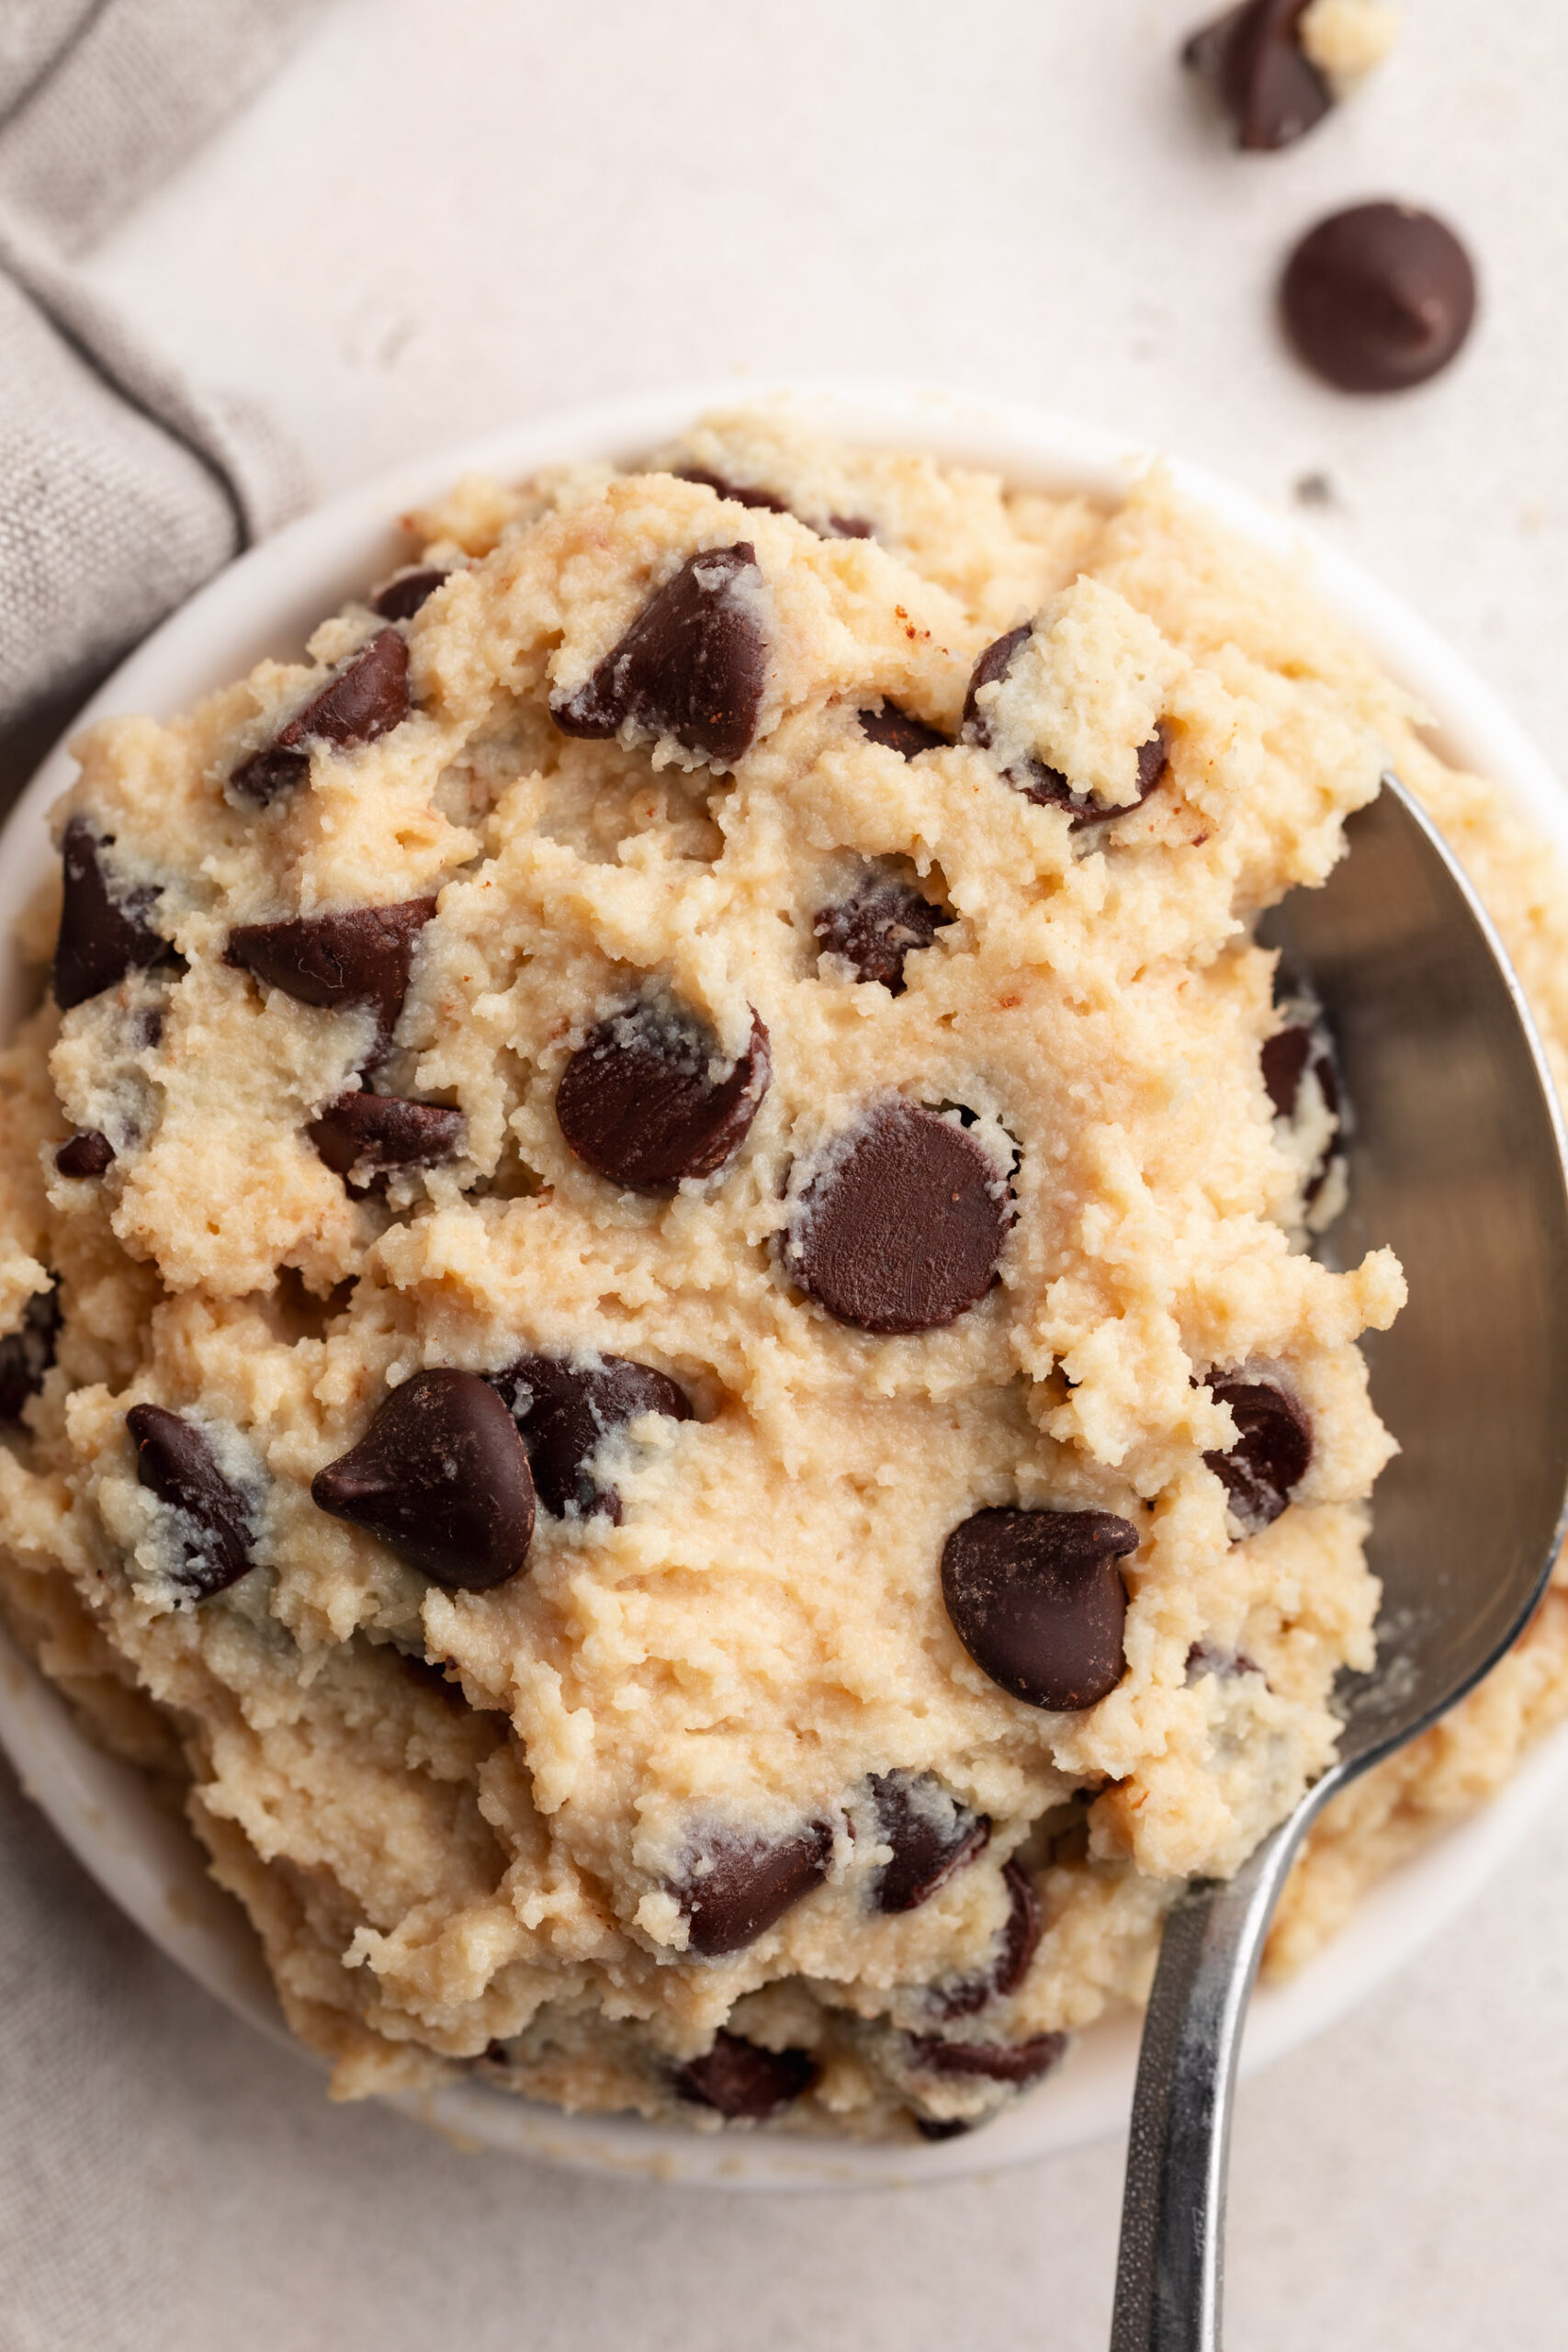
Bright, creamy, perfectly tart, and perfectly sweet – these healthy lemon bars are everything you want a lemon bar to be, but made with better-for-you ingredients! The filling is silky smooth, tangy from fresh lemon juice, and naturally sweetened with maple syrup. And the secret high-protein ingredient? Cottage cheese! I know, I know – but trust me on this one. Just like my Cottage Cheese Cookie Dough and Cottage Cheese Ice Cream, once it’s blended you’ll never know it’s there! What you’re left with is a luscious, custardy lemon bar perfect for Easter, Mother’s Day brunch, or your next spring party. 🥰

Why You’ll Love These Healthy Lemon Bars

  • Higher in protein. Thanks to the cottage cheese and cream cheese in the filling, these bars pack in more protein than your average lemon bar — making them a genuinely satisfying treat, not just a dessert.
  • Perfectly sweetened. Maple syrup does all the work here, delivering just the right level of sweetness without any refined sugar. The fresh lemon juice keeps it beautifully balanced — bright and tangy, never cloying.
  • Super easy to make. A quick blitz in the blender for the filling, a simple 2-ingredient crust, and the oven does the rest. No double boiler, no tempering eggs, no complicated steps.
  • A dessert everyone will love. These lemon bars taste like the real thing — maybe even better! Creamy, tangy, buttery, and bright. They’re crowd-pleasing in the best possible way.
  • Great for any occasion! Easter, Mother’s Day, spring brunch, summer cookouts, or just because — these bars are always the right call.
  • Made with real, wholesome ingredients. No refined sugar, no artificial anything. Just simple ingredients that come together into something really, truly delicious.
overhead image of a healthy cottage cheese lemon bar on a plate with a lemon slice on top.

Recipe Variations and Substitutions

  • Crust: Graham crackers are the classic choice, but vanilla wafers, digestive biscuits, or gluten-free cookies all work wonderfully. For a grain-free option, use 1 cup almond flour mixed with 2 tablespoons melted coconut oil and 1 tablespoon maple syrup – press and bake as directed.
  • Butter or Coconut Oil: Either works for the crust. Butter gives a richer, more buttery flavor; coconut oil is a great dairy-free swap.
  • Cottage Cheese: Full-fat cottage cheese gives the creamiest result. If you can’t have dairy, a thick, plain dairy-free yogurt (like coconut yogurt) can be used in a pinch, though the texture will be slightly different.
  • Cream Cheese: Dairy-free cream cheese works great as a 1:1 swap for a fully dairy-free filling.
  • Maple Syrup: Honey works as a direct swap. If you’d like a slightly less sweet bar, start with ¼ cup and taste before adding more.
  • Lemon Juice: This recipe is specifically written for lemon, but lime juice works beautifully for a healthy lime bar variation! Start with the same amount and adjust to taste.

Sam’s Recipe Tips

  • Bake in a water bath to avoid cracks. Because this filling contains eggs and cream cheese (similar to a cheesecake), it can crack on top if it bakes too quickly or unevenly. To prevent this, place your 8×8 baking pan inside a larger roasting pan and fill the roasting pan with about an inch of hot water before putting it in the oven. The steam keeps the heat gentle and even, giving you a perfectly smooth, crack-free top every time.
  • Fresh lemon juice is best, but bottled works in a pinch. Fresh lemon juice gives you that vibrant, bright, sunshine-y flavor that makes lemon bars so irresistible. You’ll need about 3–4 lemons for ½ cup of juice.
  • Blend the filling until completely smooth. Any lumps from the cottage cheese or cream cheese will bake into the filling, so take an extra 30 seconds to make sure your blender has done its job fully. A high-speed blender gives the best results.
  • Don’t skip the chill time. I know it’s hard to wait, but lemon bars need that fridge time to fully set and develop their best flavor and texture. Three hours is the minimum — overnight is even better. Cutting them while they’re still warm will result in a runny, messy bar.
  • Use the parchment paper overhang to lift. Line your pan so the parchment paper hangs over all four sides. This makes it incredibly easy to lift the whole slab out cleanly before cutting.
  • Clean your knife between cuts. For the neatest, most beautiful squares, wipe your knife with a damp cloth between each cut. It makes a huge difference in how the final bars look!
  • Freeze for later. These lemon bars freeze well! Wrap individual squares in plastic wrap and freeze for up to 2 months. Thaw in the fridge overnight before serving.
close up image of a healthy cottage cheese lemon bar on a plate with a lemon slice on top.
5 from 1 vote

Healthy Cottage Cheese Lemon Bars

These healthy lemon bars are creamy, perfectly tart, and naturally sweetened with maple syrup – made with a secret ingredient (cottage cheese!) that keeps them higher in protein and silky smooth without any refined sugar. Built on a buttery graham cracker crust and baked to custardy perfection. These healthy lemon bars taste just as indulgent as the classic version but with healthier ingredients.
Print Pin Rate
Prep Time: 10 minutes
Cook Time: 25 minutes
Chill Time: 1 hour
Total Time: 3 hours 35 minutes
Servings: 9 servings

Equipment

  • 1 9×9-inch baking pan
  • 1 food processor or high speed blender

Ingredients

For the crust:

  • 1 cup graham cracker or cookie crumbs
  • 3 tablespoons melted butter or coconut oil

For the lemon filling:

  • 1/2 cup (4 ounces) cream cheese softened at room temperature
  • 1 cup cottage cheese
  • 4 large eggs at room temperature
  • 1/2 cup lemon juice (fresh is best!)
  • 1/3 cup maple syrup

Instructions

  • Preheat oven to 325° Fahrenheit and line a 8×8-inch baking pan with parchment paper, then lightly grease the inside.
  • Make the crust by mixing together the graham cracker or cookie crumbs and melted butter or coconut oil in a bowl, then press the mixture into the bottom of your prepared baking pan. Bake the crust for 10 minutes.
  • While the crust bakes, make the filling by adding all filling ingredients to a blender and blend until smooth. Pour the filling over the crust, then bake for 25-30 minutes or until the bars are just set in the middle. (See Notes below on how to bake in a water bath to avoid any cracks).
  • Remove the bars from the oven and leave them to cool at room temperature for 1 hour, then transfer them in the fridge to chill for at least 3 hours (or overnight).
  • Once the bars have chilled, remove them from the pan and cut into squares. Enjoy the lemon bars right away, or store them in an airtight container in the fridge for up to 5 days!

Notes

  • Blend the filling until completely smooth for the best texture.
  • Do not skip the chill time — the bars need at least 3 hours to fully set.
  • Top with a dusting of powdered sugar or fresh lemon zest before serving for a beautiful finish.
  • Water bath (optional, prevents cracking): Place your 8×8 pan inside a larger roasting pan and fill the roasting pan with about 1 inch of hot water before placing in the oven. The steam creates gentle, even heat that prevents the filling from cracking on top.

Nutrition

Serving: 1serving | Calories: 210kcal | Carbohydrates: 18g | Protein: 8g | Fat: 12g | Sugar: 13g

Ok, we need to talk about this healthy cookie pie for a second… because it might just be my new favorite thing I’ve ever made! Imagine a giant, warm, ooey gooey chocolate chip cookie that comes out of the oven with crispy edges, a fudgy center, and melty pools of chocolate in every single bite. Now imagine it’s made with just 6 wholesome ingredients, no refined sugar, and is totally gluten-free. That is exactly what this recipe is, and I am not exaggerating when I say that even healthy dessert skeptics will be going back for seconds (and thirds!!!).

This is the kind of recipe that proves that healthy eating doesn’t have to mean boring eating. It’s indulgent, deeply satisfying, and looks way more impressive than the effort it takes to make. If you like my 6-Ingredient Healthy Snickers or my 4-Ingredient Protein Brownies, then you’re going to LOVE this cookie pie!

Why You’ll Love This Healthy Cookie Pie

  • Only 6 ingredients! Almond butter, maple syrup, eggs, almond flour, baking soda, and chocolate chips. That’s the whole list – no pie crust, mixer, or complicated steps.
  • Ooey gooey and totally indulgent. 😍 This cookie pie bakes up with perfectly crispy edges and a soft, fudgy, pull-apart center that is genuinely irresistible. No one will believe it’s healthy.
  • Even healthy dessert skeptics will love it. I’ve made this for people who are convinced that healthy desserts are never as good as the real thing, and let me tell ya – they’ve eaten their words (see what I did there?? 😉).
  • Super easy to make! One bowl, one pie dish, 15 minutes in the oven. You can go from craving to eating in under 30 minutes.
  • Naturally gluten-free and dairy-free. Made with almond flour and naturally sweetened with maple syrup – no refined sugar, no gluten, no dairy.
  • Perfect for sharing. This cookie pie is the ultimate crowd-pleasing dessert. Serve it warm straight from the dish with a scoop of vanilla ice cream on top – YUM!
close up image of healthy cookie pie being scooped out of a skillet.

Recipe Variations and Substitutions

  • Almond Butter: Any creamy nut or seed butter works in this recipe. Peanut butter gives it a more classic cookie flavor, cashew butter is milder and slightly sweeter, and sunflower seed butter keeps it completely nut-free.
  • Maple Syrup: Honey is a perfect 1:1 swap. You can also use agave nectar or any other liquid sweetener you love.
  • Almond Flour: Oat flour works well as a substitute! Use the same amount. Just note that the texture will be slightly less dense and more cake-like.
  • Chocolate Chips: Swap for peanut butter chips, white chocolate chips, or cacao nibs for a different flavor twist. A mix of chocolate chips and chopped nuts is also incredible.
  • Add-Ins: Want to take it to the next level? Stir in ¼ cup of chopped walnuts or pecans for a nutty crunch, or swirl in a tablespoon of peanut butter over the top before baking.

Sam’s Recipe Tips

  • Don’t overbake it. I cannot stress this enough – the secret to the perfect ooey gooey cookie pie is pulling it from the oven when the center still looks slightly underdone. It will firm up as it cools, and you’ll be left with that dreamy soft, fudgy middle. If you bake until the center looks fully set, it’ll come out dry.
  • Use an oven-safe skillet for extra-crispy edges. A cast-iron skillet holds heat beautifully and gives you those perfect crispy, golden-brown edges with an extra gooey center. A standard 9-inch pie dish works great too!
  • Serve it warm. Cookie pie is 100% best served warm, straight from the dish. The chocolate chips stay melty and the center is soft and pull-apart perfect. Reheat individual slices in the microwave for 20–30 seconds if needed.
  • Storing leftovers: Store any leftover cookie pie covered at room temperature for up to 2 days, or in the fridge in an airtight container for up to 5 days. When you’re ready to eat, I recommend warming it back up in the oven for a minute or two!
overhead image of healthy cookie pie in a pie dish with ice cream on top.
4.80 from 5 votes

6-Ingredient Healthy Cookie Pie

This healthy cookie pie is a 6-ingredient, gluten-free dessert that bakes up with perfectly crispy edges, a soft fudgy center, and melty chocolate chips in every bite! Made with almond butter, maple syrup, and almond flour, it comes together in one bowl in under 30 minutes with barely any effort. If you're looking for an indulgent, crowd-pleasing dessert recipe that's actually healthy, this is it!
Print Pin Rate
Prep Time: 5 minutes
Cook Time: 12 minutes
Total Time: 17 minutes
Servings: 6 servings

Equipment

  • 1 9-inch pie dish
  • 1 large bowl

Ingredients

  • 1 cup creamy unsweetened almond butter or any nut/seed butter
  • 1/2 cup maple syrup or honey
  • 2 eggs
  • 1 cup almond flour
  • 1/2 teaspoon baking soda
  • 1/2 cup chocolate chips

Instructions

  • Preheat oven to 350°F and lightly grease a 9-inch pie dish or oven-safe skillet.
  • Whisk together the almond butter, maple syrup, and eggs in a large bowl until smooth and combined.
  • Stir in the almond flour and baking soda until a thick batter forms.
  • Fold in the chocolate chips, then pour into the prepared pie dish and spread evenly.
  • Bake for 12–15 minutes, until the edges are set and golden but the center still looks slightly underdone.
  • Let cool for at least 10 minutes before slicing. Serve warm with ice cream or whipped cream!

Notes

  • Don’t overbake! Pull from the oven when the center looks slightly underdone for the best gooey texture.
  • Store covered at room temperature for up to 2 days, or refrigerated for up to 5 days.
  • Freeze individual slices for up to 2 months.

Nutrition

Serving: 1serving | Calories: 320kcal | Carbohydrates: 24g | Protein: 9g | Fat: 22g | Fiber: 3g | Sugar: 16g

Carrot cake for breakfast? Yes plz! These carrot cake baked oats have all the warm, cozy flavors of your favorite spring dessert – cinnamon, nutmeg, sweet grated carrots, crunchy walnuts – baked into a hearty, high-protein breakfast that you can meal prep on Sunday and enjoy all week long. And the Greek yogurt cream cheese frosting takes this recipe over the top!
What I love most about this recipe, besides the fact that it genuinely tastes like carrot cake, is how totally easy it is! Simply whisk, stir, bake, and that’s it. No mixer, no complicated steps, just one bowl and one baking dish standing between you and the best breakfast of your week! If you’re already a fan of my Meal Prep Protein Pancakes or my High-Protein Breakfast Biscuits, you’re going to absolutely love this one.

Why You’ll Love These Carrot Cake Baked Oats

  • Tastes just like carrot cake! Warm cinnamon and nutmeg, sweet shredded carrots, chewy raisins, crunchy walnuts, and that dreamy cream cheese frosting – every bite hits exactly like the real thing.
  • High in protein and fiber. Between the Greek yogurt in the batter, the eggs, and the fiber-packed oats and carrots, this is a breakfast that will actually keep you full and energized all morning long.
  • Perfect for meal prep. This recipe makes 9 generous squares. Bake it Sunday, store it in the fridge, and you’ve got a grab-and-go breakfast ready for the entire week – no reheating required if you enjoy it cold!
  • Super easy to make. One large bowl, one baking dish, a quick whisk and stir, and the oven does the rest. Start to finish, you’re looking at under an hour with minimal work.
  • Naturally sweetened. Maple syrup and the natural sweetness of the carrots and raisins do all the work here – no refined sugar needed!
overhead image of carrot cakes baked oats square on a plate with greek yogurt cream cheese frosting on top.

Recipe Variations and Substitutions

  • Milk: Any milk works here – dairy or non-dairy. Oat milk, almond milk, and coconut milk are all great options if you want to keep this dairy-free.
  • Greek Yogurt: Plain full-fat Greek yogurt gives the best texture and the most protein. You can swap for a dairy-free yogurt (coconut or cashew-based work well) if needed – just note the bake may come out slightly softer.
  • Maple Syrup: Honey works as a 1:1 swap. If you’d like to reduce the sweetness further, know that the carrots and raisins contribute natural sweetness, so you can comfortably cut the maple syrup back to 3 tablespoons.
  • Walnuts: Pecans are a delicious swap and give an even more classic carrot cake flavor. You can also leave the nuts out entirely for a nut-free version.
  • Raisins: These are totally optional! If you’re not a raisin fan, leave them out – the baked oats are just as delicious without them. Alternatively, try swapping them for dried pineapple or dried cranberries.
  • Frosting: If you’re short on time, a simple dollop of plain Greek yogurt on top works beautifully and still adds that creamy, tangy element that makes carrot cake so good. For a fully dairy-free frosting, use a thick coconut yogurt and dairy-free cream cheese.

Sam’s Recipe Tips

  • Grate your own carrots. Pre-shredded matchstick carrots from the store work in a pinch, but freshly grated carrots are finer, softer, and blend into the oats much more beautifully. A box grater takes just a couple of minutes and makes a real difference in the final texture.
  • Let it cool completely before frosting. I know it’s tempting to frost straight out of the oven, but if the baked oats are still warm, the frosting will melt and slide right off. Patience pays off here – let them cool fully, then frost generously.
  • Meal prep tip: store the frosting separately. If you’re making this for the week, cut the oats into squares and store them unfrosted in an airtight container in the fridge. Keep the frosting in a separate container and add a dollop to each square right before eating. This keeps everything fresh and prevents the oats from getting soggy.
  • Room temperature eggs matter. Cold eggs can cause the batter to look curdled or uneven. Pull them out of the fridge 20–30 minutes before you start, and your batter will come together much more smoothly.
  • Don’t overbake. The oats are done when the top looks set and a toothpick inserted into the center comes out clean. Overbaking can dry them out, so start checking at the 40-minute mark.
  • Freeze for later. These carrot cake baked oats freeze beautifully! Let them cool completely, cut into individual squares, and freeze in a single layer. Once frozen, transfer to an airtight bag or container. They’ll keep for up to 2 months – just microwave in 30-second intervals until warmed through.
carrot cakes baked oats square on a plate with greek yogurt cream cheese frosting on top.
No ratings yet

Healthy Carrot Cake Baked Oats with Greek Yogurt Cream Cheese Frosting

These carrot cake baked oats are a high-protein, meal prep-friendly breakfast that tastes just like your favorite spring dessert – warm cinnamon and nutmeg, sweet grated carrots, crunchy walnuts, and a dreamy Greek yogurt cream cheese frosting on top. Made in just one bowl with simple, wholesome ingredients, this easy recipe comes together in under an hour and makes 9 generous squares to last you the whole week! If you're looking for a healthy carrot cake baked oats recipe that's as nourishing as it is delicious, ya gotta give this one a try.
Print Pin Rate
Prep Time: 10 minutes
Cook Time: 40 minutes
Total Time: 50 minutes
Servings: 9 servings

Equipment

  • 1 9×9-inch baking pan
  • 2 large bowls
  • 1 hand or stand mixer

Ingredients

  • 1 cup milk
  • 1 cup Greek yogurt
  • 2 eggs at room temperature
  • 1/4 cup maple syrup
  • 1 teaspoon vanilla extract
  • 2 cups rolled oats
  • 2 teaspoons cinnamon
  • 1/2 teaspoon nutmeg
  • 1 cup grated carrots
  • 1/2 cup chopped walnuts
  • 1/2 cup raisins optional

For the frosting:

  • 1 cup Greek yogurt
  • 1/2 cup (4 ounces) cream cheese softened, at room temperature
  • 3-4 tablespoons maple syrup or honey
  • 1 teaspoon vanilla extract

Instructions

  • Preheat oven to 350° Fahrenheit and lightly grease the inside of a 9×9-inch baking dish.
  • Whisk together the milk, Greek yogurt, eggs, maple syrup, and vanilla extract in a large bowl.
  • Add in the rolled oats, cinnamon, nutmeg, carrots, walnuts, and raisins to the bowl and stir until everything is completely combined.
  • Pour the oat mixture into your prepared baking dish and bake for 40-45 minutes, or until the top is set and the oats are cooked through.
  • Remove the baked oats from the oven and let them cool completely. While the oats cool, make the frosting by adding the Greek yogurt, cream cheese, maple syrup, and vanilla extract to a bowl and use either a hand or stand mixer to whisk it together until light and fluffy.
  • Once the oats are completely cool, top with the frosting, cut into squares, and enjoy! Or, store the frosting separately, cut the oats into squares and store for an easy meal prep breakfast. Right before eating, top one serving of baked oats with a big dollop of frosting.

Nutrition

Serving: 1serving | Calories: 280kcal | Carbohydrates: 32g | Protein: 14g | Fat: 11g | Fiber: 3g | Sugar: 15g

If you loved my Cottage Cheese Cookie Dough, get ready — because this cottage cheese brownie batter is about to be your new obsession. Same concept, same creamy no-bake magic, but make it chocolate. We’re blending cottage cheese until it’s completely smooth (so you’d never know it’s in there!), then mixing in almond flour and chocolate protein powder for a thick, fudgy, brownie batter-like treat that’s packed with protein and ready in just 5 minutes!

And yes — it really does taste like brownie batter. Rich, chocolatey, and superrrr satisfying! Whether you eat it straight from the bowl with a spoon (trust me, I don’t judge), or use it as a dip for strawberries and pretzels, I promise you’re going to be making this on repeat. For more no-bake chocolate treats, you’ll also love my 4-Ingredient Protein Brownies and 3-Ingredient Protein Cookies!

Why You’ll Love This Recipe

  • High-Protein & Satisfying: Packed with protein from cottage cheese and chocolate protein powder, this brownie batter keeps you full and fueled — not just for a minute, but for real.
  • Quick & Easy: No baking, no cooking, no fuss. Just blend, mix, and dig in. Start to finish in 5 minutes.
  • Wholesome Ingredients: Made with simple, real-food ingredients that you can feel great about eating. No refined sugar – simply delicious!
  • Two Ways to Make It: Use chocolate protein powder for a protein boost, or swap in unsweetened cocoa powder if you prefer to keep it protein powder-free. Both versions are incredible!
overhead image of cottage cheese brownie batter in a small dish with a spoon.

What Makes This Cottage Cheese Brownie Batter Healthy?

This brownie batter is a genuinely nourishing treat, not just a “better than nothing” swap. Cottage cheese is the star ingredient, delivering a creamy texture along with a solid dose of protein and calcium — all without any of the heavy cream, butter, or eggs you’d find in traditional brownie batter. Maple syrup keeps the sweetness natural and free of refined sugar, while almond flour adds healthy fats, fiber, and a subtle nuttiness that perfectly complements the chocolate. Fold in some chocolate chips at the end and you’ve got something that feels indulgent but is actually doing something good for your body.

Recipe Substitutions

  • Almond Flour: Swap with oat flour or coconut flour if needed. If using coconut flour, start with just ¼ cup — it absorbs a lot more moisture than almond flour.
  • Maple Syrup: Honey, agave nectar, or any other liquid sweetener you love all work great here.
  • Chocolate Protein Powder: No protein powder? No problem! Use 2 tablespoons of unsweetened cocoa powder instead. The batter will be slightly less thick but just as chocolatey and delicious.
  • Chocolate Chips: Cacao nibs or dairy-free chocolate chips work perfectly if you need a dairy-free version.

Adjust This Recipe to Your Dietary Needs

  • Dairy-Free: Swap the cottage cheese for a thick, plain dairy-free yogurt (like coconut or cashew-based) and use dairy-free chocolate chips.
  • Nut-Free: Replace the almond flour with oat flour and make sure your chocolate chips are processed in a nut-free facility.
  • Keto-Friendly: Use a sugar-free liquid sweetener like monk fruit syrup in place of maple syrup, opt for low-carb chocolate chips, and swap almond flour for coconut flour.
  • Extra Protein: Use a high-quality chocolate protein powder instead of cocoa powder to bump the protein content up even further!
cottage cheese brownie batter scooped into a small cup.
No ratings yet

Cottage Cheese Brownie Batter

This cottage cheese brownie batter is a high-protein, no-bake treat that tastes just like the real thing – rich, fudgy, and deeply chocolatey but made with wholesome ingredients! Ready in just 5 minutes with 5 simple ingredients, it's the easiest healthy dessert you'll ever make. If you're looking for a healthier way to satisfy your chocolate cravings, this is the recipe you've been waiting for!
Print Pin Rate
Prep Time: 5 minutes
Total Time: 5 minutes
Servings: 6 servings

Equipment

  • 1 food processor or high speed blender
  • 1 small bowl

Ingredients

  • 1 cup cottage cheese
  • 1/4 cup maple syrup
  • 1 teaspoon vanilla extract optional
  • 1 cup almond flour
  • 1 scoop chocolate protein powder or 2 tablespoons cocoa powder
  • 1/2 cup chocolate chips

Instructions

  • Add the cottage cheese, maple syrup, and vanilla extract to a blender or food processor and blend until completely smooth.
  • Transfer the cottage cheese mixture to a bowl and mix in the almond flour and chocolate protein powder, then fold in the chocolate chips.
  • Serve immediately or store in an airtight container in the fridge for up to 5 days.

Nutrition

Serving: 1serving | Calories: 250kcal | Carbohydrates: 21g | Protein: 12g | Fat: 14g | Fiber: 3g | Sugar: 13g

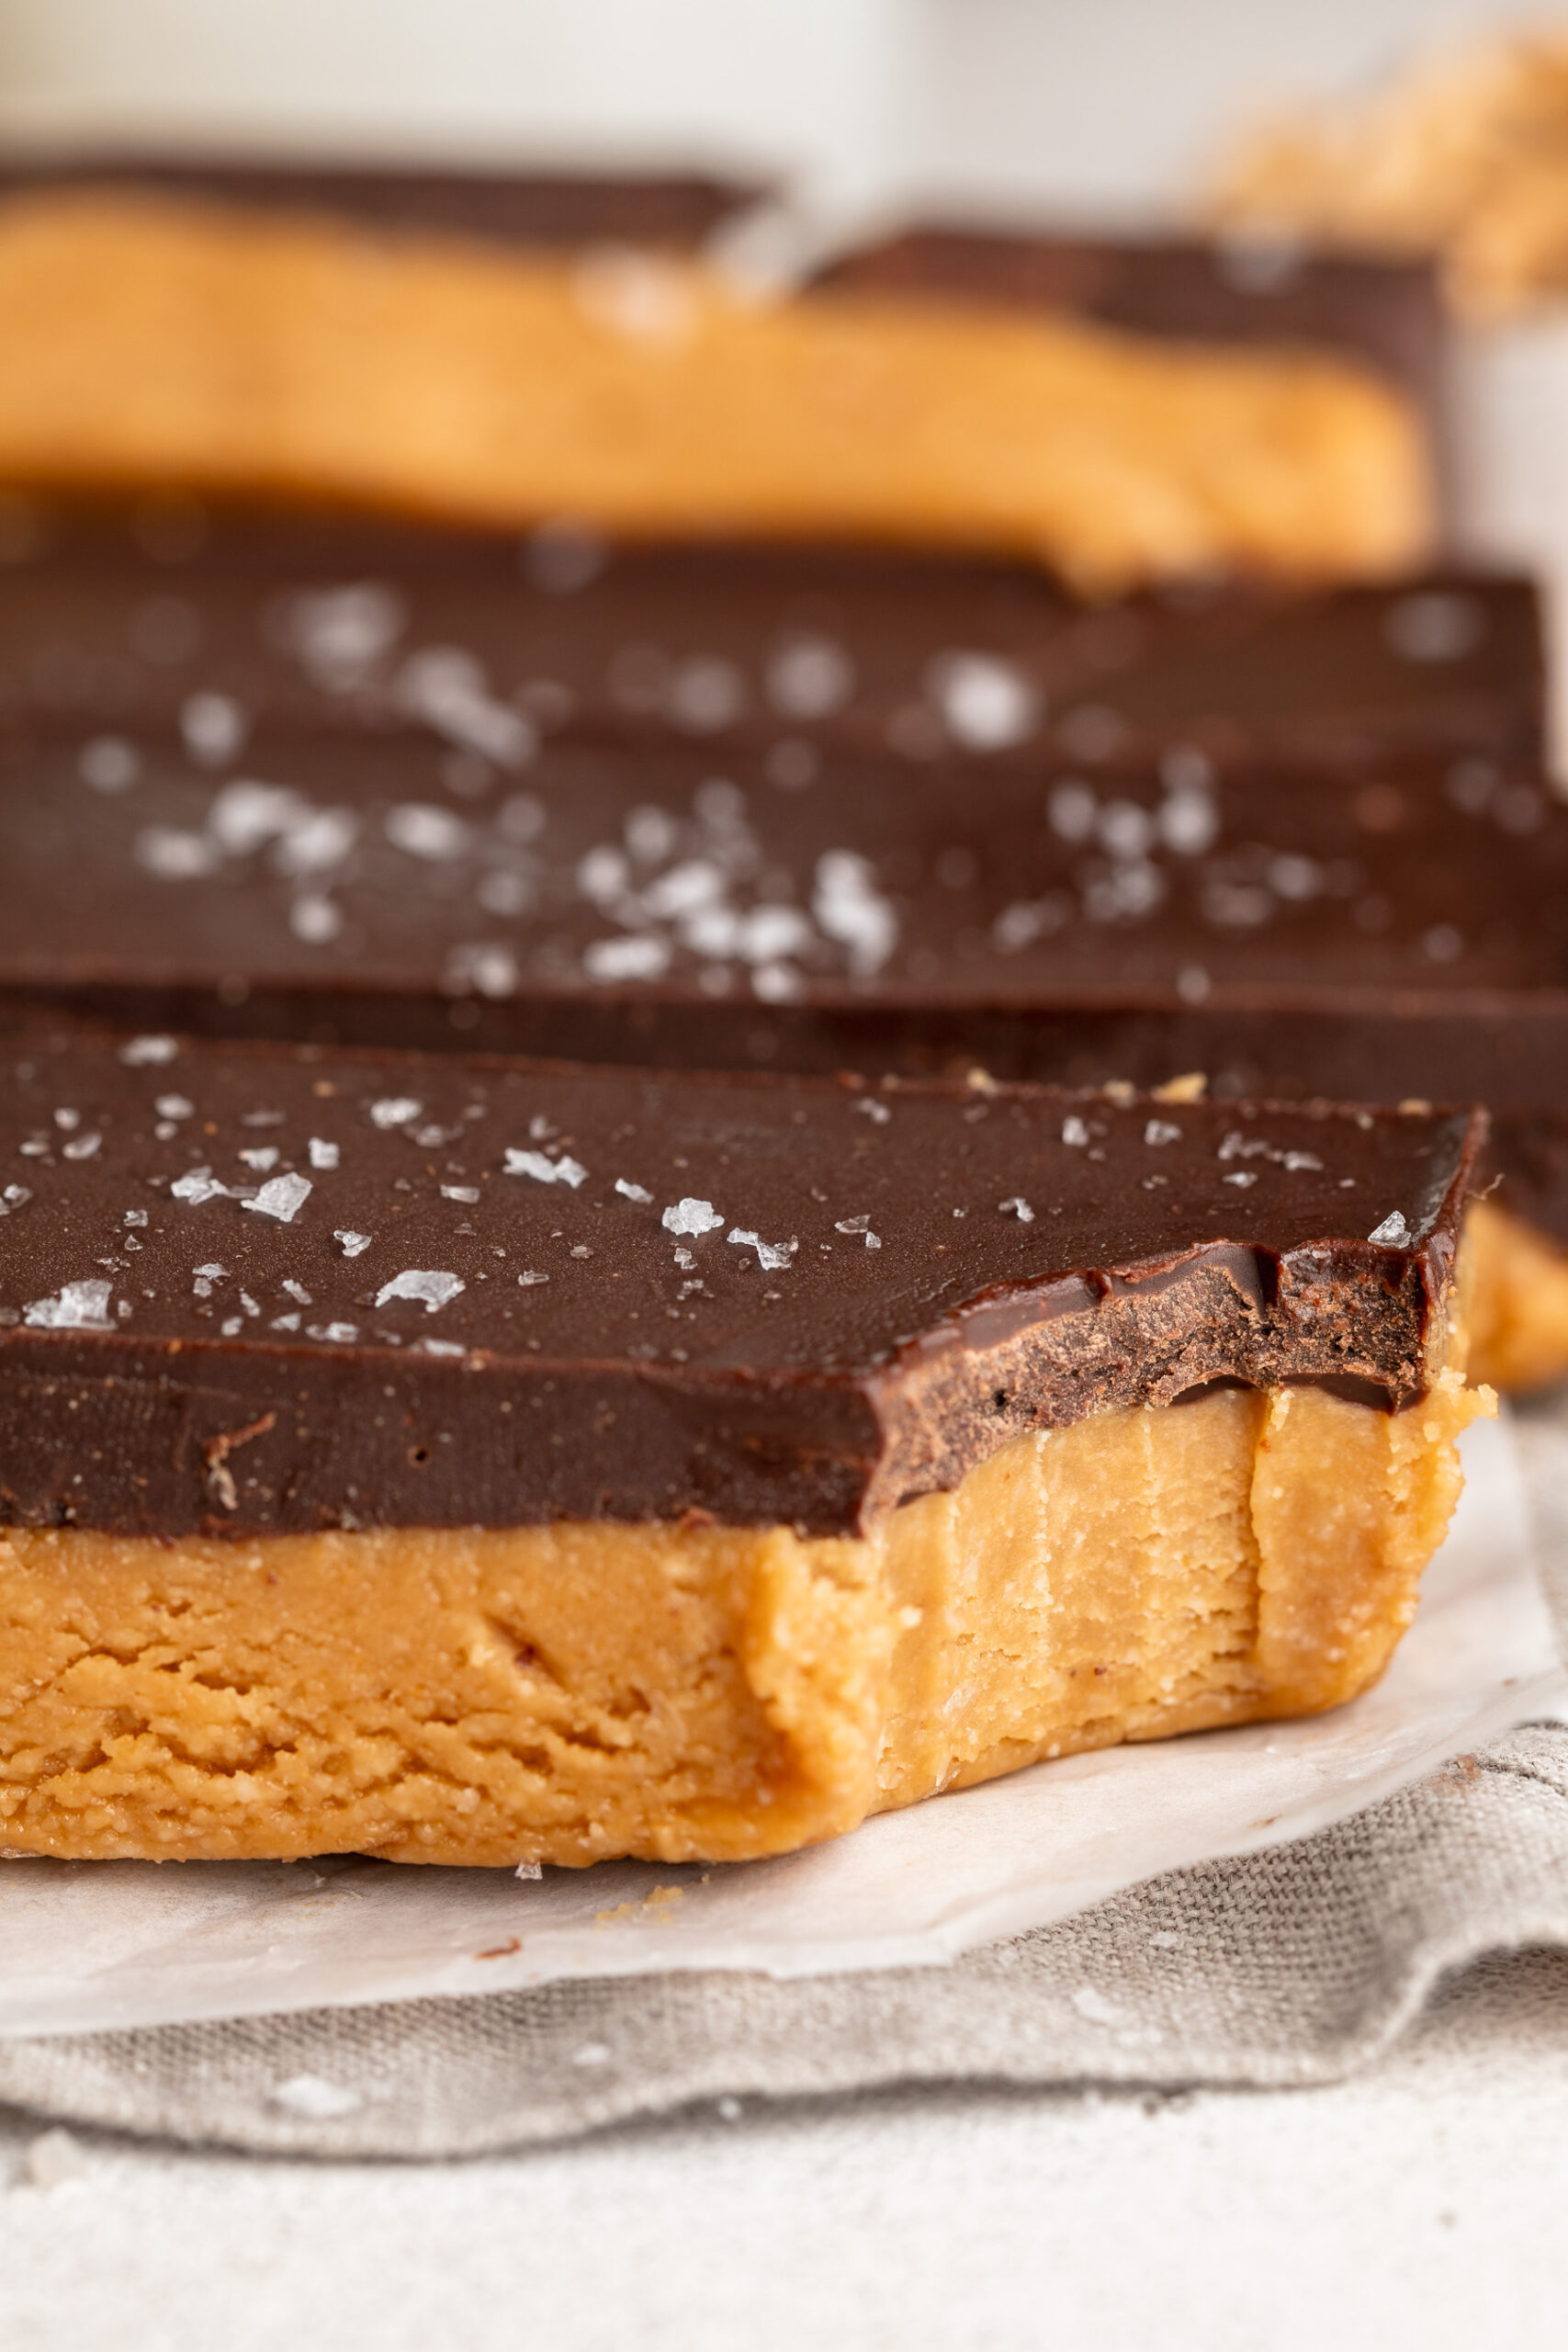
The iconic spring time candy just got a major protein upgrade! Now I LOVE a Reese’s egg. Yes, even more than a peanut butter cup – the ratio of peanut butter to chocolate is simply so much better. But I don’t love the ingredients in a Reese’s egg. Which is exactly why I developed these protein Reese’s eggs. Just 4 ingredients, NO baking, high in protein, and super easy to make. And if you like this recipe, then you gotta give my healthy strawberry peanut butter cups a try this summer! Just as delicious and easy to make. 🙂

Why You’ll Love These Protein Reese’s Eggs

  • Just 4 ingredients. Peanut butter, vanilla protein powder, chocolate chips, and coconut oil. That’s the whole list — no powdered sugar, no fillers, no ingredients you can’t pronounce!
  • 8 grams of protein per egg. Every single egg pulls its weight. That’s more protein than most protein bars, in something that tastes like candy.
  • WAY healthier than the real thing. Store-bought Reese’s Eggs are packed with refined sugar, hydrogenated oils, and a long list of additives. These are made with real, wholesome ingredients you can actually feel good about eating.
  • No bake and SO easy. Mix, shape, freeze, dip. That’s the entire process. Prep time is under 10 minutes.
  • Perfect for Easter — or any time of year. Yes, these are egg-shaped and perfect for Easter baskets, but honestly I keep a batch in my freezer year-round. They’re that good.
  • Completely customizable. Use whatever chocolate you love — dark, semi-sweet, or sugar-free. Swap peanut butter for almond butter. Have fun and make them your own!
overhead image of protein reese's eggs with flaky salt on top.

Frequently Asked Questions

How much protein does each Reese’s Egg contain?

Each egg contains approximately 8 grams of protein, primarily from the vanilla protein powder and natural peanut butter. That’s a significant upgrade from store-bought Reese’s Eggs, which contain less than 3 grams of protein per egg. It also means these make a genuinely satisfying snack — not just a treat — that will actually keep you full!

Can I make these sugar-free?

Yes! This recipe is already very low in added sugar since the only sweetener comes from the protein powder and whatever is naturally present in your chocolate chips. To make them completely sugar-free, simply swap the chocolate chips for a sugar-free variety like Lily’s (sweetened with stevia) or Hu Kitchen chocolate (sweetened with coconut sugar, which is lower on the glycemic index). The peanut butter filling itself contains zero added sugar as long as you’re using an unsweetened, natural peanut butter.

What can I use instead of protein powder?

If you don’t have protein powder or prefer not to use it, there are a few great swaps. Coconut flour is the most popular alternative — use 2–3 tablespoons (it absorbs more moisture than protein powder, so use less). Almond flour also works well; use about 3–4 tablespoons for a similar texture. Keep in mind that skipping the protein powder will lower the protein content per egg significantly, but the flavor will still be delicious!

Tips for the Best Protein Reese’s Eggs

  • Use natural, drippy peanut butter. The kind where the oil separates at the top is ideal. Avoid thick, sugar-added peanut butters – they make the filling too stiff and overly sweet.
  • Don’t skip the freeze before dipping. Cold eggs = fast chocolate set = a cleaner, smoother shell. If the eggs aren’t frozen solid when you dip them, the chocolate will slide right off and pool on the parchment.
  • Add flaky sea salt on top. I know I already said it, but it genuinely takes these to another level. The saltiness against the sweet chocolate is everythingggg!
  • Use a fork for dipping. It gives you control and lets the excess chocolate drip off cleanly. If you have dipping tools, even better!
  • Make a double batch. These store in the freezer for up to 3 months in an airtight container. Future you will thank you!

More High-Protein Treats You’ll Love

Made these? I want to see them! Tag me on Instagram @samdoesherbest or TikTok @samdoesherbest — chocolate-covered creations always get a reshare. And if you loved this recipe, please leave a ⭐⭐⭐⭐⭐ rating below. It helps so much!

three protein reese's eggs stacked on top of each other.
5 from 1 vote

4-Ingredient Protein Reese’s Eggs

These 4-Ingredient Protein Reese's Eggs taste just like the classic Easter candy – but with 8 grams of protein per egg! Made with natural peanut butter, vanilla protein powder, chocolate chips, and coconut oil, they come together in just a few minutes with NO baking required. If you're looking for a healthy Reese's Eggs recipe that actually satisfies your chocolate-peanut butter craving, this is the one!
Print Pin Rate
Prep Time: 10 minutes
Freeze Time: 28 minutes
Total Time: 38 minutes
Servings: 10 eggs

Equipment

  • 2 small bowls
  • 1 small baking sheet

Ingredients

Peanut butter filling:

  • 1/2 cup creamy peanut butter unsweetened
  • 1/3 cup vanilla protein powder

Chocolate coating:

  • 1 cup chocolate chips
  • 1 tablespoon coconut oil

Instructions

  • Mix together the peanut butter and protein powder in a small bowl until a thick dough forms.
  • Scoop about 2 tablespoons of mixture per egg, shape into egg forms and place on a parchment-lined baking sheet. Freeze the eggs for about 10 minutes, or while you make the chocolate coating.
  • Melt the chocolate chips and coconut oil together in either the microwave or over a double boiler until completely smooth.
  • Dip each frozen egg in melted chocolate, coat fully, tap off excess, and return to the parchment-lined baking sheet.
  • Freeze for 10 minutes, or until the chocolate has set. Then, enjoy right away or store in the fridge for later!

Notes

  • Use natural, unsweetened peanut butter for best texture and flavor.
  • Sub coconut flour (2–3 tbsp) or almond flour (3–4 tbsp) in place of protein powder if needed.
  • Store in an airtight container in the fridge for up to 1 week or the freezer for up to 3 months.

Nutrition

Serving: 1egg | Calories: 180kcal | Carbohydrates: 11g | Protein: 8g | Fat: 13g | Fiber: 2g | Sugar: 4g