")
Why You’ll Love These Protein Hostess Cupcakes
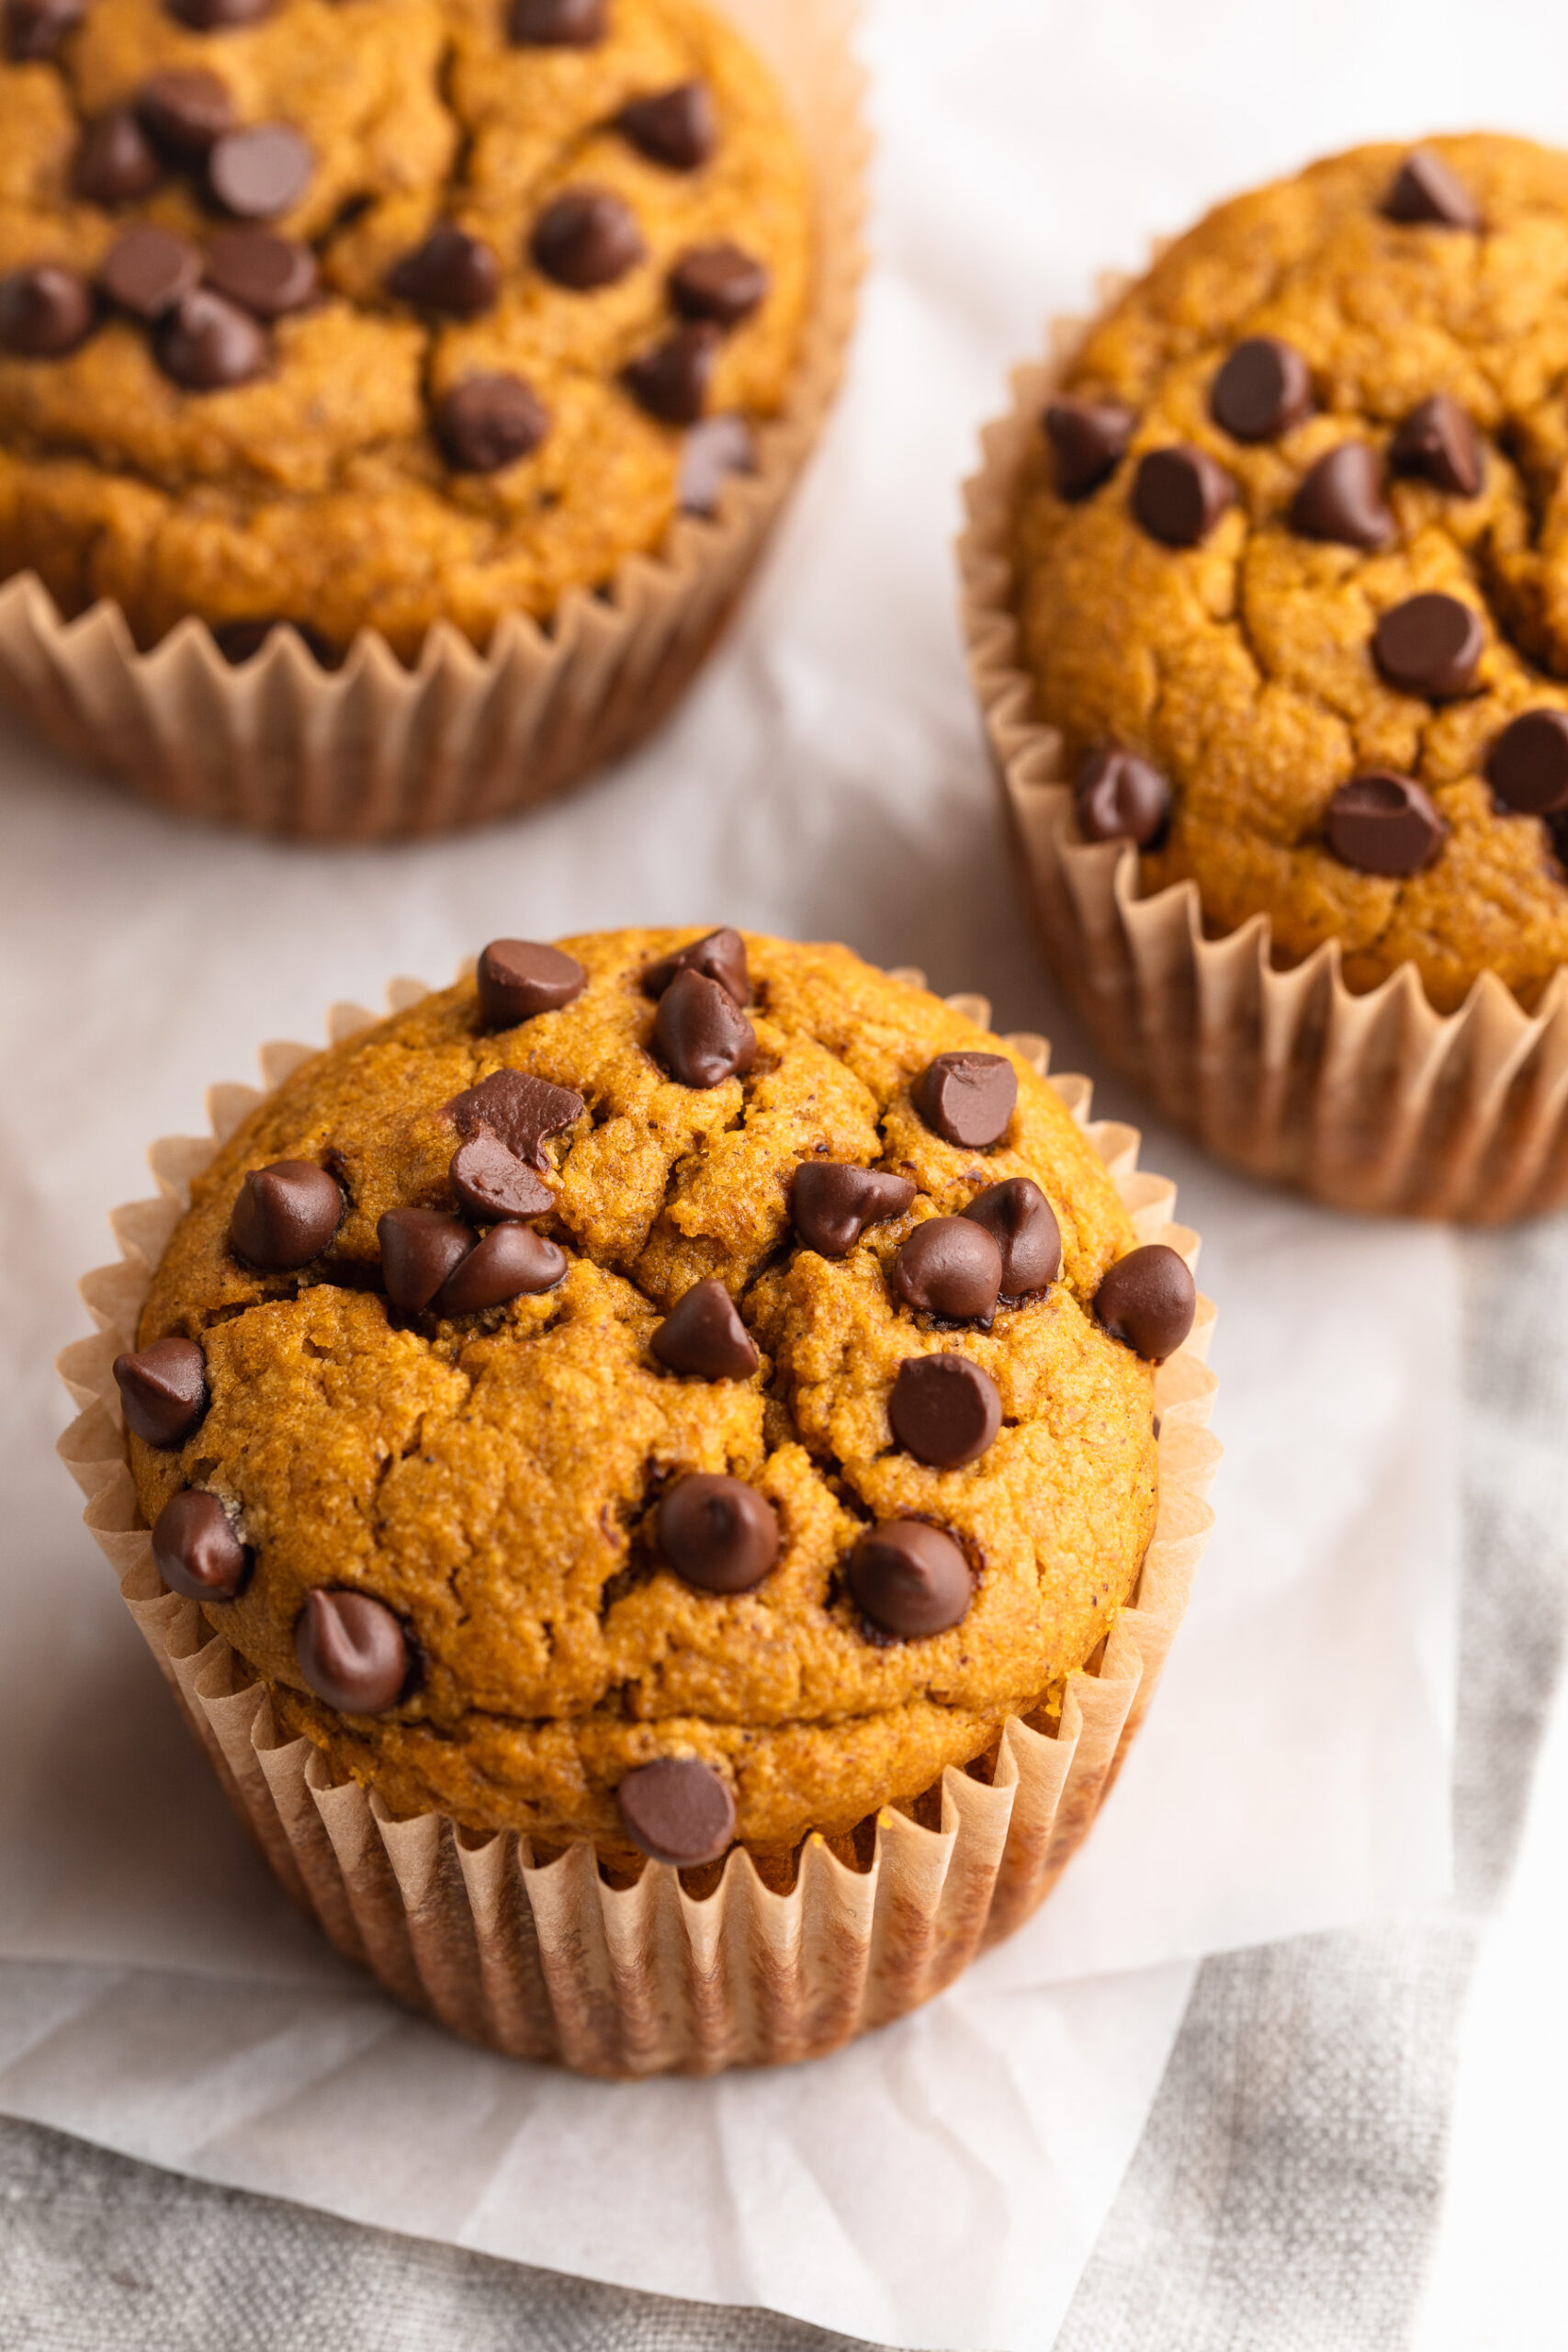
These gluten-free, dairy-free cupcakes capture the nostalgic taste of classic Hostess treats but with a healthier twist—packed with about 10 grams of protein per cupcake. Made with almond flour, chocolate protein powder, and a rich ganache topping, they deliver indulgent flavor without compromise. Perfect for a treat that satisfies both your sweet tooth and your macro goals.

Recipe Variations & Sugar-Free Option
Can I make these sugar-free? Yes! Swap the maple syrup for a sugar-free liquid sweetener like monk fruit syrup or stevia-sweetened syrup, and choose sugar-free chocolate chips for the ganache and decoration.
What kind of protein powder should I use? A vanilla or chocolate whey or plant-based protein works well—just make sure it blends smoothly and is not overly thick or gritty.
Other variations: Use a white chocolate or caramel drizzle for the topping, or add shredded coconut or chopped nuts under the ganache for extra texture.

Sam’s Recipe Tips
- Cool completely before filling and topping so the ganache or filling doesn’t melt.
- Use a piping bag with a round tip for neat filling and precise letter decoration.
- If your batter seems thick, add a tablespoon of extra non-dairy milk to loosen it slightly – especially when using dense protein powders.
- Store in an airtight container in the fridge – first 24 hours are best for texture; let them sit at room temperature 10 minutes before eating.

Protein Hostess Cupcakes (gluten-free & dairy-free!)
Equipment
- 1 cupcake tin
- 1 large bowl
- 1 small bowl
Ingredients
For the cupcakes:
- 1 cup almond flour
- 1 cup chocolate protein powder
- 1 teaspoon baking powder
- 1/2 cup non-dairy milk
- 1/2 cup maple syrup
- 2 eggs at room temperature
- 3 tablespoons melted coconut oil or any vegetable oil
For the filling
- Cocowhip, marshmallow creme, or homemade whipped cream
For the chocolate ganache:
- 1/2 cup chocolate chips
- 1/4 cup coconut milk
For the decoration:
- 1/2 cup melted white chocolate chips
- OR
- 1/2 cup powdered sugar
- 2 tablespoons butter softened
- 1/2 tablespoon milk
Instructions
- Preheat oven to 350° Fahrenheit and line a cupcake tin with cupcake liners.
- In a large bowl, mix together the non-dairy milk, maple syrup, eggs, melted coconut oil, and vanilla extract.
- Add in the almond flour, chocolate protein powder, and baking powder. Mix until everything is just combined.
- Pour ¼ cup of batter into each individual cupcake tin and bake for 20-25 minutes, or until a toothpick inserted down the center of one cupcake comes out clean.
- Remove cupcakes from oven and transfer to a wire rack to cool completely.
- Once the cupcakes are completely cool, make the ganache by melting together the chocolate chips and coconut milk in either the microwave or over a double boiler until completely smooth.
- Then, place the Cocowhip or marshmallow crème into a piping bag with a medium round tip, press the piping bag into the center of each cupcake and squeeze the filling unto the cupcake.
- Once all cupcakes are filled, spoon about a tablespoon of the chocolate ganache over each cupcake, spreading it so that it completely covers the top of the cupcake.
- Leave the ganache to set with you make the white icing by adding all ingredients to a bowl and beating/whisking until completely smooth. Transfer the icing to a piping bag with a small tip and carefully pipe the signature cursive L’s over the top of each cupcake.
")

")