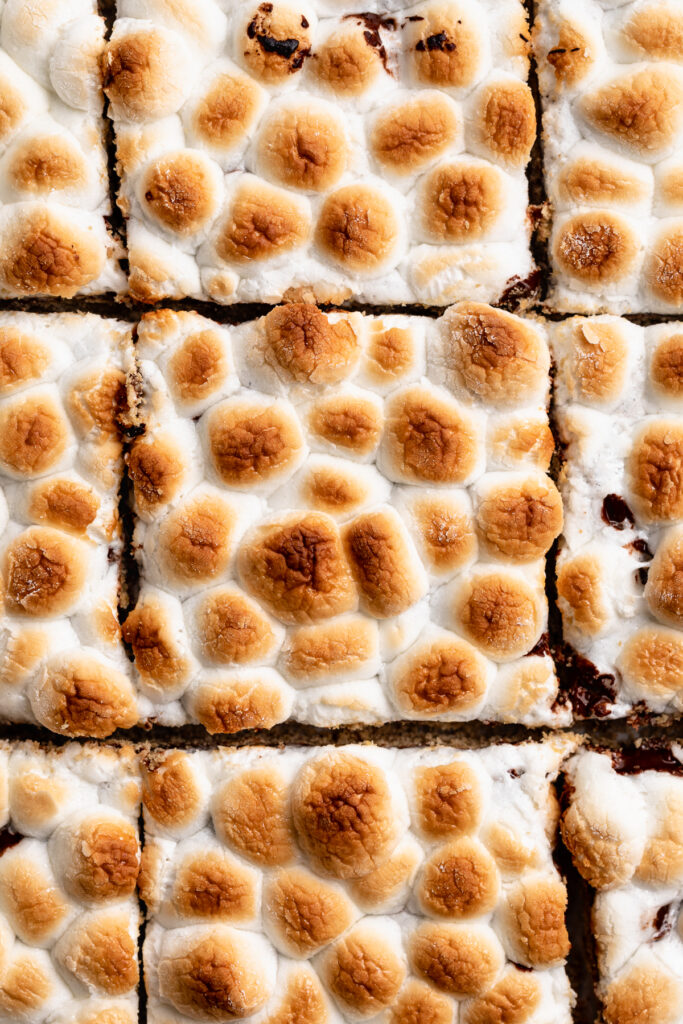
These s’mores bars are something else! A buttery graham cracker base followed by a lush layer of chocolate is topped off with toasty marshmallows. These s’mores bars will blow you away with how delicious and addictive they are – all while gluten-free!

What You Need To Make S’mores Bars
Oat Flour – You can either purchase oat flour from the store or easily make it yourself at home. To make oat flour, start by adding 1 and 1/2 cups of rolled oats to a blender or food processor. Then, blend the oats for a few seconds or until ground into a powder. Once ground, you now have oat flour to use in this gluten-free recipe!
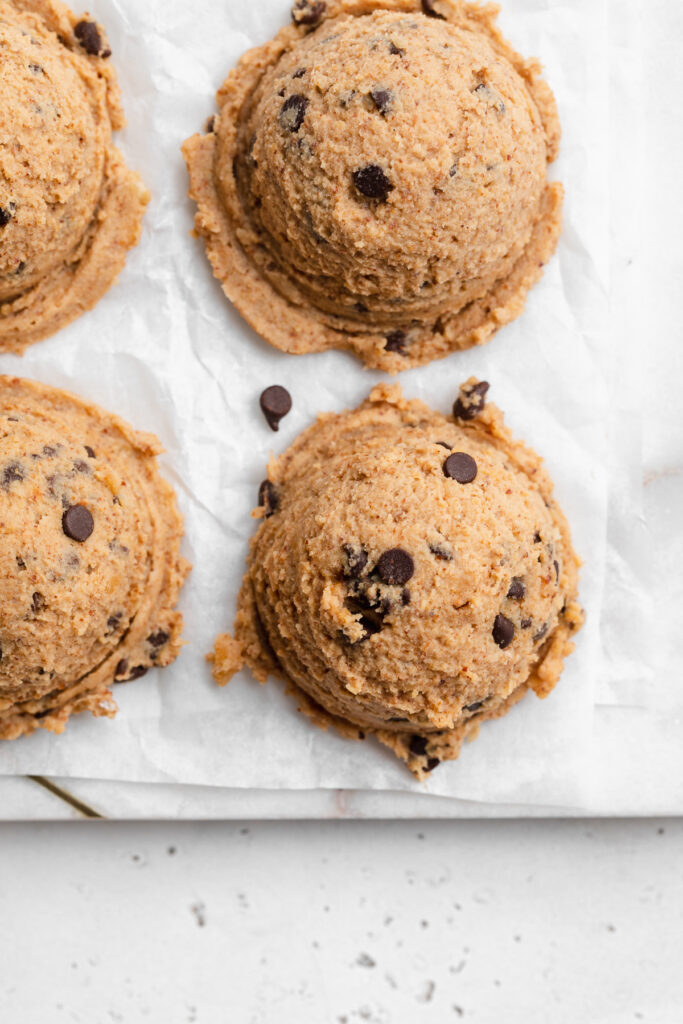
Chocolate Chips – Any chocolate chips or even a chopped chocolate bar will work in these s’mores bars. I used the Enjoy Life Mini Chips since they are vegan and nut-free, though you can use any vegan chocolate you’d like. And if you’re not vegan, feel free to use whatever chocolate you have on-hand! (P.S. you should always have chocolate on-hand.)
Marshmallows – I prefer mini marshmallows for simply how cute and satisfying they look all lined up on top of these s’mores bars. However, the standard size marshmallows will work just fine. The key to perfectly toasty and golden brown marshmallows is sticking them under the broiler for about 1 minute. It’s super important you keep an eye on the bars during this final trip in the oven, as the broiler has a tendency to burn things in literal seconds. Therefore, watch your vegan marshmallow-y treats and pull them out once they’ve achieved your desired level of toasty-ness!
Adjust This Recipe To Your Diet
Don’t Have Oat Flour? If you don’t have oats and/or oat flour, you can replace it with an equal amount of either brown rice flour or all purpose flour in this recipe.
Add Dairy: Use regular melted butter in place of the vegan butter in this recipe.

Tips For Making S’mores Bars
- Be sure to leave the bars to cool on the baking sheet for at least 15 minutes after you take them out of the oven! These s’mores bars are surprisingly delicate, so leaving them to cool will ensure they stick together when handled.
- Use a greased knife to quickly and easily slice the bars. To do this, take a sharp knife and either spray it with spray cooking oil or drizzle it with some coconut oil. Once greased, cut into the bars and wipe down the knife between each slice!
- I highly recommend storing this vegan and gluten-free dessert in the fridge or freezer during the summer months. Due to the butter and chocolate, they are at risk of melting if left to sit out in too high of a temperate. Therefore, to avoid that risk, it’s best to just keep these babies in the fridge to enjoy them at your leisure!

S’mores Bars (Vegan, Gluten-Free)
Course: DessertDifficulty: Easy12
bars10
minutes20
minutes30
minutesThese s’mores bars are something else! A buttery graham cracker base followed by a lush layer of chocolate is topped off with toasty marshmallows. These s’mores bars will blow you away with how delicious and addictive they are – all while being vegan and gluten-free!
Ingredients
1 1/4 cups oat flour, see Notes
1/4 cup tapioca flour, or corn starch
1/2 teaspoon baking powder
1/4 cup maple syrup
2 1/2 tablespoons butter, melted (I used vegan butter)
1/2 teaspoon vanilla extract
1 cup chocolate chips
2 cups marshmallows
Directions
- Preheat oven to 350° Fahrenheit.
- Mix together the oat flour, tapioca flour, and baking powder in a bowl.
- Add in the maple syrup, melted vegan butter, and vanilla extract, mix everything to combine.
- Transfer to a lined 9×9 baking sheet, press into an even layer, then bake for 12-15 minutes or until golden brown.
- Remove from the oven and sprinkle evenly with chocolate chips, then place back into the oven for 1 minute or until chocolate has melted.
- Remove from the oven once more, spread the chocolate into an even layer, then top with marshmallows. Place in the oven on broil for 1 minute (watch closely to make sure it doesn’t burn!) or until marshmallows are lightly toasted.
- Let cool in the pan for 15-20 minutes before slicing.
Recipe Video
Notes
- Oat Flour: You can easily make your own oat flour by blending rolled oats in a blender until a powder forms and no large oat chunks remain!
Did you make this recipe?
Share it and tag @samdoesherbest on Instagram!
Like this recipe?
Follow us @samdoesherbest on Pinterest


")