Tag

healthy dessert

Browsing

I LOVE dates. I almost always have a bag on-hand. They’re perfect for stuffing with peanut butter, like in my 4-ingredient healthy snickers, or blending with oats to make healthy cookie dough date bites. Or… if you’re like my husband, dates are delicious all on their own!

Dates are the main ingredient in these 4 ingredient date caramels. They’re softened with a little hot water, then blended with almond butter and coconut oil to make a lusciousssss healthy date caramel. And because everything tastes better dipped in chocolate (ok ok, MOST things taste better dipped in chocolate), each date caramel is dunked in melted chocolate, then placed in the freezer until firm. The end result is a perfectly sweet and healthier chocolate-covered caramel candy. YUM!

overhead image of date caramels lined up with flaky sea salt on top.

What You’ll Need to Make This Recipe

  • Medjool Dates: The star ingredient! Medjool dates are naturally sweet and sticky, making them the perfect base for these caramels. If your dates are a bit dry, soaking them in hot water helps soften them up for easy blending. Here’s a link to the medjool dates I purchase on Amazon!
  • Creamy Almond Butter: Adds creaminess and a subtle nutty flavor to the caramels. You can substitute with any nut or seed butter like peanut butter or sunflower seed butter to make the recipe nut-free.
  • Coconut Oil: This helps bind the ingredients together and adds a touch of richness. Use refined coconut oil to avoid any coconut flavor, especially if you want the dates’ natural sweetness to shine through.
  • Chocolate Chips or Bar: Choose a high-quality dark chocolate for a rich coating. If you’re keeping this treat refined sugar-free, look for a chocolate that’s sweetened with coconut sugar or another natural sweetener. The coconut oil added to the chocolate helps it melt smoothly and gives the caramels a beautiful glossy finish.

How to Make Date Caramels

  1. Soak the Dates: Start by soaking the dates in hot water for about 10 minutes to soften them, making them easier to blend.
  2. Blend: After soaking, drain the dates and add them to a food processor along with the almond butter and melted coconut oil. Blend until smooth and creamy.
  3. Shape & Freeze: Spread the date mixture into a parchment-lined loaf pan and freeze for 2-3 hours until firm.
  4. Cut into Squares: Once firm, remove from the freezer and cut into 12 small squares.
  5. Dip in Chocolate: Melt the chocolate with a bit of coconut oil, then dip each caramel square into the chocolate until fully coated. Place the coated caramels on a parchment-lined plate and refrigerate until the chocolate is set.
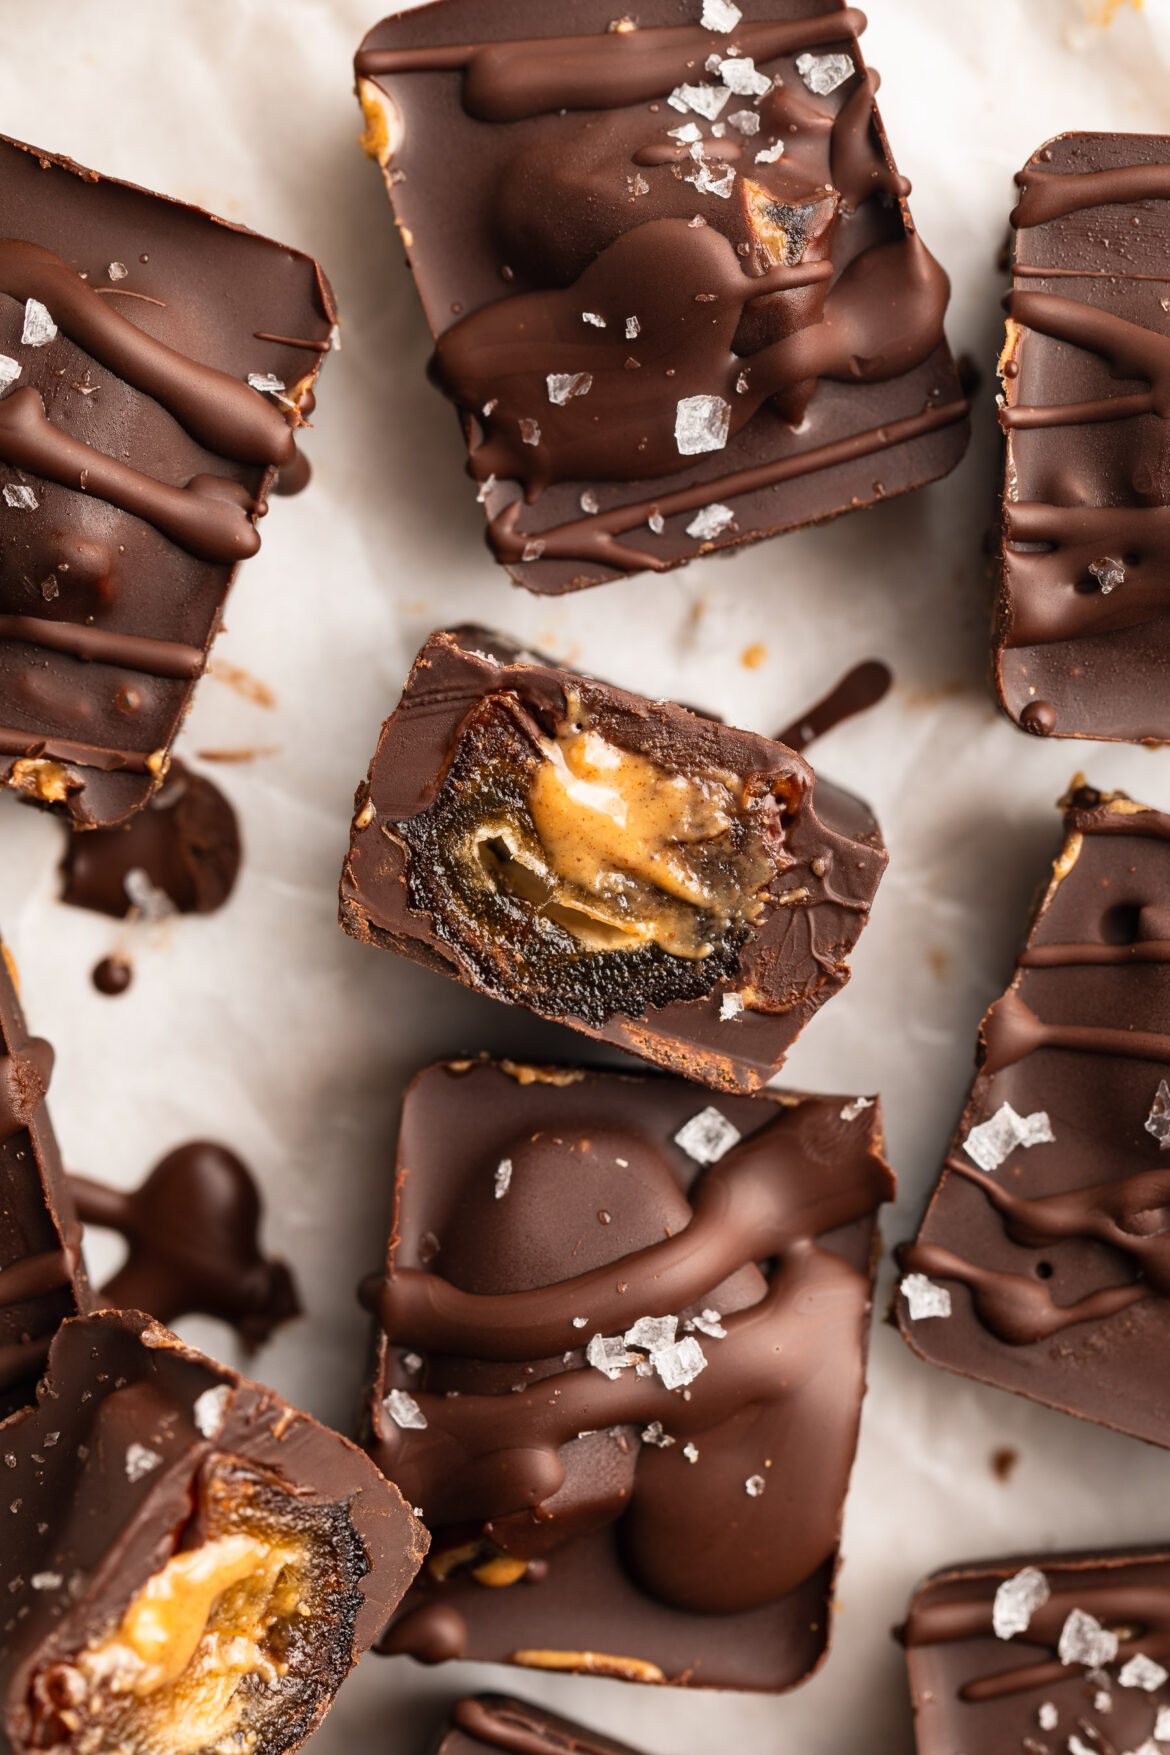
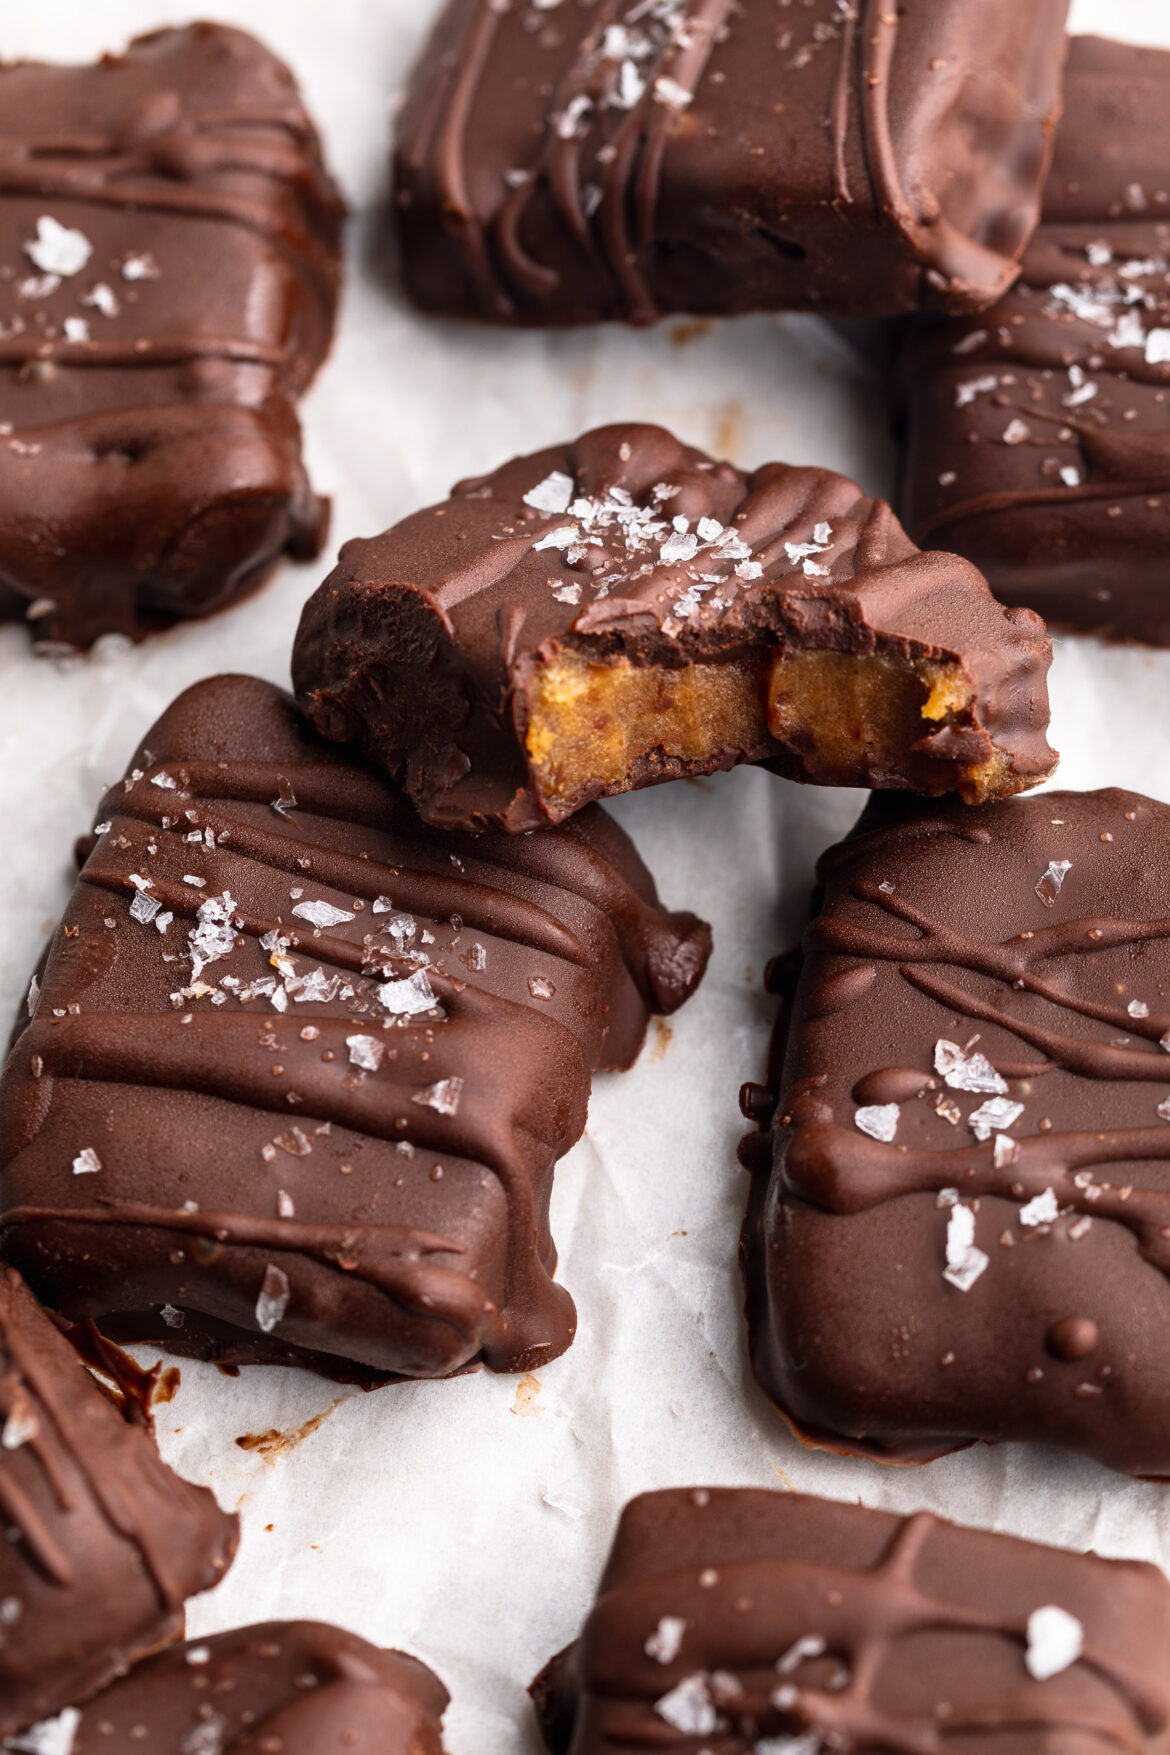
close up image of a date caramel candy with a bite taken out.

Make Them Nut-Free

If you’re catering to a nut-free crowd, simply swap out the almond butter for sunflower seed butter. The consistency and flavor are just as delicious, making this treat accessible for those with nut allergies!

Tips and Tricks

  • Use Fresh Dates: Fresh, soft dates blend more easily and give you a smoother caramel. If your dates are dry, don’t skip the soaking step.
  • Don’t Overheat the Chocolate: When melting the chocolate, keep the heat low to prevent burning. A double boiler works well, or microwave in short intervals, stirring in between.
  • Storage: These caramels keep best in the fridge or freezer, so you can always have a batch on hand for when the craving hits. They taste great straight from the freezer too!

These caramels are a healthier take on the classic candy, with no need for a candy thermometer or complicated techniques. Perfect for sharing—or keeping all to yourself!

date caramels on a plate with flaky sea salt on top.
4.58 from 7 votes

4 Ingredient Date Caramels

If you’re looking for a vegan, gluten-free, and refined sugar-free treat that’s perfect for gifting or snacking, these 4-ingredient date caramels are your answer! They’re rich, chewy, and coated in decadent chocolate—ideal for satisfying your sweet tooth while sticking to your dietary needs. Plus, they’re easy to make and great for parties!
Print Pin Rate
Servings: 0

Ingredients

For the date caramel:

  • 1 cup packed medjool dates, pitted
  • 2 tablespoons creamy almond butter, or any nut/seed butter
  • 1 tablespoon coconut oil, melted

For the chocolate coating:

  • 1 cup chocolate chips, or an 8-ounce chocolate bar
  • 2 teaspoons coconut oil, melted

Instructions

  • Soak the dates in a bowl of very hot water for 10 minutes.
  • Once dates are very soft, drain them from the water and transfer the soaked dates to a food processor or high-speed blender. Add the almond butter and coconut oil to the dates, and pulse until completely smooth.
  • Transfer the date caramel to a 9×5-inch loaf pan lined with parchment paper, then place the pan in the freezer for 2-3 hours, or until date caramel is firm to the touch.
  • Remove the loaf pan from the freezer, and lift the date caramel out of the pan. Place the date caramel on a cutting board and slice into 12 small squares.
  • Melt the chocolate chips and 2 teaspoons coconut oil in a heat-safe bowl in either the microwave or over a double boiler on the stove. Once chocolate is completely smooth and melted, dip each caramel square in the chocolate to fully coat. Carefully lift the caramel out of the chocolate and transfer to a parchment-lined plate.
  • Repeat the dipping process with all caramels, then transfer to the fridge for 1 hour or until chocolate has hardened and is completely set. Once set, enjoy your chocolate covered date caramels, or keep stored in the fridge to enjoy later on!
Notes

  • These date caramels are best stored in the fridge or freezer! If left at room temperature, the chocolate will melt.
  • I’m here to give the people what they want, and it’s become very clear that the people want MORE COOKIE DOUGH! So here we go, vegan, gluten-free, no-bake chocolate chip cookie dough bark. I basically took my gluten-free edible cookie dough recipe and combined it with my no-bake healthy cookie cough bars to create this delicious sweet treat!

    This cookie dough bark is an indulgent yet healthier dessert that combines the classic taste of cookie dough with the ease of a no-bake treat. And like I said before, it’s gluten-free, vegan, low-carb, and low in sugar, making it perfect for anyone looking to satisfy their sweet tooth without compromising on dietary needs. Plus, it only requires four simple ingredients and a few minutes of preparation time, setting in the freezer instead of the oven!

    close-up image of 4 ingredient healthy cookie dough bark.

    What You’ll Need to Make This Recipe

    Almond Flour: Almond flour is a gluten-free, grain-free alternative to traditional flour. It adds a slightly nutty flavor and provides a sturdy base for the cookie dough, making it perfect for creating a delicious bark. I buy this bulk bag of almond flour on Amazon, it’s a pantry staple in my home!

    Melted Coconut Oil: Coconut oil acts as the binding agent and helps the ingredients meld together. It also keeps the cookie dough bark vegan and dairy-free. However, if you don’t have coconut oil, you can use melted butter instead (do not use vegetable oil!)

    Maple Syrup: Maple syrup is a natural sweetener that adds a rich, caramel-like flavor to the cookie dough. It’s a healthier alternative to refined sugar and blends seamlessly with the other ingredients.

    Chocolate Chips: Using dark chocolate chips keeps the sugar content low and ensures the bark remains vegan. The melted chocolate forms the layers that sandwich the cookie dough, creating a delightful crunch with each bite.

    Is This Cookie Dough Bark Safe to Eat?

    Yes, this cookie dough bark is safe to eat. The recipe uses almond flour instead of raw flour, eliminating the risk of contamination. Additionally, it’s egg-free, which means there’s no risk of salmonella from raw eggs. This makes it a worry-free indulgence for cookie dough lovers!

    Storage Tips

    Store the cookie dough bark in an airtight container in the freezer for up to three months.

    4 ingredient cookie dough bark on a baking sheet with milk on the side.

    Switch Up the Flavors of This Cookie Dough Bark

    Personalize your cookie dough bark by adding various mix-ins. You can stir in some chopped nuts, coconut flakes, or sprinkles for added texture and flavor. For a fun twist, sprinkle some crushed pretzels or M&M’s on top of the melted chocolate before it sets. If you prefer a different flavor profile, try adding a spoonful of peanut butter or a dash of cinnamon to the cookie dough mix.

    Adjust This Recipe to Your Dietary Needs

    • Vegan: Uses plant-based ingredients like coconut oil and almond flour.
    • Gluten-Free: Almond flour replaces traditional wheat flour.
    • Low-Carb: Almond flour and dark chocolate keep the carb content low.
    • Low Sugar: Naturally sweetened with maple syrup and uses dark chocolate chips.
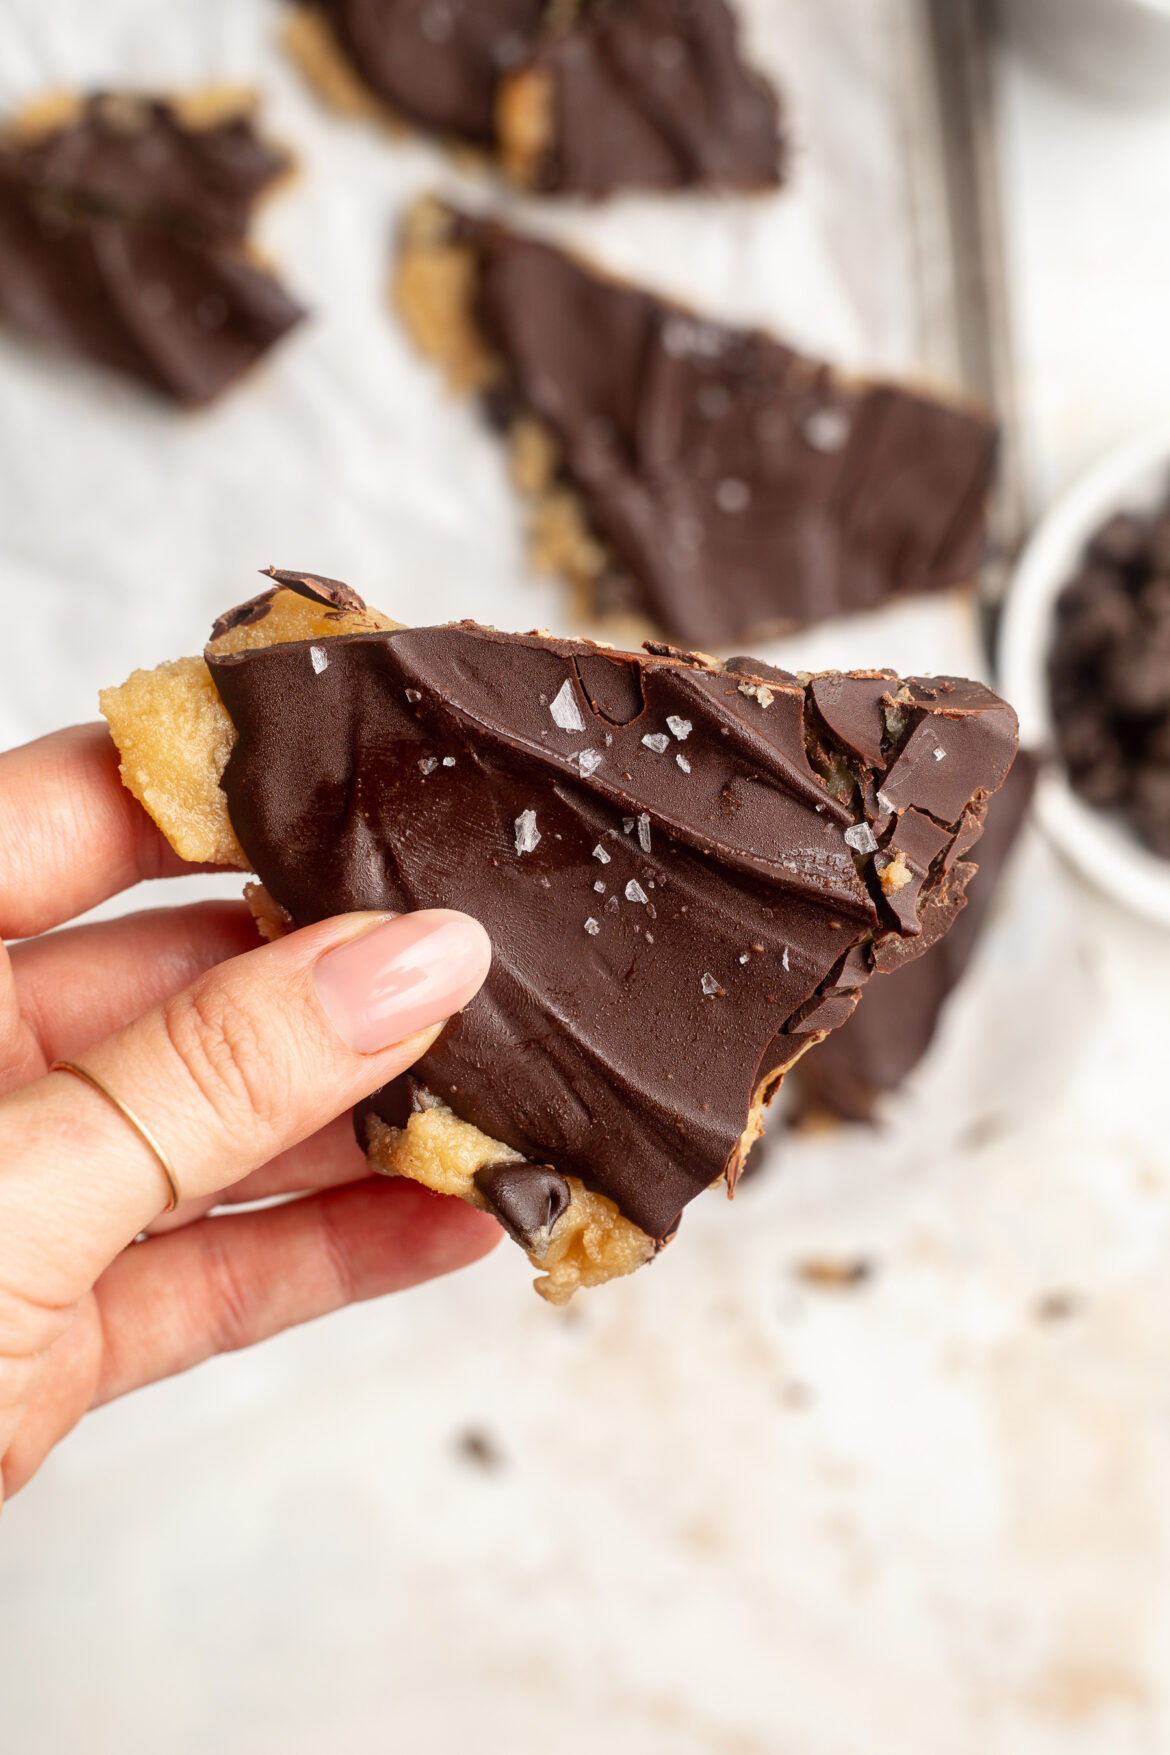
    4 ingredient gluten free cookie dough bark piece with sea salt on top.
    3.84 from 221 votes

    4 Ingredient Cookie Dough Bark

    This 4 ingredient cookie dough bark is the ultimate no-bake sweet treat! It’s gluten-free, vegan, low sugar, and totally delicious.
    Print Pin Rate
    Prep Time: 5 minutes
    Cook Time: 1 hour
    Total Time: 1 hour 5 minutes
    Servings: 6 servings

    Ingredients

    • 1 cup almond flour
    • 2 tablespoons melted coconut oil
    • 1/4 cup maple syrup
    • 1 cup chocolate chips, divided

    Instructions

    • Mix together the almond flour, coconut oil, and maple syrup in a bowl. Add in 1/4 cup of chocolate chips and mix again to combine.
    • Line a small baking sheet or large plate with parchment paper, then place the cookie dough mixture on top of the parchment paper. Spread and flatten the mixture with your hands to form a large piece of cookie dough bark.
    • Melt the remaining 3/4 cups of chocolate chips, then pour the melted chocolate over the cookie dough bark. Spread the chocolate into an even layer, then place the bark in the freezer for at least one hour.
    • When ready to eat, remove the cookie dough bark from the freezer and either cut or break into large pieces. Enjoy right away and store leftover bark in the freezer for later!

    It’s been a HOT summer so far. So hot in fact, that I’ve been avoiding turning on my oven unless absolutely necessary. But you guys know me by now, even without an oven I still need a little something sweet on-hand at all times. Healthy No-Bake Cookie Doughs Bars have been on repeat lately, and so have 4-Ingredient Healthy Snickers. And while both of those no bake desserts are delicious and ones I’d never get sick of, it was definitely time to switch things up!

    These homemade crunch bars are made with just THREE ingredients. They’re totally vegan and gluten-free, and I’ll even include a paleo and keto option if you want to give those a try. They’re perfectly sweet, extra crunchy, and seriously SO easy to make!

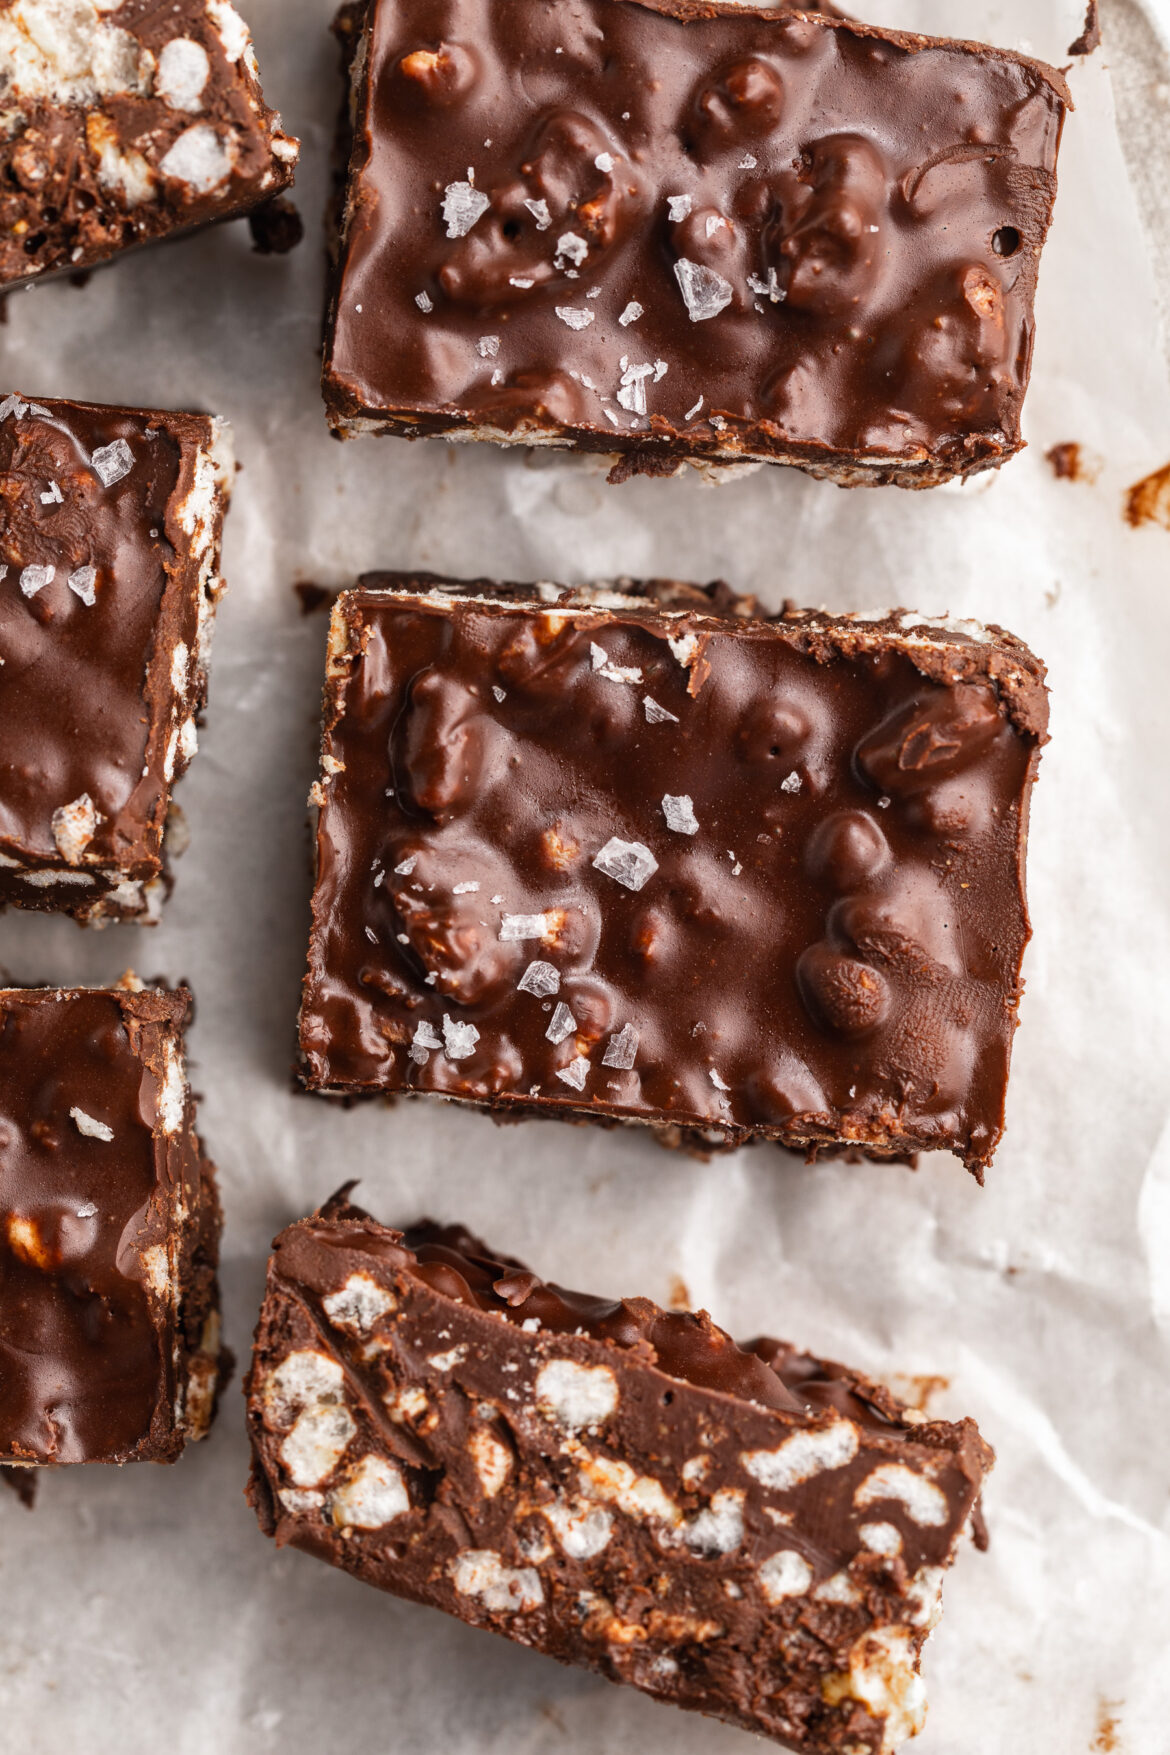
    overhead image of 3 ingredient no bake homemade crunch bars with sea salt on top.

    Why These Are the Best Homemade Crunch Bars

    These bars are not only simple to make but also healthier and more customizable than store-bought versions. By using high-quality ingredients, you avoid artificial flavors and preservatives. The addition of peanut butter gives extra creaminess and flavor, making these bars a delightful treat for all ages!

    Ingredients and Substitutions

    • Chocolate Chips: Opt for dark chocolate for a less sweet version or semi-sweet for a classic candy bar taste. Vegan options like Guittard Extra Dark Baking Chips are perfect for dairy-free needs.
    • Peanut Butter: Can be substituted with any nut or seed butter. Ensure it’s creamy for the best texture.
    • Rice Cakes/Crisp Cereal: Gluten-free rice cakes or cereals ensure the bars are safe for those with gluten intolerances!
    ingredients for healthy homemade crunch bars recipe.

    How to Make Homemade Crunch Bars

    1. Line your pan with parchment paper to prevent sticking.
    2. Melt chocolate and peanut butter in the microwave, stirring every 30 seconds until smooth.
    3. Mix in crumbled rice cakes to combine.
    4. Spread mixture in the prepared pan and freeze until solid.
    5. Cut into squares and enjoy your homemade bars.

    Storage Tips

    Store these homemade crunch bars in an airtight container in the refrigerator for the best texture and shelf life. They can start to soften if left at room temperature for too long. Or, store them in the freezer for up to 3 months!

    3 ingredient no bake healthy homemade crunch bar on a table.

    Adjust This Recipe to Your Dietary Needs

    • Keto Option: Use sugar-free chocolate chips and replace rice cakes with crushed nuts or seeds.
    • Vegan Option: Ensure your chocolate chips are vegan-friendly. Brands like Enjoy Life are great choices.
    • Paleo Option: Use paleo-approved chocolate, like Hu Kitchen Chocolate Gems and replace rice cakes with chopped nuts or seeds for the crunch.

    Tips and Tricks

    1. Microwave Melting: Microwave the chocolate and peanut butter in short bursts to prevent burning, or use a double boiler instead if you’d like.
    2. Layer Thickness: Spread the mixture evenly in the pan to ensure uniform bars.
    3. Add-Ins: Feel free to add a pinch of salt or vanilla extract to enhance the flavor. Or, finish the bars with flaky sea salt like I did – YUM!

    By following these tips and utilizing high-quality ingredients, you’ll have delicious, homemade crunch bars that are perfect for any occasion!

    overhead image of 3 ingredient no bake homemade crunch bars with sea salt on top.
    5 from 9 votes

    3 Ingredient Healthy Homemade Crunch Bars

    This 3 ingredient homemade crunch bars recipe is the perfect vegan and gluten-free sweet treat! They’re no bake, totally delicious, and irresistibly crispy. These homemade candy bars are also much healthier than store-bought!
    Print Pin Rate
    Servings: 0

    Ingredients

    • 1 1/4 cups chocolate chips
    • 1/2 cup creamy peanut butter, unsweetened
    • 2 rice cakes, crumbled (or 1 cup rice crisp cereal)

    Instructions

    • Line a 9-inch loaf pan with parchment paper.
    • Add the chocolate chips and creamy peanut butter to a bowl, then microwave in 30 second increments (stirring between each increment) until chocolate has melted.
    • Add in the crumbled rice cakes and mix everything together to combine.
    • Transfer the crunch bar mixture to your prepared loaf pan and spread into an even layer. Place the bars in the freezer until solid, about 1 hour, then remove and cut into squares.

    Think snickers can’t be healthy?? Think again! I’ve pretty much made it my life’s work to take unhealthy treats and make them healthy. Like my healthy gluten-free mug cake, and my healthy cookie dough bars (another no-bake dessert in constant rotation around here!). These 4-ingredient healthy snickers fit seamlessly into my healthier treats lineup. My recent nighttime routine has included getting my baby to bed, popping 3 or 4 of these healthy snickers out of the freezer, and cozying up on the couch while I savor every last bite. My husband’s also obsessed, so I’ve been doubling this recipe to make sure there’s plenty to go around!

    For this recipe, you’ll want to start with a silicone ice cube tray. I purchased these ones (they come in a 2-pack) and have loved them so far! They’re also great for making ice cubes too, as the silicone helps the cubes slide right out. From there, you’ll need just four simple ingredients – chocolate, coconut oil, dates, and peanut butter. All relatively healthy ingredients, but they come together to create a treat that tastes seriously indulgent, but won’t hurt your stomach… no matter how many you eat! *wink wink*

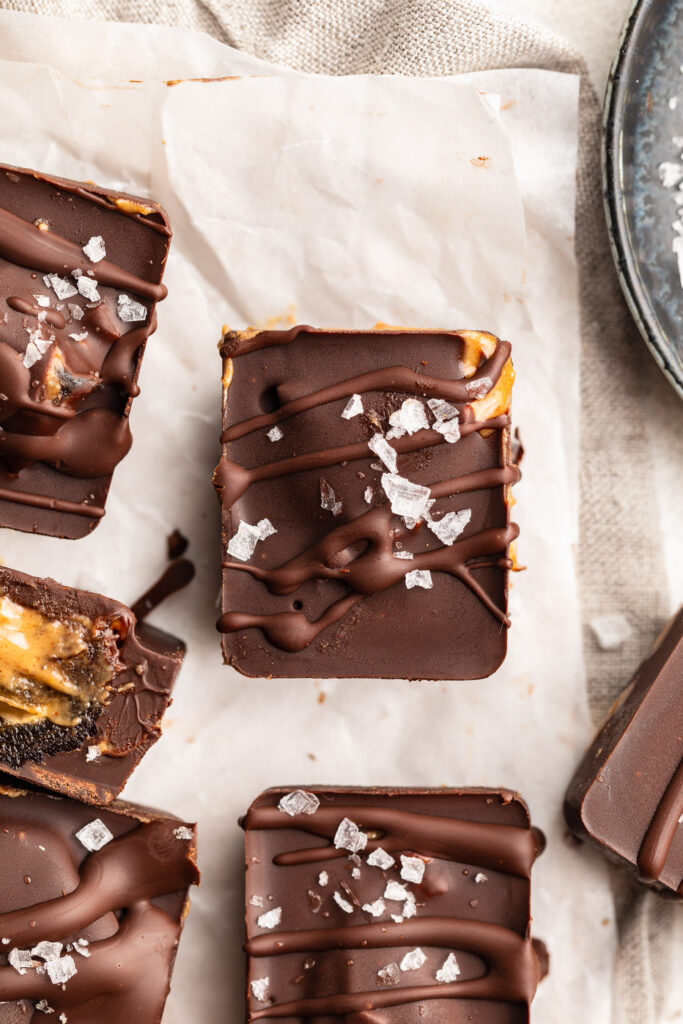
    overhead image of a healthy snicker with flaky sea salt on top.

    What You’ll Need To Make These Healthy Snickers

    Chocolate Chips: Opt for dairy-free or dark chocolate chips for a healthier option. These provide the rich, chocolatey coating for your snickers bites.

    Coconut Oil: Coconut oil helps melt the chocolate chips and creates a smooth, glossy texture for your healthy candy bars.

    Medjool Dates: These naturally sweet and chewy dates serve as the caramel-like layer in your snickers, providing natural sweetness and a satisfying texture.

    Crunchy Peanut Butter: Choose your favorite brand of crunchy peanut butter to add nutty flavor and crunch to your guilt-free treats!

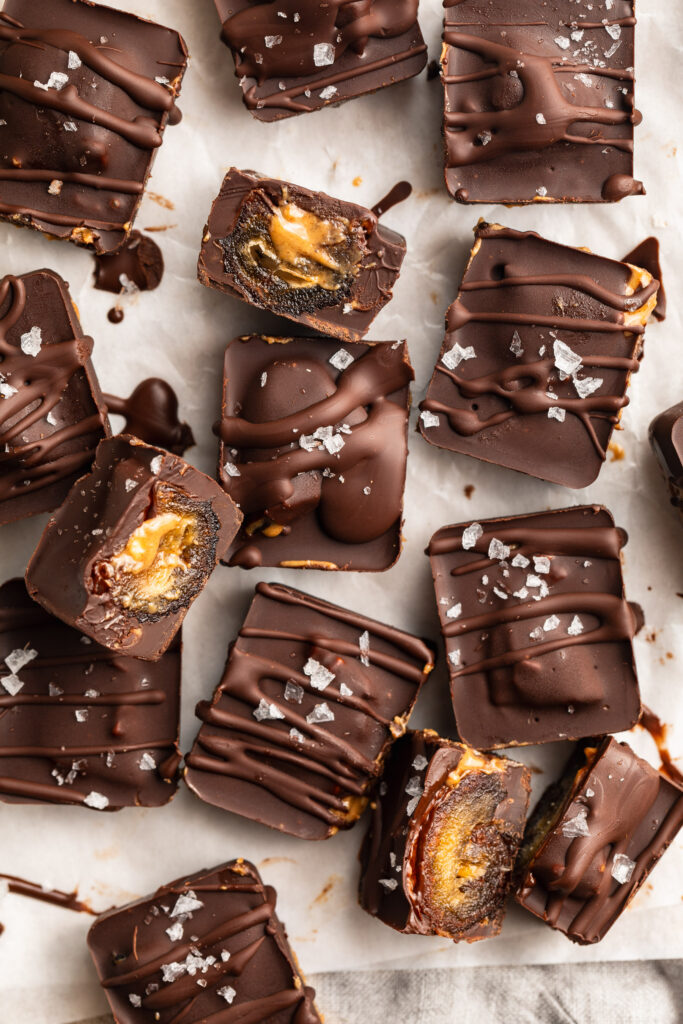
    overhead image of healthy snickers bars with flaky sea salt on top.

    Tips and Tricks

    • If your dates are too firm, soak them in warm water for 10-15 minutes before using. This will help soften them and make them easier to work with.
    • Using a silicone ice cube tray makes it easier to remove the snickers bites once they’re frozen. If you don’t have one, you can line a regular ice cube tray with plastic wrap for easy removal.
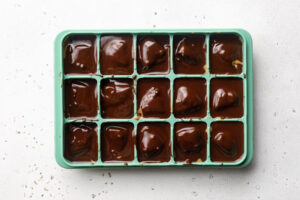
    • To ensure even distribution of ingredients, use a layering technique when assembling your healthy snickers bites. Start with a layer of melted chocolate, followed by a date and a dollop of peanut butter, then top with another layer of melted chocolate.
    overhead image of healthy snickers cut in half with peanut butter inside.
    5 from 2 votes

    4-Ingredient Healthy Snickers

    This healthy snickers recipe is the perfect healthier treat to satisfy your sweet tooth! Made with just 4 wholesome ingredients; chocolate chips, coconut oil, medjool dates, and crunchy peanut butter. They taste just like a snickers, but with a fraction of the sugar!
    Print Pin Rate
    Prep Time: 5 minutes
    Total Time: 5 minutes
    Servings: 15 snickers

    Ingredients

    • 1 cup chocolate chips
    • 1 tablespoon coconut oil
    • 8 medjool dates, pits removed and cut in half
    • 1/4 cup crunchy peanut butter

    Instructions

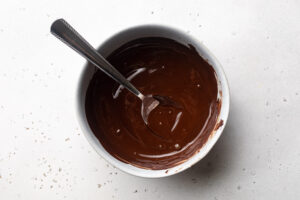
    • Melt the chocolate chips and coconut oil together in a small bowl in the microwave.
      healthy-snickers-step-1
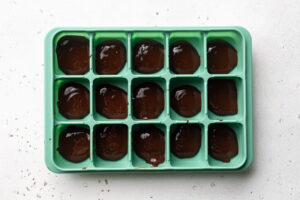
    • Take a silicone ice cube tray and fill 15 cavities of the tray with 1/2 tablespoon each of the melted chocolate.
      healthy-snickers-step-2
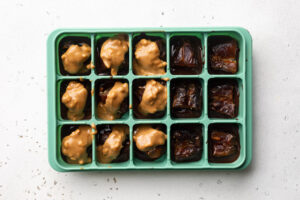
    • Place one pitted date half into each cavity on top of the chocolate.
      healthy-snickers-step-3
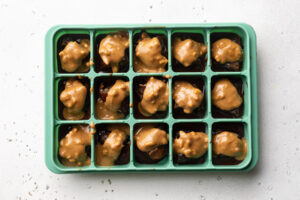
    • Then, add about ½ a tablespoon of crunchy peanut butter to each ice cube cavity, on top of each date.
      healthy-snickers-step-4
    • Pour the remaining melted chocolate into each ice cube cavity, covering the dates and peanut butter completely.
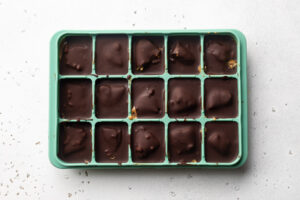
    • Place the ice cube tray in the freezer for about 20 minutes, or until the chocolate has completely hardened. Remove the tray from the freezer and pop out the healthy snickers. Store snickers in the fridge or freezer for up to 3 months!
      healthy-snickers-step-6

    Notes

  • Here’s a link to the silicone ice cube trays I used to make my healthy snickers! They worked wonders and were super easy to clean.
  • We’ve been on a big banana bread kick in my house. But the problem was… every time I make a new loaf, it’s gone in a couple days! So I needed a quick, easy, and SIMPLE recipe to get in our banana bread fix without spending too much time in the kitchen. *enter 4 ingredient banana bread.*

    And if you’ve been around here a while, you know I’m all about the easy sweet treats! This time last year I went through a huge 5-ingredient edible gluten-free cookie dough phase (major pregancy craving!) and over the summer, I couldn’t stop making my 6-ingredient healthy gluten-free mug cake. There’s just something about having a healthier sweet treat on-hand that leads to happier days and a happier life.

    Something else I always have on-hand? Bananas. I pretty much buy a bunch of bananas every week because, again, we just love them in this house. However, we often find ourselves with a few overly ripe bananas by the end of the week. But thanks to this 4 ingredient banana bread recipe, I always have a way to put them to good use!

    I made my banana bread gluten-free, but you totally don’t have to! This recipe is also naturally dairy-free which I LOVE. And I should mention, it’s easily made refined sugar-free as well. For all dietary swaps, check out the “adjust this recipe to your dietary needs” section below. Happy 4-ingredient baking, friends!

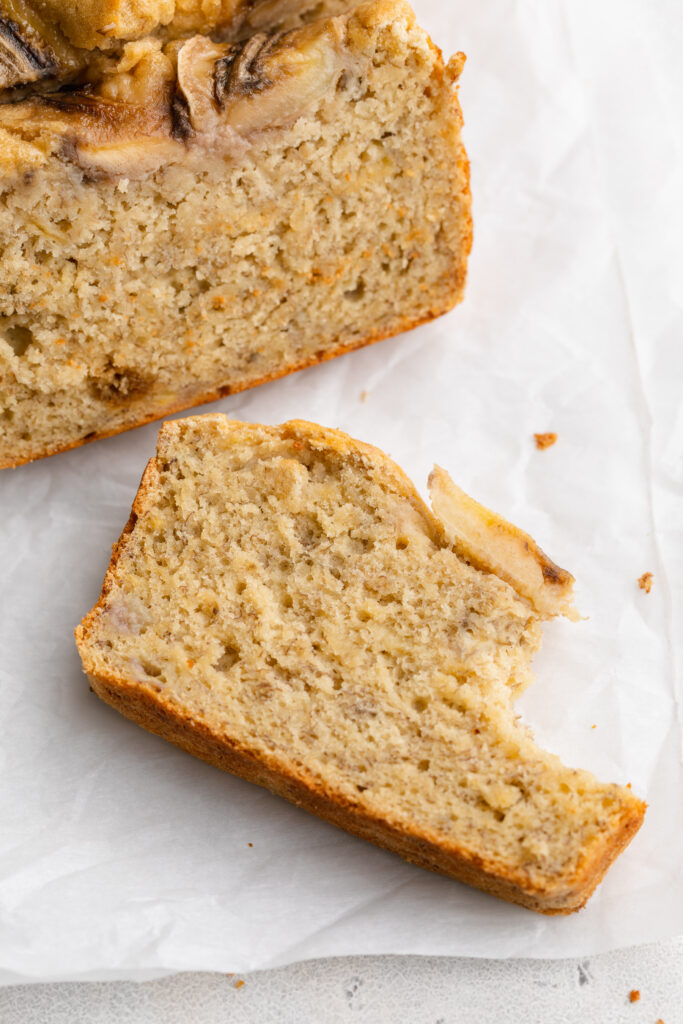
    a slice of 4 ingredient banana bread with a bite taken out.

    What You’ll Need to Make 4 Ingredient Banana Bread

    Bananas: The star of the show! These bananas bring natural sweetness and moisture to the bread. The riper, the better – those speckles on the peel are a sign of maximum flavor.

    Eggs: Eggs play a crucial role in binding the ingredients together, providing structure to the bread. They contribute to the moist and tender texture we all love.

    Brown Sugar: Brown sugar adds a rich caramel flavor and sweetness to the banana bread. It complements the bananas perfectly, creating a delightful depth of taste.

    Self-Rising Flour: The key to keeping it simple! Self-rising flour contains baking powder and salt, eliminating the need for additional leavening agents. It ensures your banana bread rises beautifully. But if you don’t have self-rising flour, feel free to use regular flour instead, then add 1 1/2 teaspoons of baking powder and 1/2 teaspoon baking soda to the recipe!

    Tips and Tricks

    • The riper your bananas, the sweeter and more flavorful your banana bread will be. Don’t shy away from those brown speckles!
    • Mix the ingredients until just combined. Overmixing can affect the texture, so keep it simple and stir until everything is blended.
    • Allow your banana bread to cool slightly in the pan before transferring it to a wire rack. This patience ensures a neater slice and preserves the bread’s texture.
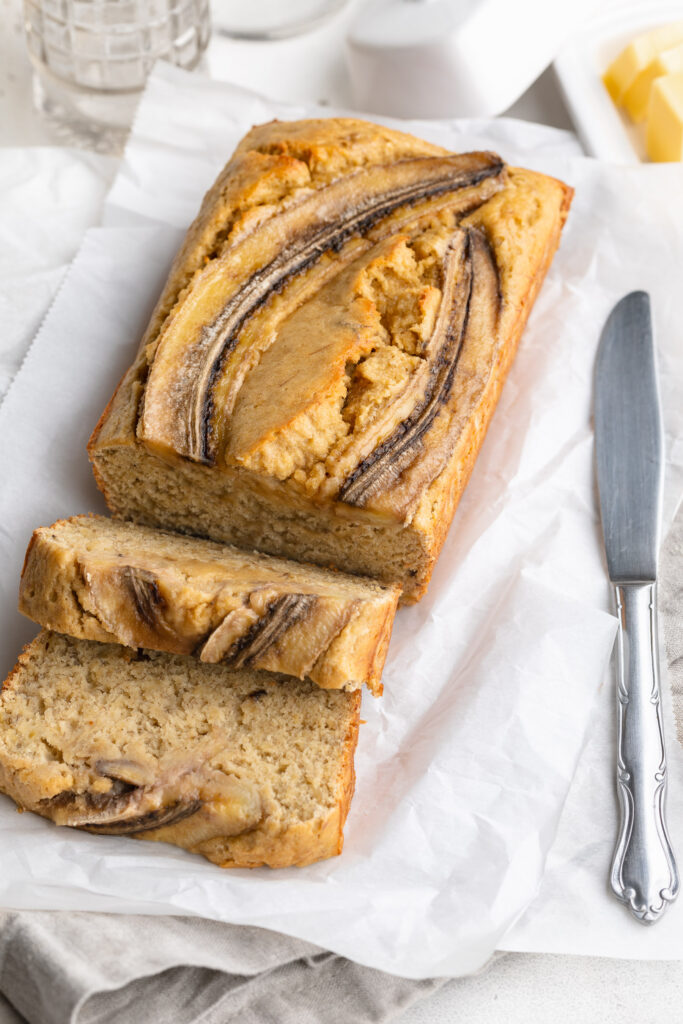
    sliced 4 ingredient banana bread with a knife on the side.

    Adjust This Recipe to Your Dietary Needs

    Make it Gluten-Free: Swap out the self-rising flour for a gluten-free alternative to make this banana bread gluten-free. I used Beth Blends Grain-Free Flour Blend in my 4 ingredient banana bread and it worked great!

    Make it Refined Sugar-Free: Opt for coconut sugar as a substitute for brown sugar for a refined sugar-free option.

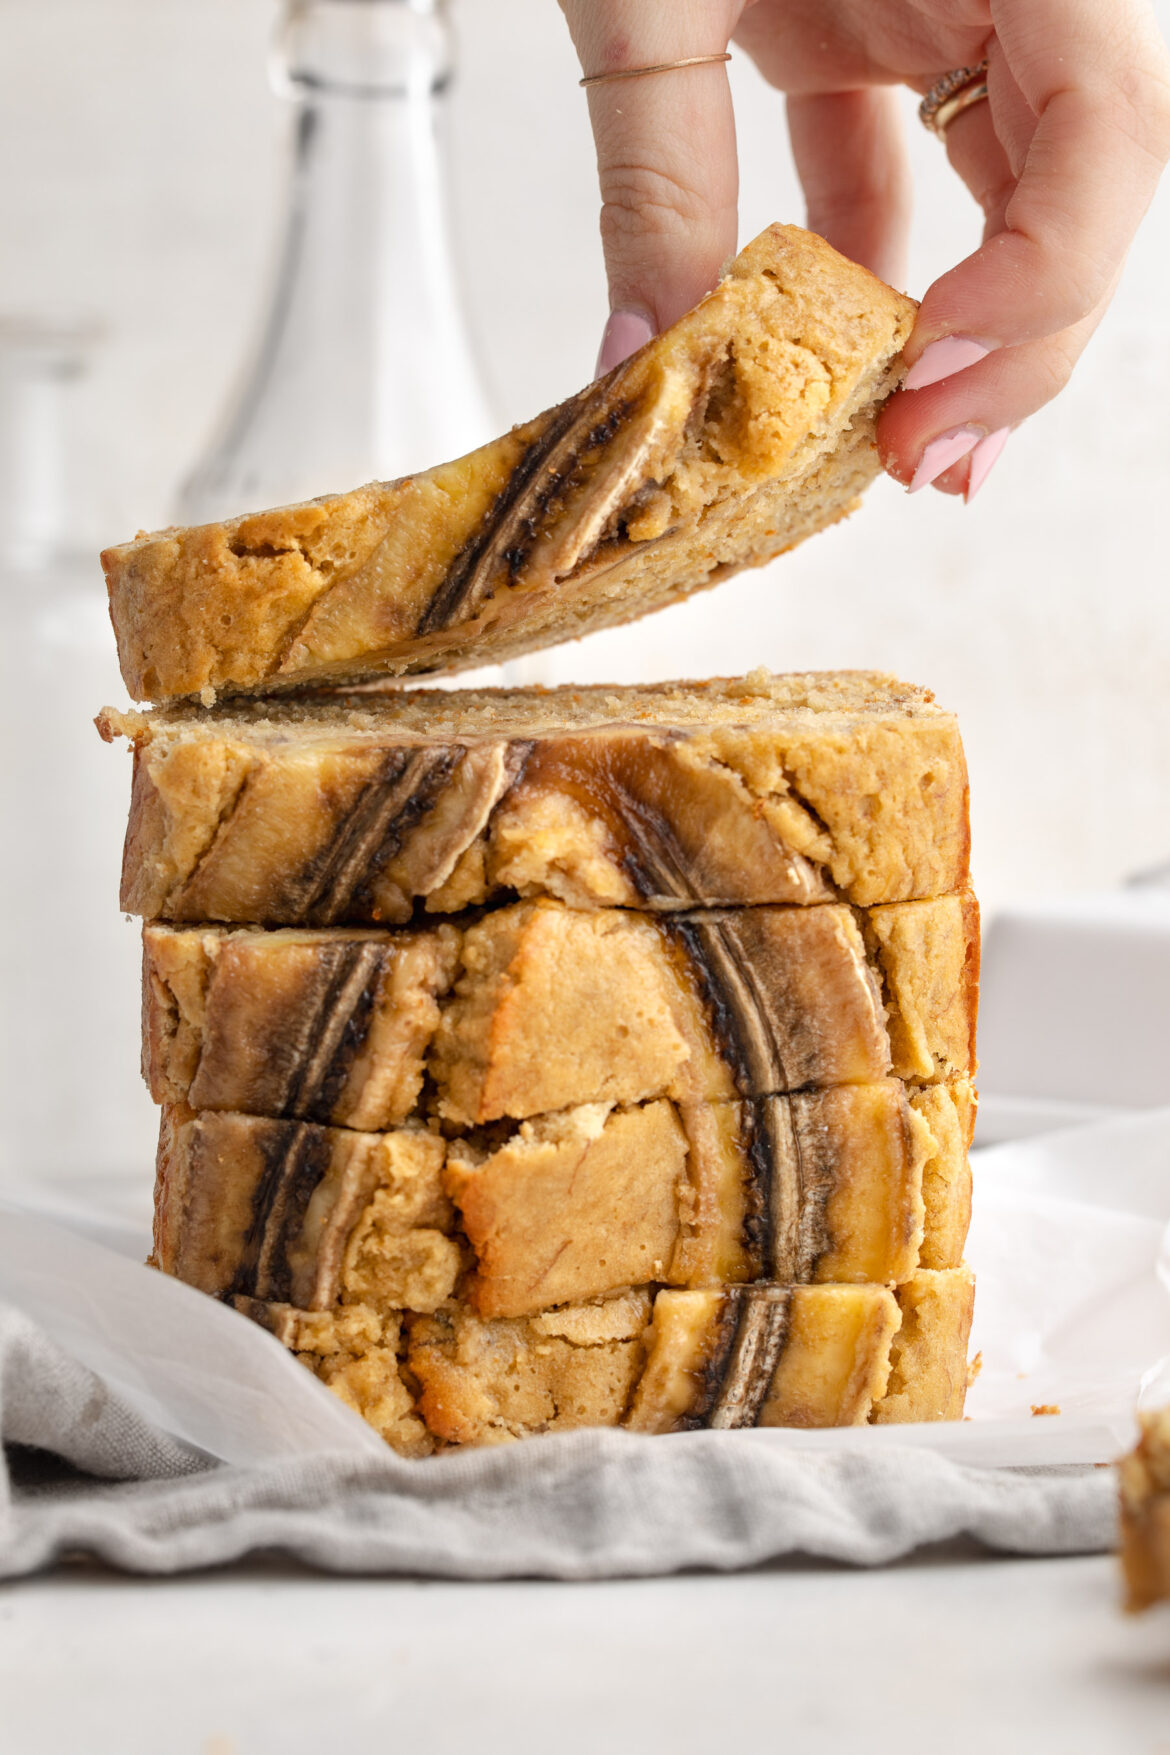
    Stacked slices of 4 ingredient banana bread, with a hand lifting the top slice.
    4.25 from 20 votes

    Incredible 4 Ingredient Banana Bread (gluten-free!)

    Baking doesn’t have to be complicated, and this 4 ingredient banana bread proves just that! With one bowl and a handful of simple ingredients, you can whip up a loaf of incredibly moist and delicious banana bread. Best enjoyed as a breakfast, snack, or dessert!
    Print Pin Rate
    Prep Time: 10 minutes
    Cook Time: 50 minutes
    Total Time: 1 hour
    Servings: 10 servings

    Equipment

    • 1 large bowl
    • 1 9×4-inch loaf pan

    Ingredients

    • 3 large and overripe bananas
    • 2 large eggs
    • 1/2 cup brown sugar
    • 1 1/2 cups self-rising flour see Notes

    Optional Add-Ins

    • 2 teaspoons ground cinnamon
    • 1 teaspoon vanilla extract
    • 1/2 cup chocolate chips

    Instructions

    • Preheat oven to 350° Fahrenheit and grease or line a 9×4-inch loaf pan.
    • Place the bananas in a large bowl and mash well with a fork, until mostly smooth.
    • Add the eggs to the bowl and whisk to combine. Then, add the brown sugar and flour, then mix again until fully combined and no pockets of flour remain.
    • Pour the batter into your prepared loaf pan and bake for 50-55 minutes, or until a toothpick inserted down the center of the bread comes out clean.
    • Remove the banana bread from the oven, then let it cool completely before slicing.

    Notes

    If you don’t have self-rising flour, you can use all purpose flour instead. But, if you use all purpose flour, make sure to add 1 1/2 teaspoons of baking powder and 1/2 teaspoon of baking soda to this recipe.

    Nutrition

    Serving: 1slice | Calories: 135kcal | Carbohydrates: 28g | Protein: 3.5g | Fat: 1g | Sugar: 10g