Tag

healthy snack

Browsing

Cutting a pineapple is easy, when you follow these simple steps! A sharp knife, cutting board, and whole pineapple is all you’ll need. I even provide helpful tips on picking out a perfectly ripe pineapple, and what to do with it once it’s cut!

cut pineapple in a bowl with limes on the side

How To Select The Perfect Pineapple

  • Color: Every pineapple starts off green, and turns yellow as it ripens. Therefore, a pineapple with a more yellow skin will be sweeter, and more ripe!
  • Smell: I never buy a pineapple before smelling it! There’s so much to learn about how ripe a pineapple is based on its scent. So pick up that pineapple and give it a big ole’ whiff. If the pineapple smells sweet and like ..well, pineapple… then it’s perfectly ripe! Though if the pineapple has no smell at all, then it’s not yet ripe.
  • Leaves: The last step to ensuring your pineapple is ripe and ready to be cut, is by checking the leaves. Give those long, tough leaves at the top of the pineapple a gentle tug, and if they come away easily, then your pineapple is definitely ripe. If the leaves are a challenge to pull, then the pineapple likely isn’t yet ripe.

Is Pineapple Healthy?

Sure is! Pineapple is pretty much bursting with nutrients. Just one cup of cut pineapple will fill you with fiber, antioxidants, vitamin C, folate, potassium, etc. Fresh pineapple is loaded with health benefits, including, but not limited to:

  • aids digestion (thank you, fiber!)
  • fights diseases (hello antioxidants!)
  • reduces inflammation
  • increases immunity
  • and may even reduce your risk of cancer!

How To Store Cut Pineapple

Freshly cut pineapple should be stored in an airtight container in the fridge. Pineapple will stay fresh for up to five days. If you don’t anticipate eating your cut pineapple within that timeframe, then I recommend freezing it instead. Similarly, store it in an airtight container in the freezer, where it will stay good for up to three months.

How to Cut a Pineapple

0 from 0 votes
Recipe by Samantha Course: SnacksDifficulty: Easy
Servings

8

servings
Prep time

5

minutes
Total time

5

minutes

Cutting a pineapple is easy, when you follow these simple steps! A sharp knife, cutting board, and whole pineapple is all you’ll need. I even provide helpful tips on picking out a perfectly ripe pineapple, and what to do with it once it’s cut!

Ingredients

  • 1 whole pineapple

Directions

  • Lay the pineapple on its side on a cutting board, then use a sharp knife to slice off both the top and bottom ends.
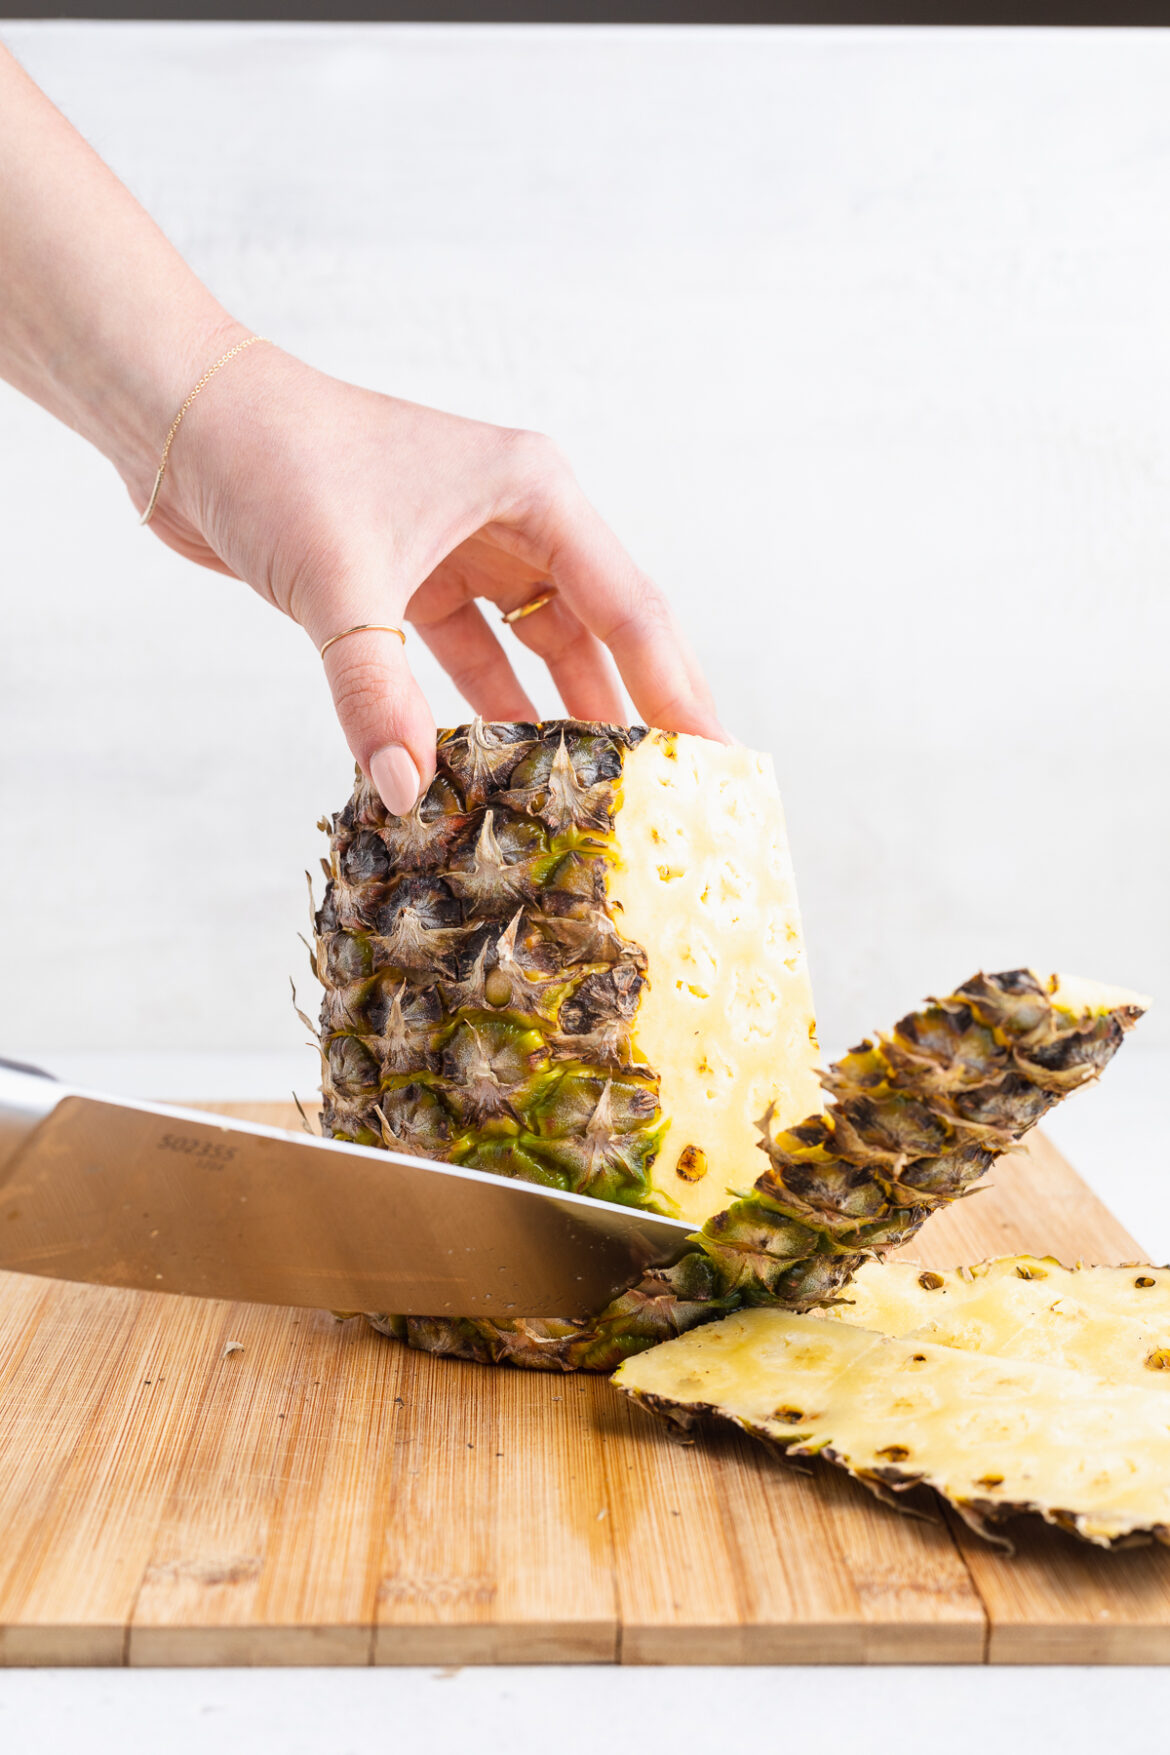
  • Next, stand the pineapple back up and slice off the skin, sliding your knife from top to bottom, following the shape of the pineapple.
  • Once skin is removed, keep the pineapple standing up and cut it into four quarters – one slice lengthwise and the other crosswise.
  • Lay each quarter of the pineapple down on the cutting board, with one of the cut side on the board. Angle your knife inwards to slice and remove the core from the pineapple, then repeat for other three pieces.
  • Last, slice each quarter in half lengthwise before making crosswise cuts to create bite-sized pineapple chunks.

Recipe Video

Did you make this recipe?

Share it and tag @samdoesherbest on Instagram!

Like this recipe?

Follow us @samdoesherbest on Pinterest

Use Your Cut Pineapple In One Of These Recipes

Soft and fluffy oat flour pancakes, with a hint of sweetness! This quick and easy breakfast recipe is entirely gluten-free and dairy-free. Whip up a stack of delicious oat flour pancakes in the blender, with a handful of simple ingredients!

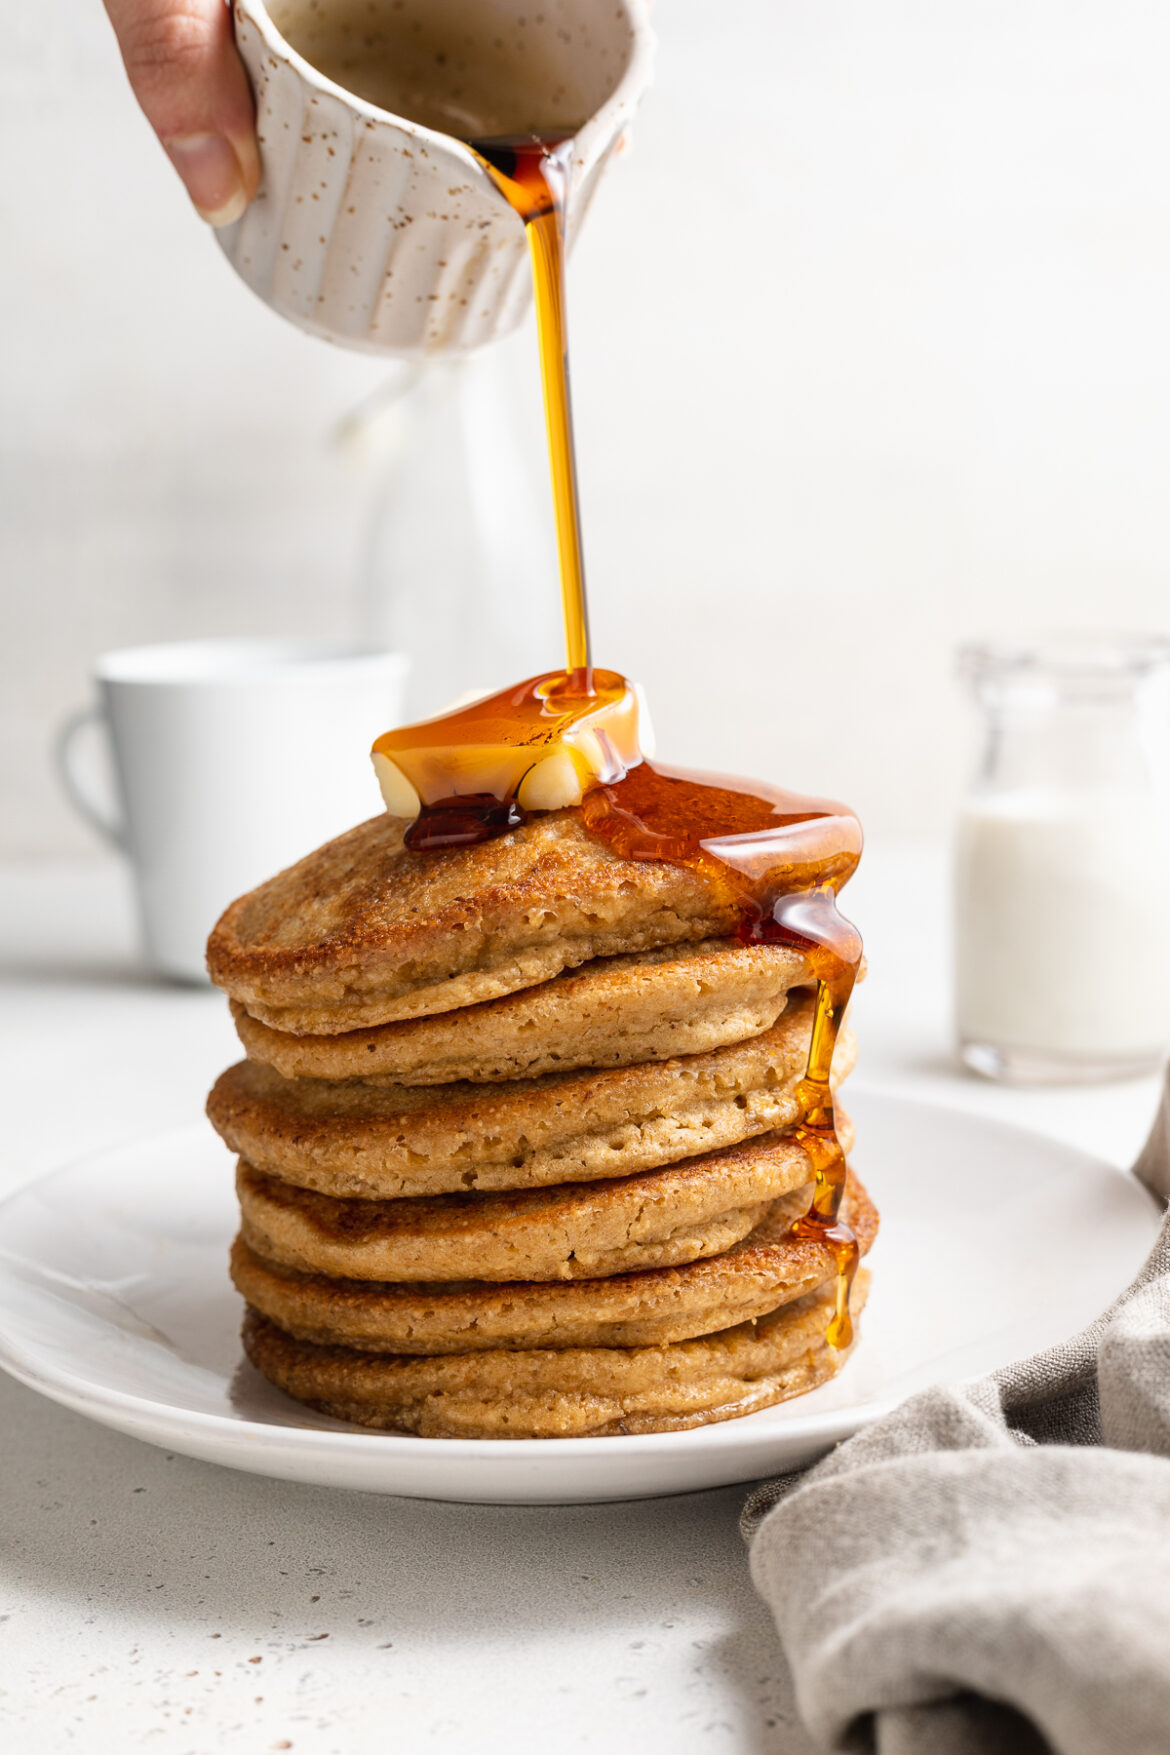
a stack of oat flour pancakes with maple syrup being poured on top

What You’ll Need To Make Oat Flour Pancakes

Rolled Oats – Rolled oats are key to making this recipe work! They blend and cook up beautifully in our pancake batter. Some recipes out there will recommend blending your oats into a flour before adding in the other ingredients. However, I found that adding the whole oats directly in with everything else made no difference in the finished dish, and cut out an extra step! Feel free to use either old fashioned rolled oats or quick cook rolled oats, both will work here.

Milk – I used non-dairy milk to keep these oat flour pancakes gluten-free and dairy-free, though you can use any milk you’d like. Some non-dairy milks I recommend are almond milk, hazelnut milk, coconut milk, and oat milk. I’ve also been loving the Elmhurst’s line of plant-based milks – super simple and healthy ingredients!

Maple Syrup – This unrefined sweetener tastes incredible not only on our pancakes, but inside them too! For a sugar-free breakfast, you can easily leave the maple out of this recipe, or substitute it with half a tablespoon of monk fruit sweetener.

a stack of oat flour pancakes with fresh blueberries on top.

Optional Toppings

Feel free to top your oat flour pancakes with…

  • Chocolate Chips
  • Blueberries
  • Sliced Bananas
  • Sliced Strawberries
  • Sprinkles
  • Raspberries
  • Pecans
  • Butter
  • Maple Syrup
  • or Whipped Cream!

Adjust This Recipe To Your Dietary Needs

Make it Dairy-Free: Use my dairy-free option and sub the regular milk for your favorite non-dairy milk, it’s that easy!

Make it Vegan: Turn these into vegan and gluten-free oat flour pancakes by replacing the egg with a flax egg. To make a flax egg, whisk together 1 tablespoon of ground flax seed and 3 tablespoons of water in a small bowl. Let the flax “egg” sit at room temperature for 10-15 minutes, until it’s thickened, before adding into this recipe.

Oat Flour Pancakes

4 from 4 votes
Recipe by Samantha Course: BreakfastDifficulty: Easy
Servings

2

servings
Prep time

5

minutes
Cooking time

10

minutes
Total time

15

minutes

Soft and fluffy oat flour pancakes, with a hint of sweetness! This quick and easy breakfast recipe is entirely gluten-free and dairy-free. Whip up a stack of delicious oat flour pancakes in the blender, with a handful of simple ingredients!

Ingredients

  • 1 1/2 cups rolled oats

  • 2 teaspoons baking powder

  • 1/4 teaspoon salt

  • 1 cup milk, I used almond milk

  • 2 tablespoons maple syrup

  • 1 egg

Directions

  • Add all ingredients to a blender and blend until a smooth batter forms (about 30 seconds).
  • Heat a tablespoon of butter or oil in a large skillet over medium heat. Scoop ¼ cup of batter into skillet and add any toppings you’d like.
  • Cook pancake 2-3 minutes per side, then repeat with remaining pancake batter. Serve warm with butter and maple syrup.

Recipe Video

Did you make this recipe?

Share it and tag @samdoesherbest on Instagram!

Like this recipe?

Follow us @samdoesherbest on Pinterest

A stunningly vibrant, simple, and healthy beet hummus recipe, made in under 5 minutes! The perfect plant-based snack, appetizer, or side dish. This roasted beet recipe will quickly become one of your favorite ways to sneak more veggies into your diet.

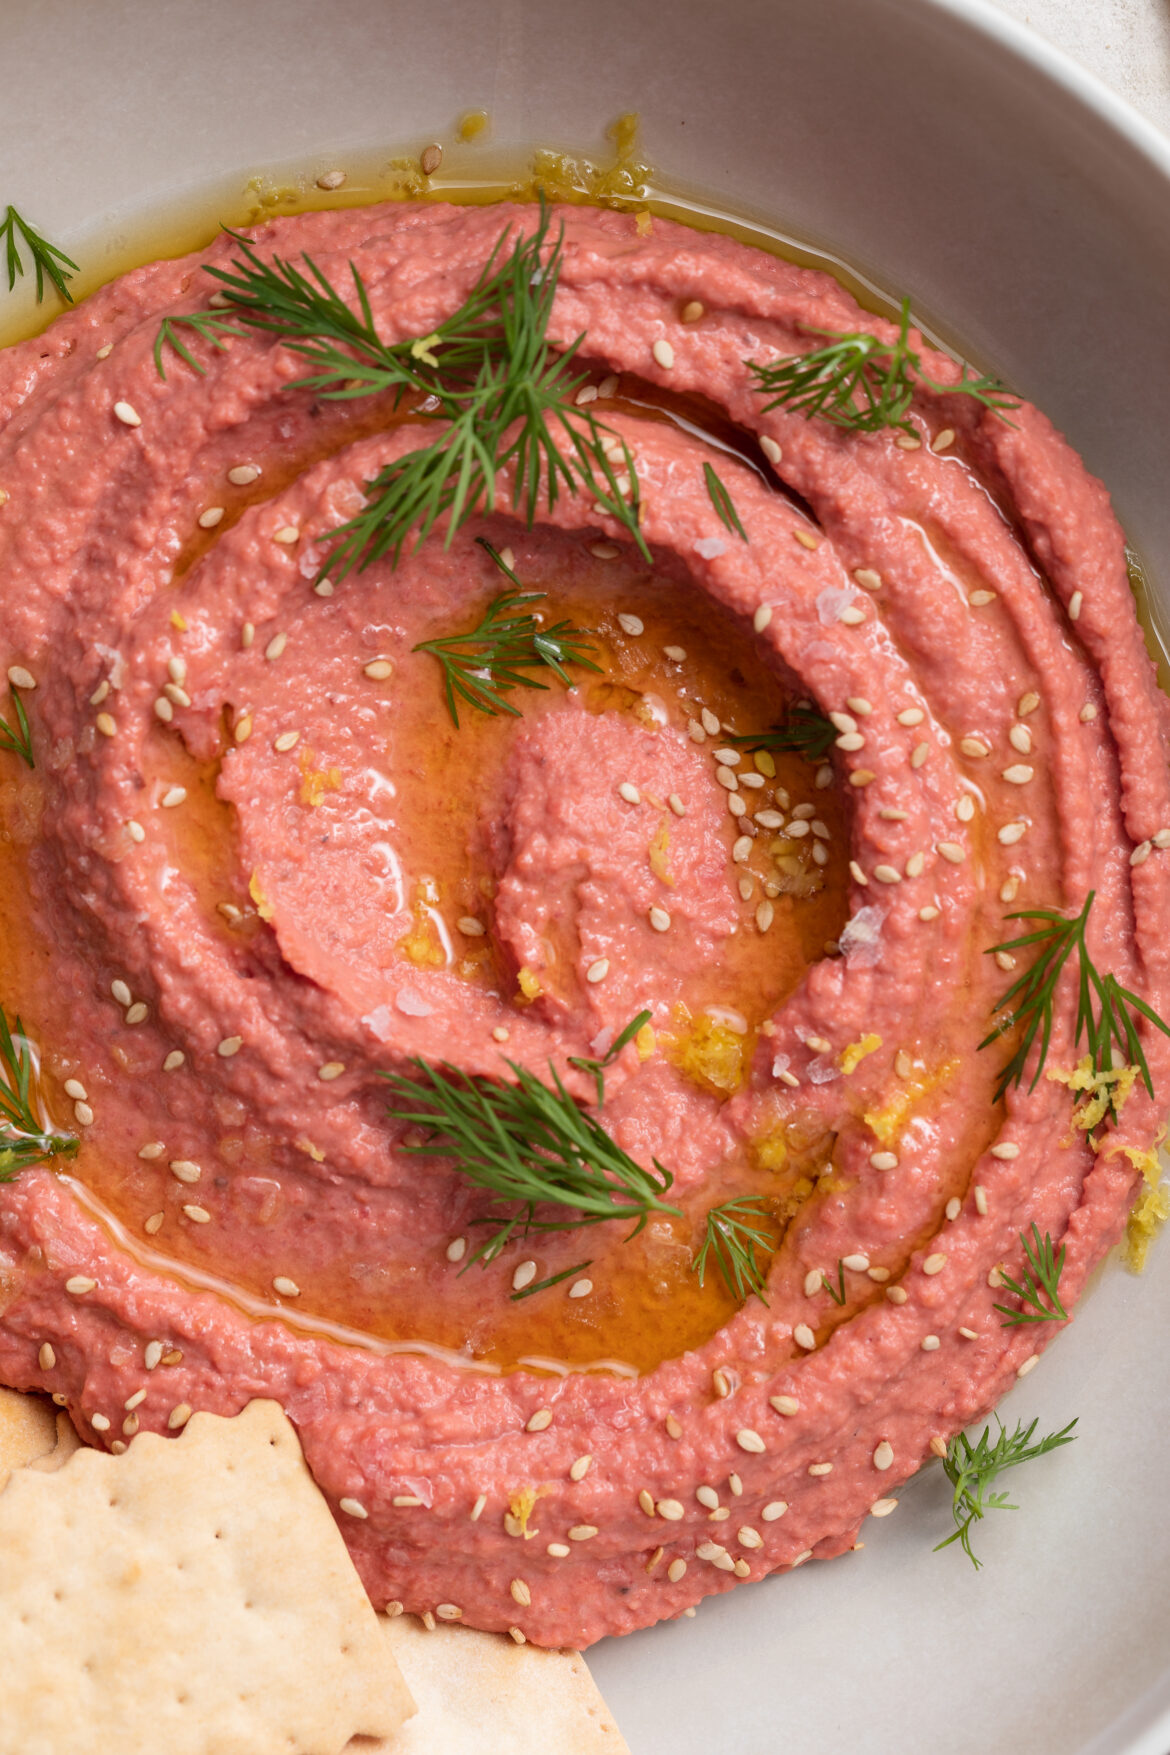
overhead image of roasted beet hummus in a bowl with crackers on the side

I had the BEST roasted beet hummus a few weeks ago while visiting Salt Lake City, Utah. It was perfectly smooth, tangy, and all-around delicious. We ordered it as an appetizer ahead of our meal, but I quickly (…like ate the whole bowl in under a minute) filled up on it. So as I was sitting there, belly fuller than full on the most incredible beet hummus, I took out my phone and made a note to recreate that out-of-this-world appetizer recipe as soon as I got home!

Fast forward a few days, I’m home and stocked up on everything I’ll need for this recipe. Roasted beets, cans upon cans of chickpeas, tahini, olive oil, plenty of garlic, lemons, and of course salt. I quickly began experimenting and I can’t lie, it took a few tries, but I eventually achieved that same flawless, stunningly pink beet hummus as I had in SLC!

What You’ll Need

Roasted Beets – Use as many or as few roasted beets in this recipe as you’d like! I bought pre-roasted beets to save myself a bit of time, but you can definitely roast the beets yourself instead. For instructions on how to cook beets, check out this post I wrote for 40 Aprons.

Chickpeas – Chickpeas are the base to every single hummus recipe out there! They’re high in protein, and blend up super smooth, creamy, and delicious. You can of course cook your own chickpeas for this recipe, but I almost always opt for the pre-cooked canned chickpeas in my recipes. They’re easier, just as good, and will save you a bunch of time. Regardless of what kind of chickpeas you’re using for this recipe (canned or homemade), be sure to drain and rinse them well ahead of placing them in a food processor or blender.

Tahini – Here’s another ingredient you’ll find in all hummus recipes. Tahini is ground sesame seeds, it has a nutty flavor with a slightly bitter finish. This nut-free spread is delicious on its own, slathered on toast, and of course, in this easy beet hummus recipe.

roasted beet hummus being scooped out of a bowl with a cracker

Top Tips

  • Use either a food processor or high-speed blender to blend all ingredients together! I’ve tested both appliances for this recipe, and they honestly both work great. The food processor achieved an ever-so-slightly smoother beet hummus, but the difference was negligible.
  • Homemade hummus can be stored in an airtight container in the fridge for up to 4 days. Yes, the store-bought kind lasts longer, but doesn’t even come close in flavor and freshness to this homemade recipe!
  • Serve this easy snack or appetizer however you’d like! I went with gluten-free crackers, but pita bread, or even a sliced baguette would pair beautifully with this recipe. Also, for an even healthier option, serve your beet hummus with fresh cut veggies such as cucumber, carrots, and bell peppers!

This Roasted Beet Hummus Is…

  • Plant-Based
  • Vegan
  • Gluten-Free
  • Nut-Free
  • Super Healthy
  • & Delicious!

Roasted Beet Hummus

0 from 0 votes
Recipe by Samantha Course: Appetizers, SnacksDifficulty: Easy
Servings

8

servings
Prep time

5

minutes
Cooking time

0

minutes
Total time

5

minutes

A stunningly vibrant, simple, and healthy beet hummus recipe, made in under 5 minutes! The perfect plant-based snack, appetizer, or side dish. This roasted beet recipe will quickly become one of your favorite ways to sneak more veggies into your diet.

Ingredients

  • 1-2 roasted beets

  • 1 (15-ounce) can chickpeas, drained and rinsed

  • 1/3 cup tahini

  • 1/3 cup olive oil

  • 1-2 garlic cloves

  • juice and zest from 1/2 lemon

  • 1/2 teaspoon salt, plus more to taste

Directions

  • Add all ingredients to a blender or food processor and blend until completely smooth.

Recipe Video

Notes

Did you make this recipe?

Share it and tag @samdoesherbest on Instagram!

Like this recipe?

Follow us @samdoesherbest on Pinterest

This homemade vegan caramel sauce is perfectly sweet and super easy to make! It comes together in one saucepan, with just 3 ingredients, and in under 5 minutes. This vegan caramel is delicious drizzled over ice cream, apples, cake, or cookies!

vegan caramel sauce being spooned out of a jar

What You’ll Need

Coconut Cream – Coconut cream is the thick, white cream found at the top of a can of full-fat coconut milk. It’s important to note that coconut cream can only be obtained by a can of full-fat coconut milk, not low-fat or boxed coconut milk. Native Organics also sells a great canned coconut cream, which is what I used in this recipe. Also, remember to only use the coconut cream and not any of the liquid found at the bottom of the can. To do this, open your can of full-fat coconut milk or cream, then scrape and remove the cream from the top. Fill a one-cup measurer with this coconut cream, then save the liquid for use in smoothies later on!

Maple Syrup – This natural sweetener is the only sweetener in this vegan dessert recipe! Our vegan caramel is so much healthier than your standard caramel because it contains only natural ingredients, and has a lot less sugar. However, healthier doesn’t mean any less delicious. Maple syrup gives this sauce an irresistibly rich flavor.

Peanut Butter – Peanut butter is the finishing touch to this recipe, adding the perfect texture and flavor. Though if you’re not a fan of peanut butter, you can use almond butter, cashew butter, pecan butter, or sunflower seed butter in its place!

vegan caramel sauce being whisked in a saucepan

This Vegan Caramel Is….

  • Healthy
  • Plant-Based
  • Gluten-Free
  • Refined Sugar-Free
  • Paleo
  • & Delicious!

Adjust This Recipe to Your Dietary Needs

Make it Nut-Free: Replace the peanut butter in this recipe with 1/4 cup of sunflower seed butter!

Make it Paleo: Use almond butter instead of peanut butter for a delicious paleo caramel recipe.

3-Ingredient Vegan Caramel Sauce

0 from 0 votes
Recipe by Samantha Course: DessertDifficulty: Easy
Servings

8

servings
Prep time

2

minutes
Cooking time

3

minutes
Total time

5

minutes

This homemade vegan caramel sauce is perfectly sweet and super easy to make! It comes together in one saucepan, with just 3 ingredients, and in under 5 minutes. This vegan caramel is delicious drizzled over ice cream, apples, cake, or cookies!

Ingredients

  • 1 cup coconut cream, see Notes

  • 1/2 cup maple syrup

  • 1/4 cup almond butter or peanut butter

Directions

  • Add coconut cream and maple syrup to a small saucepan over medium-high heat. Stir constantly until bubbling, then reduce to low heat and continue stirring for 3 minutes.
  • Remove pan from heat and stir in almond or peanut butter. Let cool, it’ll continue to thicken as it cools.

Notes

  • Coconut Cream: Coconut cream is the thick, white creamy part at the top of a can of full-fat coconut milk. You can only obtain coconut cream from either a can of full-fat coconut milk, or a can of coconut cream.

Did you make this recipe?

Share it and tag @samdoesherbest on Instagram!

Like this recipe?

Follow us @samdoesherbest on Pinterest

Here are the 5 smoothie recipes I make constantly! They’re SUPER healthy, incredibly delicious, and come together in only a few minutes. These healthy smoothies are the perfect quick, easy, and portable breakfast or snack!

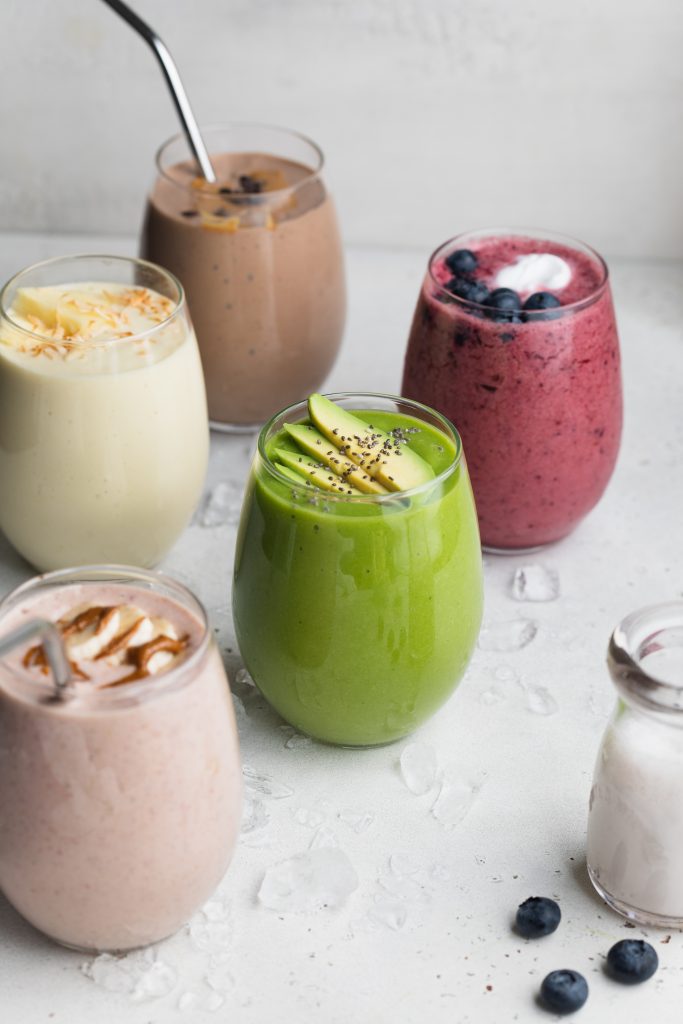
all 5 smoothies lined up in glasses with toppings on each

How to Make a (Delicious) Smoothie

  • Pick your frozen fruits. Every smoothie recipe starts with a curated selection of frozen fruit. The frozen fruit is what you’ll taste the most of in your smoothie, so make sure it’s a combination you’ll love!
  • Add in some healthy fats. Now that you have your fruit, it’s time to round the nutrition out with a bit of healthy fats. Healthy fats will slow the digestion of the naturally occurring sugar in fruit, which will stabilize your blood sugar and provide you with a long-term source of energy to get you through the morning! My favorite healthy fats for smoothies are unsweetened almond butter, avocado, or hemp seeds.
  • Consider adding fresh or frozen vegetables. Depending on which vegetable you choose to add to your smoothie, you most likely won’t be able to taste it at all! Spinach is always a great addition, yielding very little flavor yet TONS of nutrients. Or, steamed then frozen cauliflower is a perfect way to not only add nutrients to a smoothie, but helps to thicken it up as well.
  • Give it a boost with protein and/or powdered superfoods. I prefer unsweetened, unflavored, and plant-based protein in my smoothie recipes. However, feel free to use whichever protein powder is your favorite! Though in my chocolate peanut butter protein smoothie recipe, I highly recommend the Aloha Chocolate Protein Powder – it’s so darn good.
  • Select a liquid to blend. Any liquid will work! Water or milk will yield the least flavor, allowing the fruit to shine. Or, you can use juice for an even sweeter and fruitier smoothie if you’d like.
all 5 smoothies in cups with ice, blueberries, and almond milk on the side

Blenders 101

I’ve owned many blenders in my day, though these two have stood out the most:

  • Vitamix: I know …she’s expensive, but boy is she incredible! I purchase a refurbished Vitamix a few years ago after saving up for one. And let me tell ya, it was worth EVERY penny. There’s nothing the Vitamix can’t blend, it’s truly the most powerful blender on the market. So if you’re looking to splurge, the Vitamix is definitely the blender for you!
  • Nutribullet: The nutribullet is great for everyday use! It takes up very little counter space, and is super easy to clean. I had my first nutribullet for almost 10 years before it eventually died on me. And that was after daily use in a four-person household! Also, the larger cup is enough to blend up to two serving sizes. I really can’t recommend the nutribullet enough, it’s fairly priced and comes with a one year warranty.

Turn Any Smoothie Into a Smoothie Bowl

Turn any of the below smoothie recipes into a smoothie bowl! It’s seriously so easy, all you’ll need to do is start with half the amount of liquid listed in the recipe. Then, continue to add more liquid as needed or until it’s perfectly thick and smooth. Once smooth, transfer your smoothie to a bowl and top with some fresh fruit, a handful of granola, and maybe even a scoop of almond or peanut butter!

5 Healthy and DELICIOUS Smoothie Recipes

5 from 1 vote
Recipe by Samantha Course: Breakfast, Snacks, DrinksDifficulty: Easy
Servings

1

serving
Total time

5

minutes

Here are the 5 smoothie recipes I make constantly! They’re SUPER healthy, incredibly delicious, and come together in only a few minutes. These healthy smoothies are the perfect quick, easy, and portable breakfast or snack!

Ingredients

  • Chocolate Peanut Butter Protein Smoothie
  • 1 1/2 frozen bananas

  • 1 scoop chocolate protein powder or 1 tablespoon unsweetened cocoa powder

  • 1 tablespoon peanut butter

  • 1 cup almond milk, or regular milk

  • Strawberry Banana Smoothie
  • 1 frozen banana

  • 1/2 cup frozen strawberries

  • 1 tablespoon almond or peanut butter, optional

  • 1 cup milk, I used almond milk

  • Glowing Green Smoothie
  • 1 cup frozen mango

  • 1/2 cup frozen peaches

  • 1 cup fresh spinach

  • 1/2 avocado

  • 1 cup water or milk

  • Tropical Smoothie
  • 1 cup frozen mango

  • 1/2 cup frozen pineapple

  • 1/2 cup plain yogurt, unsweetened

  • 1 cup coconut milk

  • Very Berry Smoothie
  • 1/2 cup frozen cherries

  • 1 cup frozen mixed berries

  • 1/2 cup plain yogurt, unsweetened

  • 1 cup water or milk

Directions

  • Add all ingredients to a blender and blend until smooth.

Recipe Video

Did you make this recipe?

Share it and tag @samdoesherbest on Instagram!

Like this recipe?

Follow us @samdoesherbest on Pinterest