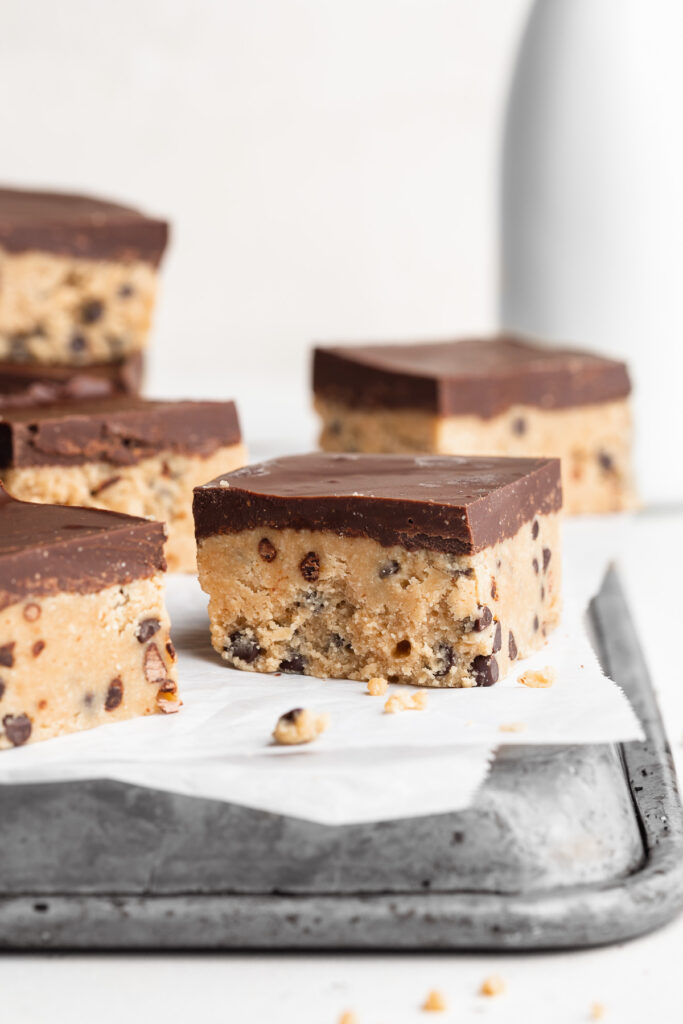
Fresh, wholesome, and delicious pasta with caramelized zucchini! This super simple pasta recipe requires just a handful of ingredients – many of which you probably already have at home. Throw together this easy and healthy weeknight meal in 30 minutes!

What You’ll Need to Make Pasta with Caramelized Zucchini
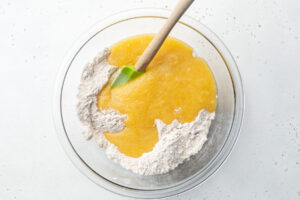
Olive Oil and Butter – The combination of both olive oil and butter are perfect for caramelizing the zucchini in this recipe. Olive oil prevents the zucchini from sticking to the pan, while butter gives it that irresistibly rich flavor.
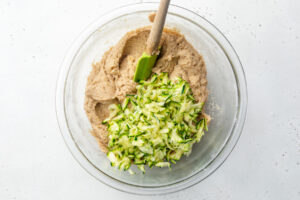
Zucchini – Use as much or as little zucchini as you’d like in this recipe! Though remember, the zucchini will cook down a ton while cooking, so it’s better to start with more than you may think you need. Thinly slice your zucchini into about 1/8-inch thick rounds. The thinner you slice the zucchini, the faster it’ll cook and caramelize.
Pasta – I used gluten-free linguini for my pasta with caramelized zucchini, but any pasta will work!

Tips and Tricks
- Don’t forget to save some pasta water before straining! I can’t tell you how many times I’ve meant to save pasta water, but totally forgot when it came time to strain it. Reserved pasta water plays a crucial part in the sauce, so make sure you remember it!
- Cook the zucchini to your liking. I loooove super soft and jammy zucchini, but if you want zucchini with a little more bite, cook it down for just 10-15 minutes. This light and healthy pasta recipe is super easy to customize!

Adjust This Recipe to Your Dietary Needs
Make it Gluten-Free: Simply use your favorite gluten-free pasta like I did!
Make it Vegan/Dairy-Free: Use your favorite non-dairy butter in this recipe, and leave off any cheese when serving.

Pasta with Caramelized Zucchini
Ingredients
- 3 tablespoons olive oil
- 1 tablespoon butter
- 1 yellow onion, diced
- 3 medium zucchini, thinly sliced (about 1/8-inch thick)
- salt, to taste
- 5 garlic cloves, minced
- 1 teaspoon garlic powder
- 1 pound pasta, uncooked
Instructions
- Heat the olive oil and butter in a large skillet over medium heat. Once butter has melted, add in the onion and cook until soft, about 5 minutes.

- Add in the zucchini and a big pinch of salt, cook for 20 minutes, stirring every 2-3 minutes.
- While zucchini cooks, bring a large pot of salted water to a boil. Add in the pasta and cook according to package instructions. Reserve ½ cup of pasta water and drain pasta from remaining water.
- Once zucchini is very soft and caramelized, add in the garlic and garlic powder. Cook for 2-3 minutes, or until garlic is fragrant.
- Add the cooked pasta and ¼ cup of the reserved pasta water to the skillet with the zucchini. Stir everything together, and add more pasta water if pasta seems dry. Serve warm with fresh cracked black pepper.