
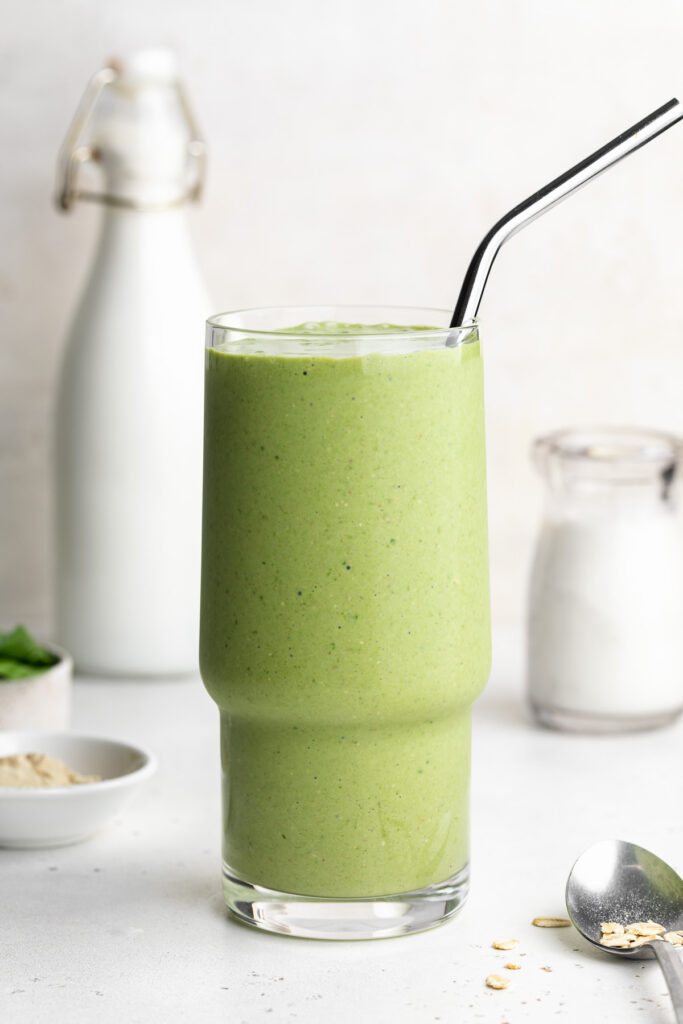
Looking for a way to boost your milk supply? Try this nourishing green lactation smoothie! Loaded with fruits, veggies, healthy fats, and plenty of protein.
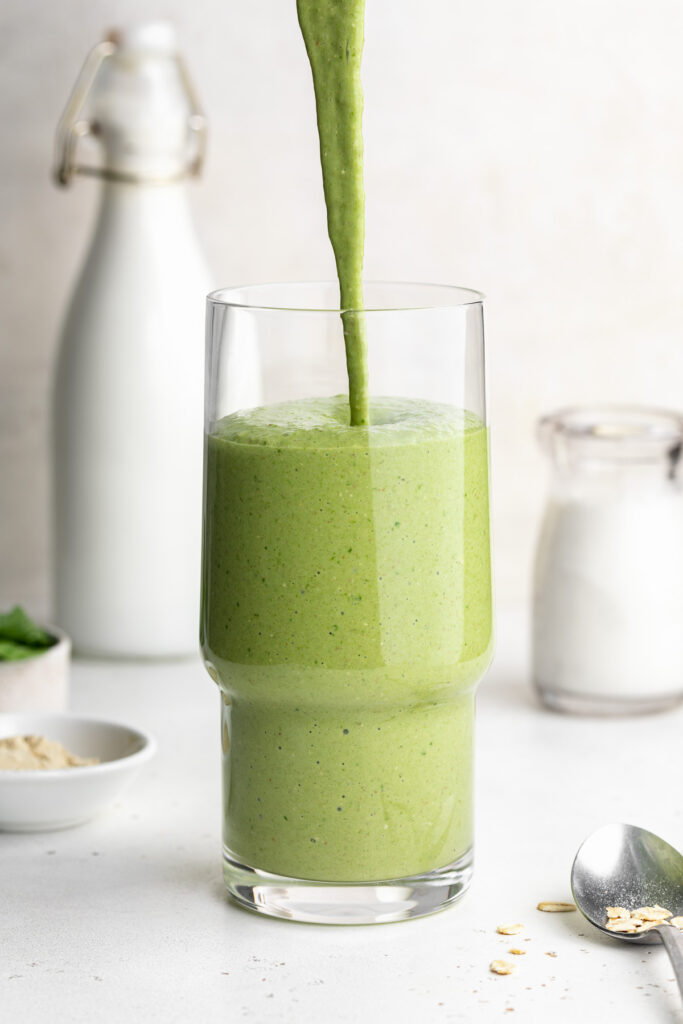
As a first-time breastfeeding mom, I’m always looking for ways to increase my milk supply. And after lots and lots of research, I found the best way to increase my supply was through food. Aside from simply making sure I’m eating enough foods, there are certain foods that can actually boost milk production! So I took as many of those foods as possible (oats, greens, flaxseeds, brewer’s yeast) and added them to this lactation smoothie in a way that actually tastes good.
What You’ll Need to Make a Nourishing Green Lactation Smoothie
Banana – A whole frozen banana makes this smoothie ultra-creamy, and gives it just a hint of natural sweetness. If you don’t like banana, you can use 1 cup of frozen mango instead!
Spinach – Dark leafy greens, such as spinach, are a great source of iron and calcium, which are essential for boosting your milk supply. Fresh spinach will have the most nutrients, but if you don’t have any, frozen spinach will also do the trick.
Oats – Look up any lactation recipe, and it’ll likely have oats in it. Oats are a go-to ingredient for increasing breast milk production. This is because oats are high in iron, and act as a complex carbohydrate – two vital components to a lactating mama’s diet!
Almond Butter – I add a healthy fat to all my smoothie recipes, which helps slow down the body’s digestion rate of the fruit, allowing us to absorb as many nutrients and hold onto as much protein as possible. Almond butter is a delicious healthy fat option in this lactation smoothie! Though feel free to use any nut butter you’d like – peanut, cashew, pecan, etc.
Brewer’s Yeast – Another lactation essential is brewer’s yeast! Brewer’s yeast is a known glactagogue, and thought by many to help increase milk supply. It’s totally flavorless, and a great addition to this smoothie recipe. Here’s a link to the brewer’s yeast I’ve been using and loving!

Optional Add-Ins
Give your nourishing green lactation smoothie a boost with any of the following…
- Chia Seeds – more healthy fats, omega-3s, and fiber.
- Hemp Seeds – extra protein, healthy fats, omega-3s, and omega-6s.
- Protein Powder – I love this Aloha Vanilla Protein Powder!
- Honey – for an extra bit of sweetness.
- Frozen Cauliflower – because why not?! more veggies!
Nourishing Green Lactation Smoothie
Course: Breakfast, SnacksDifficulty: Easy1
serving5
minutes0
minutes5
minutesLooking for a way to boost your milk supply? Try this nourishing green lactation smoothie! Loaded with fruits, veggies, healthy fats, and plenty of protein.
Ingredients
1 frozen banana
1/2 cup frozen strawberries
small handful fresh spinach
2 tablespoons oats
1 tablespoon almond butter
1 tablespoon brewer’s yeast
1 teaspoon ground flaxseed
1 scoop vanilla protein powder, optional
1 cup water or milk, I used unsweetened almond milk
Directions
- Add all ingredients to a blender and blend until smooth.
Did you make this recipe?
Share it and tag @samdoesherbest on Instagram!
Like this recipe?
Follow us @samdoesherbest on Pinterest


")


