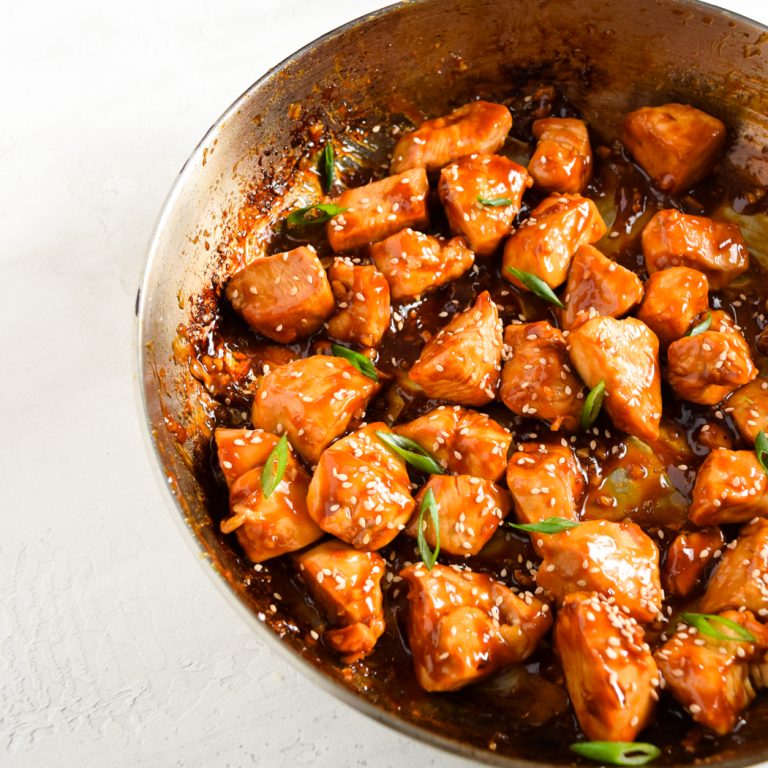
These air fryer buffalo chicken wings are incredibly crispy and EXPLODING with flavor. This recipe features both air-fried and oven-baked options, along with a dairy-free buffalo sauce. With just a few simple steps, you’ll have healthier restaurant-quality buffalo chicken wings.

I love restaurant buffalo chicken wings, but restaurant buffalo chicken wings don’t love me. Can anyone relate?? Time and time again I’d order buffalo chicken wings while out to dinner and end up with a massive stomach ache. I think it was a bad combination of them being deep-fried, then smothered in a spicy dairy-filled sauce. So what did I do? I stopped ordering/eating buffalo chicken wings. But, man did I miss them!
Then I got my hands on an air fryer and ran through all of the possible recipes I could create using it …and that’s when it happened. Air fryer buffalo chicken wings, I thought! YES. Once I set my mind on a new recipe, it’s gotta happen. Lucky for me, I nailed these wings on my first try. The air fryer truly makes the entire process SO easy. So finally, for the first time in a very VERY long time, I was able to enjoy my buffalo chicken wings sans stomach ache!
What You Need To Make Crispy Air Fryer Buffalo Chicken Wings
Chicken Wings -There are two kinds of chicken wings, a drumette and a flat. They’re both cut from the wing of a chicken, but yield a different shape and slightly different tastes. A drumette will taste a bit more mild and is made up of mostly white meat, whereas a flat is entirely dark meat and has more flavor. If you ask me, you need both on a plate of chicken wings. But I know some people prefer one kind over the other. Use whichever cut you’d like in this recipe!
Non-Dairy Butter – Any and all non-dairy butters will work in this recipe. I prefer Miyoko’s Cultured Vegan Butter, it is just all-around a superior non-dairy butter in my opinion. And if you’re not dairy-free, go ahead and use regular butter instead.
Hot Sauce – Most people and recipes will tell you that Frank’s RedHot is the only way to go with buffalo sauce. But I’d argue that any hot sauce will work. I used Cholula Original hot sauce in my buffalo sauce and it came out incredibly tasty! The only recommendation I’d make when picking a hot sauce, is to go for something a bit thicker in consistency. This will contribute to a thick buffalo sauce that clings to your wings.
Honey – This is my secret ingredient, it really does take these air fryer buffalo chicken wings to the next level. All that spice needs something to balance it out, and honey does the trick. Trust me, it’ll just be that ingredient in there that has people saying, WOW this is soooo good.
Adjust This Recipe To Your Dietary Needs
- Make it Vegan: Use cauliflower instead of chicken wings! Chop a head of cauliflower into florets, keep the recipe the same except reduce the cook time to 15-20 minutes. You can also substitute maple syrup for the honey in the buffalo sauce.
- Make it Paleo: Use ghee instead of non-dairy butter and your favorite paleo hot sauce.
- Add Dairy: Feel free to use regular butter instead of non-dairy butter in this recipe!

Crispy Air Fryer Buffalo Chicken Wings (GF/DF)
Course: AppetizersCuisine: AmericanDifficulty: Easy4
servings5
minutes30
minutes35
minutesThese air fryer buffalo chicken wings are incredibly crispy and EXPLODING with flavor. This recipe features both air-fried and oven-baked options, along with a dairy-free buffalo sauce. With just a few simple steps, you’ll have healthier restaurant-quality buffalo chicken wings.
Ingredients
- For the wings:
2 Pounds Chicken Wings
1/2 Teaspoon Salt
- For the buffalo sauce:
1/4 Cup Non-Dairy Butter, melted
1/2 Cup Hot Sauce, see NOTES
2 Tablespoons Honey
Directions
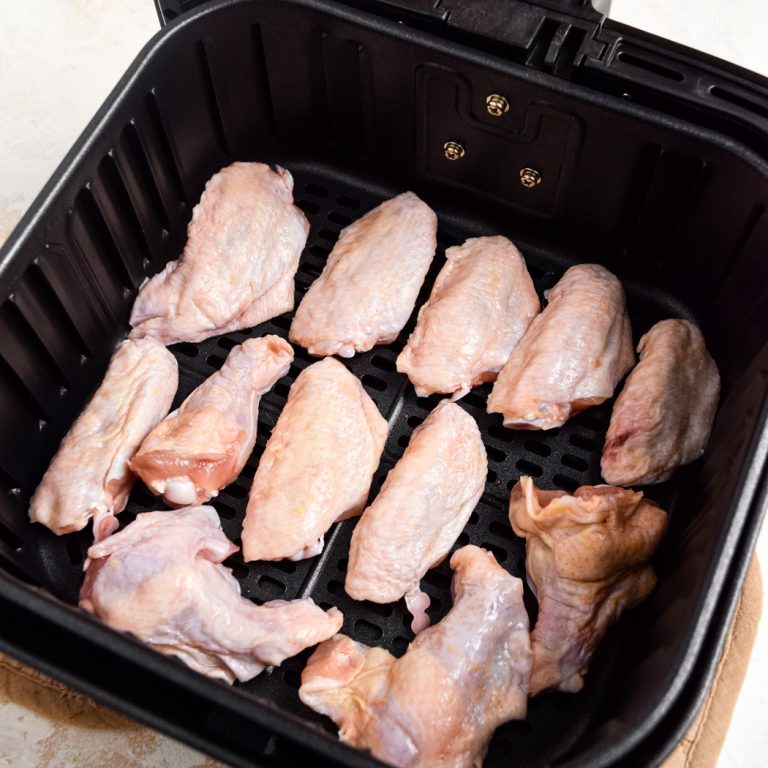
- Preheat your air fryer. Pat chicken wings dry with a paper towel, then sprinkle evenly with salt.

- Transfer wings to air fryer and cook for 25 minutes at 380° Fahrenheit. Pause after 12 minutes and flip each chicken wing before cooking the remaining time.
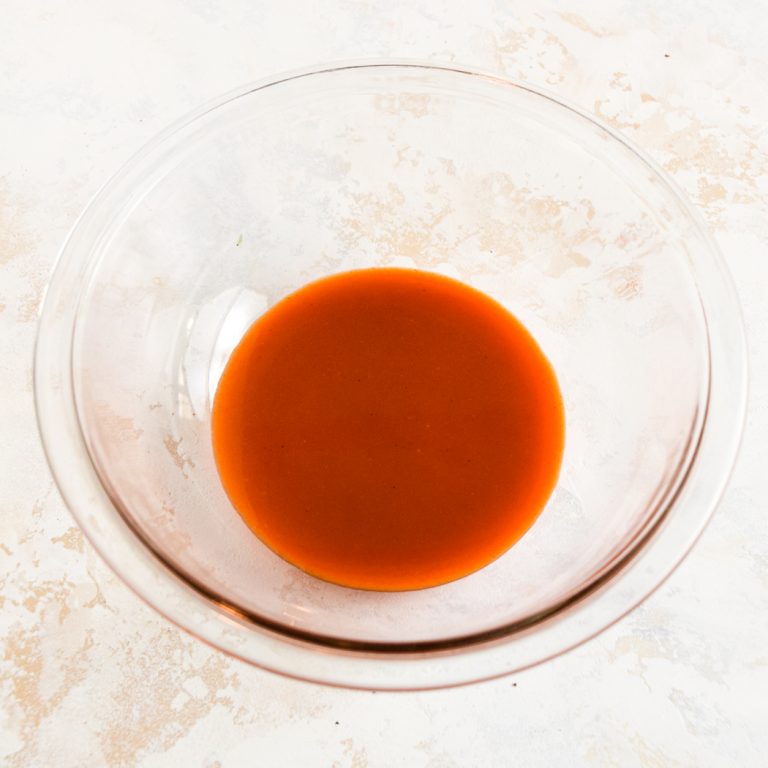
- While wings cook, add all buffalo sauce ingredients to a bowl and whisk to combine.
- Flip wings again, increase temperature to 400° Fahrenheit and cook for 4 more minutes.
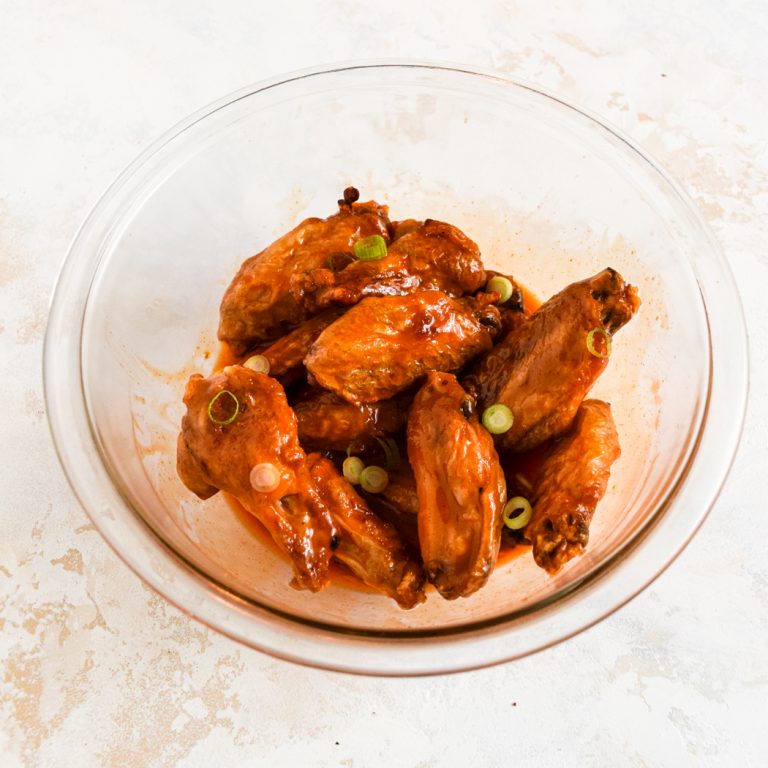
- Remove wings from air fryer, transfer to a bowl with the buffalo sauce and toss to evenly coat.
- Oven-baked option:
- Preheat your oven to 425° Fahrenheit. Pat chicken wings dry with a paper towel, then sprinkle evenly with salt.
- Place a wire cooling rack on top of a baking sheet and transfer chicken wings to the wire rack, skin side up and about 1-inch apart.
- Bake wings for 1 hour, flipping every 20 minutes to ensure all sides get crispy.
- While wings bake, add all buffalo sauce ingredients to a bowl and whisk to combine.
- Remove wings from the oven, transfer to a bowl with the buffalo sauce and toss to evenly coat.

Notes
- Hot Sauce: Any red hot sauce will do, Frank’s and Cholula work best!
Did you make this recipe?
Share it and tag @samdoesherbest on Instagram!
Like this recipe?
Follow us @samdoesherbest on Pinterest