Tag

how to

Browsing

Three quick and easy ways to cut a watermelon! Cubes, triangles, or sticks – serve up that big, juicy watermelon whichever way you’d like. I even included a few tips on how to pick a perfectly ripe watermelon!

Watermelon cut into sticks with bowls on the side.

How to Tell if a Watermelon is Ripe

  • Weight – A ripe watermelon will be pretty heavy. This is simply because it’s loaded with delicious, sweet juices! So if you pick up two even-sized watermelons and one feels heavier than the other, definitely go with the heavier one.
  • Color – Look for a watermelon with a big ole’ yellow spot! That yellow spot is where the watermelon laid on the ground while it grew. A large yellow spot is a good indicator that the watermelon had plenty of time to ripen on the vine.
  • Sound – Pick up the watermelon and give it a gentle, yet firm slap. Listen for a hollow sound – if the watermelon sounds hollow, then that means it’s bursting with tons of juice! However, if it sounds dull, or feels at all mushy, then pass on that watermelon.

How to Cut a Watermelon – 3 ways!

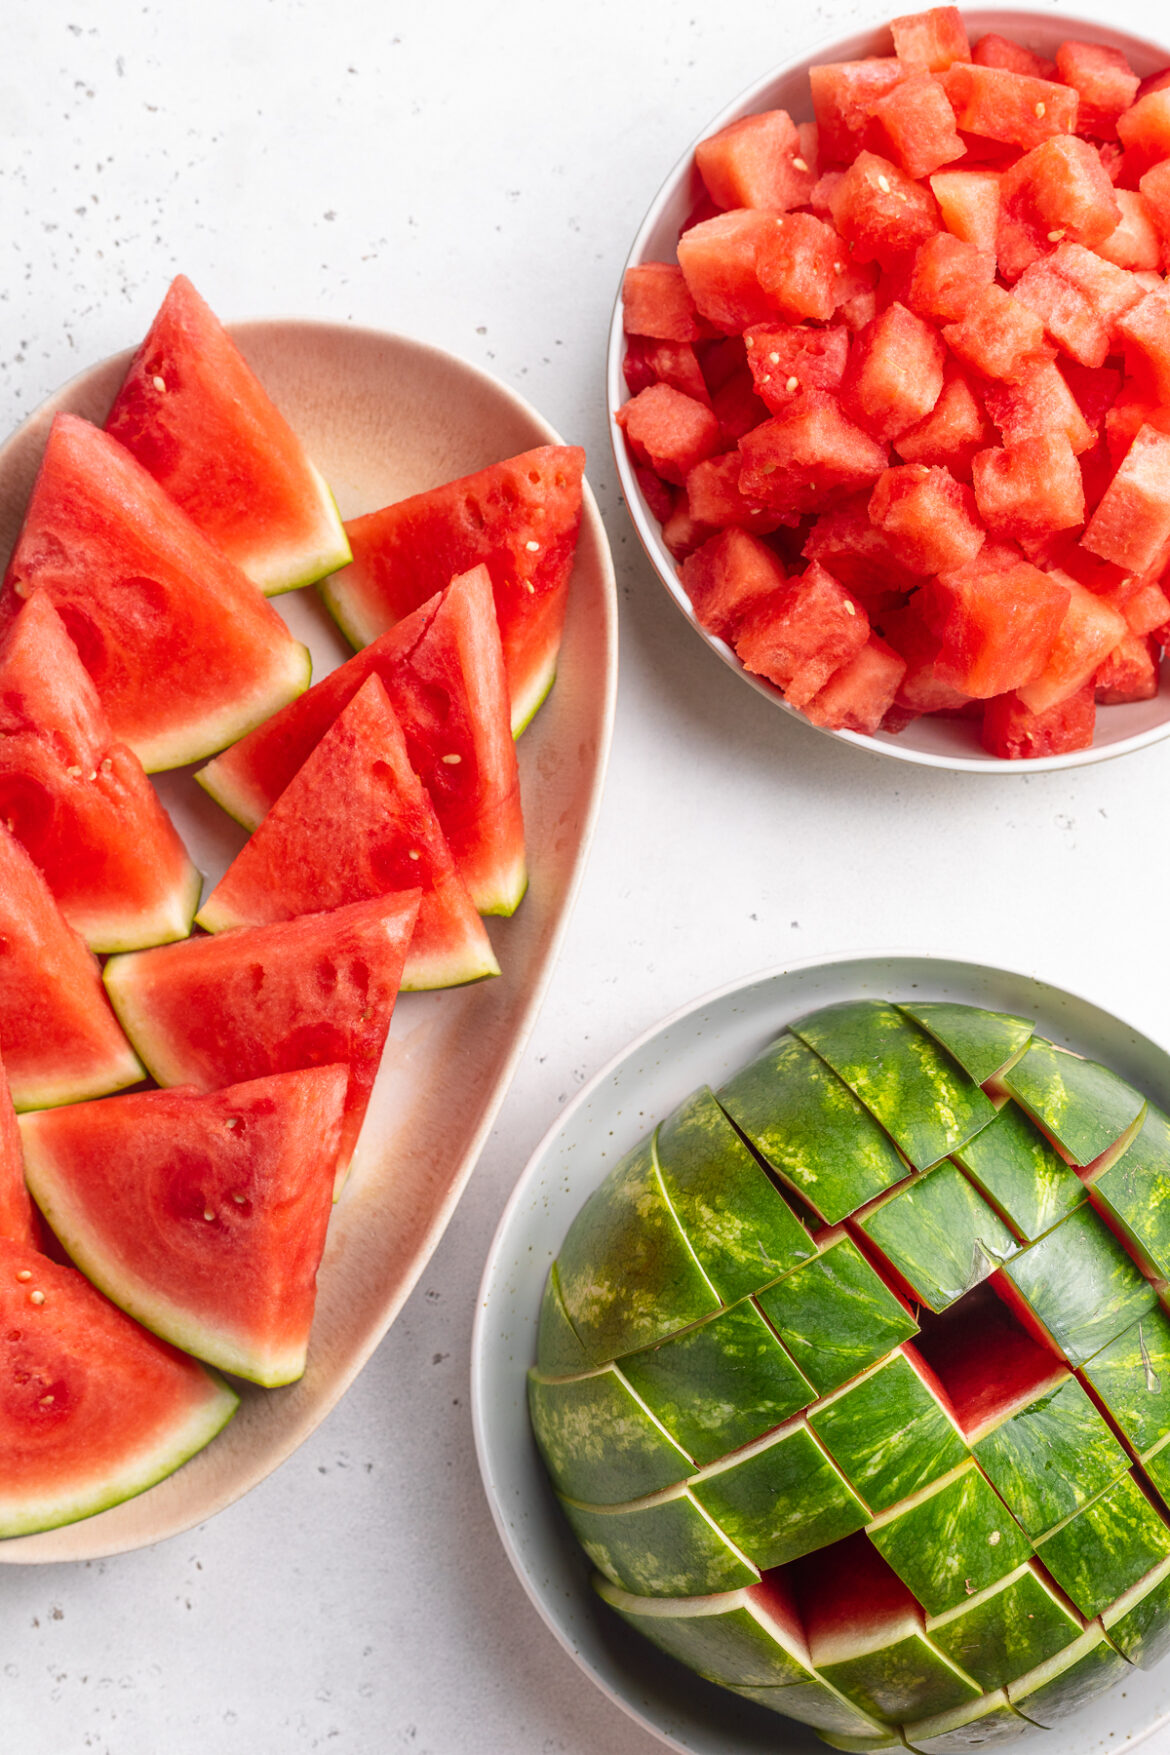
Watermelon cut into cubes in a bowl with fresh mint.
Close-up image of watermelon cut into cubes.

Cubes

  1. Using a sharp knife, slice about 1-inch off each end of the watermelon, then stand the watermelon up on one cut end.
  2. Slice off watermelon rind, sliding your knife from top to bottom, following the shape of the watermelon. Continue to work your way around the watermelon until rind is fully removed.
  3. With the watermelon still standing upright, make 1-inch lengthwise slices down the watermelon.
  4. Set half of those slices aside, then take the other half and lay them flat on your cutting board. Make 1-inch lengthwise cuts through this stack of slices, then rotate the stack 90° and make 1-inch cuts perpendicular to the other cuts you just created.
  5. Transfer that cut and cubed watermelon to a bowl, then repeat with the other half until all is cut.

OR freeze your cubed watermelon and use it to make my 3-ingredient WATERMELON MARGARITAS!

Watermelon cut into triangles on a serving platter with fresh mint and lemon.
close-up image of watermelon cut into slices.

Triangles

  1. Lay the watermelon on its side and use a sharp knife to cut down the middle, creating two halves.
  2. Place one half with the flesh-side facing down, then create 1-inch cuts lengthwise down the watermelon.
  3. Take one slice, and lay it flat on your cutting board. Make two diagonal cuts (in opposite directions) through each slice, creating three watermelon triangles from each slice.
  4. Continue this same process with remaining slices.
Watermelon cut into stick with lemon on the side.
Watermelon cut into sticks with bowls on the side.

Sticks

  1. Lay the watermelon on its side and use a sharp knife to cut down the middle, creating two halves.
  2. Place one half with the flesh-side facing down, then create 1-inch cuts lengthwise down the watermelon.
  3. Rotate your watermelon 90° on the cutting board, then make 1-inch cuts perpendicular to the other cuts you just created.
  4. Repeat this process for the other watermelon half, then serve.
Watermelon cut three different ways on a serving platter.

Tips and Tricks

  • Use a very sharp knife to cut your watermelon! A dull knife makes it much harder, and more dangerous. Dull knives are more prone to slipping and sliding when trying to cut (because they’re not sharp enough to cut through the watermelon) and a slip of your knife could result in an injury.
  • Beware of watermelon juice! A perfectly ripe watermelon, while delicious, will release a ton of juice. Therefore, cut watermelon is best served in a bowl, rather than on a plate, to help contain all that liquid.
  • These cutting techniques will work on any kind of watermelon! Seedless, mini, or even those watermelons with the orange/yellow flesh can all be cut the same way.

Interested in More Helpful How-Tos? Click HERE.

How to Cut a Watermelon (3 ways!)

5 from 1 vote
Recipe by Samantha Course: SnacksDifficulty: Easy

Three quick and easy ways to cut a watermelon! Cubes, triangles, or sticks – serve up that big, juicy watermelon whichever way you’d like. I even included a few tips on how to pick a perfectly ripe watermelon!

Ingredients

  • 1 watermelon

Directions

  • Cubes
  • Using a sharp knife, slice about 1-inch off each end of the watermelon, then stand watermelon up on one cut end.
  • Slice off watermelon rind, sliding your knife from top to bottom, following the shape of the watermelon. Continue to work your way around the watermelon until rind is fully removed.
  • With the watermelon still standing upright, make 1-inch lengthwise slices down the watermelon.
  • Set half of those slices aside, then take the other half and lay them flat on your cutting board. Make 1-inch lengthwise cuts through this stack of slices, then rotate the stack 90° and make 1-inch cuts perpendicular to the other cuts you just created.
  • Transfer that cut and cubed watermelon to a bowl, then repeat with the other half until all is cut.
  • Triangles
  • Lay the watermelon on its side and use a sharp knife to cut down the middle, creating two halves.
  • Place one half with the flesh-side facing down, then create 1-inch cuts lengthwise down the watermelon.
  • Take one slice, and lay it flat on your cutting board. Make two diagonal cuts (in opposite directions) through each slice, creating three watermelon triangles from each slice.
  • Continue this same process with remaining slices.
  • Sticks
  • Lay the watermelon on its side and use a sharp knife to cut down the middle, creating two halves.
  • Place one half with the flesh-side facing down, then create 1-inch cuts lengthwise down the watermelon.
  • Rotate your watermelon 90° on the cutting board, then make 1-inch cuts perpendicular to the other cuts you just created.
  • Repeat this process for the other watermelon half, then serve.

Recipe Video

Did you make this recipe?

Share it and tag @samdoesherbest on Instagram!

Like this recipe?

Follow us @samdoesherbest on Pinterest

How to make pickles in a matter of minutes! This quick, homemade pickle brine is loaded with flavor, and made to preserve freshness. These pickles are perfectly salty, and extra crunchy!

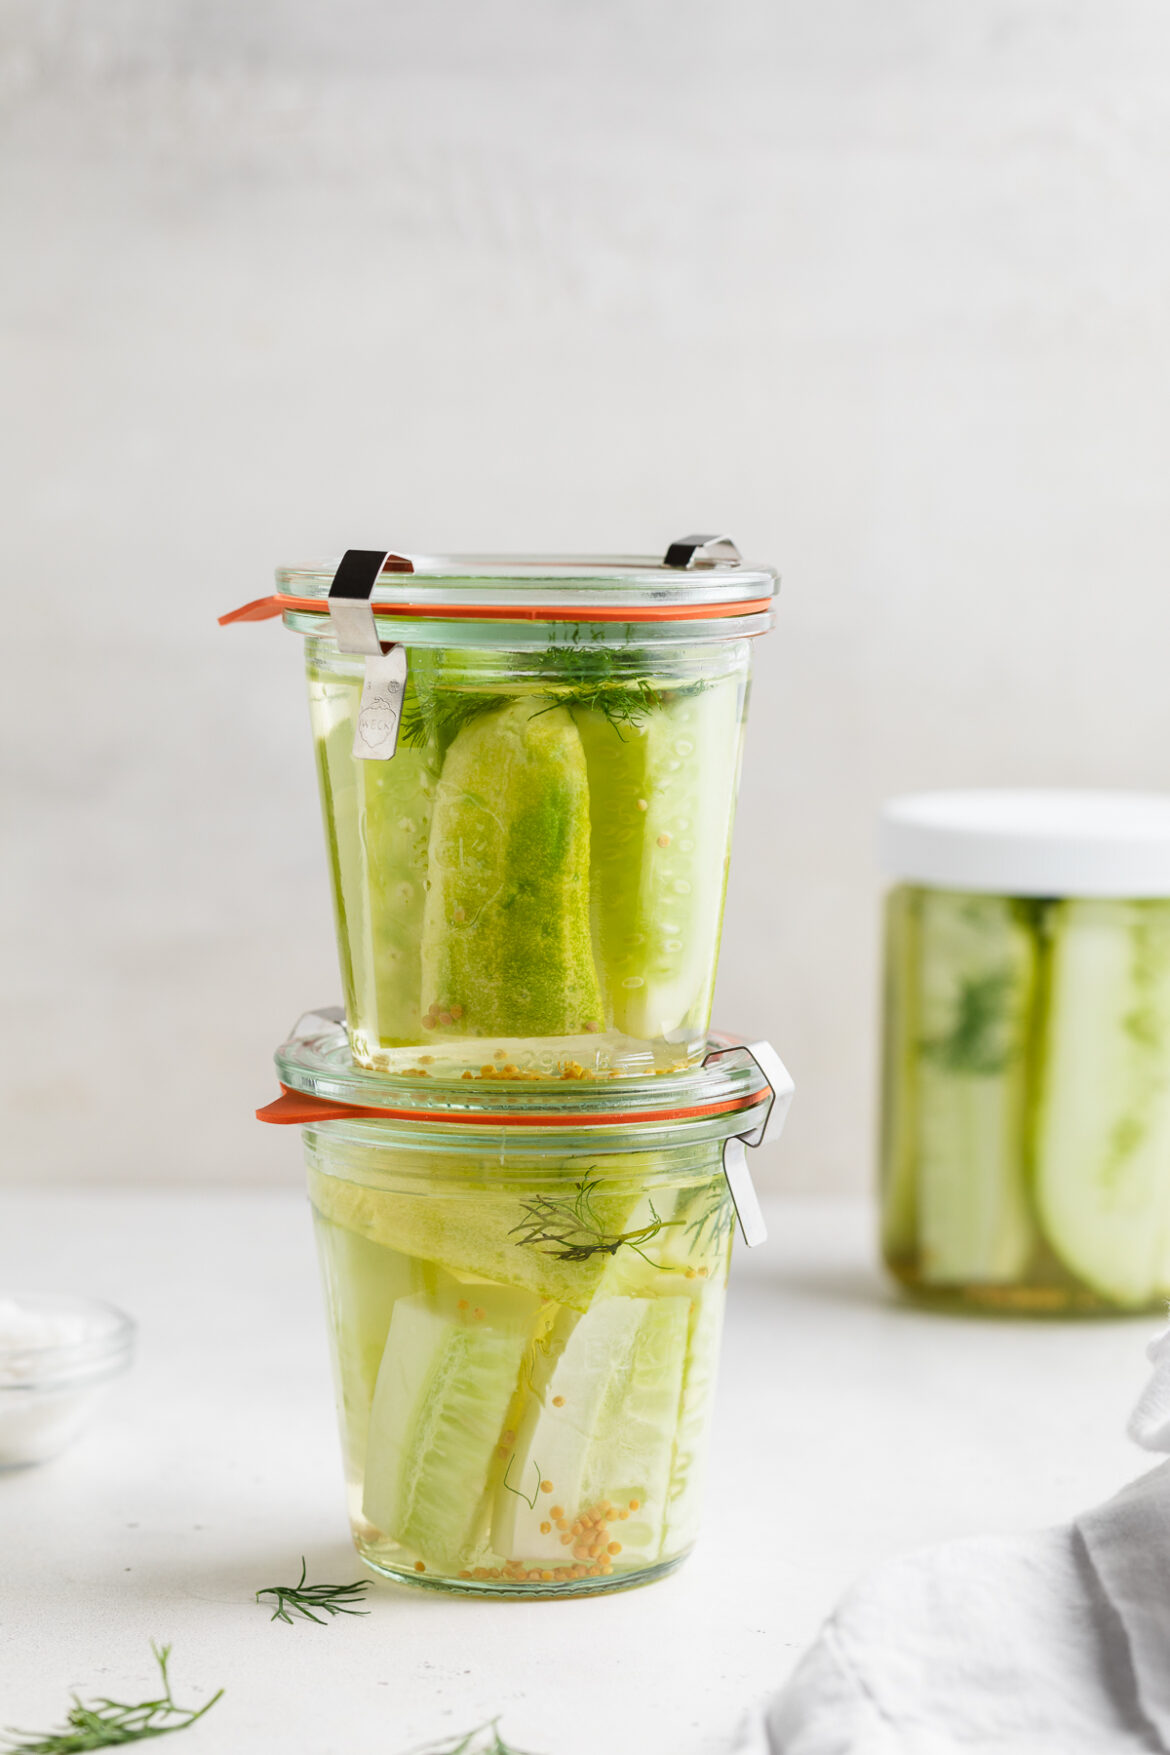
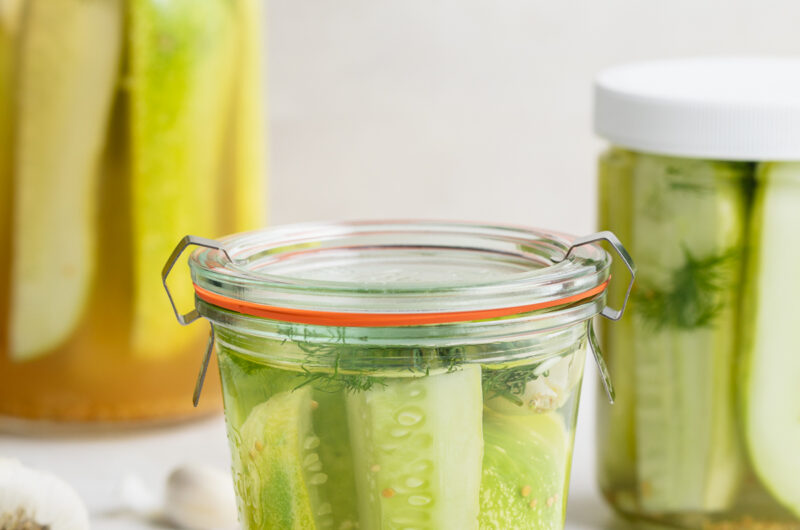
three jars of pickles line up on a table.

What You’ll Need

Cucumbers – Either pickling cucumbers, Persian cucumbers, or an English cucumber will work! For pickling or Persian cucumbers, I recommend cutting them into spears before pickling. Though for an English cucumber, those are better sliced into 1/4-inch rounds. I use and recommend pickling cucumbers because they maintain their shape and satisfying crunch, even after pickled. However, Persian or an English cucumber still taste just as delicious using this method!

Fresh Dill – You simply can’t make pickles without fresh dill! A few sprigs of this herb help to lock in freshness and pack in tons of delicious flavor.

Garlic – Three whole cloves of garlic truly take this recipe to the next level! The pickling liquid aids in mellowing out that tangy garlic flavor, leaving you with the best essence of garlic throughout your pickles. And if you’re like me (a garlic LOVER), feel free to throw in a few extra cloves!

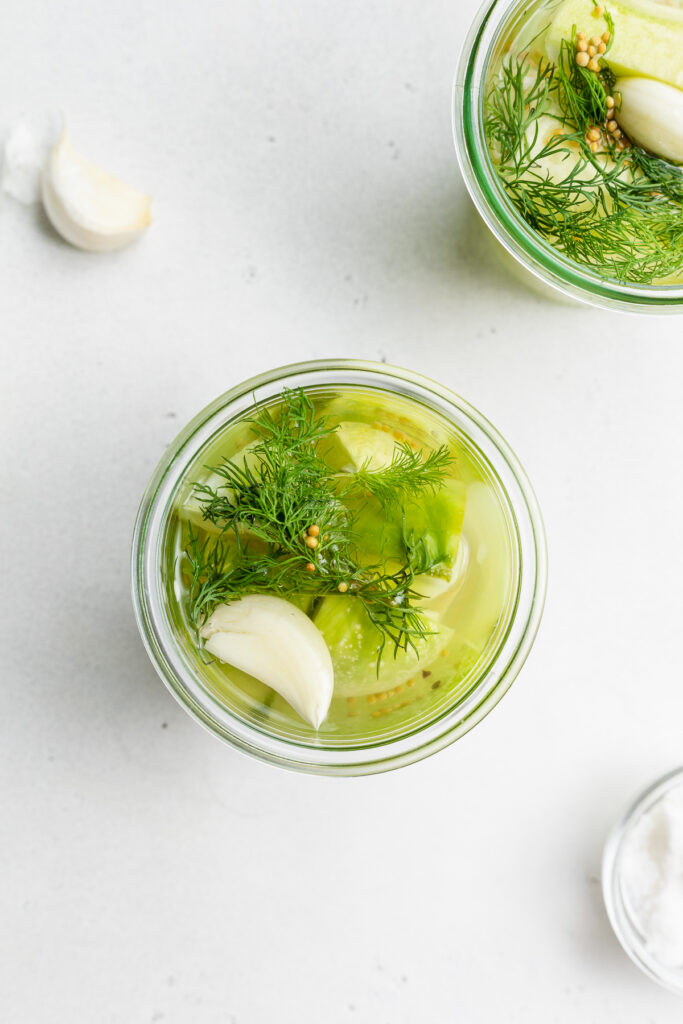
overhead image of pickles with garlic and fresh dill.

Vinegar – Vinegar plus water is the base of any pickling liquid. I’ve tried this recipe with pretty much every type of vinegar out there. Apple cider vinegar, white wine vinegar, red wine vinegar, white vinegar, rice wine vinegar – you name it, I’ve tried it! And while they all taste delicious, apple cider and white wine vinegars are my personal favorites. Though use whichever you have on-hand and/or whichever you prefer.

Salt – For extra salty pickles, add two whole teaspoons of salt to your brine. Or, for a more mild pickle, add just one teaspoon of salt. I like ultra-savory pickles – you know, the ones that make your mouth water just thinking about them – so two teaspoons did the trick for me!

Yellow Mustard Seed – While optional, a pinch of whole yellow mustard seeds add a hint of spice. A few seeds go a long way, packing in tons of flavor!

a pickle being lifted out of a jar of pickles.

Tips and Tricks on How to Make Pickles

  • Clean/rinse out your mason jars well before adding in your pickles. A clean glass jar will reduce the risk of any unwanted bacteria growing while your pickles, well… pickle. The best way to achieve an extra-clean mason jar is by rinsing it out with boiling hot water – this’ll kill most, if not all bacteria!
  • Homemade pickles will last up to three month in the fridge! And remember, the longer these pickles sit in their brine, the tastier they’ll be. But if you live in my house, you’ll know these don’t last more than ONE WEEK.
  • Feel free to switch up the ingredients in this recipe however you’d like! For spicy pickles, add in a pinch of red pepper flakes. Or, for sweet pickles, sprinkle in a teaspoon of sugar.

*These homemade pickles are gluten-free, dairy-free, vegan, and paleo!

How to Make Pickles

5 from 1 vote
Recipe by Samantha Course: Snacks, SidesDifficulty: Easy
Servings

10

servings
Prep time

3

minutes
Cooking time

2

minutes
Total time

7

minutes

How to make pickles in a matter of minutes! This quick, homemade pickle brine is loaded with flavor, and made to preserve freshness. These pickles are perfectly salty, and extra crunchy!

Ingredients

  • 3-4 small pickling cucumbers, cut into spears (or 1 English cucumbers, cut into 1/4-inch rounds)

  • 4-5 sprigs fresh dill

  • 3 garlic cloves, peeled and smashed

  • 1 cup water

  • 1 cup vinegar, such as white vinegar or apple cider vinegar

  • 1-2 teaspoons salt

  • 1/2 teaspoon whole yellow mustard seeds

Directions

  • Place cut cucumber, fresh dill, garlic cloves, and whole yellow mustard seed into one large glass jar, or separate into 2 smaller glass jars.
  • Heat water, vinegar, and salt in a small saucepan over medium heat until salt has dissolved completely.
  • Pour water mixture into jar(s) until cucumbers are completely covered. Secure jar with lid, then refrigerate for at least 24 hours before eating.

Recipe Video

Did you make this recipe?

Share it and tag @samdoesherbest on Instagram!

Like this recipe?

Follow us @samdoesherbest on Pinterest

Cutting a pineapple is easy, when you follow these simple steps! A sharp knife, cutting board, and whole pineapple is all you’ll need. I even provide helpful tips on picking out a perfectly ripe pineapple, and what to do with it once it’s cut!

cut pineapple in a bowl with limes on the side

How To Select The Perfect Pineapple

  • Color: Every pineapple starts off green, and turns yellow as it ripens. Therefore, a pineapple with a more yellow skin will be sweeter, and more ripe!
  • Smell: I never buy a pineapple before smelling it! There’s so much to learn about how ripe a pineapple is based on its scent. So pick up that pineapple and give it a big ole’ whiff. If the pineapple smells sweet and like ..well, pineapple… then it’s perfectly ripe! Though if the pineapple has no smell at all, then it’s not yet ripe.
  • Leaves: The last step to ensuring your pineapple is ripe and ready to be cut, is by checking the leaves. Give those long, tough leaves at the top of the pineapple a gentle tug, and if they come away easily, then your pineapple is definitely ripe. If the leaves are a challenge to pull, then the pineapple likely isn’t yet ripe.

Is Pineapple Healthy?

Sure is! Pineapple is pretty much bursting with nutrients. Just one cup of cut pineapple will fill you with fiber, antioxidants, vitamin C, folate, potassium, etc. Fresh pineapple is loaded with health benefits, including, but not limited to:

  • aids digestion (thank you, fiber!)
  • fights diseases (hello antioxidants!)
  • reduces inflammation
  • increases immunity
  • and may even reduce your risk of cancer!

How To Store Cut Pineapple

Freshly cut pineapple should be stored in an airtight container in the fridge. Pineapple will stay fresh for up to five days. If you don’t anticipate eating your cut pineapple within that timeframe, then I recommend freezing it instead. Similarly, store it in an airtight container in the freezer, where it will stay good for up to three months.

How to Cut a Pineapple

0 from 0 votes
Recipe by Samantha Course: SnacksDifficulty: Easy
Servings

8

servings
Prep time

5

minutes
Total time

5

minutes

Cutting a pineapple is easy, when you follow these simple steps! A sharp knife, cutting board, and whole pineapple is all you’ll need. I even provide helpful tips on picking out a perfectly ripe pineapple, and what to do with it once it’s cut!

Ingredients

  • 1 whole pineapple

Directions

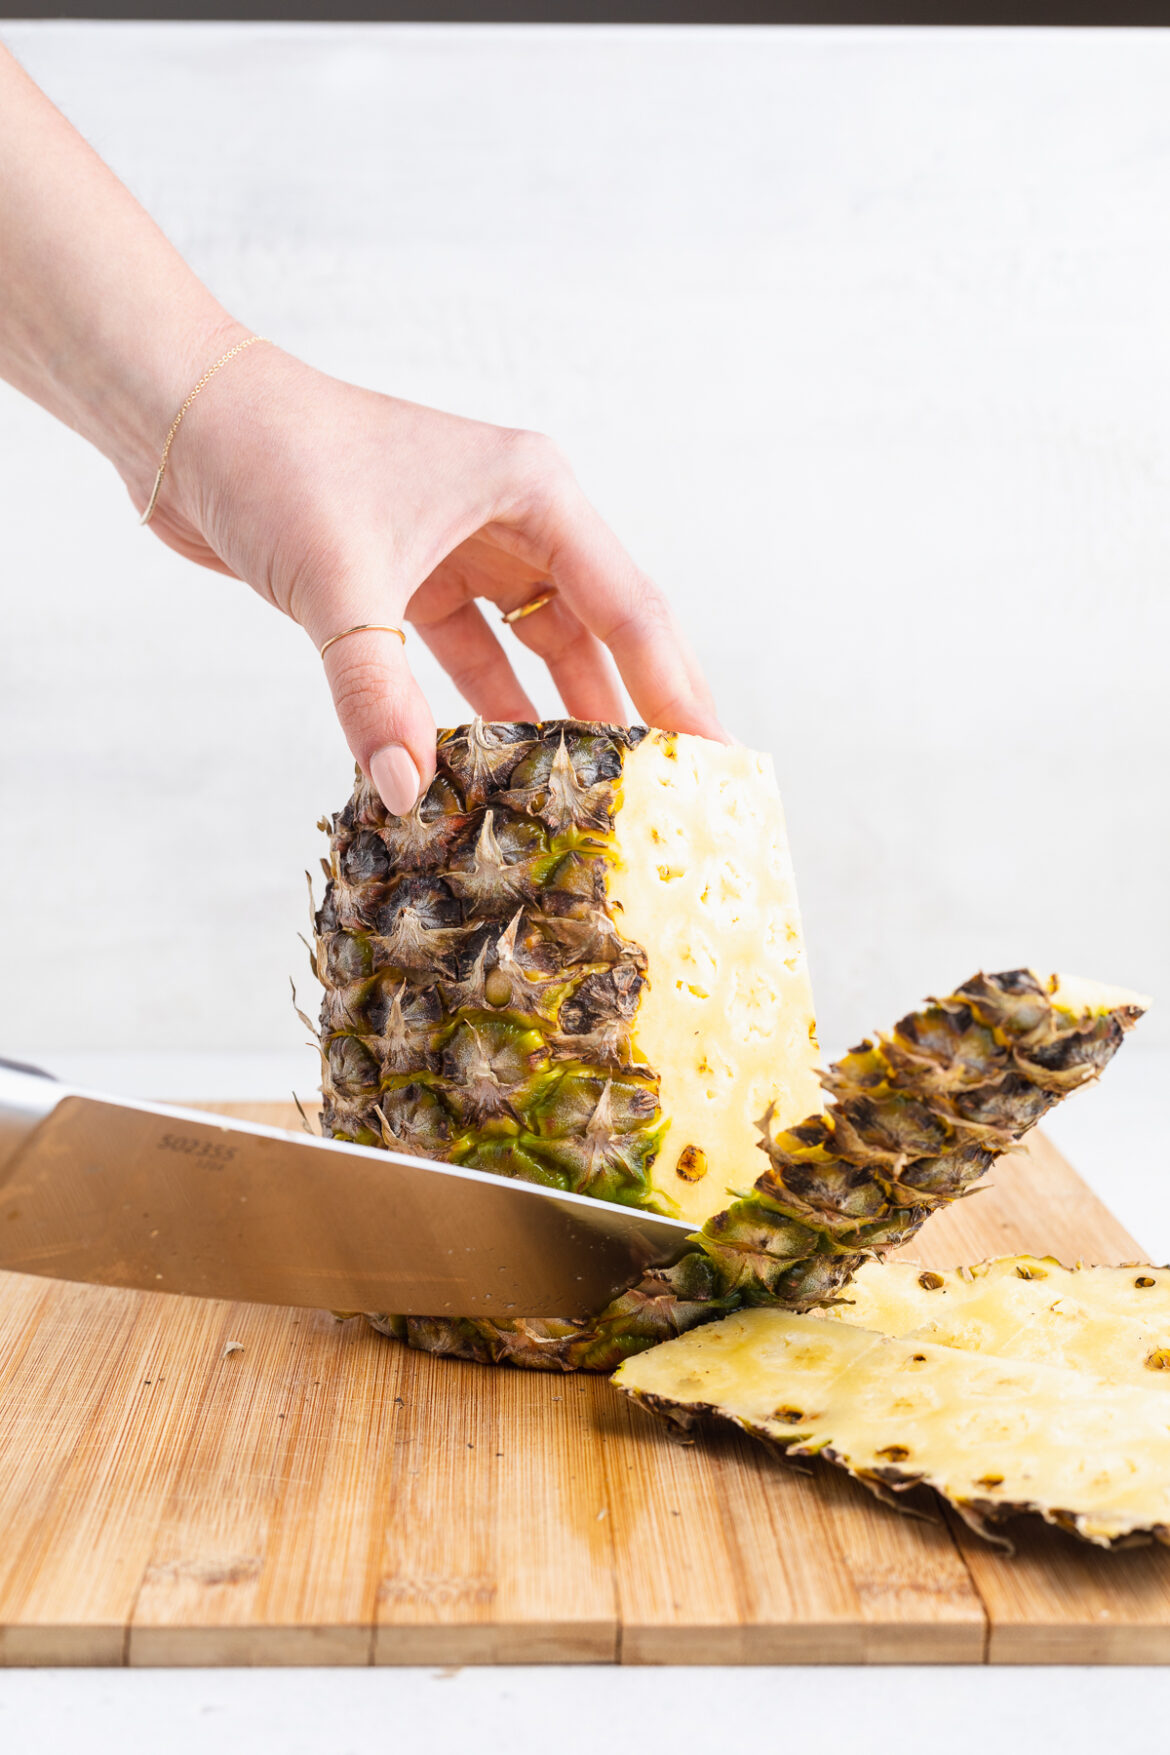
  • Lay the pineapple on its side on a cutting board, then use a sharp knife to slice off both the top and bottom ends.
  • Next, stand the pineapple back up and slice off the skin, sliding your knife from top to bottom, following the shape of the pineapple.
  • Once skin is removed, keep the pineapple standing up and cut it into four quarters – one slice lengthwise and the other crosswise.
  • Lay each quarter of the pineapple down on the cutting board, with one of the cut side on the board. Angle your knife inwards to slice and remove the core from the pineapple, then repeat for other three pieces.
  • Last, slice each quarter in half lengthwise before making crosswise cuts to create bite-sized pineapple chunks.

Recipe Video

Did you make this recipe?

Share it and tag @samdoesherbest on Instagram!

Like this recipe?

Follow us @samdoesherbest on Pinterest

Use Your Cut Pineapple In One Of These Recipes

I get it, cutting a pomegranate is hard – but it doesn’t have to be! With much trial and error, I’ve figured out the easiest and quickest way to cut a pomegranate. In a matter of minutes you’ll have tons of delicious pomegranate seeds. So get ready to sprinkle ’em over salads, yogurt, or simply enjoy them on their own!

step-by-step photos of how to cut a pomegranate

How to Select the Perfect Pomegranate

  • Color: A dark ruby red color means the pomegranate is perfectly ripe and sweet. Aim for dark red, while avoiding any that are light in color or almost pink, as these aren’t yet ready to be eaten.
  • Skin: You want a pomegranate that is firm to the touch. If the pomegranate is soft and easily punctured by the pressure of your hands, then it may be overly ripe and on the verge of spoiling.
  • Weight: The pomegranate should feel heavy, meaning it’s full of ripe seeds and juices! The heavier the pomegranate, then the better it will taste.
pomegranate seeds in a bowl with a spoon

Are Pomegranates Healthy?

Learning how to cut a pomegranate is so important, because pomegranate seeds are SUPER healthy! The seeds, sometimes referred to as “pomegranate arils,” are loaded with:

  • Antioxidants – help to strengthen immune system and reduce the risk of disease.
  • Vitamin C – aids in the formation of collagen and helps to build strong bones.
  • Vitamin K – regulate blood calcium levels, therefore reduces the risk of blood clotting.
  • Folate – produces red and white blood cells, and help to turn carbohydrates into energy.
  • Potassium – regulates blood pressure and ensures proper muscle function.
  • Vitamin E – vital to the health of your blood, brain, vision, and skin.

How to Store Pomegranate Seeds

  • Pomegranate seeds should be kept in an airtight container in the fridge for up to 5 days. However, you can freeze any uneaten seeds for up to three months. Frozen pomegranate seeds are a great addition to smoothies and frozen desserts!

Step-by-Step Guide to Cut a Pomegranate

Time needed: 10 minutes

  1. Slice about 1/4-inch off the top of the pomegranate.

  2. Starting from one flat end and moving toward the other, gently make about 5 or 6 score marks in the pomegranate. Do not cut all the way through the pomegranate, simply cut very gently through the skin.

  3. Use both hands to pull apart the pomegranate, revealing the 5 or 6 sections you cut it in.

  4. Place the pomegranate sections in a large bowl of cold water and gently pull the pomegranate seeds away from the peel and membrane (white parts).

  5. Once you’ve separated all the seeds, the seeds should sink to the bottom of the bowl while the membrane floats to the top. Scoop the top membrane and skin pieces out of the bowl, then strain your pomegranate seeds from the water and enjoy!

Other Helpful How-Tos