Tag

non dairy

Browsing

Why You’ll Love These Gluten-Free and Dairy-Free Pecan Cinnamon Rolls

  • All the flavor, yet totally gluten-free and dairy-free — enjoy classic cinnamon rolls without the diet restrictions.
  • Sticky pecan topping turns them into a decadent treat that still feels homemade and delicious!
  • Surprisingly manageable — while they seem fancy, the method is clear, steps are simple, and you don’t need expert baking skills.
  • Perfect for gatherings — these rolls make a beautiful breakfast or brunch centerpiece that accommodates dietary restrictions!
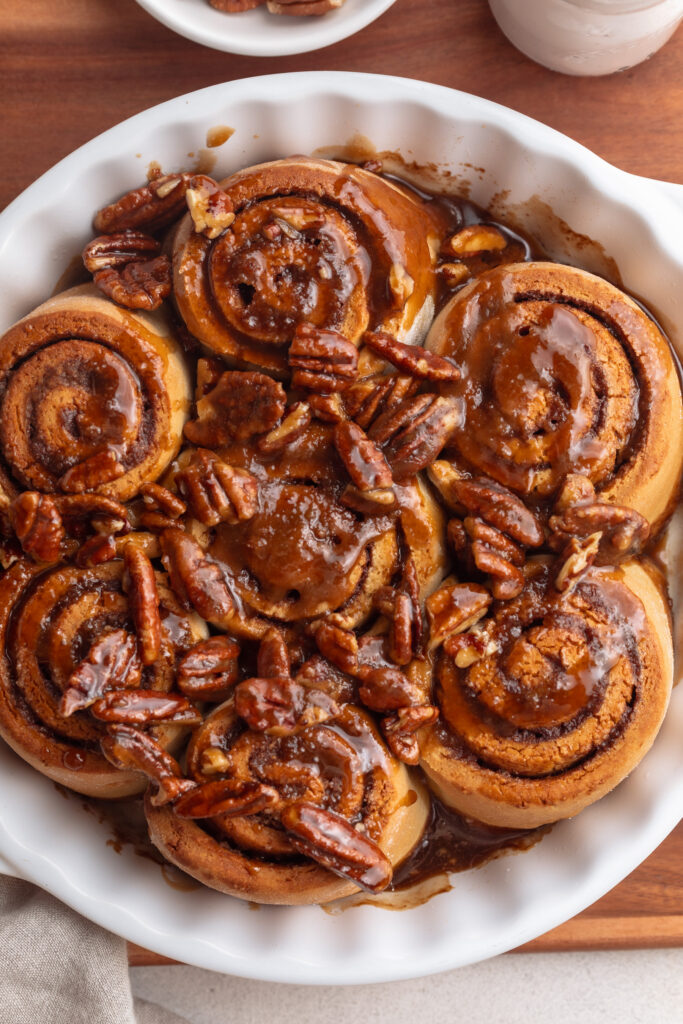
overhead image of gluten free dairy free pecan cinnamon rolls in a baking dish.

Frequently Asked Questions

Can I use gluten-free all-purpose flour instead of gluten-free bread flour?
Yes, in many cases you can substitute a high-quality 1:1 gluten-free all-purpose flour blend for the bread flour. Just make sure it contains xanthan gum or another binder (unless your mix is already pre-blended). You may need to adjust moisture slightly.

How do I prep these cinnamon rolls ahead of time?
You can assemble the rolls, cover, and refrigerate overnight. When ready to bake, let them come to room temperature, rise if needed, then bake as directed. You can also freeze the unbaked rolls and bake from frozen (adding a few extra minutes).

Can I make this recipe vegan?
Yes — use a flax o “egg” (e.g. 1 Tbsp flax + 3 Tbsp water per egg) and a plant-based non-dairy milk (like almond, oat, or soy) in the sticky topping. Be sure your gluten-free flour blend and protein sources are vegan.
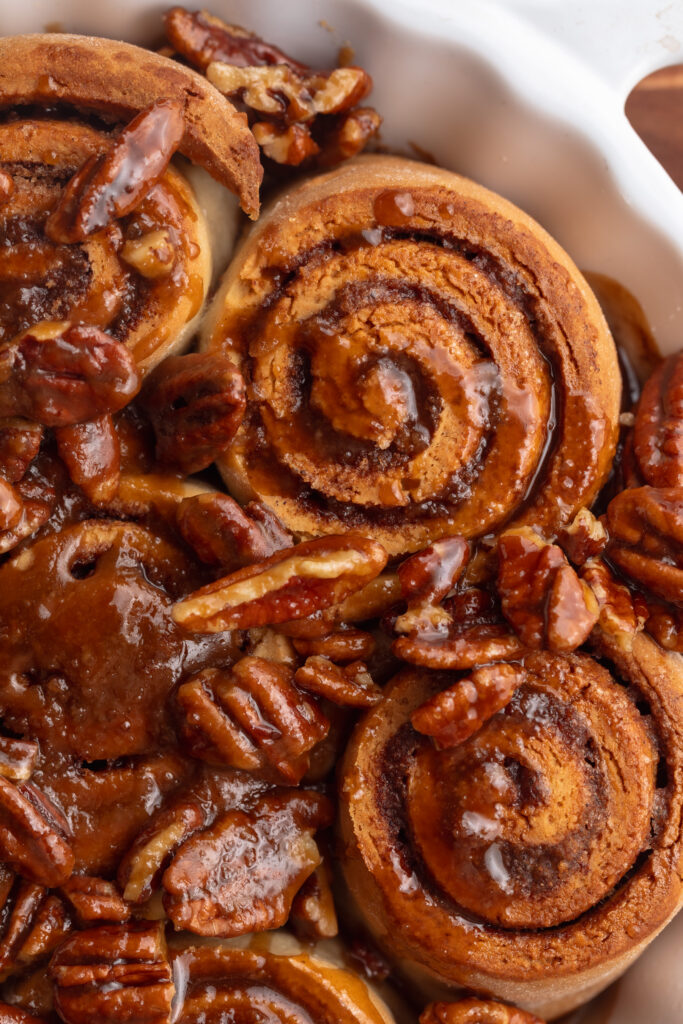
close up overhead image of gluten free dairy free pecan cinnamon rolls in a baking dish.

Sam’s Recipe Tips

  • Warm your non-dairy milk carefully — 110°F is ideal for activating yeast without killing it.
  • Don’t skip the rise — even gluten-free dough benefits from a good proofing if possible.
  • Roll gently but firmly — keep your log tight so the layers stay defined.
  • Coat pecans thoroughly — the sticky glaze is what makes the topping sing, so ensure even coverage.
  • Cool slightly before slicing — let the rolls set so the glaze doesn’t run off.
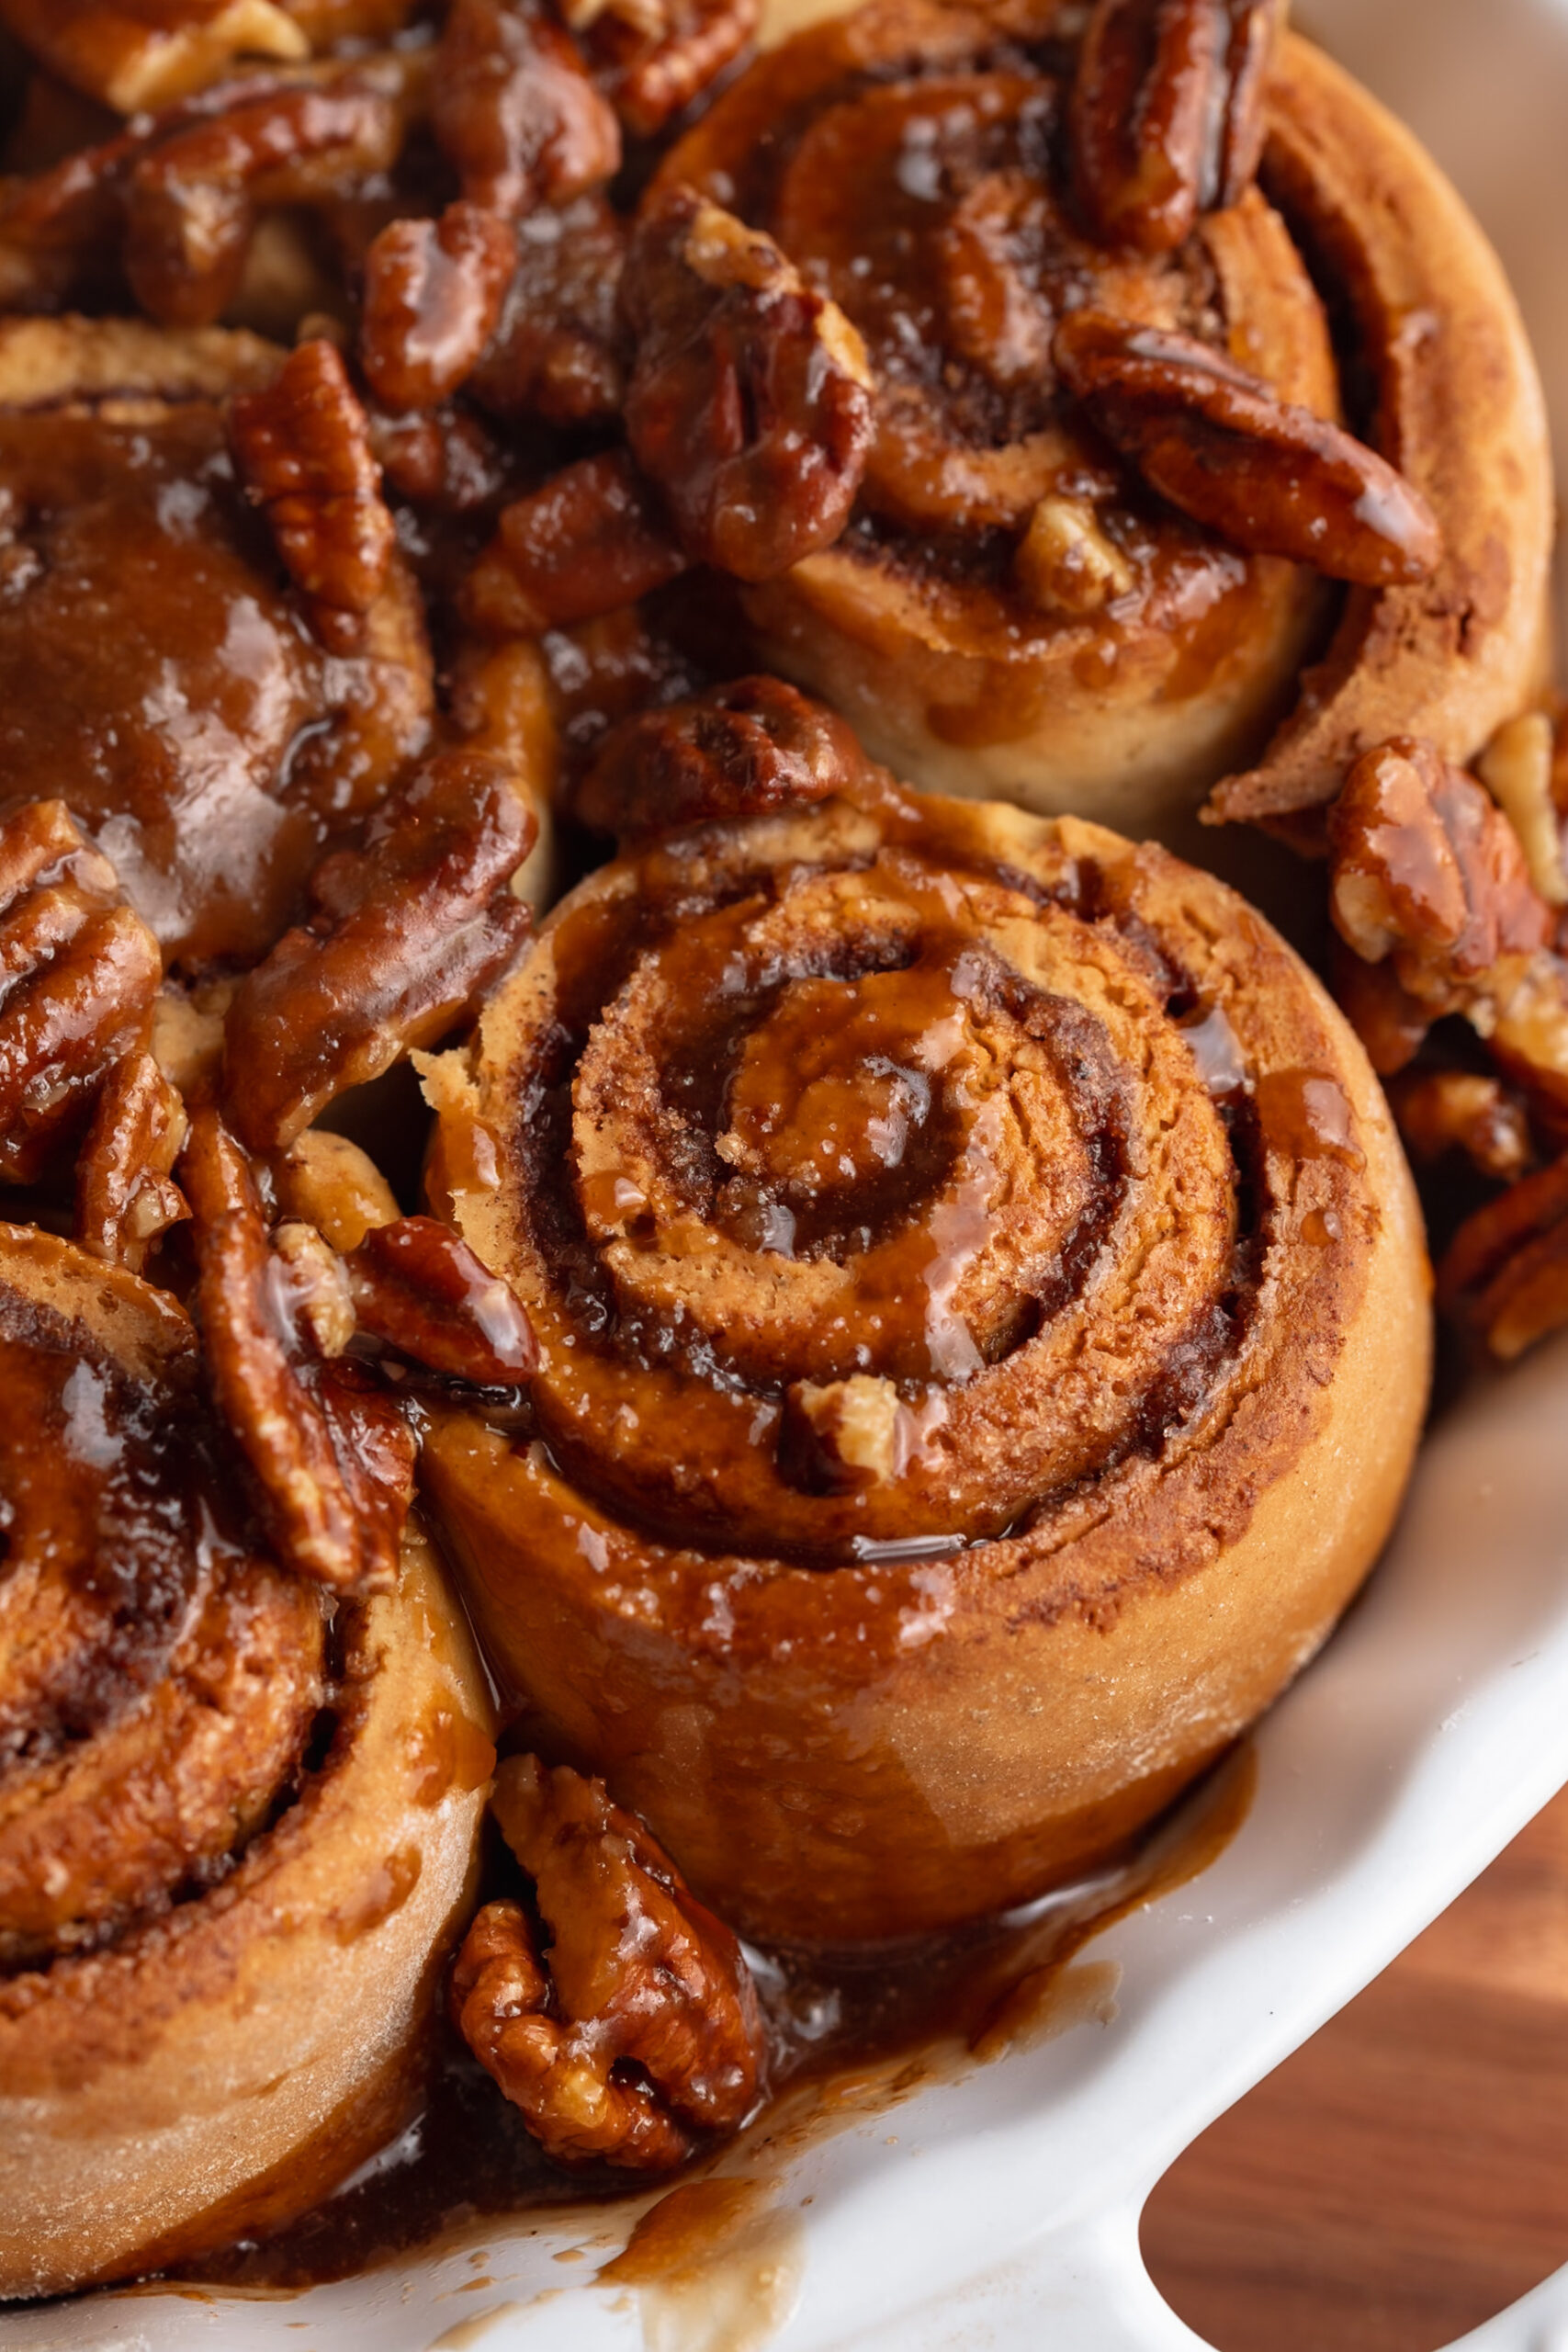
gluten free dairy free pecan cinnamon rolls in a baking dish.
No ratings yet

Gluten-Free and Dairy-Free Cinnamon Rolls (with sticky pecans!)

These Gluten-Free Pecan Cinnamon Rolls are soft, fluffy, and topped with a gooey caramelized pecan glaze that makes every bite irresistible! Made completely dairy-free with coconut oil and gluten-free flour, they’re a cozy homemade treat that everyone can enjoy. Perfect for brunch, holidays, or weekend baking, this easy recipe proves that gluten-free cinnamon rolls can be just as rich and delicious as the classic kind!
Print Pin Rate
Prep Time: 30 minutes
Cook Time: 30 minutes
Rising Time: 1 hour
Servings: 9 servings

Equipment

  • 1 stand mixer with dough hook attachment
  • 1 9-inch baking dish

Ingredients

For the cinnamon rolls:

  • 1 cup non-dairy milk warmed to 110 degrees Fahrenheit (I used canned light coconut milk)
  • 2 1/4 teaspoons active dry yeast
  • 1/4 cup sugar
  • 1 egg plus 1 egg yolk at room temperature
  • 1/4 cup coconut oil melted
  • 3 cups gluten-free bread flour plus more for rolling
  • 2 teaspoons baking powder
  • 1/2 teaspoon baking soda
  • 1/4 teaspoon salt

For the filling:

  • 1/4 cup coconut oil melted
  • 3/4 cup brown sugar
  • 2 tablespoons cinnamon
  • 1 teaspoon nutmeg
  • 1/2 teaspoon ground cloves

For the sticky pecan topping:

  • 1/4 cup coconut oil
  • 1 cup brown sugar
  • 1/4 cup non-dairy milk
  • 1 teaspoon vanilla extract
  • 1/4 teaspoons salt
  • 1 1/2 cups pecans roughly chopped

Instructions

  • Start by warming your milk in a medium bowl to about 110° Fahrenheit. Do this in either the microwave for about 30-40 seconds, or over low heat on the stove for 2 minutes.
  • Once milk is warm, add the active dry yeast, sugar, and melted coconut oil. Give it a gently whisk to combine, then let that sit for a couple minutes while you continue on with the recipe.
  • To the bowl of an electric mixer fitted with the dough hook attachment, add the gluten-free bread flour, baking powder, baking soda, and salt. Turn the mixer on low until the dry ingredients are combined.
  • With the electric mixer running on medium speed, slowly add the milk mixture into the flour mixture. Once the wet and dry ingredients are almost completely combined, add in the egg and egg yolk. Continue mixing to incorporate the eggs into the dough.
  • Once the eggs are incorporated, turn the mixer onto high speed and mix the dough for 5 minutes, until the dough is smooth and comes together in a ball.
  • Generously flour a work surface with the gluten-free bread flour, then press the dough on top of the flour and press/roll into a 13×19-inch rectangle. Add the filling by brushing the melted Nutiva Organic Coconut Oil over the dough in an even layer. Mix together the brown sugar, cinnamon, nutmeg, and cloves in a small bowl, then evenly sprinkle that on top of the coconut oil.
  • Carefully take the long end and roll the dough up into a tight log. Slice the log into 7-8 cinnamon rolls, each about 3 inches thick.
  • Then, place the cinnamon rolls in a greased 9×9-inch baking dish and tightly cover the dish with plastic wrap. Place the rolls in a warm place (by a window, in a proving drawer, in the oven with the light on, etc.) to rise for about 1 hour.
  • After the hour is up, remove the plastic wrap from the baking dish and preheat your oven to 350° Fahrenheit. Once the oven is hot, bake the cinnamon rolls for 25-30 minutes or until they’re golden brown on top.
  • Remove the rolls from the oven and let them cool while you make the sticky pecan topping.
  • To make the sticky pecan topping, melt the coconut oil in a small saucepan over medium heat. Then, add in the brown sugar, non-dairy milk, vanilla extract, and salt. Whisk everything together until the sugar has dissolved and the mixture starts to bubble, about 2 minutes.
  • Add the pecans into the saucepan and stir to coat the pecans in the sticky brown sugar mixture. Pour the sticky pecans on top of the cinnamon rolls, then let then cool completely before serving.

I joke that my husband’s favorite recipes are the ones you can eat without teeth. He’s obsessed with my high-protein chia seed pudding, tofu chocolate mousse, and ultra-soft 3-ingredient brownies. Now we have one more recipe to add to that list – this 3-ingredient healthy chocolate mousse! It’s rich and chocolatey, yet airy, healthy, and impressively low in sugar. Also… you can totally eat this without teeth. HA!

Why You’ll LOVE This Healthy Chocolate Mousse

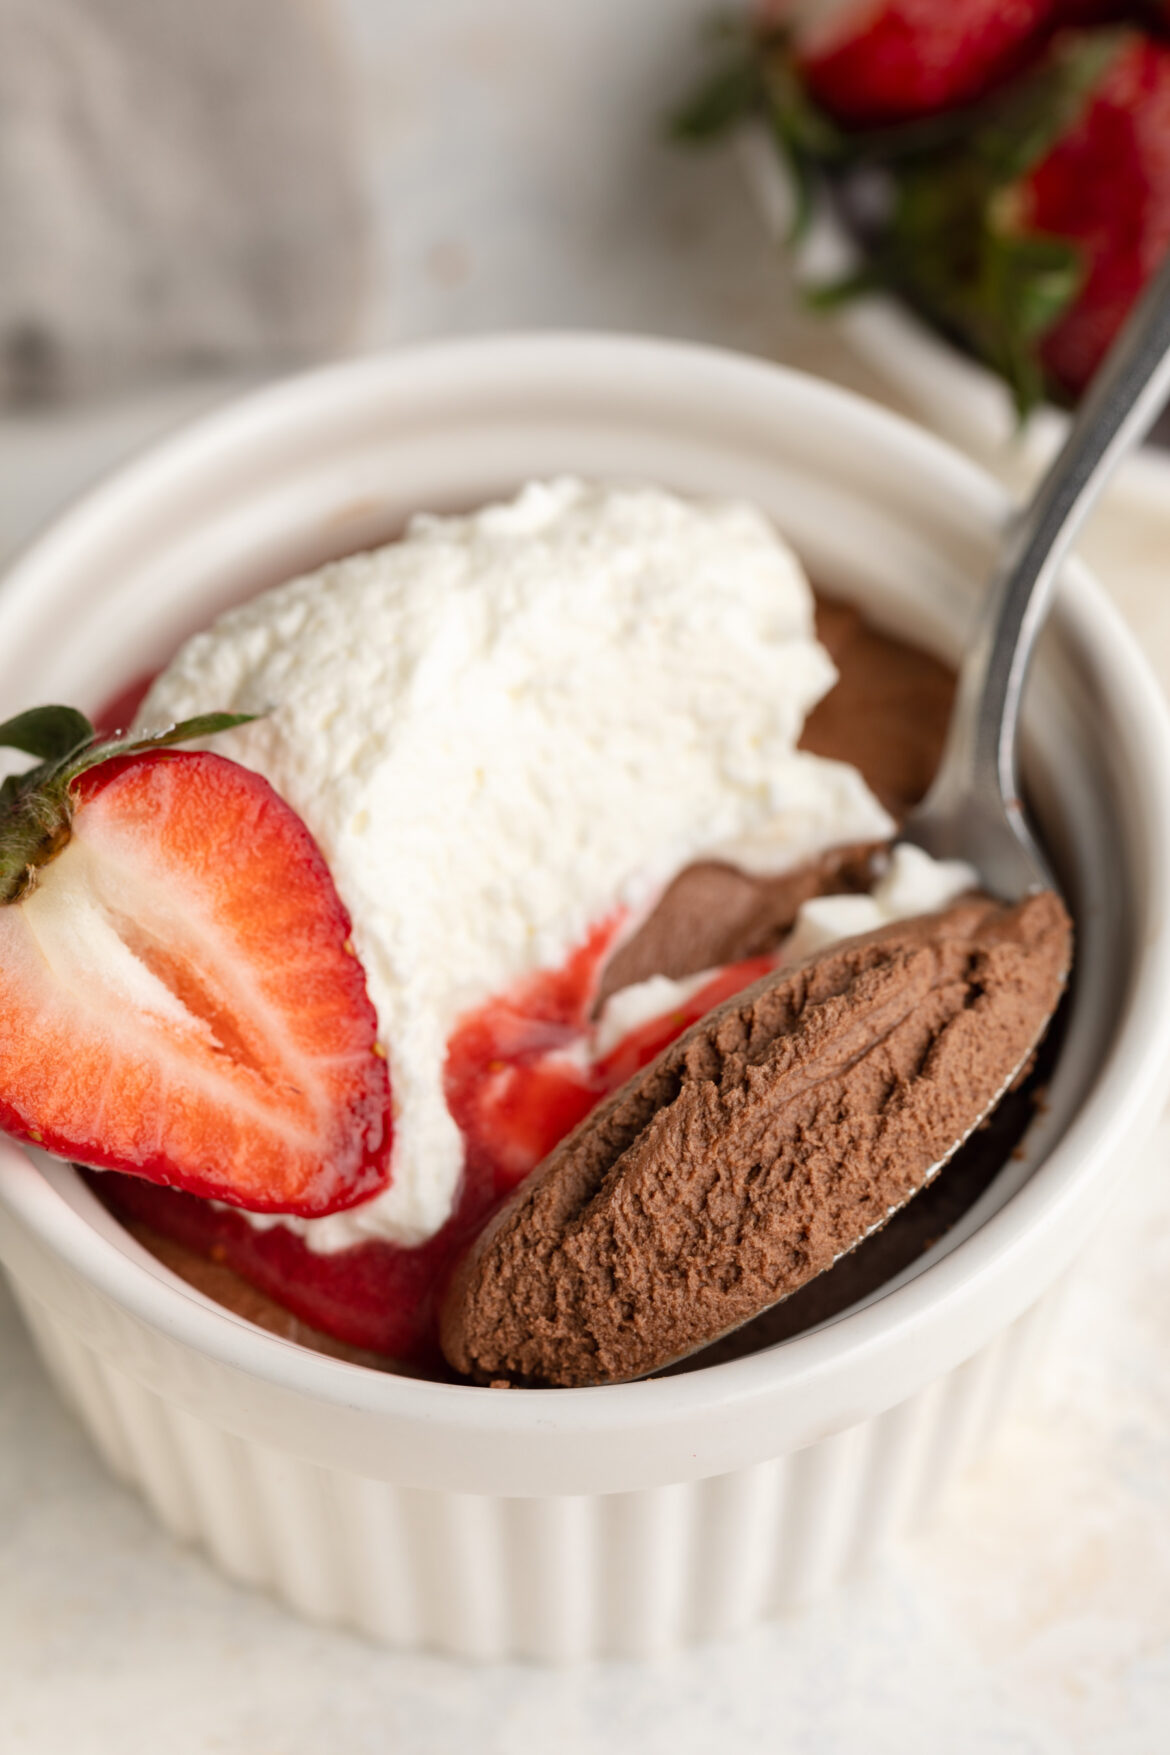
This rich and creamy chocolate mousse is a dream come true for chocolate lovers seeking a healthier indulgence. Made with just three simple ingredients – unsweetened coconut cream, melted chocolate chips, and cocoa powder—it’s a decadent dessert that’s both satisfying and guilt-free. Whether you’re vegan, dairy-free, or simply looking for a low-sugar treat, this mousse fits the bill perfectly!

3 ingredient healthy chocolate mousse in a ramekin with a strawberry on top.

What Makes This Recipe Healthy

  • Dairy-Free & Vegan: Utilizes coconut cream instead of dairy, making it suitable for various dietary preferences.
  • Low Sugar: Sweetened naturally with chocolate chips and cocoa powder, eliminating the need for added sugars.
  • Gluten-Free: Contains no gluten-containing ingredients, making it safe for those with gluten sensitivities.
  • Simple Ingredients: Only three main ingredients are needed, making this recipe straightforward and accessible.
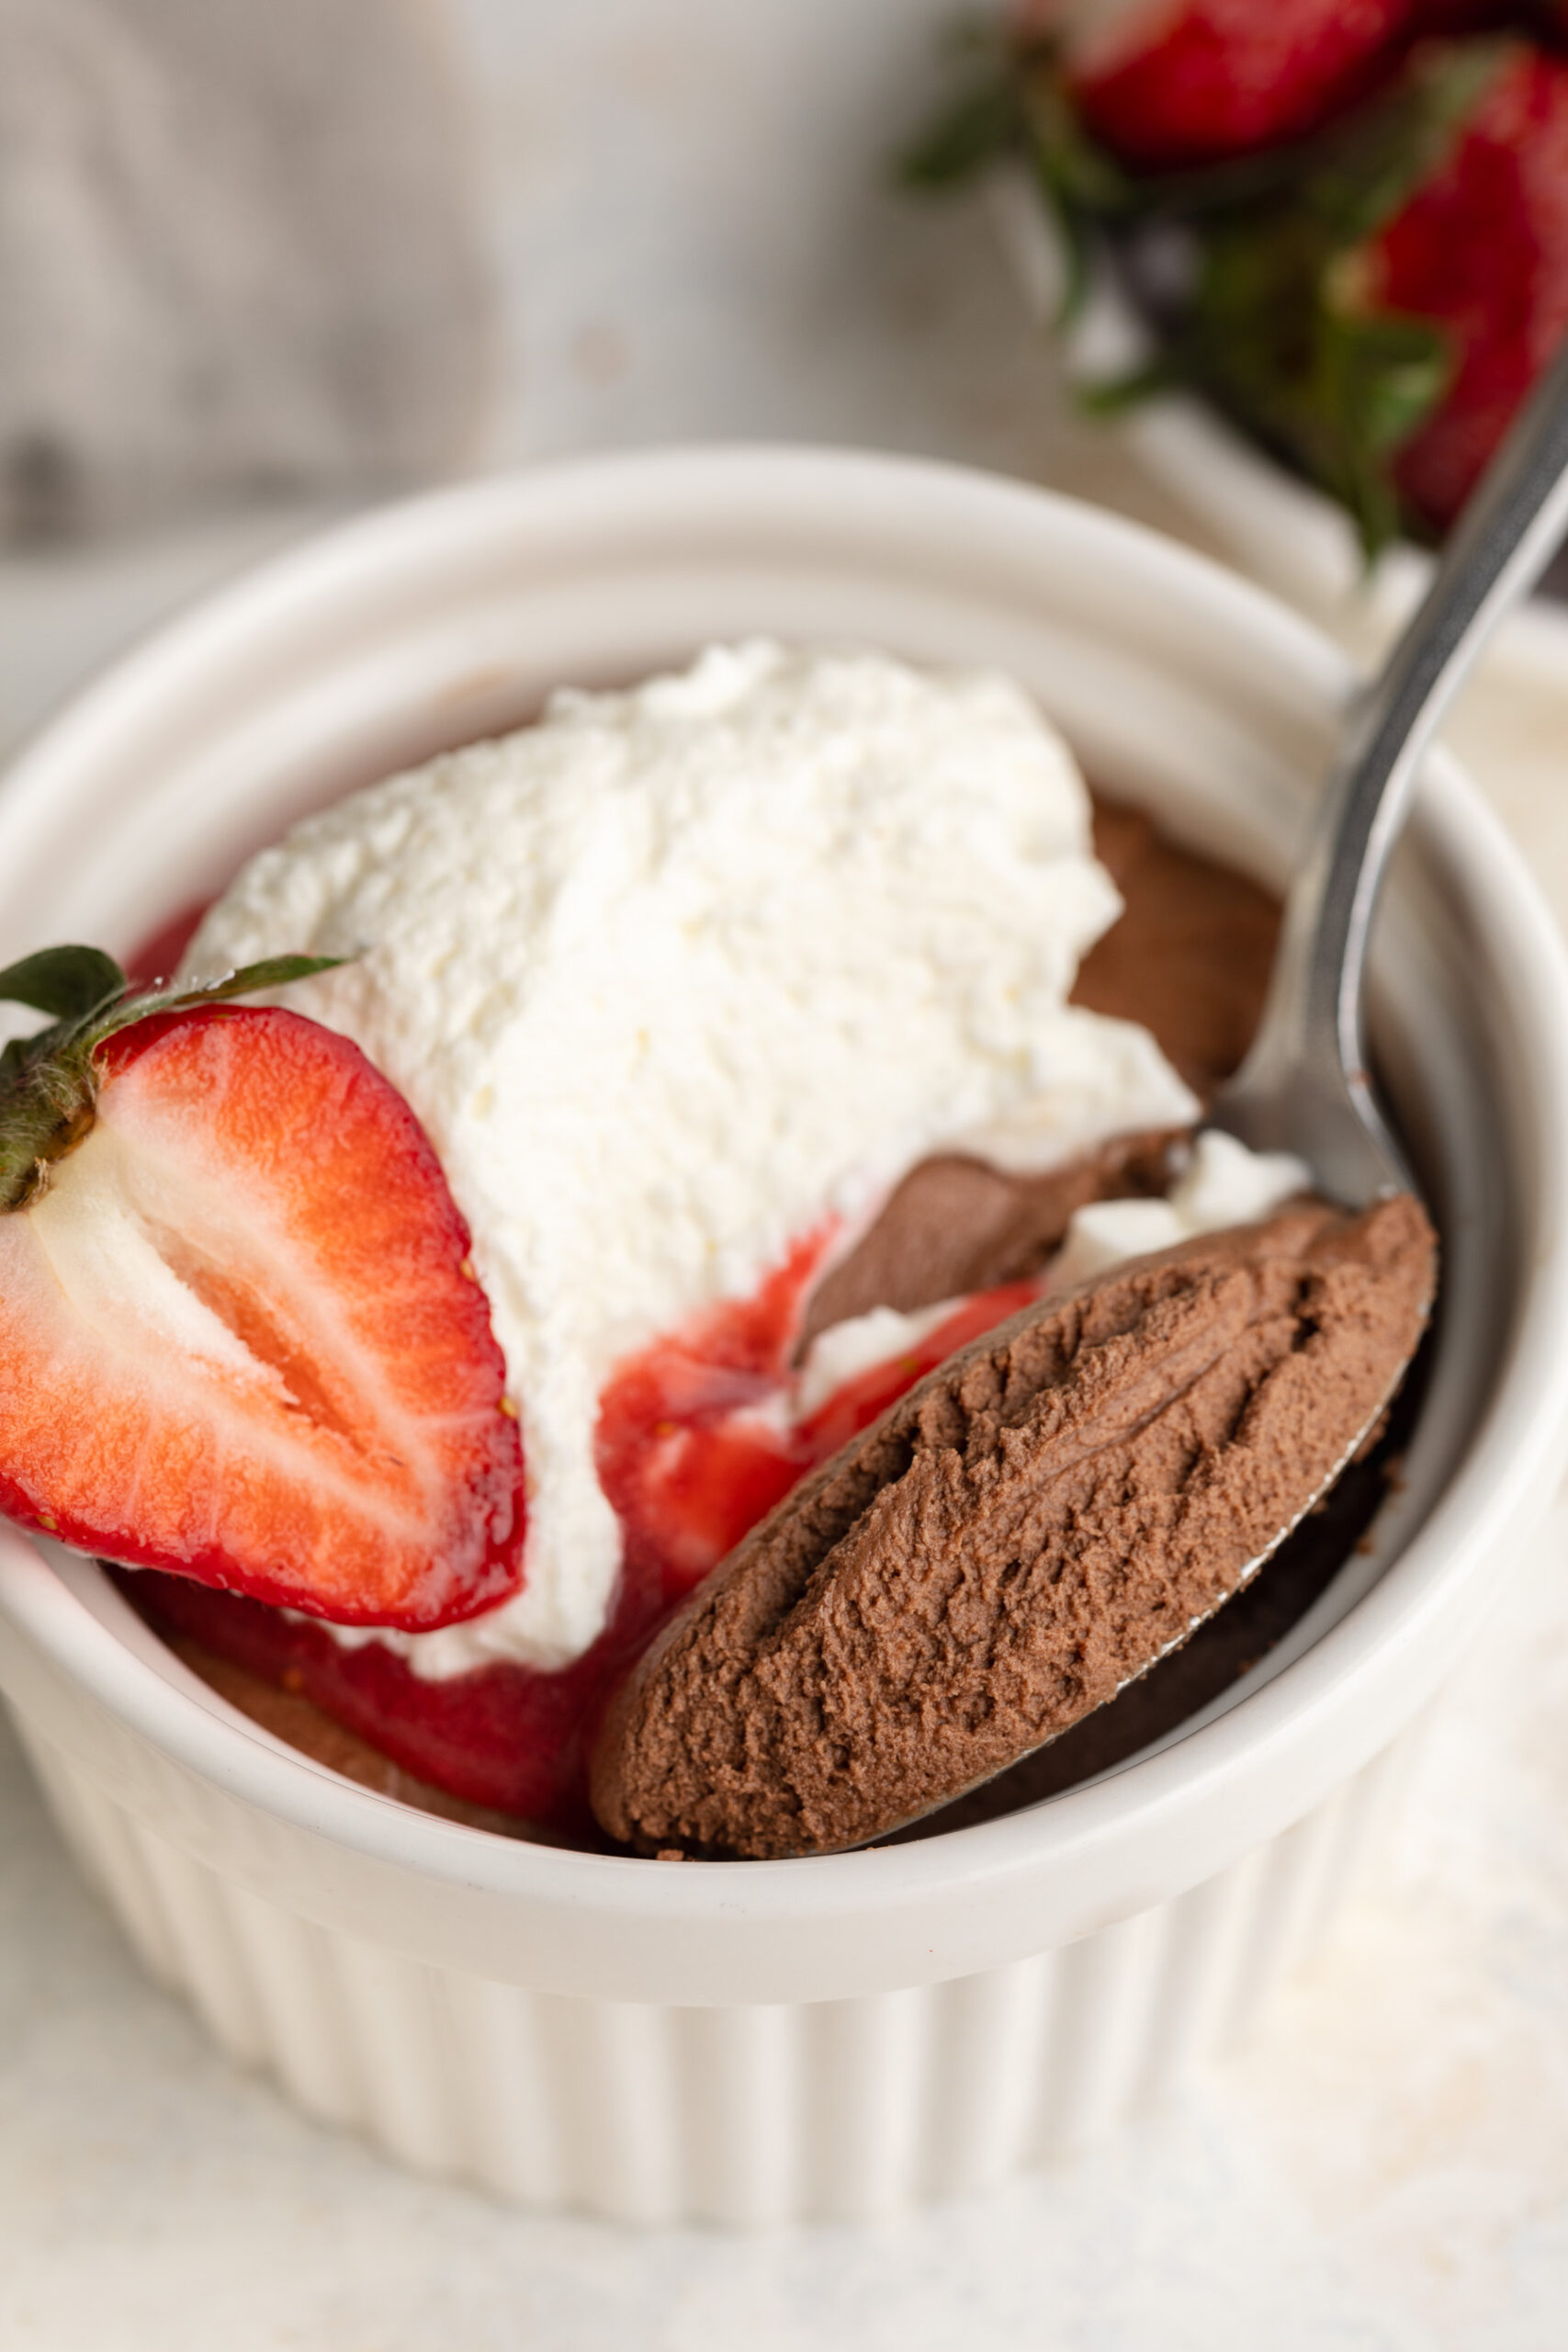
overhead image of 3 ingredient healthy chocolate mousse in a ramekin with a spoon.

Storage Tips

  • Refrigeration: Store any leftover mousse in an airtight container in the refrigerator for up to 3 days.
  • Freezing: For longer storage, freeze the mousse in individual portions. Thaw in the refrigerator before serving. Note that the texture may change slightly upon freezing and thawing.
close up image of 3 ingredient healthy chocolate mousse in a ramekin with a spoon.
No ratings yet

3-Ingredient Healthy Chocolate Mousse

This rich and creamy 3-ingredient healthy chocolate mousse is the ultimate easy dessert you’ll want on repeat. Made with coconut cream, cocoa powder, and melted chocolate chips, it’s naturally vegan, dairy-free, and gluten-free. Perfect for a quick treat, this mousse is indulgent, wholesome, and ready in minutes!
Print Pin Rate
Prep Time: 10 minutes
Chilling Time: 2 hours
Total Time: 2 hours 10 minutes
Servings: 3 servings

Equipment

  • 1 large bowl
  • 1 hand or stand mixer

Ingredients

  • 1 cup unsweetened coconut cream (the thick white part at the topof a can of full-fat coconut milk)
  • 1/4 cup chocolate chips melted
  • 1 tablespoon unsweetened cocoa powder

For the strawberry topping:

  • 1 cup fresh strawberries stems removed

Instructions

  • Add all ingredients to a large bowl and beat with the Zwilling XTEND Cordless Hand Mixer until smooth and creamy.
  • Transfer the mousse into individual bowls or jars, then cover and chill in the fridge for at least 2 hours or until the mousse is set.
  • Make the strawberry topping by adding the strawberries to a cup, then pureeing them with the Zwilling XTEND Cordless Hand Blender until smooth.
  • Remove the chocolate mousse from the fridge, top with the pureed strawberry and a dollop of whipped cream. Yum!

Nutrition

Serving: 1serving | Calories: 348kcal | Carbohydrates: 11g | Protein: 4g | Fat: 30g | Sugar: 6g

I’ve seen variations of these frozen yogurt bites all over social media. But I haven’t seen a cookie dough version yet! And because cookie dough is like kinda my thing (see: gluten-free edible cookie dough, healthy cookie dough bark, no-bake cookie dough bars) I figured I’d take it upon myself to develop one.

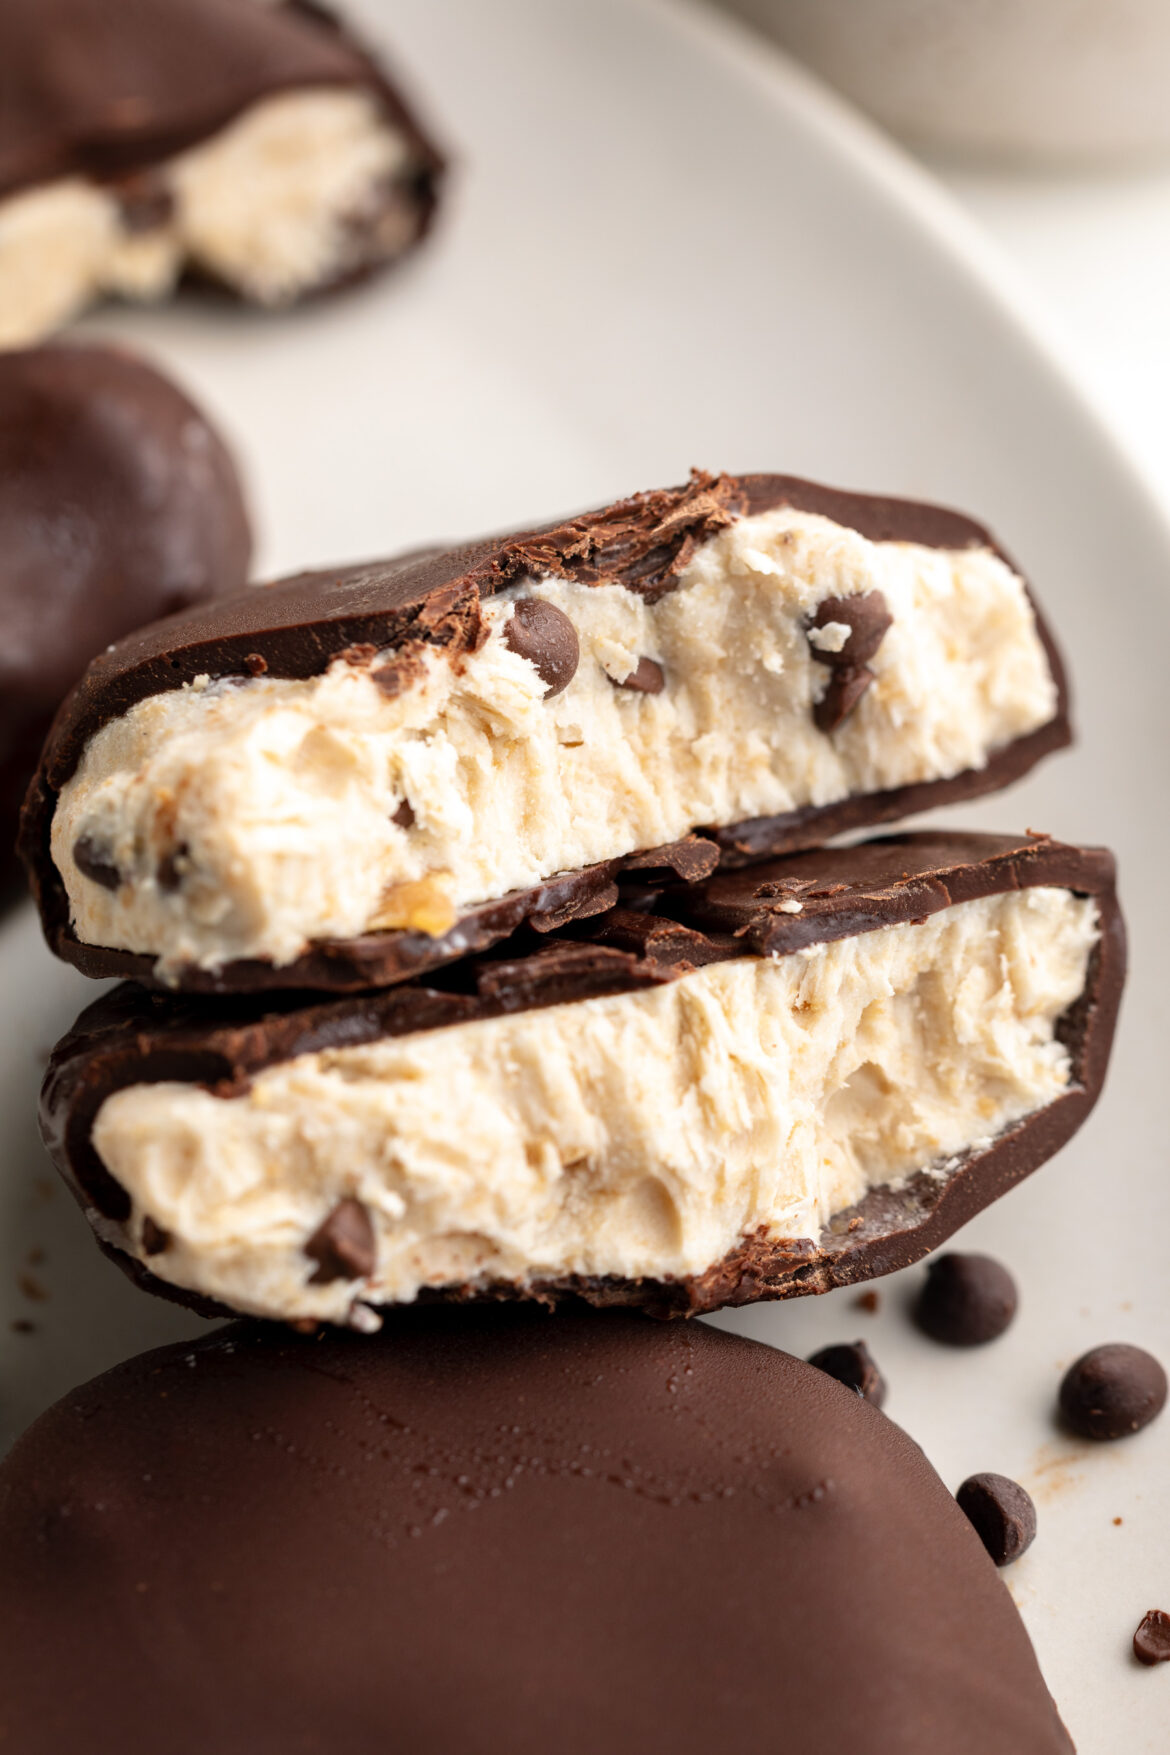
cookie dough frozen yogurt bites on a plate.

Why You’ll Love This Recipe

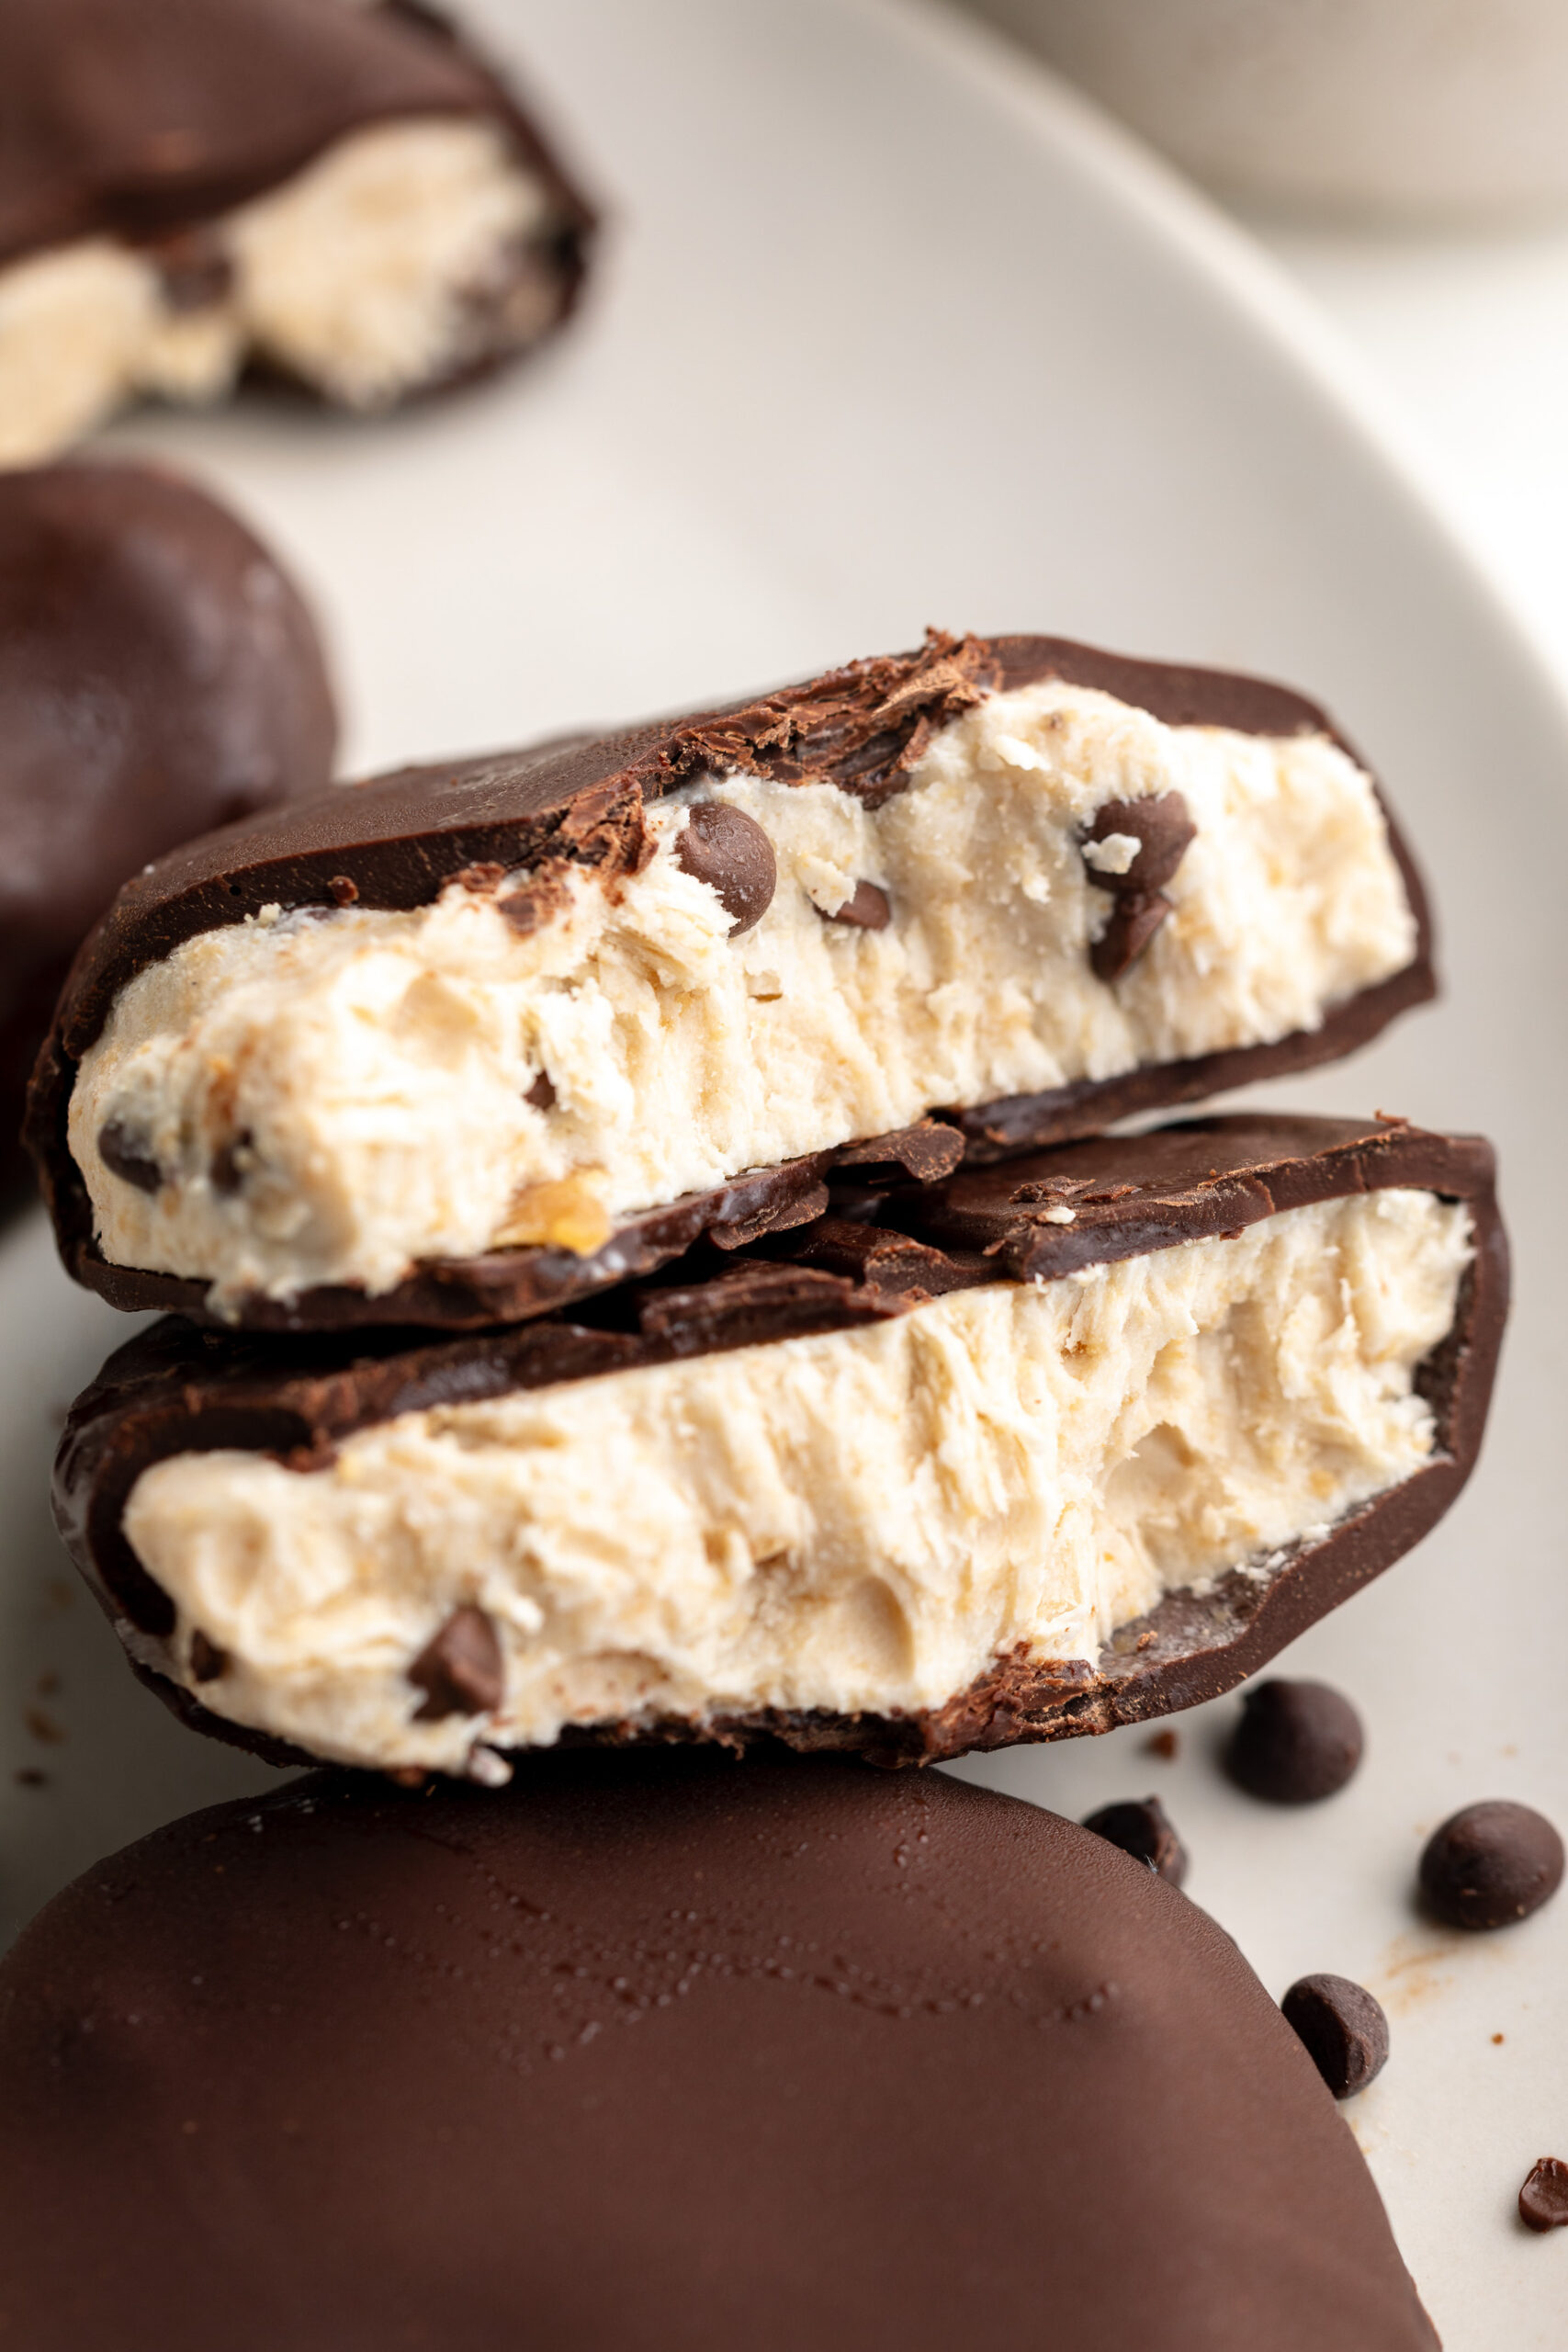
These Cookie Dough Frozen Yogurt Bites are a perfect combination of creamy, rich coconut yogurt and crunchy chocolate chips, all wrapped in a smooth chocolate coating. They’re incredibly easy to make, gluten-free, dairy-free, and can even be made vegan! The perfect bite-sized treat to enjoy any time of day, whether you’re craving a sweet snack or a healthy dessert alternative.

What You Need to Make These Cookie Dough Frozen Yogurt Bites

Coconut Yogurt: A dairy-free alternative that provides a creamy base for the frozen bites. Rich in probiotics and perfect for those looking for a non-dairy option. I use and love Cocojune plain unsweetened coconut yogurt!

Cashew Butter: Adds a subtle nutty flavor and a creamy, thick texture to the yogurt mixture. You can substitute it with almond butter or sunflower seed butter for a nut-free option.

Maple Syrup: Naturally sweetens the yogurt mixture without refined sugar, keeping the recipe healthy and low-glycemic.

Mini Chocolate Chips: Provide the “cookie dough” flavor with their slight crunch and delicious chocolate flavor. I recommend Enjoy Life’s dairy-free mini chocolate chips in this recipe!

Chocolate Chips & Coconut Oil: The melted chocolate forms the crunchy outer shell, with coconut oil helping to make it silky and smooth for easy dipping.

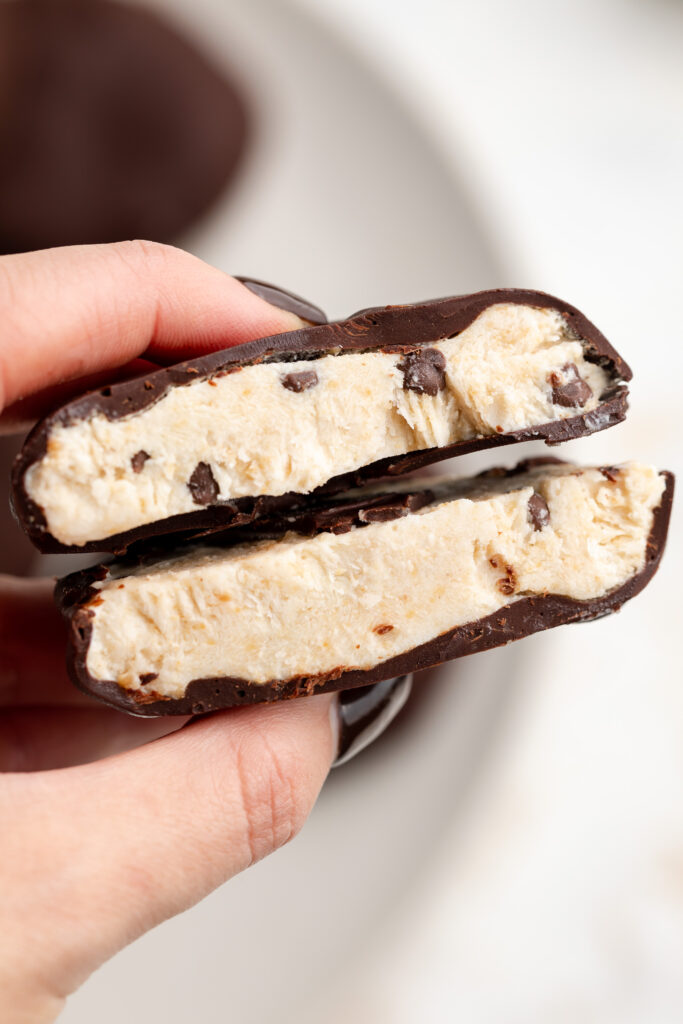
holding a cookie dough frozen yogurt bite sliced in half.

Tips and Tricks For the Best Frozen Yogurt Bites

  • Make sure to freeze the yogurt bites completely before dipping them in the melted chocolate to prevent them from melting.
  • Use a cookie scoop to ensure evenly sized bites that are easy to dip and eat.
  • For a thicker chocolate coating, dip each bite twice, allowing the chocolate to harden between dips.

Switch Up The Flavors

  • Try adding a tablespoon of peanut butter to the yogurt mixture for a peanut butter cookie dough twist.
  • Substitute the mini chocolate chips for white chocolate chips or chopped nuts for a different texture and flavor.
  • Add a pinch of sea salt on top of the dipped bites to balance the sweetness with a salty kick!

Adjust This Recipe to Your Dietary Needs

  • Vegan Option: Ensure the yogurt and chocolate chips you use are dairy-free.
  • Nut-Free Option: Swap the cashew butter with sunflower seed butter or another nut-free alternative.
cookie dough frozen yogurt bites cut in half
5 from 1 vote

Cookie Dough Frozen Yogurt Bites

This cookie dough frozen yogurt bites recipe is made with just a few wholesome ingredients. It’s naturally gluten-free, dairy-free, vegan, and free of refined sugars, making it a healthy, delicious snack option!
Print Pin Rate
Prep Time: 5 minutes
Freezing Time: 1 hour 30 minutes
Total Time: 1 hour 35 minutes
Servings: 8 servings

Equipment

  • small bowl
  • baking sheet

Ingredients

For the frozen yogurt:

  • 1 cup non-dairy yogurt plain and unsweetened
  • 2 tablespoons protein powder optional
  • 1/4 cup cashew butter or any nut/seed butter
  • 1 teaspoon vanilla extract
  • 2 tablespoons maple syrup or honey

For the chocolate coating:

  • 1 1/2 cups chocolate chips
  • 2 tablespoons coconut oil

Instructions

  • Add all frozen yogurt ingredients except the mini chocolate chips to a bowl and mix until smooth and combined. Then, stir in the mini chocolate chips.
  • Line a baking sheet with parchment paper, and use either a medium-large cookie scoop to scoop dollops of the frozen yogurt mixture onto the making sheet, slightly spacing each one apart.
  • Transfer the baking sheet to the freezer and freeze for at least 1 hour, or until the yogurt is completely solid.
  • Melt together the chocolate chips and coconut oil in either the microwave or over a double boiler, until completely smooth. Remove the frozen yogurt bites from the freezer and dip each one into the melted chocolate to coat, then transfer back to the baking sheet.
  • Once all frozen yogurt bites have been dipped in chocolate, return to the freezer for at least another 30 minutes, or until chocolate has hardened. Either store in the freezer for enjoy later on, or take one out to enjoy right away!

Nutrition

Serving: 1serving | Calories: 185kcal | Carbohydrates: 16g | Protein: 3g | Fat: 14g | Sugar: 11g

Fresh, creamy, and irresistibly delicious pineapple ice cream! Made with just two ingredients, and in under 5 minutes. This non-dairy frozen dessert is the BEST healthy summertime treat.

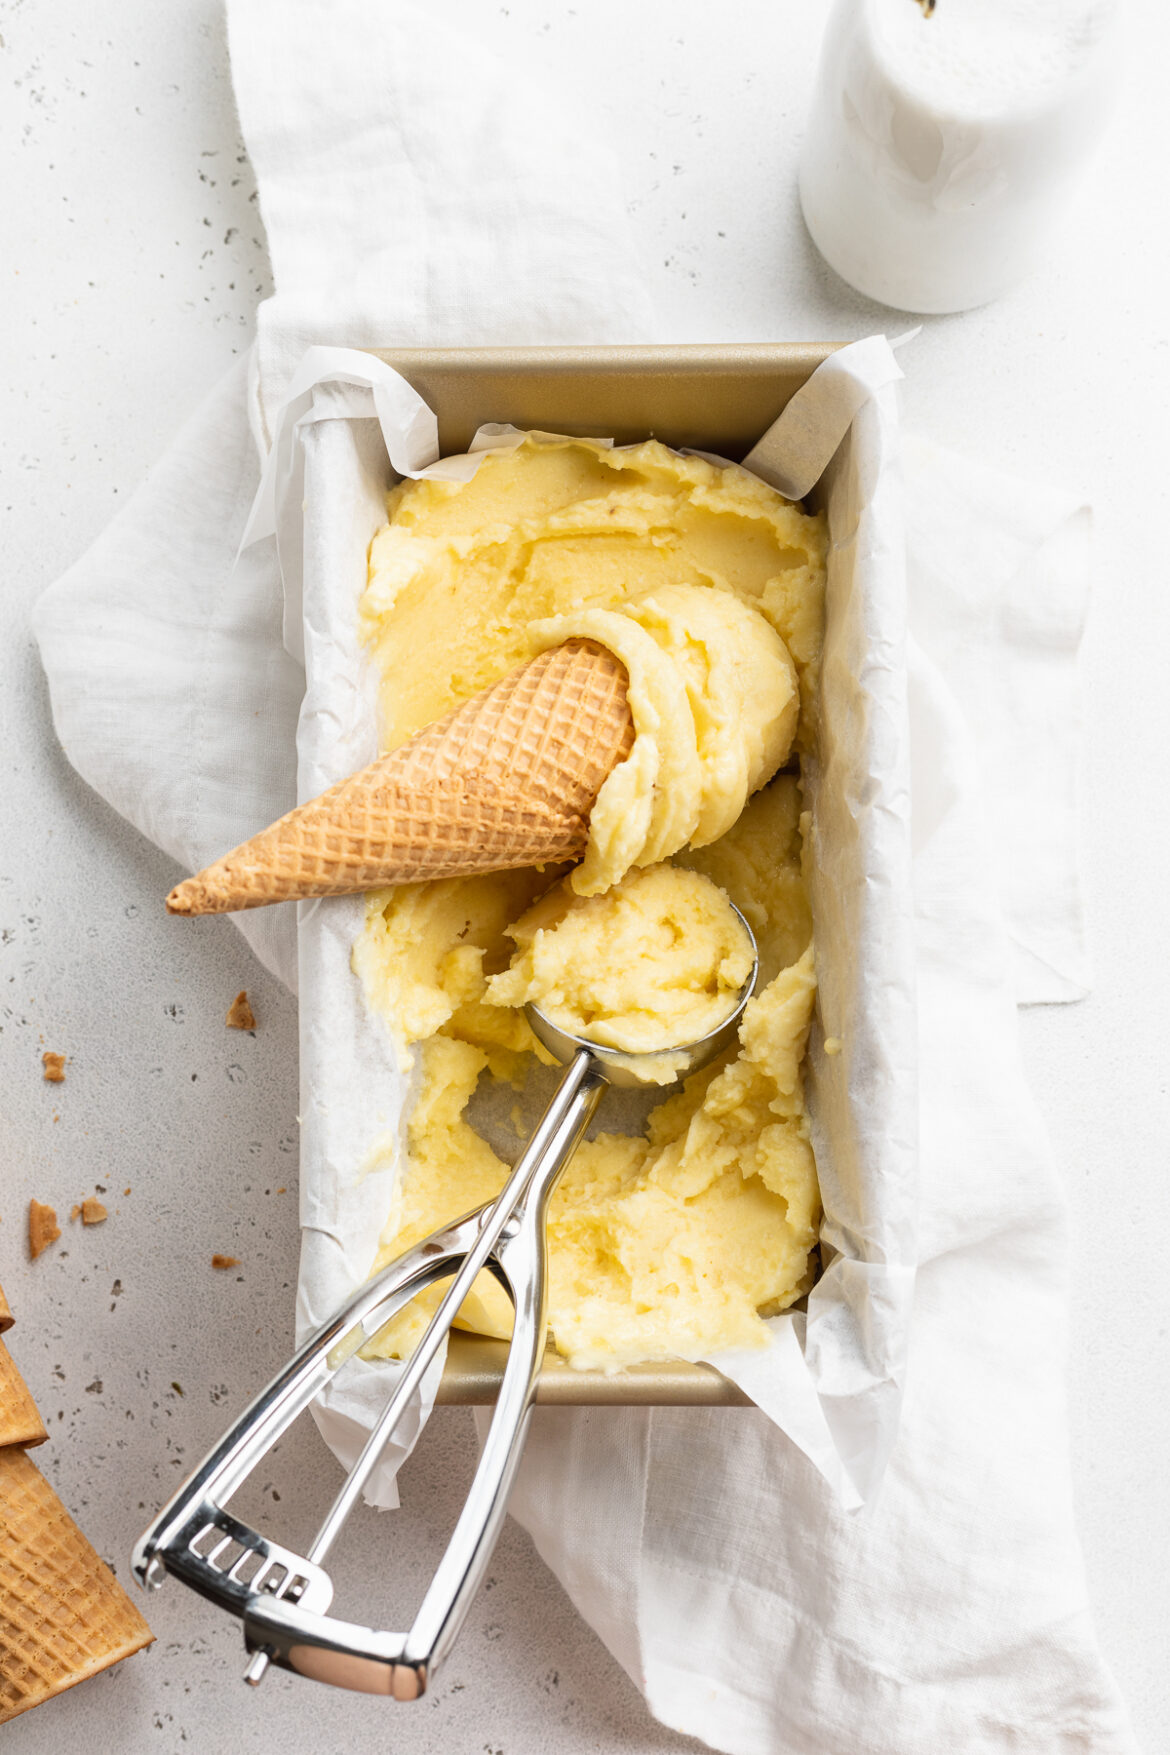
hand holding a cone of pineapple ice cream

What You’ll Need To Make Pineapple Ice Cream

Frozen Pineapple Chunks – Either cut, then freeze a fresh pineapple yourself, or buy already frozen pineapple chunks. For tips on how to cut a pineapple, check out my step-by-step blog post here. But if you’re looking to save some time, buy two bags of frozen pineapple chunks from the frozen aisle at your local grocery store.

Coconut Milk – Thick and creamy full-fat coconut milk tastes best in this pineapple ice cream! However, you can certainly use a light coconut milk instead, or really any kind of milk you’d like. And if you don’t have milk, use a couple tablespoons of water. The liquid is introduced at the very end of this recipe and should be used sparingly, just until you achieve a thick and creamy consistency.

Food Processor or High-Speed Blender – While food processors work best to make this non-dairy frozen dessert, a high-speed blender will work as well. I made my pineapple ice cream with this (super cheap!) Hamilton Beach food processor. But I’ve also tried this recipe in my Vitamix, and it worked as well – just required more stopping to scrape down the sides of the blender.

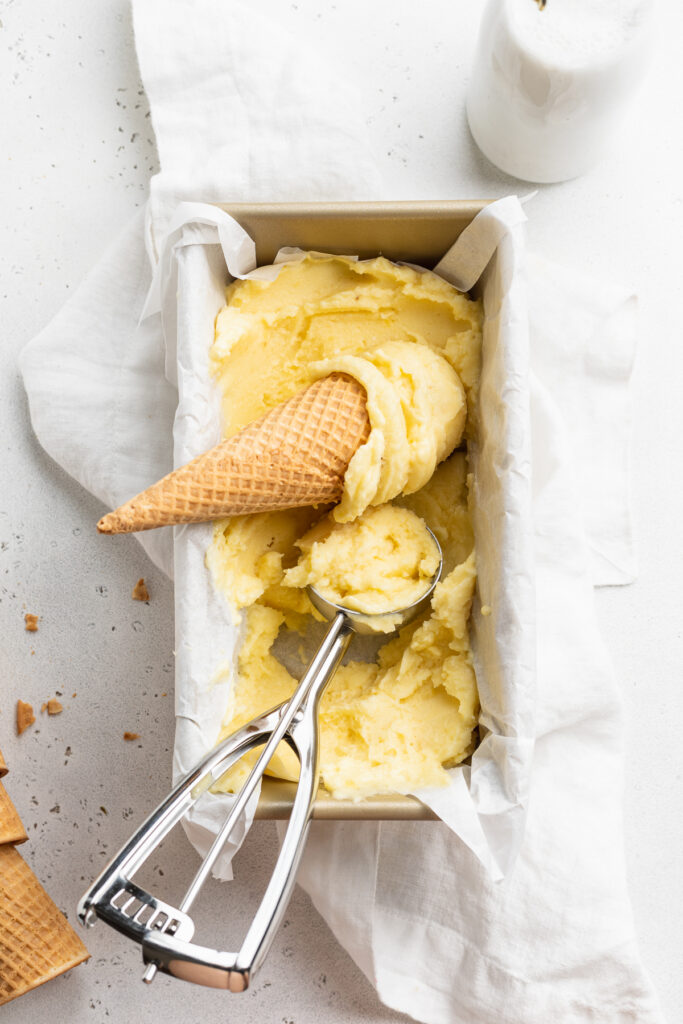
overhead image of pineapple ice cream in a loaf pan

Tips and Tricks

  • Start with 1/4 cup of coconut milk, then slowly add in more to blend. The frozen pineapple mixture will start out icy and crumbly, but slowly turn smooth and creamy as more liquid is introduced. It’s important to start small here, as to not risk “watering down” your ice cream!
  • Swirl in some toasted coconut or fresh pineapple chunks! Right after blending, transfer the pineapple ice cream to an airtight container and stir in any mix-ins you’d like. Or, serve this healthy dessert with your favorite ice cream toppings!
  • Depending on how solid you’d like your ice cream, either serve it right away or freeze for a few hours before eating. How solid it is may also depend on how warm it is outside. During the summer months, I certainly have to freeze this for at least an hour before scooping and serving!

This Pineapple Ice Cream Is…

2-Ingredient Pineapple Ice Cream

2 from 8 votes
Recipe by Samantha Course: Dessert, SnacksDifficulty: Easy
Servings

6

servings
Prep time

5

minutes
Cooking time

0

minutes
Total time

5

minutes

Fresh, creamy, and irresistibly delicious pineapple ice cream! Made with just two ingredients, and in under 5 minutes. This pineapple ice cream is the BEST healthy summertime treat.

Ingredients

  • 4-5 cups frozen pineapple chunks, about 2 10-ounce bags

  • 1/4-1/2 cup coconut milk

Directions

  • Add frozen pineapple chunks to food processor and pulse until crumbly.
  • Slowly add in coconut milk, starting with ¼ cup and adding more as necessary, and pulse until smooth.
  • Either serve immediately, or transfer pineapple ice cream to a parchment-lined loaf pan and freeze for 2-3 hours.
  • To serve, remove from freezer and let sit at room temperature for 5 minutes before scooping and enjoying.

Recipe Video

Did you make this recipe?

Share it and tag @samdoesherbest on Instagram!

Like this recipe?

Follow us @samdoesherbest on Pinterest