Tag

paleo

Browsing

It’s finally fall! Well kinda. September 1st is the unofficial first day of fall in my book, and I’m celebrating with yet another apple recipe! I kicked things off last week with my healthy gluten-free apple crisp, and am eager to make my apple pie protein smoothie and gluten-free cinnamon sugar apple cake in the coming weeks. Today though, we’re focusing on the EASIEST of all the apple recipes – apple pie salad. And not just any apple pie salad, one with just 5 ingredients, that’s high in protein, and comes together in a few minutes. I absolutely LOVE this recipe when I’m short on time but craving fall flavors. Think fresh crisp apples, cinnamon, honey, and something crunchy like pecans, walnuts, or or granola. It’s the perfect afternoon snack or high-protein dessert!

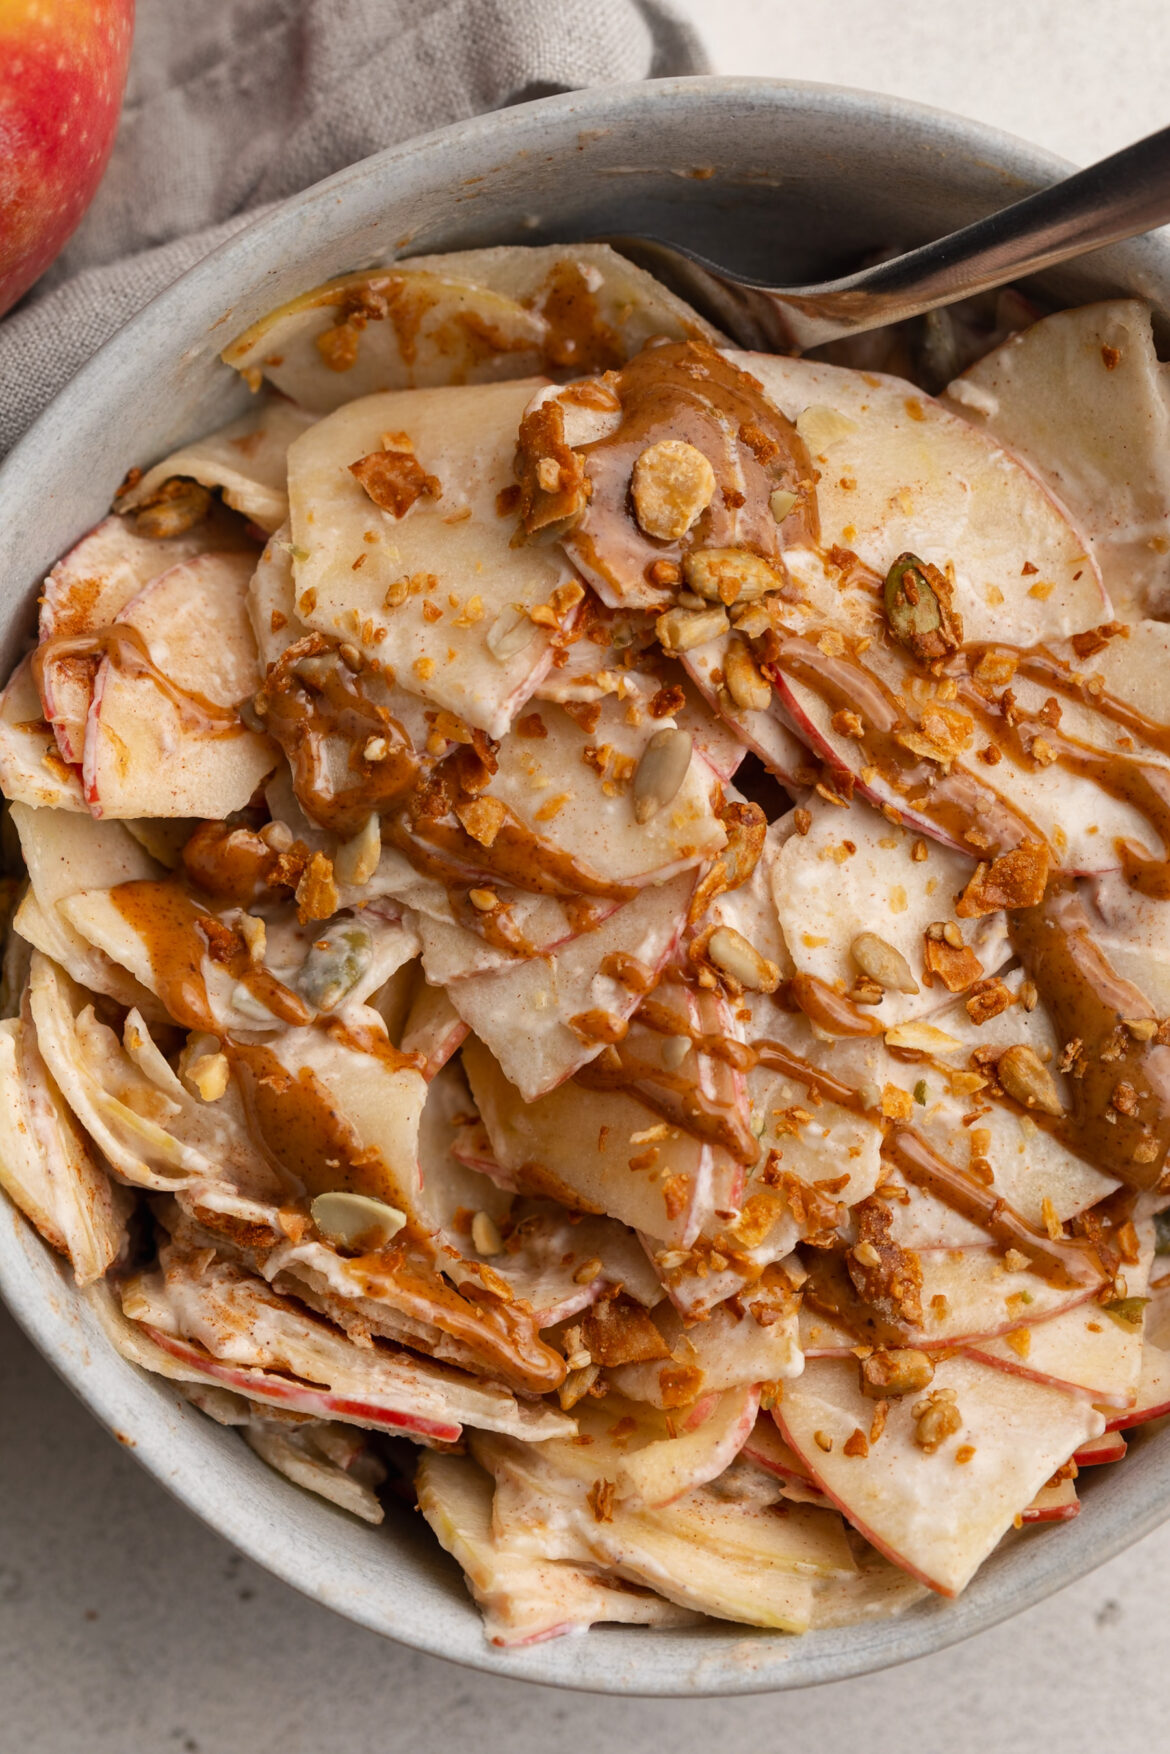
healthy high protein apple pie salad in a bowl with a fork.

Why You’ll Love This Apple Pie Salad

  • High-Protein, No-Bake Goodness: Just apples, yogurt, and a hint of sweetener – no oven needed!
  • Quick & Nourishing: Ready in under 5 minutes, with over 20 grams of protein to fuel your day.
  • Flavor Meets Function: Satisfy your pie cravings with warm spices and dippable (is that a word??) toppings!

What Makes This Recipe Healthy

  • The apple base adds fiber and antioxidants while keeping it naturally sweet and refreshing.
  • Greek yogurt (or plain coconut yogurt) provides a protein-packed, gut-friendly foundation.
  • A drizzle of honey or maple syrup gives balance without refined sugars.
  • Protein-boosting peanut butter and satisfying nuts round out the nutrition and texture!
overhead image of healthy apple pie salad in a bowl with an apple on the side.

Frequently Asked Questions

What kind of apples should I use?
Crisp, sweet varieties like Fuji or Honeycrisp work best – Granny Smith are a bit more tart so they may need extra sweetener to balance its tartness.

Can I make this dairy-free?
Yes! Swap in a thick, unsweetened coconut or almond-based yogurt to keep it plant-based and creamy.

How much protein is in this recipe?
Each serving delivers approximately 20 grams of protein, depending on your yogurt choice.

overhead image of healthy apple pie salad in a bowl with a drizzle of peanut butter and granola on top.
No ratings yet

Healthy High-Protein Apple Pie Salad

This high-protein apple pie salad is a creamy, crunchy, no-bake recipe that tastes just like dessert but fuels your body with 20 grams of protein. Made with fresh apples, Greek yogurt, cinnamon, and a drizzle of peanut butter, it’s a quick and healthy snack or post-workout treat. Perfect for when you’re craving apple pie flavor in a light, wholesome, and protein-packed treat!
Print Pin Rate
Prep Time: 5 minutes
Total Time: 5 minutes
Servings: 1 serving

Equipment

  • 1 medium bowl or container
  • 1 mandoline or use a knife to thinly slice the apples

Ingredients

  • 1 apple
  • 1 cup Greek yogurt or plain coconut yogurt
  • 1-2 teaspoons honey or maple syrup
  • 1/2 teaspoon cinnamon

Toppings:

  • Drizzle of peanut butter
  • Chopped walnuts, pecans, or granola

Instructions

  • Add all ingredients to a bowl and mix until apples are evenly coated in yogurt. Top with a drizzle of peanut butter and chopped nuts or granola.

Notes

Nutrition info is calculated using 1 cup of plain unsweetened Greek yogurt, 1 teaspoon of honey, and 1/2 tablespoon of unsweetened peanut butter. Also, keep in mind that this recipe may seem high in sugar, but that is natural sugar from the apple.

Nutrition

Serving: 1serving | Calories: 260kcal | Carbohydrates: 39g | Protein: 20g | Fat: 4g | Fiber: 5.5g | Sugar: 22g

Every summer my dad grows the most incredible garden, and every summer he has a massive amount of zucchini! So while I love using his homegrown blueberries in my blueberry muddy buddies (don’t knock it ’til ya try it!) and strawberries in my gluten-free strawberry shortcake, I needed to figure out a way to use up the giant zucchinis he sends me home with every time I visit. A few summers ago I started making gluten-free zucchini bread, which is totally delicious, but this year I was craving BROWNIES!

My criteria for these healthy zucchini brownies was they had to be rich, fudgy, and just as delicious as any other brownie despite the hidden veggies. They also needed to be easy to make – one bowl, just a few ingredients, and simple steps. After a few tests this spring, I finally nailed the PERFECT healthy zucchini brownies recipe that’s totally gluten-free, dairy-free, and even refined sugar-free! So if you’re drowning in zucchini like I am, or just looking for a healthier dessert recipe this summer, you gotta give these brownies a try. Trust me, everyone (even my toddler!) loves ’em!

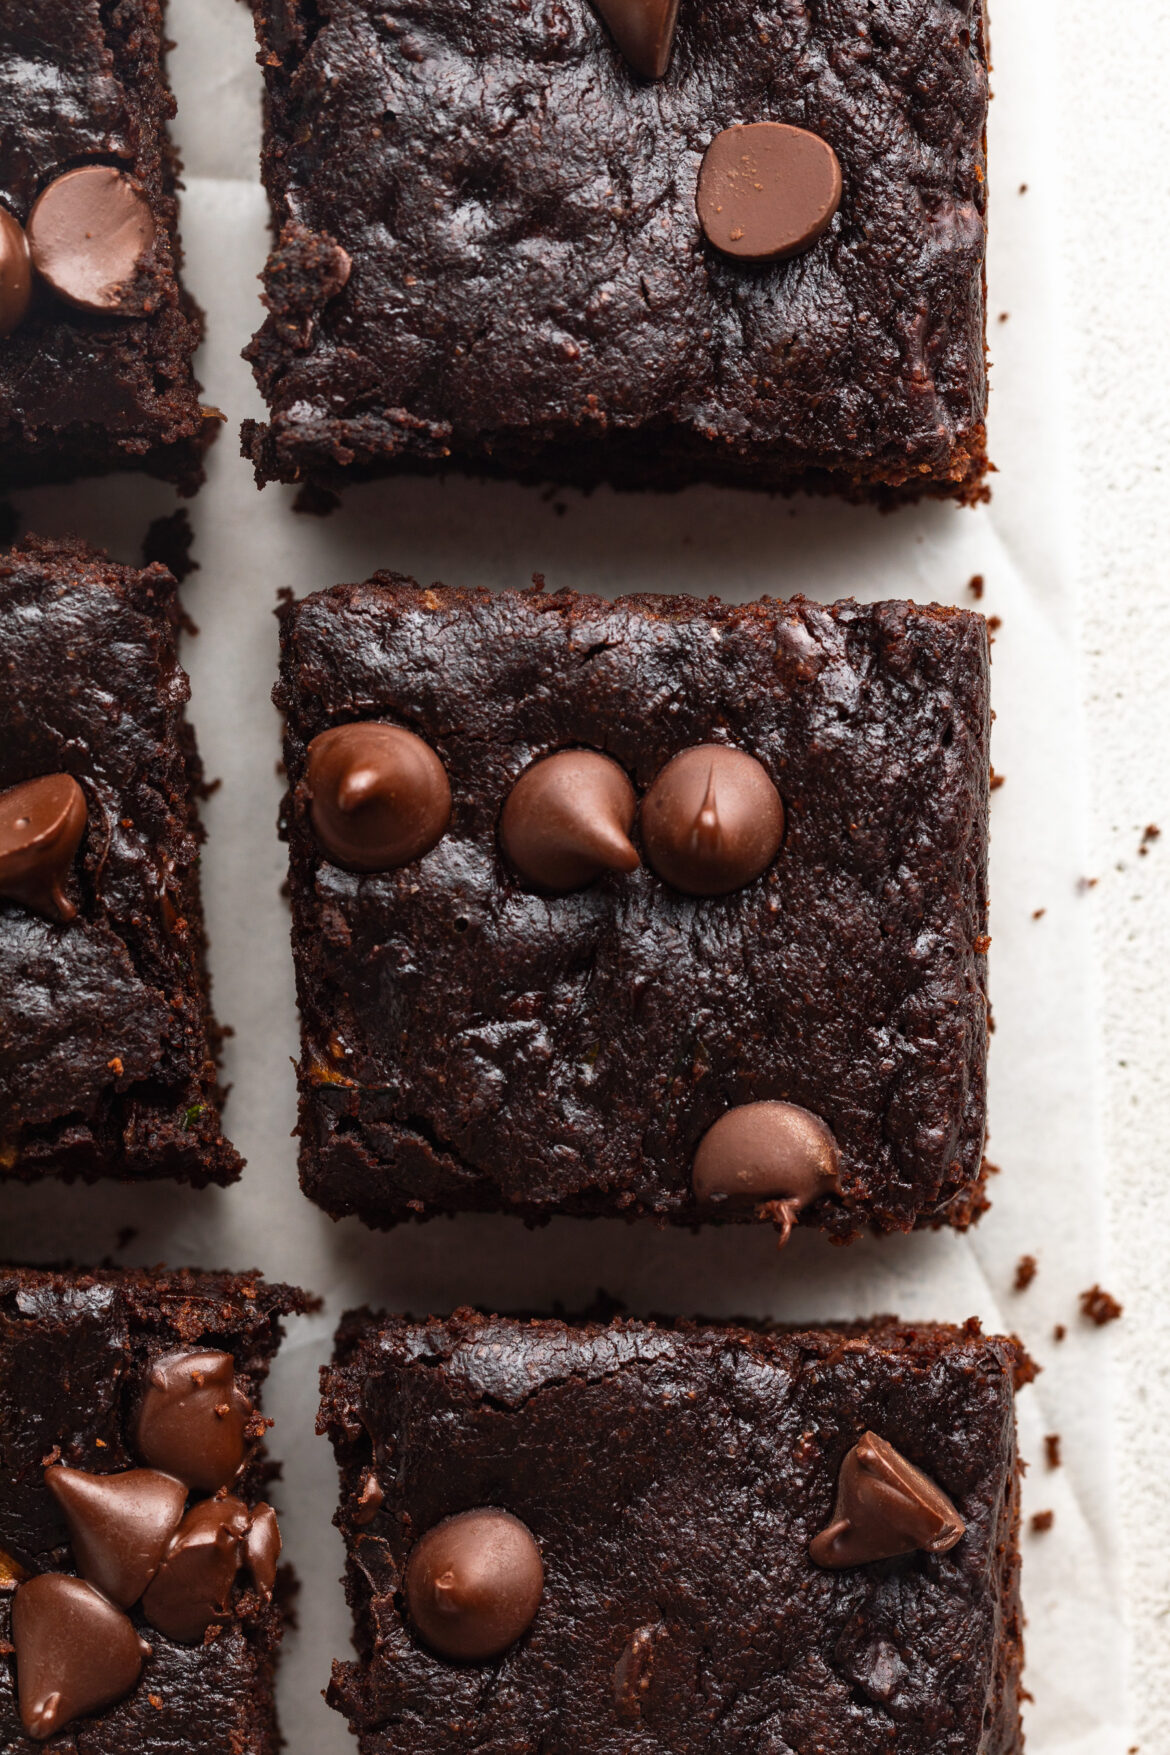
one healthy zucchini brownie stacked on top of another.

Why You’ll Love These Healthy Zucchini Brownies

  • Secretly mighty: Shredded zucchini brings irresistible moisture and a veggie boost – no one will guess!
  • One-bowl wonder: Mix, bake, and enjoy with minimal cleanup and zero fuss.
  • Healthier indulgence: Naturally sweetened, gluten-free, dairy-free, and packed with wholesome fat and fiber!

What Makes This Recipe Healthy

  • Hidden nutrition: Loads of zucchini add moisture, plus essential vitamins and nutrients.
  • Smarter sweeteners: Maple syrup replaces refined sugars, offering a lower glycemic profile!
  • Gluten-free: Use oat flour or a high-quality gluten-free blend for a naturally inclusive dessert.
3 healthy gluten-free zucchini brownies staked on top of each other.

Frequently Asked Questions

  • Can I use almond flour instead of oat flour?
    Yes! Almond flour works beautifully, though the texture may change slightly.
  • How do I store these brownies?
    Keep in an airtight container at room temperature for 3–4 days, or refrigerate for up to one week.
  • Can I make this recipe vegan?
    Absolutely! Swap the egg with a flax egg (1 Tbsp flaxseed meal + 3 Tbsp water) and use dairy-free chocolate chips.

Sam’s Recipe Tips

  • Dry it right: Wrap shredded zucchini in a towel to remove excess moisture – this keeps the brownies from turning out mushy.
  • Oven finesse: The brownies are best pulled when the edges are set and the center still jiggles slightly. They’ll continue to set as they cool.
  • Flavor fun: Sprinkle flaky sea salt on top or stir in chopped walnuts for a textured twist.
No ratings yet

Healthy Gluten-Free Zucchini Brownies

These healthy gluten-free zucchini brownies are rich, fudgy, and secretly packed with shredded zucchini for a boost of hidden veggies! Naturally sweetened with maple syrup and made in just one bowl, they’re a deliciously easy dessert that’s gluten-free, dairy-free, and refined sugar-free.
Print Pin Rate
Prep Time: 10 minutes
Servings: 16 servings

Equipment

  • 1 large bowl
  • 1 9×9-inch baking pan

Ingredients

  • 2 cups shredded zucchini
  • 1/2 cup maple syrup
  • 1/4 cup olive oil or any vegetable oil
  • 1 large egg
  • 1 teaspoon vanilla extract
  • 1 cup oat flour or all purpose flour
  • 1/2 cup unsweetened cocoa powder
  • 1/2 teaspoon baking soda
  • 1/2 cup chocolate chips

Instructions

  • Preheat oven to 350° Fahrenheit and line an 9×9-inch baking pan with parchment paper.
  • Wrap the zucchini in a dish cloth and squeeze to release as much excess moisture from the zucchini as possible, then transfer the shredded zucchini to a large bowl.
  • Add in the maple syrup, olive oil, large egg, and vanilla extract, then mix until everything is fully combined.
  • Next, add in the oat flour or all purpose flour, unsweetened cocoa powder, and baking soda. Mix again until the dry ingredients are fully incorporated into the brownie batter.
  • Fold the chocolate chips into the batter, then transfer the batter to your prepared baking pan. Bake for 30-35 minutes, or until the brownies are just set in the middle them remove from the oven and let cool completely before slicing into squares.

Nutrition

Serving: 1serving | Calories: 120kcal | Carbohydrates: 16g | Protein: 2.5g | Fat: 6g | Fiber: 2g | Sugar: 9g

Summer is finally here, and so is my need for no-bake sweet treats! We’ve kicked things off strong with these healthy no-bake brownie batter balls and 4-ingredient healthy snickers rice cakes, but why not add even more to our no-bake dessert list?! These frozen banana and peanut butter bites are arguably one of the easiest recipes I’ve ever made. And the fact that I don’t have to turn my oven on to make ’em? Well that’s just the cherry (or should I say banana???) on top!

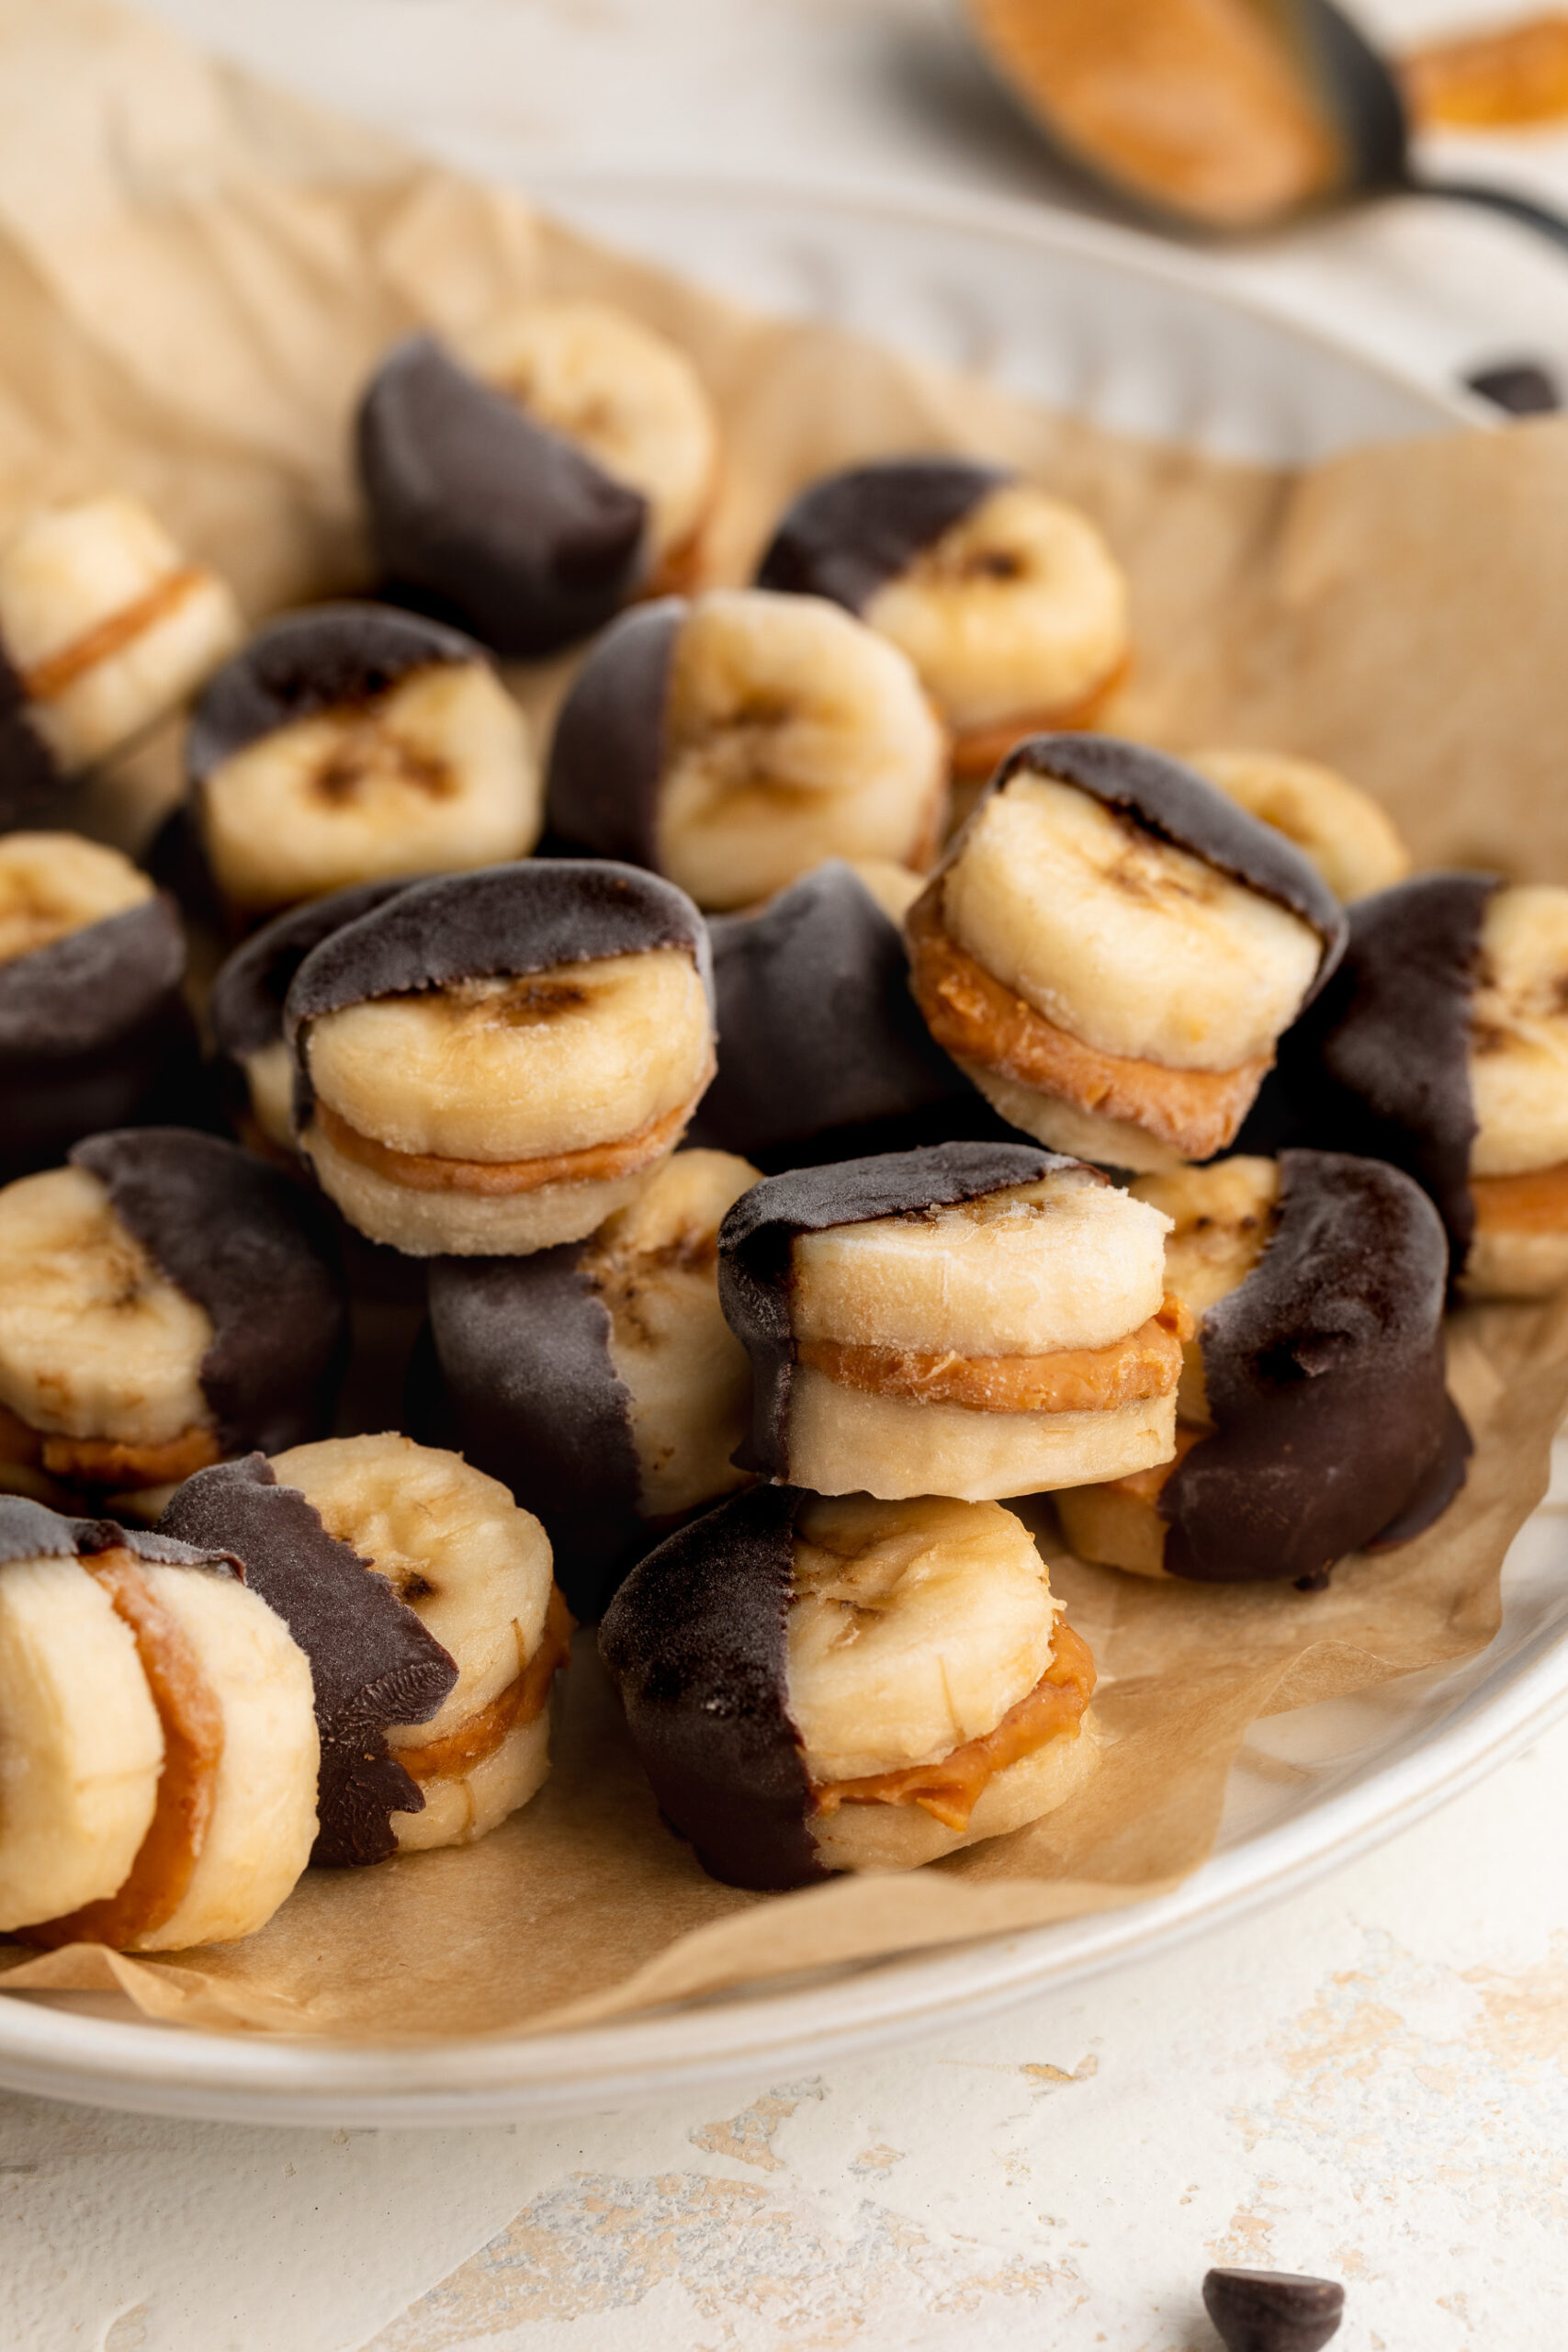
frozen banana and peanut butter bites dipped in chocolate on a plate

Why You’ll Love These Frozen Banana and Peanut Butter Bites

  • Wholesome and satisfying: These banana bites are the perfect balance of creamy peanut butter, sweet banana, and rich chocolate.
  • Perfect make-ahead snack or dessert: Freeze them and grab one anytime you’re craving something sweet but healthy.
  • Kid-friendly, adult-approved: Whether you need an after-school snack or a post-dinner treat, these bites are a hit with all ages.

What Makes This Recipe Healthy?

These bites are naturally sweetened with fruit, packed with fiber and potassium from bananas, and loaded with healthy fats and protein from peanut butter. The dark chocolate adds antioxidants and satisfies that chocolate craving without loading up on processed sugar or dairy. Best of all, this snack contains no refined ingredients, is gluten-free, dairy-free, and completely vegan.

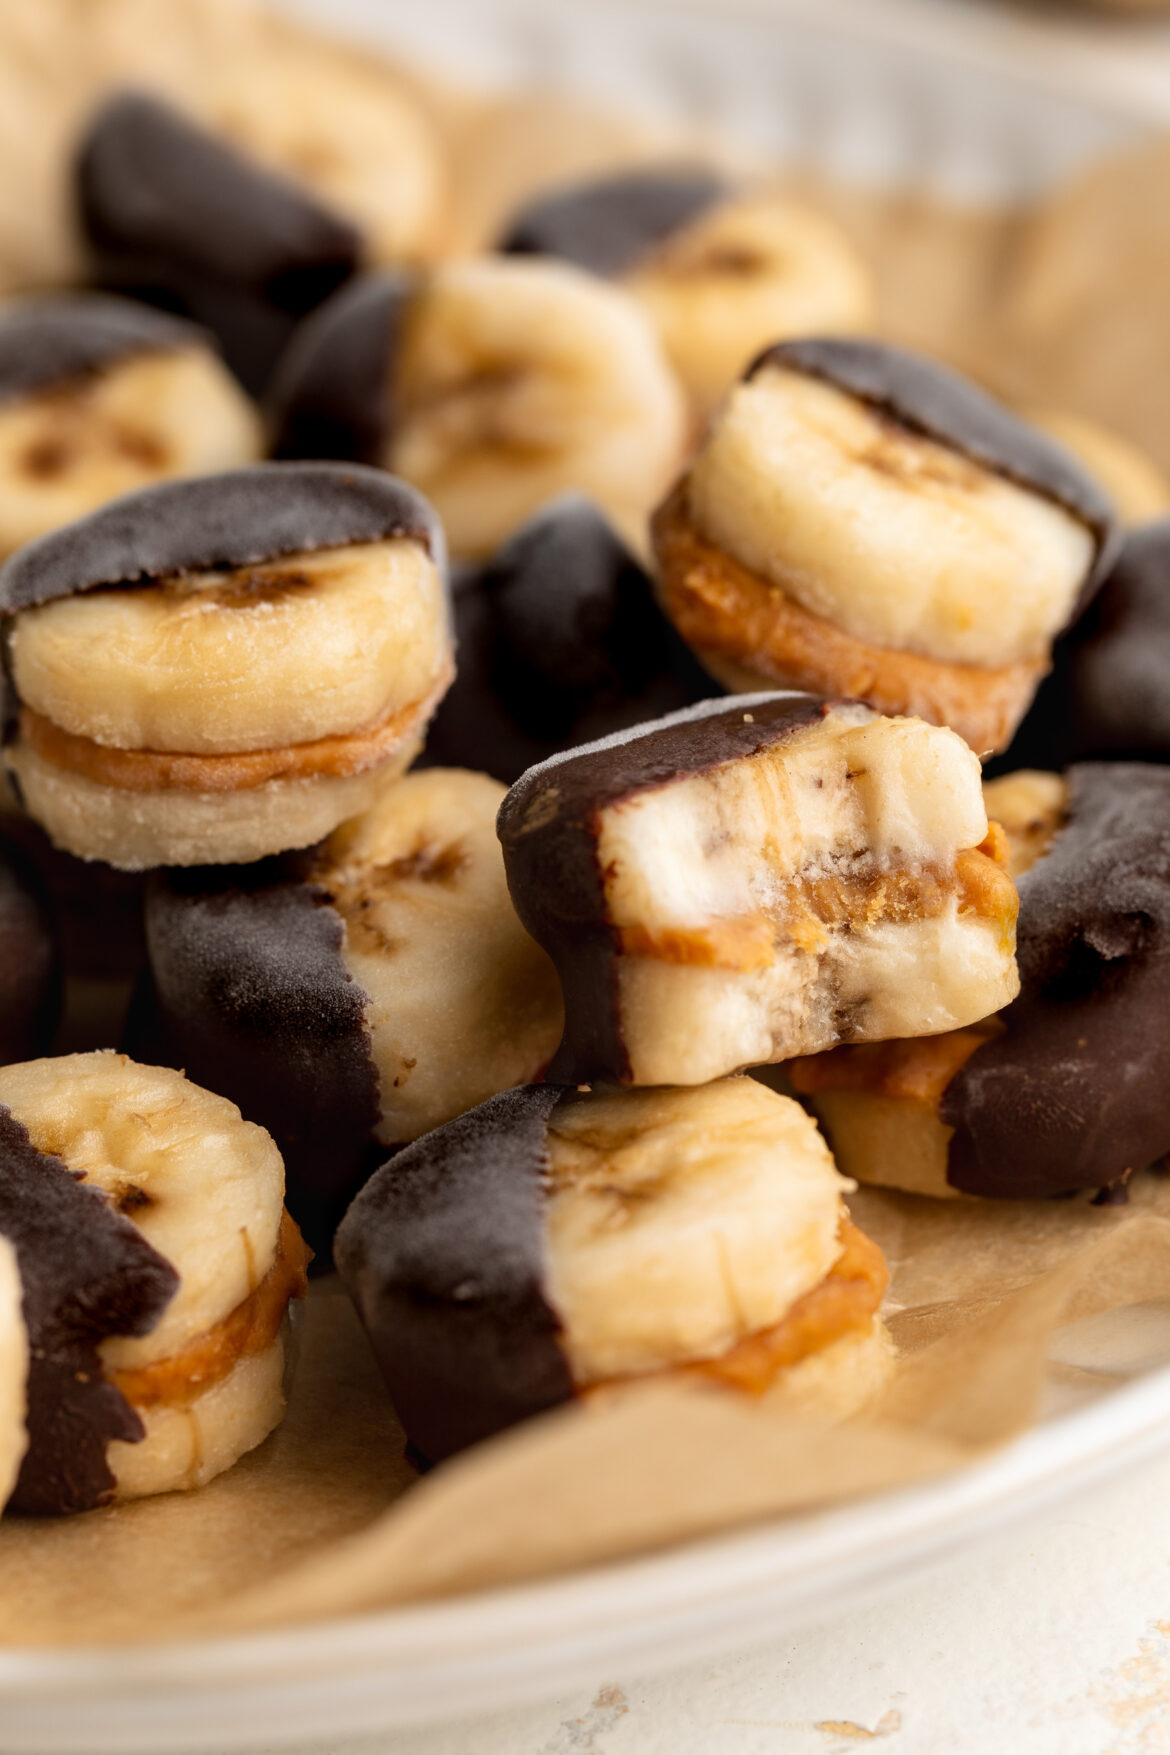
bite taken out of a frozen banana and peanut butter bite.

Recipe Variations and Substitutions

  • Nut-free? Use sunflower seed butter or almond butter instead of peanut butter.
  • Add crunch: Sprinkle crushed peanuts or sea salt on top before the chocolate hardens.
  • Make it extra chocolaty: Add a tiny dollop of chocolate between the banana slices before dipping.
  • Low-sugar option: Use stevia-sweetened chocolate chips to reduce added sugar.
frozen banana and peanut butter bites dipped in chocolate on a plate
No ratings yet

Frozen Banana and Peanut Butter Bites (4 ingredients!)

Print Pin Rate
Prep Time: 8 minutes
Freezing Time: 27 minutes
Total Time: 35 minutes
Servings: 6 servings

Equipment

  • 1 large baking sheet
  • 1 small bowl

Ingredients

  • 2 bananas peeled and sliced into 1/4-inch thick rounds
  • 1/4 cup creamy peanut butter
  • 1/3 cup chocolate chips
  • 1 teaspoon coconut oil

Instructions

  • Place 15 banana slices on a baking sheet lined with parchment paper. Spread about a teaspoon of peanut butter on top of each banana slice.
  • Top with another banana slice, and slightly press them together to make banana peanut butter “sandwiches.”
  • Transfer the bananas with peanut butter to the freezer for about 1 hour to harden.
  • Melt together the chocolate chips and coconut oil in either a microwave or over a double boiler until the chocolate is completely smooth.
  • Remove the bananas with peanut butter from the freezer and carefully dip them into the melted chocolate. Place the chocolate-dipped bananas back onto the baking sheet.
  • Freeze the banana and peanut butter bites for about 30 minutes, or until the chocolate has hardened and you’re ready to eat! 

Nutrition

Serving: 1serving | Calories: 150kcal | Carbohydrates: 16g | Protein: 3g | Fat: 8g | Sugar: 9g

If my healthy edible brownie batter and 4-ingredient date caramels had a baby, it’d be these healthy no-bake brownie balls! They’re rich, fudgy, naturally sweetened with dates, and even include some sneaky protein. And the best part? They’re entirely NO bake! Because let’s face it, this summer’s already been too hot to turn the oven on. I honestly keep a batch of these healthier brownie treats in my fridge at all time for when I need just a little something sweet!

healthy no-bake brownie balls in a small bowl with flaky salt on top.

Why You’ll Love These Healthy Brownie Balls

These no-bake healthy brownie balls are the perfect healthy treat! Whether you’re craving something sweet post-workout or want a better-for-you treat during the day, these bites are loaded with flavor and come together in just minutes. Plus, they’re naturally sweetened with dates, made with wholesome plant-based ingredients, and dipped in chocolate for that irresistible finish!

What Makes This Recipe Healthy?

  • Naturally Sweetened – These brownie balls are sweetened entirely with medjool dates, offering fiber and natural sugars with zero refined sugar.
  • High in Plant-Based Protein – Thanks to chocolate protein powder and almond butter, these bites offer a nice protein boost to keep you satisfied.
  • No Bake + Easy Prep – Just toss the ingredients in a food processor, roll, dip, and chill. That’s it!
  • Allergy-Friendly – They’re gluten-free, dairy-free, and vegan-friendly, depending on your protein powder and chocolate chip choices.
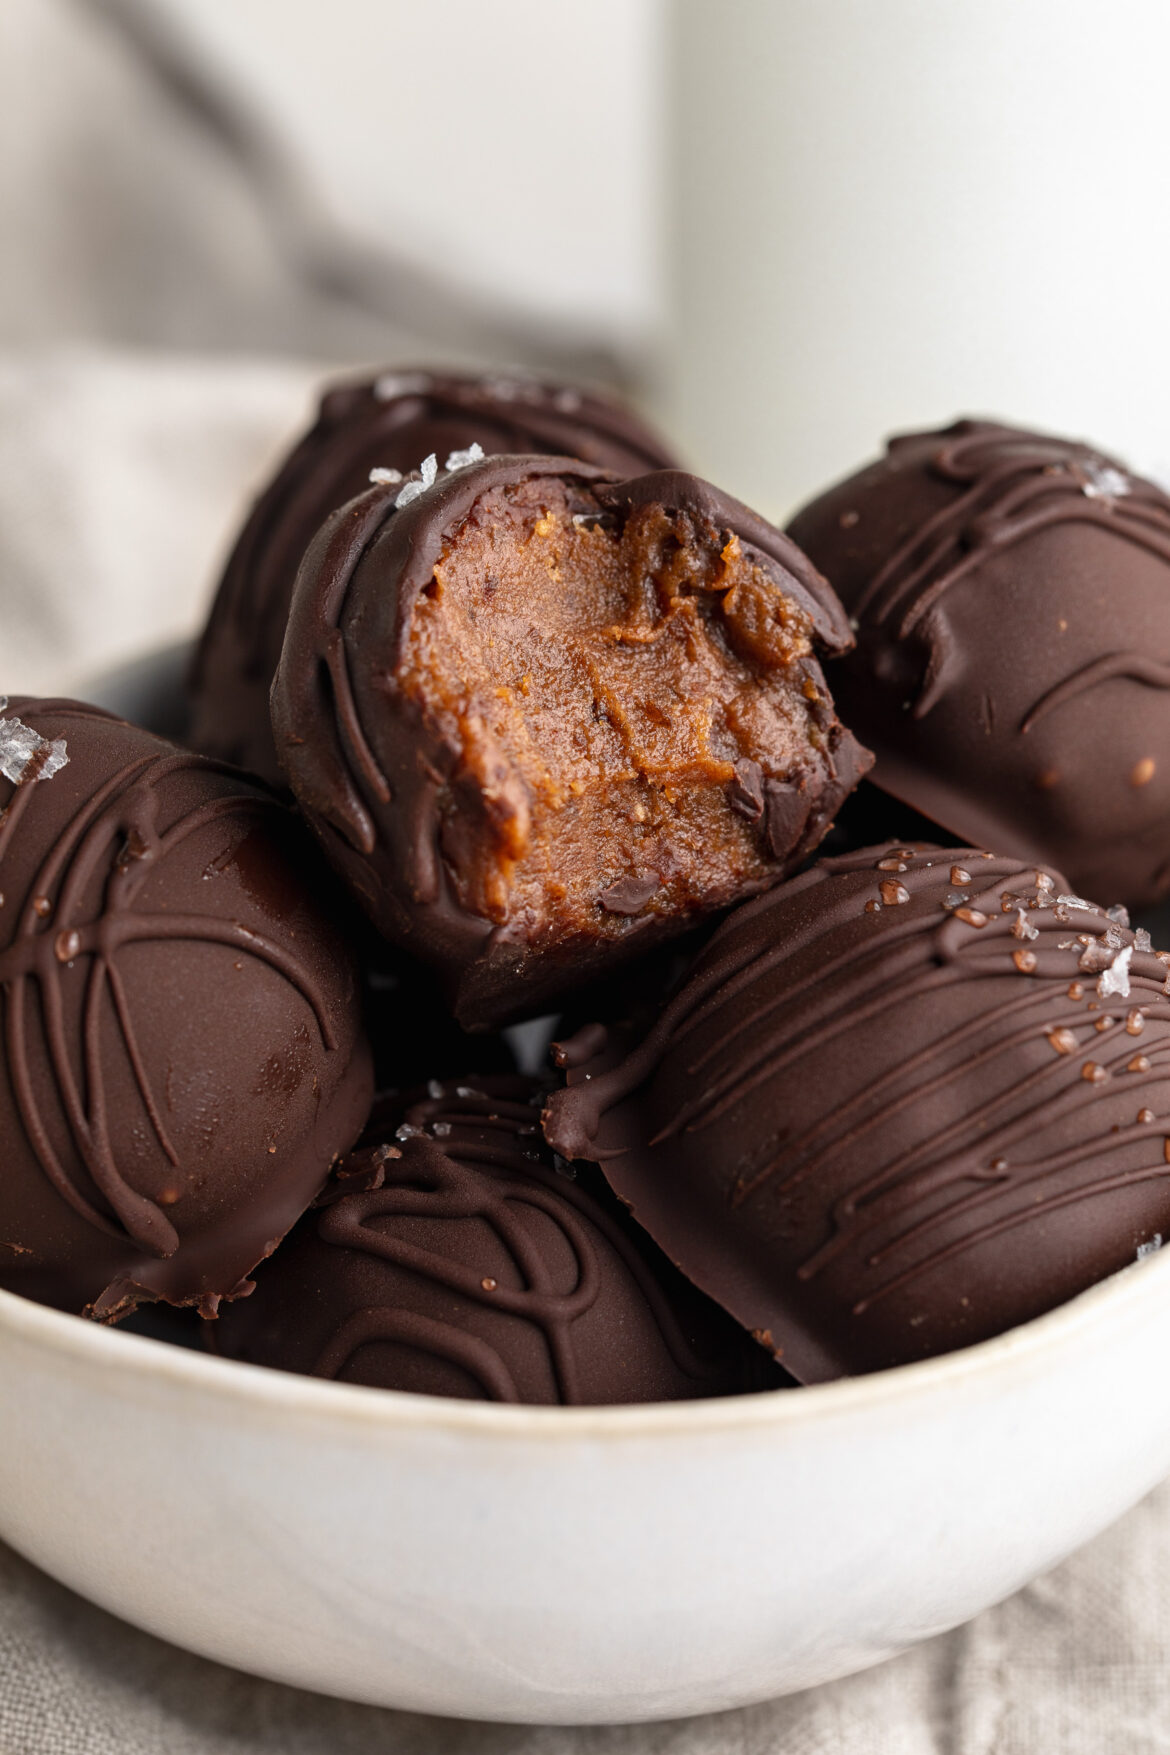
healthy no-bake brownie balls in a small bow, one with a bite taken out.

Frequently Asked Questions

What can I use instead of almond flour?
You can use oat flour as a 1:1 substitute. It keeps the texture soft and fudgy and is also naturally gluten-free!

What kind of protein powder did you use?
I used Aloha Chocolate Plant-Based Protein Powder (use this link for 20% OFF Aloha!). It’s dairy-free, soy-free, and adds a rich chocolate flavor without any artificial ingredients.

How do I store these brownie balls?
Keep them stored in an airtight container in the fridge for up to 1 week, or freeze for longer storage—just let them thaw for a few minutes before enjoying!

Sam’s Recipe Tips

  • Soak your dates if they’re dry or firm. Just 10 minutes in hot water makes them easier to blend.
  • Chill the dough if it’s too soft to roll into balls. Even 10 minutes in the fridge can help.
  • Use parchment paper when dipping the balls in chocolate to avoid sticking and messy cleanup.
  • Add toppings like crushed nuts, flaky sea salt, or shredded coconut to the chocolate coating before it sets for a decorative (and delicious) twist.
close up image of healthy no-bake brownie balls in a bowl, one with a bite taken out.
5 from 1 vote

Healthy No-Bake Brownie Balls

These no-bake healthy brownie balls are rich, fudgy, and made with just 6 simple ingredients! They’re gluten-free, dairy-free, and naturally sweetened with dates. Keep a batch in the fridge for a delicious and healthy treat anytime!
Print Pin Rate
Prep Time: 10 minutes
Chilling Time: 30 minutes
Servings: 8 brownie balls

Equipment

  • 1 food processor or high speed blender
  • 1 small bowl

Ingredients

For the brownie balls:

  • 1 cup medjool dates pitted
  • 1/4 cup almond flour or oat flour
  • 1/4 cup chocolate protein powder or cocoa powder
  • 1/3 cup almond butter or any nut/seed butter
  • 1/2 teaspoon Vanilla Extract optional but recommended

For the chocolate coating:

  • 1 cup chocolate chips I used extra dark chocolate chips
  • 2 teaspoons coconut oil

Instructions

  • Add all brownie ball ingredients to a food processor and pulse until a dough form.
  • Use a cookie scoop to scoop the mixture, then roll it between palms into a ball. Place the balls on a parchment-lined plate and transfer to the freezer for a few minutes while you make the chocolate coating.
  • Make the chocolate coating by melting together the chocolate chips and coconut oil in either a microwave or over a double boiler until completely smooth.
  • Remove the brownie balls from the freezer, dip each ball into the chocolate until it’s evenly coated, then place them back on the parchment-lined plate. Transfer the chocolate coated brownie balls to the fridge for about 30 minutes, or until the chocolate has hardened. Either enjoy right away or store in the fridge for later.

Nutrition

Serving: 1brownie ball | Calories: 150kcal | Carbohydrates: 20g | Protein: 5g | Fat: 9g | Sugar: 14g

This healthy milkshake recipe has permanently cemented my spot as best wife ever. My husband is a huge ice cream guy, but he’ll admit – too much ice cream hurts his stomach. I often make him my no-churn vegan vanilla ice cream, and sometimes even my 2-ingredient healthy pineapple ice cream, but those take a bit more time. So this healthy milkshake is basically his way of enjoying an ice cream treat without any ice cream and in a matter of minutes! Just ice, milk (I use almond milk to keep it dairy-free), cocoa powder, and maple syrup is all you’ll need for this frosty treat. It’s even totally banana-free, because while I love banana, one of the most frequent comments on any banana-forward recipe I post is “I don’t like banana” or “what can I use instead of banana?” So, here ya have it – a healthy creamy and perfectly sweet chocolate milkshake with NO banana!

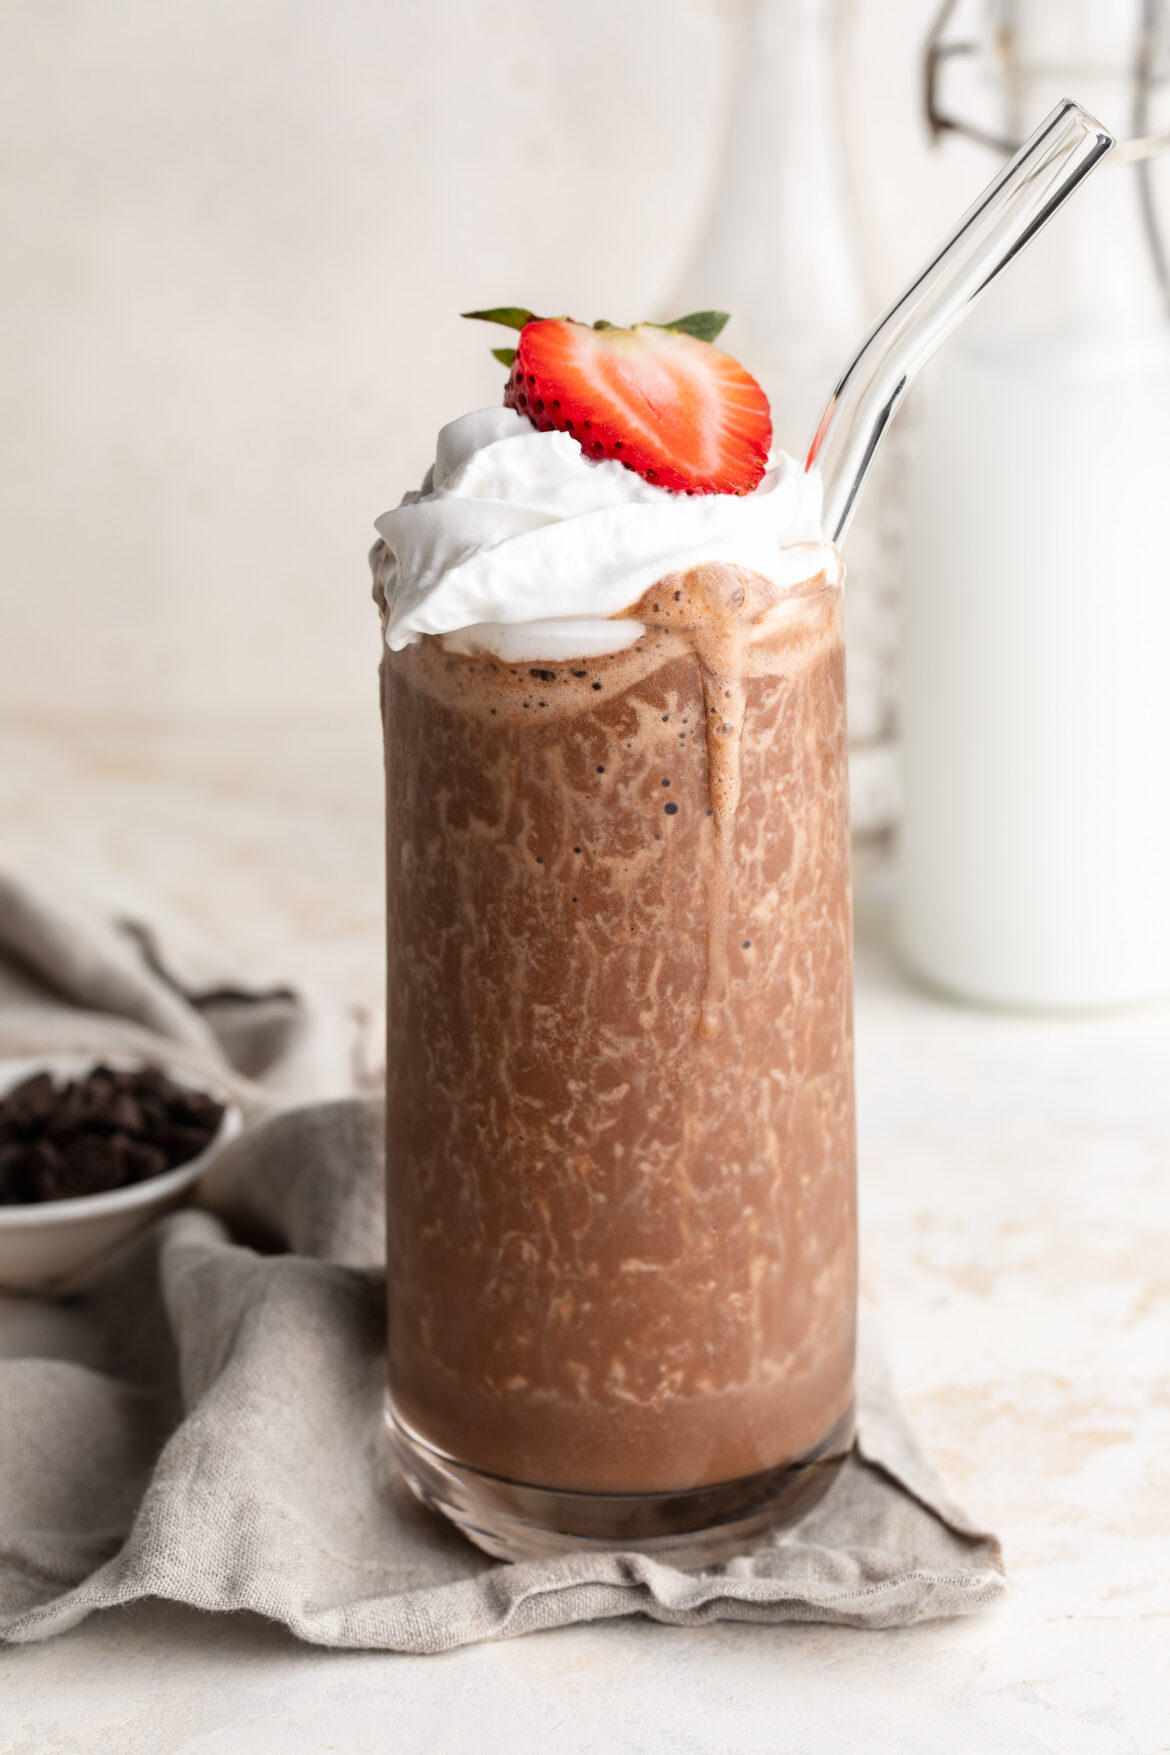
healthy milkshake in a glass with whipped cream on top.

Why You’ll Love This Healthy Milkshake

  • Only 4 simple ingredients, no unecessary additives.
  • Dairy‑free and naturally sweet, no banana – yet indulgently chocolatey!
  • Low‑calorie & flexible – customizable for keto, vegan, or paleo diets.

What Makes This Recipe Healthy

  • Made with unsweetened almond milk, reducing calories and sugar vs. regular milk.
  • Unsweetened cocoa delivers rich flavor plus antioxidants without extra fat .
  • Optional sweeteners let you control sweetness and caloric intake – use maple syrup, honey, stevia, or allulose .

Frequently Asked Questions

Can I make this sugar‑free?
Yes! Swap maple syrup for stevia, monk fruit, or allulose for a keto‑friendly version (around 100–150 cal).

What other sweeteners work besides maple syrup?
Honey, agave, dates, or even unsweetened applesauce can work – just adjust the quantity to your taste!

Can I add frozen banana?
Absolutely! Adding banana creates a thicker, fruitier smoothie; leave it out if you want a pure chocolate flavor.

healthy milkshake in a glass with whipped cream and a strawberry on top.

Sam’s Recipe Tips

  • Start with 2 Tbsp maple syrup, then adjust after tasting.
  • Add more ice if you prefer a frosty shake, or 1/2 a frozen banana for a creamier milkshake.
  • Freeze leftover milkshake in ice cube trays for future shakes!

Flavor Variations

  • Vanilla Milkshake: Omit cocoa powder. Add 1 teaspoon vanilla extract. Optional: add 1–2 tablespoons plain Greek yogurt or coconut cream for extra richness.
  • Strawberry Milkshake: Omit cocoa powder. Add ½ cup frozen strawberries before blending. Optional: a squeeze of lemon for brightness.
  • Mint Chocolate Milkshake: add a few drops of peppermint extract and top with a fresh mint leaf.
  • Peanut Butter Swirl Milkshake: blend in 1 Tbsp natural nut butter for a peanut butter-chocolate twist.
  • Mocha Milkshake: replace half of the almond milk with black coffee or espresso for a caffeine kick!
healthy milkshake in a glass with whipped cream and a strawberry on top.
5 from 2 votes

4-Ingredient Healthy Milkshake (no banana!)

This healthy milkshake recipe is creamy, dairy-free, and made with just 4 simple ingredients – no banana or ice cream required! Choose from chocolate, vanilla, or strawberry for a naturally sweetened treat you can blend in under 2 minutes. It’s the perfect quick and refreshing dessert or snack that’s vegan, gluten-free, and totally customizable!
Print Pin Rate
Prep Time: 5 minutes
Total Time: 5 minutes
Servings: 1 serving

Equipment

  • 1 blender

Ingredients

  • 1 cup ice cubes
  • 1/2 cup milk I used unsweetened almond milk
  • 1-2 tablespoons maple syrup
  • 2 tablespoons unsweetened cocoa powder

Instructions

  • Add all ingredients to a blender and blend until smooth, then pour into a glass and enjoy!

Nutrition

Serving: 1milkshake | Calories: 90kcal | Carbohydrates: 20g | Protein: 2.5g | Fat: 2.8g | Sugar: 12g