Tag

snack

Browsing

Think snickers can’t be healthy?? Think again! I’ve pretty much made it my life’s work to take unhealthy treats and make them healthy. Like my healthy gluten-free mug cake, and my healthy cookie dough bars (another no-bake dessert in constant rotation around here!). These 4-ingredient healthy snickers fit seamlessly into my healthier treats lineup. My recent nighttime routine has included getting my baby to bed, popping 3 or 4 of these healthy snickers out of the freezer, and cozying up on the couch while I savor every last bite. My husband’s also obsessed, so I’ve been doubling this recipe to make sure there’s plenty to go around!

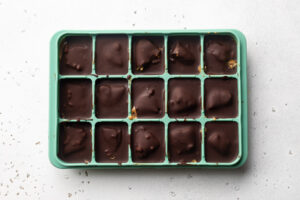
For this recipe, you’ll want to start with a silicone ice cube tray. I purchased these ones (they come in a 2-pack) and have loved them so far! They’re also great for making ice cubes too, as the silicone helps the cubes slide right out. From there, you’ll need just four simple ingredients – chocolate, coconut oil, dates, and peanut butter. All relatively healthy ingredients, but they come together to create a treat that tastes seriously indulgent, but won’t hurt your stomach… no matter how many you eat! *wink wink*

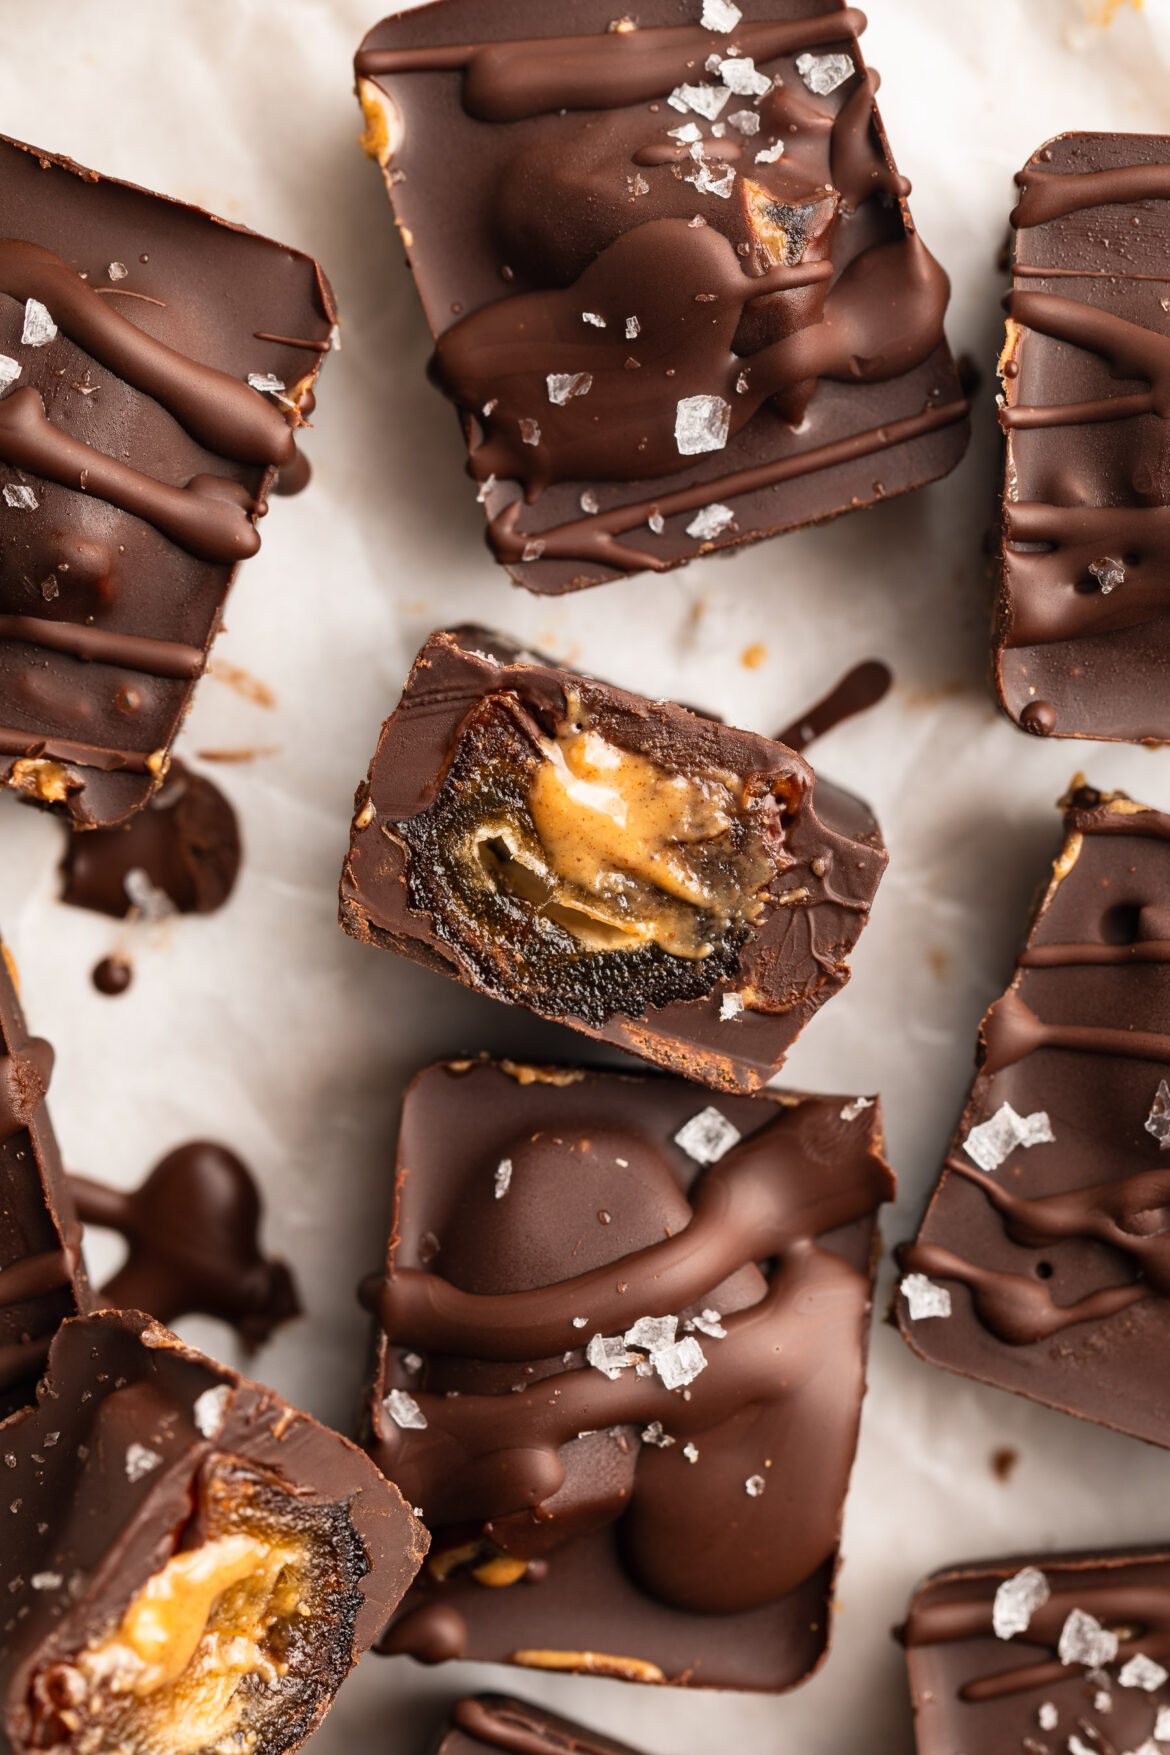
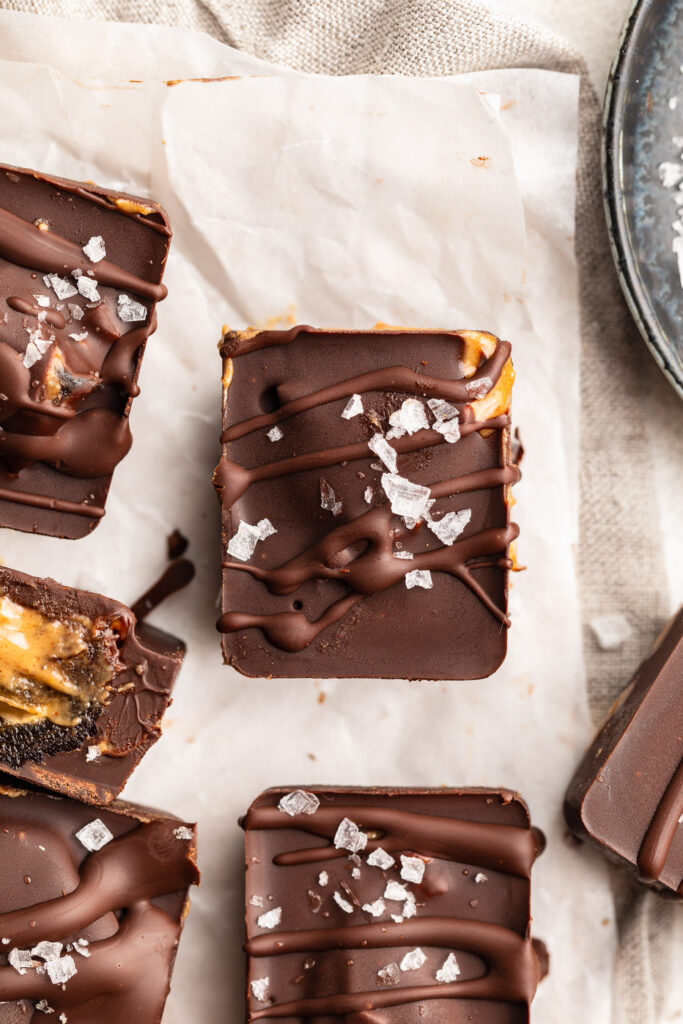
overhead image of a healthy snicker with flaky sea salt on top.

What You’ll Need To Make These Healthy Snickers

Chocolate Chips: Opt for dairy-free or dark chocolate chips for a healthier option. These provide the rich, chocolatey coating for your snickers bites.

Coconut Oil: Coconut oil helps melt the chocolate chips and creates a smooth, glossy texture for your healthy candy bars.

Medjool Dates: These naturally sweet and chewy dates serve as the caramel-like layer in your snickers, providing natural sweetness and a satisfying texture.

Crunchy Peanut Butter: Choose your favorite brand of crunchy peanut butter to add nutty flavor and crunch to your guilt-free treats!

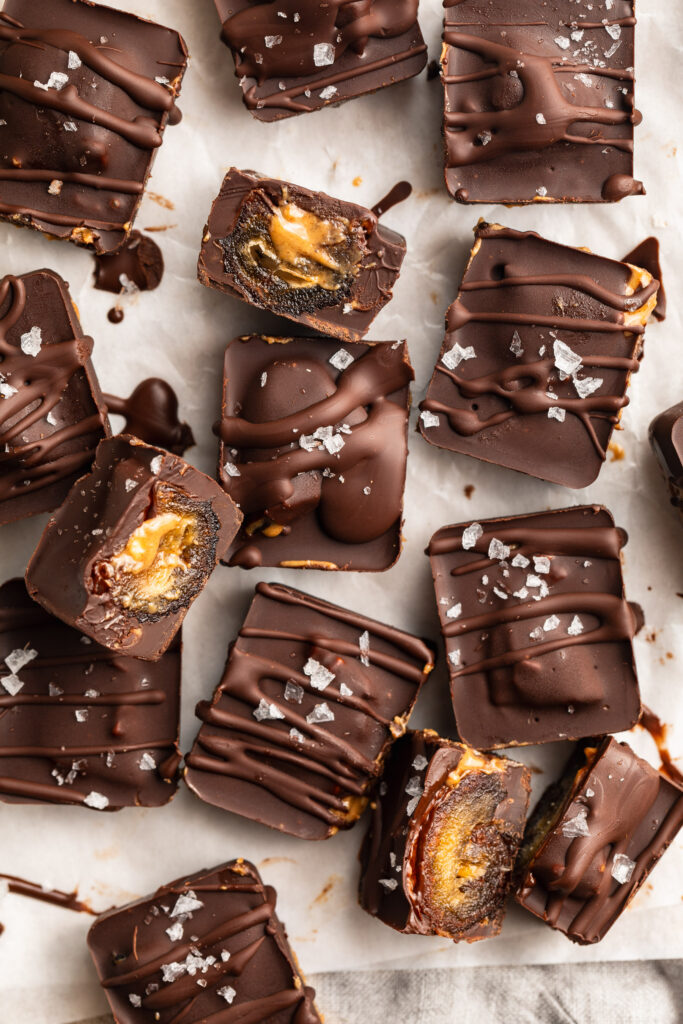
overhead image of healthy snickers bars with flaky sea salt on top.

Tips and Tricks

  • If your dates are too firm, soak them in warm water for 10-15 minutes before using. This will help soften them and make them easier to work with.
  • Using a silicone ice cube tray makes it easier to remove the snickers bites once they’re frozen. If you don’t have one, you can line a regular ice cube tray with plastic wrap for easy removal.
  • To ensure even distribution of ingredients, use a layering technique when assembling your healthy snickers bites. Start with a layer of melted chocolate, followed by a date and a dollop of peanut butter, then top with another layer of melted chocolate.
overhead image of healthy snickers cut in half with peanut butter inside.
5 from 2 votes

4-Ingredient Healthy Snickers

This healthy snickers recipe is the perfect healthier treat to satisfy your sweet tooth! Made with just 4 wholesome ingredients; chocolate chips, coconut oil, medjool dates, and crunchy peanut butter. They taste just like a snickers, but with a fraction of the sugar!
Print Pin Rate
Prep Time: 5 minutes
Total Time: 5 minutes
Servings: 15 snickers

Ingredients

  • 1 cup chocolate chips
  • 1 tablespoon coconut oil
  • 8 medjool dates, pits removed and cut in half
  • 1/4 cup crunchy peanut butter

Instructions

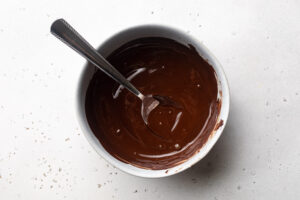
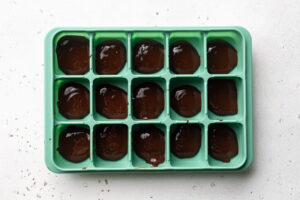
  • Melt the chocolate chips and coconut oil together in a small bowl in the microwave.
    healthy-snickers-step-1
  • Take a silicone ice cube tray and fill 15 cavities of the tray with 1/2 tablespoon each of the melted chocolate.
    healthy-snickers-step-2
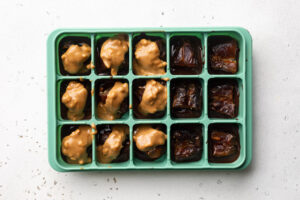
  • Place one pitted date half into each cavity on top of the chocolate.
    healthy-snickers-step-3
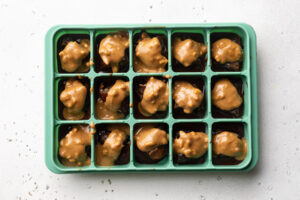
  • Then, add about ½ a tablespoon of crunchy peanut butter to each ice cube cavity, on top of each date.
    healthy-snickers-step-4
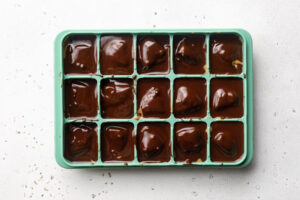
  • Pour the remaining melted chocolate into each ice cube cavity, covering the dates and peanut butter completely.
  • Place the ice cube tray in the freezer for about 20 minutes, or until the chocolate has completely hardened. Remove the tray from the freezer and pop out the healthy snickers. Store snickers in the fridge or freezer for up to 3 months!
    healthy-snickers-step-6

Notes

  • Here’s a link to the silicone ice cube trays I used to make my healthy snickers! They worked wonders and were super easy to clean.
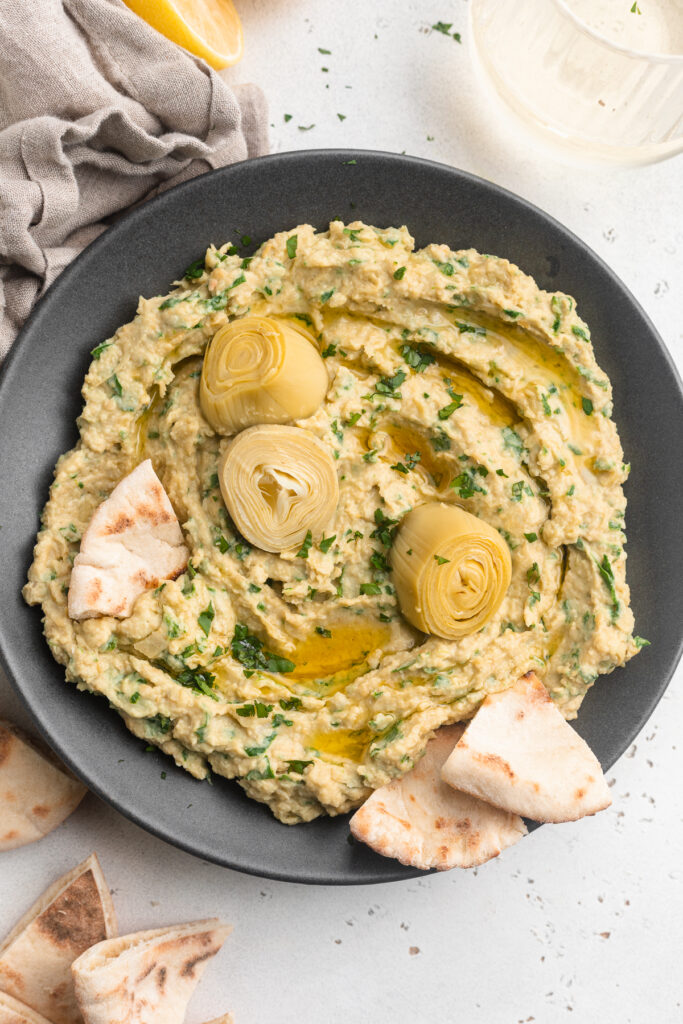
  • The BEST of both worlds! Super easy and ultra delicious spinach artichoke hummus. One of my all-time favorite healthy snacks or appetizers!

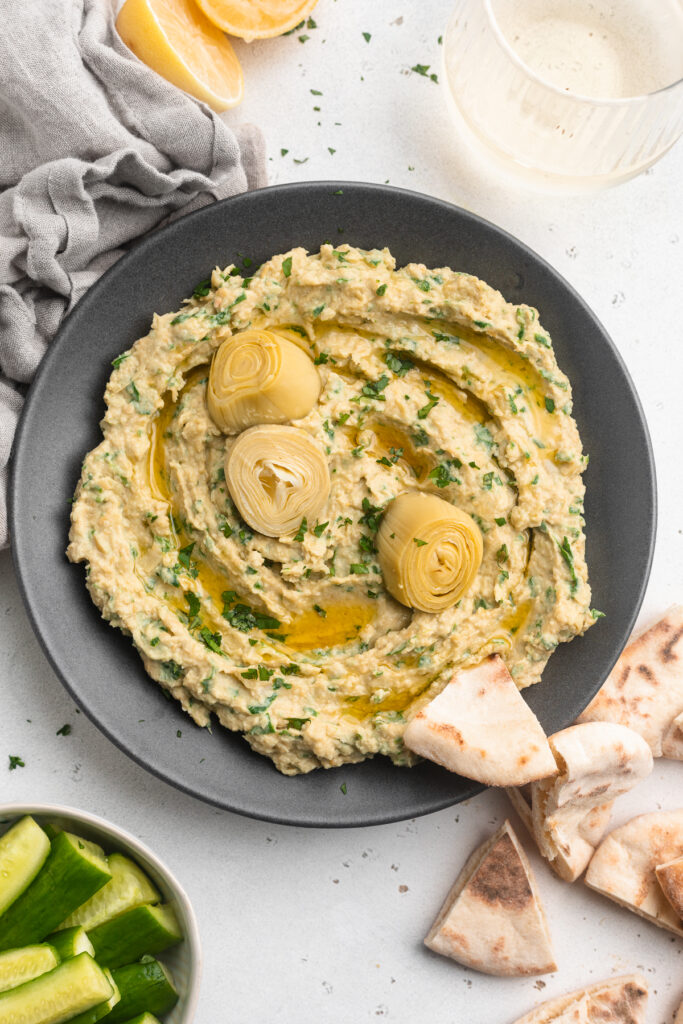
    overhead image of spinach artichoke hummus with pita, cucumber, and white wine on the side.

    What You’ll Need to Make Spinach Artichoke Hummus

    Chickpeas – I used canned chickpeas, but feel free to soak and boil your own for this recipe. However, canned chickpeas makes things extra easy on you (which I highly recommend!).

    Tahini – Every good hummus recipe has tahini! Never heard of tahini? It’s just ground sesame seeds. It’s also super easy to find at most grocery stores, typically located in the ethnic food aisle. This is the tahini brand I use and love in this spinach artichoke hummus!

    Baby Spinach – Use fresh, not frozen spinach in this healthy snack recipe! Lucky for us, fresh spinach is loaded with good-for-you vitamins and minerals.

    Canned Artichoke Hearts – Either whole or quartered canned artichoke hearts will work. I used these Cento artichoke hearts, and they were delicious. Also, if you have any leftover artichoke hearts, they make a great addition to salads and charcuterie boards!

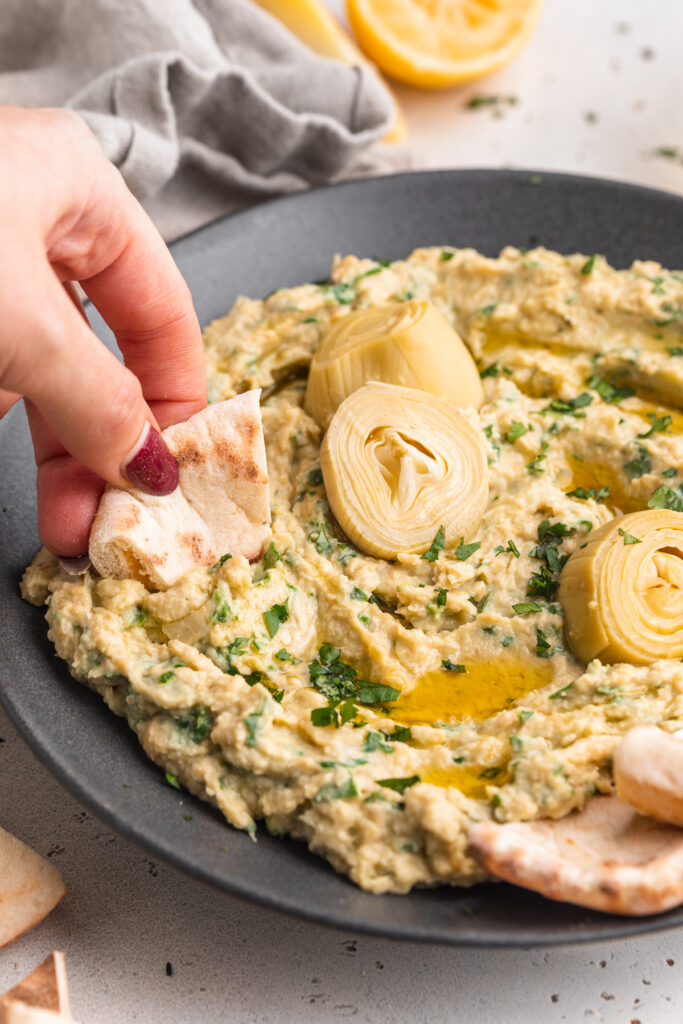
    pita being dipped into spinach artichoke hummus.

    Tips and Tricks

    • Once you add the spinach and artichokes, pulse the hummus only a few times. Too much pulsing will completely puree the spinach and artichokes. Instead, to achieve that finely chopped texture you get in a spinach artichoke dip, give your food processor just a few quick pulses.
    • Taste the hummus after the first step! This is the best time to adjust/add any seasonings you’d like. For an extra tangy hummus, add in a bit more lemon juice. Or, for a super garlicky hummus, add in another clove or two of garlic.
    • This spinach artichoke hummus dip will stay fresh in an airtight container in the fridge for up to 5 days. Enjoy it all week long with pita, pita chips, fresh veggies, or simply by the spoonful!
    overhead image of spinach artichoke hummus with pita on the side.

    This Recipe Is…

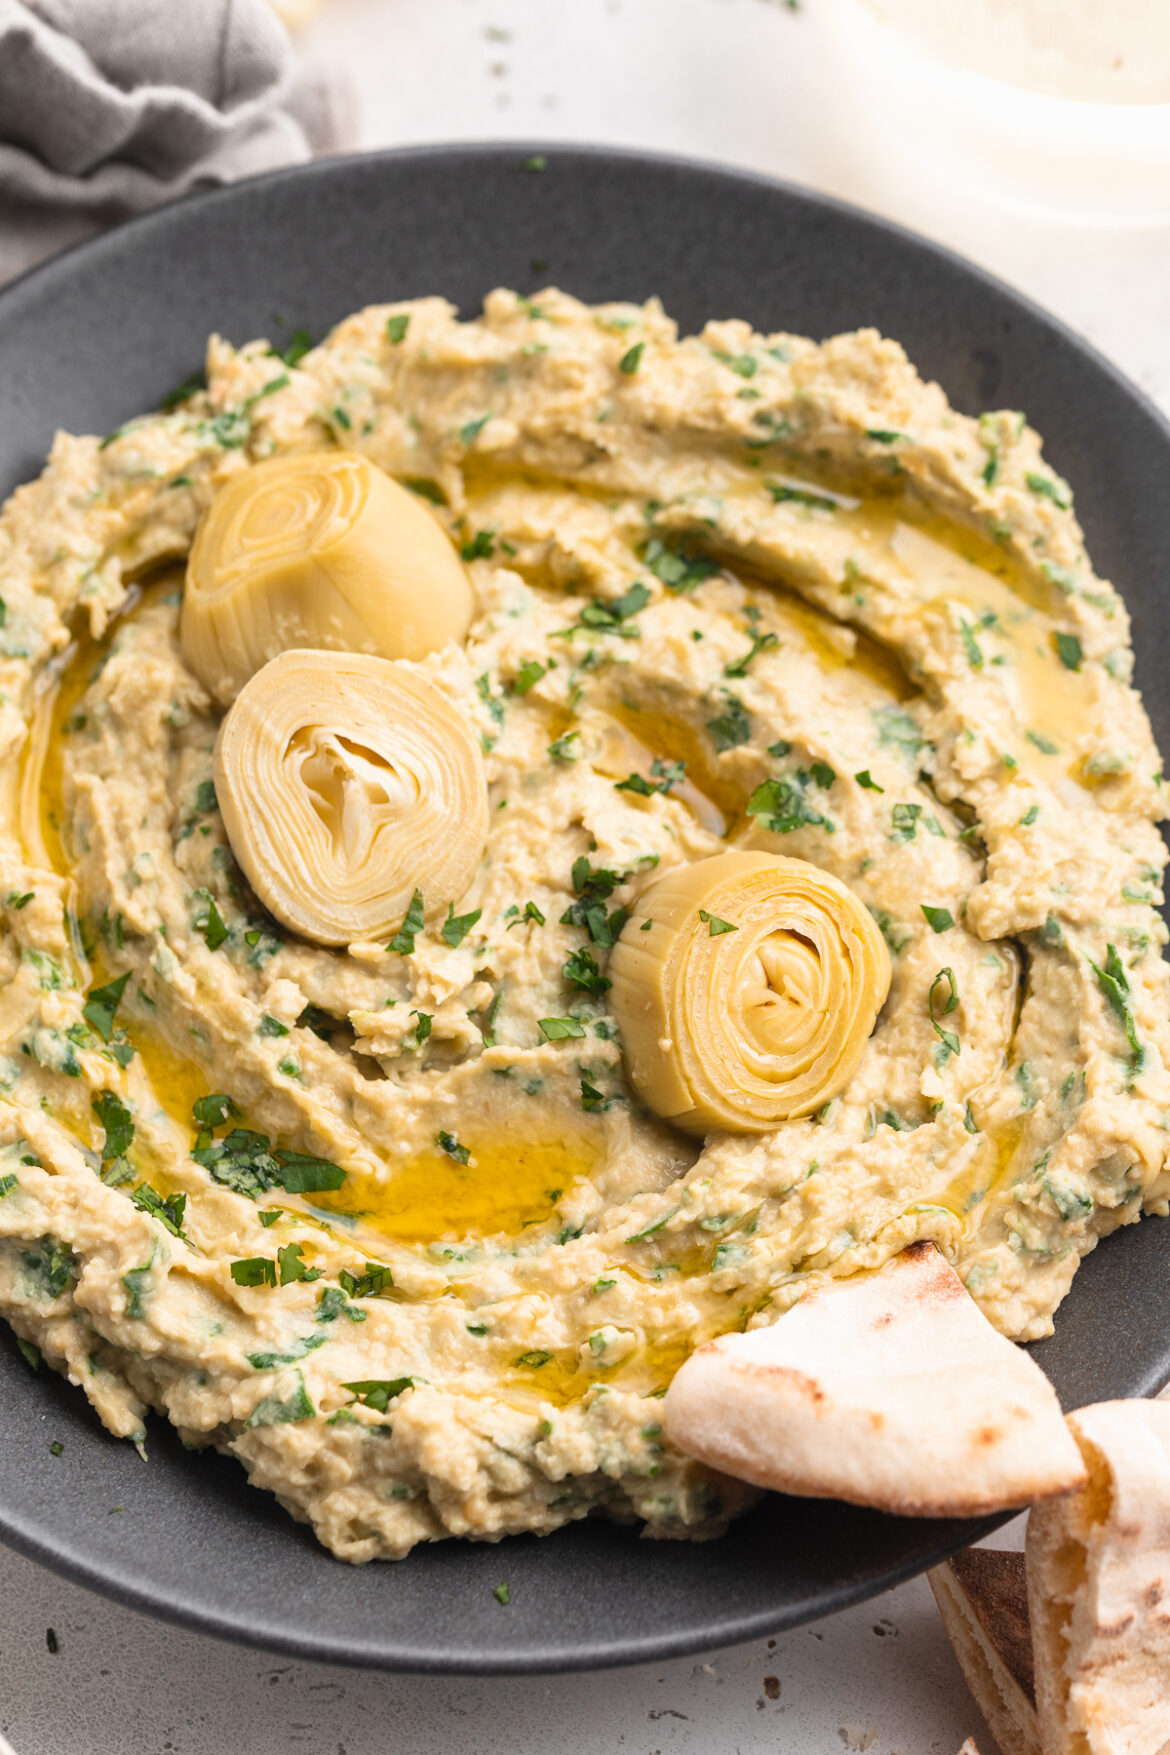
    close-up image of spinach artichoke hummus with artichoke hearts on top.
    5 from 2 votes

    Spinach Artichoke Hummus

    The BEST of both worlds! Super easy and ultra delicious spinach artichoke hummus. One of my all-time favorite healthy snacks or appetizers!
    Print Pin Rate
    Prep Time: 5 minutes
    Total Time: 5 minutes
    Servings: 2 cups

    Ingredients

    • 1 (15 ounce) can chickpeas, drained and rinsed
    • 1/4 cup tahini
    • 1/4 cup olive oil
    • 2 tablespoons fresh lemon juice
    • 1 garlic clove, peeled
    • 1/2 teaspoon cumin
    • salt, to taste
    • 1 cup baby spinach
    • 1/2 cup canned artichoke hearts, drained

    Instructions

    • Add chickpeas, tahini, olive oil, lemon juice, garlic, cumin, and salt to a food processor. Blend until completely smooth.
    • Add in baby spinach and artichoke heart, pule 5-6 times until spinach and artichokes are finely chopped, then serve.

    Nutrition

    Calories: 300kcal

    This light and fluffy gluten-free cornbread is perfectly sweet and surprisingly simple to make! With just a few easy swaps, you’ll have a gluten-free and dairy-free version of a comforting classic. Slather some dairy-free honey butter on a slice of this gluten-free cornbread for a delicious snack or side dish!

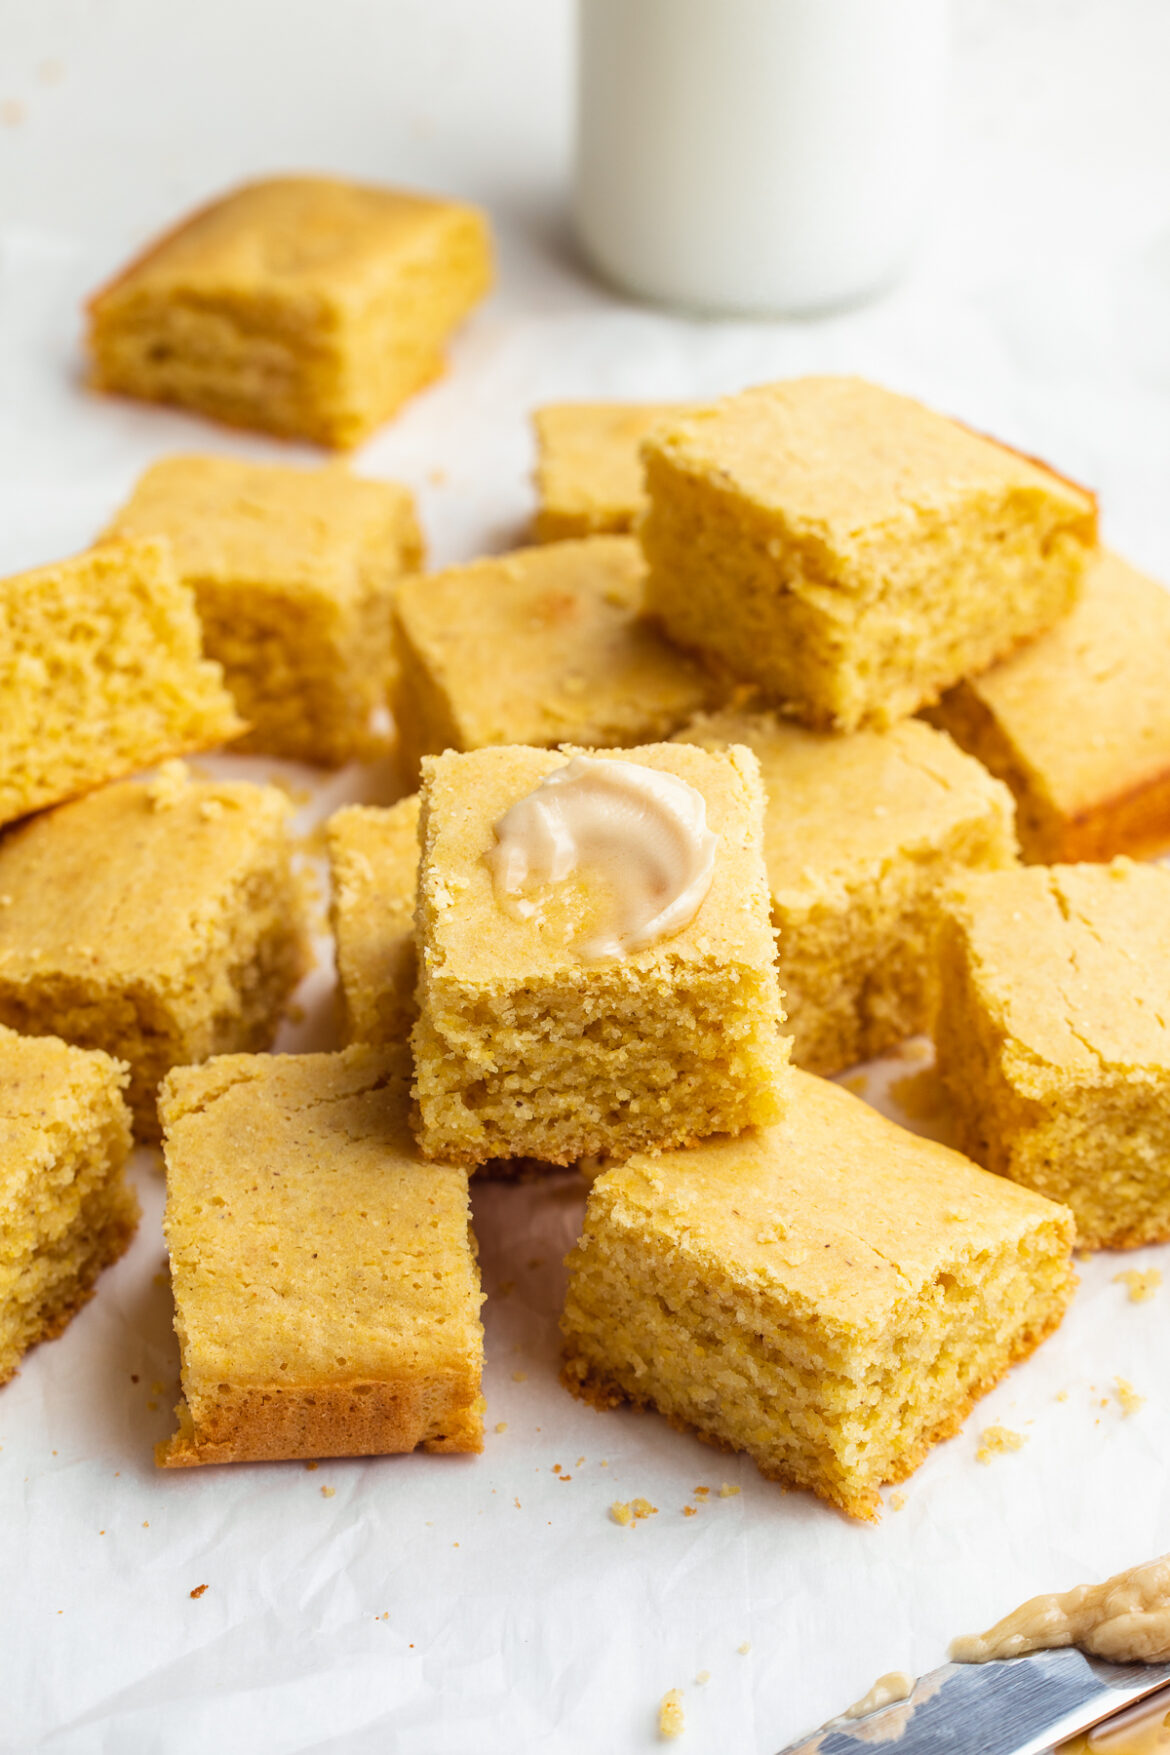
    overhead image of gluten-free cornbread with honey butter on the side.

    One Mother’s Day I wrote my Mom a card that read “Happy Mother’s Day! I like your cornbread.” And that my friends, is a true story. My Mom always made the BEST cornbread. Not too sweet, perfectly crumbly, and always served with her own homemade honey butter. I’d dream about that stuff and request it for breakfast, lunch, or dinner any chance I got.

    While I wrote that Mother’s Day card many years ago, I’m still a huge fan of my Mom’s cornbread. Though her version has all of your “standard” ingredients – all purpose flour, milk, regular butter, etc. So when I set out to develop a gluten-free and dairy-free version of my Mom’s cornbread, I have to be honest, I didn’t have high hopes. But oh boy was I pleasantly surprised with how this recipe turned out! Nearly identical to the cornbread I grew up on, this gluten-free and dairy-free recipe does NOT disappoint. I was able to easily swap the all purpose flour for naturally gluten-free (and grain-free) flours, and the dairy for non-dairy counterparts. And if that hasn’t sold you on this cornbread – I was developed this recipe using just ONE BOWL. That’s right – easy baking and easy cleanup!

    honey being drizzled over stacked gluten-free cornbread

    What You Need To Make Gluten-Free Cornbread with Honey Butter

    Cornmeal – Made from ground corn, this coarse “flour”is the star of this recipe! Though be sure to use cornMEAL and not corn starch or corn flour, which are simply not the same. And if you’re gluten-intolerant, be sure to use a cornmeal that reads “gluten-free” somewhere on the label. While cornmeal is naturally gluten-free, some brands may still contain traces of gluten.

    Almond Flour – Not to be confused with almond meal, almond flour is a light, fluffy, and naturally gluten-free flour. Almond flour works in conjunction with tapioca flour to replace the all purpose flour in my Mom’s famous cornbread recipe. I’m not able to fully understand or explain the science of how these gluten-free flours work, but just trust me when I tell you, they WORK. Almond Flour and tapioca flour create a gluten-free cornbread that tastes just like any other cornbread!

    Non-Dairy Butter – I use and love Earth Balance Vegan Buttery sticks in my dairy-free honey butter. However, feel free to use your favorite non-dairy butter in this recipe! And if you’re not dairy-free, feel free to use regular butter instead.

    gluten-free cornbread with a bite taken out

    Adjust This Recipe To Your Diet

    • Make it Vegan: Replace the egg with a flax egg and use maple syrup instead of honey to make this recipe vegan!
    • Add Dairy: Use regular milk instead of non-dairy milk, melted butter instead of coconut oil, and regular butter in the honey butter if you’re not dairy-free.
    • Make it Refined Sugar-Free: SURPRISE – this recipe is already refined sugar-free!
    gluten-free cornbread with milk on the side.
    4.38 from 8 votes

    Gluten-Free Cornbread with Honey Butter

    This light and fluffy gluten-free cornbread is perfectly sweet and surprisingly simple to make! With just a few easy swaps, you’ll have a gluten-free and dairy-free version of a comforting classic. Slather some dairy-free honey butter on a slice of this gluten-free cornbread for a delicious snack or side dish!
    Print Pin Rate
    Prep Time: 5 minutes
    Cook Time: 20 minutes
    Total Time: 25 minutes
    Servings: 9 servings

    Ingredients

    For the cornbread:

    • 1 cup cornmeal
    • 1 cup almond flour
    • 1/2 cup tapioca flour
    • 1/4 cup coconut sugar
    • 2 teaspoons baking powder
    • 1 teaspoon salt
    • 1 cup non-dairy milk
    • 1 egg, see Notes
    • 1/4 cup coconut oil, melted

    For the honey butter:

    • 1/4 cup dairy-free butter, softened
    • 1/4 cup honey, see Notes

    Instructions

    • Preheat oven to 425° Fahrenheit and lightly grease an 8×8 baking dish.
    • Combine cornmeal, almond flour, tapioca flour, coconut sugar, baking powder, and salt in a large bowl.
    • Add in the almond milk, egg, and melted coconut oil then mix until well combined.
    • Transfer batter to the baking dish and bake for 20-25 minutes, then remove from the oven and transfer to a wire cooling rack.
    • While cornbread is cooling, mix together the softened butter and honey in a small bowl. Refrigerate the honey butter until ready to serve.

    Notes

  • Egg: You can substitute the egg in this recipe for a flax egg or your favorite egg substitute.
  • Honey: Feel free to use maple syrup instead of honey to turn this into a maple butter recipe.
  • Nutrition

    Calories: 300kcal

    More Gluten-Free Recipes You NEED To Make

    Fresh, creamy, and irresistibly delicious pineapple ice cream! Made with just two ingredients, and in under 5 minutes. This non-dairy frozen dessert is the BEST healthy summertime treat.

    hand holding a cone of pineapple ice cream

    What You’ll Need To Make Pineapple Ice Cream

    Frozen Pineapple Chunks – Either cut, then freeze a fresh pineapple yourself, or buy already frozen pineapple chunks. For tips on how to cut a pineapple, check out my step-by-step blog post here. But if you’re looking to save some time, buy two bags of frozen pineapple chunks from the frozen aisle at your local grocery store.

    Coconut Milk – Thick and creamy full-fat coconut milk tastes best in this pineapple ice cream! However, you can certainly use a light coconut milk instead, or really any kind of milk you’d like. And if you don’t have milk, use a couple tablespoons of water. The liquid is introduced at the very end of this recipe and should be used sparingly, just until you achieve a thick and creamy consistency.

    Food Processor or High-Speed Blender – While food processors work best to make this non-dairy frozen dessert, a high-speed blender will work as well. I made my pineapple ice cream with this (super cheap!) Hamilton Beach food processor. But I’ve also tried this recipe in my Vitamix, and it worked as well – just required more stopping to scrape down the sides of the blender.

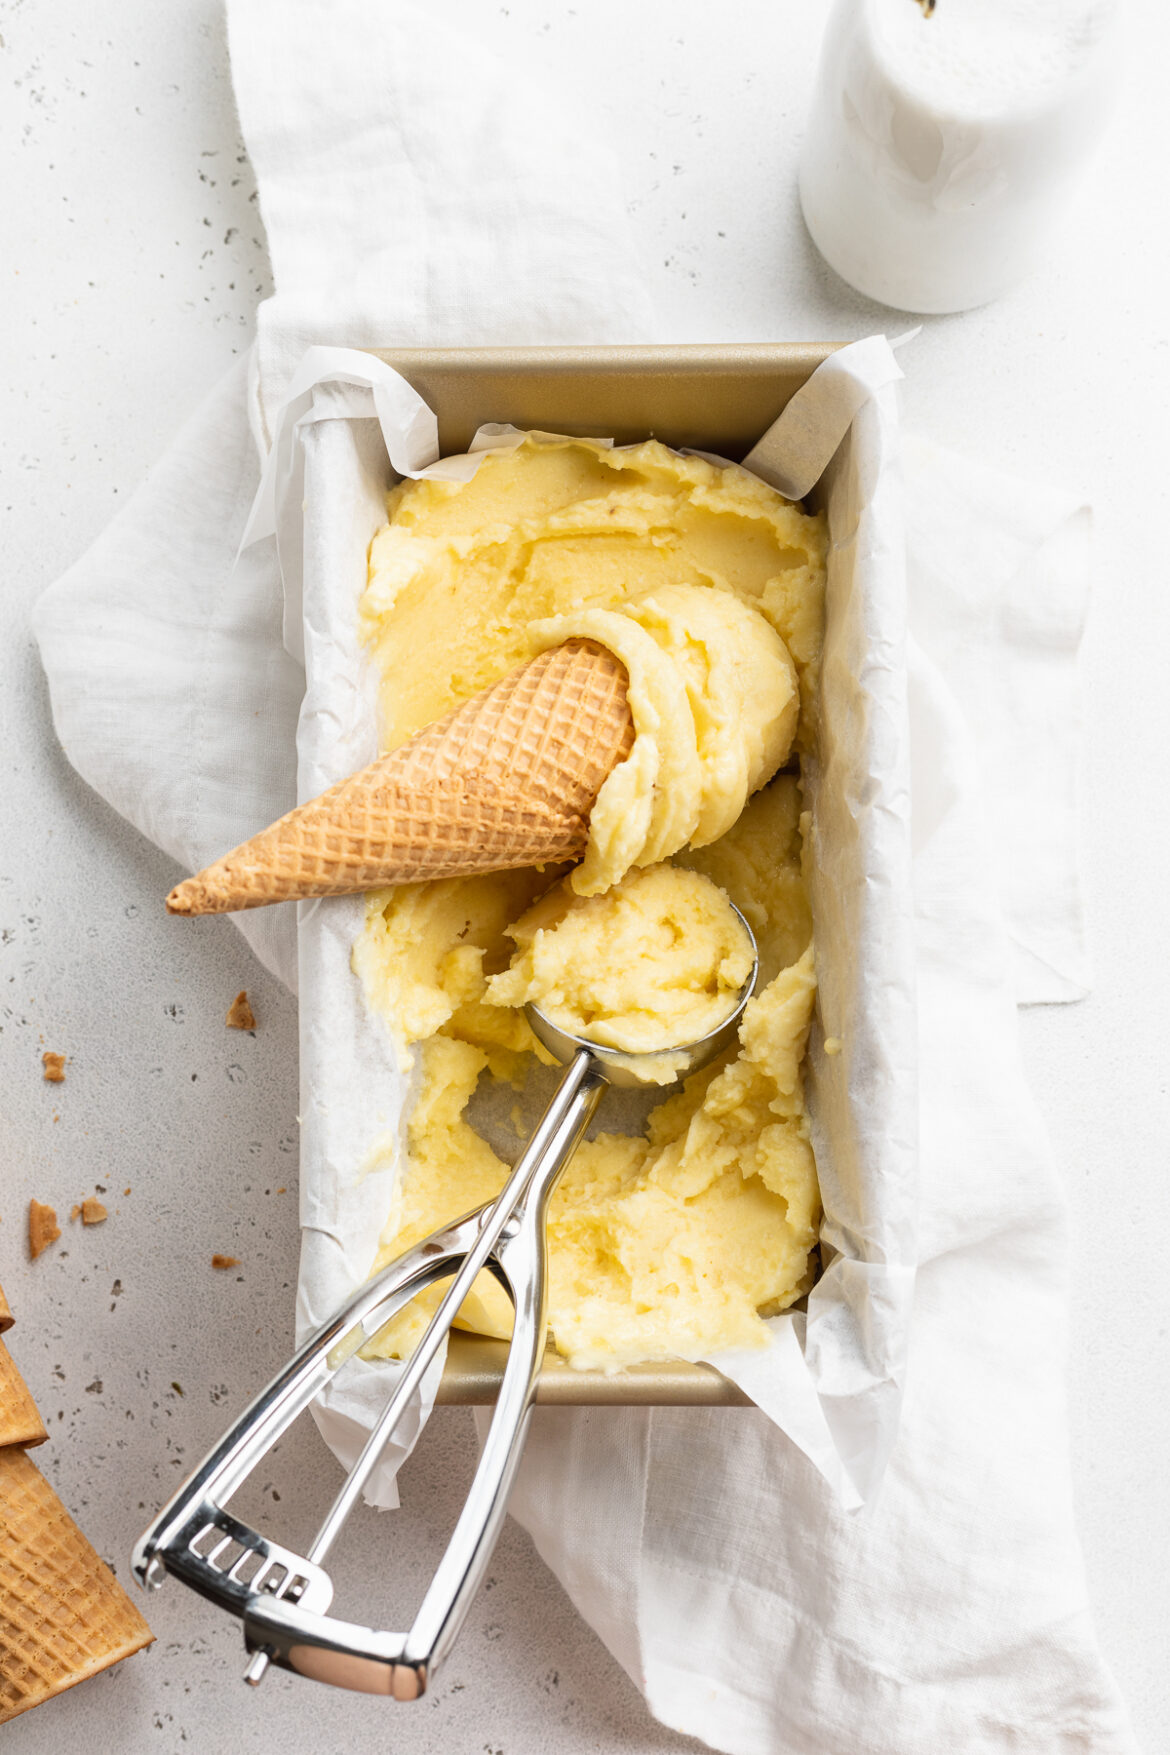
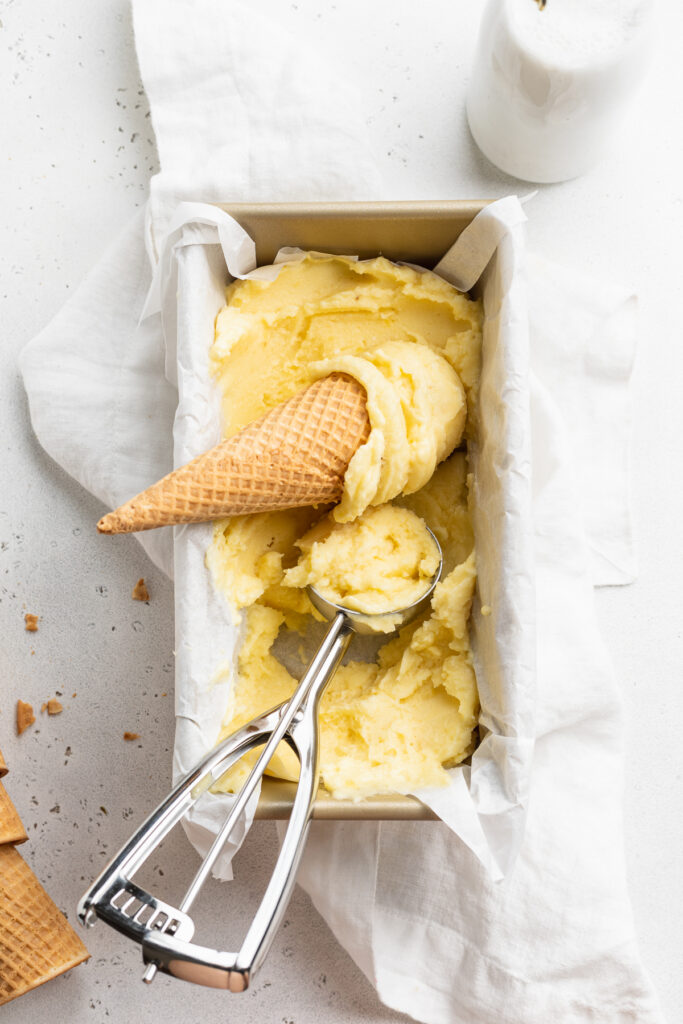
    overhead image of pineapple ice cream in a loaf pan

    Tips and Tricks

    • Start with 1/4 cup of coconut milk, then slowly add in more to blend. The frozen pineapple mixture will start out icy and crumbly, but slowly turn smooth and creamy as more liquid is introduced. It’s important to start small here, as to not risk “watering down” your ice cream!
    • Swirl in some toasted coconut or fresh pineapple chunks! Right after blending, transfer the pineapple ice cream to an airtight container and stir in any mix-ins you’d like. Or, serve this healthy dessert with your favorite ice cream toppings!
    • Depending on how solid you’d like your ice cream, either serve it right away or freeze for a few hours before eating. How solid it is may also depend on how warm it is outside. During the summer months, I certainly have to freeze this for at least an hour before scooping and serving!

    This Pineapple Ice Cream Is…

    2 from 8 votes

    2-Ingredient Pineapple Ice Cream

    Fresh, creamy, and irresistibly delicious pineapple ice cream! Made with just two ingredients, and in under 5 minutes. This pineapple ice cream is the BEST healthy summertime treat.
    Print Rate
    Prep Time: 5 minutes
    Total Time: 5 minutes
    Servings: 6 servings

    Ingredients

    • 4-5 cups frozen pineapple chunks, about 2 10-ounce bags
    • 1/4-1/2 cup coconut milk

    Instructions

    • Add frozen pineapple chunks to food processor and pulse until crumbly.
    • Slowly add in coconut milk, starting with ¼ cup and adding more as necessary, and pulse until smooth.
    • Either serve immediately, or transfer pineapple ice cream to a parchment-lined loaf pan and freeze for 2-3 hours.
    • To serve, remove from freezer and let sit at room temperature for 5 minutes before scooping and enjoying.

    Nutrition

    Calories: 300kcal

    Super healthy and delicious almond flour banana bread! Made with whole, good-for-you ingredients, perfectly sweet, and totally irresistible. Toast up a slice of this grain-free, dairy-free, and refined sugar-free banana bread as a comforting, yet nutritious breakfast, snack, or dessert.

    overhead image of almond flour banana bread

    What You’ll Need To Make Almond Flour Banana Bread

    Almond Flour – The one and only flour we use in this grain-free recipe is almond flour. Almond flour is a favorite among low-carb, gluten-free, and paleo recipes. It yields little-to-no flavor and, when done right, bakes up beautifully soft and tender. If you don’t already have a bag of almond flour in your pantry, I highly recommend you go pick some up. I’ve tried pretty much every brand of almond flour out there, and my favorite so far is this Anthony’s Almond Flour. Though whichever brand of almond flour you decide to use in this recipe, make sure it’s blanched almond flour, and not almond meal.

    Coconut Sugar – A quarter cup of coconut sugar is all you’ll need to sweeten up this healthy dessert recipe! The bananas yield some natural sweetness of their own, and a touch of coconut sugar helps bring that out. If you don’t have coconut sugar, you can use brown sugar in its place.

    Bananas – About two very ripe bananas should do the trick here! Or, however many mashed bananas you need to equal one cup. And while I feel like this goes without saying, make sure your bananas are super ripe for this recipe. You can tell a banana is ripe when it’s beginning to form large brown spots all around the outside peel.

    Chocolate Chips – While optional, chocolate chips make this almond flour banana bread extra indulgent and delicious! If you don’t have chocolate chips, you can easily use one cup of chopped chocolate instead. I recommend semi-sweet chocolate or dark chocolate for this recipe. And if you’re looking to keep your entire loaf paleo, use your favorite paleo chocolate chips, such as these Hu Kitchen Chocolate Gems.

    almond flour banana bread sliced

    Tips and Tricks

    • Instead of greasing your loaf pan, line it with parchment paper. Also, cut your parchment paper larger than the loaf pan, leaving its edges sticking out from the sides of your banana bread. This’ll make it easier to lift and remove your bread from its baking pan!
    • Leave the almond flour banana bread to cool completely (about an hour) before slicing. Then, once cool, I recommend slicing the bread all at once, before storing. Lastly, store the slices in an airtight container at either room temperature for 3 days, in the fridge for 7 days, or in the freezer for up to 3 months!
    • For the ultimate slice of banana bread that’ll leave your tastebuds singing, toast it before eating! Then, once toasted, top that baby off with some vegan butter, ghee, peanut butter, and/or almond butter. Let me tell ya, toasted almond flour banana bread makes for the perfect afternoon snack or nightcap.
    the inside of almond flour banana bread

    Adjust This Recipe To Your Dietary Needs

    Make it Vegan: For a vegan grain-free banana bread, try replacing the eggs with three flax eggs. One flax egg equals one tablespoon of ground flax seed meal mixed into three tablespoons of water. While I haven’t tried this vegan option myself yet, I’m sure it’d work just fine!

    Make it Added Sugar-Free: Because the bananas are so naturally sweet, you can totally leave the coconut sugar out of this healthier dessert recipe.

    4.34 from 3 votes

    Almond Flour Banana Bread

    Super healthy and delicious almond flour banana bread! Made with whole, good-for-you ingredients, perfectly sweet, and totally irresistible. Toast up a slice of this grain-free, dairy-free, and refined sugar-free banana bread as a comforting, yet nutritious breakfast, snack, or dessert.
    Print Rate
    Prep Time: 10 minutes
    Cook Time: 40 minutes
    Total Time: 50 minutes
    Servings: 10 slices

    Ingredients

    • 2 1/2 cups almond flour
    • 1/4 cup coconut sugar
    • 1 teaspoon baking soda
    • 1/2 teaspoon baking powder
    • 1 teaspoon cinnamon
    • 2 tablespoons coconut oil, melted
    • 1 cup mashed banana (about 2 very ripe bananas)
    • 3 eggs
    • 1 teaspoon vanilla extract
    • 1 cup chocolate chips, optional

    Instructions

    • Preheat oven to 350° Fahrenheit and line a 9×5-inch loaf pan with parchment paper.
    • Whisk together the almond flour, coconut sugar, baking soda, baking powder, and cinnamon in a large bowl.
    • Add in the melted coconut oil, mashed banana, eggs, and vanilla extract – mix until fully combined. Fold in chocolate chips if using, until evenly dispersed throughout batter.
    • Transfer batter to prepared loaf pan and bake for 40-50 minutes or until a toothpick inserted down the center of the bread comes out clean. Remove from the oven and transfer to a wire cooling rack, cool bread completely (about 1 hour) before slicing.

    Video

    Nutrition

    Calories: 300kcal