Tag

summer recipe

Browsing

A delicious peach crisp loaded with fresh fruit, and an easy crump topping. Loaded with simple, good-for-you ingredients, a dessert so healthy you could even eat it for breakfast! Perfectly sweet, best served warm with a scoop of cold vanilla ice cream – YUM.
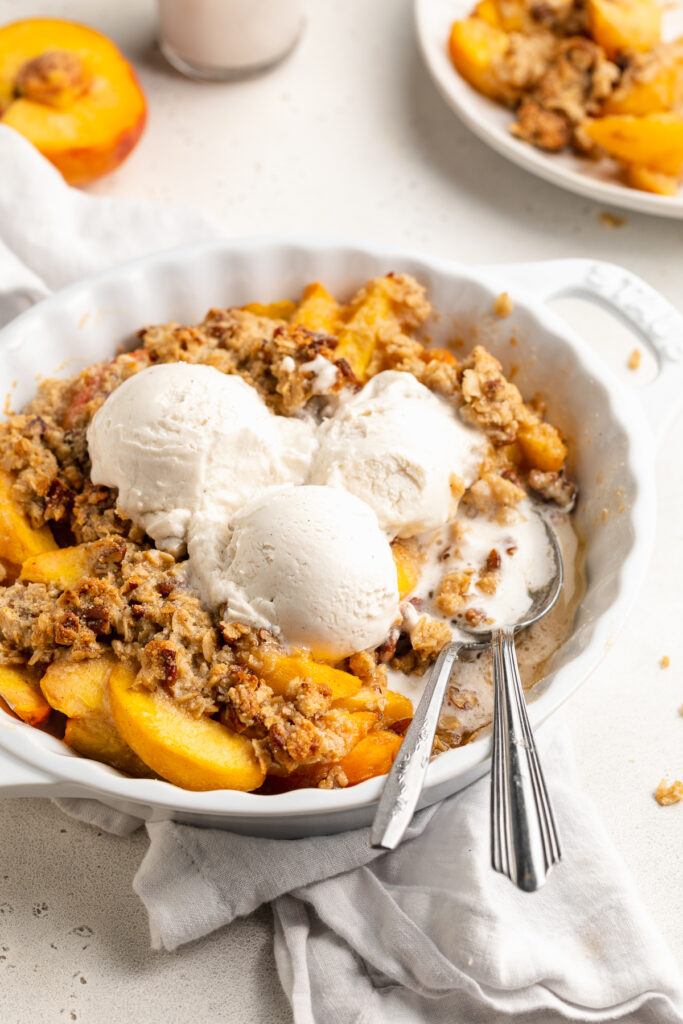
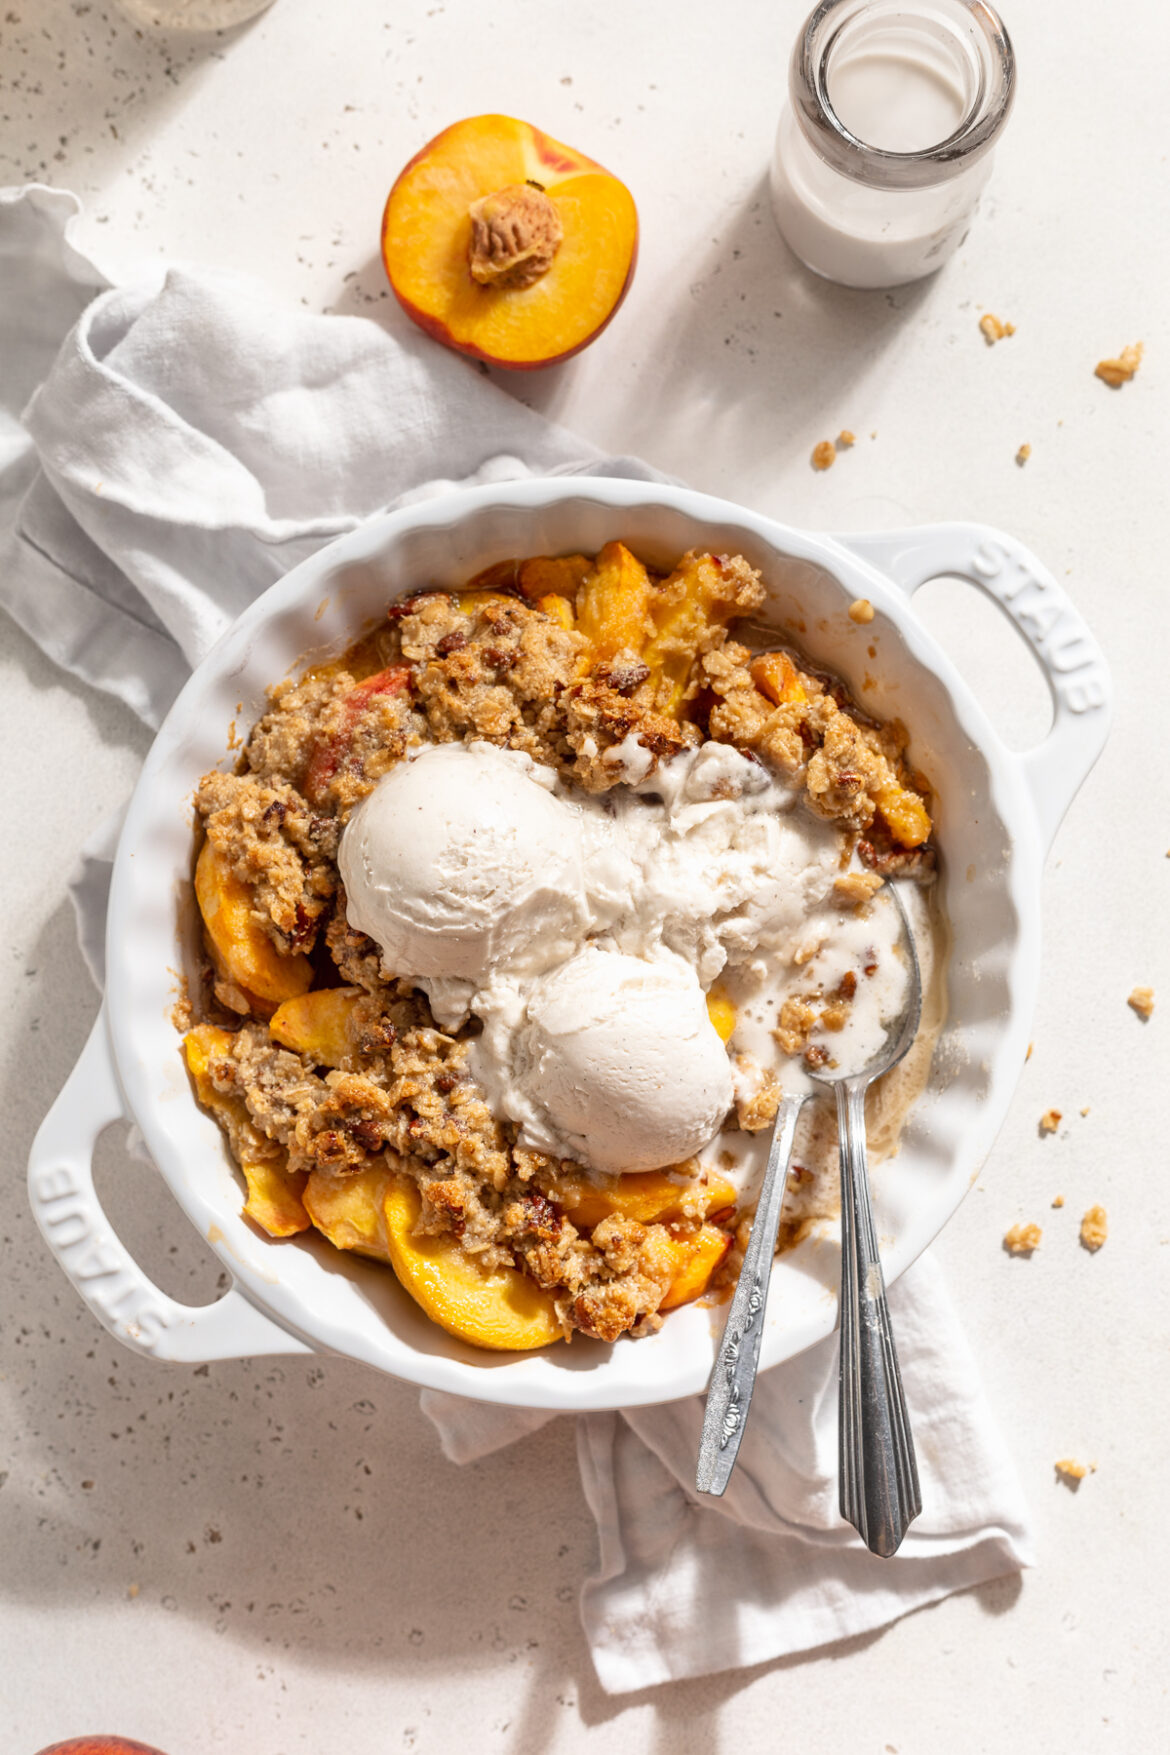
peach crisp in a pie dish with vanilla ice cream on top.

What You’ll Need To Make Peach Crisp

Peaches – Use fresh, not frozen peaches for this easy crisp recipe! Slice each peach in half, remove the pit, then slice them into 1/4-inch pieces. Either leave the skin on or peel them before slicing, it’s up to you!

Corn Starch – Corn starch, arrowroot starch, or tapioca starch will all work in the filling of this recipe. A tablespoon of either thickening agent will help the filling stick together.

Rolled Oats – Any type of rolled oats will work! The only oats you should avoid are steel-cut and/or Irish oats. Or, for a paleo version of this recipe, replace the oats with extra almond flour and chopped nuts!

peach crisp in a bowl with vanilla ice cream on top.

Tips and Tricks

  • Let the peach crisp cool for 5-10 minutes before serving! This’ll give the filling enough time to set, and prevent those peach juice from running out when served. Also, don’t forget to serve it with a big ole’ scoop of cold vanilla ice cream – it’s simply the BEST!

Adjust This Recipe To Your Dietary Needs

Make it Paleo: For a paleo fruit crisp, use arrowroot starch instead of corn starch in the filling, and replace the rolled oats with an extra 1/4 cup almond flour plus 1/4 cup chopped walnuts or pecans.

Make it Gluten-Free: This recipe is already gluten-free! However, to ensure no traces of gluten in your peach crisp, be sure to use a gluten-free certified corn starch as well as gluten-free certified rolled oats.
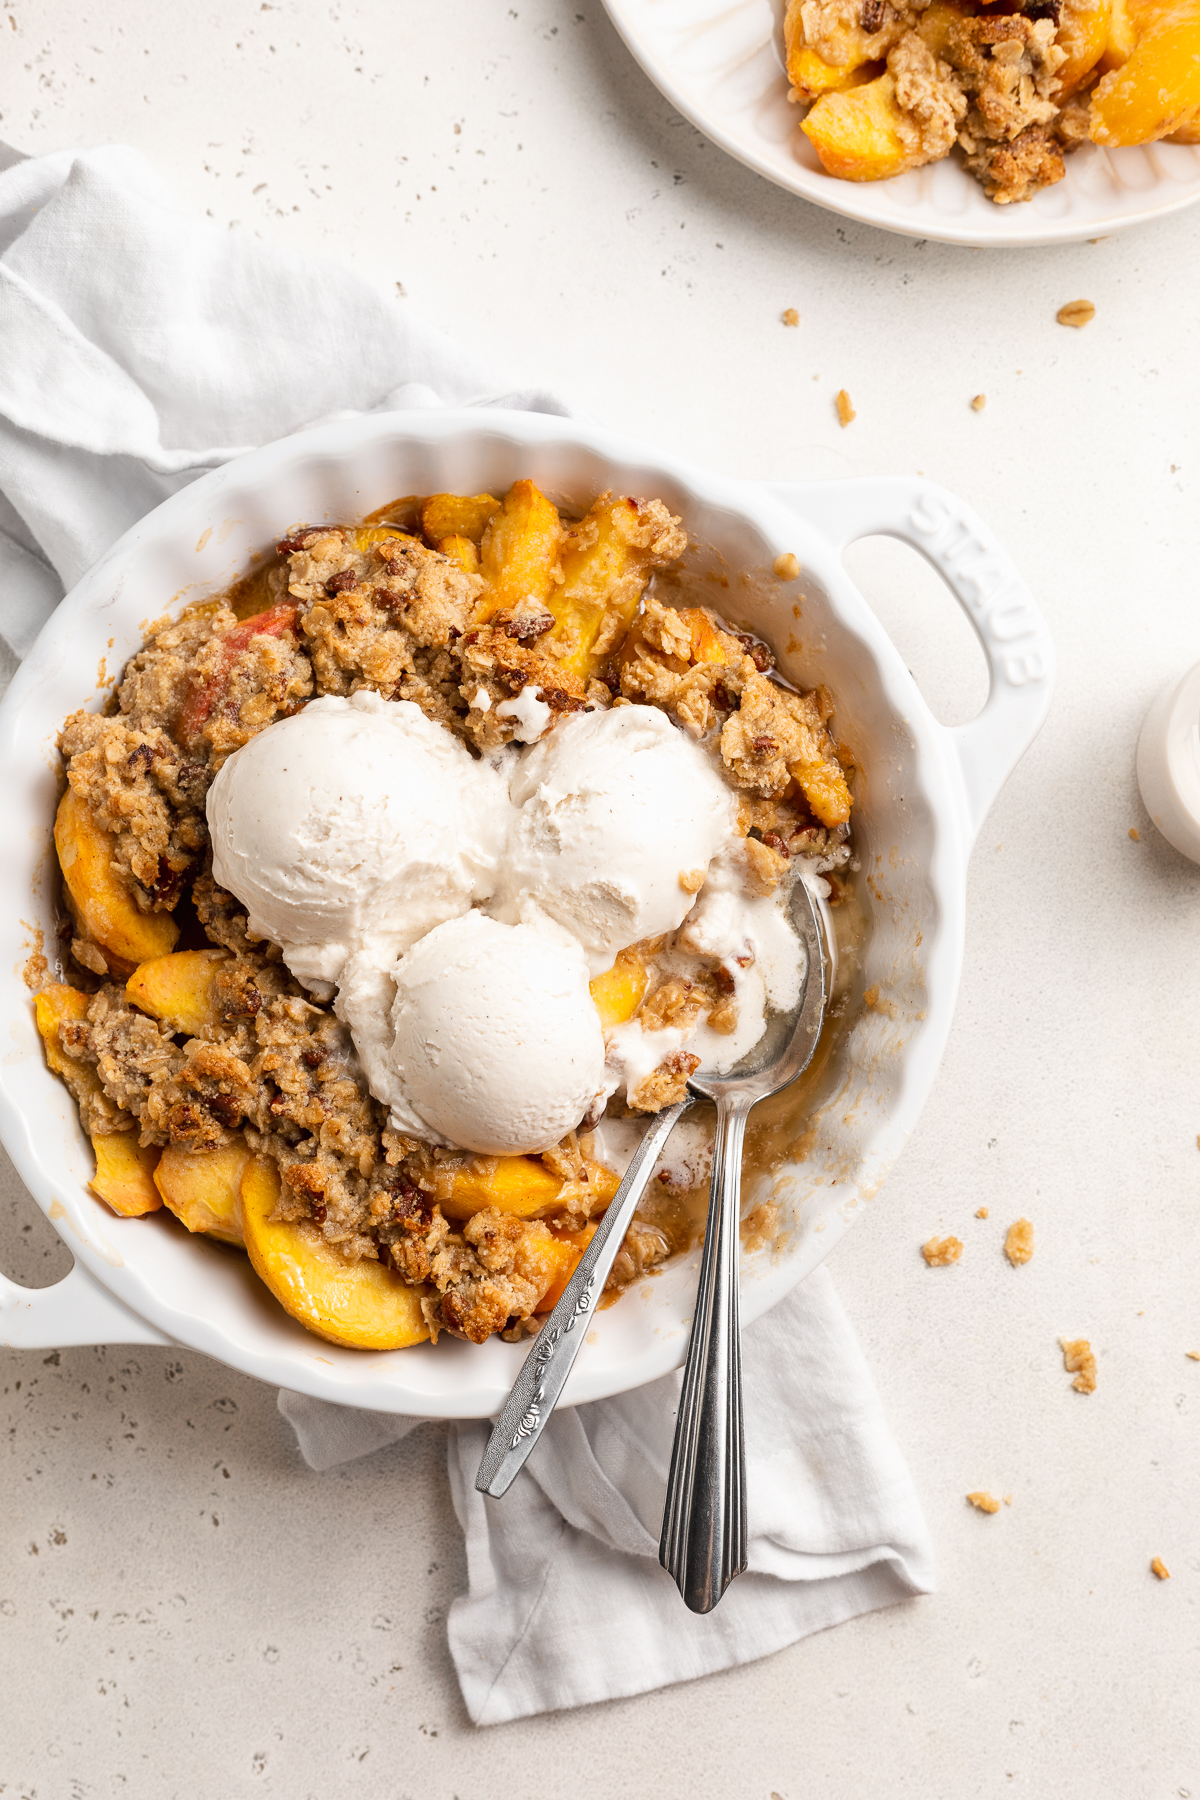
overhead image of peach crisp in a pie dish wtih vanilla ice cream on top.
5 from 1 vote

Easy Peach Crisp (One-Bowl!)

A delicious fruit crisp loaded with fresh peaches, and an easy crump topping. Loaded with simple, good-for-you ingredients, a dessert so healthy you could even eat it for breakfast! Perfectly sweet, best served warm with a scoop of cold vanilla ice cream – YUM.
Print Pin Rate
Prep Time: 5 minutes
Cook Time: 30 minutes
Total Time: 35 minutes
Servings: 8 servings

Ingredients

For the filling:

  • 4-5 peaches, pitted, pitted, cut into 1/4-inch slices
  • 1 tablespoon corn starch
  • 1 tablespoon maple syrup
  • 1 tablespoon lemon juice
  • 1 teaspoon vanilla extract
  • small pinch cinnamon

For the crumb topping:

  • 1/2 cup rolled oats
  • 1/2 cup almond flour
  • 1/2 cup chopped walnuts or pecans
  • pinch of salt
  • 1/4 cup coconut oil, solid
  • 1/4 cup maple syrup

Instructions

  • Preheat oven to 350° Fahrenheit.
  • Add all filling ingredients to a bowl and toss to coat peaches, then transfer to an 8×8-inch baking dish.
  • Add all crisp ingredient to a bowl and mix together until combined.
  • Sprinkle topping over filling and bake for 30-35 minutes, or until golden brown and bubbly.
Nutrition

Calories: 300kcal

My Mom’s famous watergate salad recipe will blow your mind! A pistachio whipped cream base, with plenty of chopped fruit and mini marshmallows. I grew up on this best EVER no-bake dessert, my favorite for summer parties or barbecues!

overhead image of watergate salad in a glass with a cherry on top

What You’ll Need To Make Watergate Salad

Pistachio Pudding Mix – Any brand of pistachio pudding mix will taste delicious in this pistachio-flavored dessert! Use whatever you can find, whether that’s instant, low-sugar, etc.

Whipped Cream – For a dairy-free version, sub regular whipped cream for coconut whipped cream in this no-bake dessert recipe. I went the dairy-free route this time and used a tub of So Delicious Coconut Whipped Cream in my watergate salad. This is the only tweak I made from my Mom’s original recipe!

Fruit Cocktail – I think the fruit cocktail is my favorite part of this entire recipe. Chunks of peaches, pears, grapes, pineapple, and cherries swirled into the pistachio whipped cream base. My sister and I used to fight over who got the most cherries in their serving of watergate salad growing up. If ya ask me, those fruit cocktail cans never have enough maraschino cherries in ’em!

Crushed Pineapple – Crushed pineapple, sometimes labeled as “pineapple tidbits,” give this dessert its perfect texture. Smooth, creamy, light, and fluffy with just a little something to bite down on! If you can’t find crushed pineapple, you can finely chop up a can of cut pineapple instead.

Mini Marshmallows – My Mom always made her watergate salad with these rainbow mini marshmallows, but I couldn’t find any near me so I used the classic white mini marshmallows instead. The rainbow kind contribute a bit more fruity flavor, but the classic kind are just as delicious! Feel free to use whichever you prefer, or have on-hand.

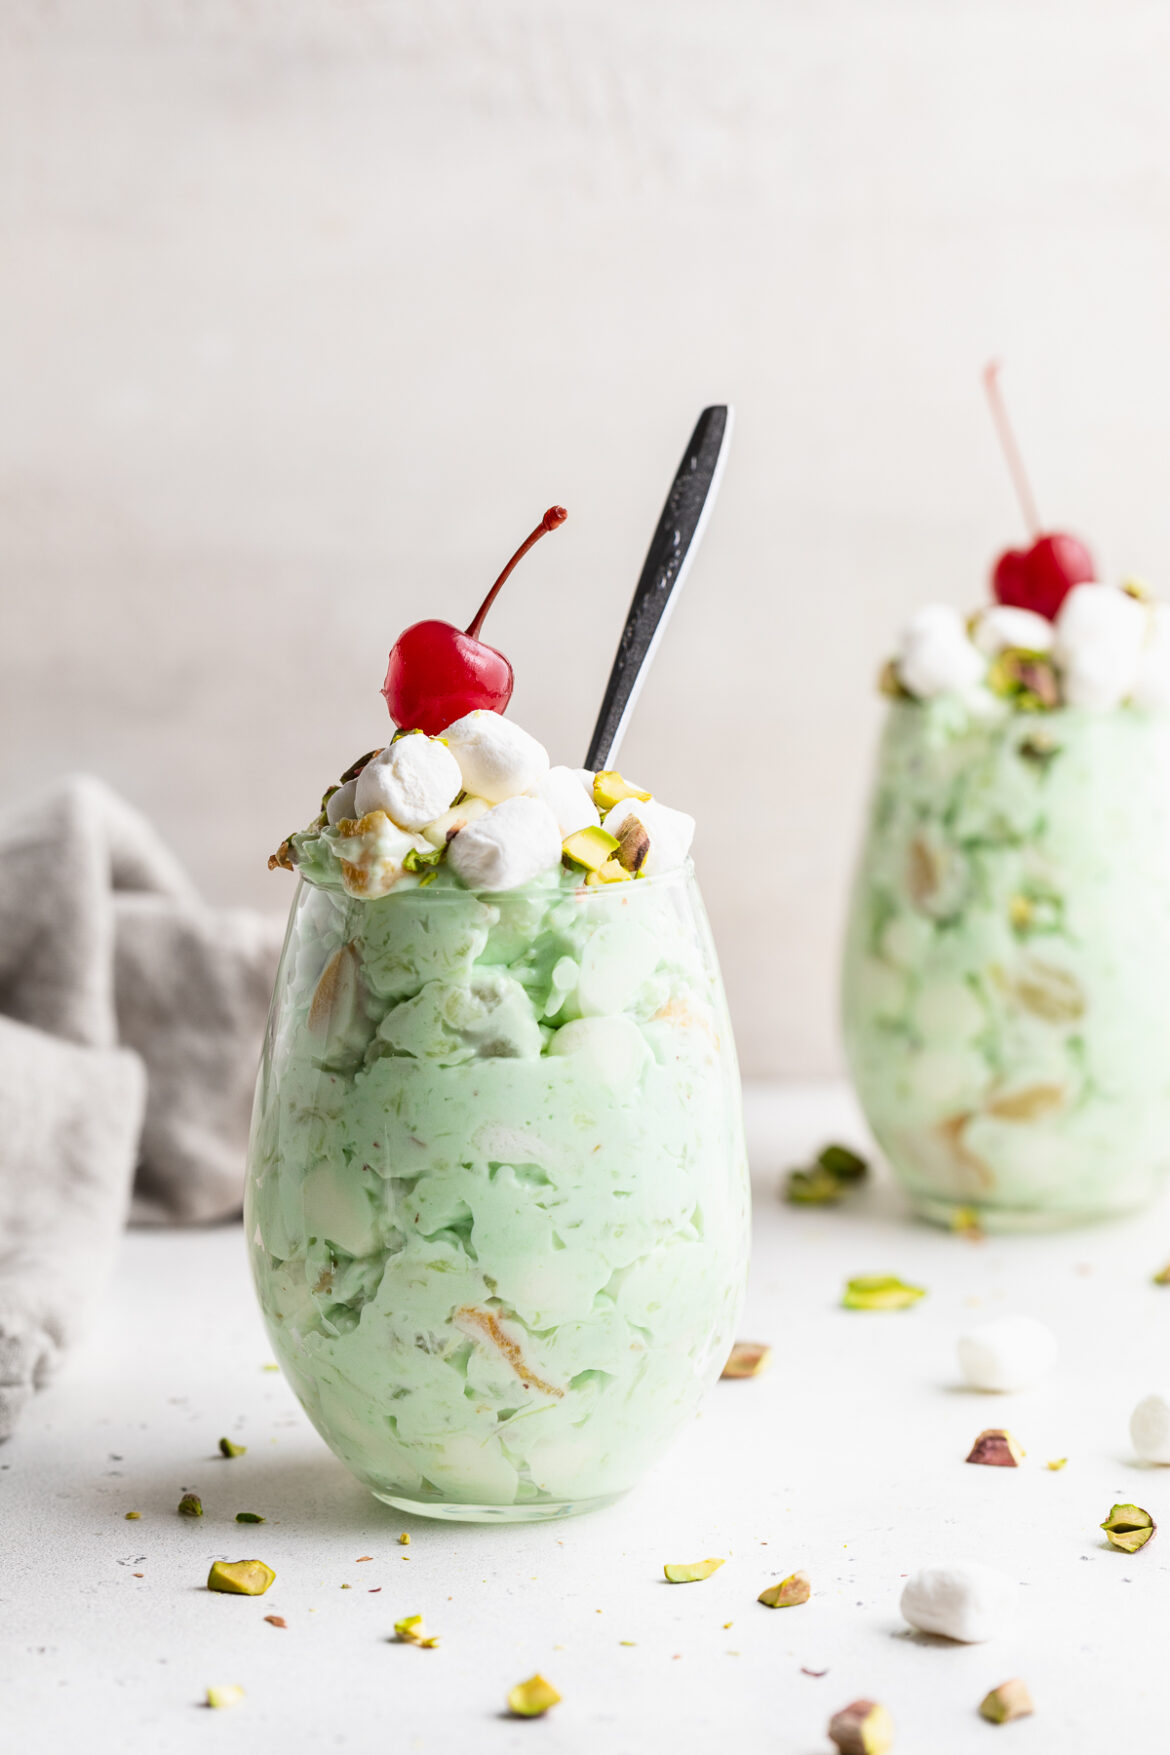
one glass of watergate salad with chopped pistachios and a cherry on top.

Adjust This Recipe To Your Dietary Needs

Make it Vegan – Make this watergate salad vegan by using a tub of coconut whipped cream, and vegan mini marshmallows. I tested this recipe with these Dandie’s Vegan Marshmallows and couldn’t even taste the difference!

two glasses of watergate salad with cherries on top
4.67 from 3 votes

Mom’s FAMOUS Watergate Salad

My Mom’s famous watergate salad recipe will blow your mind! A pistachio whipped cream base, with plenty of chopped fruit and mini marshmallows. I grew up on this best EVER no-bake dessert, my favorite for summer parties or barbecues!
Print Pin Rate
Prep Time: 5 minutes
Total Time: 5 minutes
Servings: 12 servings

Ingredients

  • 1 (3.4 ounce) box pistachio pudding mix
  • 1 (9 ounce) tub whipped cream, or coconut whipped cream to make it dairy-free
  • 1 (15 ounce) can fruit cocktail, drained
  • 1 (20 ounce) can crushed pineapple, drained
  • 2 cups mini marshmallows

Instructions

  • Mix together pistachio pudding mix and whipped cream in a large bowl until fully combined.
  • Add in drained fruit cocktail, crushed pineapple, and mini marshmallows. Leave to set in fridge for at least one hour, then serve cold.

Nutrition

Calories: 300kcal

A perfectly sweet, light, and fluffy marshmallow fruit dip! Comes together in a few simple steps with only four ingredients. This fruit dip is both gluten-free and dairy-free, perfect recipe for potlucks and/or summer parties!

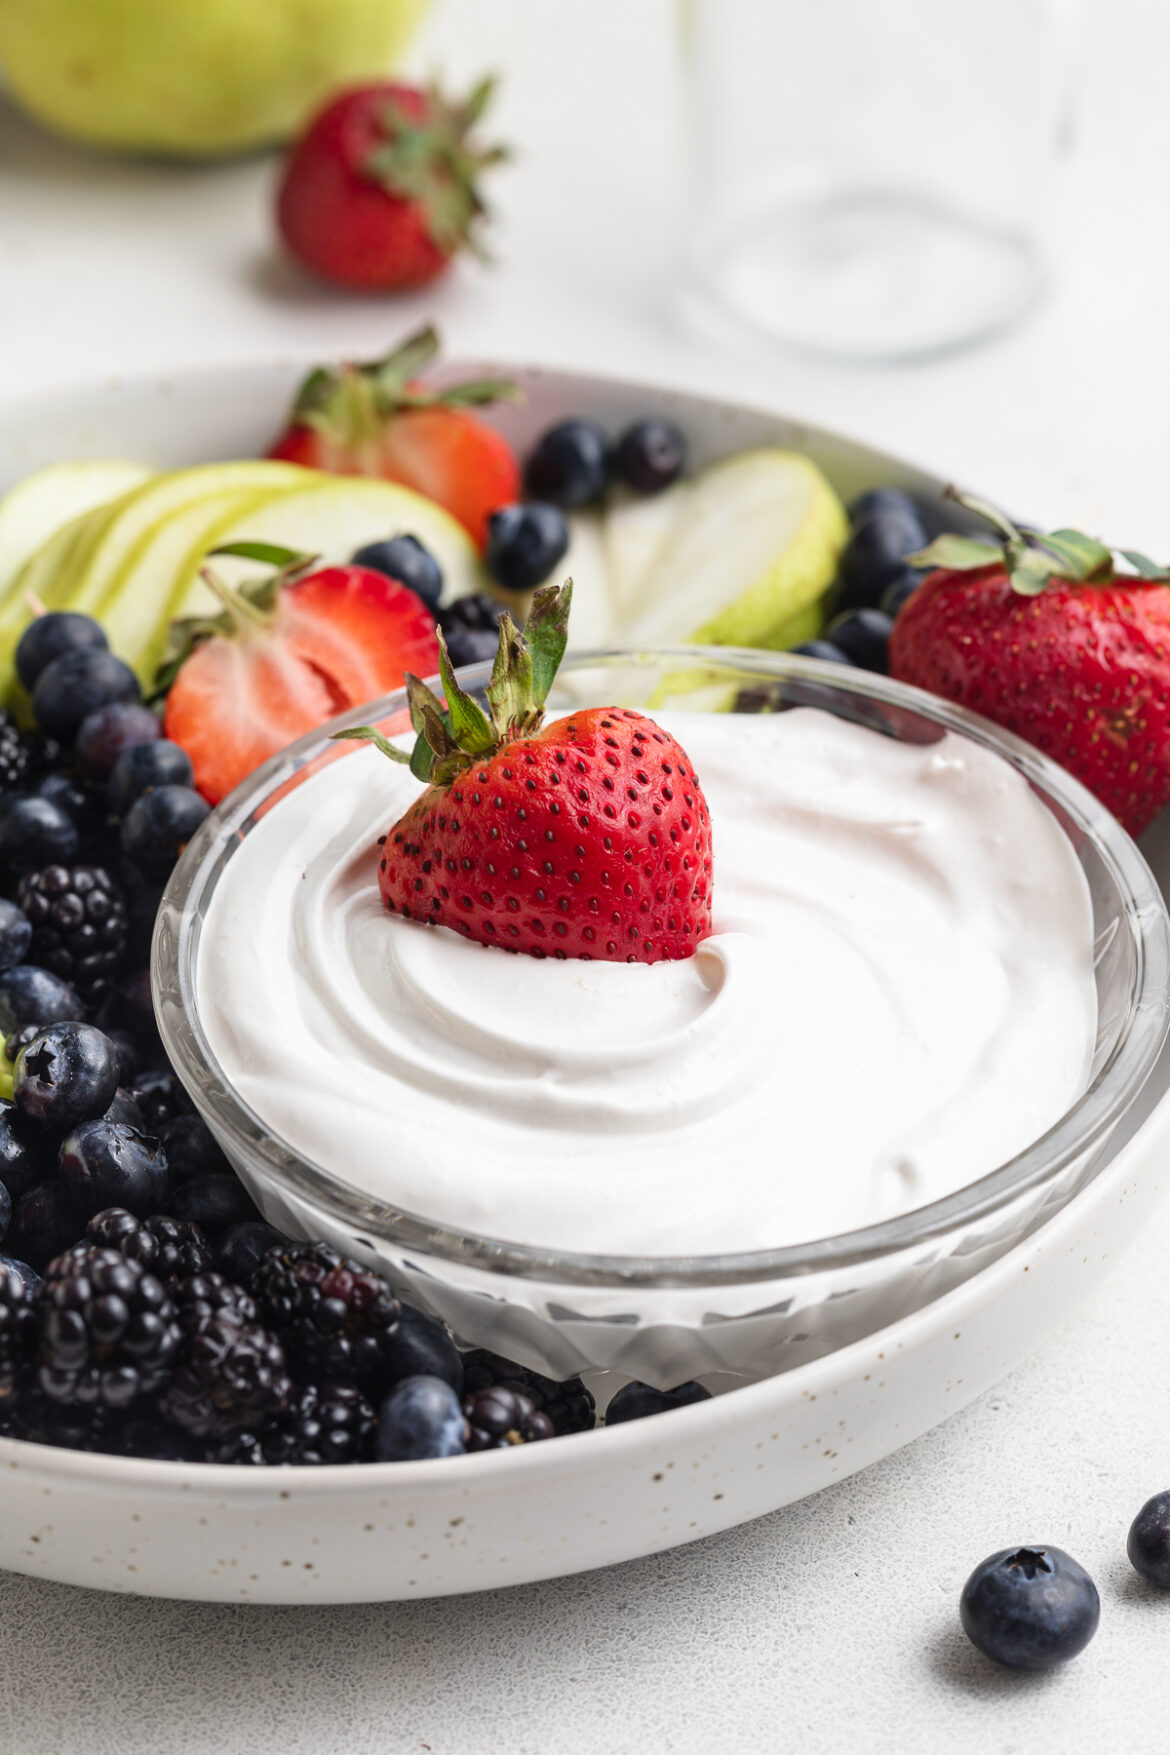
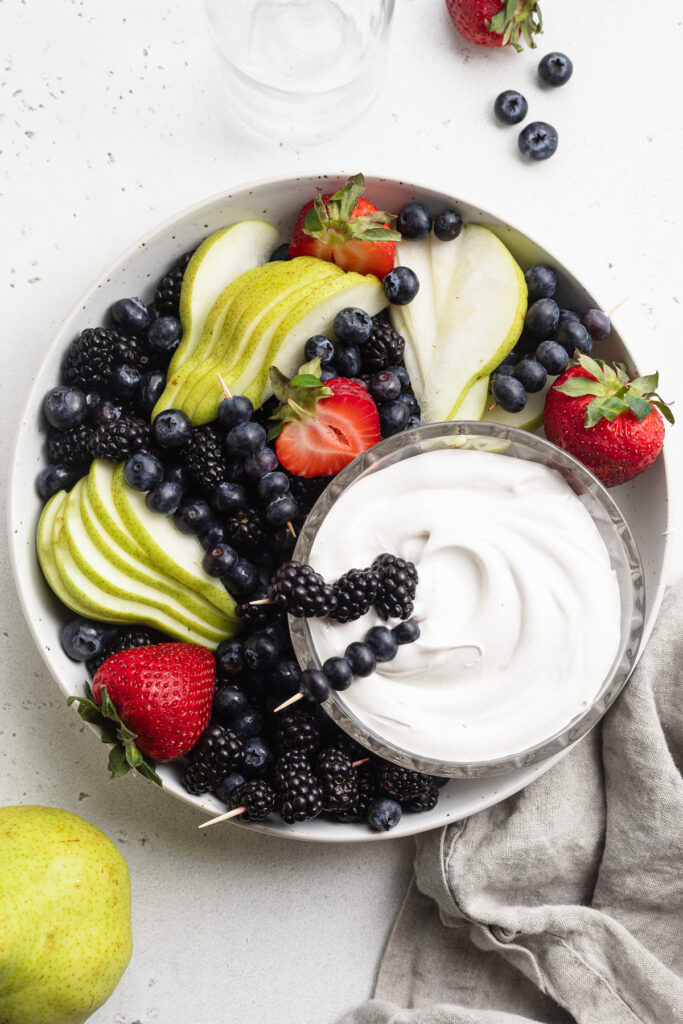
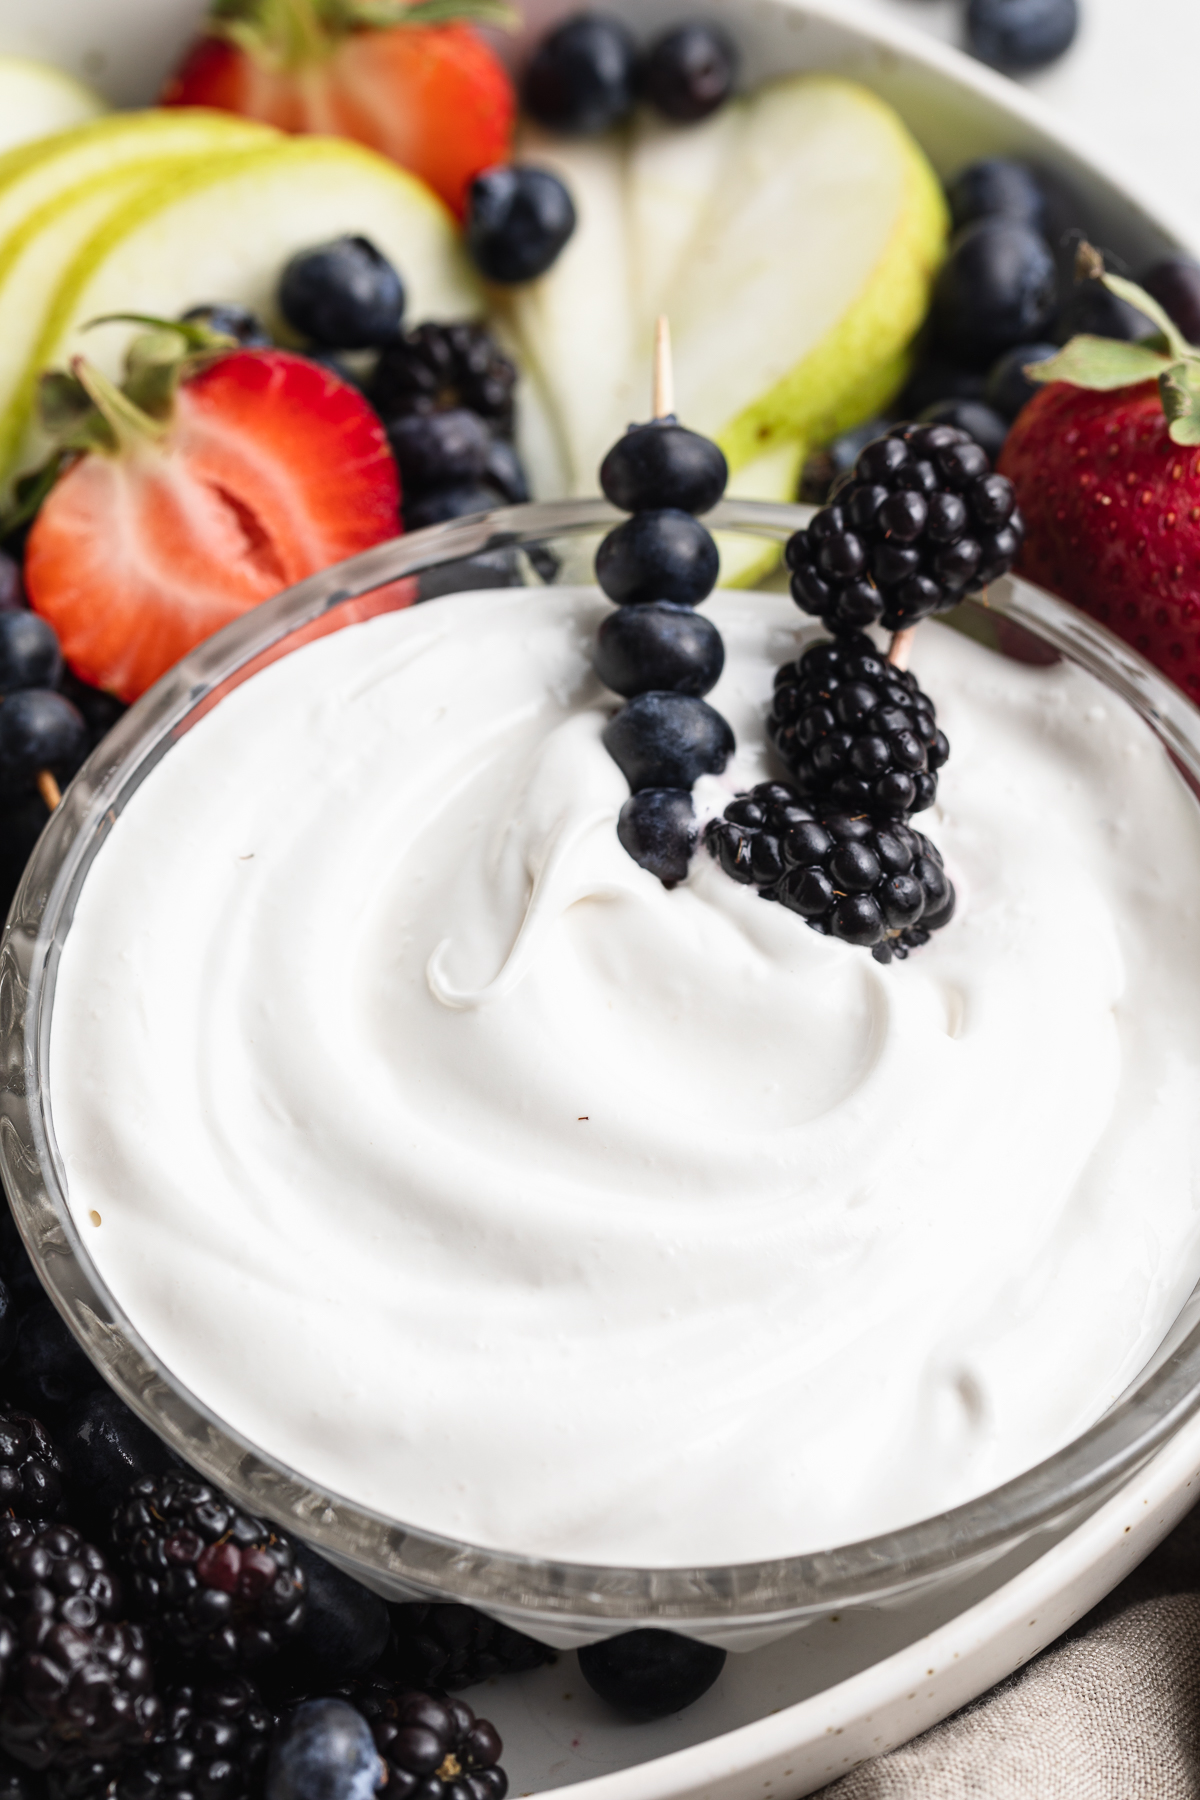
overhead image of marshmallow fruit dip in a bowl with berries and sliced pears.

What You’ll Need To Make Marshmallow Fruit Dip

Egg Whites – Use your favorite method to separate four egg whites from their yolks. I use this method to separate my eggs, which takes some practice but doesn’t require any special kitchen tools. And don’t discard your egg yolks! Instead, save and add them to your morning scramble for extra vitamins and minerals.

Sugar – Either cane sugar or white sugar will work in this recipe. I used unbleached cane sugar, for the simple fact that it’s less processed than white sugar. However, feel free to use whichever sugar you have on-hand. And for a paleo option, check out the “adjust this recipe to your dietary needs” section below!

Cream of Tartar – I know what you’re thinking …cream-of-what?? Cream of tartar is a white powder, found in either the baking or spice aisle of most grocery stores. It’s a stabilizer that gives this marshmallow fruit dip it’s ultra-fluffy texture. Sure, you can make this recipe without it, but your egg whites won’t whip up as nicely.

Vanilla Extract – A touch of vanilla extract makes this fruit tip taste just like homemade marshmallow fluff! While you can certainly leave the vanilla out, it does add a nice hint of extra delicious flavor.

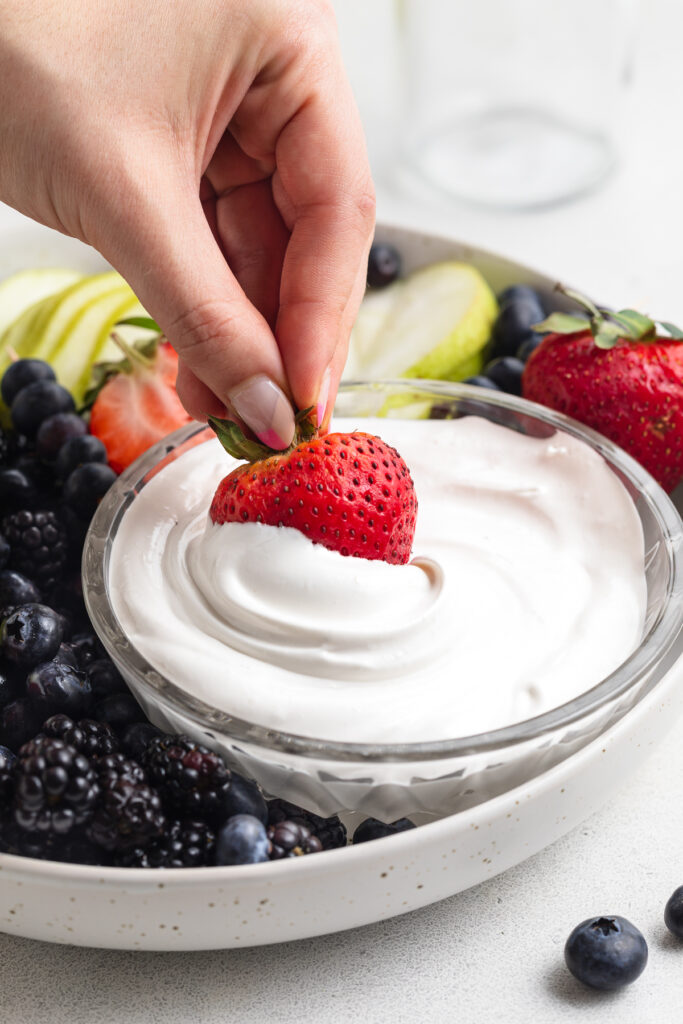
strawberry being dipped into marshmallow fruit dip.

Serve This Marshmallow Fruit Dip With…

  • Strawberries
  • Blueberries
  • Blackberries
  • Raspberries
  • Sliced Apples
  • Pears
  • Grapes
  • Pineapple
  • Melon
  • or whatever fruit you have on-hand!
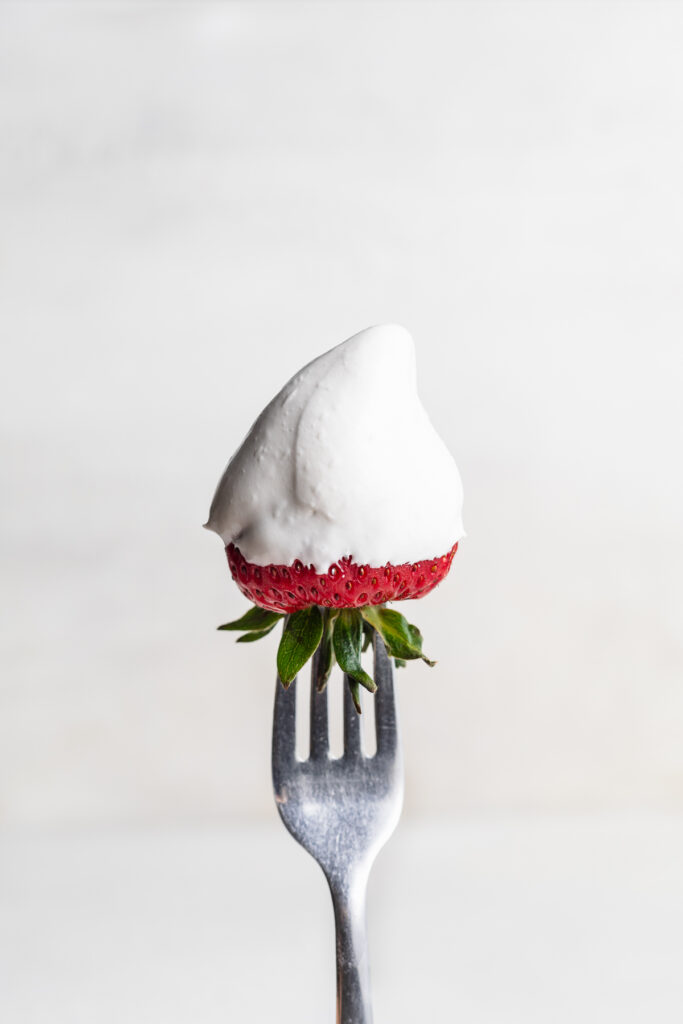
marshmallow fruit dip on a fresh strawberry, on a fork.

Adjust This Recipe To Your Dietary Needs

Make it Sugar-Free: For a sugar-free dessert recipe, replace the regular sugar with your favorite granular sugar substitute. I recommend either granular monk fruit sweetener, or swerve.

Make it Paleo: Use coconut sugar for a paleo marshmallow fruit dip! If taking this option, your dip will appear a caramel/brown color, rather than the white you see in these photos.

close-up image of marshmallow fruit dip with fresh berries.
5 from 1 vote

Marshmallow Fruit Dip (just 4 ingredients!)

A perfectly sweet, light, and fluffy marshmallow fruit dip! Comes together in a few simple steps with only four ingredients. This fruit dip is both gluten-free and dairy-free, perfect recipe for potlucks and/or summer parties!
Print Pin Rate
Prep Time: 5 minutes
Cook Time: 10 minutes
Total Time: 15 minutes
Servings: 12 servings

Ingredients

  • 4 large egg whites
  • 1 cup sugar
  • 1/2 teaspoon cream of tartar
  • 1 teaspoon vanilla extract
  • fresh fruit, for serving

Instructions

  • Place the egg whites, sugar, and cream of tarter in a large bowl.
  • Bring 2-inches of water in a saucepan to a simmer, then place the bowl on top of the saucepan. Do not let the bowl touch the water.
  • Whisk egg white mixture constantly for 3-4 minutes, or until thin, smooth, and sugar has completely dissolved. If you have a kitchen thermometer, check that the temperature has reached 160° Fahrenheit.
  • Remove bowl from saucepan, add in vanilla extract, then while still hot beat with a hand or stand mixer until super light and fluffy, about 5 minutes. Serve marshmallow dip alongside fresh fruit.

Nutrition

Calories: 300kcal

Fresh, creamy, and irresistibly delicious pineapple ice cream! Made with just two ingredients, and in under 5 minutes. This non-dairy frozen dessert is the BEST healthy summertime treat.

hand holding a cone of pineapple ice cream

What You’ll Need To Make Pineapple Ice Cream

Frozen Pineapple Chunks – Either cut, then freeze a fresh pineapple yourself, or buy already frozen pineapple chunks. For tips on how to cut a pineapple, check out my step-by-step blog post here. But if you’re looking to save some time, buy two bags of frozen pineapple chunks from the frozen aisle at your local grocery store.

Coconut Milk – Thick and creamy full-fat coconut milk tastes best in this pineapple ice cream! However, you can certainly use a light coconut milk instead, or really any kind of milk you’d like. And if you don’t have milk, use a couple tablespoons of water. The liquid is introduced at the very end of this recipe and should be used sparingly, just until you achieve a thick and creamy consistency.

Food Processor or High-Speed Blender – While food processors work best to make this non-dairy frozen dessert, a high-speed blender will work as well. I made my pineapple ice cream with this (super cheap!) Hamilton Beach food processor. But I’ve also tried this recipe in my Vitamix, and it worked as well – just required more stopping to scrape down the sides of the blender.

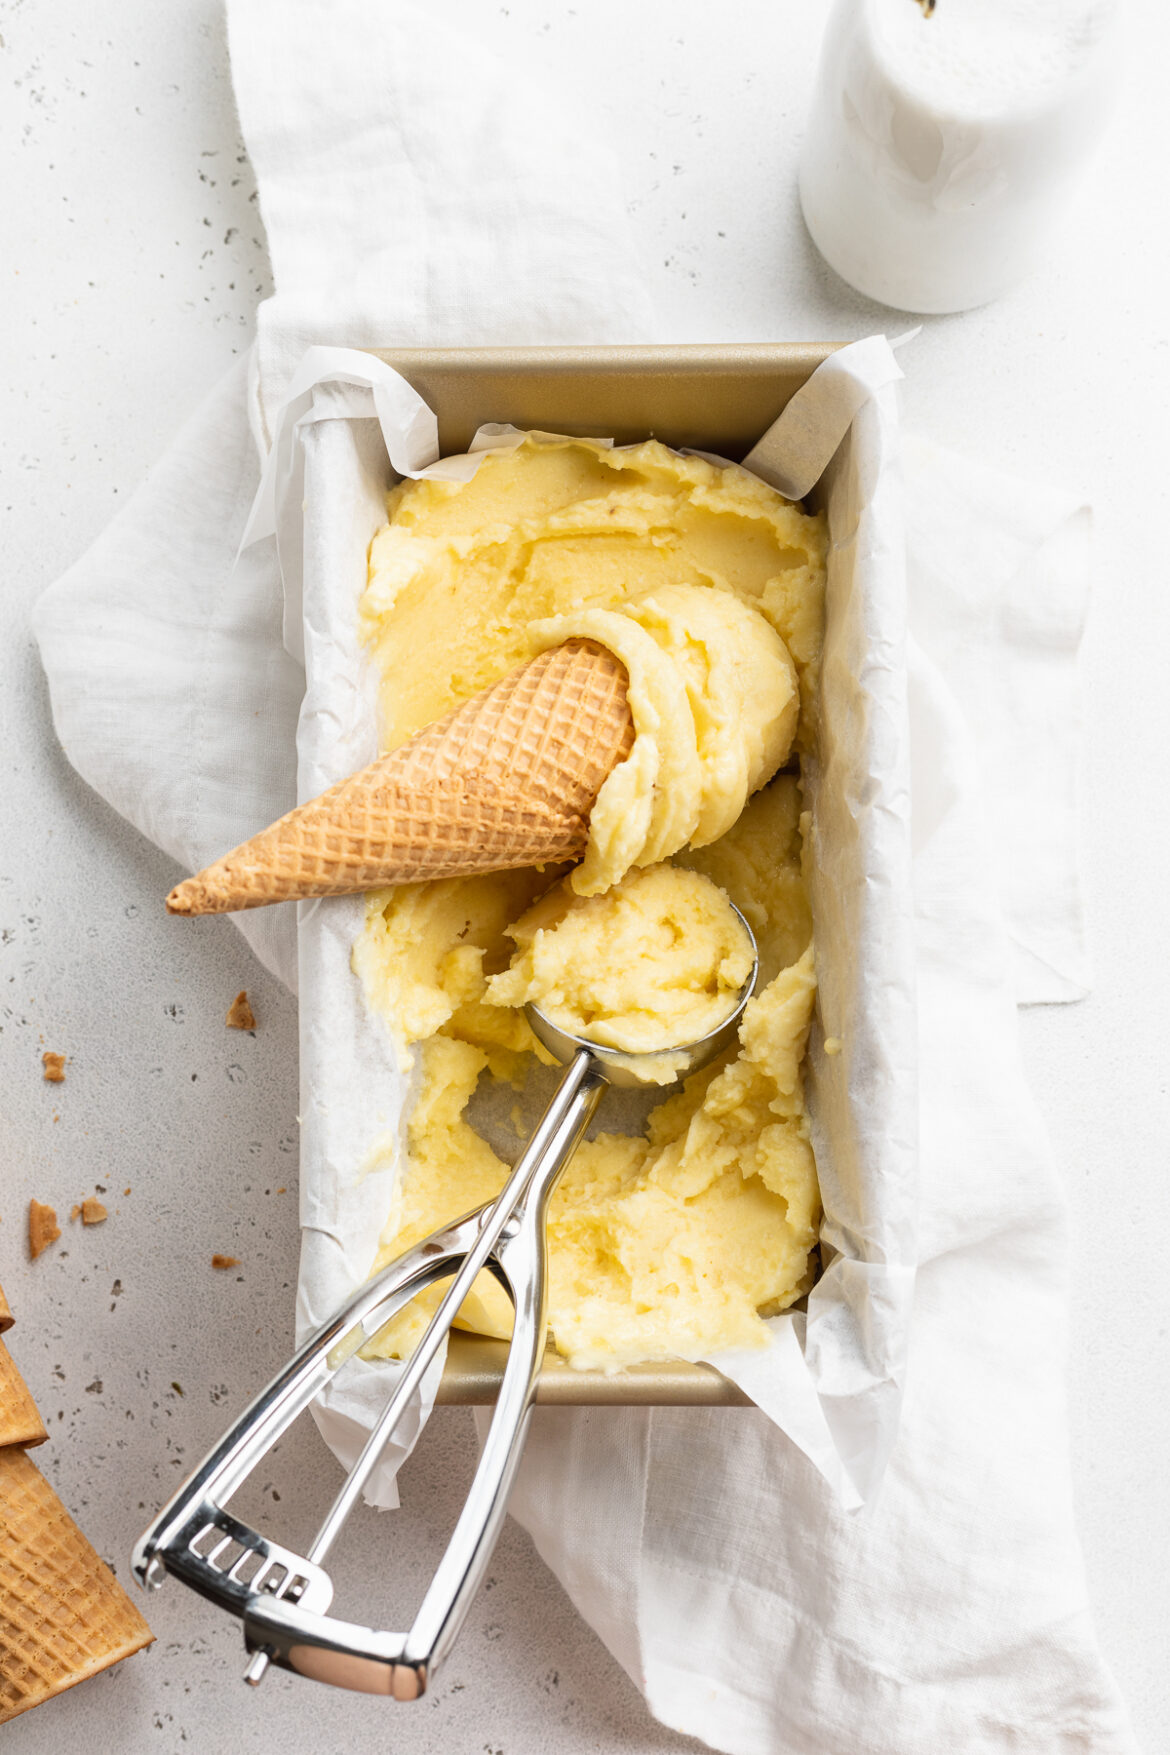
overhead image of pineapple ice cream in a loaf pan

Tips and Tricks

  • Start with 1/4 cup of coconut milk, then slowly add in more to blend. The frozen pineapple mixture will start out icy and crumbly, but slowly turn smooth and creamy as more liquid is introduced. It’s important to start small here, as to not risk “watering down” your ice cream!
  • Swirl in some toasted coconut or fresh pineapple chunks! Right after blending, transfer the pineapple ice cream to an airtight container and stir in any mix-ins you’d like. Or, serve this healthy dessert with your favorite ice cream toppings!
  • Depending on how solid you’d like your ice cream, either serve it right away or freeze for a few hours before eating. How solid it is may also depend on how warm it is outside. During the summer months, I certainly have to freeze this for at least an hour before scooping and serving!

This Pineapple Ice Cream Is…

2 from 8 votes

2-Ingredient Pineapple Ice Cream

Fresh, creamy, and irresistibly delicious pineapple ice cream! Made with just two ingredients, and in under 5 minutes. This pineapple ice cream is the BEST healthy summertime treat.
Print Rate
Prep Time: 5 minutes
Total Time: 5 minutes
Servings: 6 servings

Ingredients

  • 4-5 cups frozen pineapple chunks, about 2 10-ounce bags
  • 1/4-1/2 cup coconut milk

Instructions

  • Add frozen pineapple chunks to food processor and pulse until crumbly.
  • Slowly add in coconut milk, starting with ¼ cup and adding more as necessary, and pulse until smooth.
  • Either serve immediately, or transfer pineapple ice cream to a parchment-lined loaf pan and freeze for 2-3 hours.
  • To serve, remove from freezer and let sit at room temperature for 5 minutes before scooping and enjoying.

Nutrition

Calories: 300kcal

This arnold palmer recipe is the only one you’ll ever need! A simple lemonade meets a home-brewed iced tea for a beverage that is perfectly light and refreshing. Enjoy an arnold palmer on a hot summer day as a slightly sweet and cooling drink!

lemonade being poured into a glass of an arnold palmer drink with lemon slices on the side

Ask me what my favorite non-alcoholic beverage is and I’ll say an arnold palmer every time. I look forward to every summer when the only thing that will refresh and cool me off is one of these half ice tea, half lemonade drinks. While this arnold palmer recipe isn’t limited to just the summertime, it’s just something I’ve associated with very hot days over the years. Let me tell you, the combination of fresh brewed iced tea and a homemade lemonade simply hits different when it’s a billion degrees outside.

The funny thing is, for the longest time I thought of this drink like it was one of those things I could only order while out to eat. But what I didn’t realize for all those years is how freaking EASY it is to make at home. The lemonade for this arnold palmer recipe consists of just three ingredients (one being water) and the iced tea consists of just two ingredients (again, one being water)! I’m talking like stupid easy, ladies and gentleman. And because it’s me who created the recipe – this drink is refined sugar-free, too.

What You Need To Make This Arnold Palmer Drink Recipe

Lemons – Lots and lots of lemons! If you have a lemon juicer, go ahead and whip that baby out for this recipe. In the end, you’ll need an entire cup of lemon juice. Which may sound like a lot, but will actually only end up being about 6 to 8 juicy lemons. My trick for super juicy lemons is to roll them between my palm and the counter before slicing them in half. By rolling them, you’ll soften up the inside making it easier to squeeze as much lemon juice out of them as possible.

Honey – This natural sweetener is the only sweetener you’ll need for this arnold palmer drink recipe! I love honey for its high dose of antioxidants and strong anti-bacterial properties. It’s also perfectly sweet and makes a delicious addition to this refreshing beverage. If you don’t have honey, you can use either maple syrup or simple syrup instead.

Black Tea Bags – Any black tea bags will work! I’ve also used green tea instead of black tea and had great results. Brew your own tea by adding the tea bags to water and leaving it to steep in the fridge for at least 8 hours, or preferably overnight. Homemade iced tea couldn’t be easier to make, and is essential to this simple arnold palmer drink recipe!

Adjust This Recipe To Your Diet

  • Make it Vegan: Substitute maple syrup for the honey to make this a vegan arnold palmer drink recipe.

Arnold Palmer Drink Recipe (Iced Tea Lemonade)

4 from 6 votes
Recipe by Samantha Course: Better Than Takeout, Made Healthy
Servings

4

servings
Prep time

30

minutes
Cooking time

40

minutes
Calories

300

kcal
Total time

1

hour 

10

minutes

This arnold palmer recipe is the only one you’ll ever need! A simple lemonade meets a home-brewed iced tea for a beverage that is perfectly light and refreshing. Enjoy an arnold palmer on a hot summer day as a slightly sweet and cooling drink!

Ingredients

  • For the lemonade:
  • 1 cup lemon juice (about 6-7 lemons)

  • 1/2 cup honey, see Notes

  • 2 cups cold water

  • For the iced tea:
  • 4 black tea bags

  • 4 cups cold water

Directions

  • Make the iced tea by placing the tea bags in 4 cups of water then transfer to the fridge to steep for 8-12 hours.
  • Make the lemonade by adding all lemonade ingredients to a large jar or pitcher and stirring until honey dissolves completely.
  • Fill a cup with ice and fill halfway with iced tea, then the rest of the way with lemonade.

Recipe Video

Notes

  • Honey: Feel free to use maple syrup or simple syrup in place of the honey in this recipe!

Did you make this recipe?

Share it and tag @samdoesherbest on Instagram!

Like this recipe?

Follow us @samdoesherbest on Pinterest

Other Low-Sugar Drink Recipes